
The Mercury Workshop is a hidden area in Wuchang: Fallen Feathers filled with rare items, tricky traps, and tough enemies. In this guide, you’ll find the exact steps to reach every collectable in the area, including weapons, armour, feathers, and pendants. Follow the directions carefully, and you’ll be able to grab everything the Mercury Workshop has to offer.
All Mercury Workshop Collectables
Head back to the Shu Sanctum Shrine and take the stairs inside the building all the way up to the third floor. Up here, you will find a room where the Feathered Priest, Lu Bingzhang, is waiting. Defeat him to get the Shu Sanctum Key.
Once you’ve got the key, go back down to the first floor. In the middle of the room, you will see a large cylinder. Interact with it. This will reveal a hidden staircase right next to the cylinder. Use those stairs to go down through the floor.
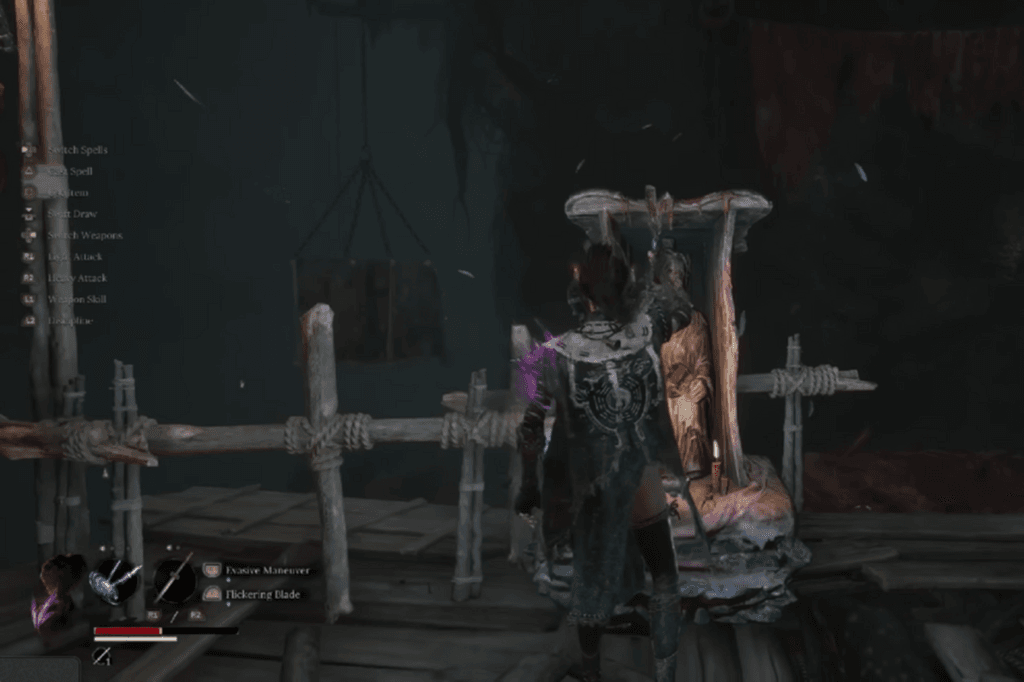
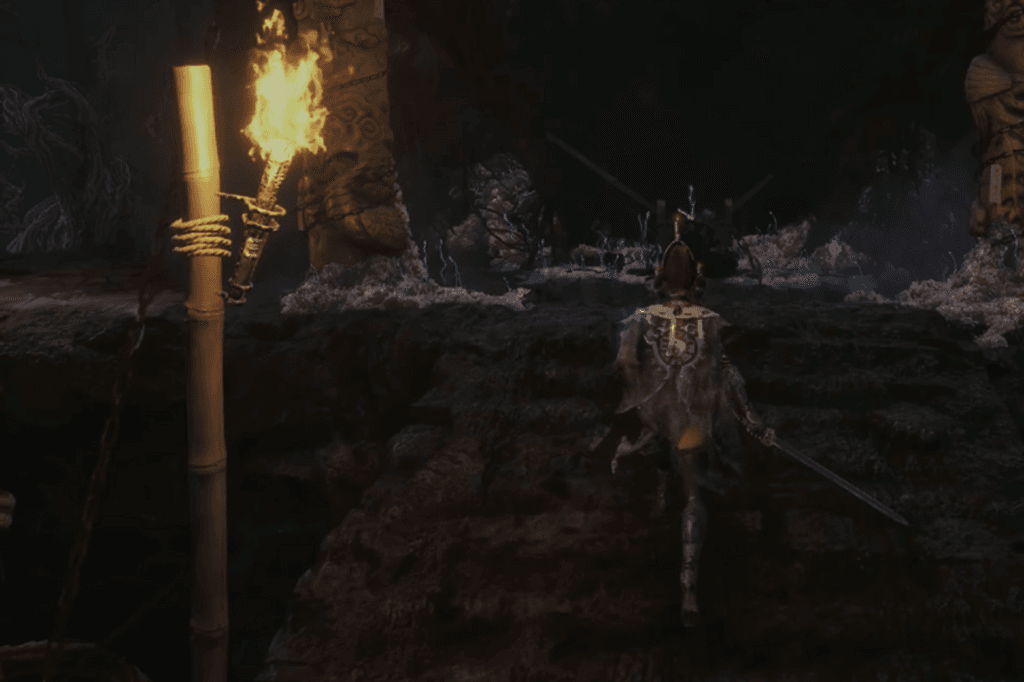
Keep heading down through the wooden scaffolding area. When you reach the bottom, follow the short corridor and then turn right. Keep going, and you will see the Mercury Workshop Shrine on the left side of the path.
All Weapons, Armours, Spells & Items in Mercury Workshop
Before heading deeper, take a detour upwards to grab some valuable items and unlock a shortcut.
From the Shrine, go down the central structure to the right and then turn left. You will see a blue item resting on top of a withered branch. This is on a dark, cracked section of the floor. Pick it up, but be ready, the floor will crumble and drop you into another area.
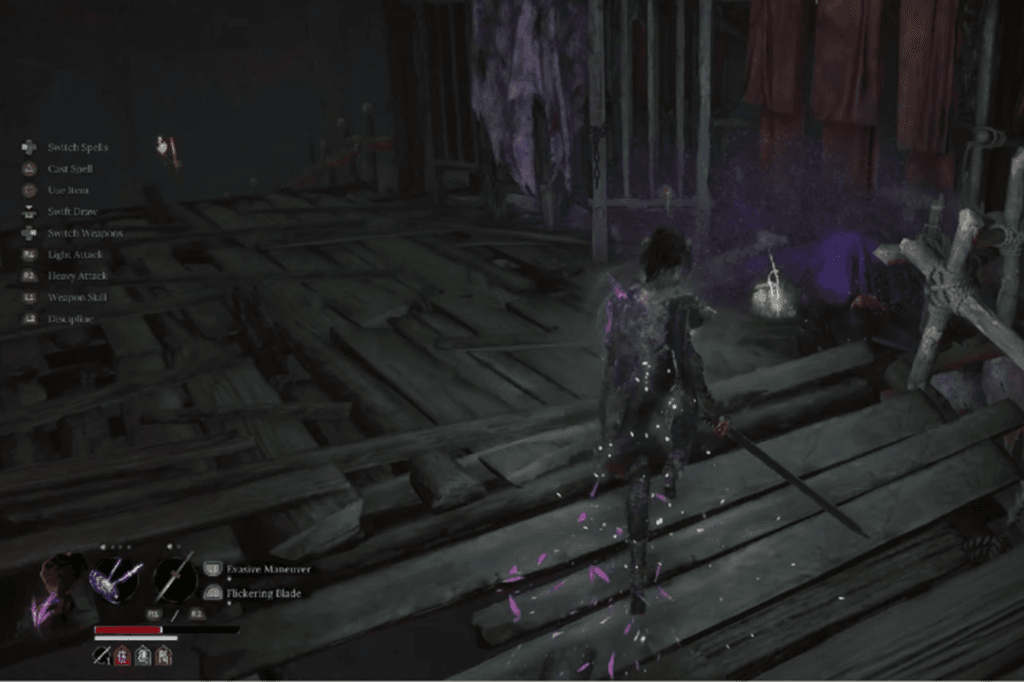
Down below, watch out. There are a few enemies outside the tunnel entrance, and another one lying in wait just as you step inside. Push forward through the tunnel and climb the ladder at the end. At the top of the ladder, you will see several spiked floor tiles and a suspicious white plate in the centre. Don’t step on it; it will trigger a dart trap. Instead, stick to the wooden sections of the floor and make your way back up the central structure.
Bamboo Shoot & Faint Red Feather Location
Enter the adjacent tunnel after circling to the other side of the main building. To obtain a Faint Red Feather, pick up a pink object within. You need to be careful as there is a large trap plate in the centre of the floor, so move steadily and get the Bamboo Shoot. Return to the opposite side of the main building and keep going until you encounter three adversaries in coffins. Before you can proceed, defeat them.
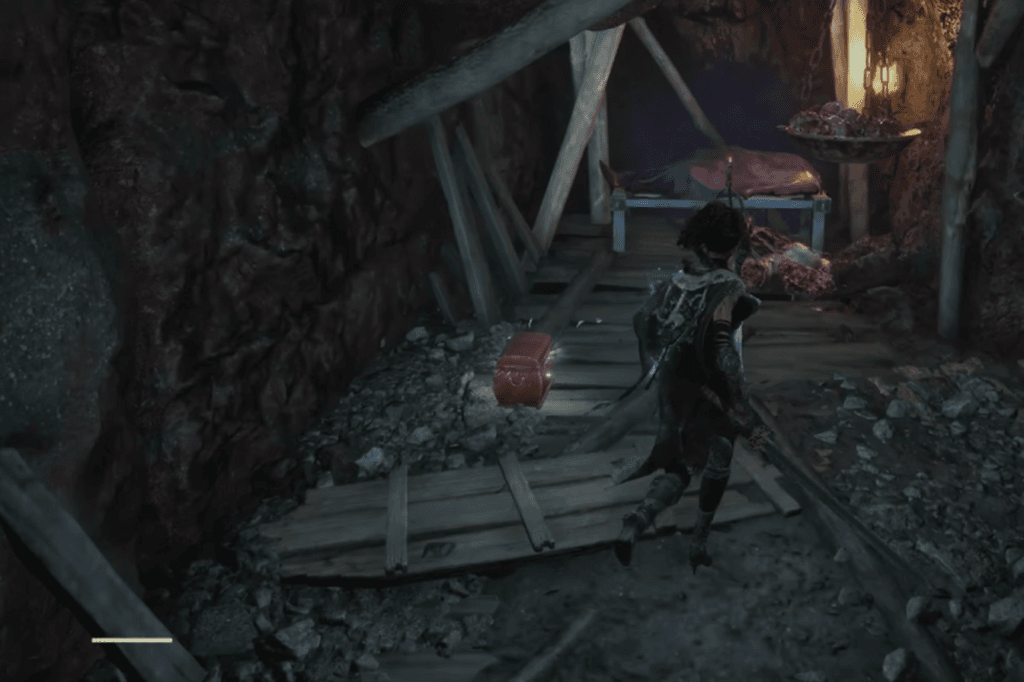
Dracolich Pendant Location
After the coffins, head down the ramp and into the nearby tunnel. Carefully dodge the spiked tiles and open a small chest on the left to get the Dracolich Pendant. Before you leave, release the ladder on your right; this unlocks a handy shortcut.
Faint Red Feather Location
Head left after descending the just-revealed ladder. To obtain another Faint Red Feather, defeat the adversary dressed as a vase. You can then return to the Shrine to rest and, if necessary, restock your flasks.
Lashing Whip Location
Head down the central structure to the right of the Shrine and go right. Keep going until you find a platform with two gun-wielding enemies. Defeat them and pick up the gold item on the floor to get the Lashing Whip. Cross the platform and follow the path on the right. Watch for enemies along the way until you find a tunnel entrance on your left. Be careful going in; there’s an enemy waiting nearby. Climb the ladder up ahead.
Faint Red Feather Location
Keep moving forward and watch for an enemy on your left who charges with a knife. At the end, defeat the Dancing Enemy to get another Faint Red Feather. When you exit this area, enemies will rush you from both directions. Quickly head down the ladder in front of the exit. On your left, you can unlock an elevator that leads back near the Shrine. Be careful, there’s a hidden enemy inside, ready with a spear. After unlocking it, take a moment to heal up if needed. Keep moving across the platform and return to the central structure. This time, head to the right and start climbing up.
Withered Branch Location
You will spot another withered branch on a dark section of the floor. Pick up the item there, but just like before, the floor will collapse, dropping you into a new area below. After falling, turn around and take the path to your left. Follow it all the way to the other end.
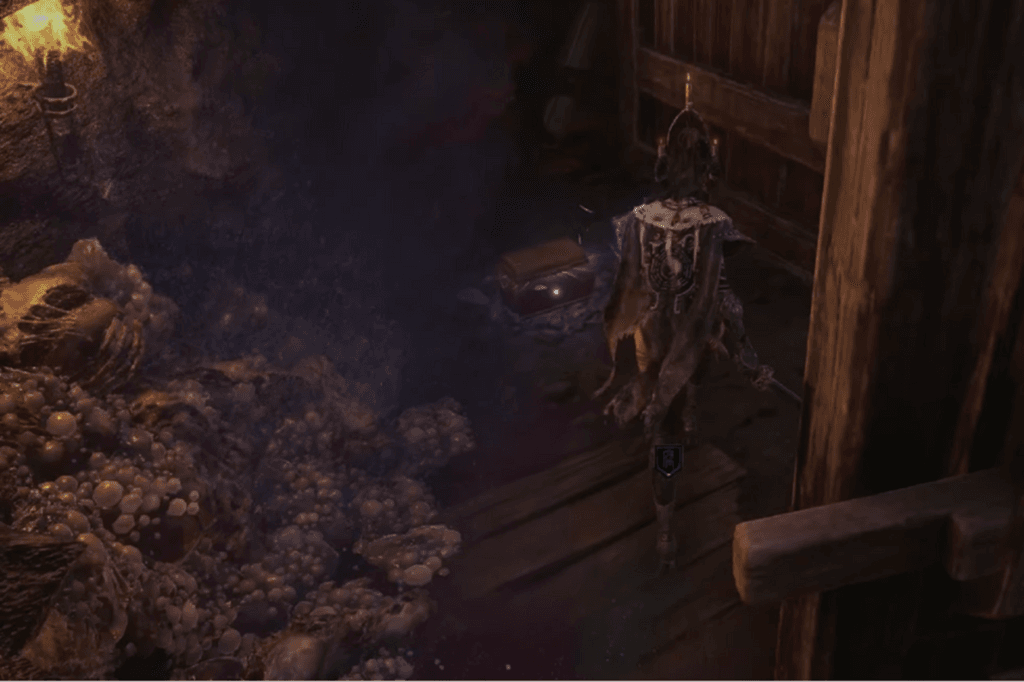
Dracolich Pendant Location
At the end, you will see a small ladder leading up to a ramp. Climb it to reach another tunnel. Equip the Dracolich Pendant before heading in; there’s a screaming enemy inside.
Phoenix Pendant Location
On the far side of the tunnel, grab the Phoenix Pendant and open the door on the right. Go back to the central structure and start heading down. Keep descending until you reach the bottom ladders. There, you can unlock another elevator that links back to the upper floor, near the Shrine.
Twin Infant Pendant and Lost Remains Location
Return to the very bottom floor and use the route that was previously behind the ladder. Continue till you get to a bridge on your left. The Twin Infant Pendant and Lost Remains are two priceless artefacts that can be found when you cross them. After grabbing them, turn around and proceed to the opposite side.