
There are various types of puzzles in Silent Hill Townfall that should be solved by the player in order to advance within the game. There are some puzzles that are easily skipped; therefore, ensure that you solve them before proceeding to the other parts of the game.
This guide explains all the puzzles in all chapters of the game, including their codes, item combinations, and solutions. Follow this guide while playing to avoid missing any puzzle. We will update this guide as we find more puzzles in Silent Hill Townfall.
Part 1: Arrival
Part 1: Arrival is the first part of the game. Most of the puzzles in this part will be missed so make sure to get them before proceeding. It is impossible to revisit each part without restarting the game from your last saved progress.
Chapter 2: Escape
Puzzle #1
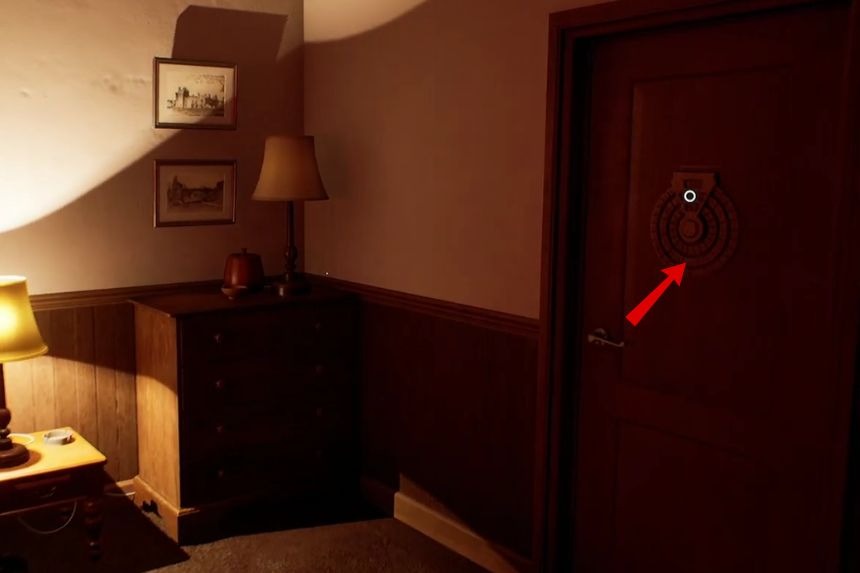
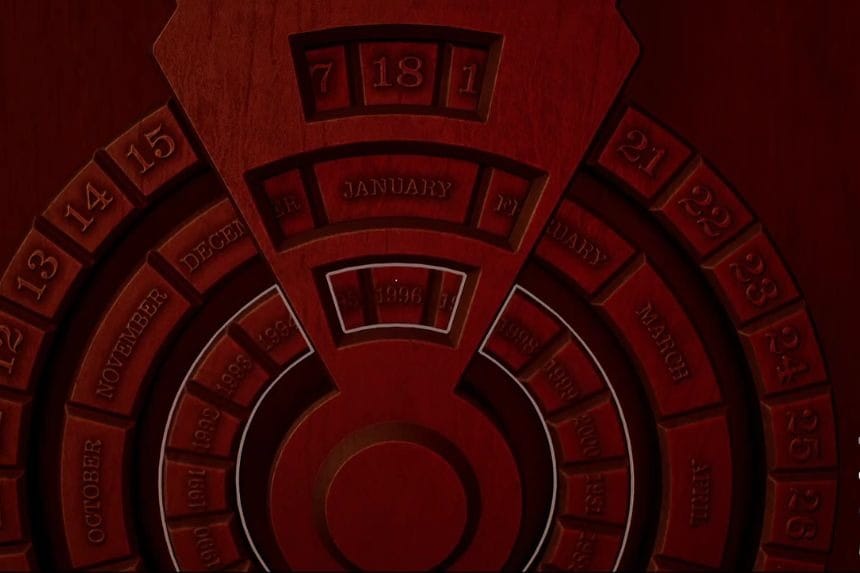
Go to the door and interact with the wheel. Set the three sections to:
- 18 on the top
- January in the middle
- 1996 on the bottom
The solution comes from the Room Service Card and the CRTV Channel 60 clue.
Chapter 3: A Connection
Puzzle #2
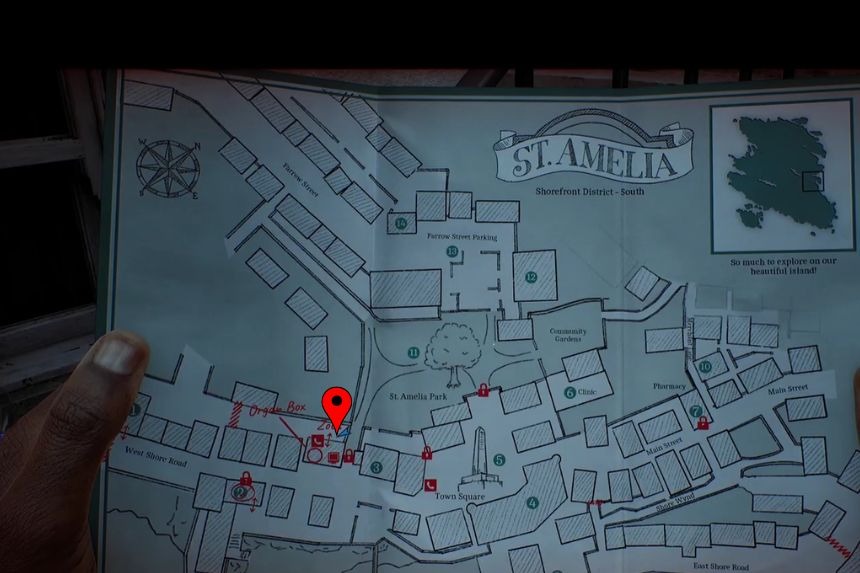
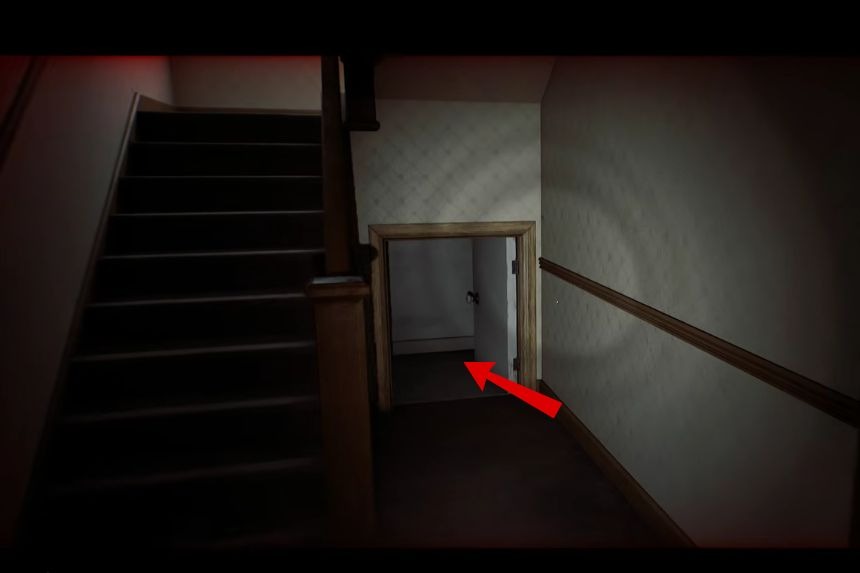
Go back to Zoe’s house and open up the crawlspace near the stairs. There should be a panel on the wall there that you can use. Stick the Prepaid Power Card in the slot under the screen on the panel. Use the A button to highlight “Card Credit,” then press B. Flip the bottom right switch to restore power.
Puzzle #3
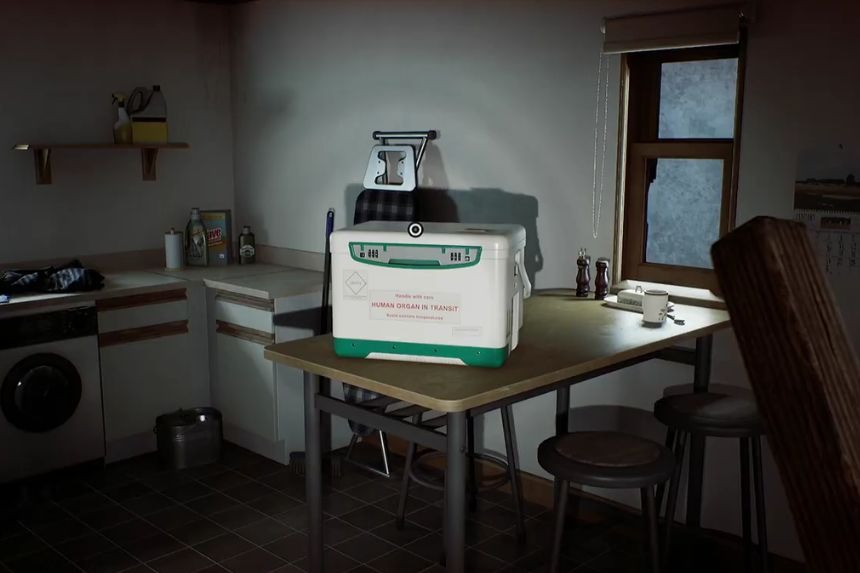
Head to the kitchen and interact with the organ transport box. Type 956 into the left side and 133 into the right. These codes can be found in the email as well as the Organ Transplant Card. Once you enter the correct codes, open the organ transport box to get Zoe’s Lanyard.
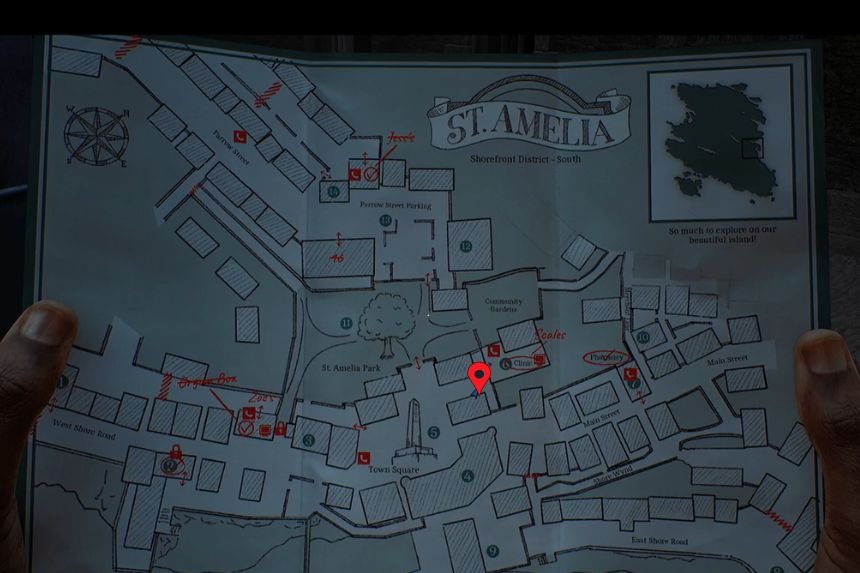
Puzzle #4 – Locked Door: Clinic
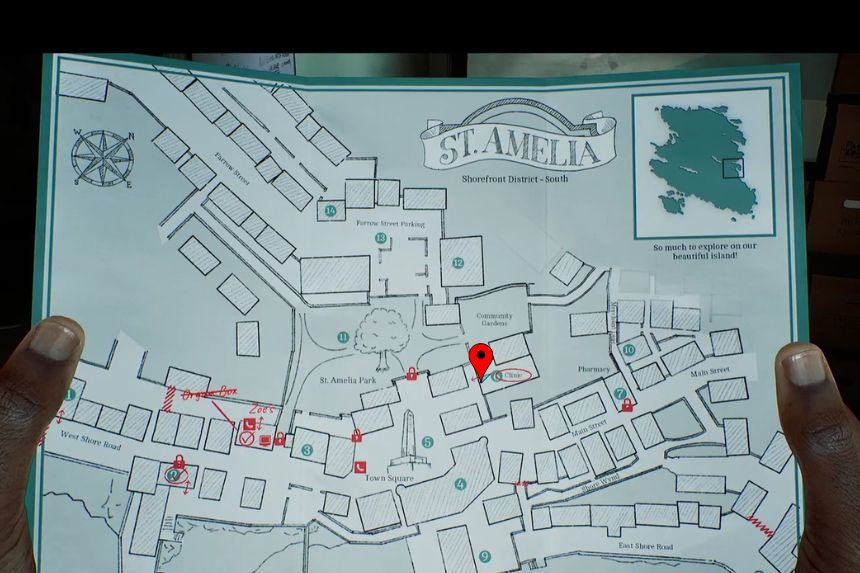
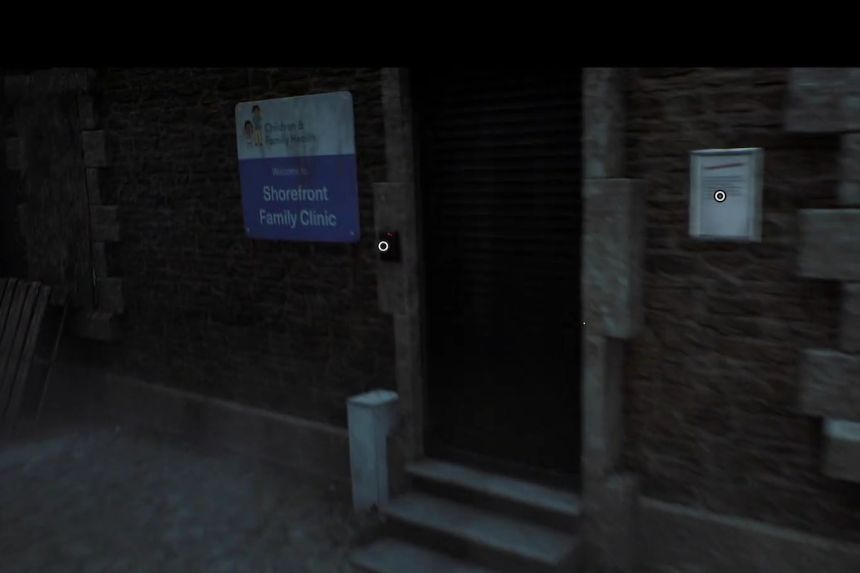
Head to the Clinic (6). Outside the entrance, interact with the pad to the left of the door. Use Zoe’s Lanyard to unlock the clinic.
Puzzle #5
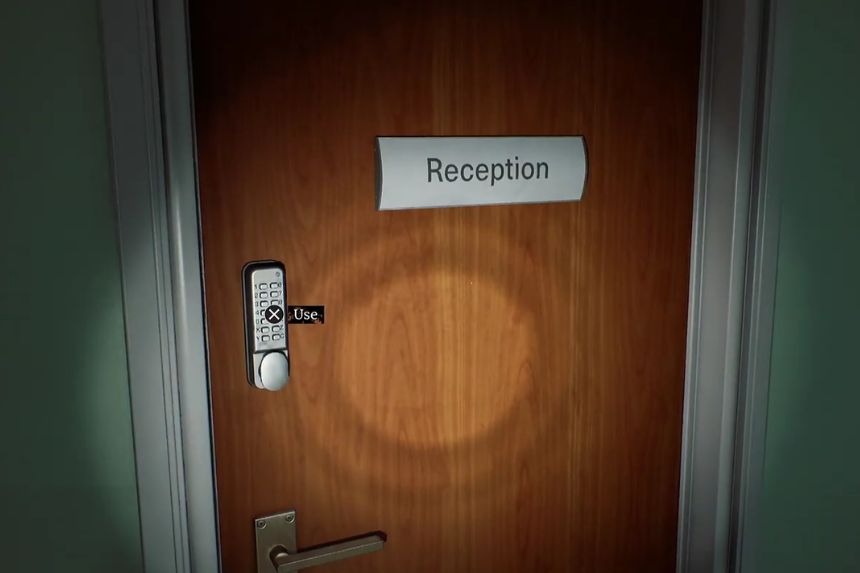
Return to the entrance area and find the Reception door on the left. Interact with the keypad and enter 2896. You can find the code on the Post-it note beside the computer.
Puzzle #6 Key Item: Prescription Dosage Error
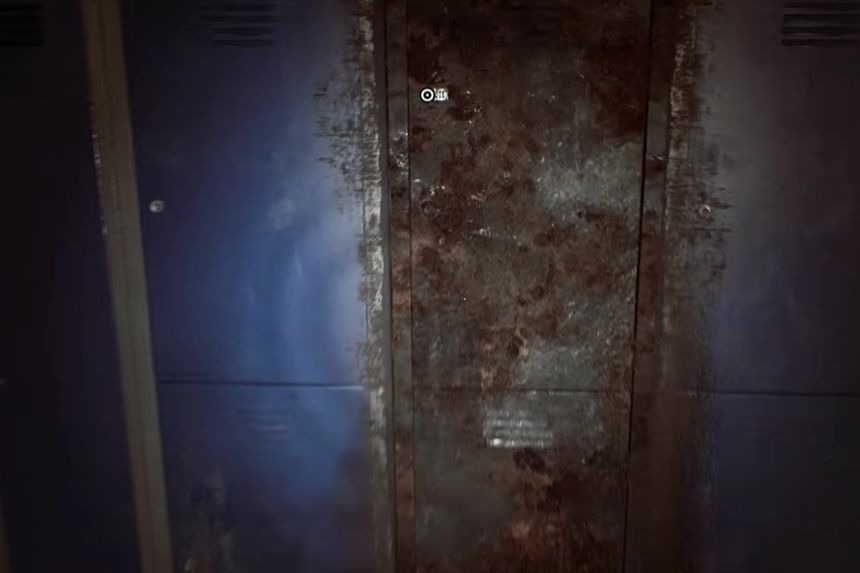
Rusty locker interaction is performed in the back room. Insert 6539 as the combination to unlock it. You will get these digits from the posters in the pharmacy area. Type them in the same order in which they appear on the CRTV channel. Once unlocked, retrieve the Prescription Dosage Error.
Puzzle #7
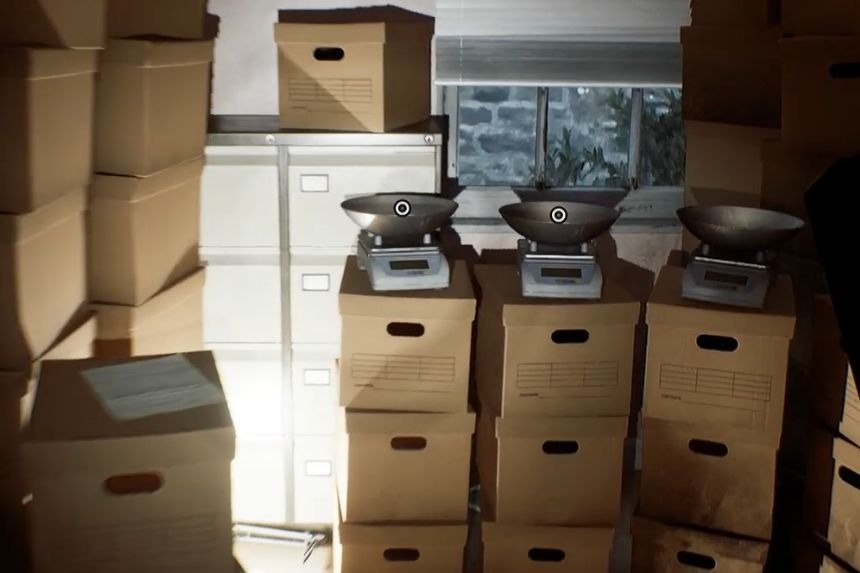
Return to the Clinic and head to the back room in the hallway, marked Z Ellis. Interact with the scales and place the items in the following order:
- Broken Stethoscope on the left
- Prescription Dosage Error in the middle
- Zoe’s Lanyard on the right
Once all three items are placed correctly, the puzzle will progress.
Part 2: Zoe
Part 2: Zoe is part 2 of Silent Hill Townfall, and comprises chapters 5 and 6. Please make sure you get all the items you encounter in this part since most of them are unobtainable later. There’s no way to restart each part individually, so any missed item means having to load a previous save point or starting again.
Chapter 5: Zoe Rounds
Puzzle #1
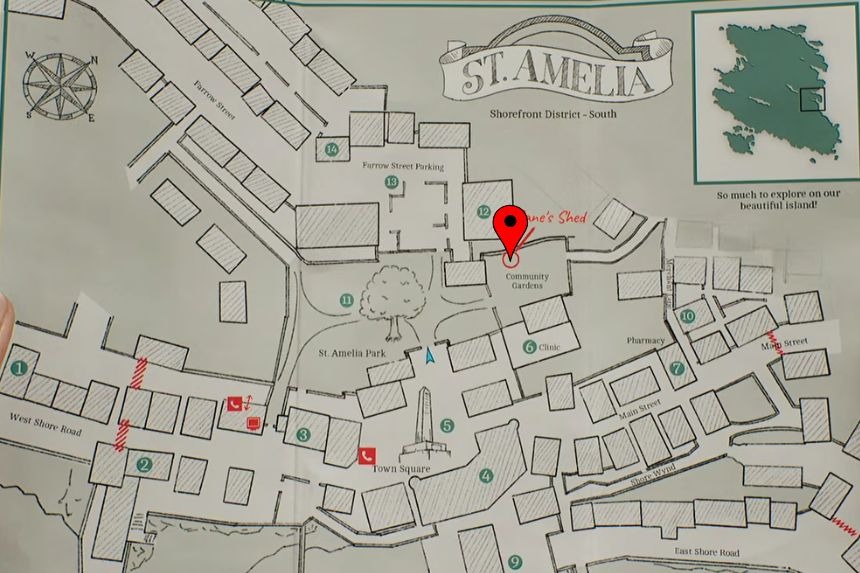
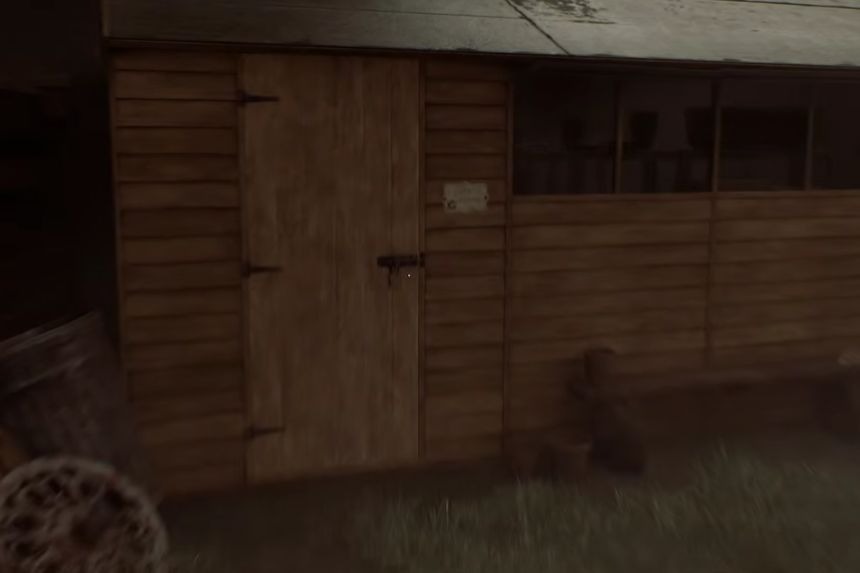
Visit the Community Gardens and look for the locked shed. The passcode is 1993, corresponding to the year in the flower garden that bears Jane Chalmers’ name. Type in the passcode and open the shed.
Puzzle #2 Phone Number: 496 0556 – D. Glenn
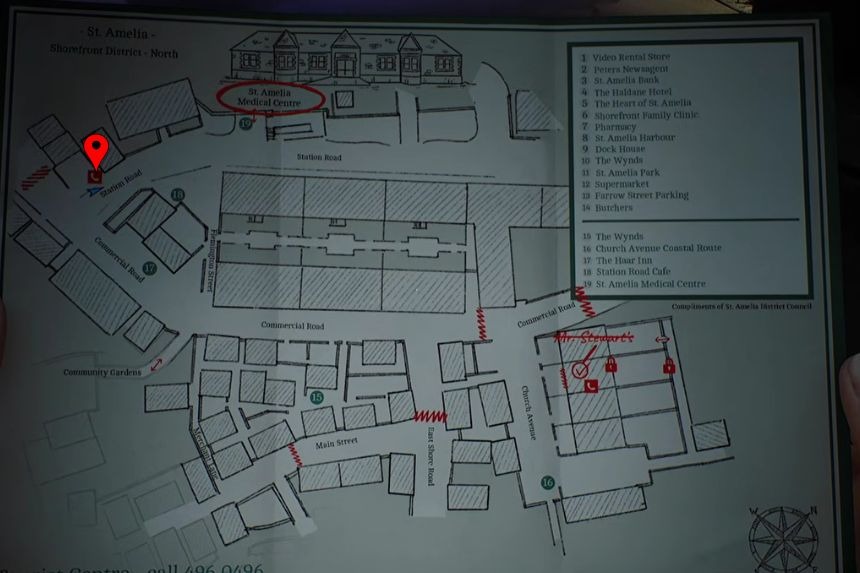
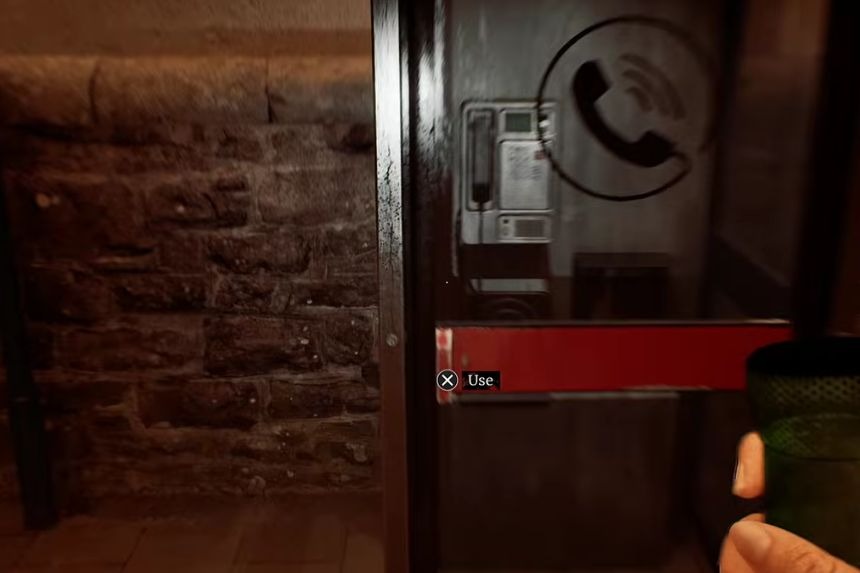
Looking at the Medical Security Note will get you the phone number of D. Glenn, which is 496 0556. Get the number, go back down the street and find the phone booth in Shorefront District North. Dial 496 0556, and then press 3, 2, 2, and 1.
Part 3: The Patient
Part 3: The Patient – This part consists of chapters 7 and 8 of Silent Hill Townfall. It is necessary to solve all of these chapters since almost all of them are missable. The game does not allow you to revisit a particular part, so it will be necessary to load an earlier save game or begin a new game.
Chapter 7: Zoe The Patient
Puzzle #10
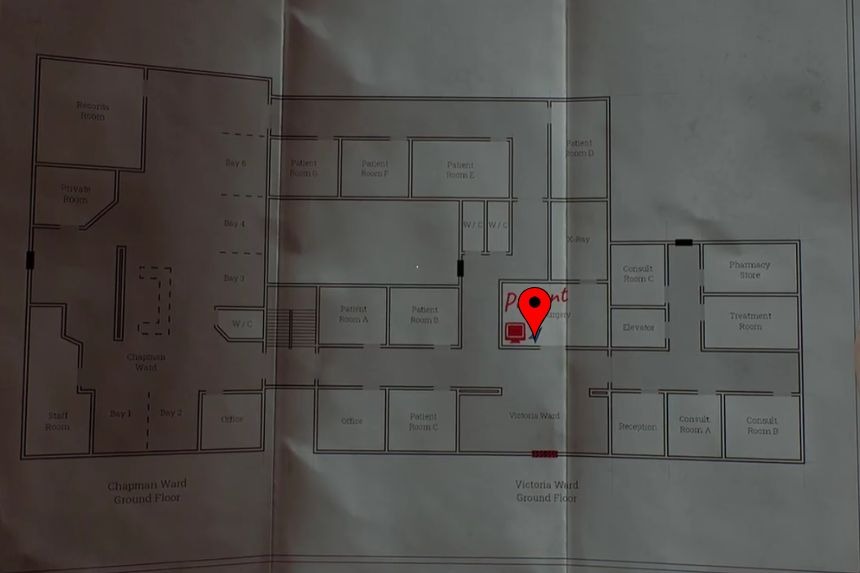
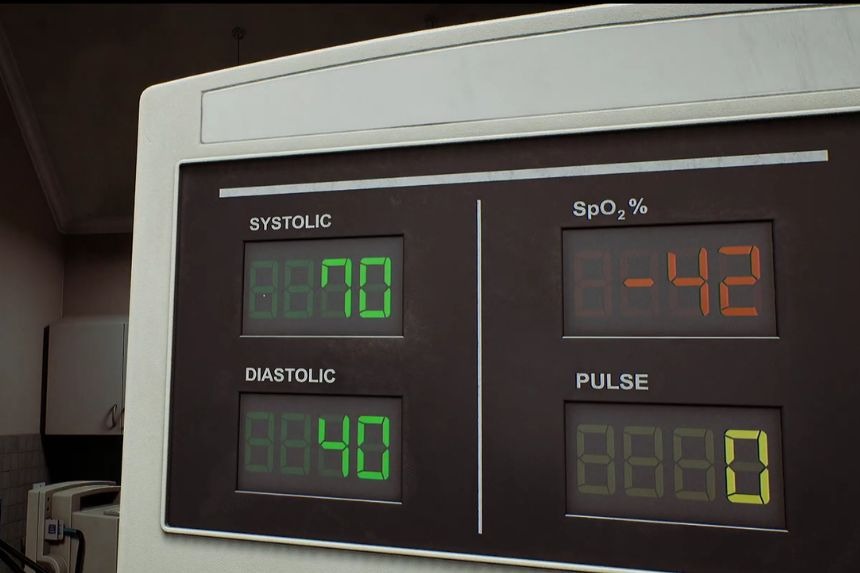
After communicating with the intercom system located in the Surgery department of St. Amelia Medical Centre, it is necessary to recognize the correct readings that appear on the machines in the room. Responding with the wrong numbers will result in damaging Zoe. The hints to the correct answers are available on the laptop placed beside the bed.
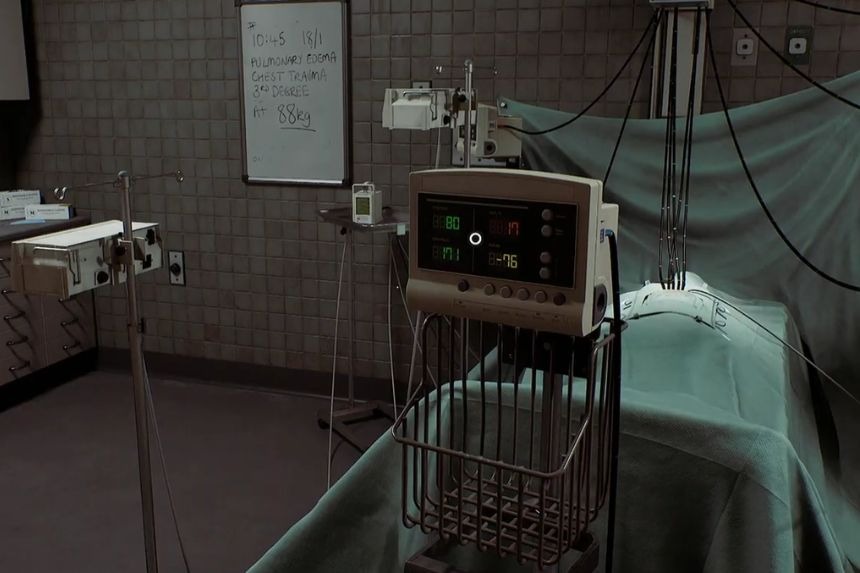
For the puzzle, you need to find the monitors with the correct readings and respond to Dr. Glenn on the speaker. Check out all the monitors in the room and find the ones that have the following diagnosis:
- Systolic: 70 and Diastolic: 40 or 39.
- Pulse: 160 or 162.
- SpO2%: 80.
These readings can be found on the monitors placed on the right side of the patient’s bed (while facing the bed), at the foot of the bed, and on the left side of the bed. The readings can vary by one or two numbers, but Dr. Glenn will accept the variants anyways.
Puzzle #11
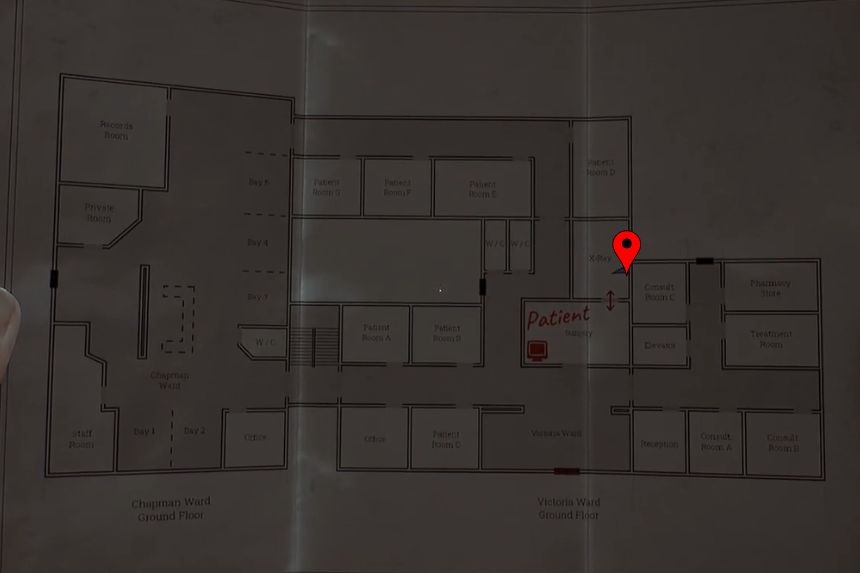
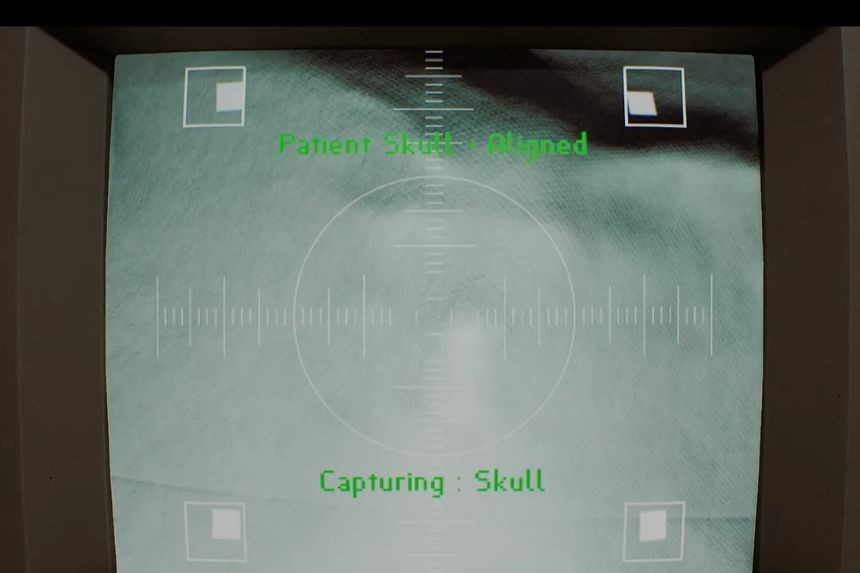
In the X-Ray department of St. Amelia Medical Centre, interact with the computer to start the session. Zoom in and position the camera upwards until “Patient Skull – Aligned” becomes visible at the upper part of the screen.
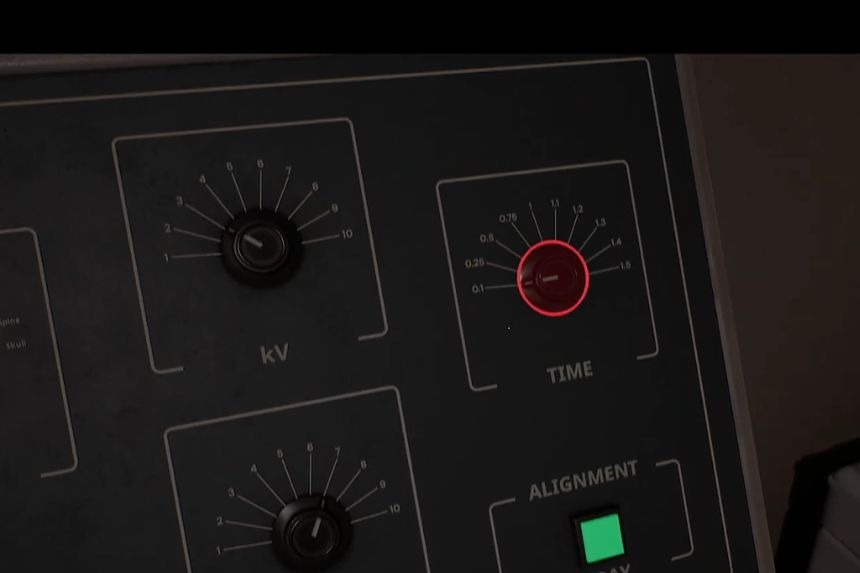
Engage with the left-side control panel and ensure that Power is set to “On,” and Site to “Skull – Aligned”. Then change the dials to the following:
- kV to 3.
- mA to 7.
- Time to 1.
These values will be seen in the X-Ray Dosage table in the laptop placed next to the bed. Once everything is correct, press the green button at the bottom right.
Puzzle #12
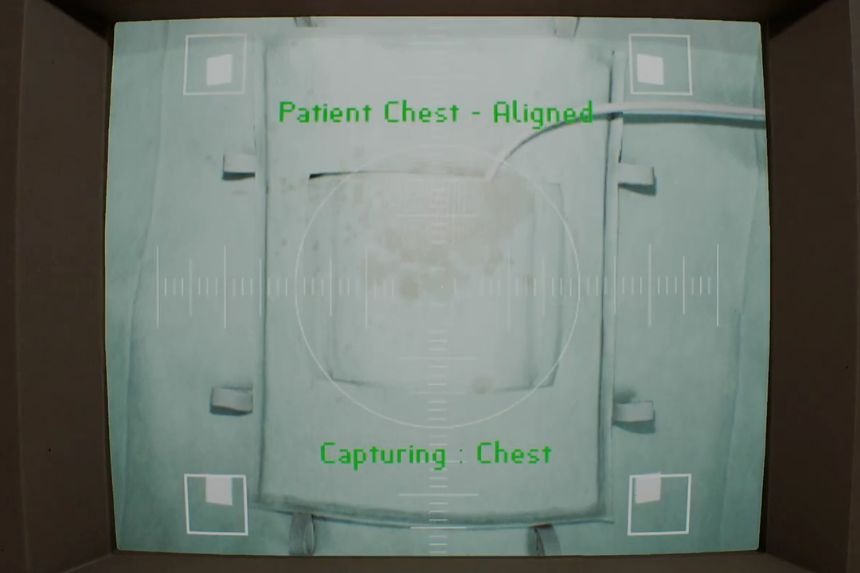
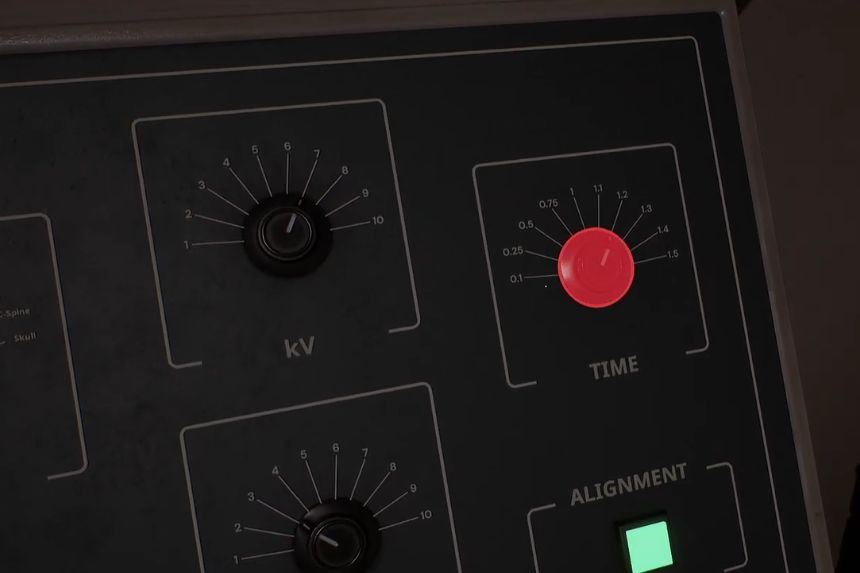
In the X-Ray section of the St. Amelia Medical Centre, do the same for the patient’s chest. Interact with the computer, zoom into the screen, and move the camera down until you see “Patient Chest – Aligned” in the upper part of the screen. In the left panel, choose Chest for the Site, and choose the following measurements for the dials.
- 7 kV.
- 3 mA.
- 1.2 Time.
When done, click the green button at the lower right part of the screen.
Puzzle #13
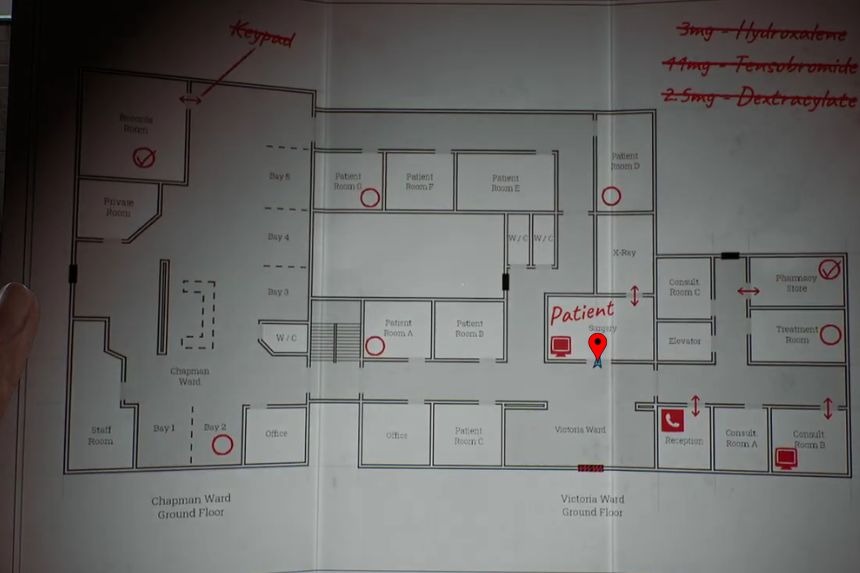
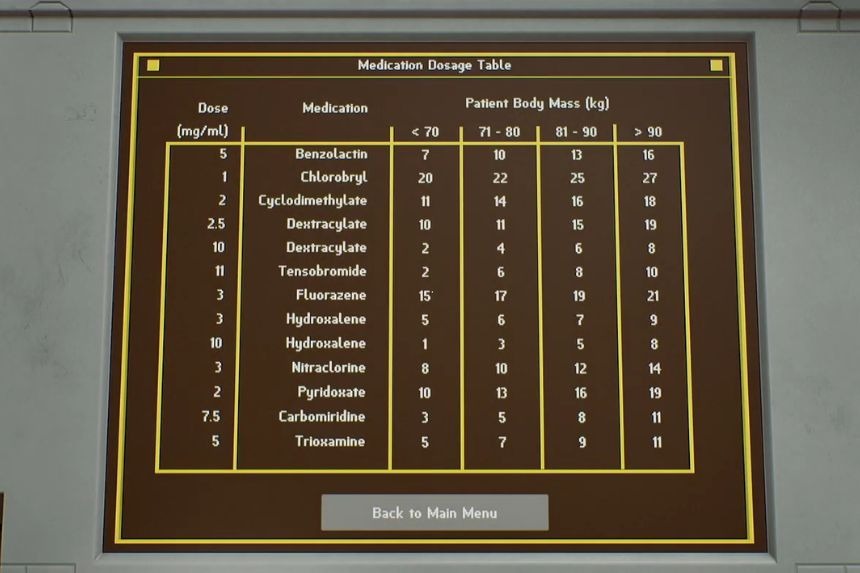
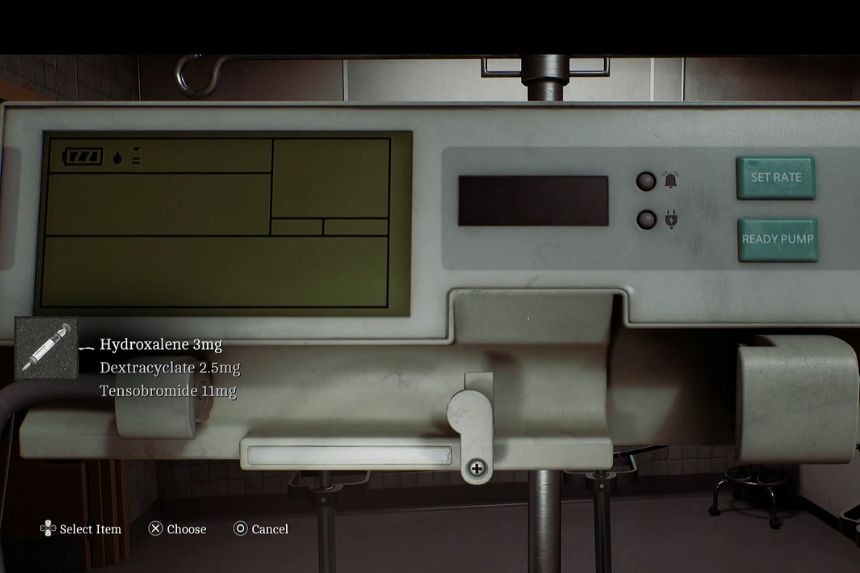
Now go back to the Surgery section of St. Amelia Medical Centre and get ready with the three infusions. For that purpose, you need to refer to the Medication Dosage Table on the laptop and the weight of the patient written on the whiteboard, which is 88 KG.
Now, for every infusion, select SET RATE, type in the appropriate number, then hit the check mark and choose READY PUMP. Set the dose of Dextracyclate to 15, Hydroxaline to 7, and Tensobromide to 8. Once all three are ready, interact with the small console on the left side of the bed.
Puzzle #14
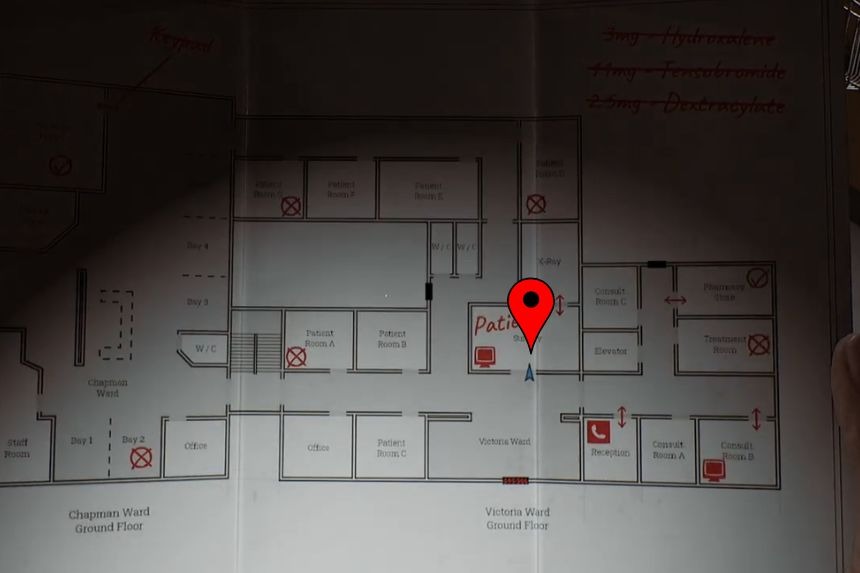
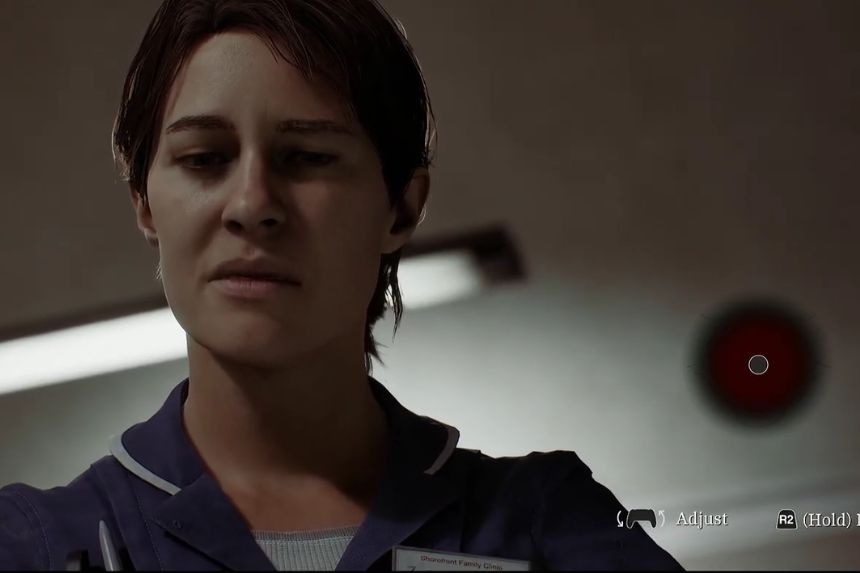
Go back to the Surgery section of St. Amelia Medical Centre and use the Medical Intubation Kit on the patient. While placing the tube in, you will see areas flashing red from the visual indicator. You need to hold down R2/RT when you place the tube correctly. The order is right, lower left, and top.
Chapter 8: Many Into One
Puzzle #15
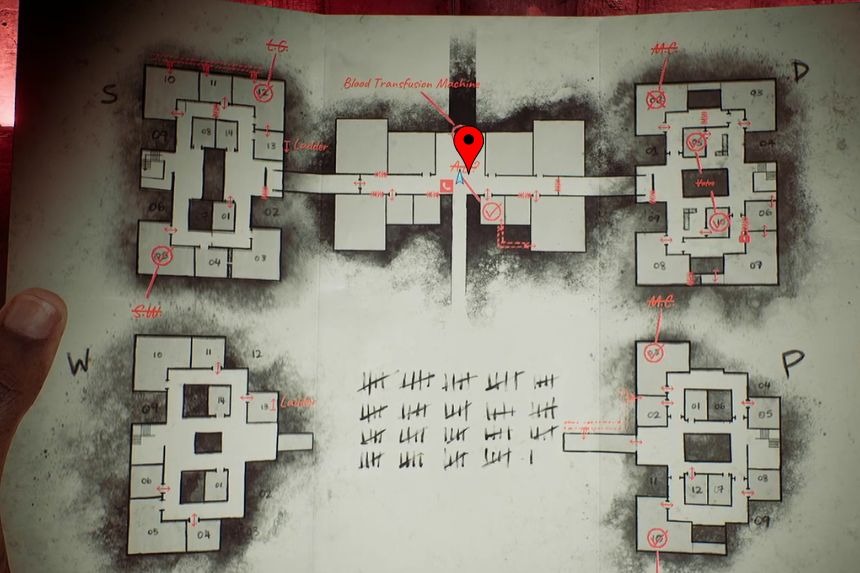
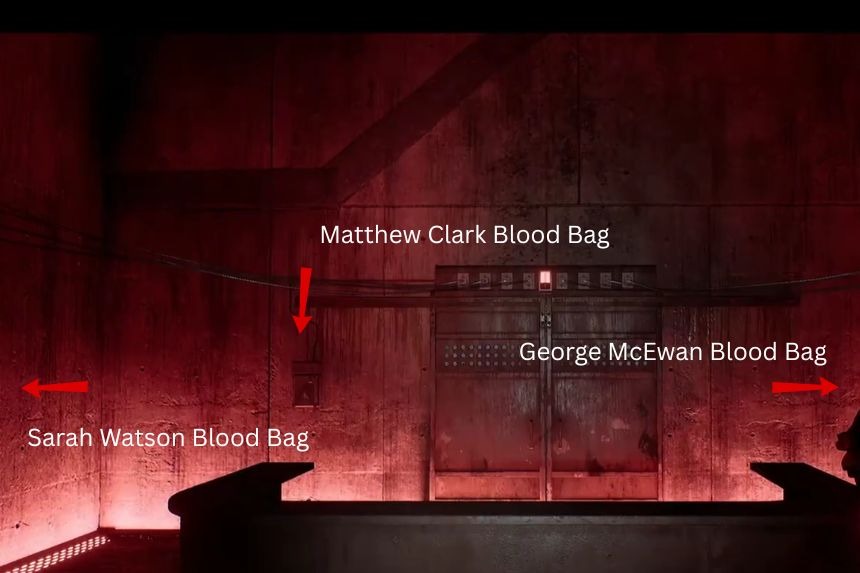
Back in the central area of the Medical Center – Different, you need to place the blood bags in the correct positions on the wall. Put Sarah Watson Blood Bag in the first spot on the left, Matthew Clark Blood Bag in the second spot on the left, and George McEwan Blood Bag in the spot on the right. Once all three are in place, interact with the switch to the left of the double doors at the back of the room.
Puzzle #16
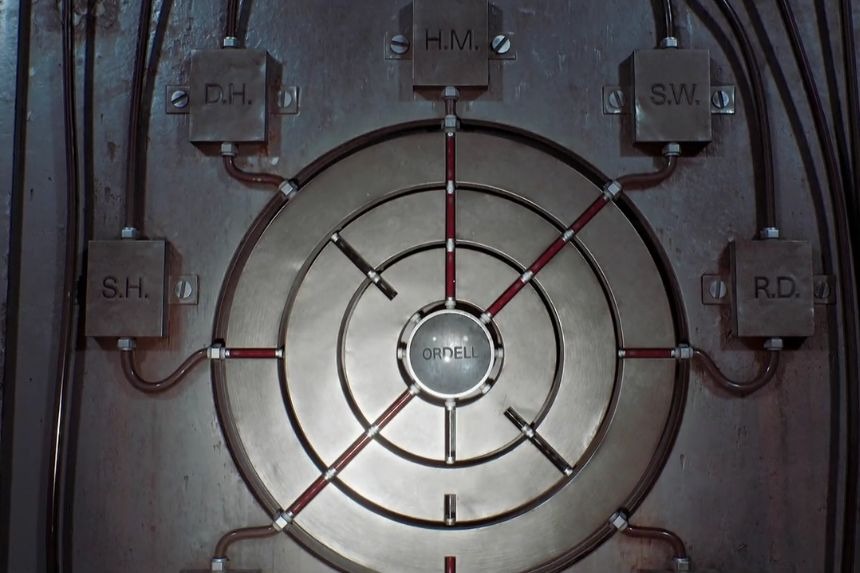
When moving on to the next challenge in the Medical Centre – Different, you have to ensure that the right blood types come from the outside towards the centre. The last name of Simon is Ordell, and his blood type can be found through the Medical Wristband in the Equipment.
The four blood types that are allowed to move towards the centre are O-, O+, A-, and A+. That means that the three initials of T.F., H.M., and S.W. need to be connected by straight lines, and then interact with the ORDELL button in the middle to confirm the solution.
