
Doom: The Dark Ages – Revelations adds brand-new chapters filled with exciting battles, hidden secrets, and plenty of collectables to discover. As you progress through each level, you will come across Codex entries, Relic Pieces, Weapon Skins, Life Sigils, Platinum, Secret Areas, and other valuable items. This guide will help you find every collectable and secret in each chapter.
All Revelations DLC Collectables & Secrets
Doom: The Dark Ages is filled with collectables to find throughout the game. The good news is that none of them is missable, so you don’t have to worry about permanently missing anything during your first playthrough. After completing the story, you can use Chapter Select to go back and collect anything you skipped. Your chosen difficulty also doesn’t affect collectables, so you can play on whichever setting you find most enjoyable. Below, you will find all the collectables we’ve discovered so far, and we will keep updating this guide as we find more.
Komodo Champion Down! Trophy
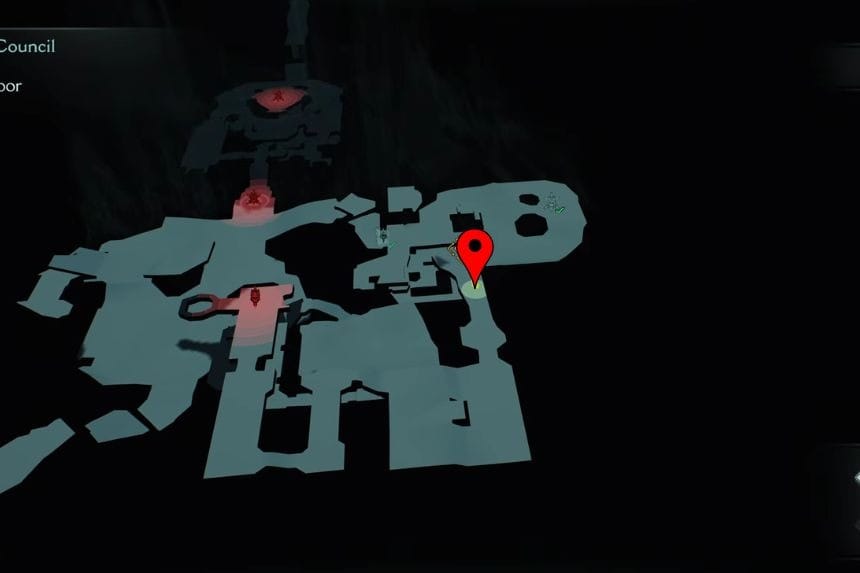
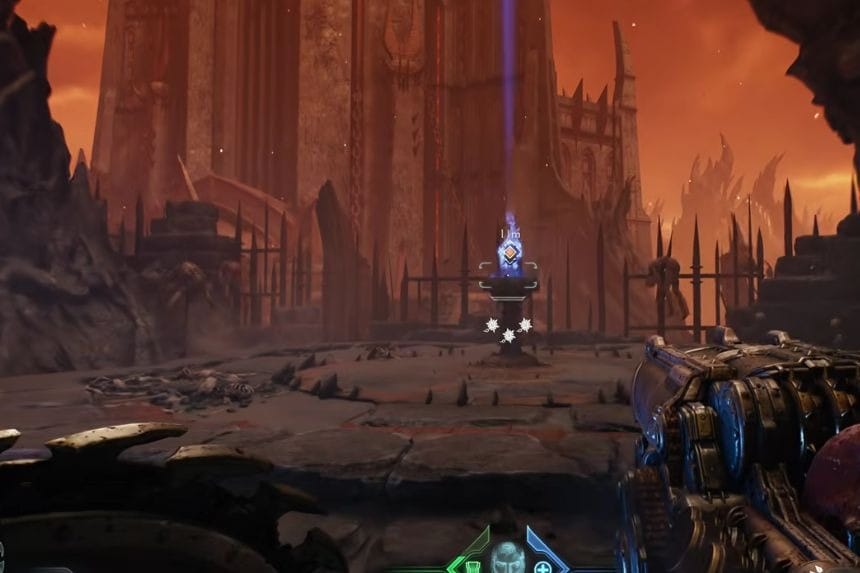
To get Komodo Champion Down! Trophy, you need to collect the Blue Skull, then use the Blue Skull to open the elevator door. The elevator will take you down, and you need to fight some monsters.
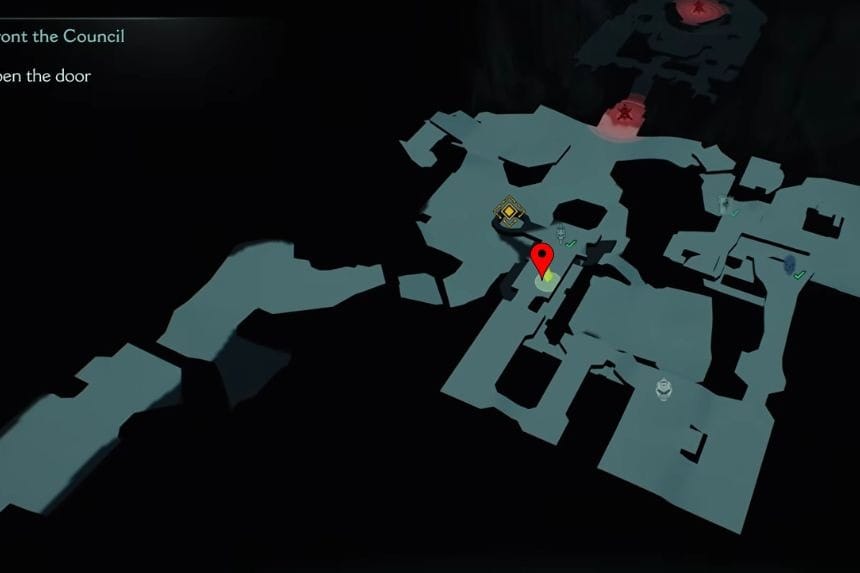
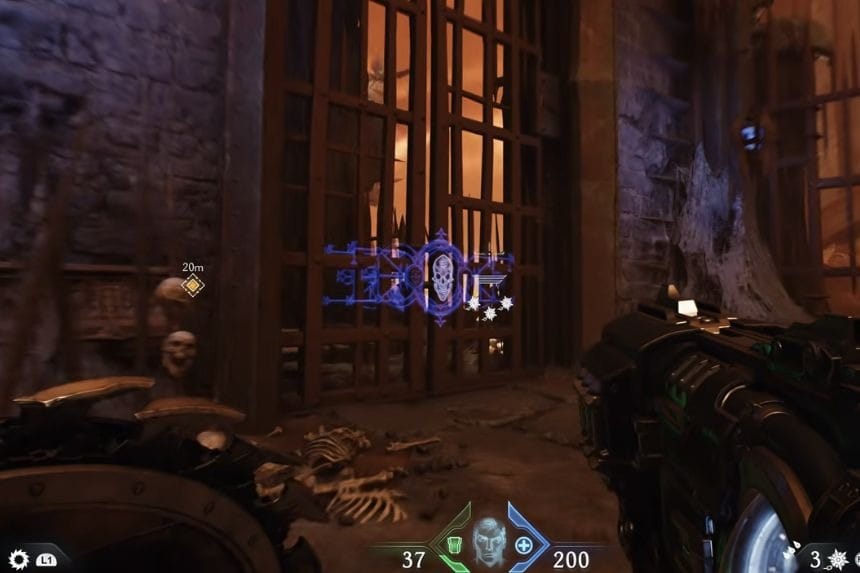
The area is filled with fire traps, so travel carefully, avoiding the fires. After which you will find a lever. The lever will open a new area. This area will have the Komodo Dragon. Defeat the Komodo Dragon and earn the Komodo Champion Down! Trophy.
Proving Grounds All Collectables & Secrets
Proving Grounds is the first level in Doom: The Dark Ages – Revelations. In this chapter, the Doom Slayer returns to the Dark Realm on a mission to retrieve the Oracle. This powerful item is the key needed to enter the High Council’s chamber, where the rulers of Hell await. As you make your way through the level, you will also come across several collectables and secrets worth finding.
Secret Area #1
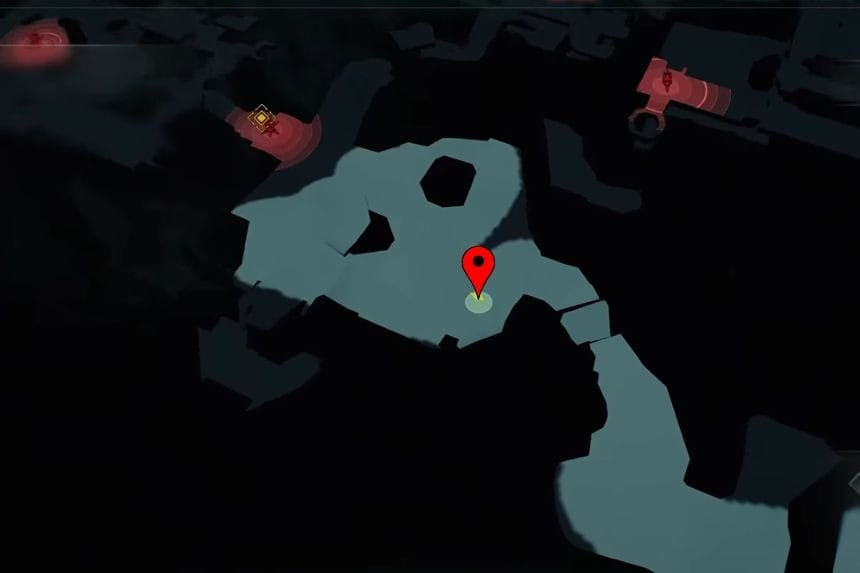
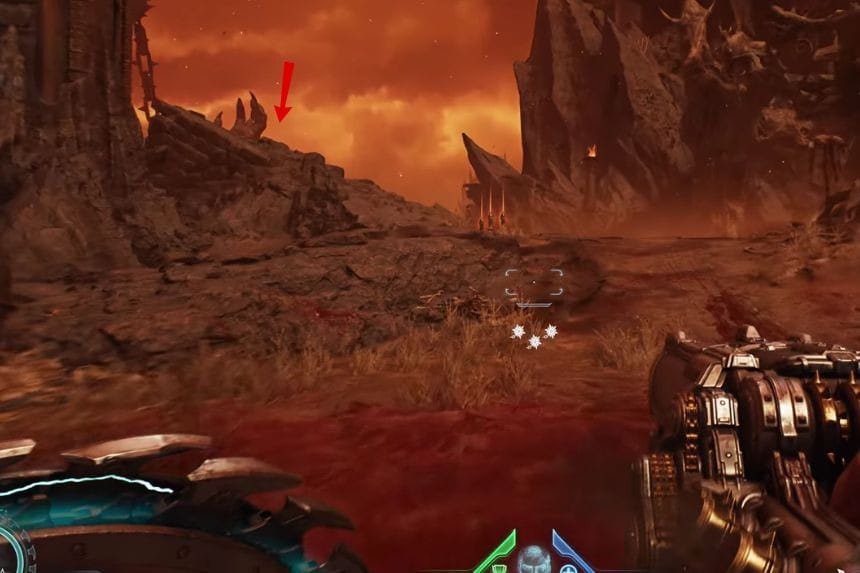
In the area marked above, you will find a big castle. Before entering the castle, on the left side, there will be broken stairs. At the end of the stairs, you need to jump down to reach the secret area.
Collectible #1 – Codex: Marok Letters I
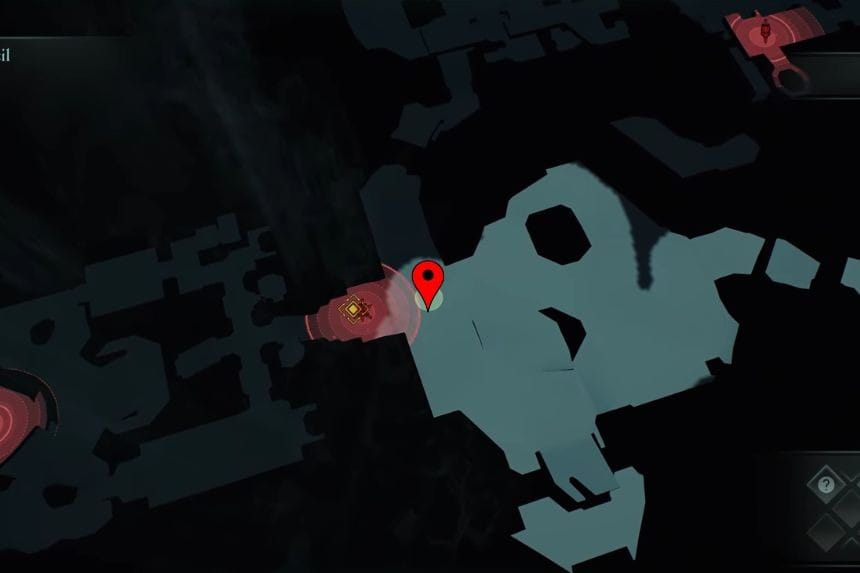
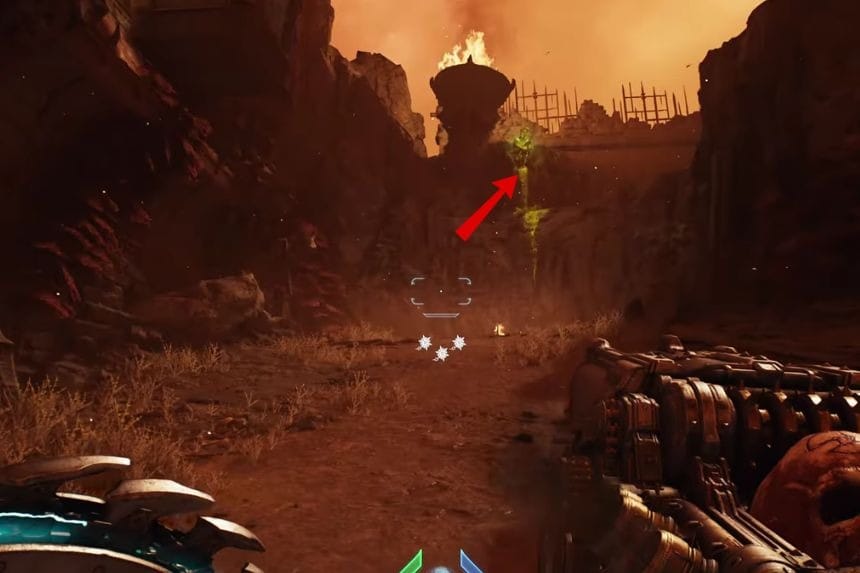
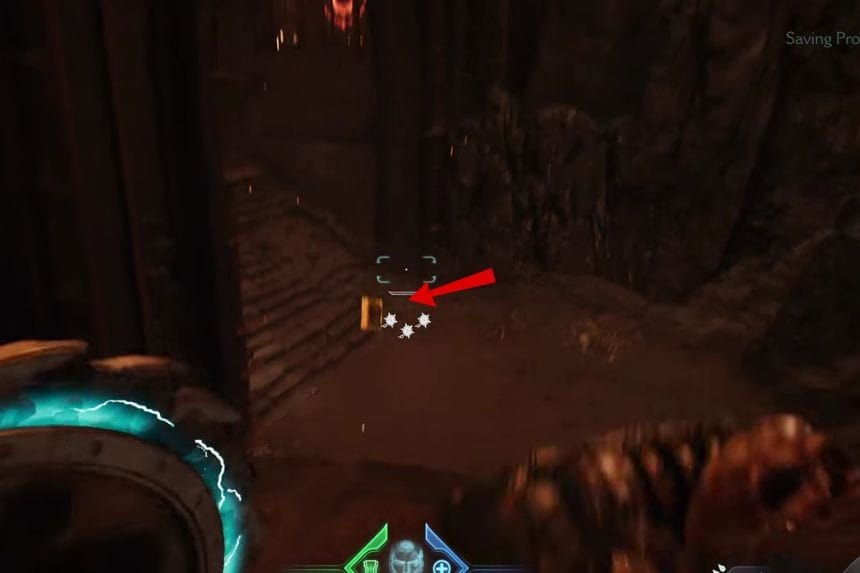
Go to the above-marked location to find a building with a skull on top of it. You will find a big torch in front. Use your shield on the Green Flesh to pull yourself towards the shield. From there, jump down to find the Codex: Marok Letters I.
Secret Area #2 + Life Sigil #1

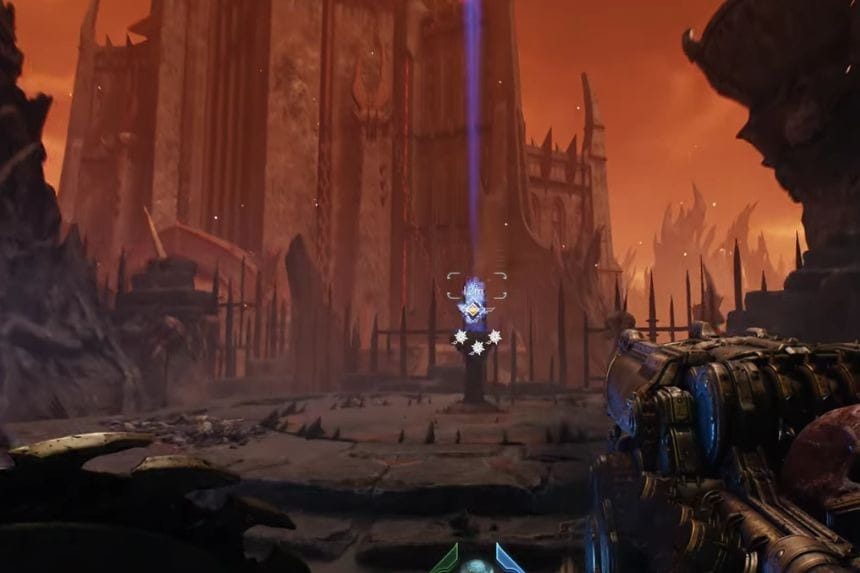
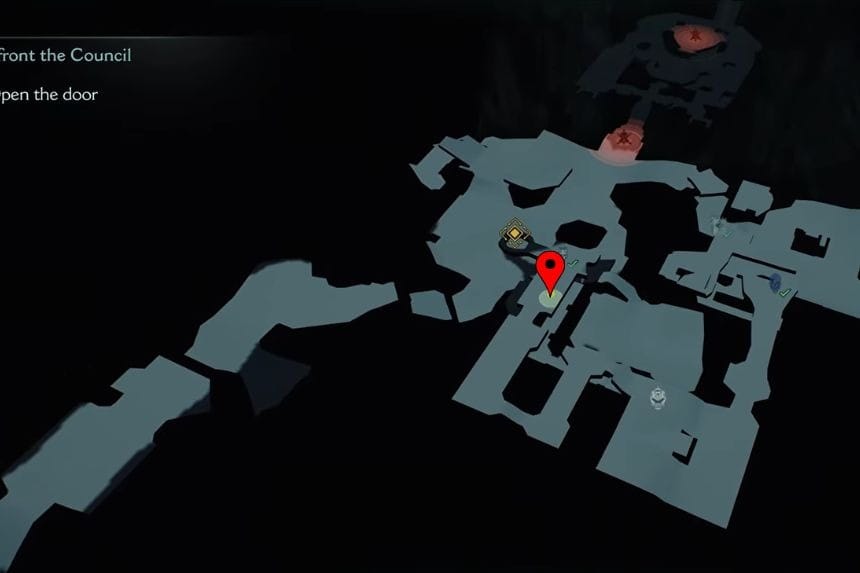
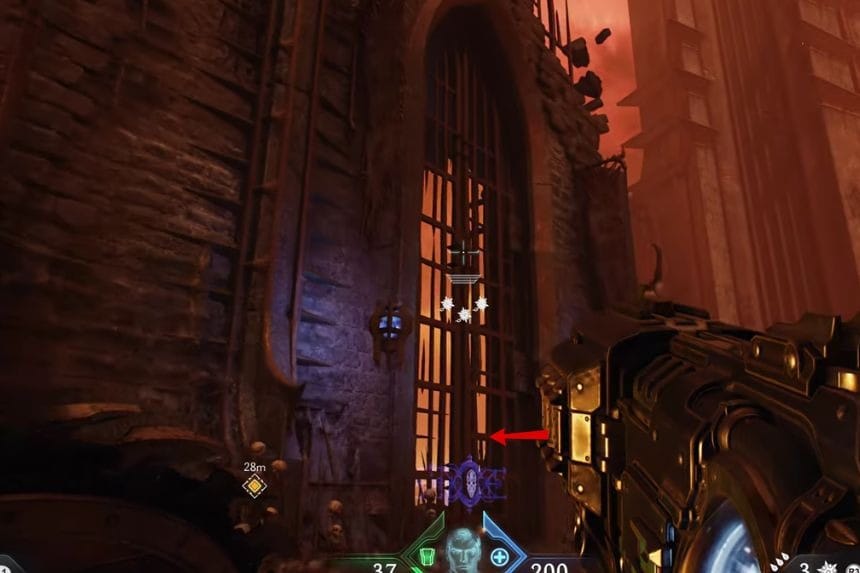
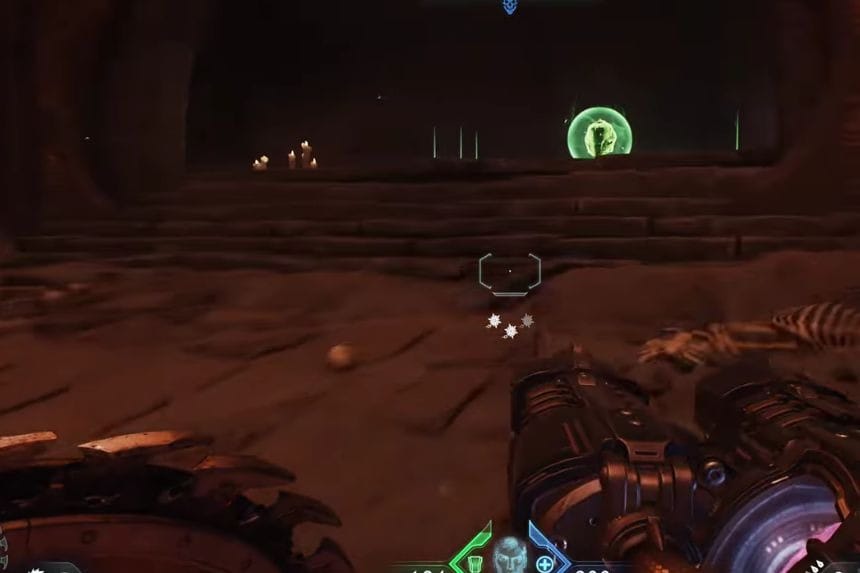
In the area marked on the map above , you will find a blue skull. Take that blue skull and use it to open the elevator. Go down the elevator, to find an area filled with monsters and fire traps. Defeat the monsters and avoid the fire traps to find a lever at the end of the room. Now go to the new area and defeat the Komodo Dragon. Defeating the Komodo Dragon will spawn more monsters that you need to defeat. Defeating all the monsters will open a new area that has the Life Sigil.
Collectible #2 – Codex: The High Council
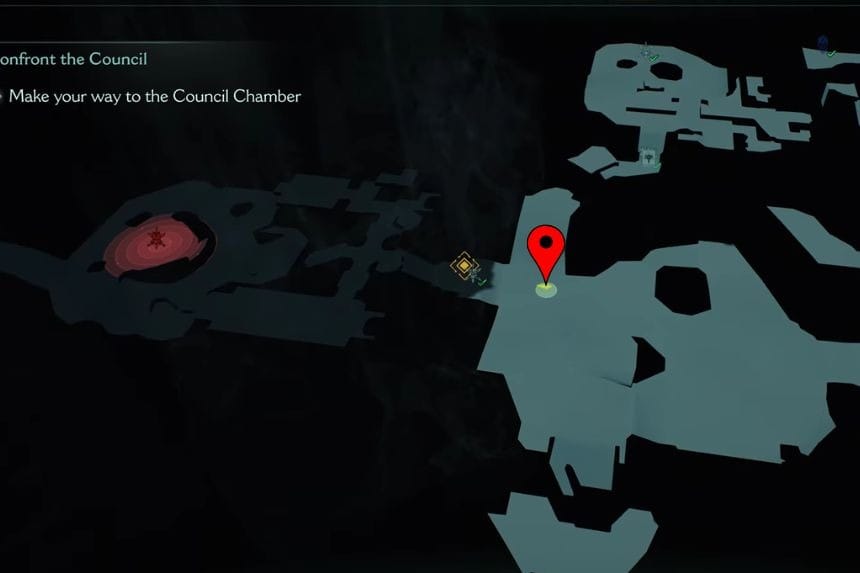
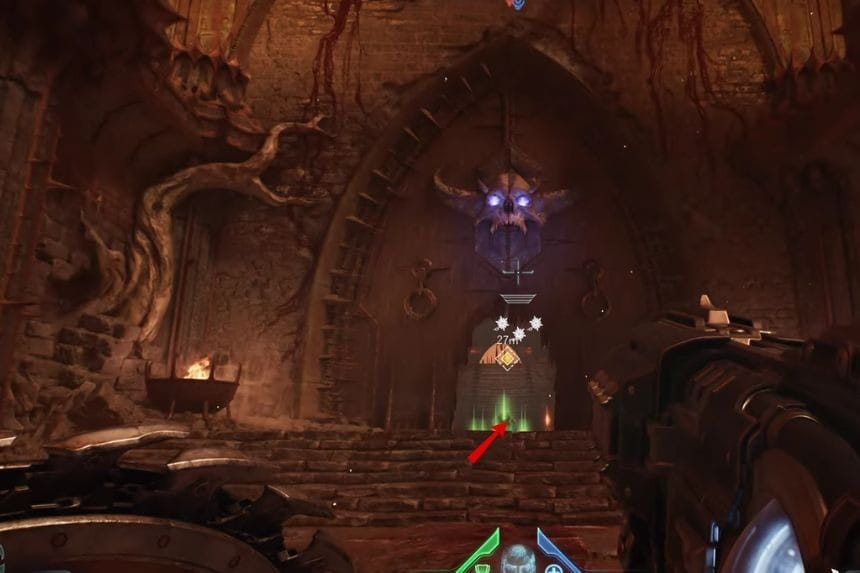
Go to the location marked above. You will see a big door here. On top of the door, there is a skull. Go through the door and climb the stairs to find the Codex: The High Council.
Secret Area #3
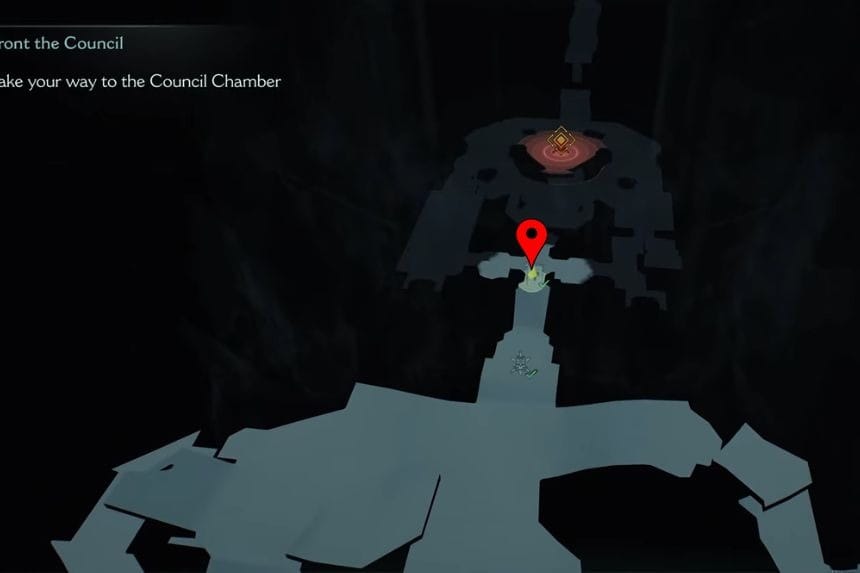
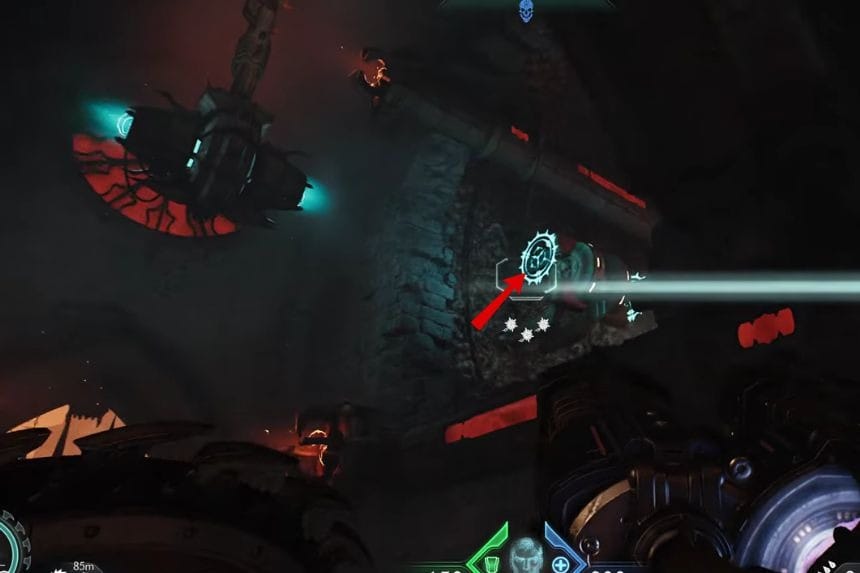
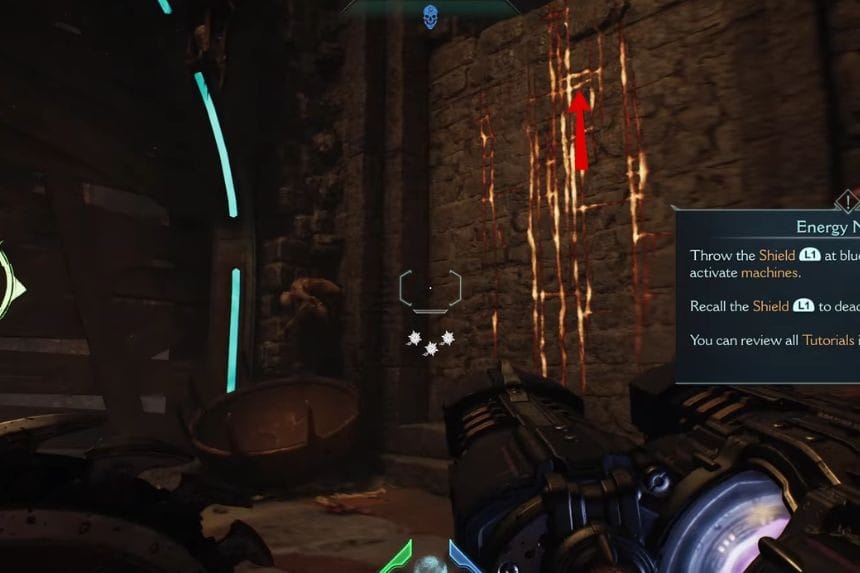
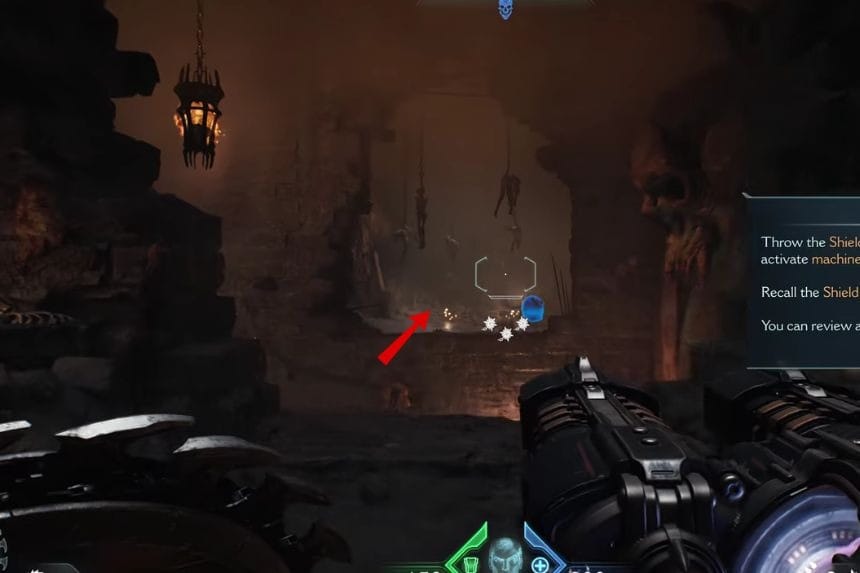
In the same location as above, you will find Energy Nodes. To activate it, throw the shield at it and to deactivate it, you need to recall the shield. Throw the shield at it to remote the energy nodes so that the nearby door opens. Enter the new area, defeat the enemies, and climb the upper floor. From the upper floor, jump towards the broken wall in front of you to reach the secret area.
Secret Area #4 + Life Sigil #2
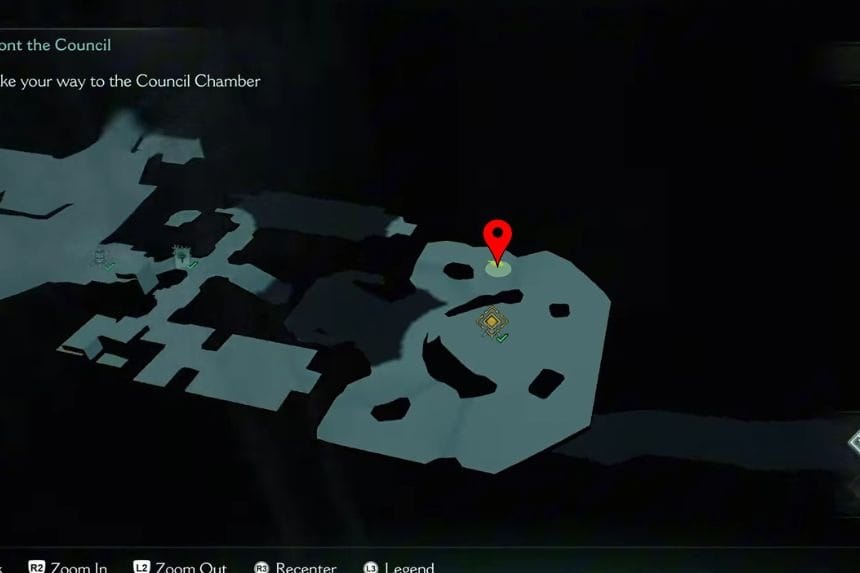
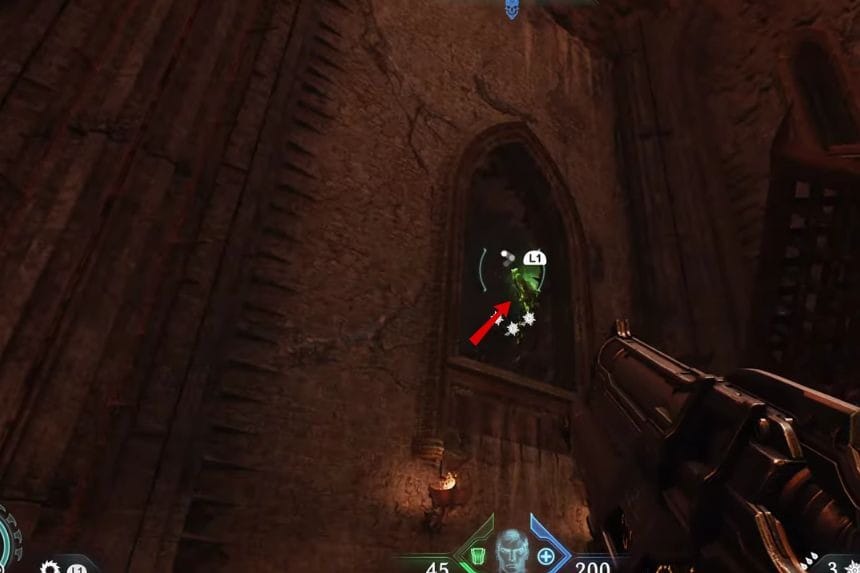
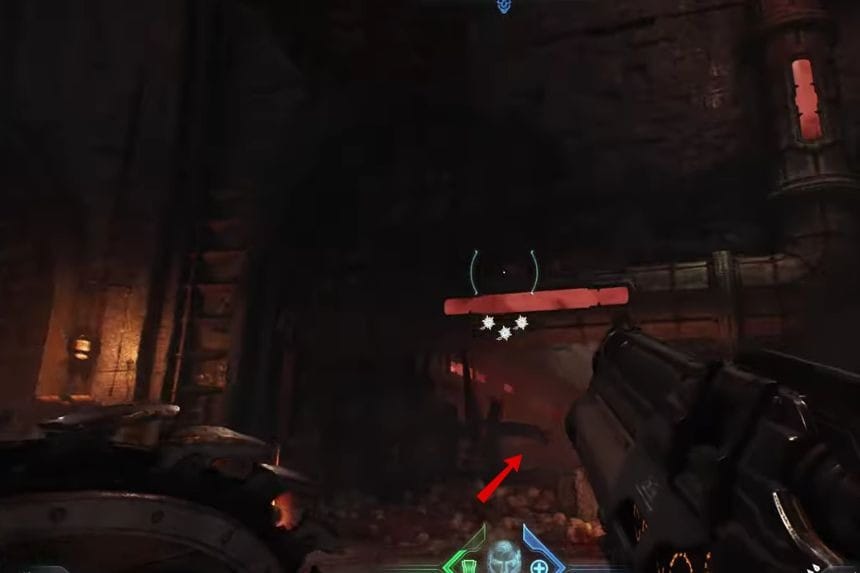
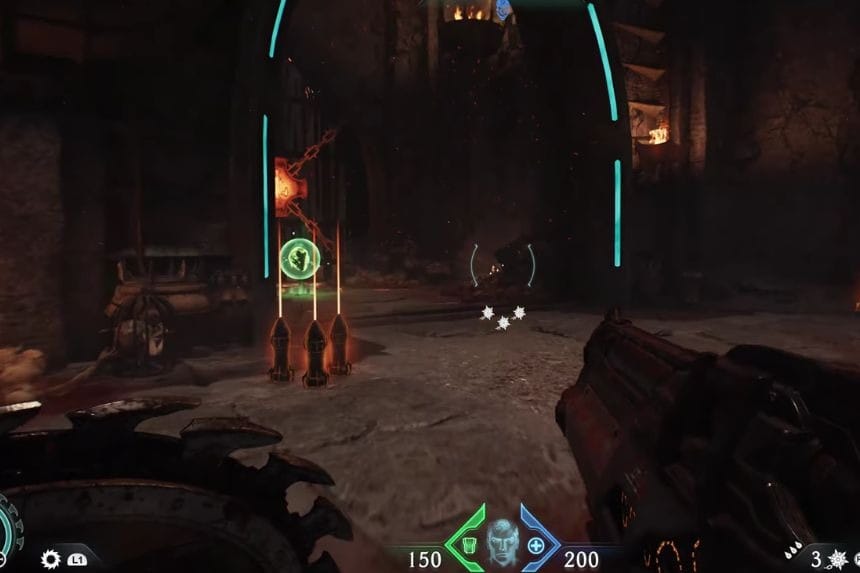
Go to the location marked on the map above and you will find a Green Flesh. Attack your shield towards the Green Flesh and jump to the next area. In the new area, on the left side, you will find a broken wall. Go towards the wall and shoot at the energy nodes with your shield. This will activate the door near you. Before you can enter the door, it will be blocked, so you need to kill all the demons that are spawned there. After that the door will be unlocked and you will get the Life Sigil.
Collectible #3 – Codex: Council’s Chamber
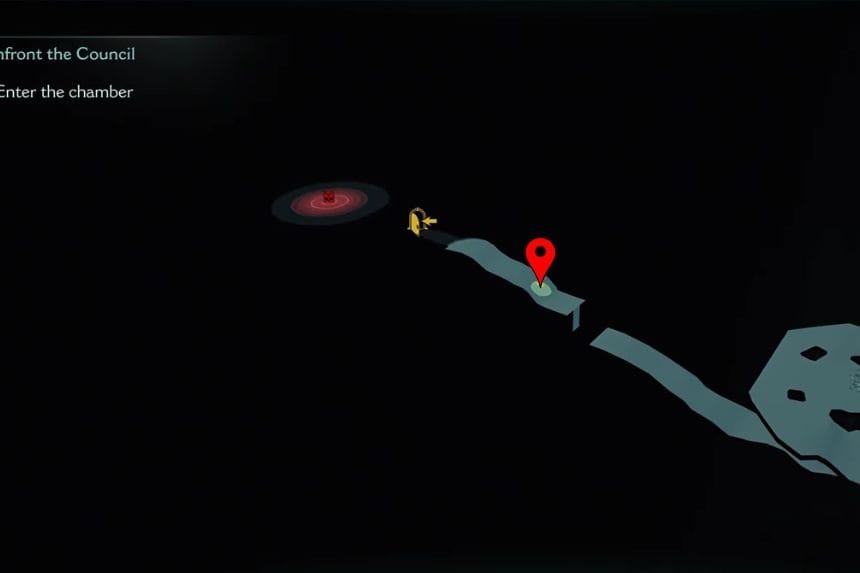
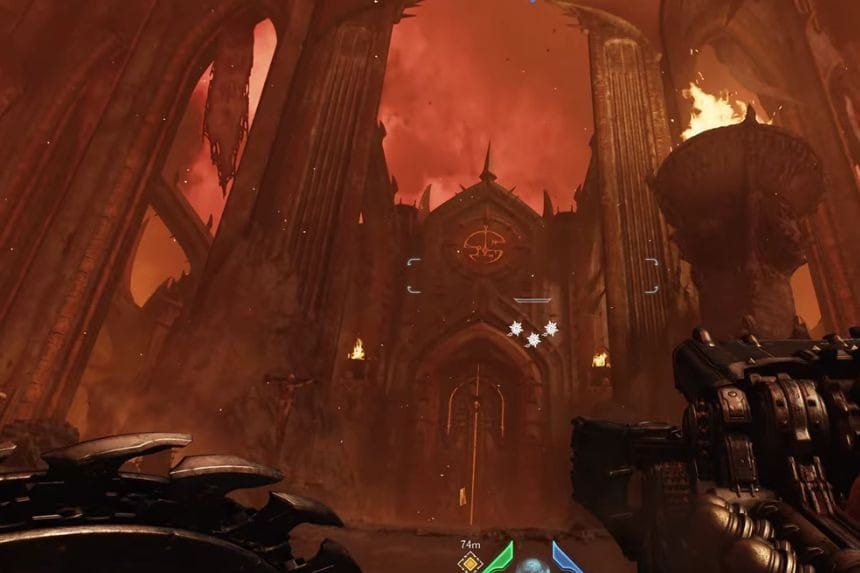
Go to the location on the map. You will find a chamber in front. Go towards the chamber to reach the Codex: Council’s Chamber.
Hell’s Core All Collectables & Secrets
Hell Core is the new addition chapter where you will find lots of collectables. As you make your way through the level, you will also come across several collectables and secrets worth finding.
Collectible #1 – Codex: Trial of The Righteous


When you are going towards the Excavation Zone, you will find the Codex: Trial of The Righteous on the right side.
Collectible #2 – Toy: Buzzsaw + Secret Area #1
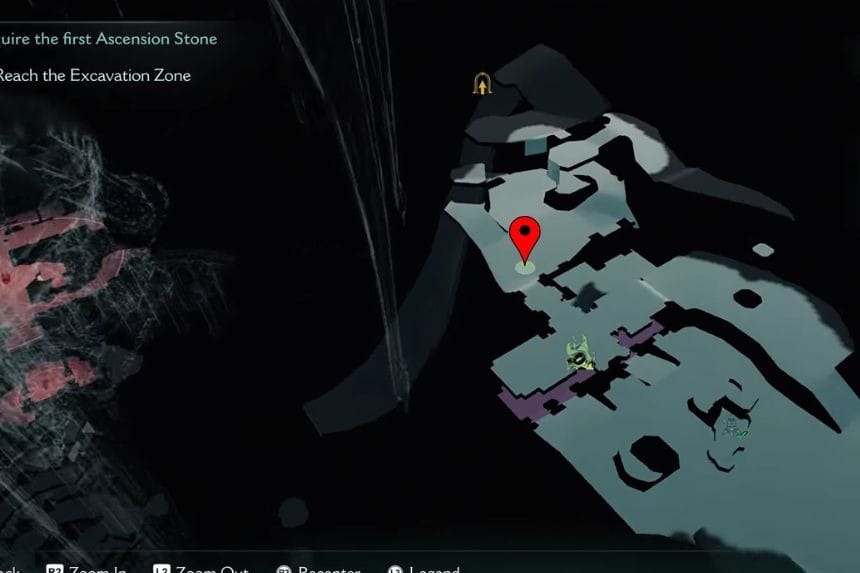
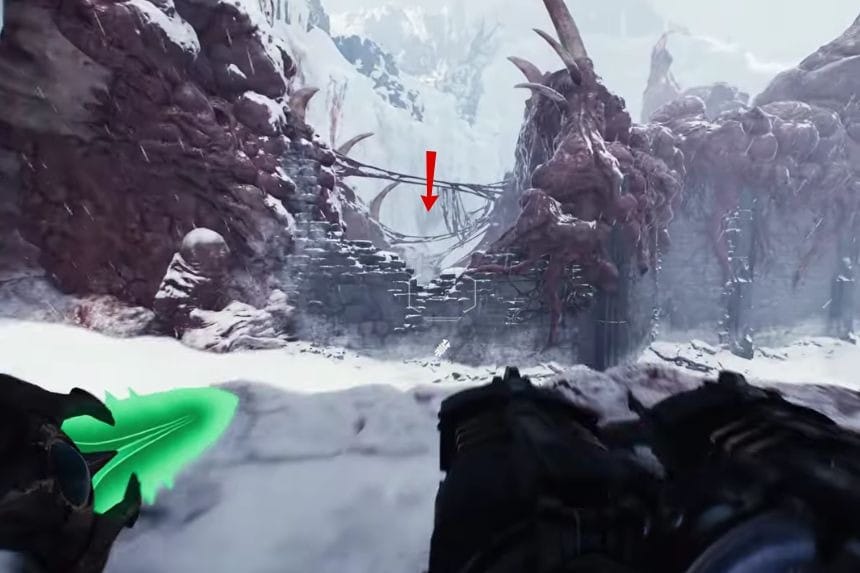
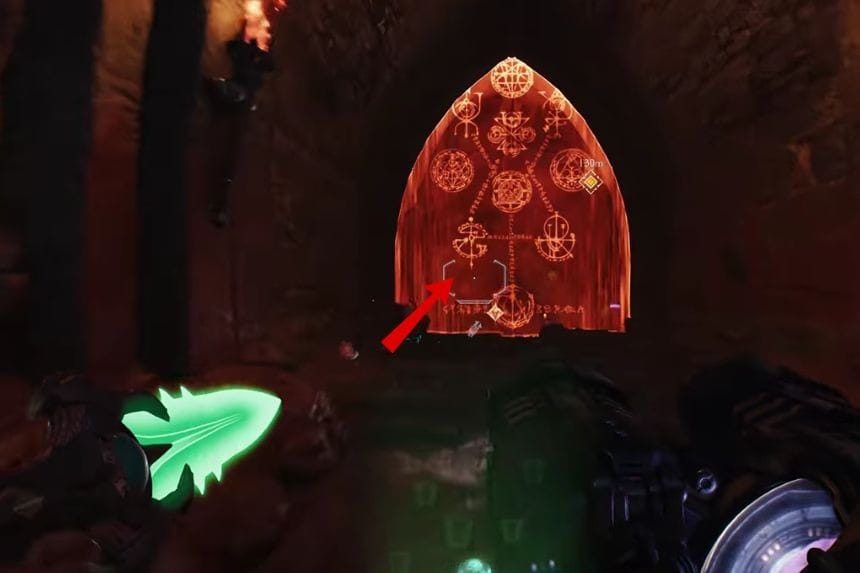
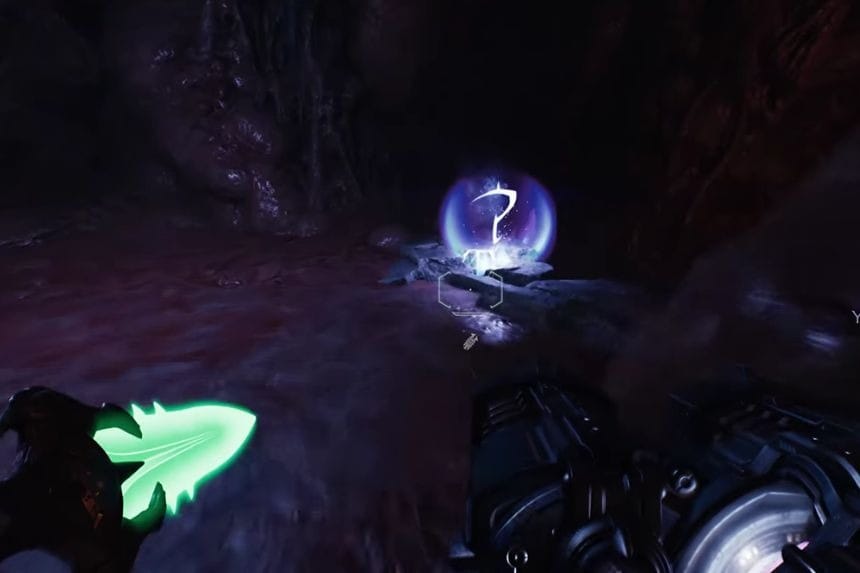
Reach the above location and climb up the ledges to reach a broken wall. Jump towards the broken wall and drop down into the area. When you are turning on the right side, the area will be blocked. Defeat all the monsters present in that area and the barriers will be removed. In front of you, you will find a mechanism, which will help you to jump towards the cavern and on it you will find the Toy: Buzzsaw and the secret area.
Secret Area #2 + Life Sigil #1
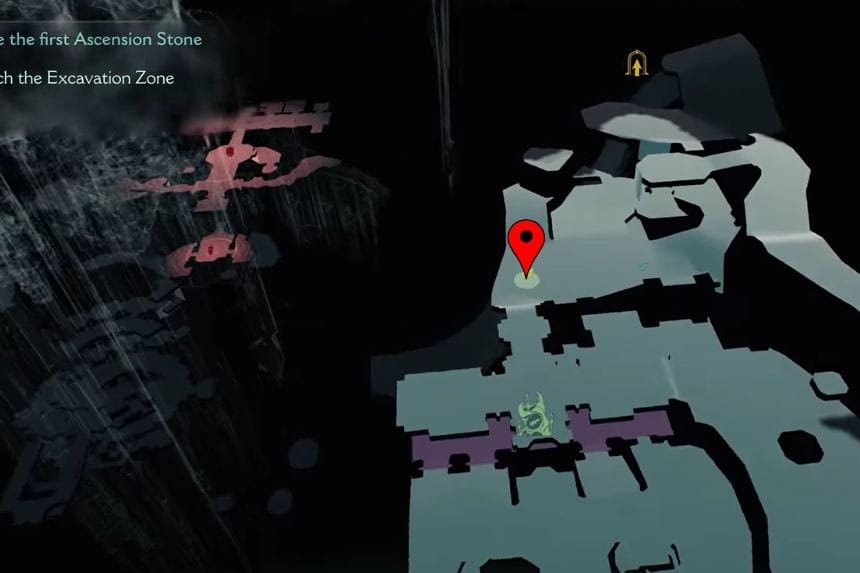
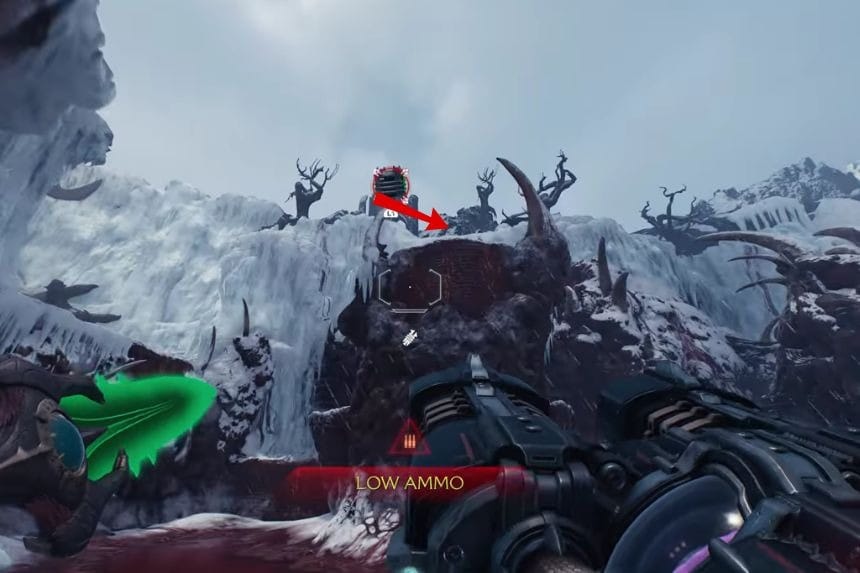
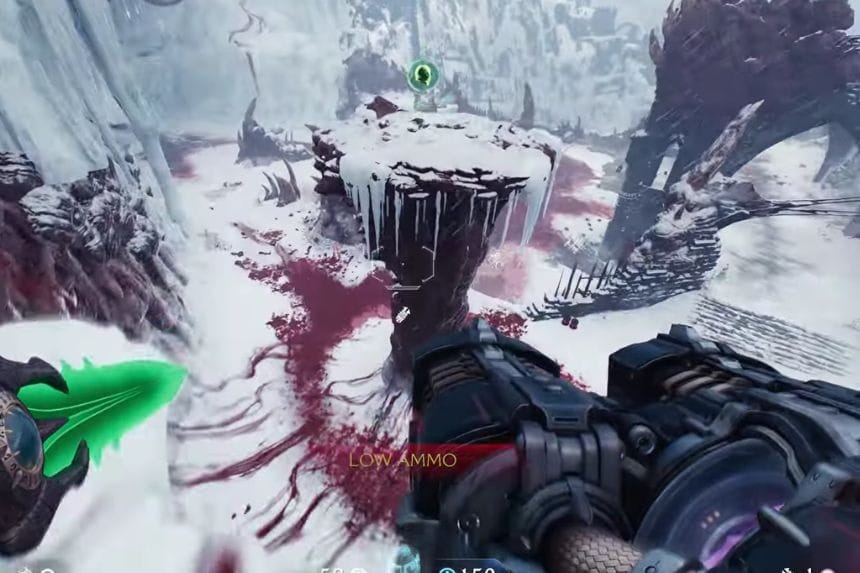
Once you reach the marked location, you will find in the middle a mechanism which will help you to jump towards the column. Move forward and turn right. Now jump towards a platform to find the Life Sigil.
Collectible #3 – Relic Piece #1: Idol
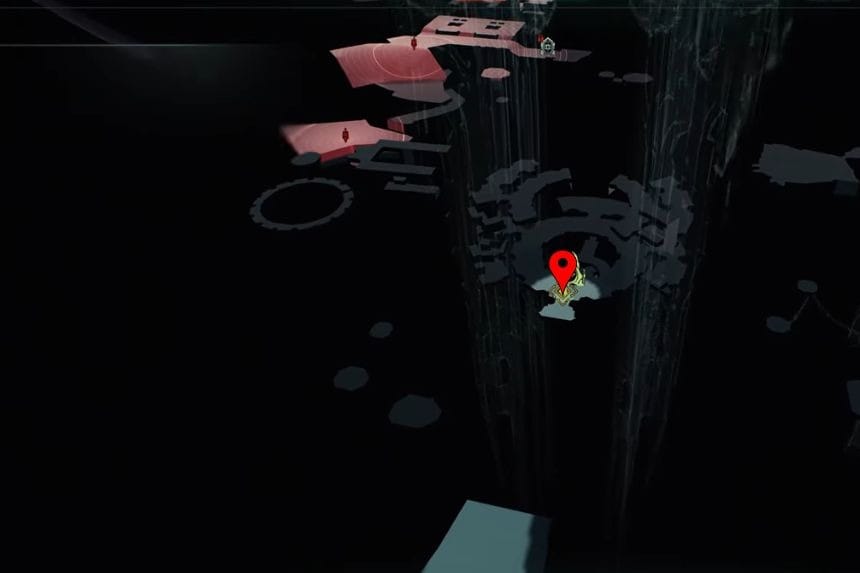
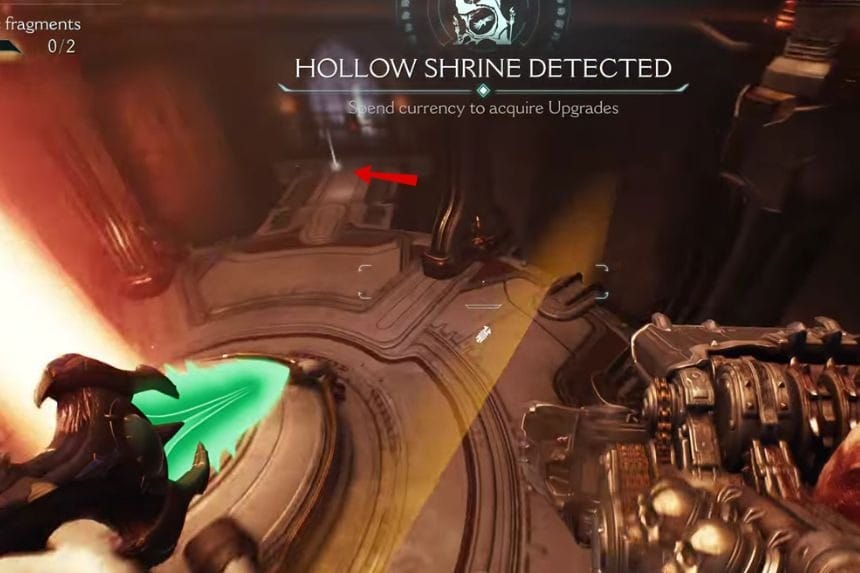
In the underground area, you will find a big chamber. Turn right and drop down to find the relic piece of the idol.
Collectible #3 – Relic Piece #2: Idol
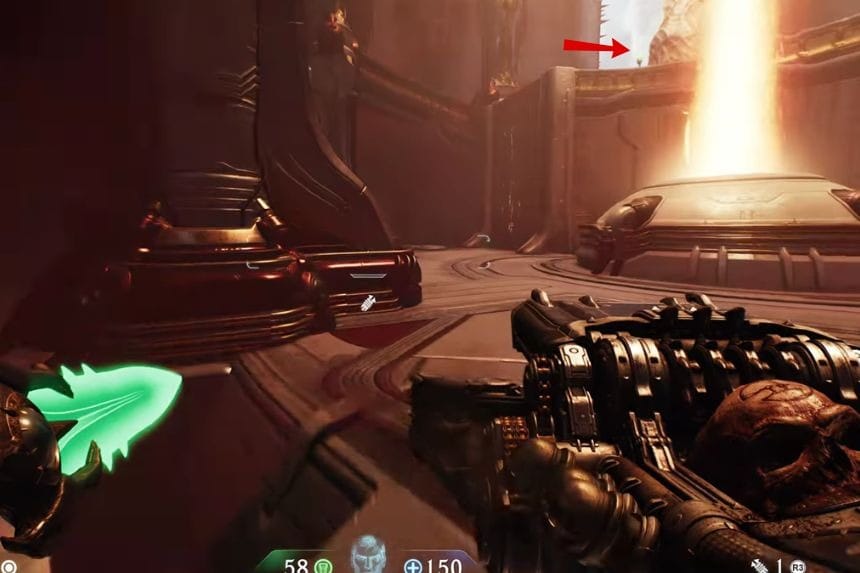
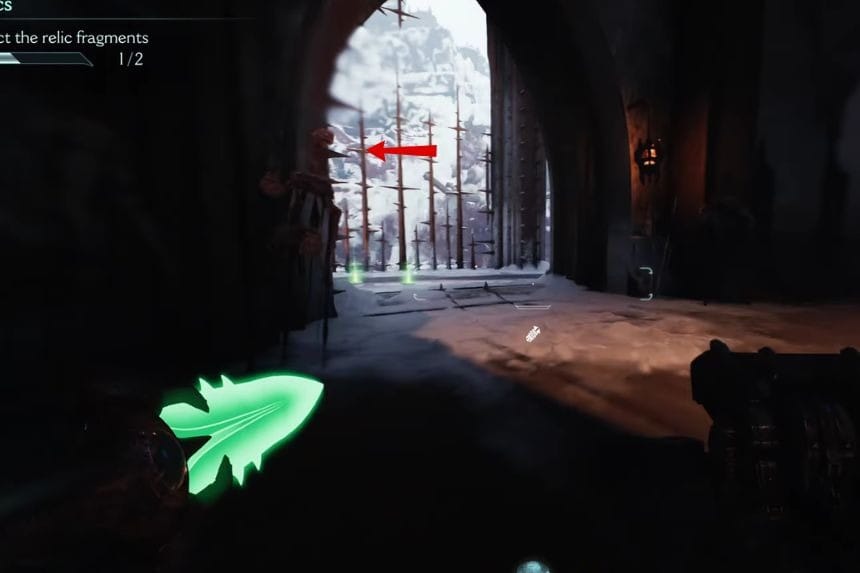
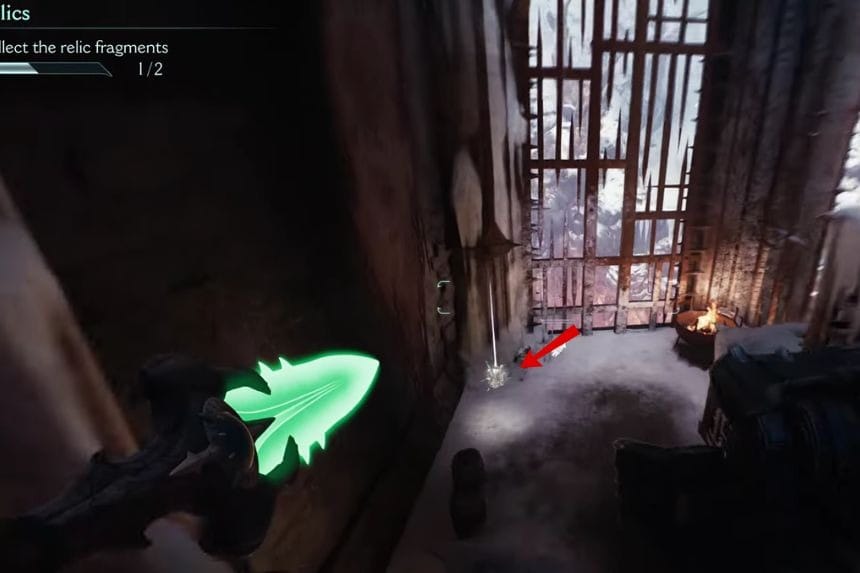
From the above location, climb up and turn right to find steel cages. Climb up the steel cages, and at the end of the room, you will find the second relic piece of the idol.
Platinum #1
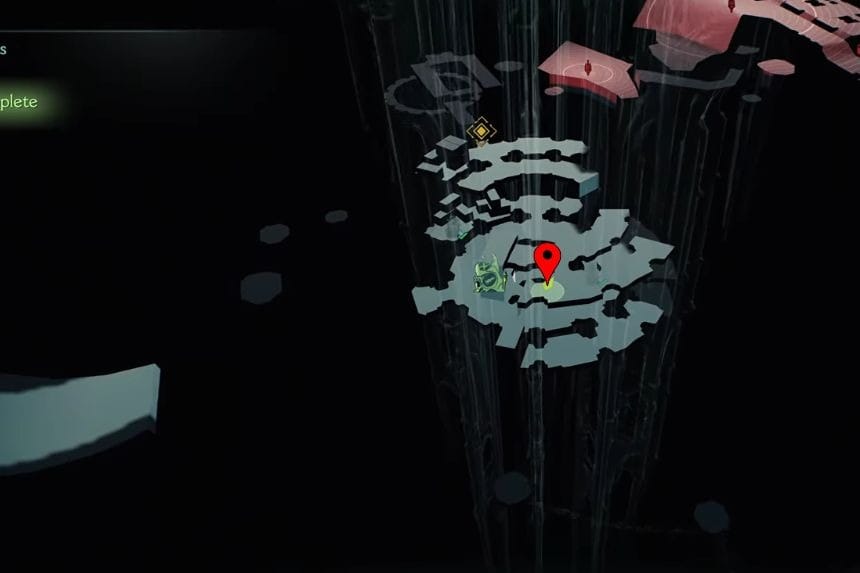
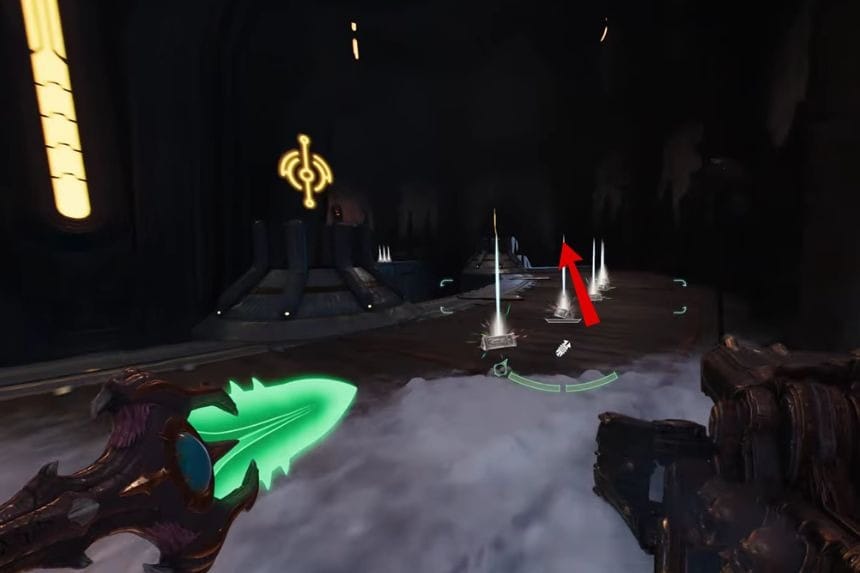
Go to the above marked location to find a group of Platinums in front of you.
Collectible #4 – Codex: Hell’s Core
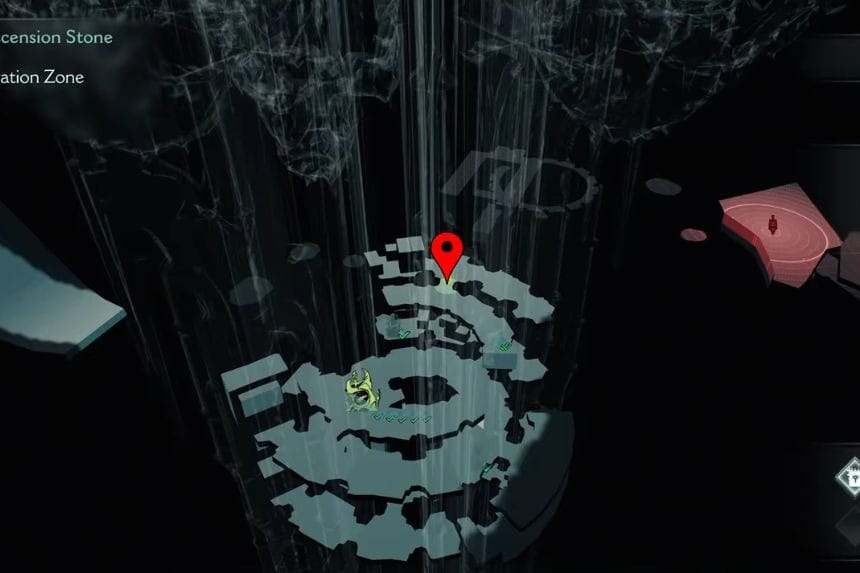
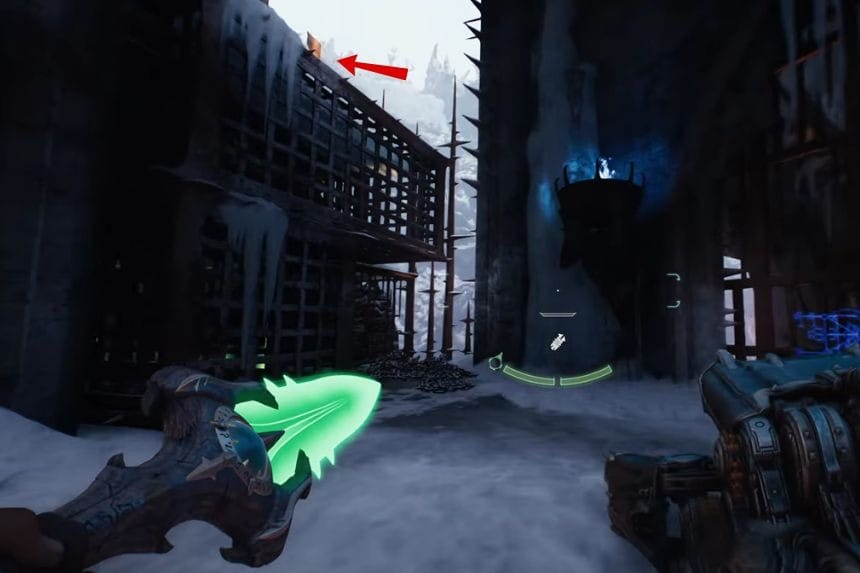
In the above marked location, turn left to go under the steel cages. Then jump on the steel cages and at the top you will discover the Codex: Hell’s Core.
Platinum #2 + Platinum #3 + Secret Area #3

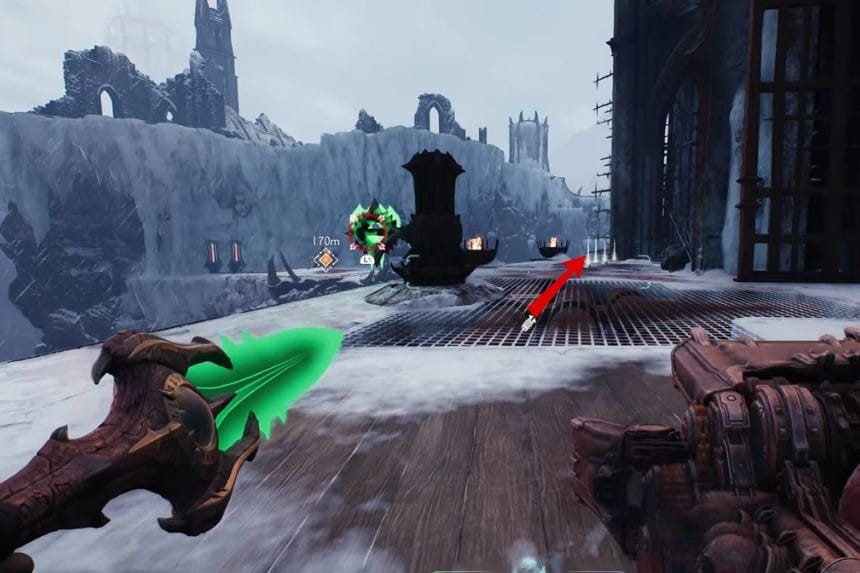
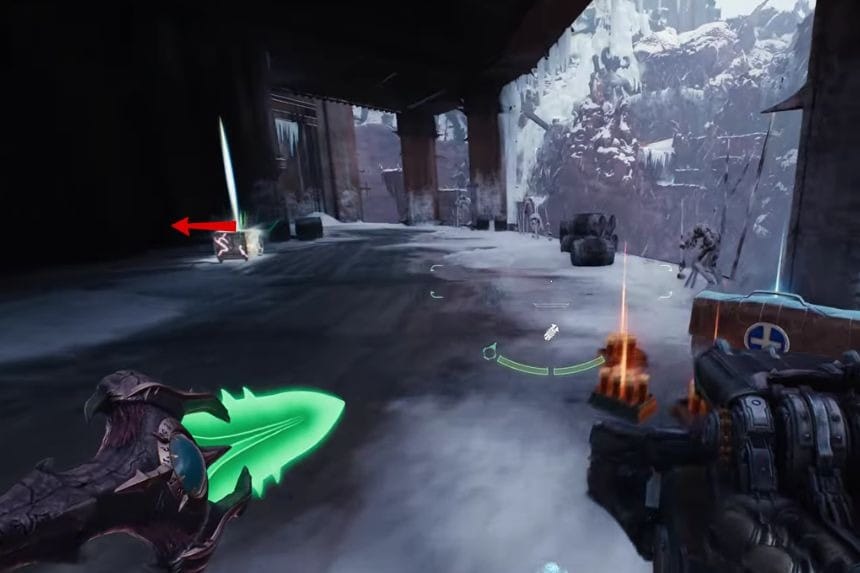
Go to the location marked on the map above. In the front, you will find a group of Platinums. Then move forward and jump down to fight a big monster. Kill that monster, and on the left side you will find the Platinum and the secret area.
Hell Battery #1
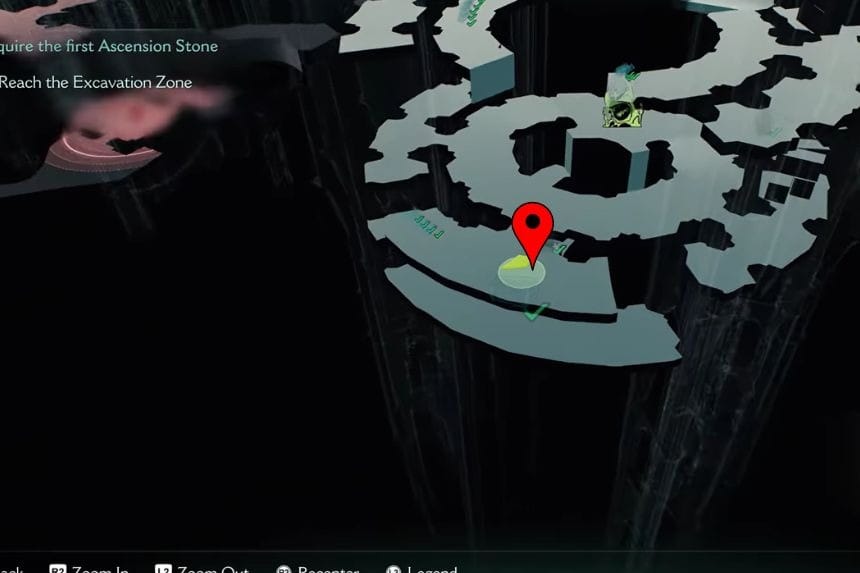
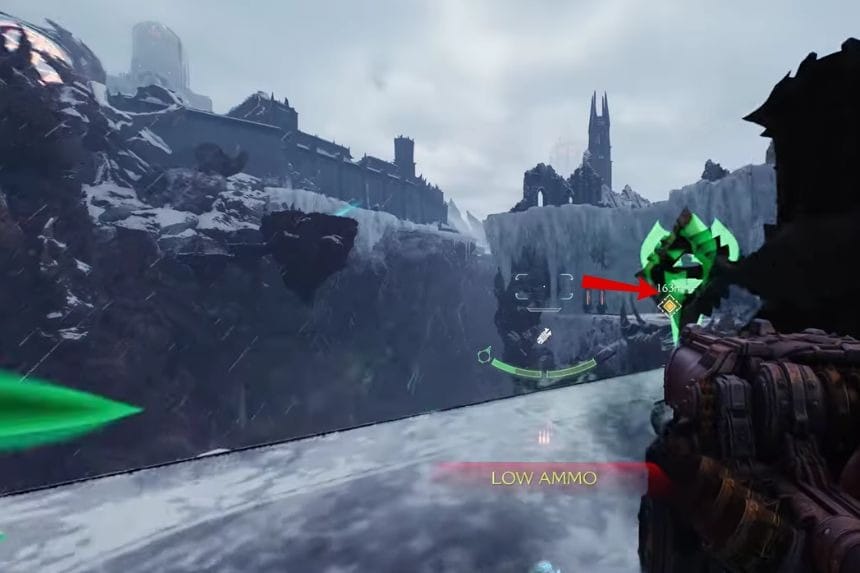
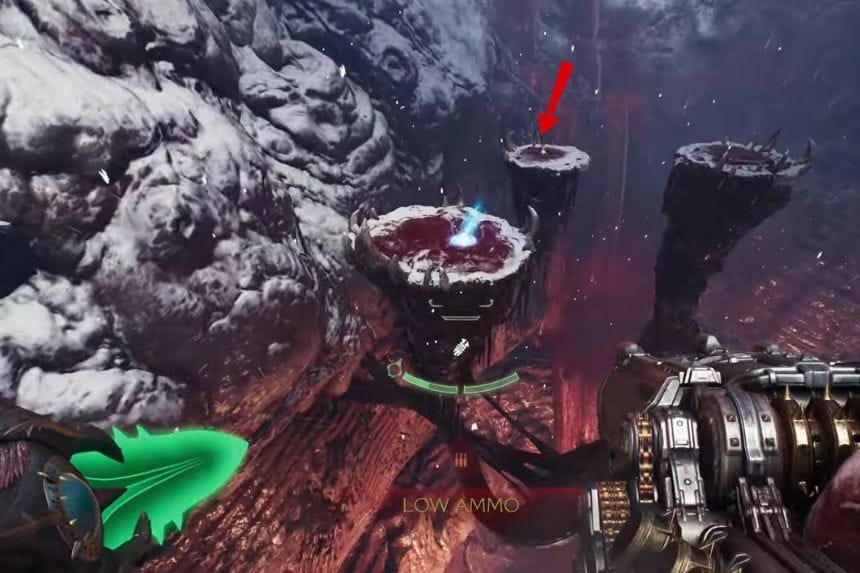
Reach the location and find a green switch. Turn on the switch and a floating machine will come towards you. Repeatedly attack at the green button in that machine. When the machine stops mid air, jump towards the floating platforms. In the middle of the floating platforms will be the Hell Battery.
Leader Essence Shard #1
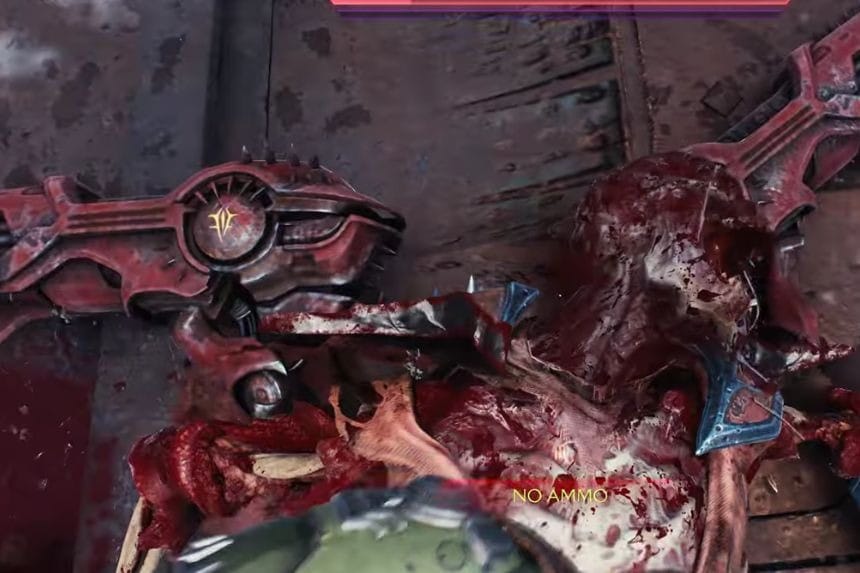
Continue through the story to reach the leader. Defeat all the minions to break its shield. After defeating the Leader, you will get the Leader Essence Shard.
Collectible #5 – Relic Piece #1: Beast

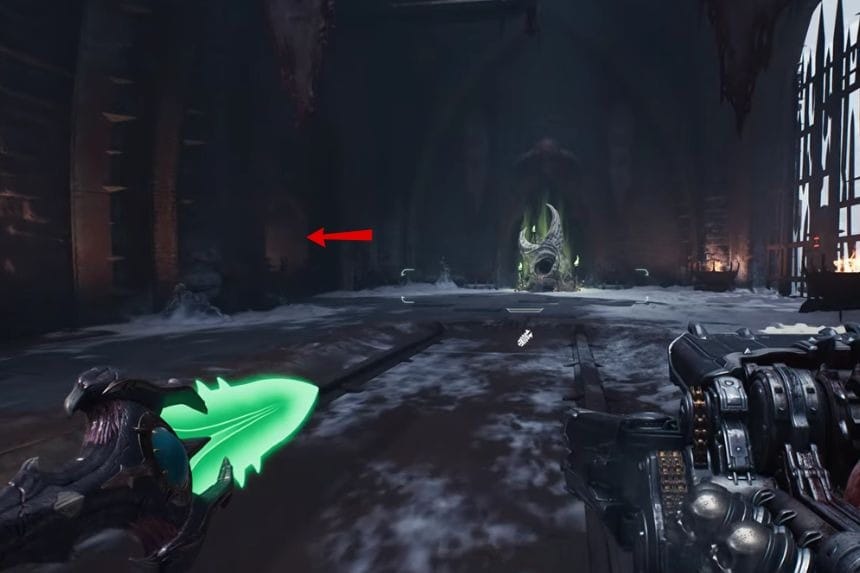
In the above marked area, you will find a chamber. On the left side of the chamber, under the statue is the first relic.
Collectible #5 – Relic Piece #2: Beast + Platinum #4 + Secret Area #4

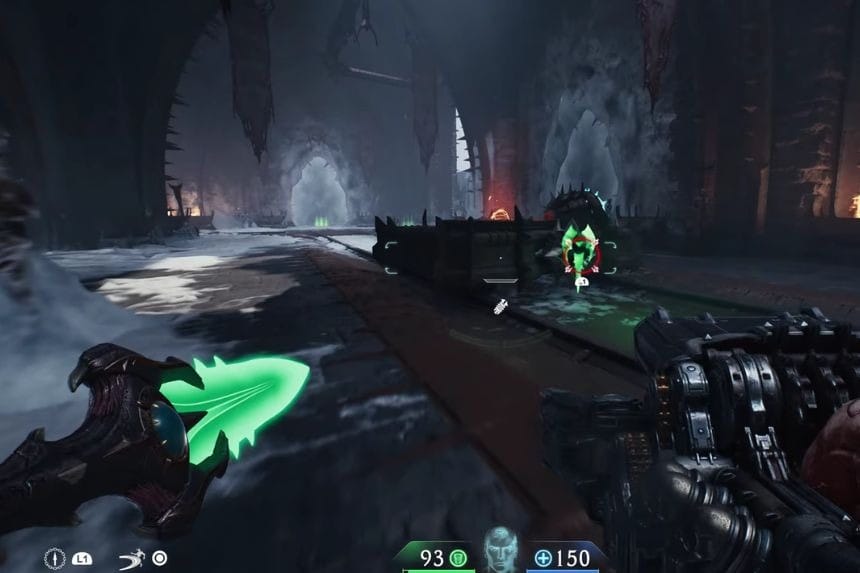
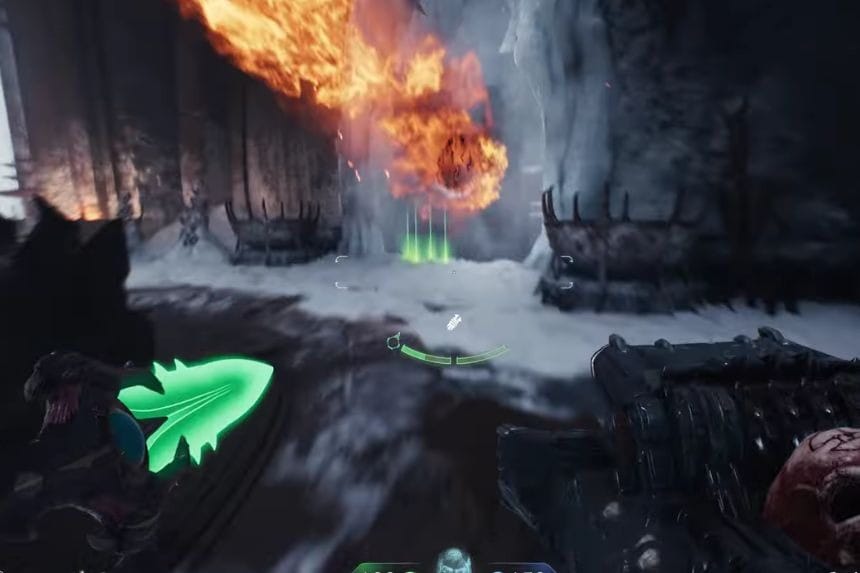
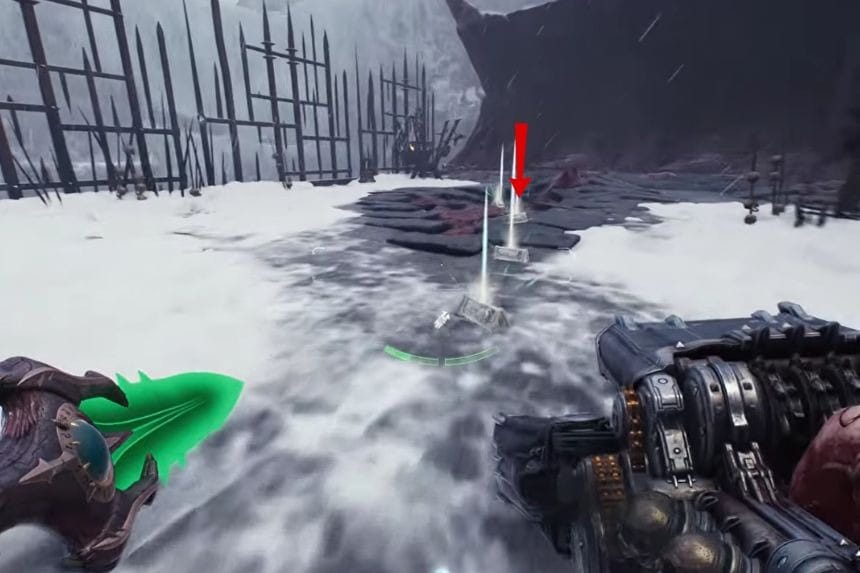
In the same area, you will find a carriage, pull the carriage towards the end of that area and turn it towards the right. After that pull the carriage outside and stand on the altar. This will put a fire gun on that carriage. Now, turn the carriage towards the frozen wall. This will melt the ice and you will get the Platinum. Now, jump down to find the relic piece.
Platinum #5 + Collectible #5 – Relic Piece #3: Beast + Secret Area #5
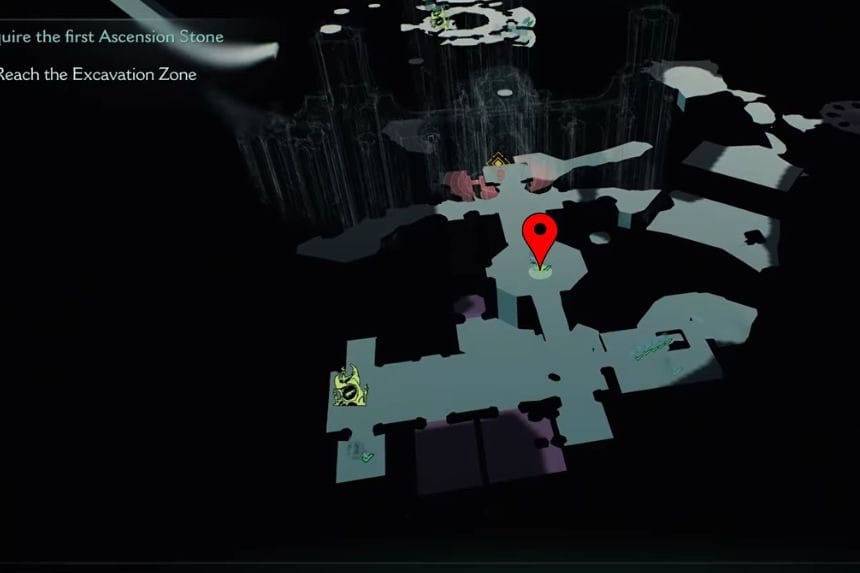
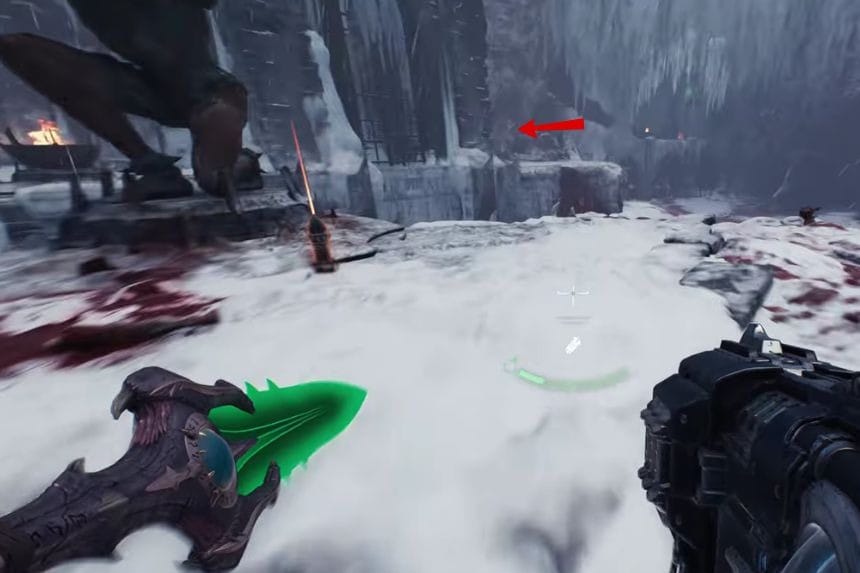
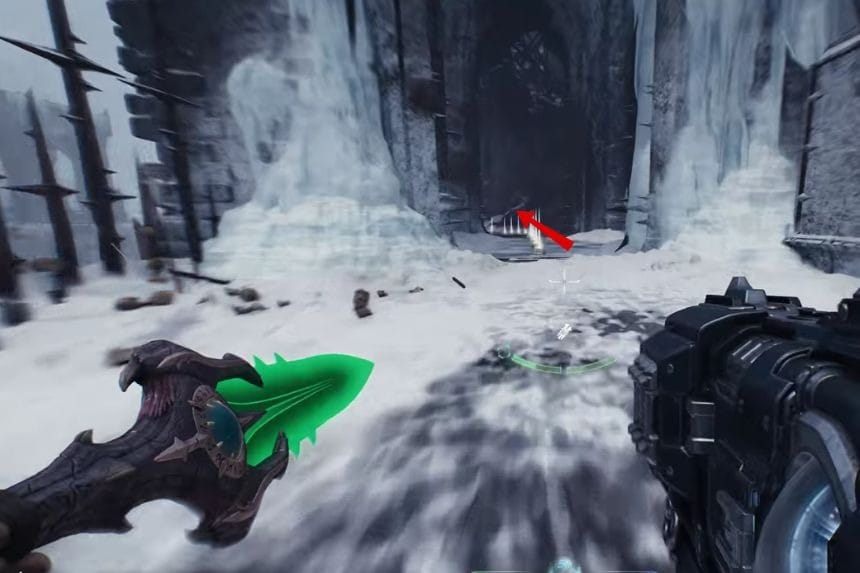

Go to the location marked on the area and jump towards the column towards the right side. Now, jump towards the ledge and attack the green button. Now, go forward to find the platinum. On the way, you will find the monsters that you need to defeat. Use the blue jumping booster to jump towards the ledge. On that ledge, you will find the relic piece.
Platinum #6
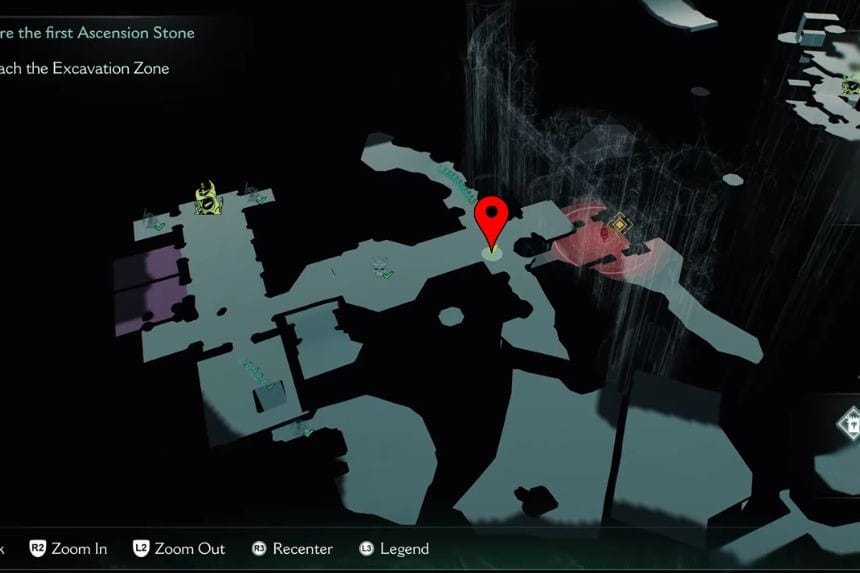
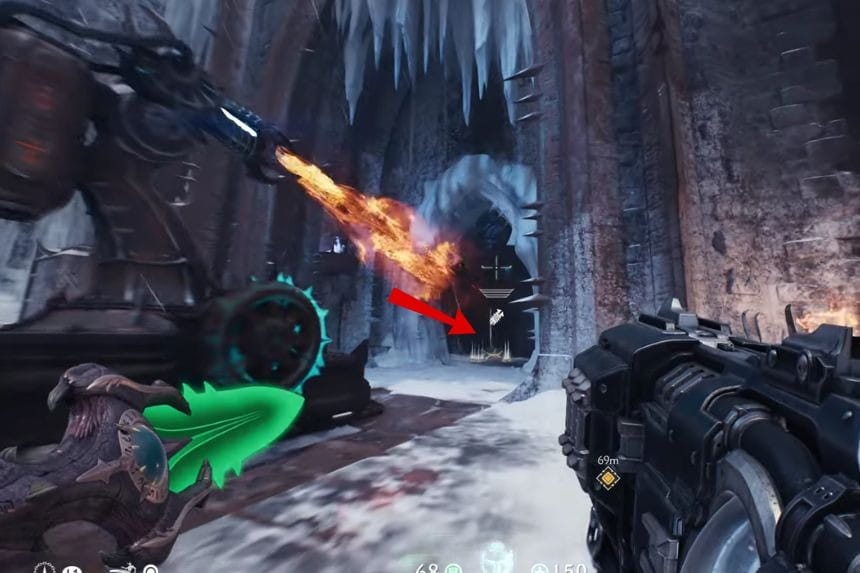
Go to the area marked above to find a fire gun melting the ice wall. Enter the room to find the Platinums.
Platinum #7 – #9 + Hell Battery #2 + Collectible #6 – Weapon Skin #1 + Secret Area #6
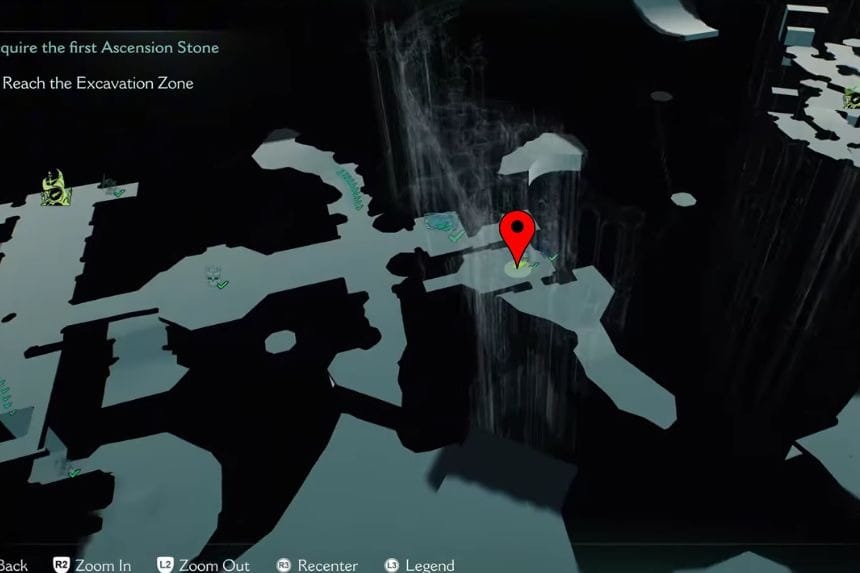
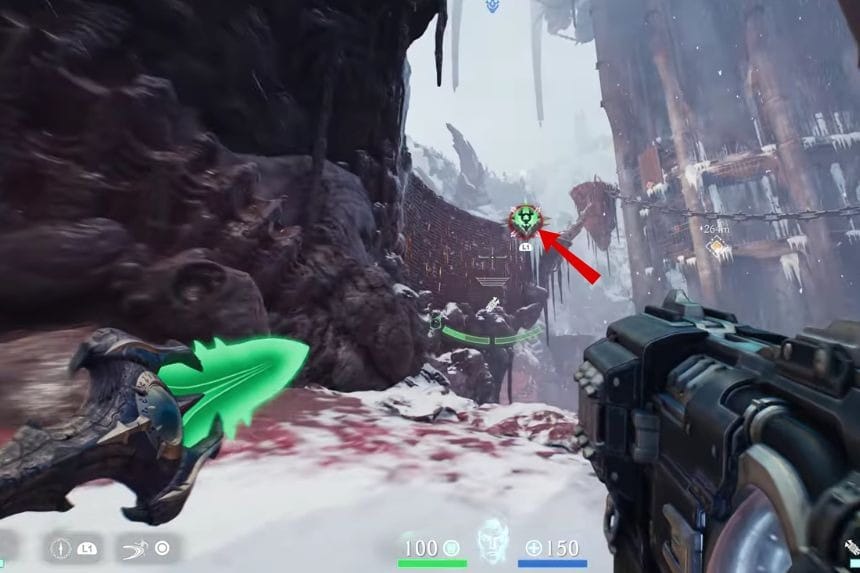
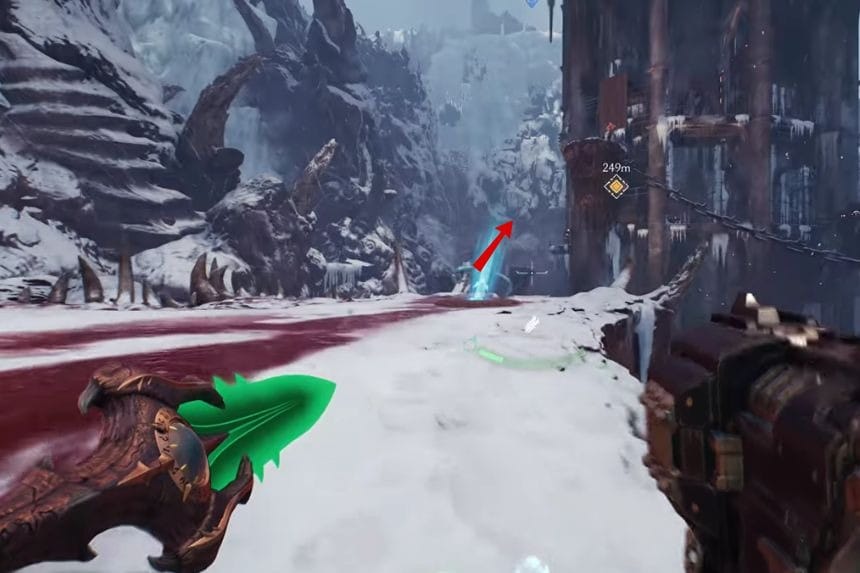
Reach the area and find a Green Flesh. Attack that Green Flesh and jump towards the mountain. On the left side, you will find the Platinums. From there, go towards the blue jumping booster and use it to land on the floating platforms. On that platform, you will find the Platinums. From that platform, in front of you, there will be a Green Flesh.
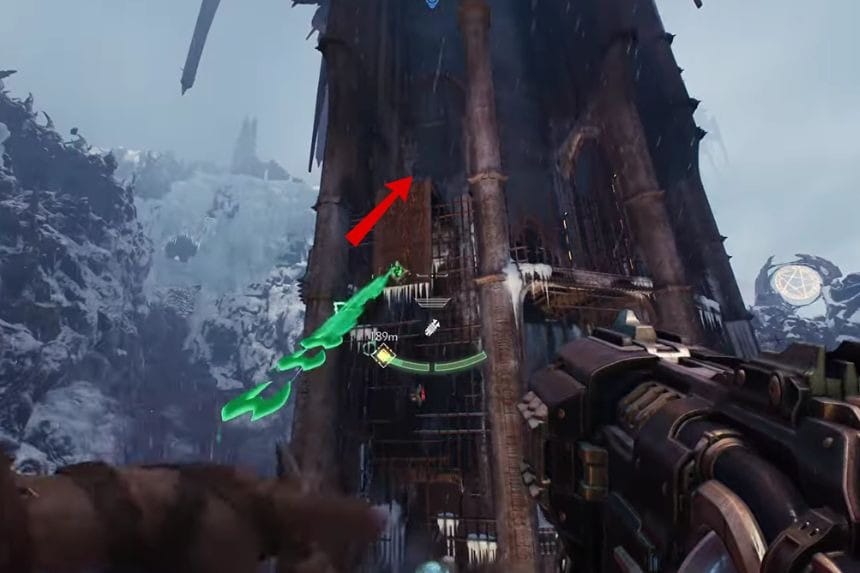
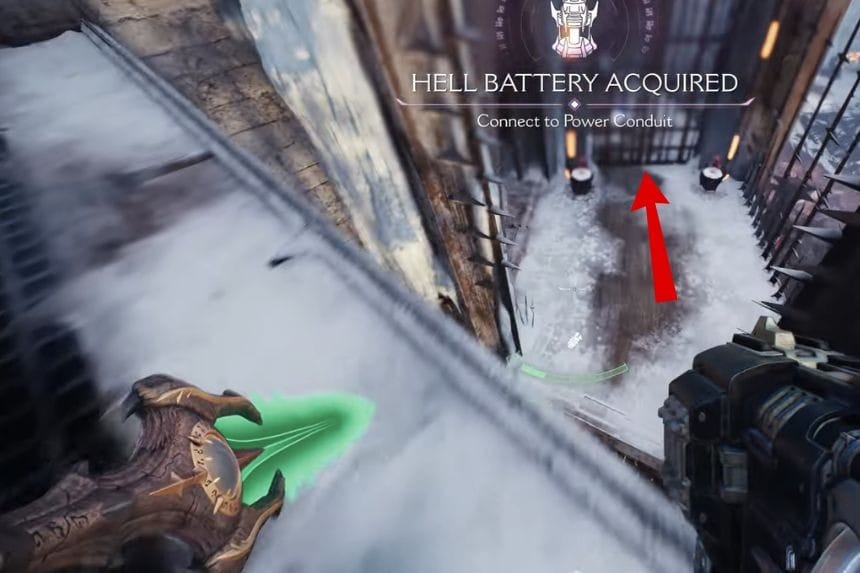
Attack that Green Flesh and jump towards the building. Climb the wall and at the end of it, you will find the Hell Battery. After taking that Hell Battery, jump down towards the right side to find a gate. Put down both the Hell Batteries on the pedestal of the gate. This will unlock the gate and you will get the weapon skin.
Secret Area #7 + Life Sigil #2
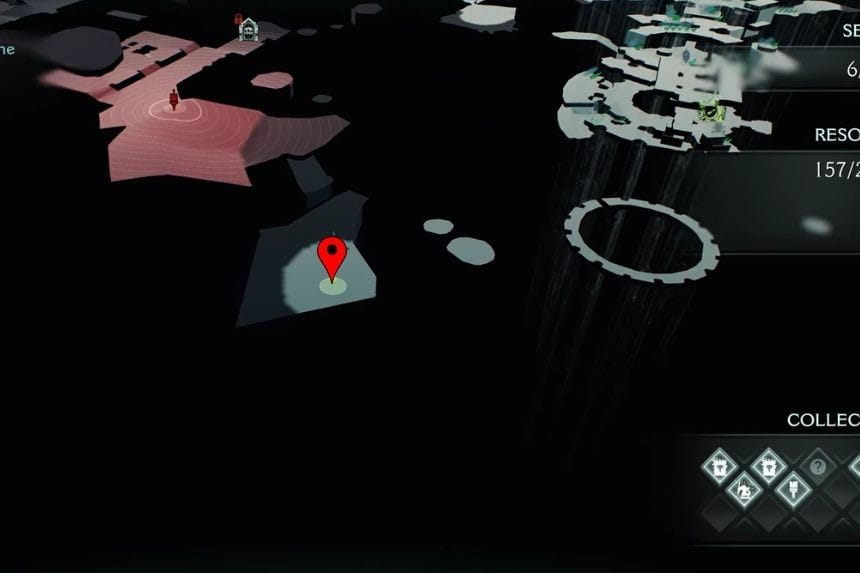
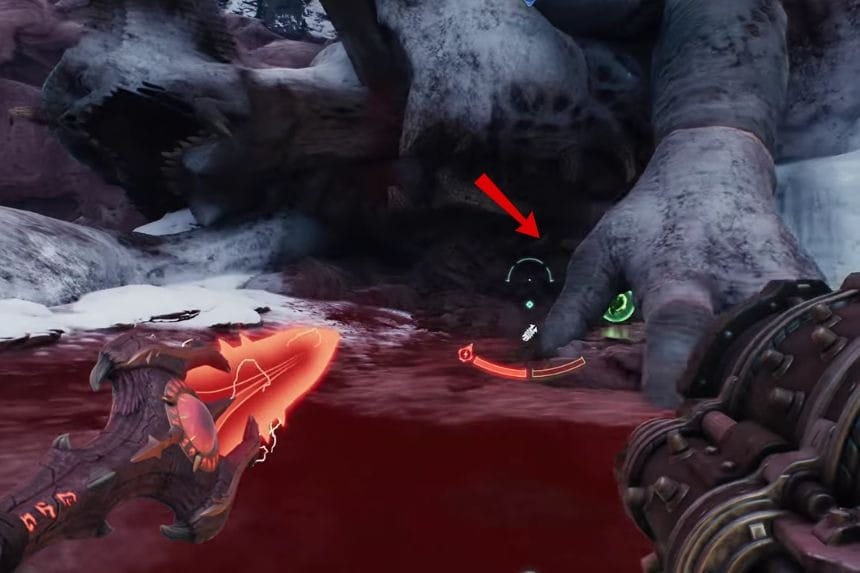
Reach the area to find the Life Sigil behind the hand of the statue.
Platinum #10 + Life Sigil #3 + Secret Area #8
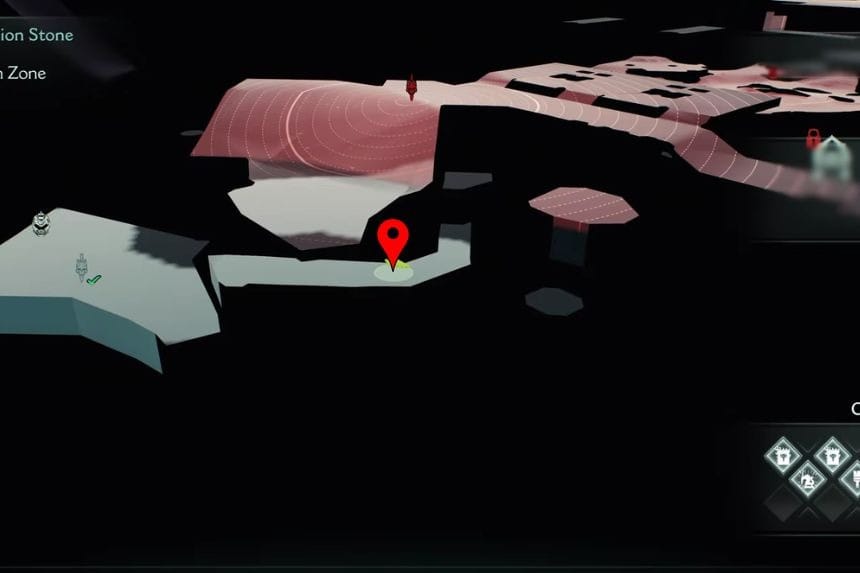
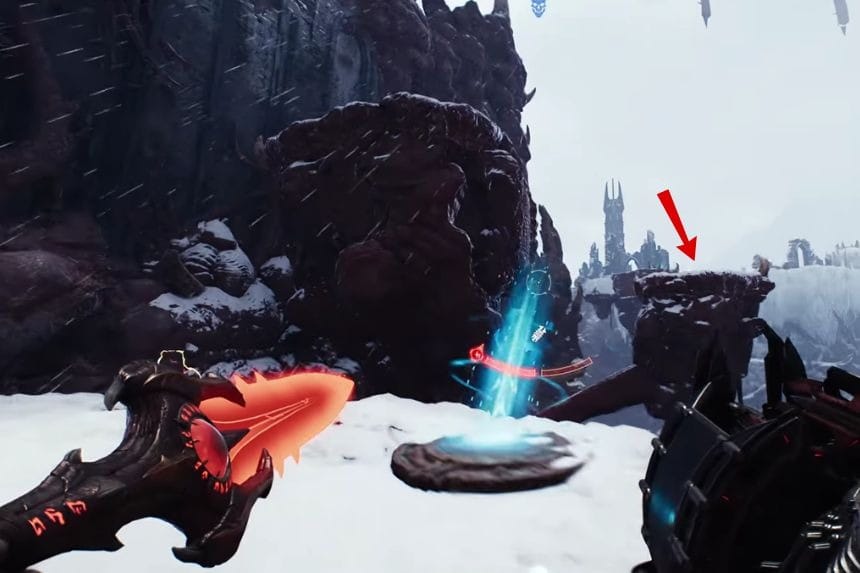
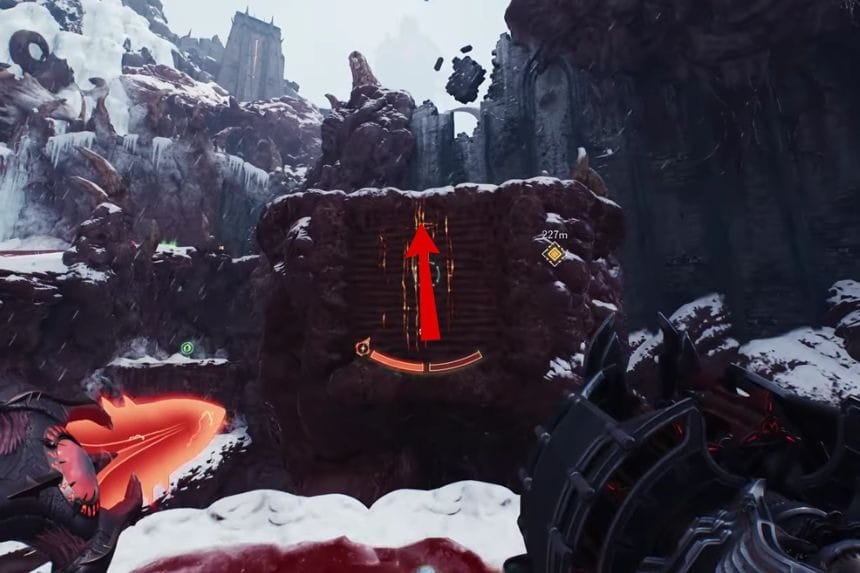
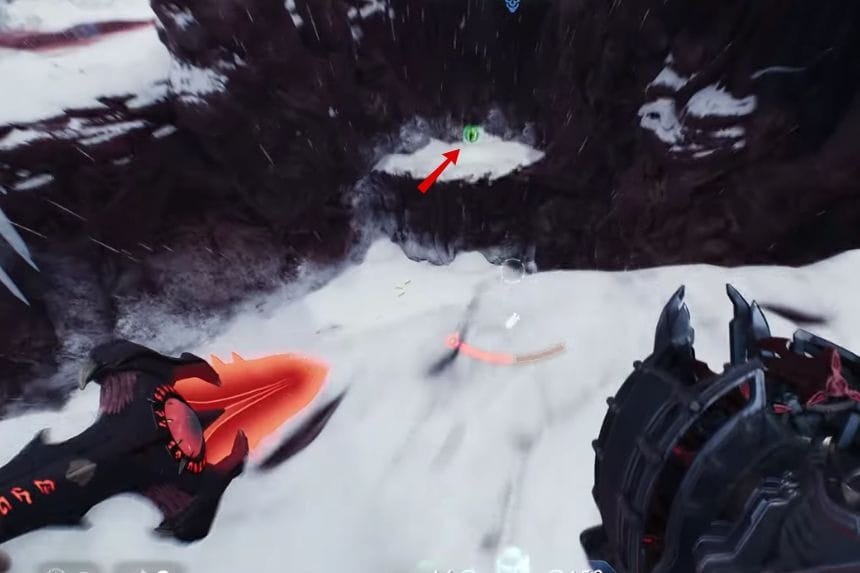
Go to the area marked above and use the blue jumping boaster to land on a floating platform. On that platform you will find the Platinums. Now turn back and jump towards the climbable wall. From that area jump towards the ledge of the mountain to find the Life Sigil.
Platinum #11
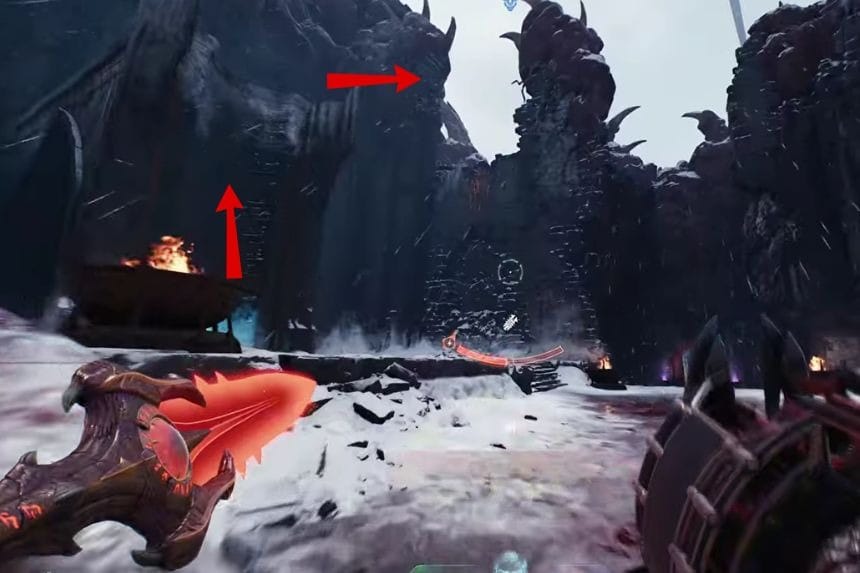
Go to the location marked above. You will find building structures, climb up the building structures. At the end of it, you will find the Platinums.
Collectable #7 – Codex: Maykr Log II
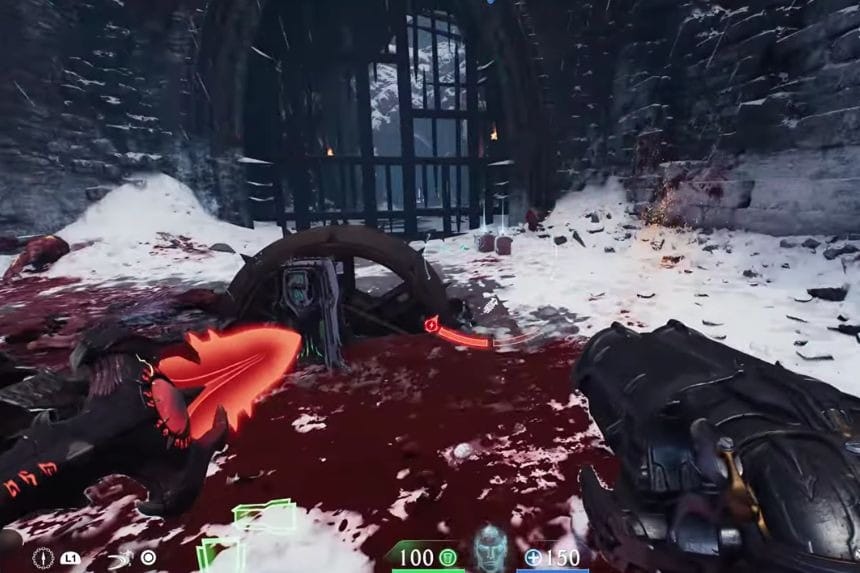
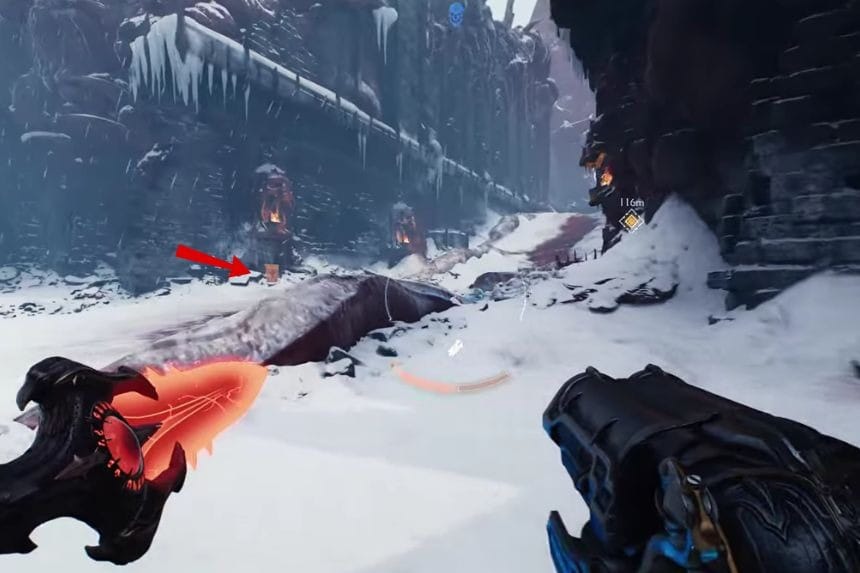
In the same area, you need to defeat a group of monsters to unlock the lever. When you have defeated all the monsters, the lever will be unlocked, so pull it to open the gate. Go through the gate, and on the right side you will find the Codex: Maykr Log II.
Platinum #12 + Secret Area #9
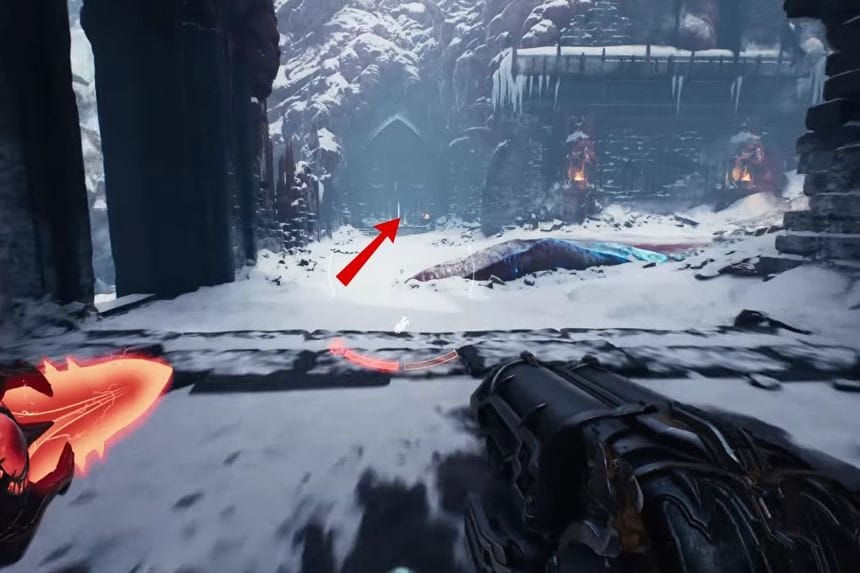
From the above location, go towards the left side to find the Platinum and the secret area.
Platinum #13
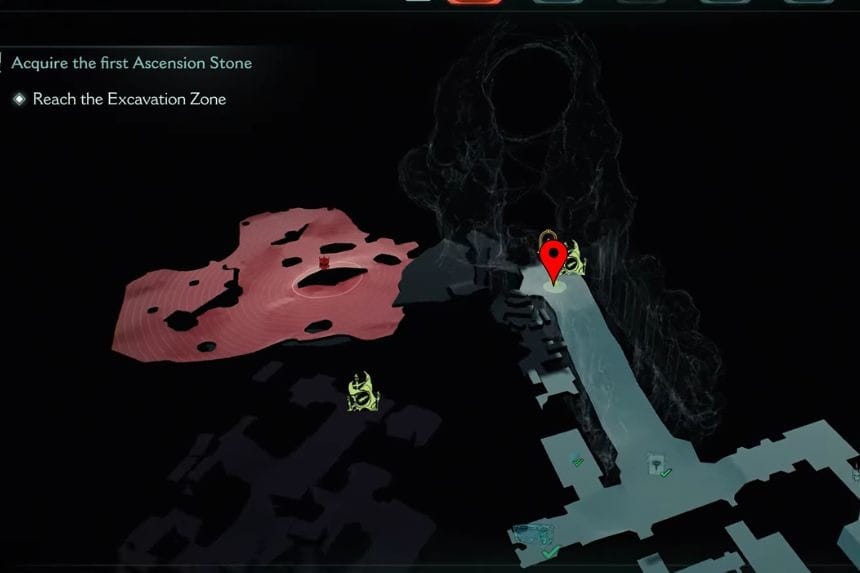

Go to the location marked on the map above. Inside the cave-like structure, you will find the Platinums.
Platinum #14 + Secret Area #10
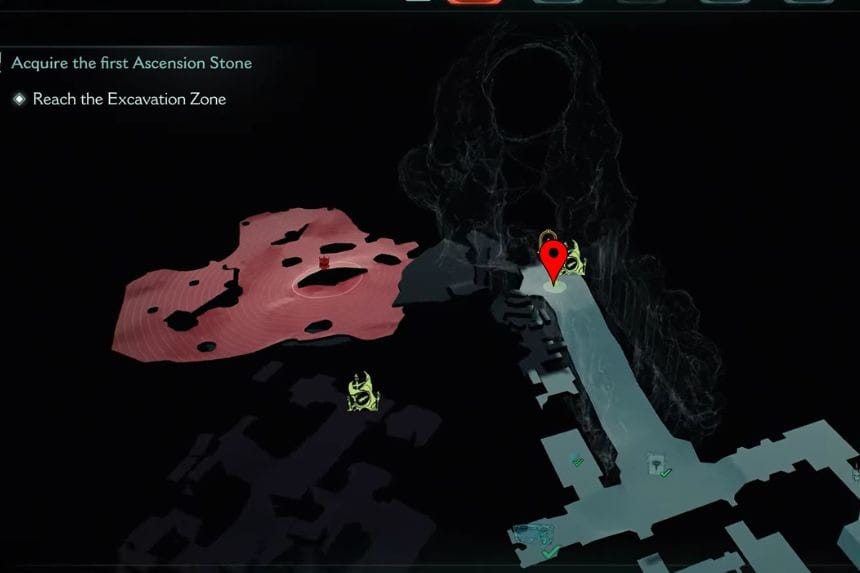
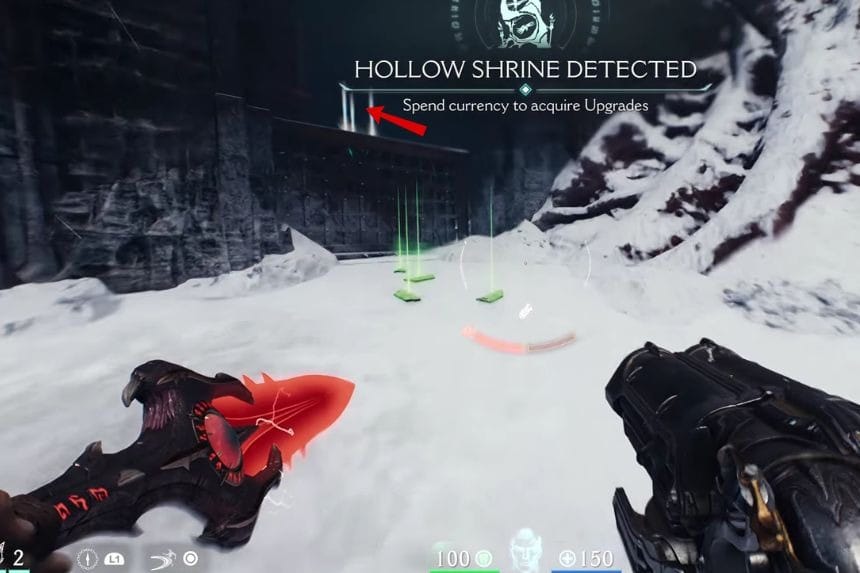
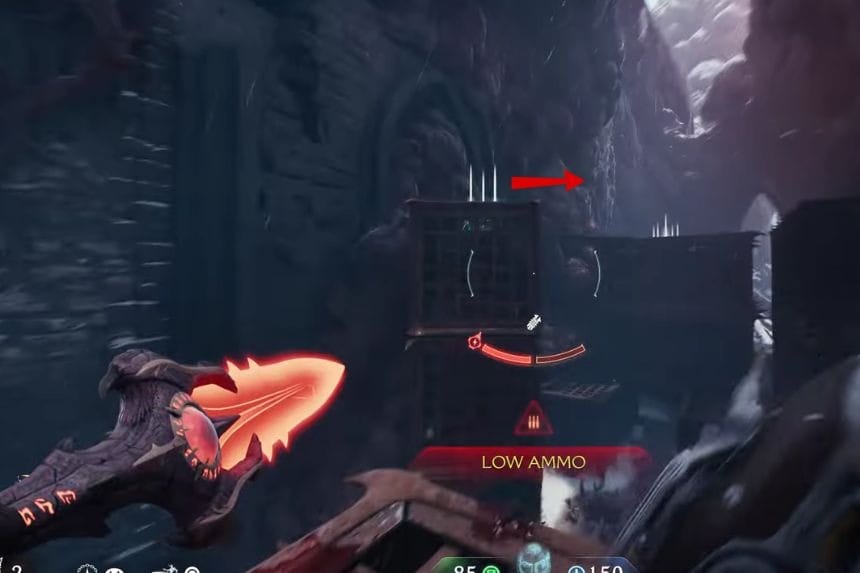
Go to the location marked on the map above and then climb onto the steel cages in front of you. On the steel cages, you will find the Platinum. Climb to the steel cages and then jump onto them to reach the upper level. On that level, you will find the secret area and the Platinums.
Leader Essence Shard #2
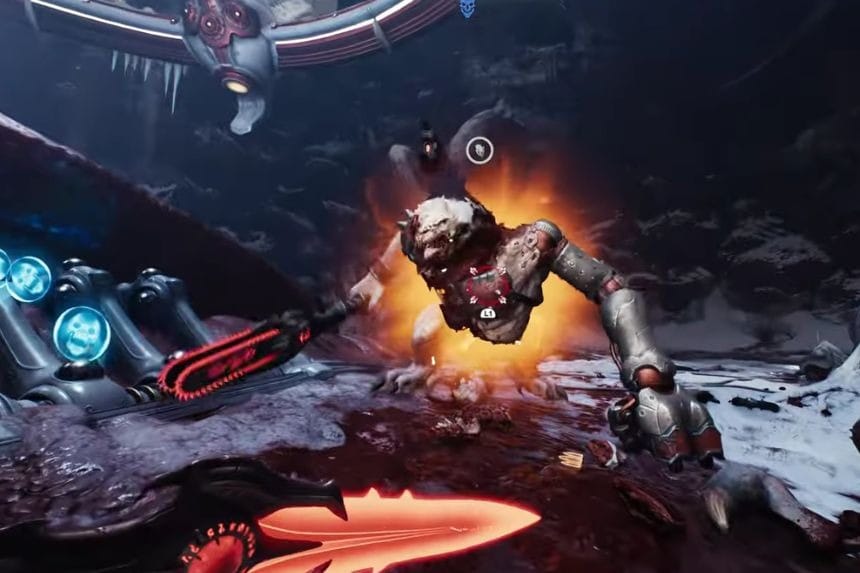
Continue through the story, and at the end, you will find the leader. First, defeat all its minions and then kill it to get the Leader Essence Shard.
Chasm Of Xal’Goroth All Collectibles & Secrets
Collectable #1 – Codex: Trial Of Will
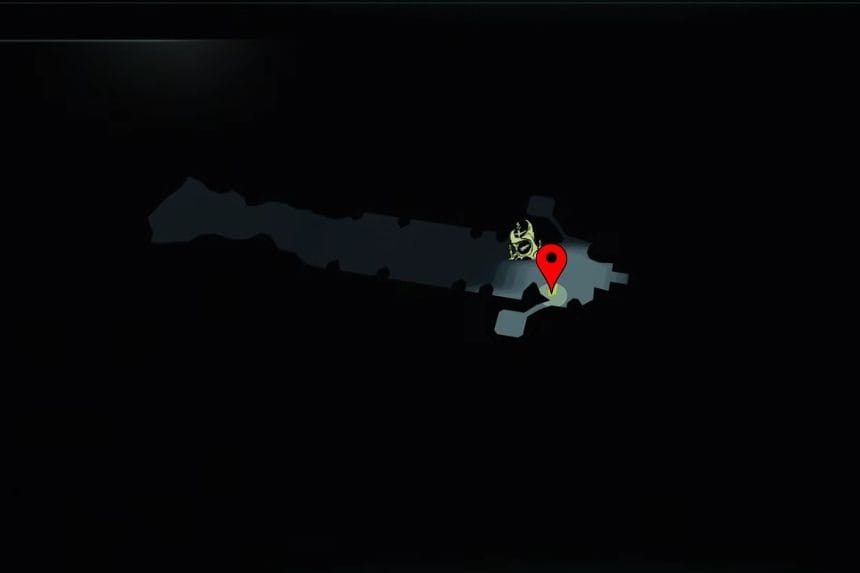
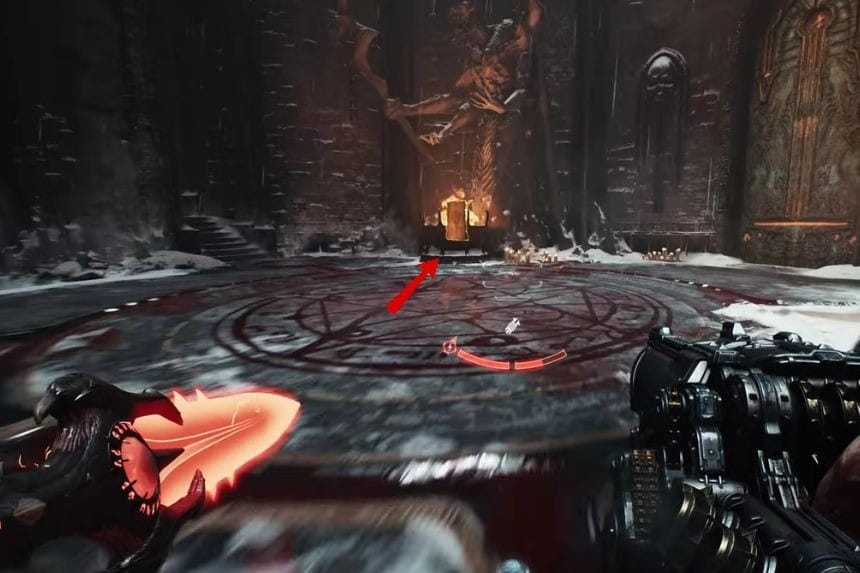
Reach the location, and you will find yourself inside the Chambers. In front of the pier, you will find the Codex: Trial Of Will.
Platinum #1
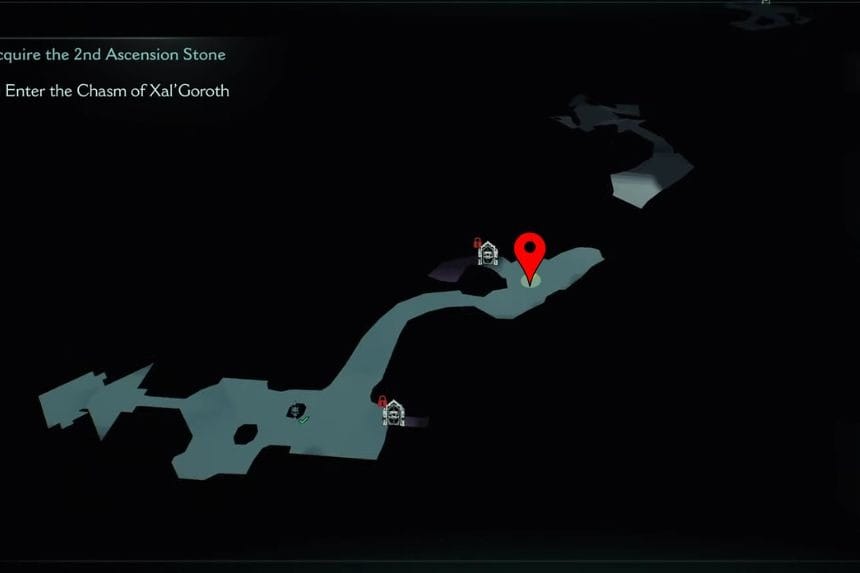
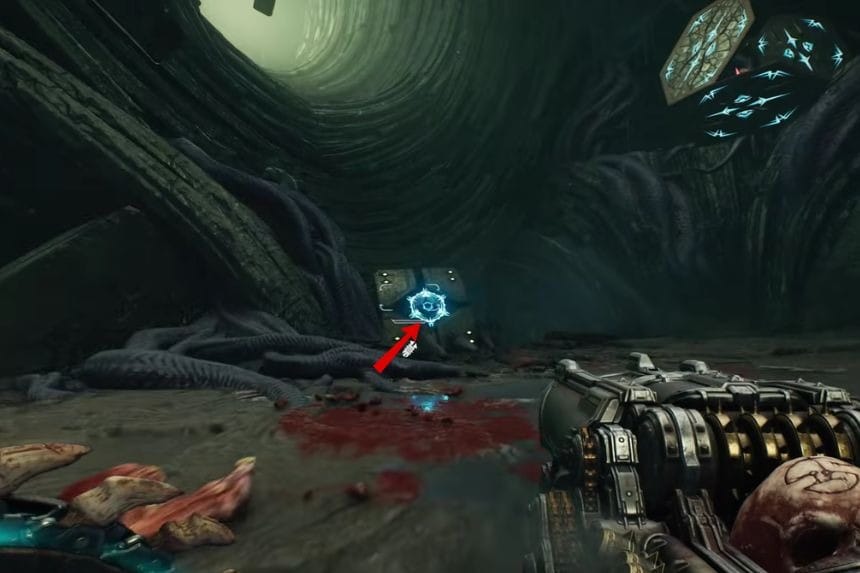
In the location marked above, throw your shield at the cube. This will open the door on the right side. Use your chain to climb up the room and collect the Platinums.
Platinum #2
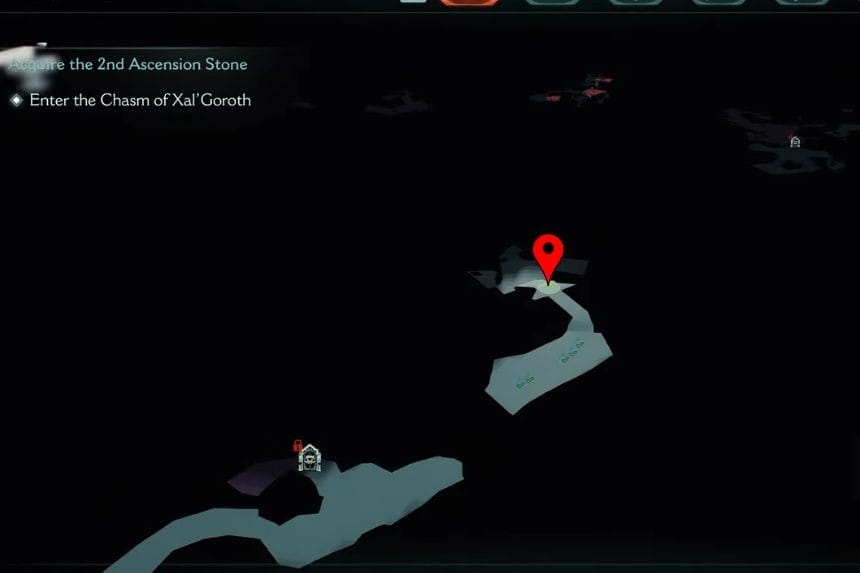
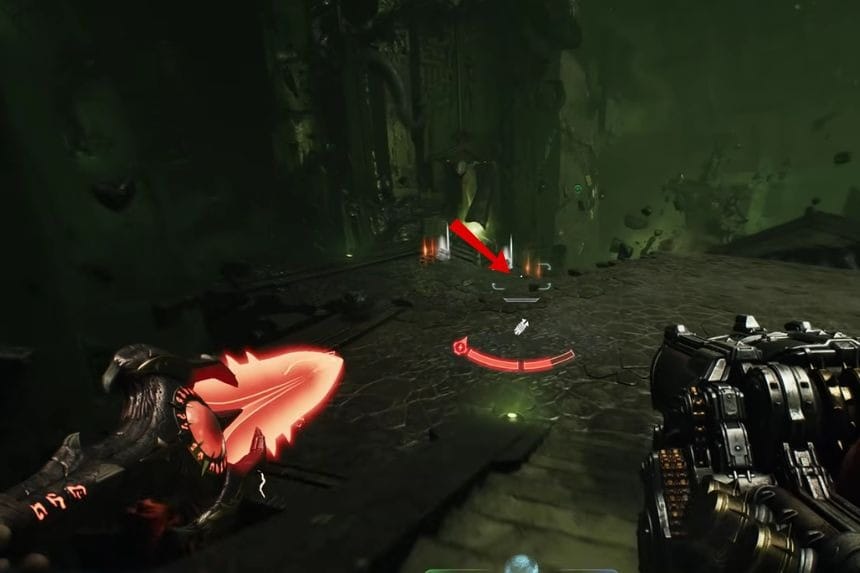
In the above-marked location, you will find the Platinums near the stairs.
Platinum #3 + Collectible #2 – Relic Piece #1: Mask + Platinum #4
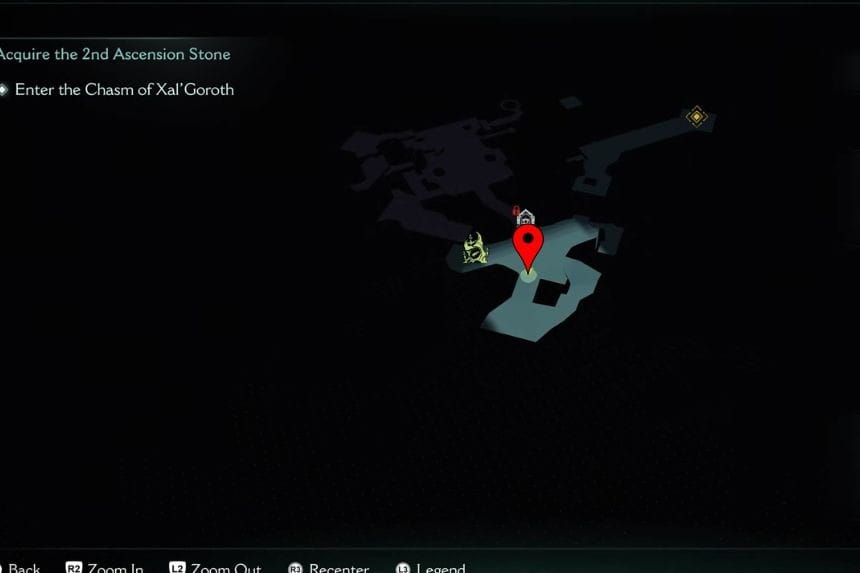
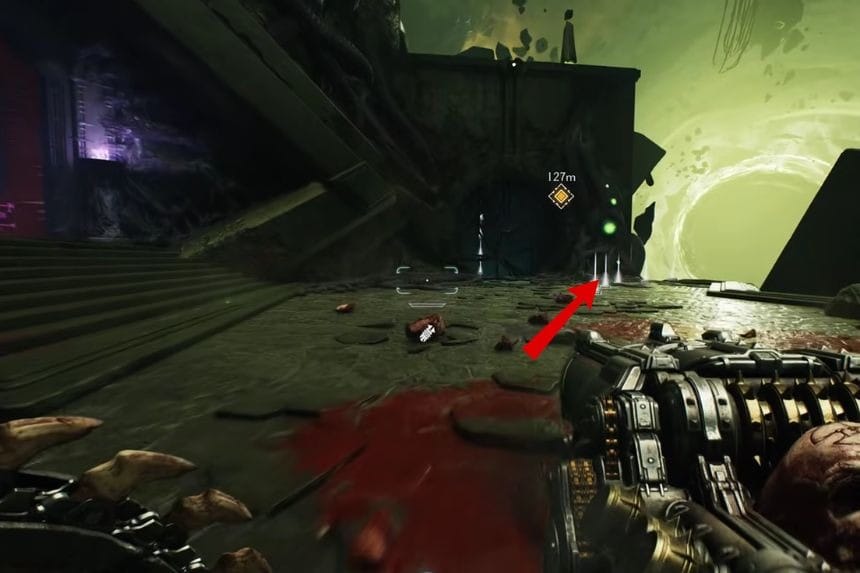
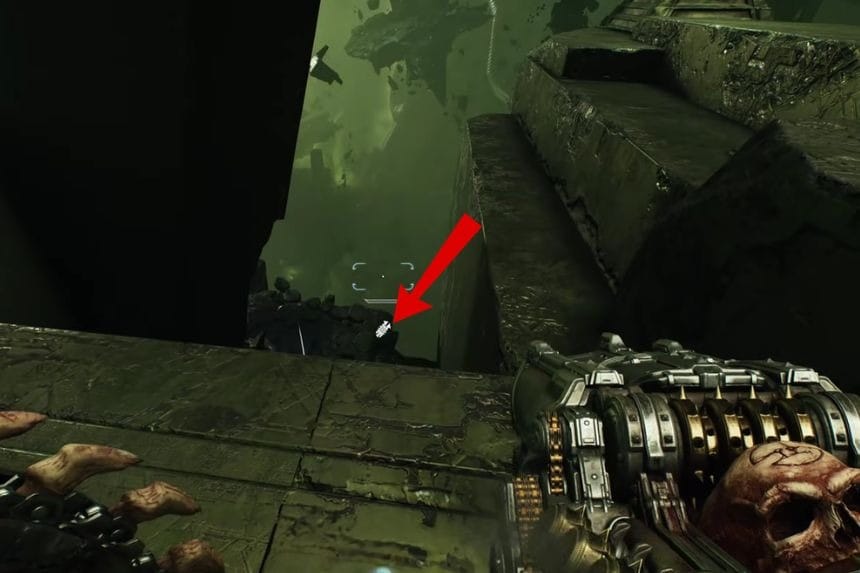
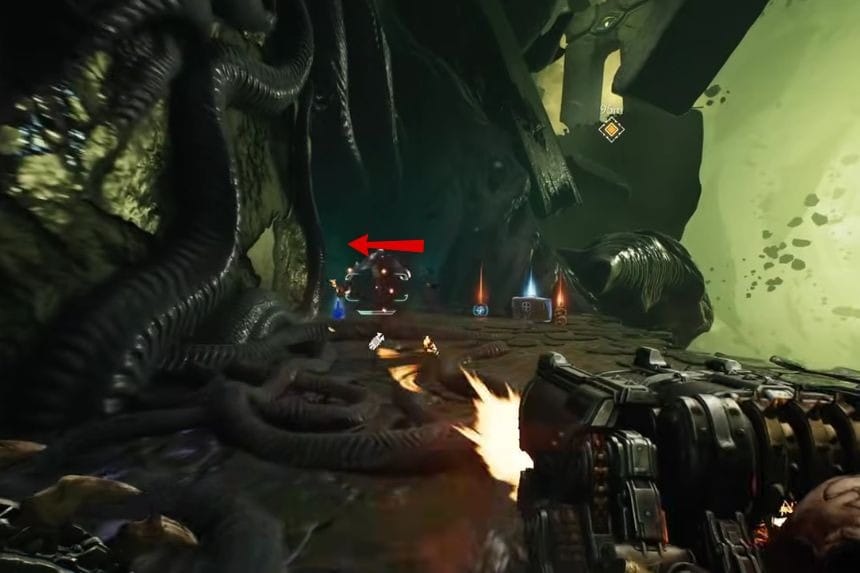
Go to the location marked on the map above. In front of you, you will find the Platinums. Jump down to find the relic piece. From that area, move forward, kill some monsters, and on the left side you will find the secret area. Use the blue jumping booster to collect the remaining Platinums.
Collectible #3 – Weapon Skin #1
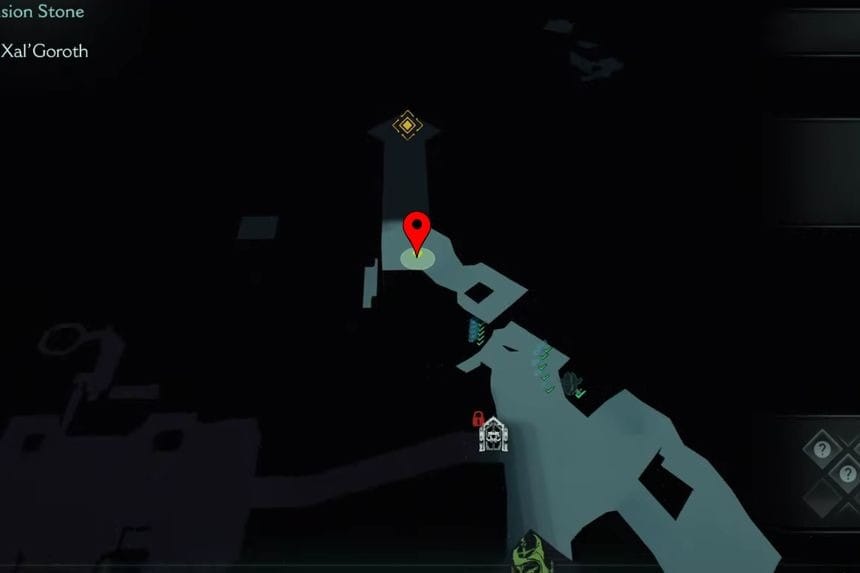

In the location marked above, move forward and jump down to find the weapon skin. The weapon skin is on the left side of the bridge.
Secret Area #1 + Collectible #2 – Relic Piece #2: Mask
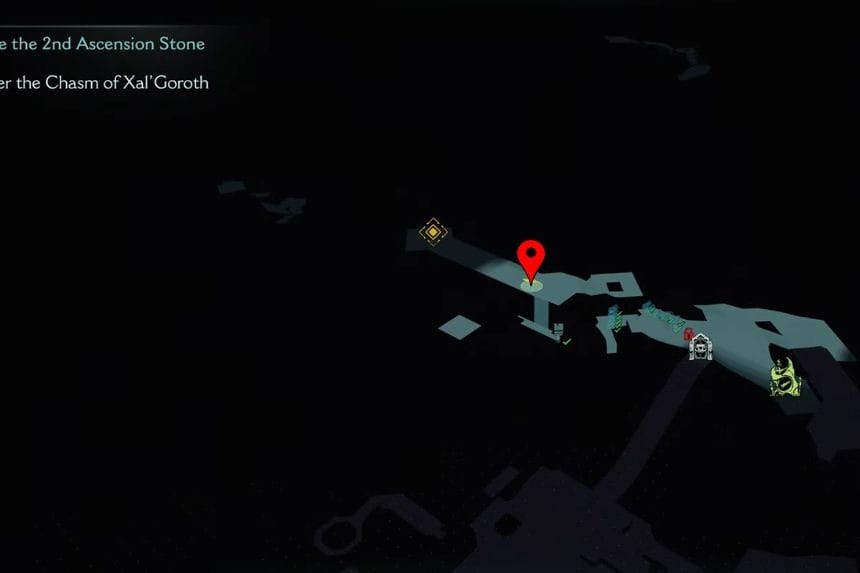
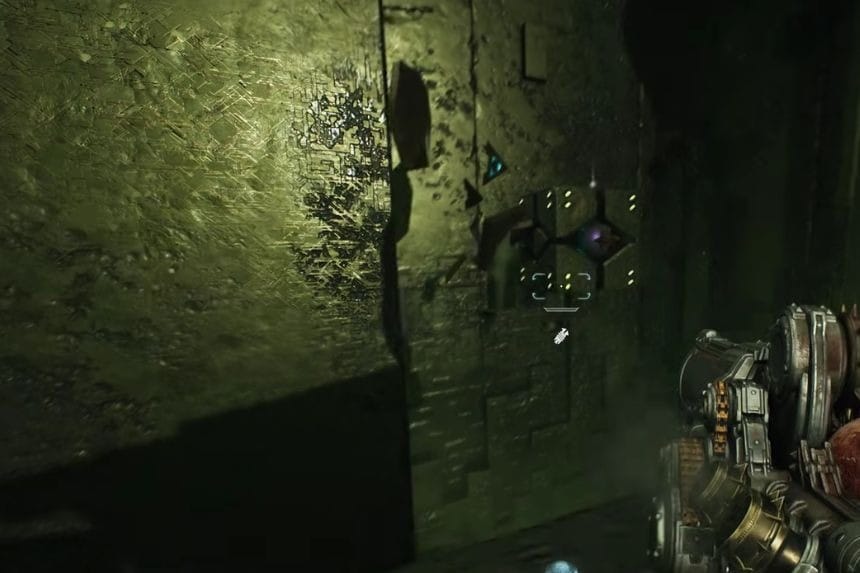
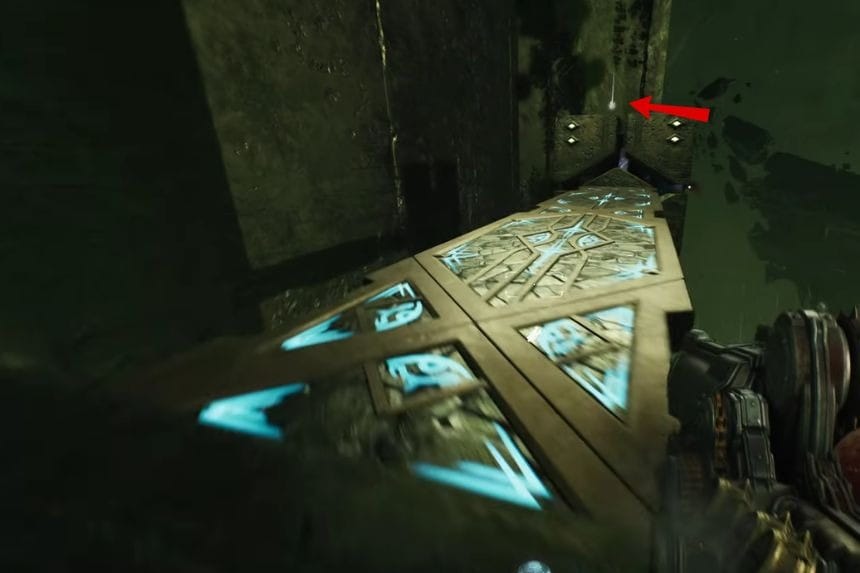
In the marked area, cross the bridge and jump on the left side. Then throw your shield on the cube, in front of you. Then return back to the bridge and you will find a bridge connecting to the cube. Go through that bridge and you will find the relic mask on it.
Collectible #4 – Relic Piece #1: Deity
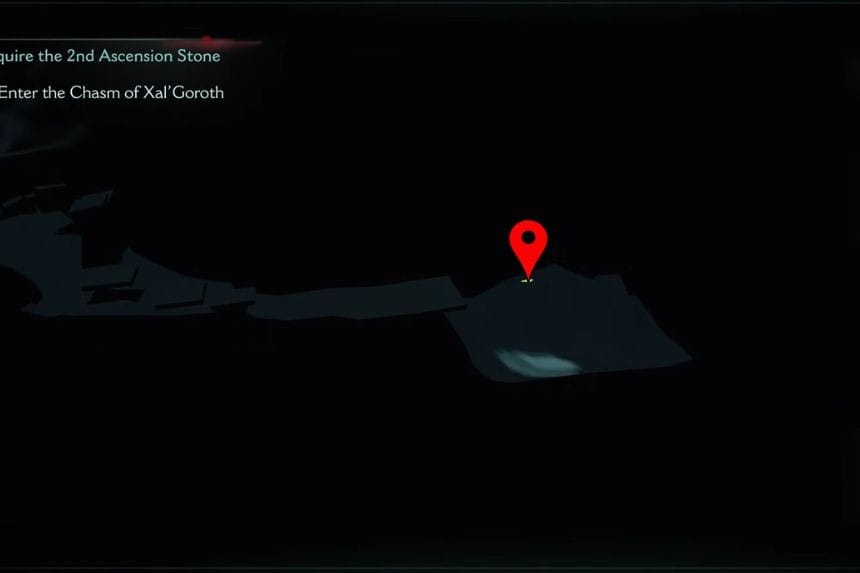
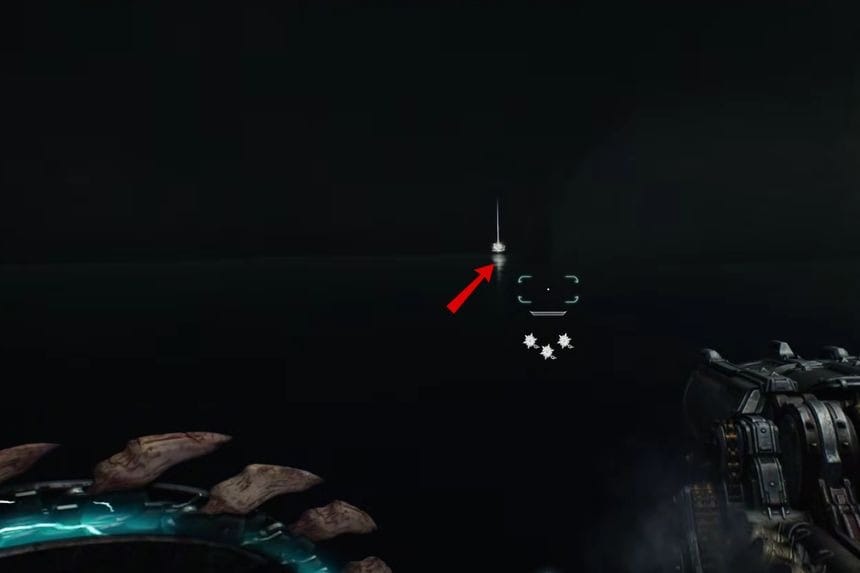
In the location marked on the map above, you will find the relic near a broken building.
Collectible #4 – Relic Piece #2: Deity + Secret Area #2
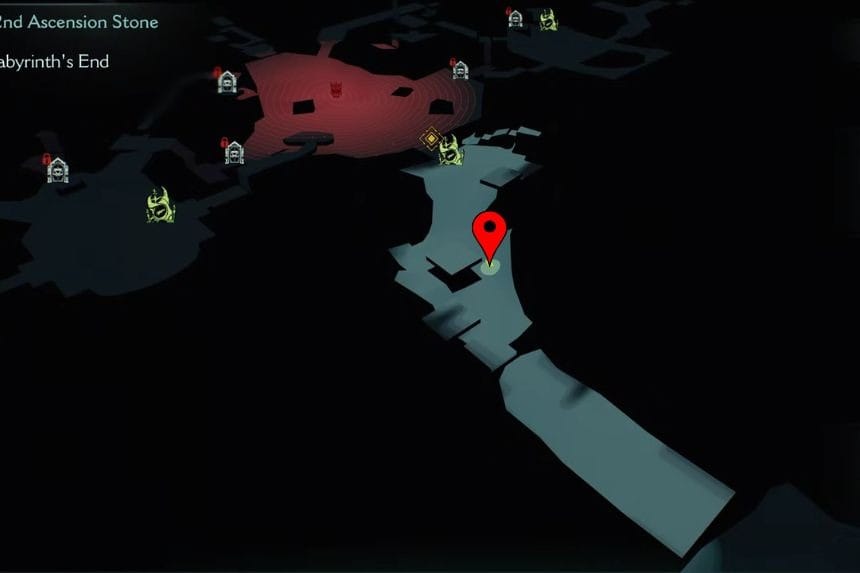

Go to the marked location and climb the broken stones to reach the relic at the end of a flat stone.
Collectible #4 – Relic Piece #3: Deity
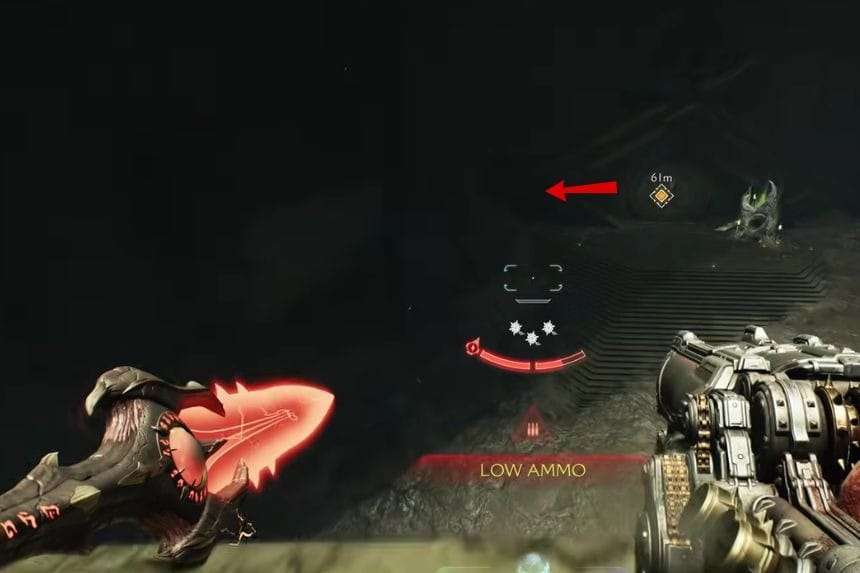
From the above area, jump towards the stairs to find the last piece of relic at the corner of the stones.
Platinum #5
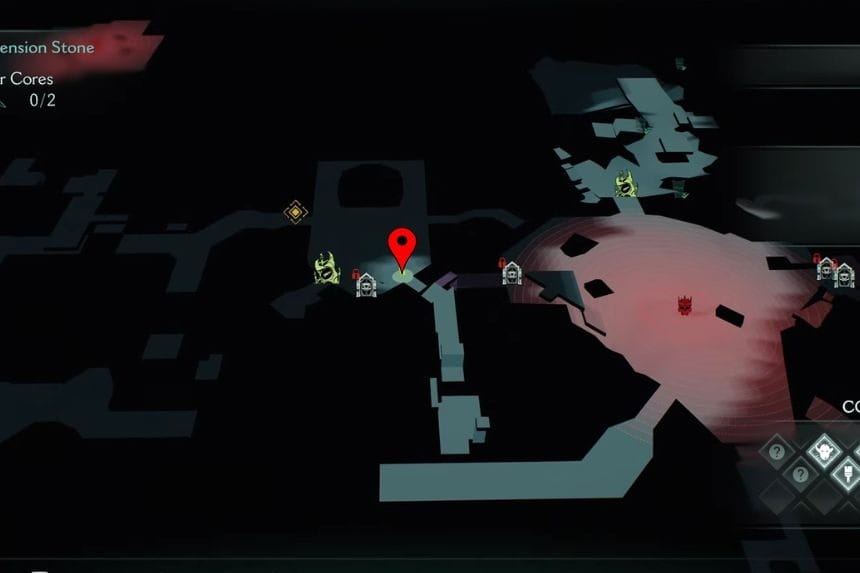

Go to the location marked above and on the left side, near the door, you will find the Platinums.
Platinum #6

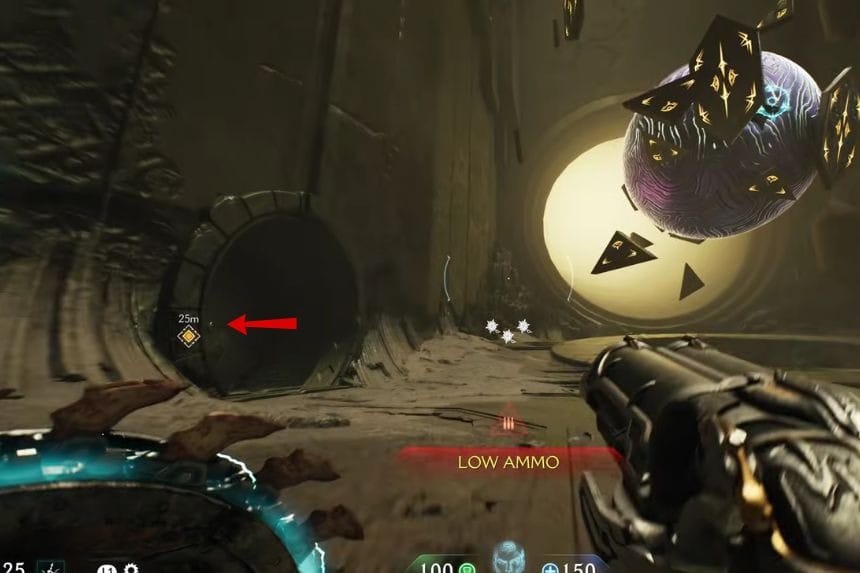
Go to the location marked above, and then on the left side you will find a tunnel. Inside the tunnel, you will find the Platinums.
Collectible #5 – Relic Piece #1: Angel + Secret Area #3
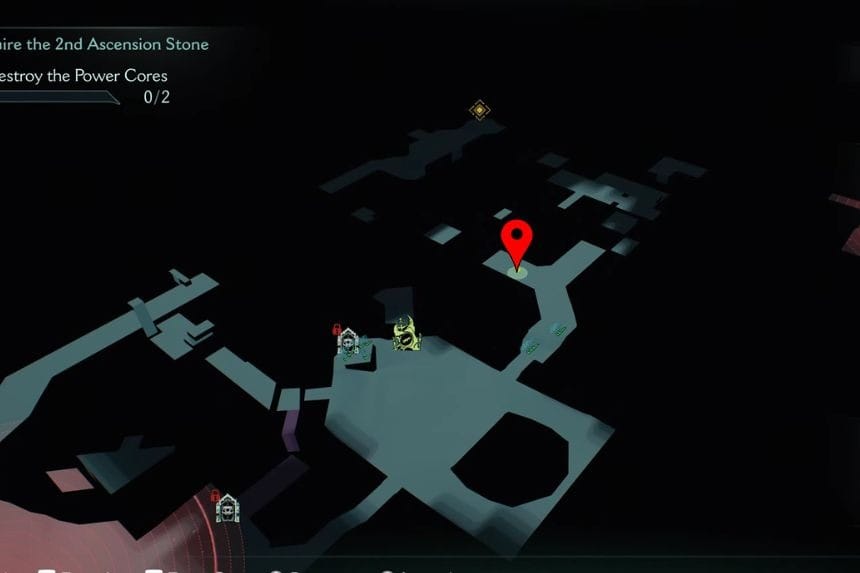
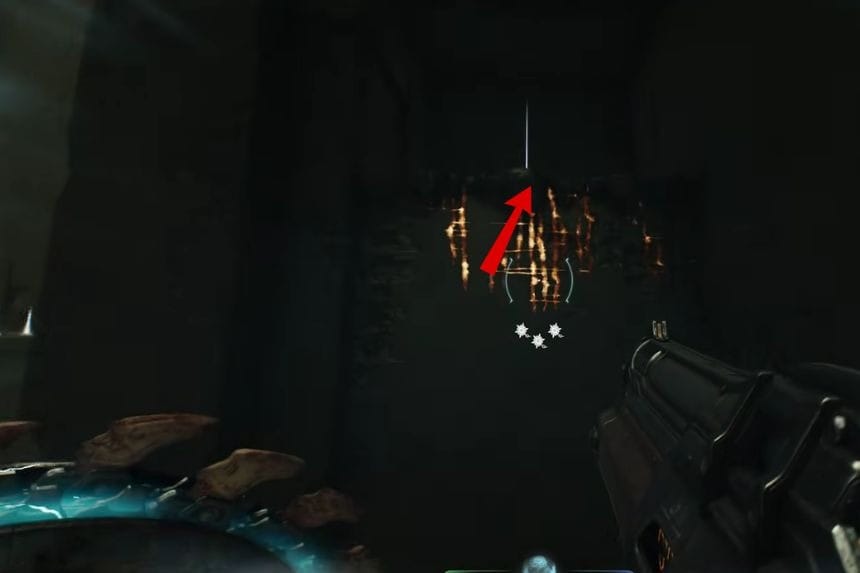
In the location marked above, use the lift-like structure to jump in front of you to find the relic piece.
Collectible #5 – Relic Piece #2: Angel + Platinum #7
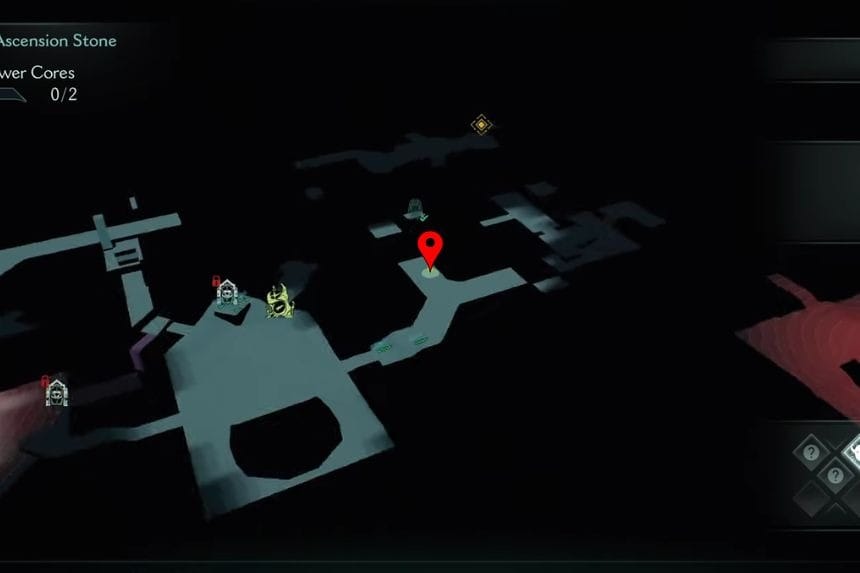
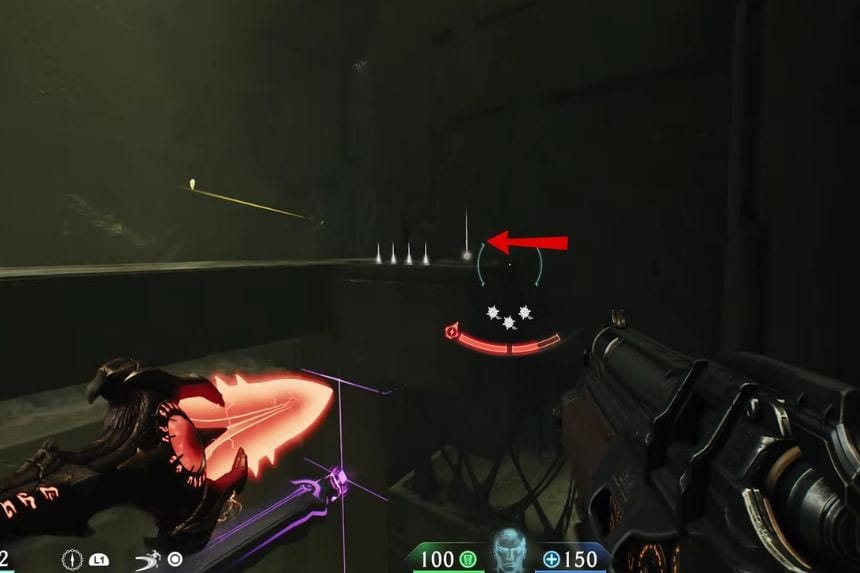
From the above area, use the lift-like structure and then jump towards the ledge of the structure. There, you will find a relic piece and the Platinums.
Collectible #5 – Relic Piece #3: Angel
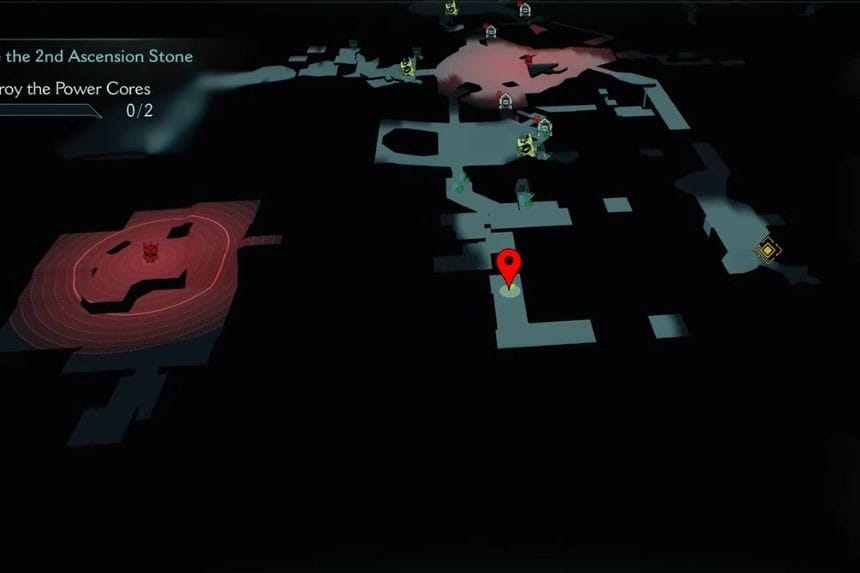
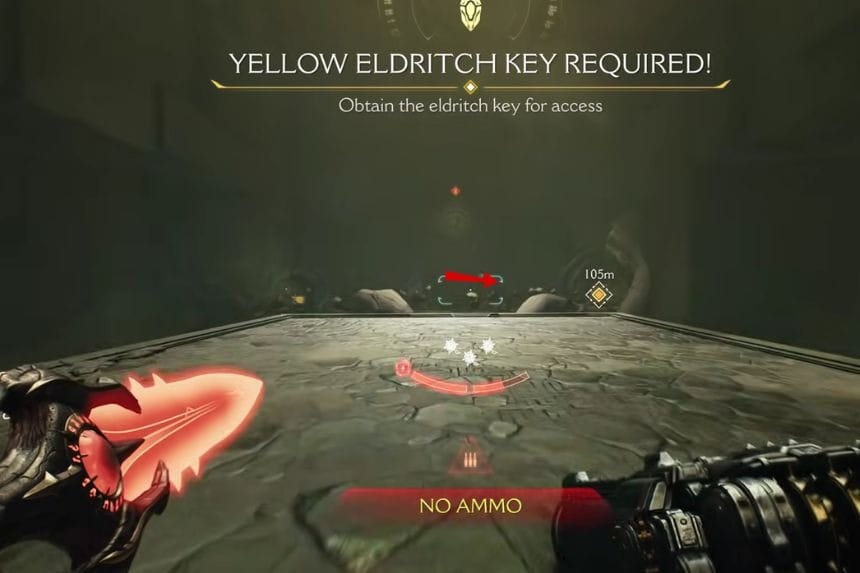
Go to the location marked above and then use the blue jump booster in front of you to reach the upper levels. From there, move forward and then take a right turn to find the relic at a corner, near the stairs.
Collectible #5 – Relic Piece #4: Angel + Secret Area #4 + Platinum #8
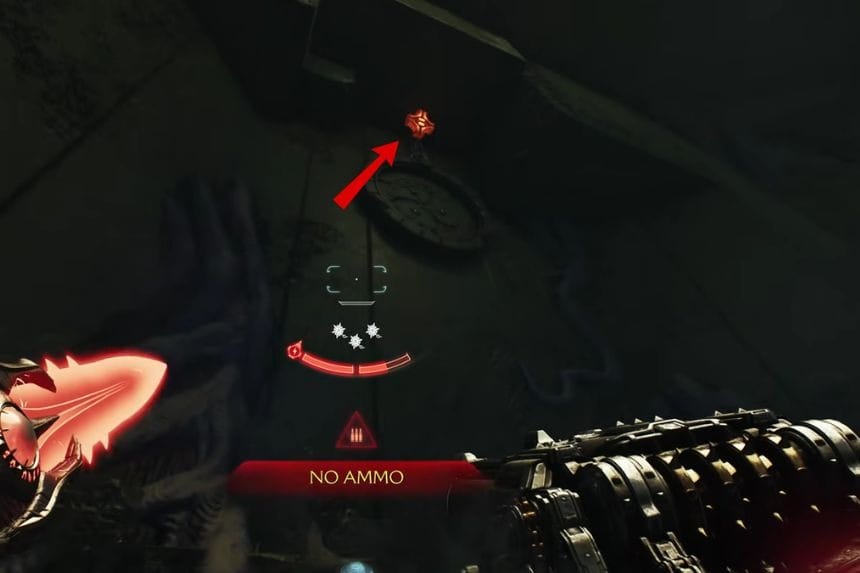
In the above area, you will find a door at the top. Throw your shield at the red structure so that the door falls down on the ground. Now enter through that door to reach the secret area and the Platinums.
Leader Essence #1
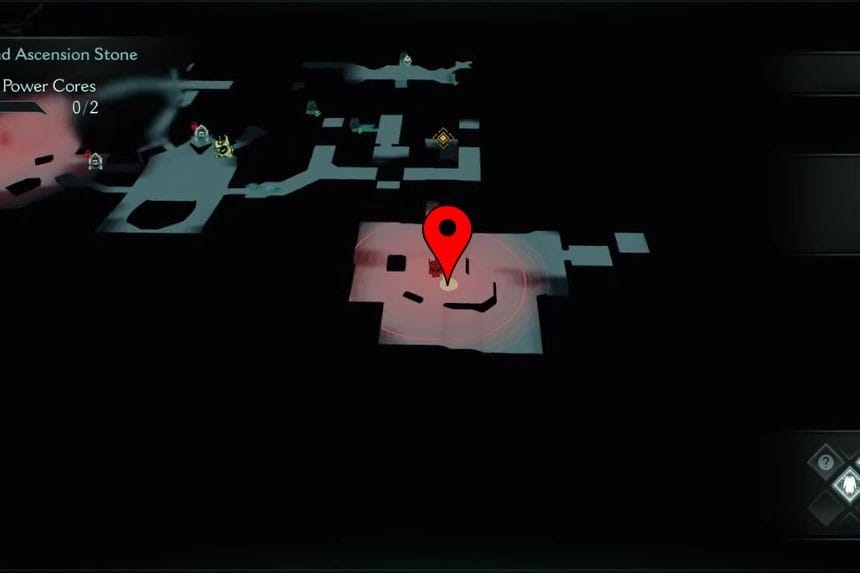
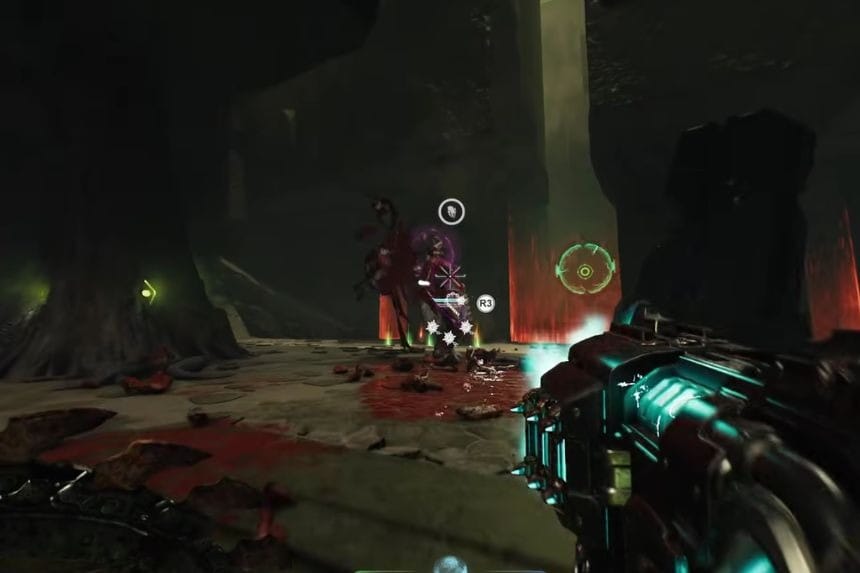
Continue through the story to find a leader near the door. Defeat all its minions and then kill it to get the Leader Essence.
Platinum #9
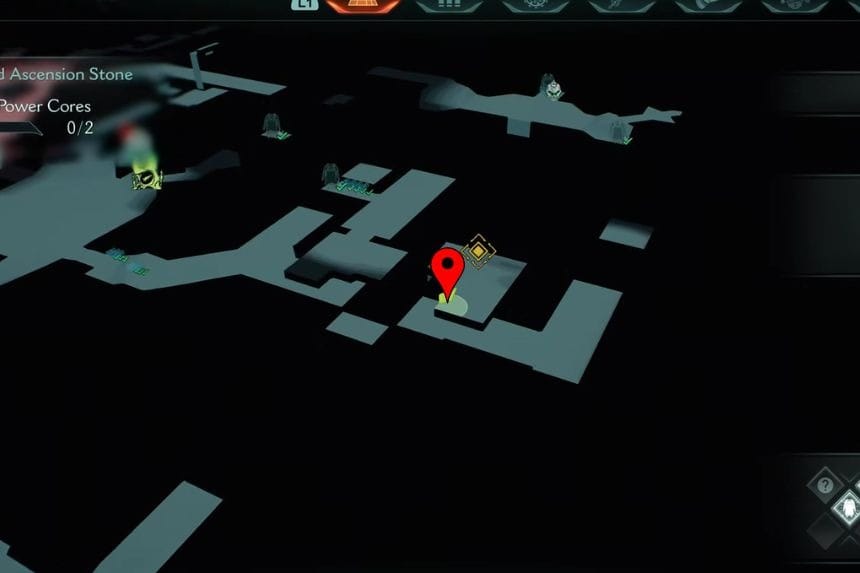
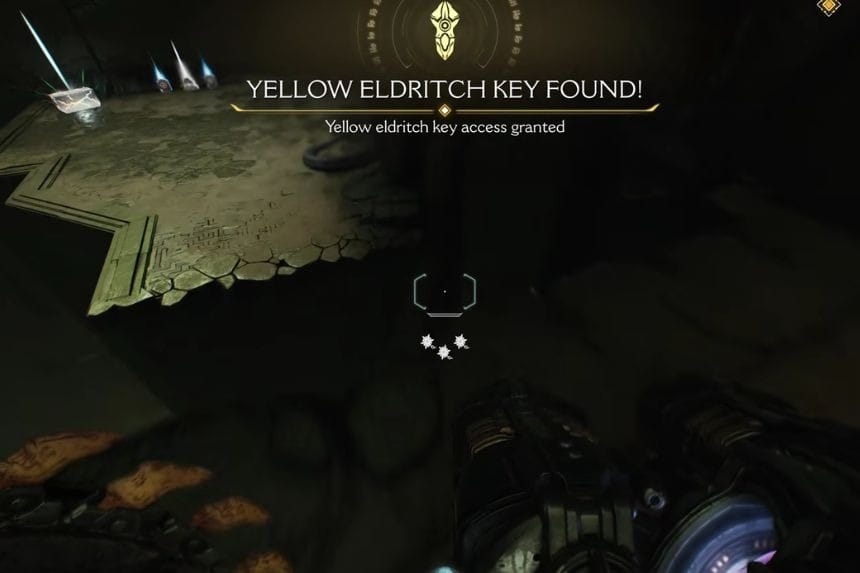
Go to the location marked on the map above and pick up the Eldritch Key. From there, take a left turn and jump towards the platform to find the Platinums.
Platinum #10
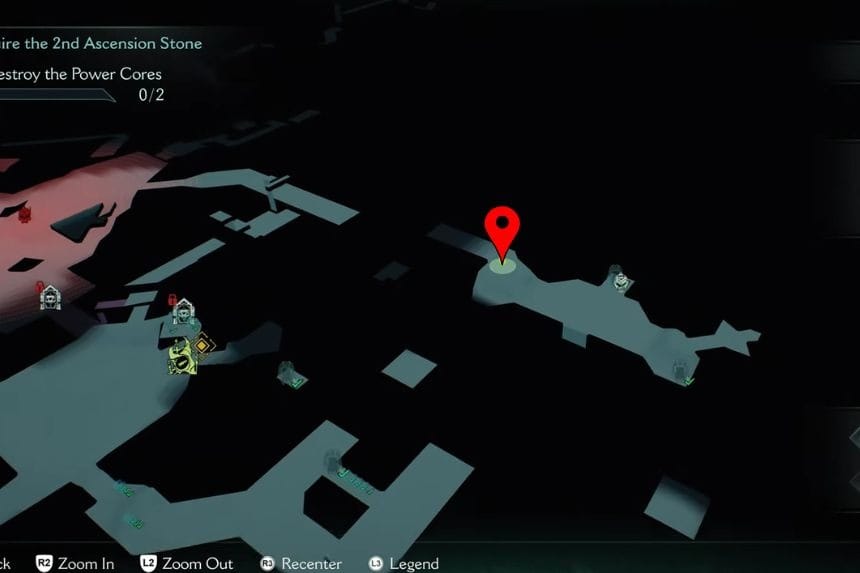
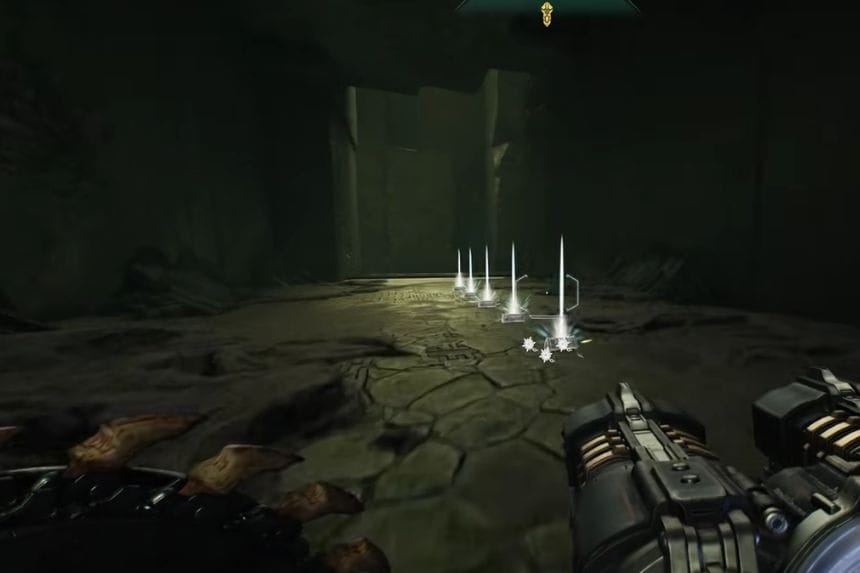
In the marked area, you will find the Platinums in front of you.
Collectible #6 – Toy: Archvile + Secret Area #5
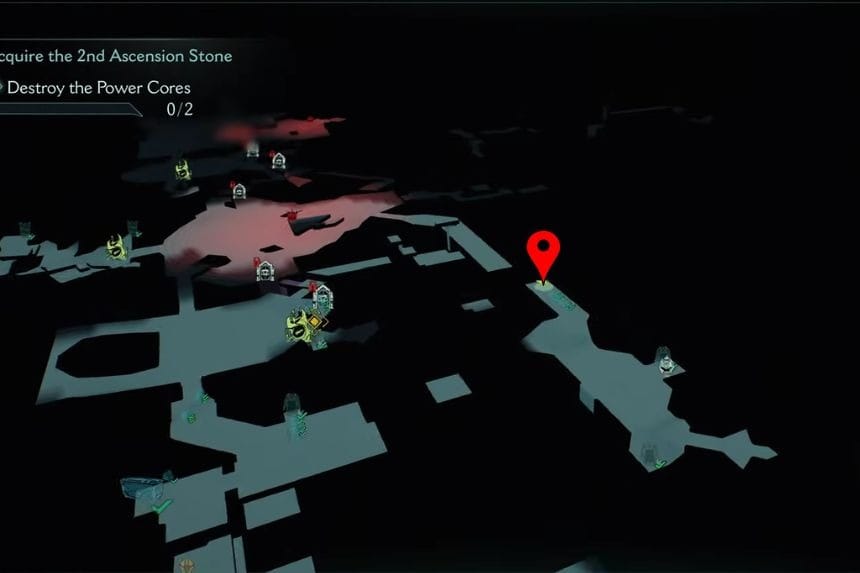
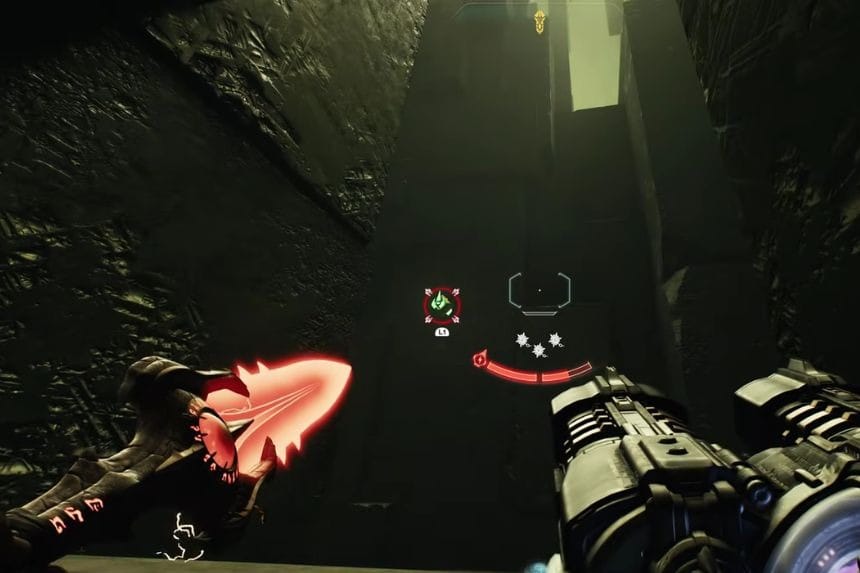
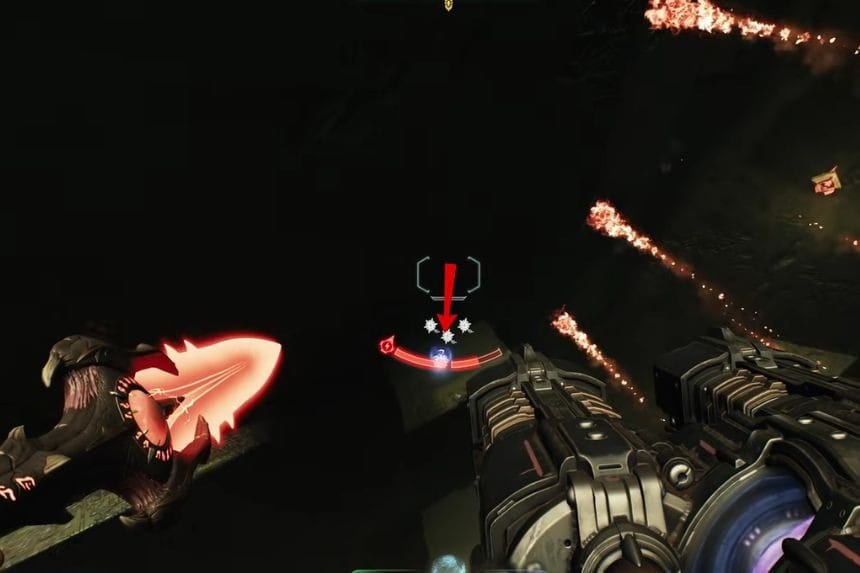
Go to the marked location. In front of you, there will be a Green Flesh. Shoot your chain towards the Green Flesh and take a right turn mid-air to reach the ledge of the structure. On that ledge, you will find the Archvile toy.
Platinum #11

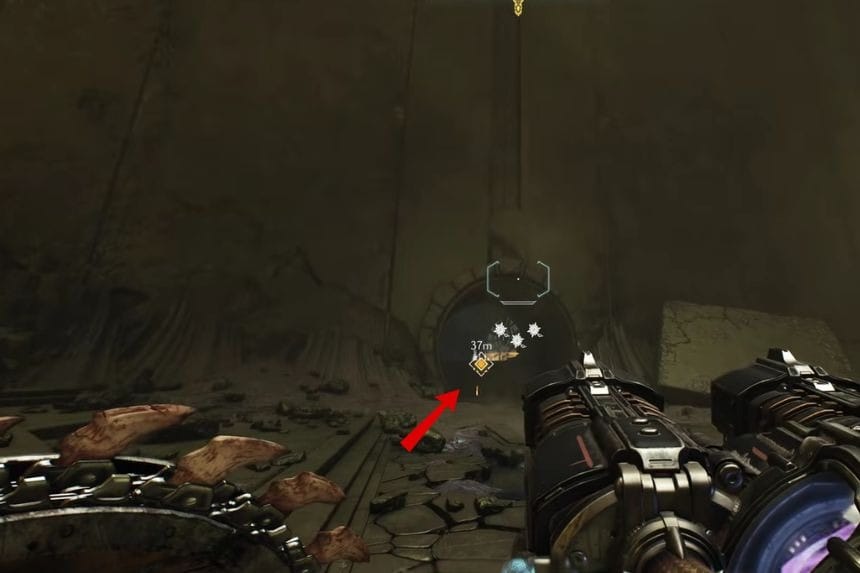
Reach the marked location. On the left side you will find a Green Flesh. Shoot your chain on the Green Flesh and jump towards the platform. On that platform you will find the Platinums.
Collectible #7 – Codex: Chasm Of Xal’Goroth
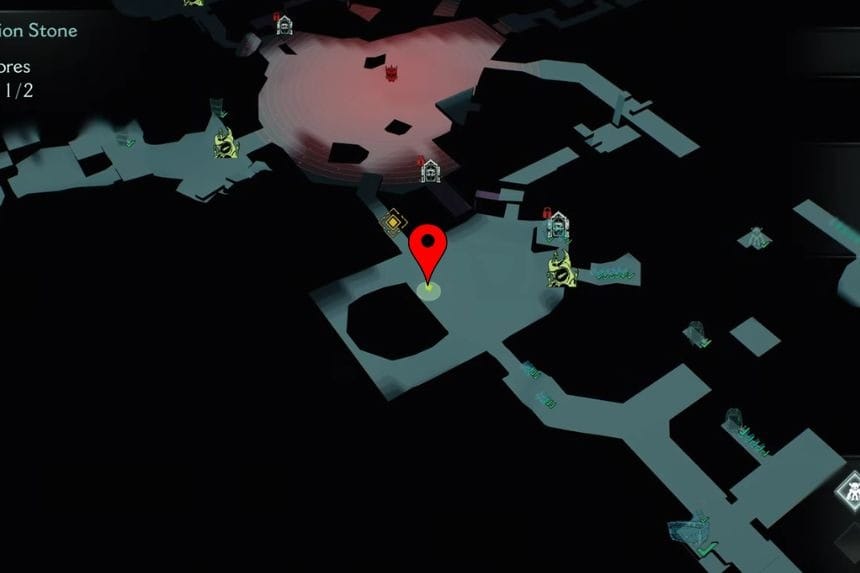
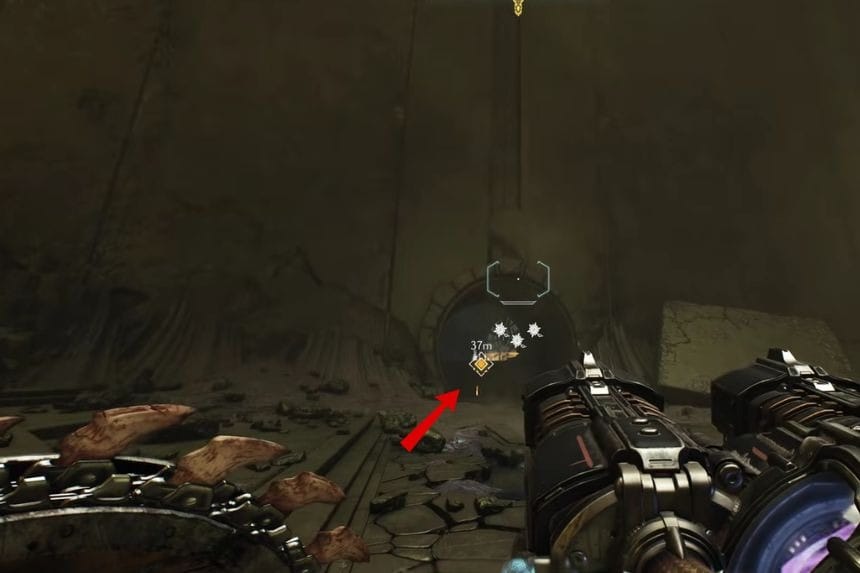
In the above location, go through the tunnel in front of you to find the Codex: Chasm Of Xal’Goroth.
Platinum #12

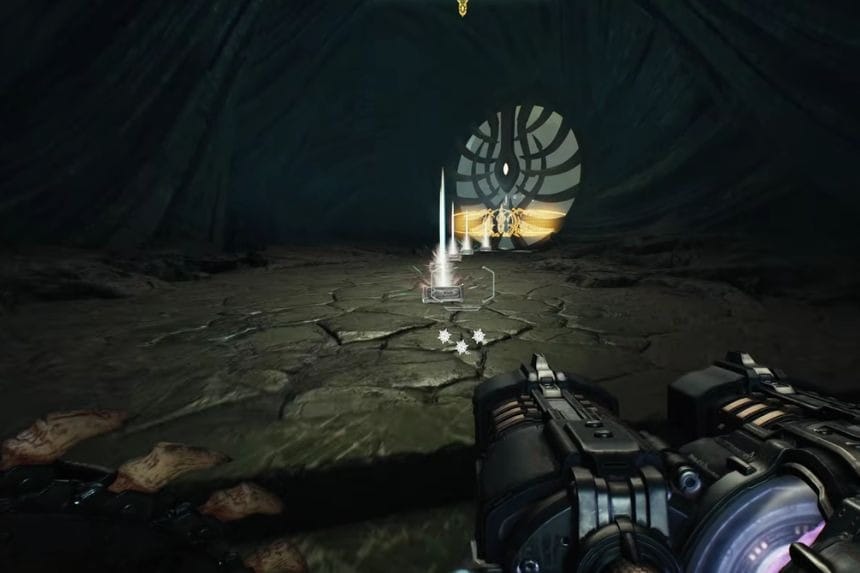
Reach the location and find the Platinums just near the door.
Platinum #13 + Secret Area #6
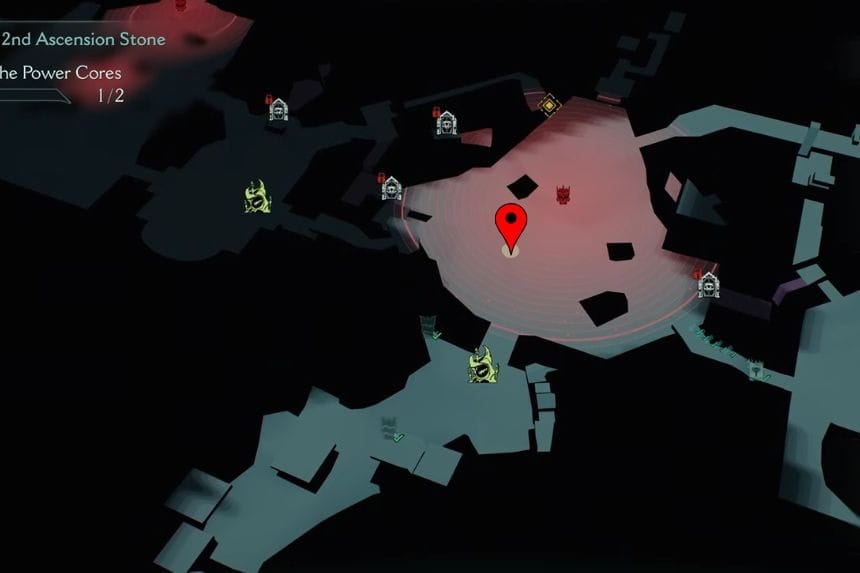
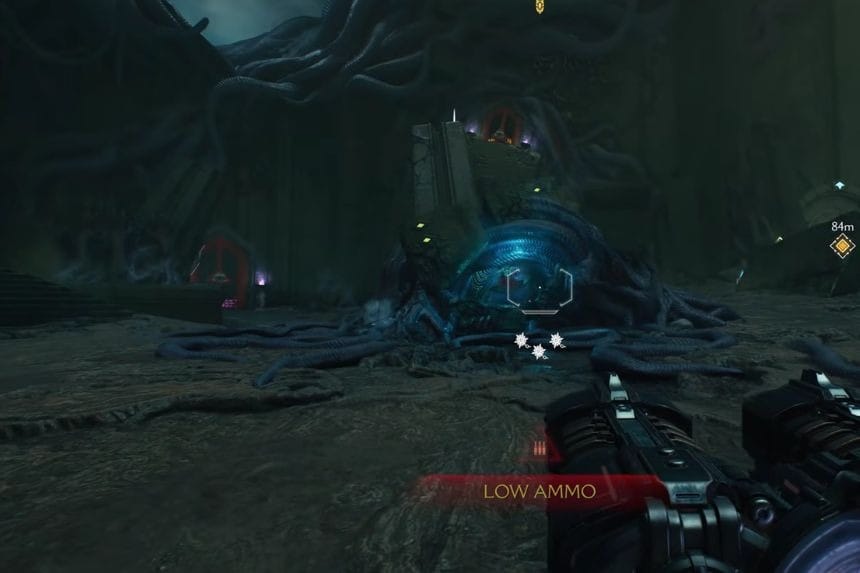
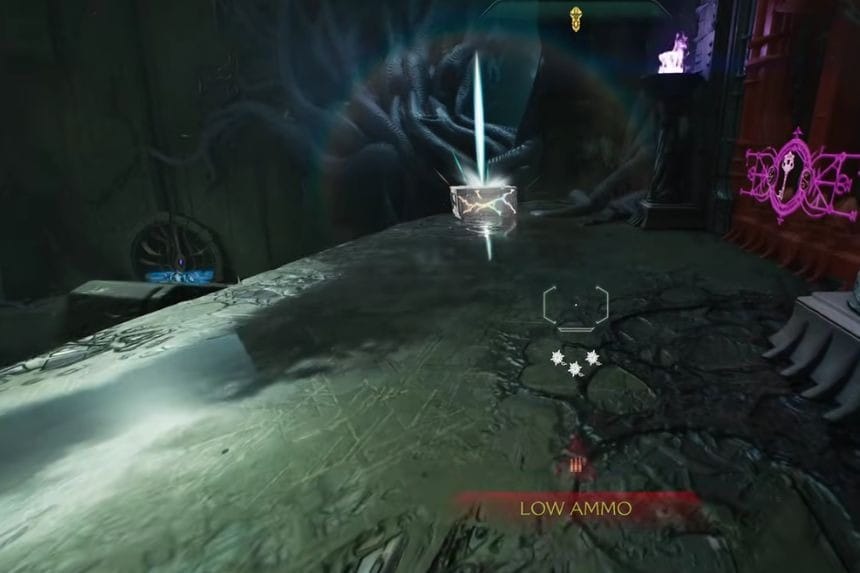
Go to the location marked on the map above. In front of you there is a machine. Throw your shield at the machine and then use the lift to reach the above floors. At the top you will find the Platinums and the secret area.
Platinum #14
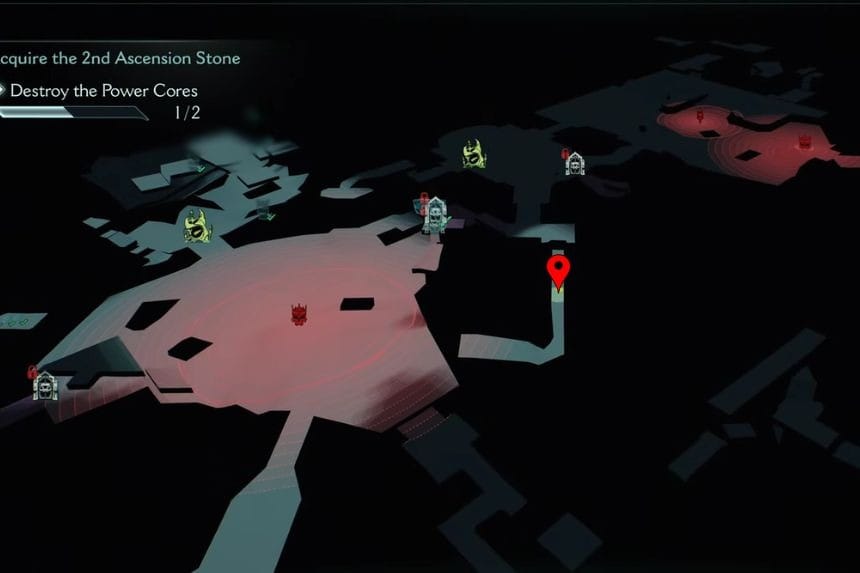
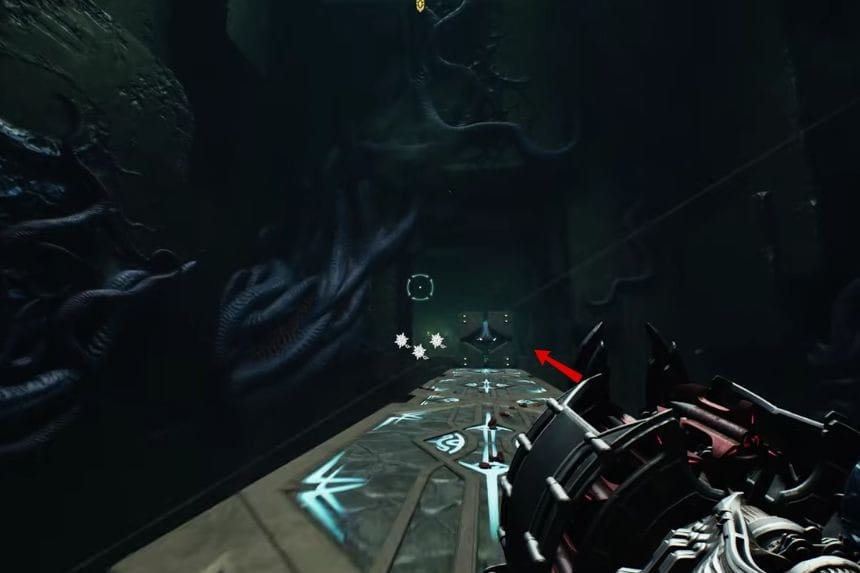
In the location marked above, go through the bridge to find the Platinums behind the cube-like structures.
Platinum #15
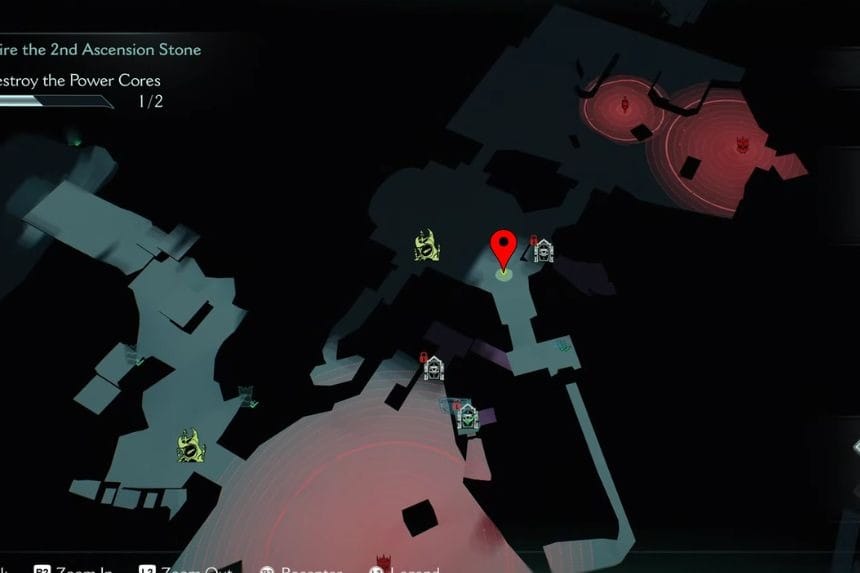
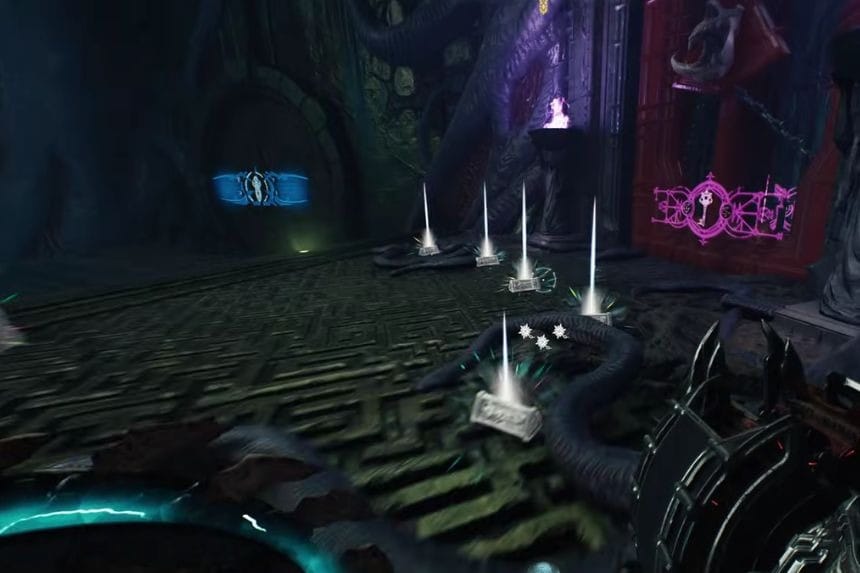
Go to the location marked on the map above, and in front of the door you will find the Platinums.
Leader Essence #2
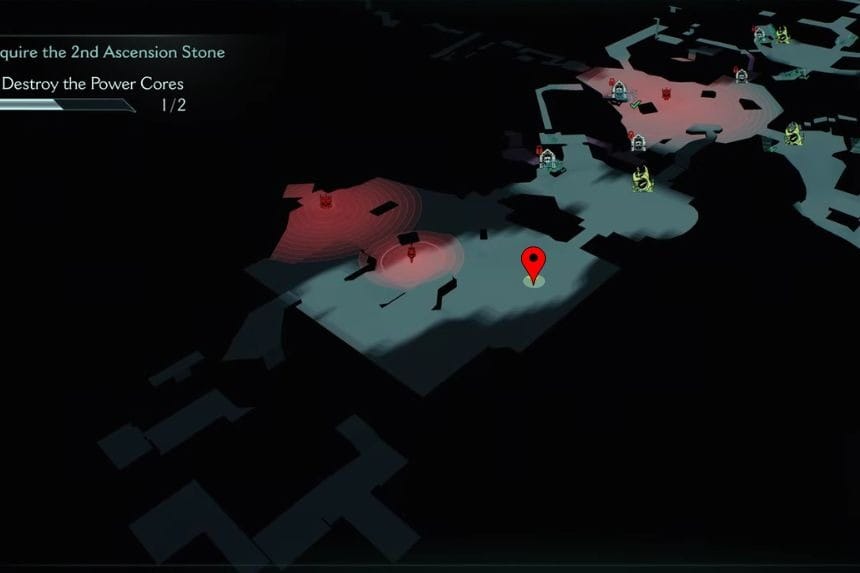
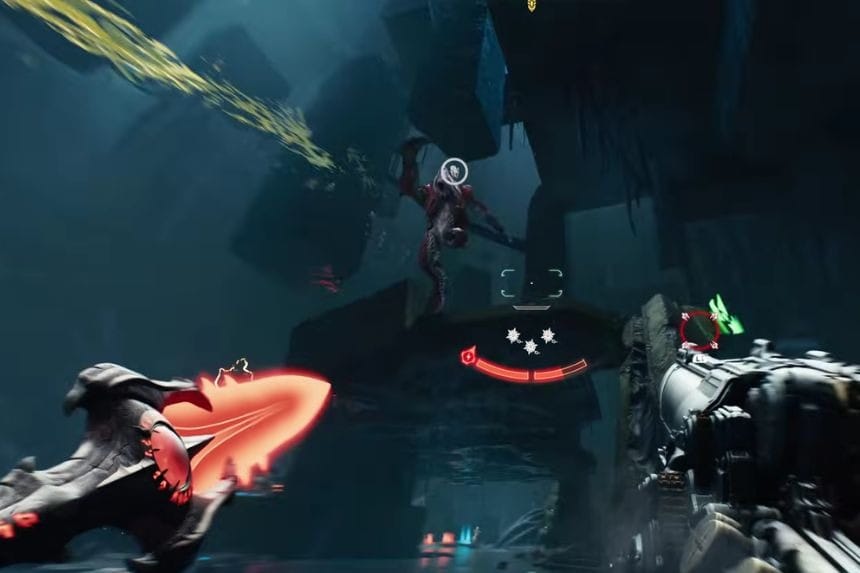
Go through the story mission, and at the end you will find the leader. Kill all its minions and then defeat it to get the Leader Essence.
Platinum #16 + Collectible #8 – Weapon Skin #2
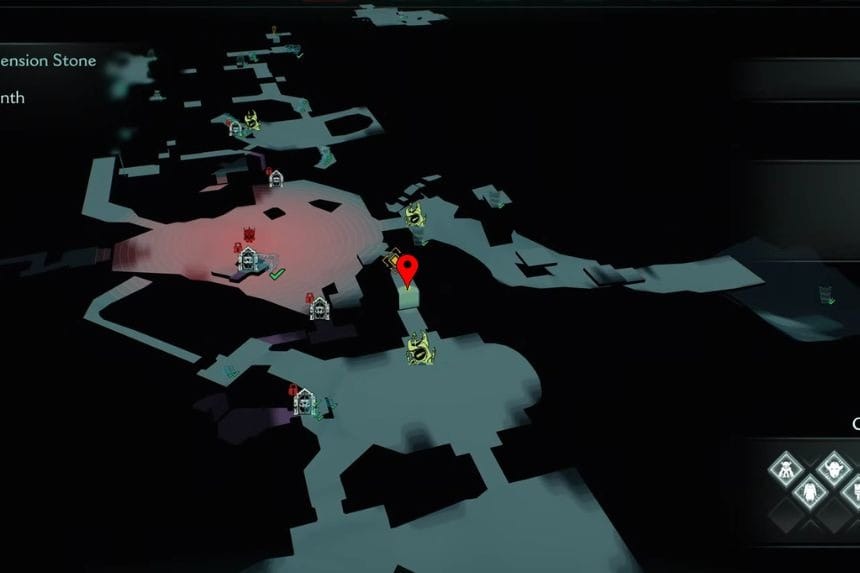
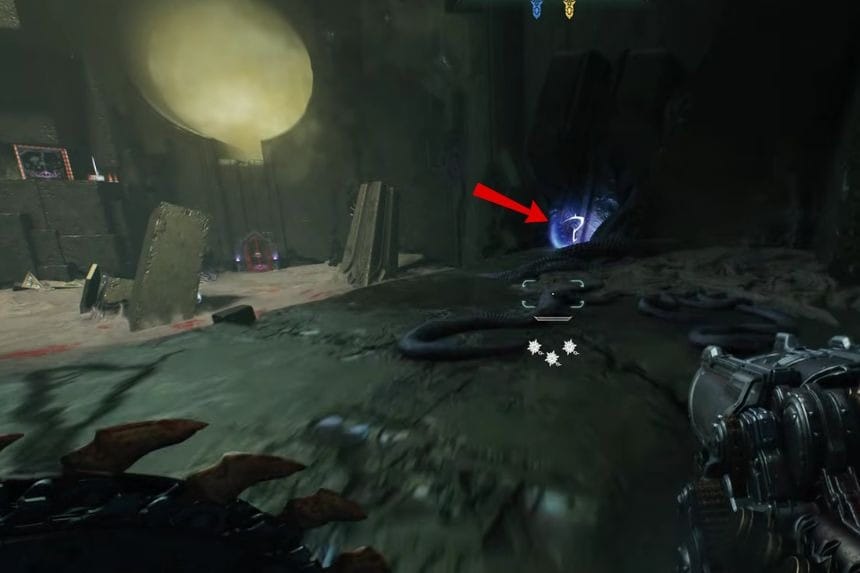
Once you reach the marked location, move forward to find the Platinums and on the left side, you will find a gate. Open the gate to find the weapon skin on the right side.
Leader Essence #3
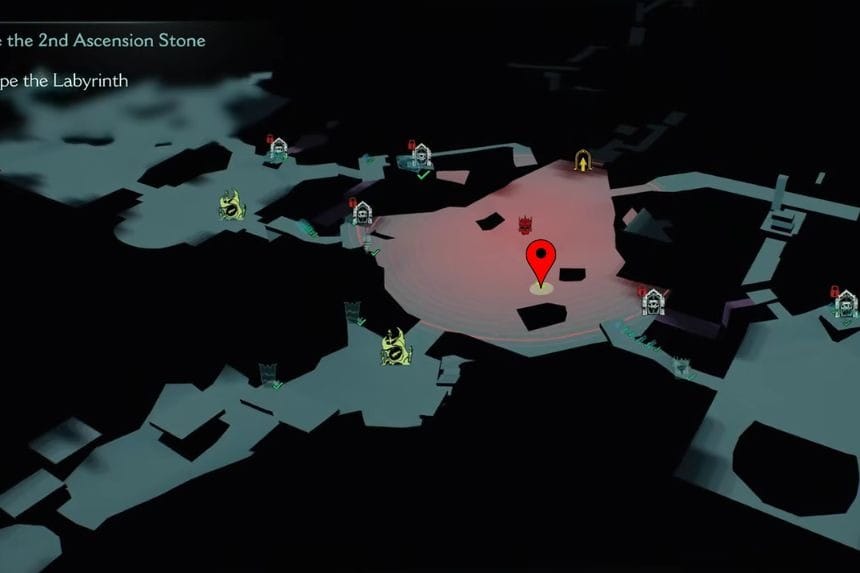
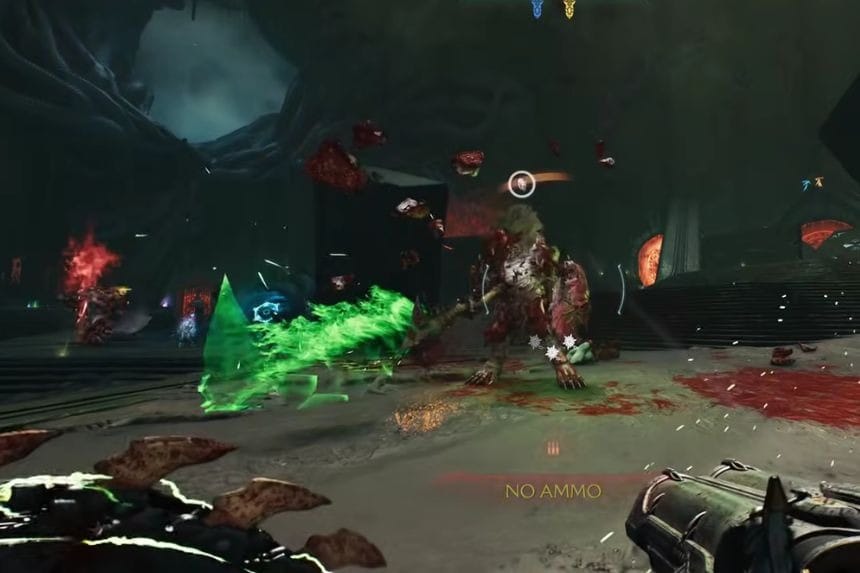
Move forward in the story to find the leader at the end. Kill everyone in that area and after defeating the leader you will find the Leader Essence.
Platinum #17 + Secret Area #7
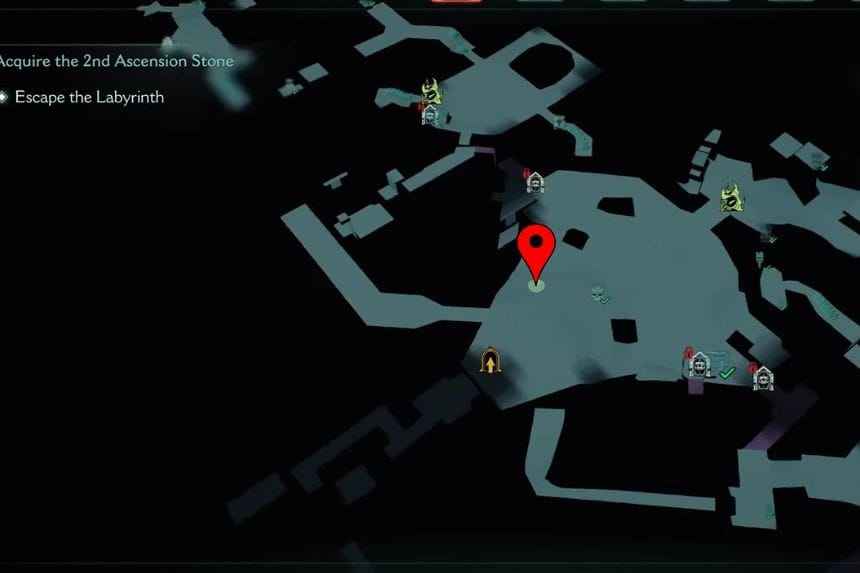
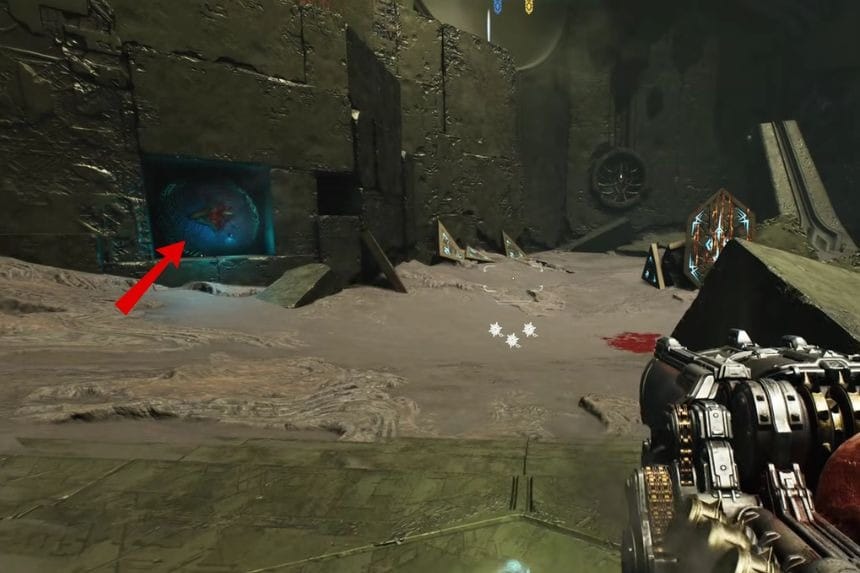
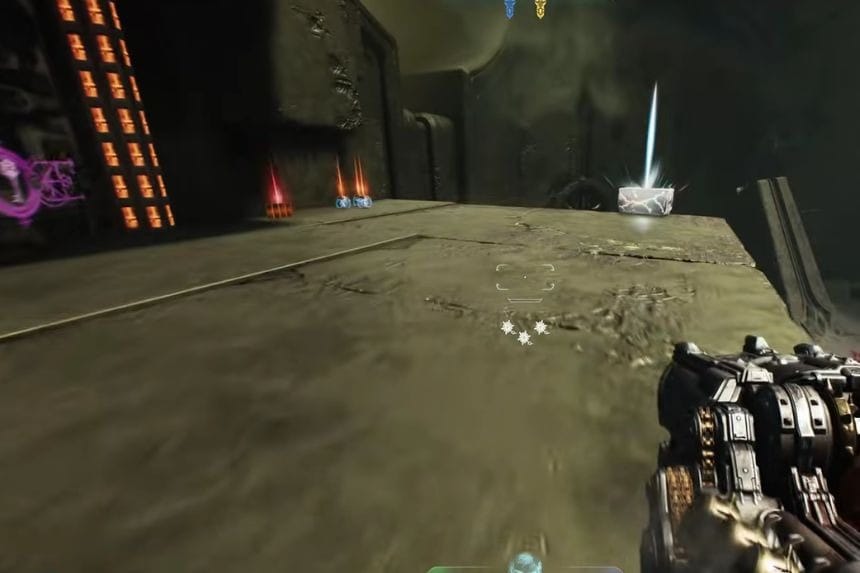
Go to the area marked on the map above to find a blue glowing structure. Throw your shield at that structure so that you will be able to climb it. At the top of that structure, you will find the Platinums.
Platinum #18 + Secret Area #8

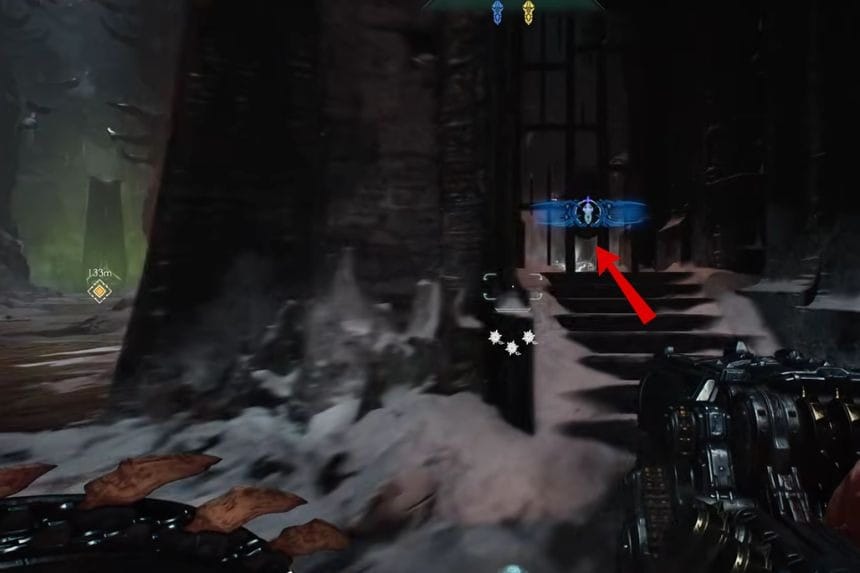
Go through the corridors and then take a right turn. Open the gate to find the Platinums and the secret area.
Osseus All Collectibles & Secrets
Chapter 5 in DOOM: The Dark Ages – Revelations takes you to Osseus, where you’re one step closer to escaping the strange purgatory the Doom Slayer has been trapped in. As you make your way through this dangerous land, you’ll search for the third Ascension Stone while fighting off tougher and tougher waves of enemies along the way.
Collectible #1 – Codex: Trial Of Might
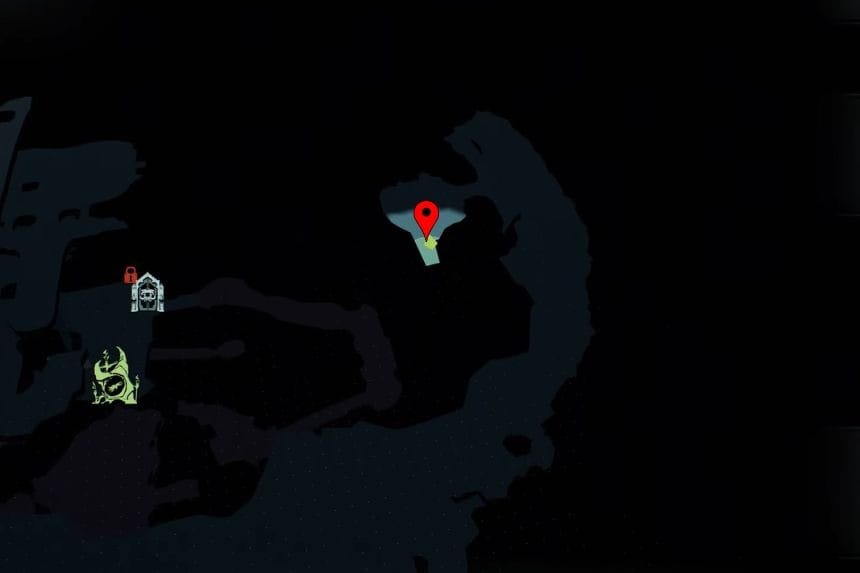

Reach the marked location to find the Codex: Trial Of Might in the centre of the cave.
Platinum #1
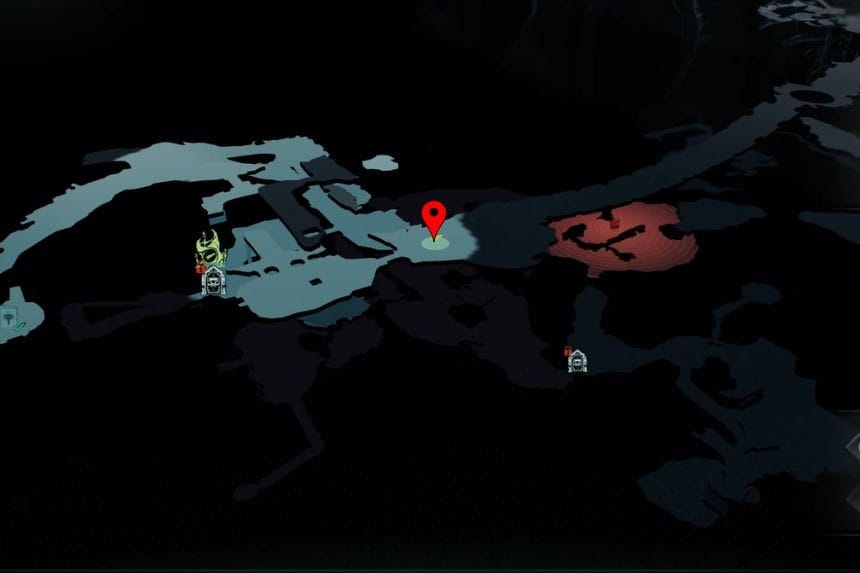

Go to the location marked above and on the left side you will find a Green Flesh. Use your chain on the Green Flesh to reach the platform in front of you. On that platform, jump towards the ledge on the right side to find the Platinums.
Platinum #2 + Secret Area #1
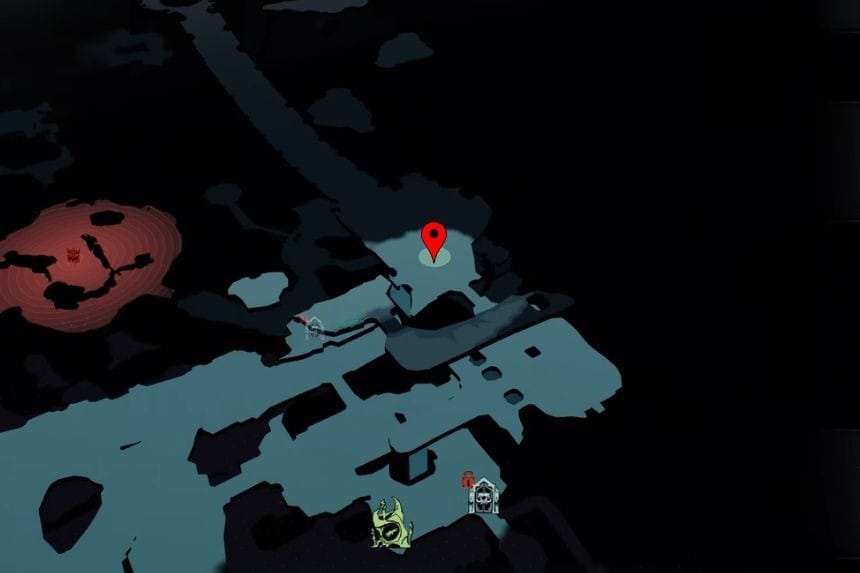
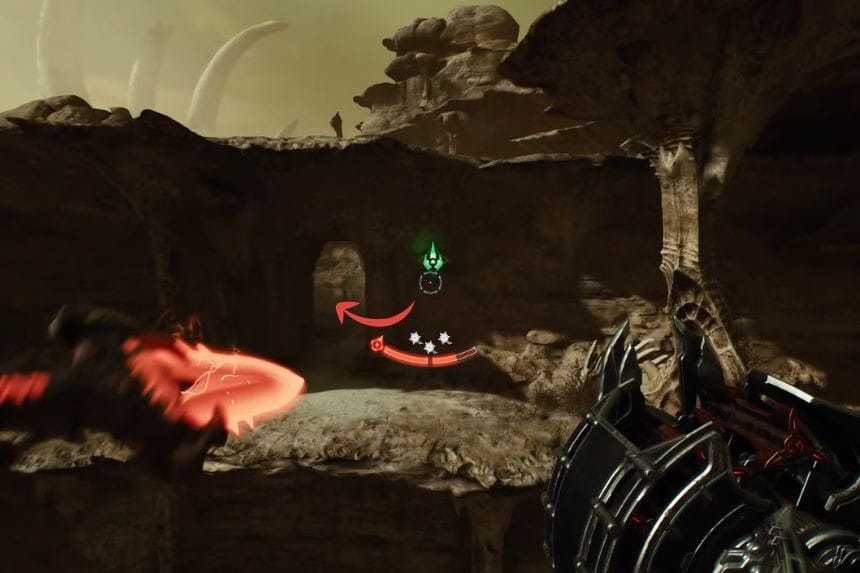
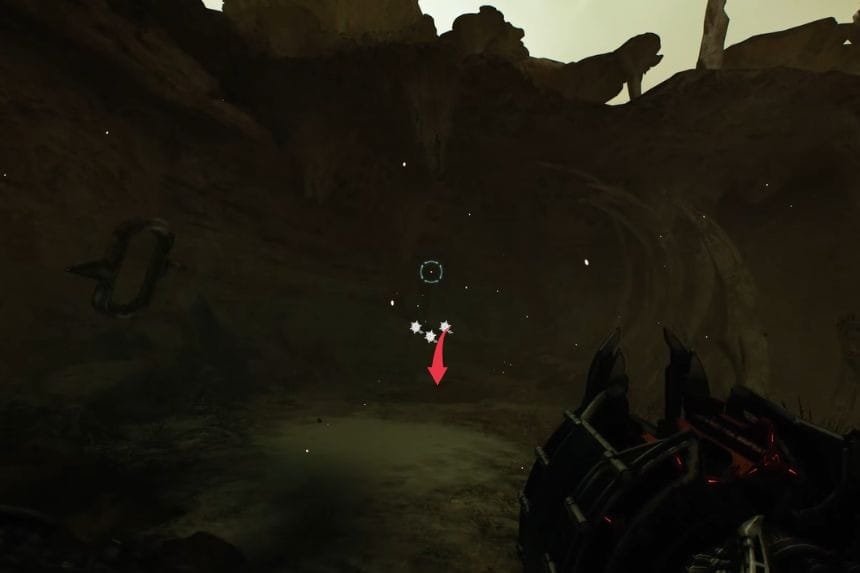
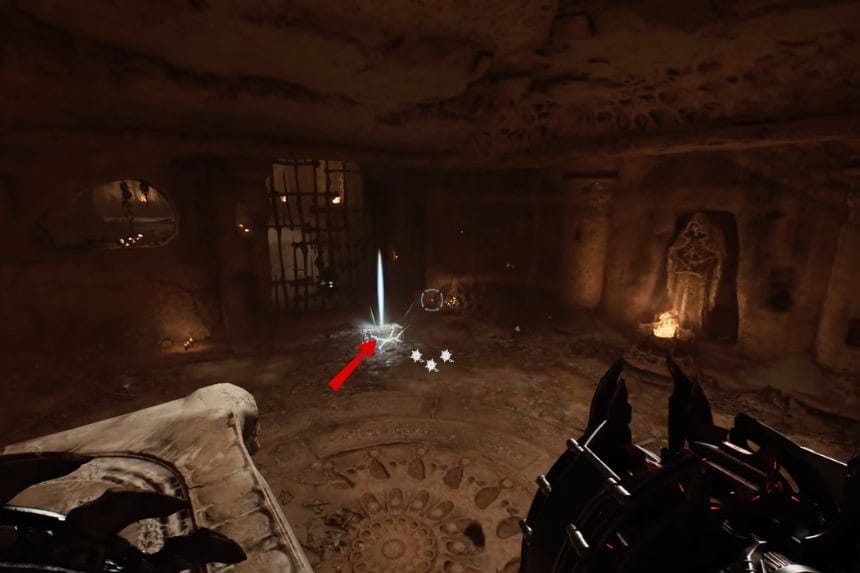
Reach the location marked on the map above and then use the Green Flesh to reach the upper floors of the structure. Enter the new area and on the left you will find a monster. Kill that monster and behind it will be a red button. Destroy the red button with your shield and move forward. Then jump down to reach the underground level and find the secret area and platinum.
Platinum #3 + Collectible #2 + Weapon Skin #1 + Secret Area #2
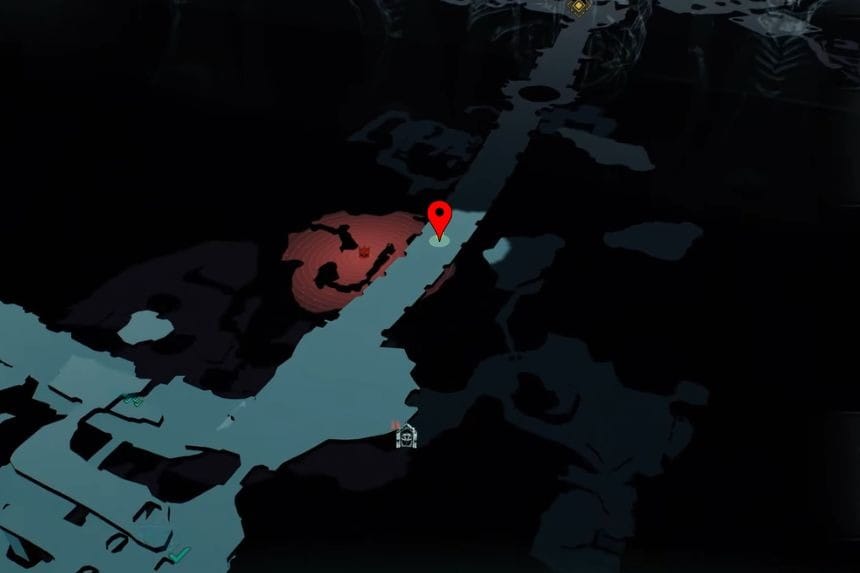
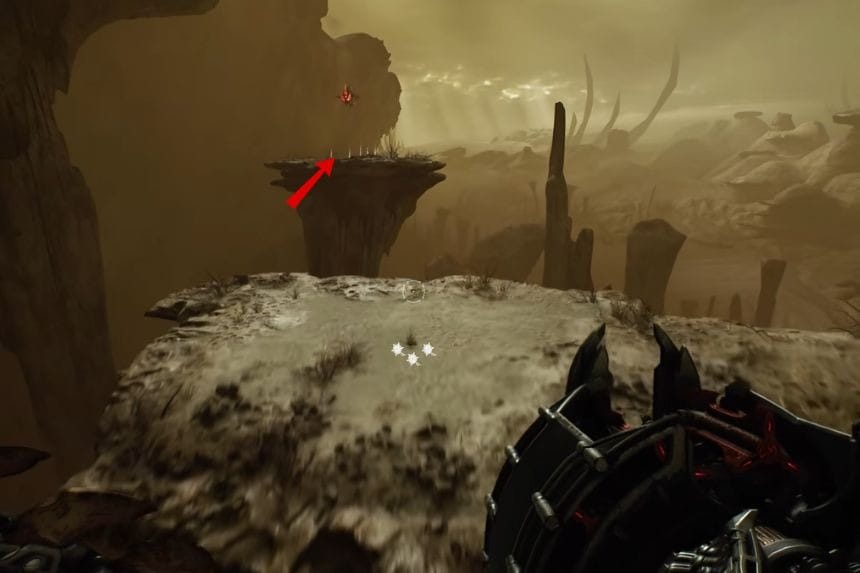
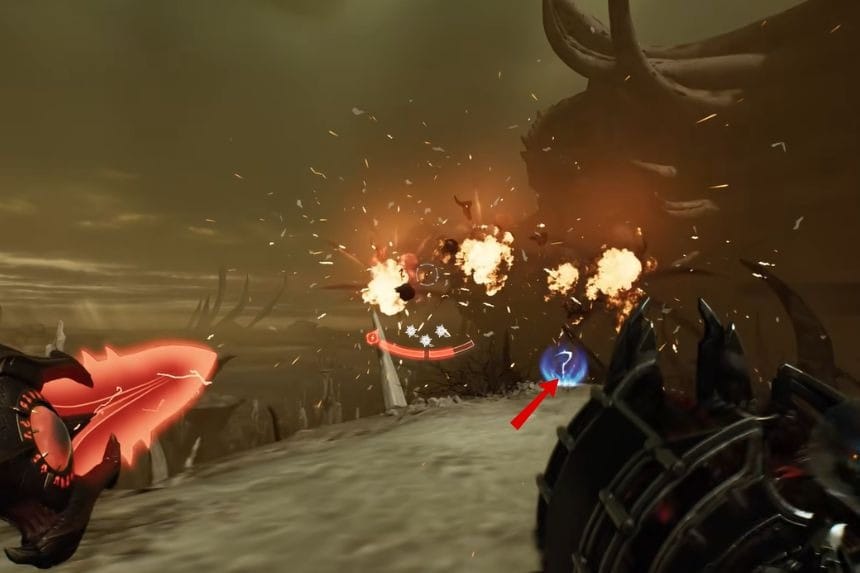
Go to the location marked on the map above and on the right side you will find a Green Flesh. Use your chain to jump towards the platform. On that platform you will find the Platinums. Before collecting the Platinum, there will be lots of flying monsters. Kill them first and then use the Green Flesh above you to reach the upper platforms. At the edge of the upper platforms, you will find the weapon skin.
Collectible #3 – Relic Piece #1: Sword
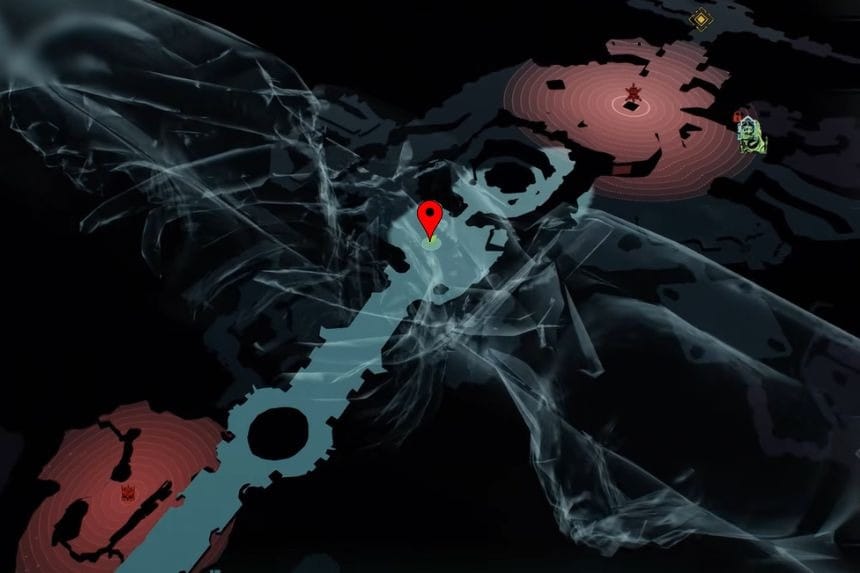
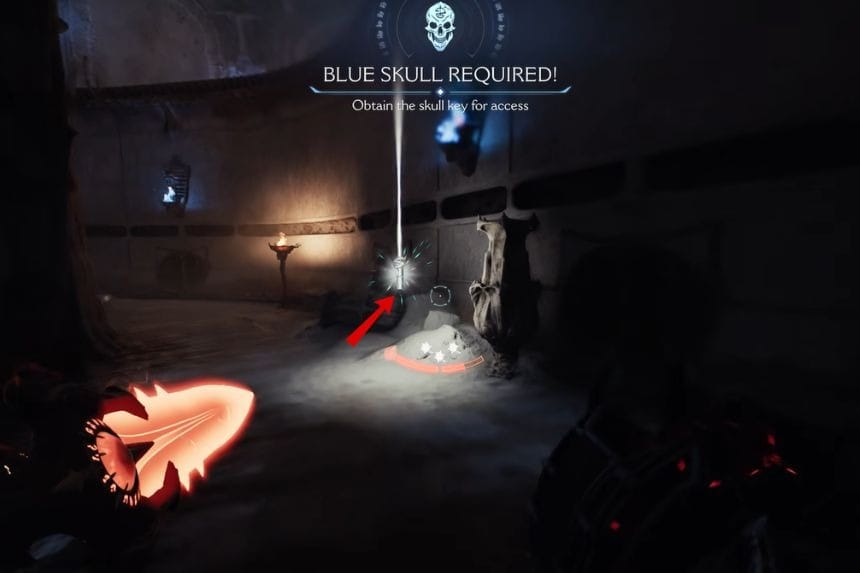
Reach the area marked on the map above and you will find a castle.enter the castle and take a right turn. Behind the room, you will find the relic piece.
Secret Area #3 + Platinum #4 + Collectible #3 – Relic Piece #2: Sword
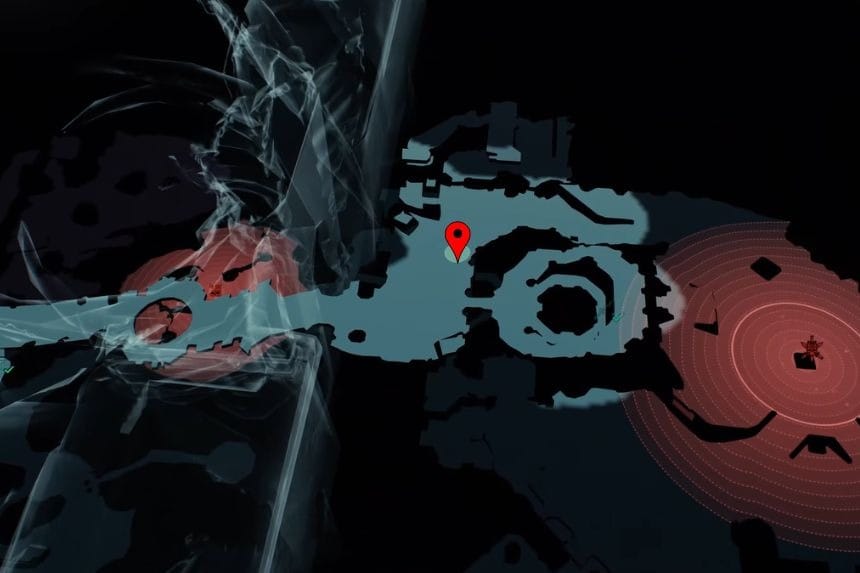
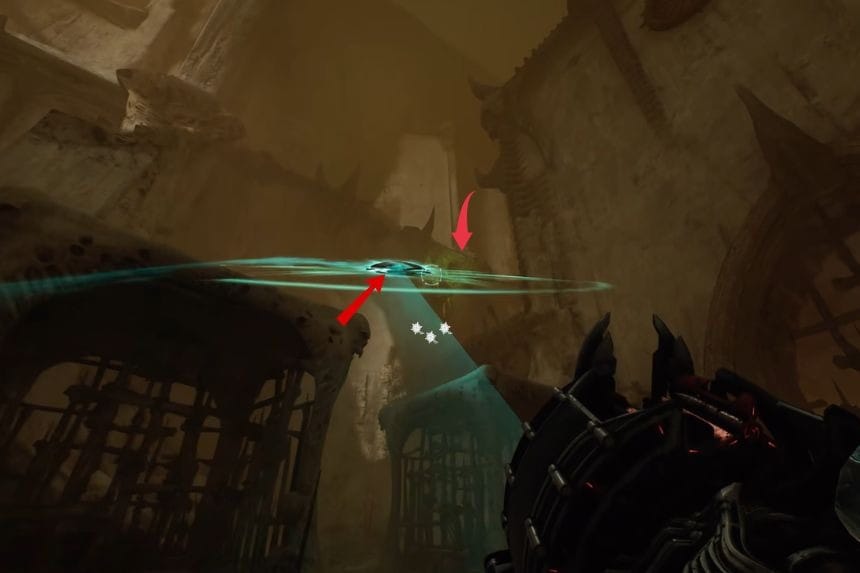


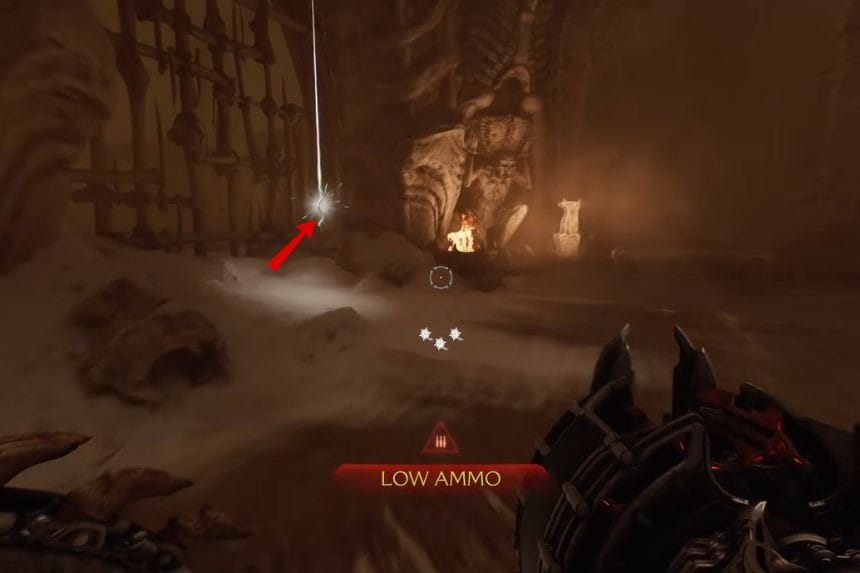
Go to the location marked on the map above and then climb the building with the help of the Green Flesh on the left side. Then jump down and move forward to find the Platinums. On your way there will be enemies guarding the area. Move forward and climb up from the left side. There you will find the Platinums. Now jump down to reach the next area. This area has a skeleton door on the right side. On the left, you will find the relic piece.
Collectible #3 – Relic Piece #3: Sword
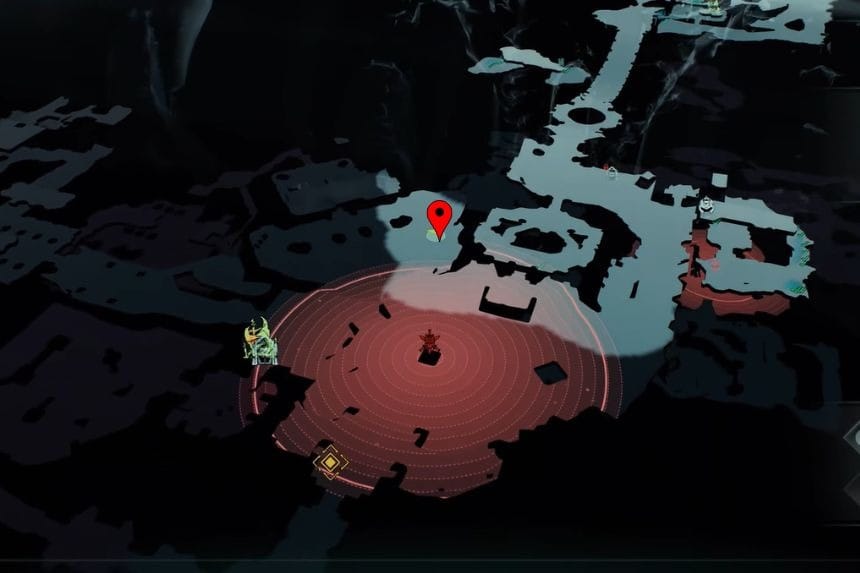
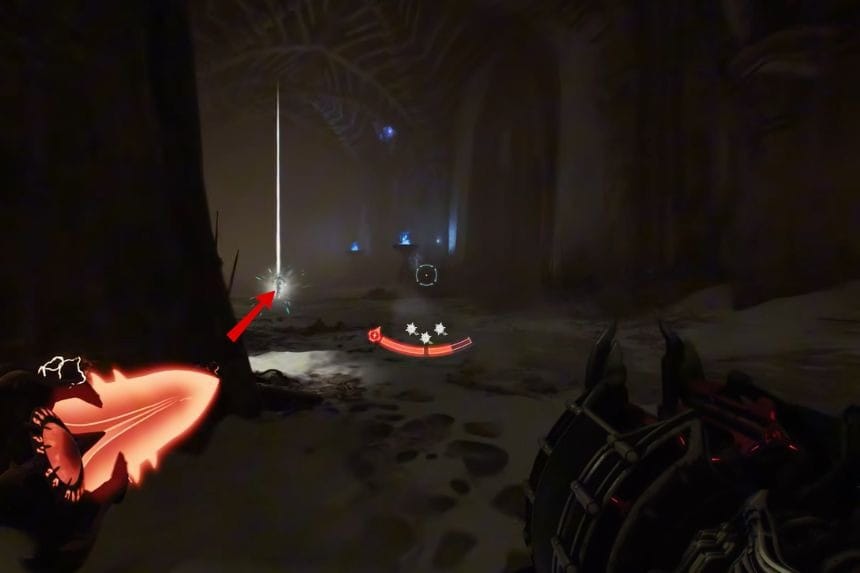
Reach the location marked above and on the right side, behind the wall you will find the relic piece.
Secret Area #4 + Collectible #3 – Relic Piece #4: Sword
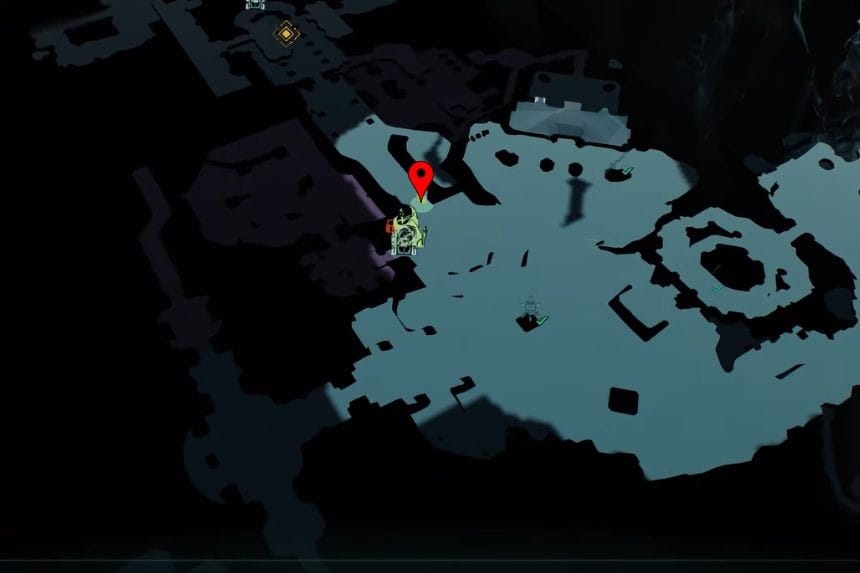
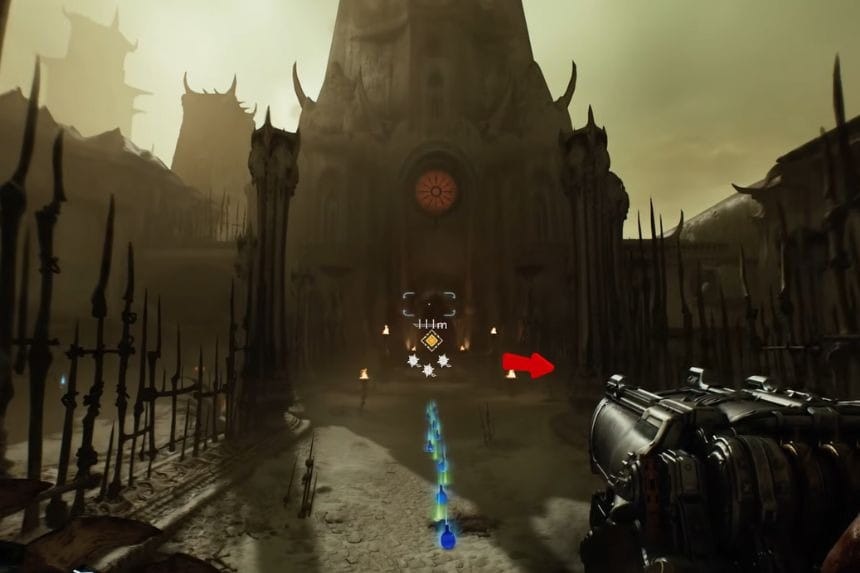
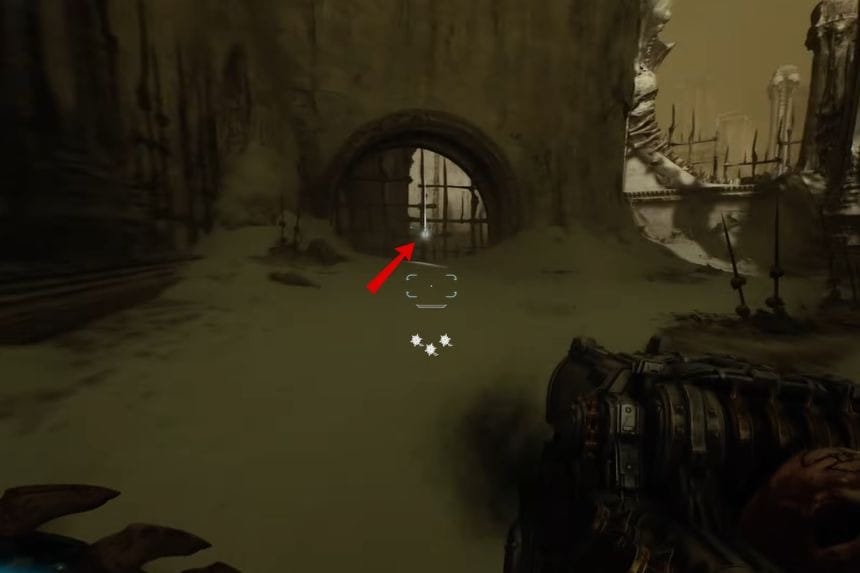
Go to the location marked above and you will find a large building. Go towards the right side to find the relic piece near a broken gate.
Platinum #5
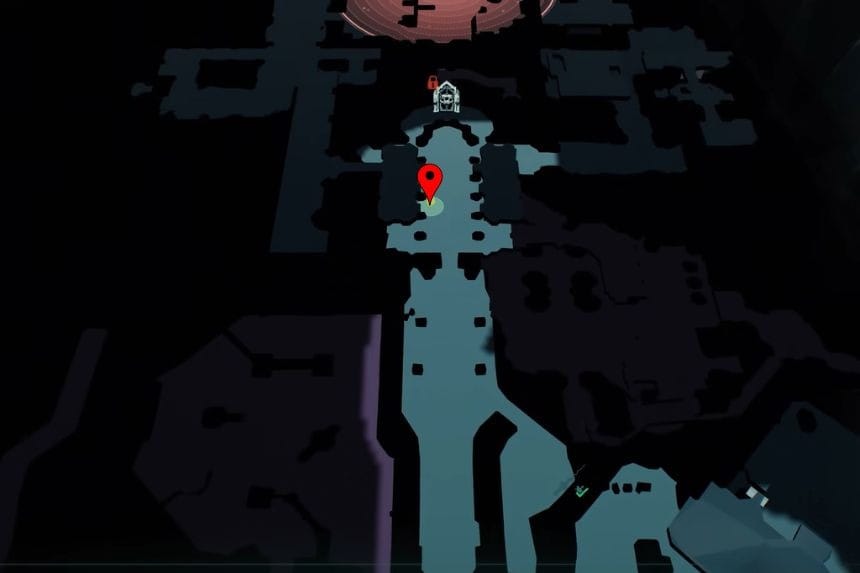
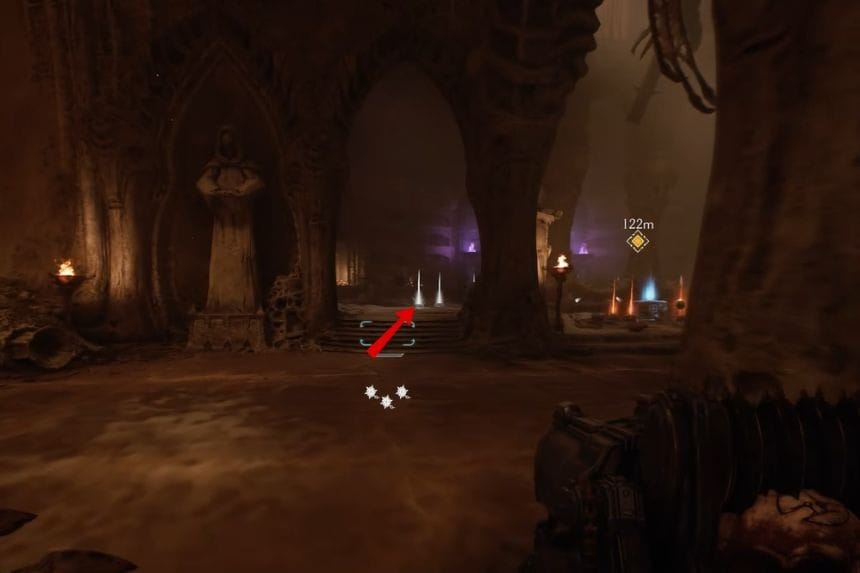
In the location marked above, go towards the left side to find the Platinums.
Platinum #6
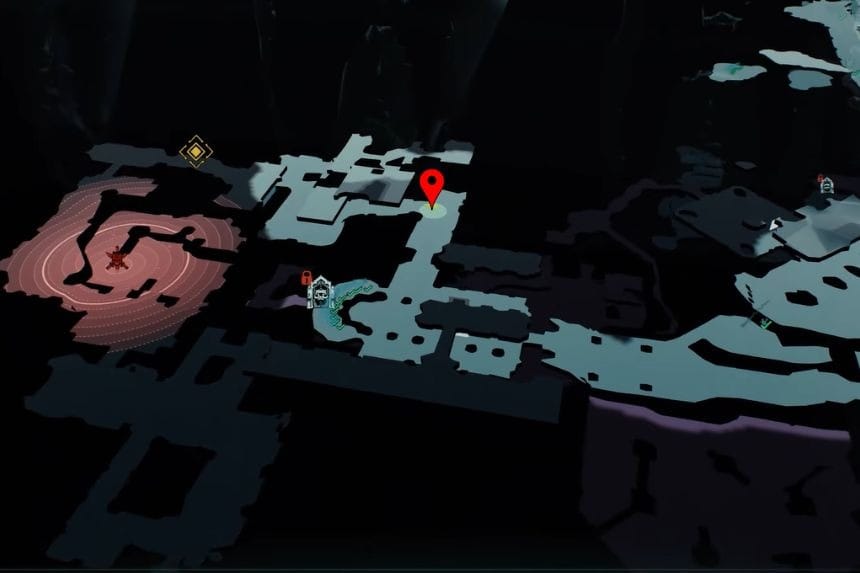
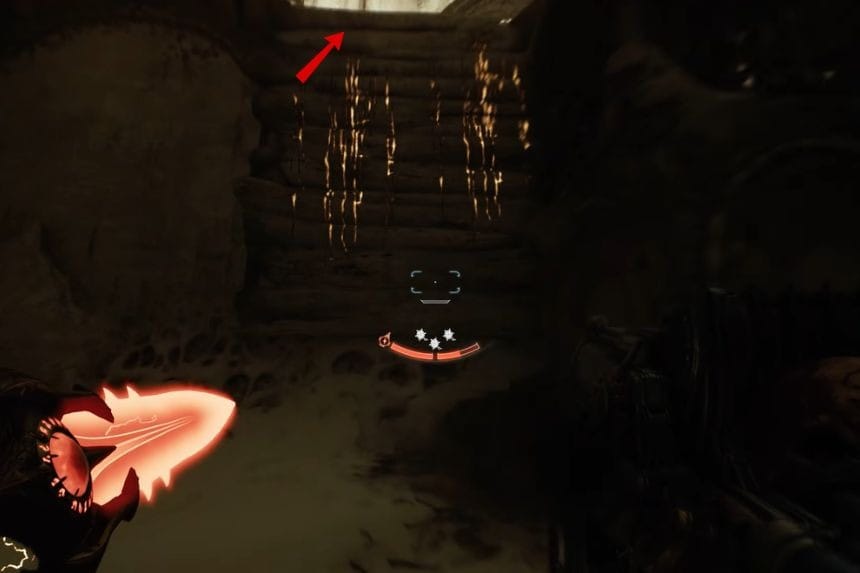
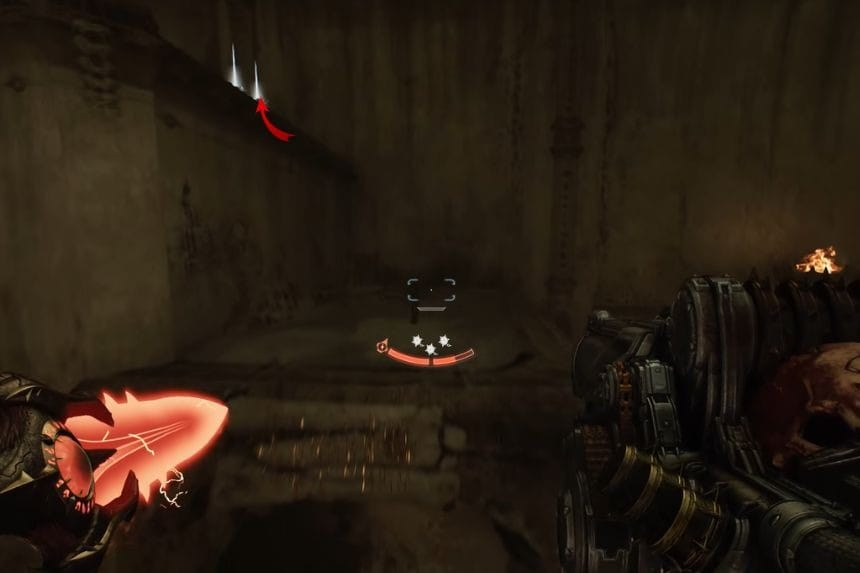
Go to the location marked above and take a right turn to climb a wall. Now jump towards the next building and from there, use the Green Flesh inside the window to enter the house. In that room, turn back to find the Platinums. From there, you will be able to see another Green Flesh. Use that Green Flesh to reach the roof of the building and collect the remaining Platinums.
Platinum #7
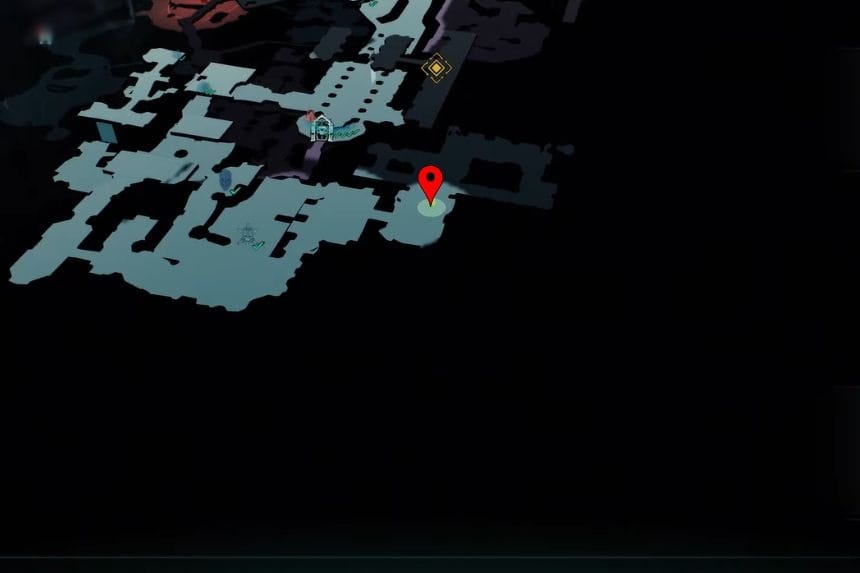
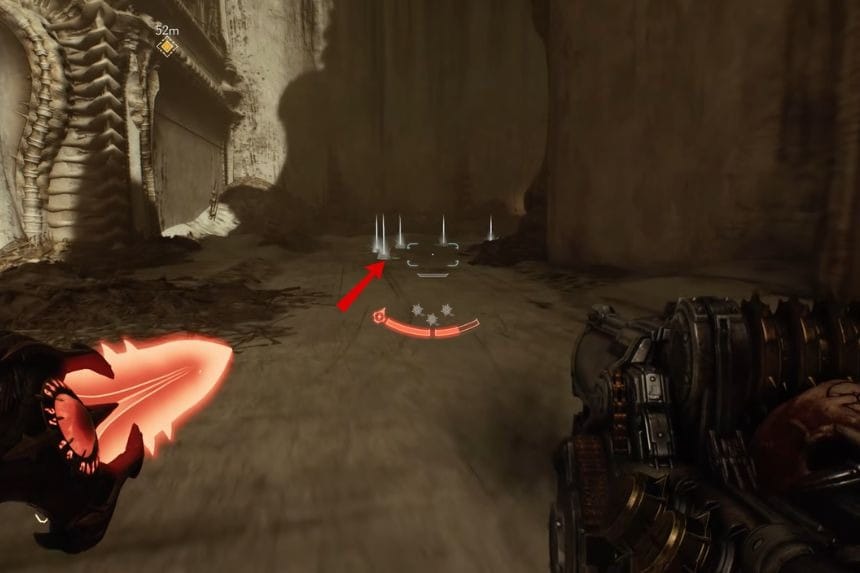
In the above marked location, you will see the Platinums in front of you.
Platinum #8 + Secret Area #5
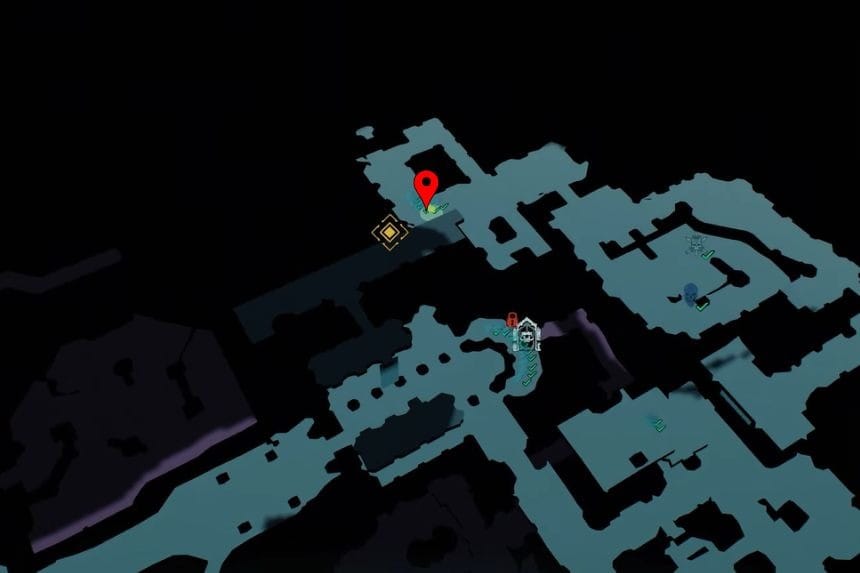
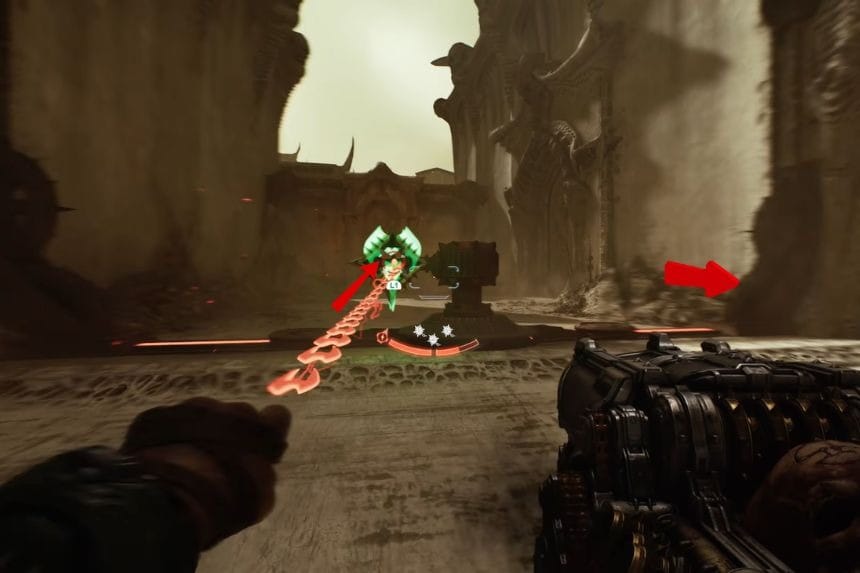
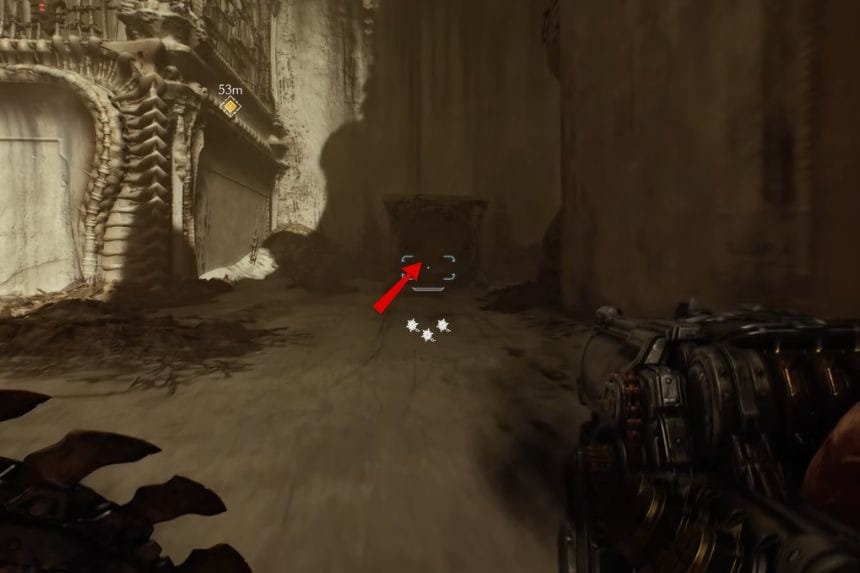
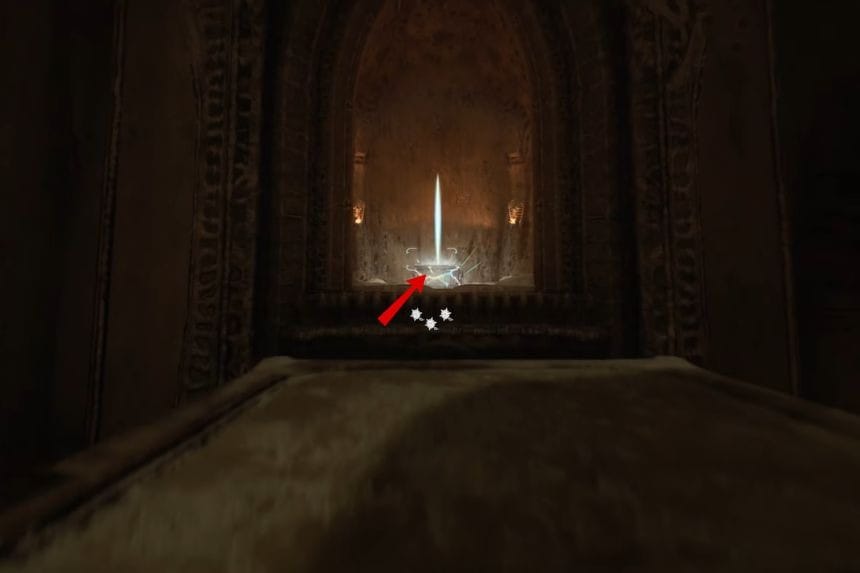
Go to the location marked on the map above and use the green button to unlock the door. After opening the door, use your chain to bring the gate in front of the door. Now, return back and use the green glowing structure to push the cube inside the gate. Keep pushing the cube towards the back side so that you can use it to enter a secret area and collect the Platinums.
Platinum #9

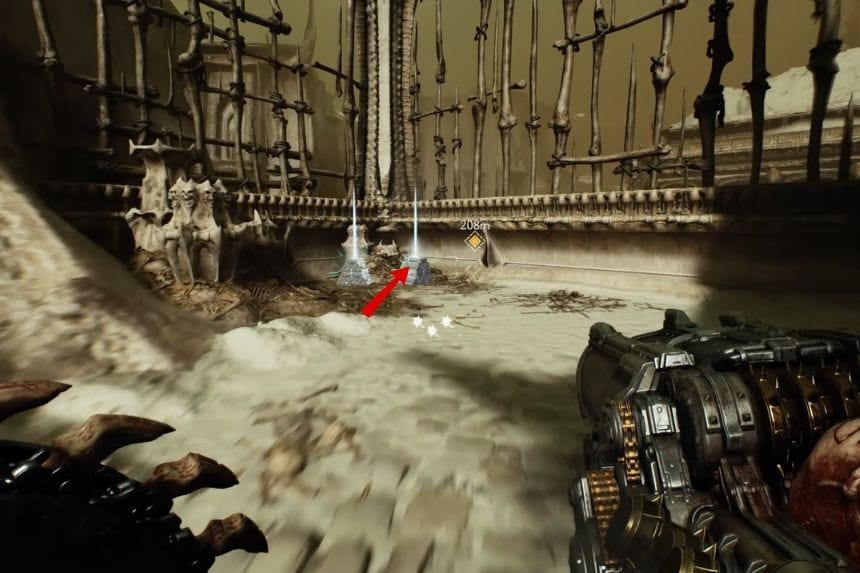
Go to the location marked on the map above to find the Platinums near a pillar.
Secret Area #6 + Collectible #4 – Toy: Whiplash


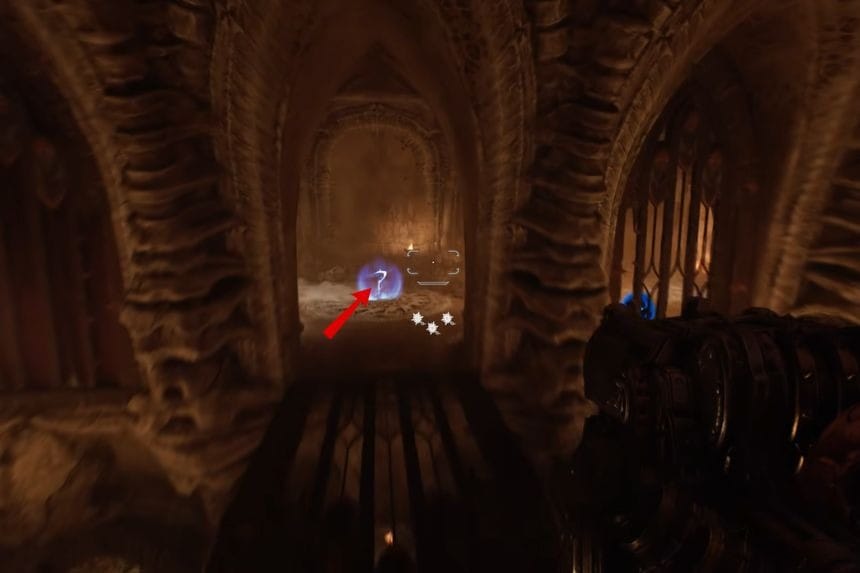
Go to the above marked location and break the Energy Nodes inside the skull. Now climb up and jump towards the room in front of you. There you will find a monster. Kill that monster to get the Whiplash toy.
Secret Area #7 + Collectible #5 – Weapon Skin #2 + Platinum #10
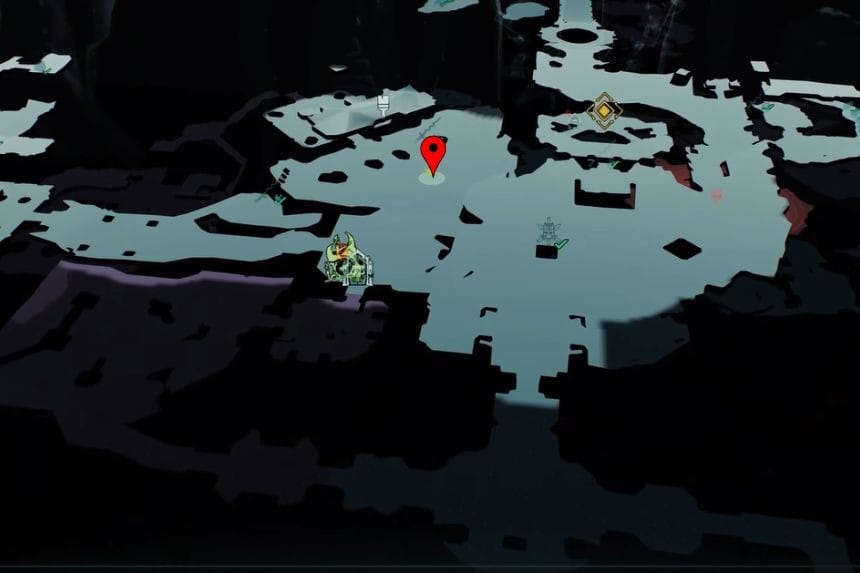
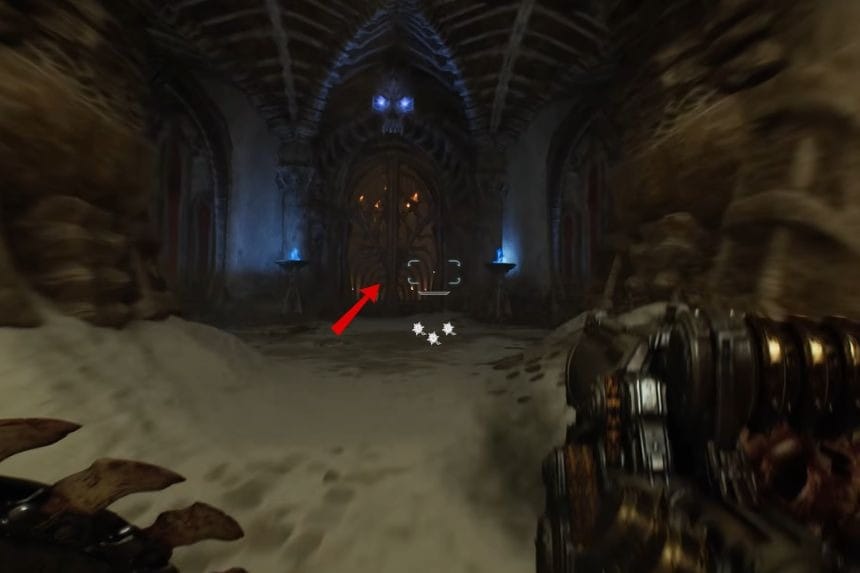
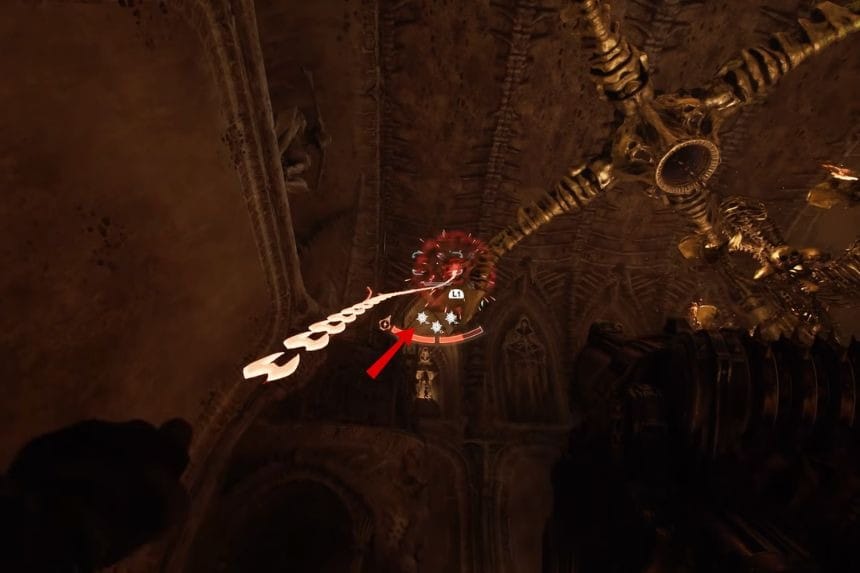
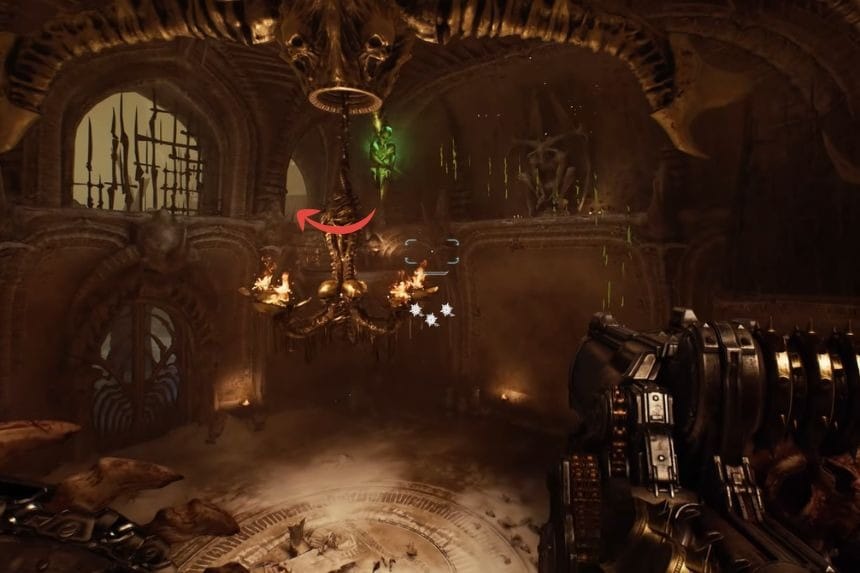
In the above marked location, you will find a castle. Enter the castle and rotate the chandelier. Now use the Green Flesh to climb up the structure and collect the Platinums. Now again rotate the Chandelier to reach the opposite area. From that area, climb up and on the right side you will find the weapon skin.
Secret Area #8
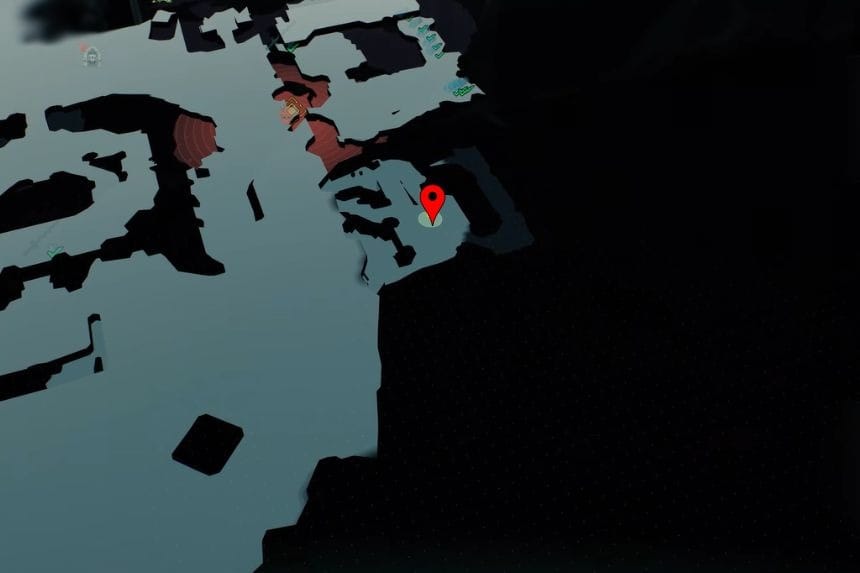
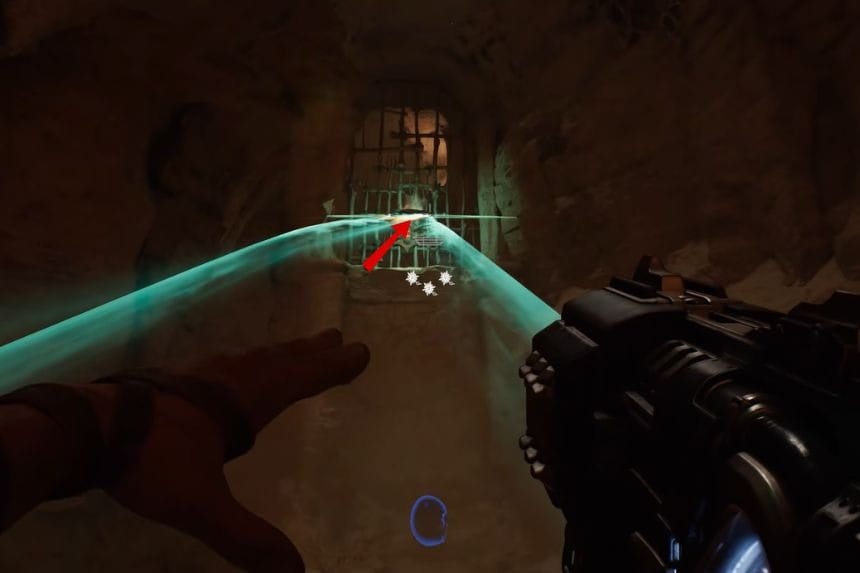
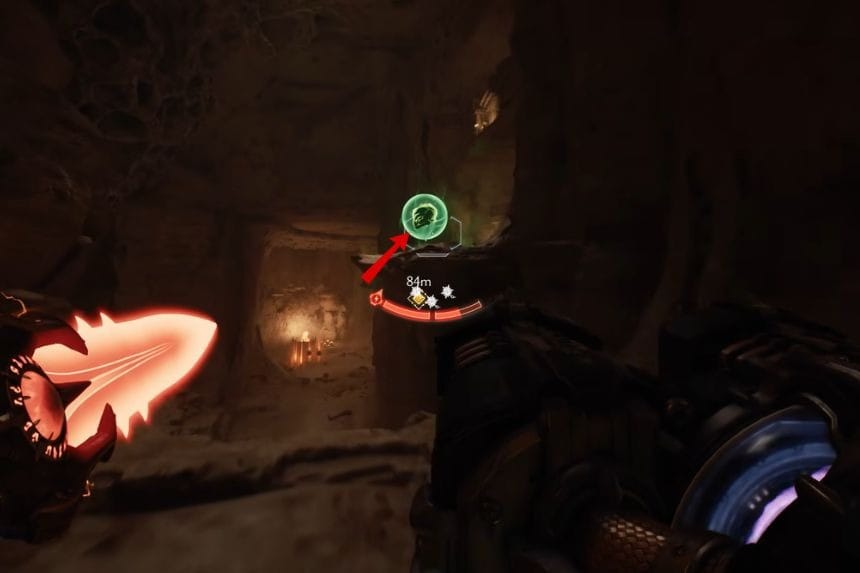
Reach the location marked above. Then go underground to reach a fork. Take the left side and break the orange button. After breaking the button, jump towards the ledge and climb up towards the structure. Now turn back and use the Green Flesh to reach the secret area.
Leader Essence #1
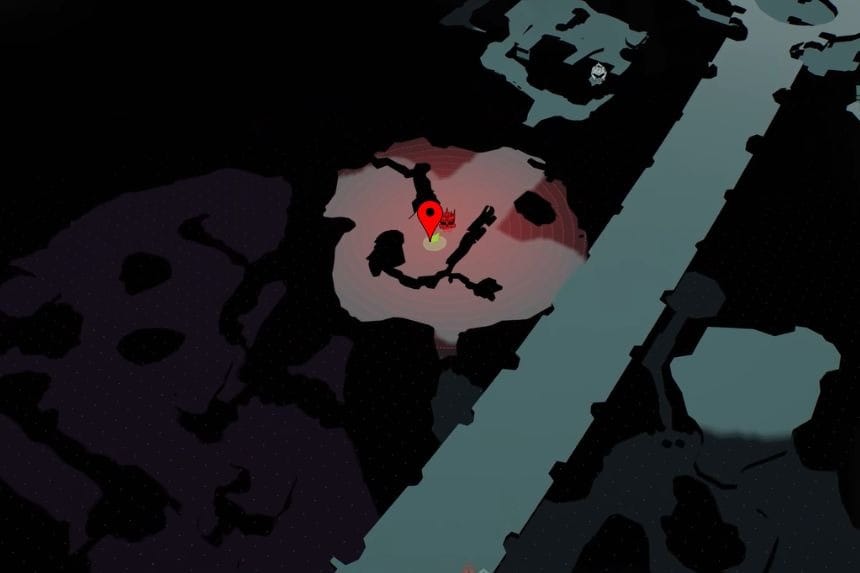
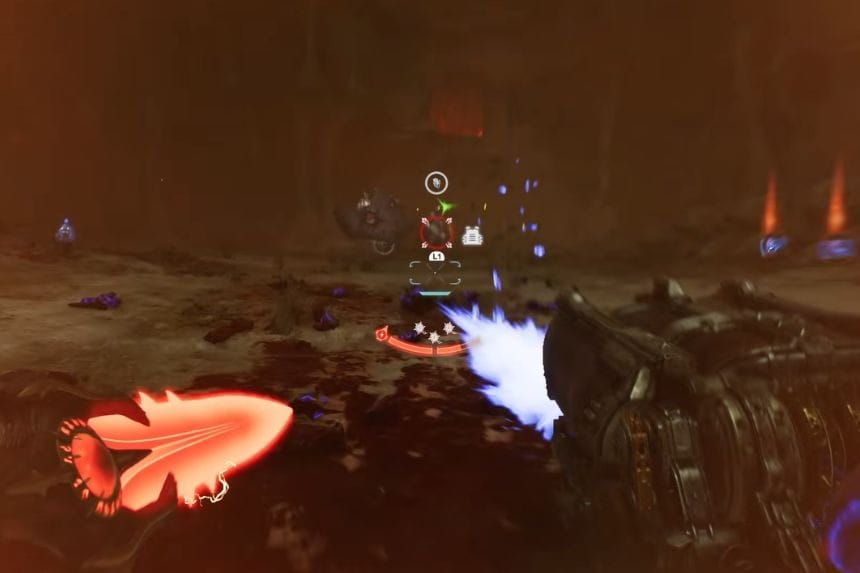
Continue your journey in the story to find a leader inside the cave. Defeat all the monsters nearby and after killing the leader, you will get the Leader Essence.
Platinum #11
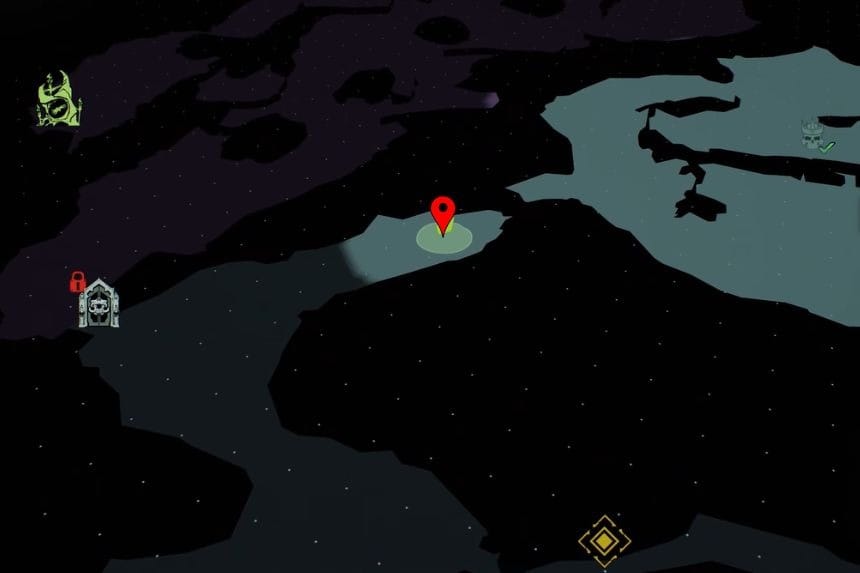
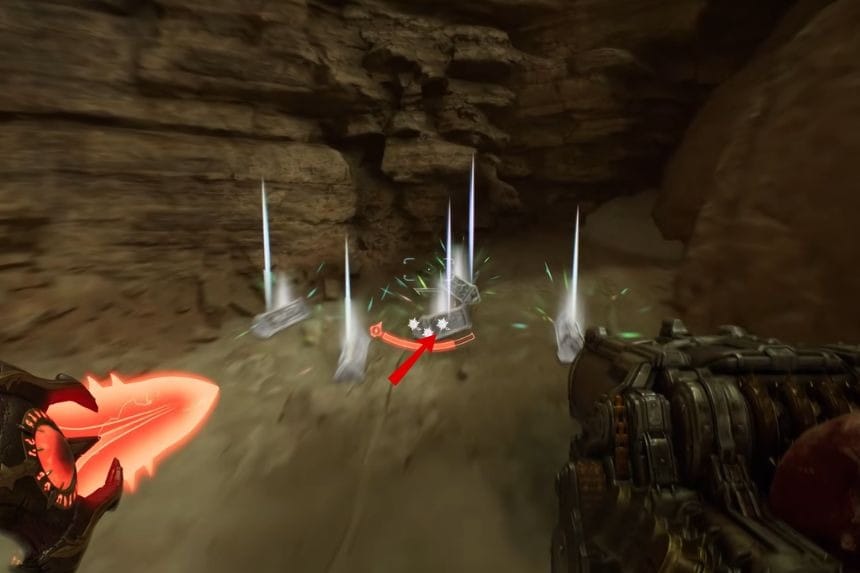
Go to the location marked on the map above and you will find the Platinums near the ledge.
Platinum #12
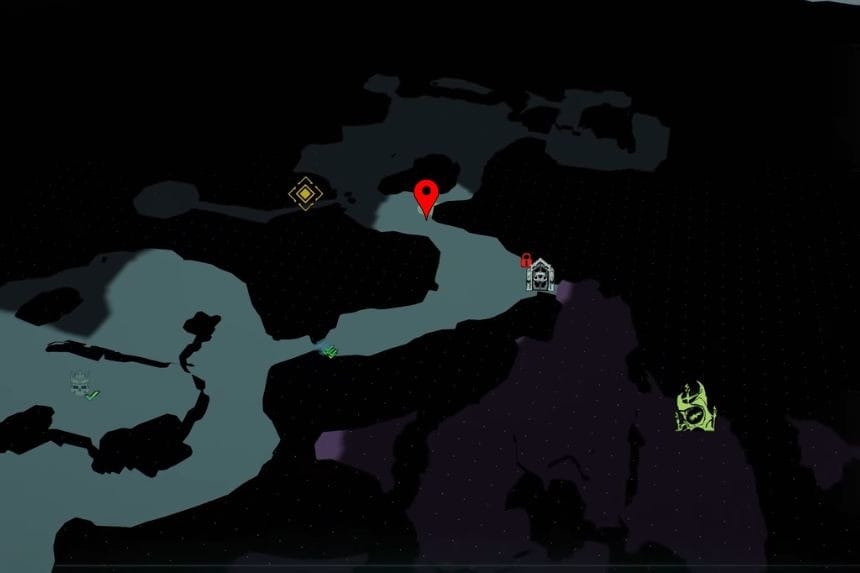
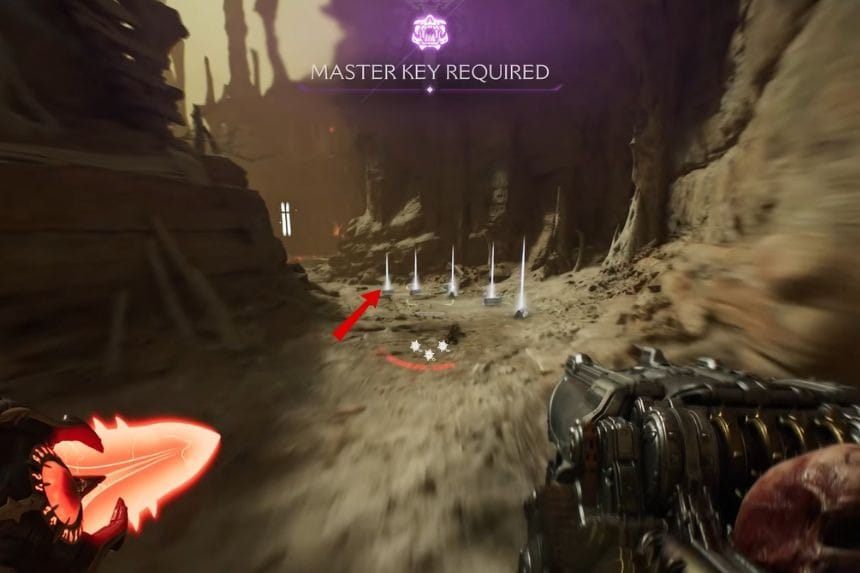
Go to the location marked above and in front of you, you will find the Platinums.
Platinum #13 + Secret Area #9
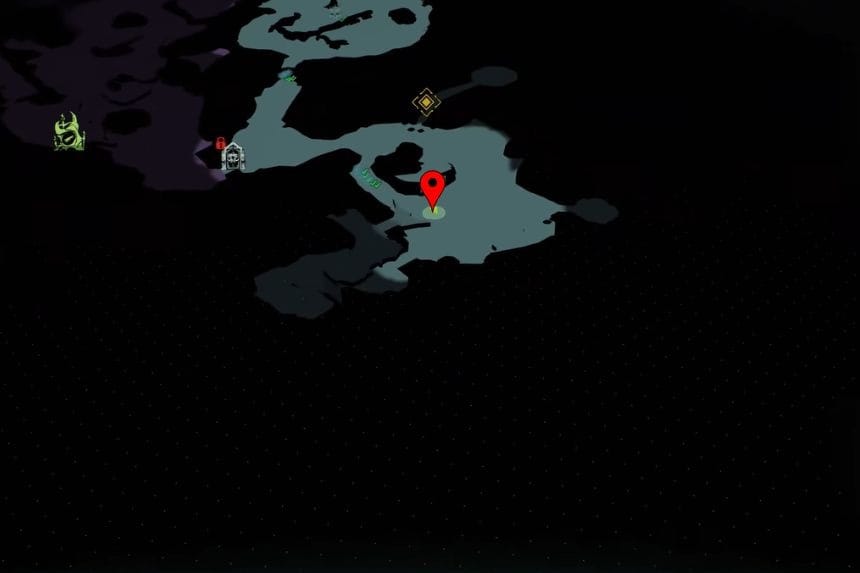
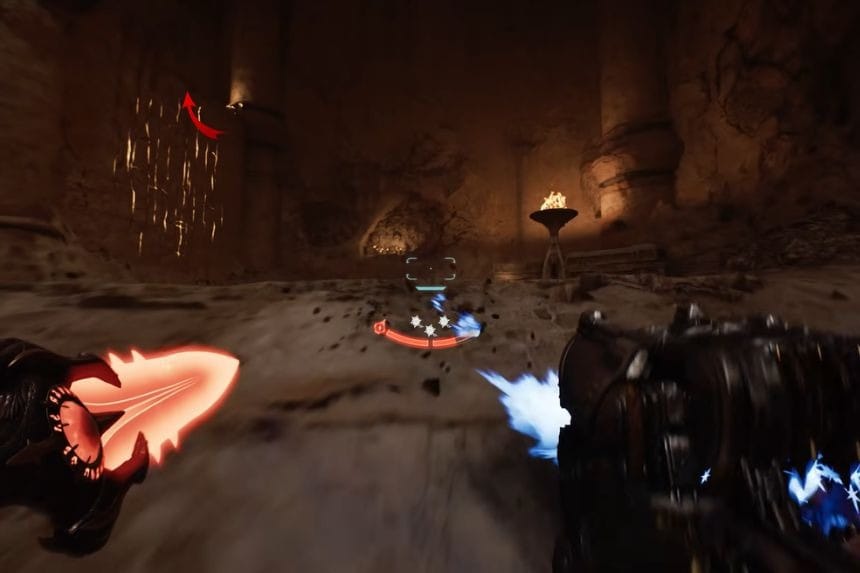
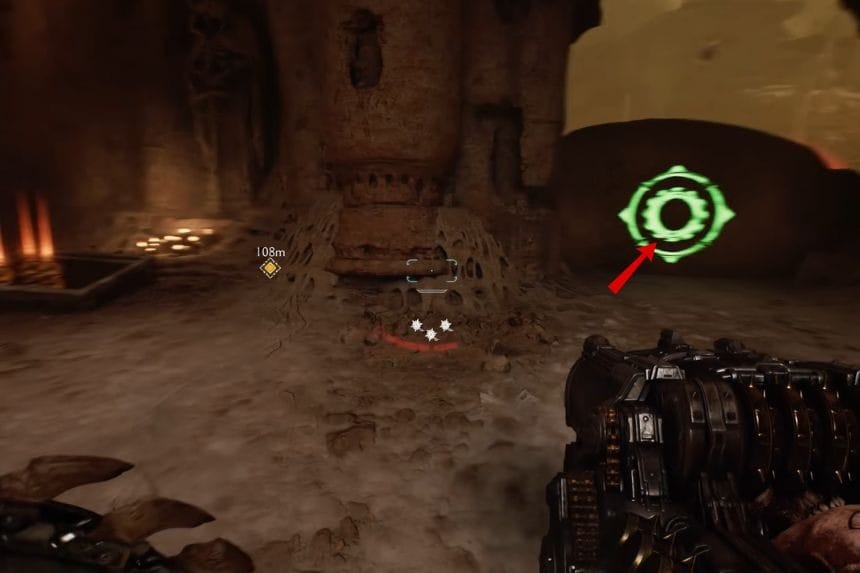
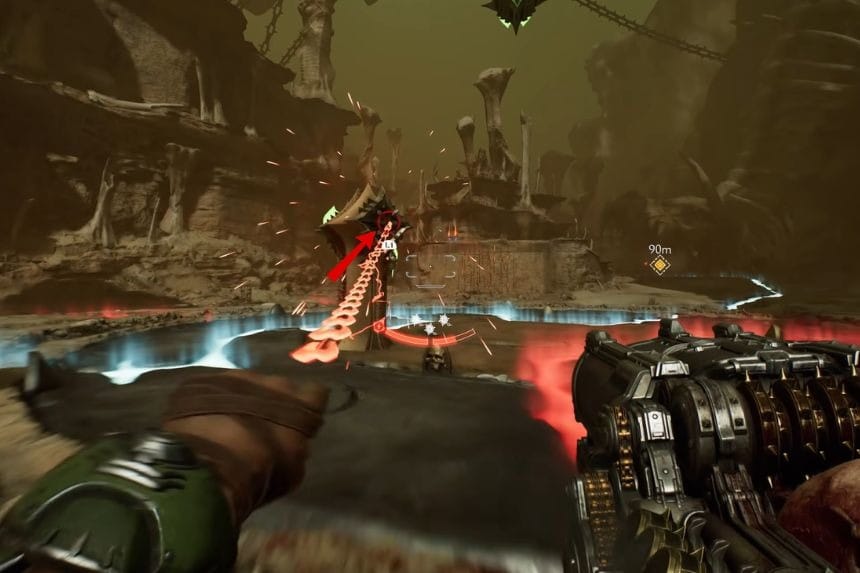
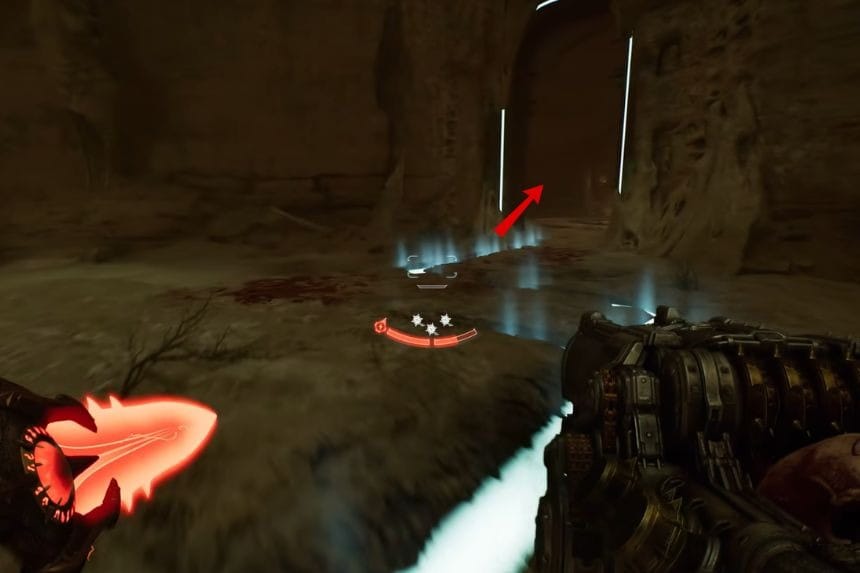
In the location marked above, take a right turn to enter a room. Move forward in the room, killing all the monsters. On the left side climb the wall to find a rock that you can move. Use your force to move the rock and then drop down to reach the centre area. Now rotate the centre structure to find a secret room containing platinums.
Platinum #14 + Secret Area #10 + Collectible #6 – Codex: Osseus

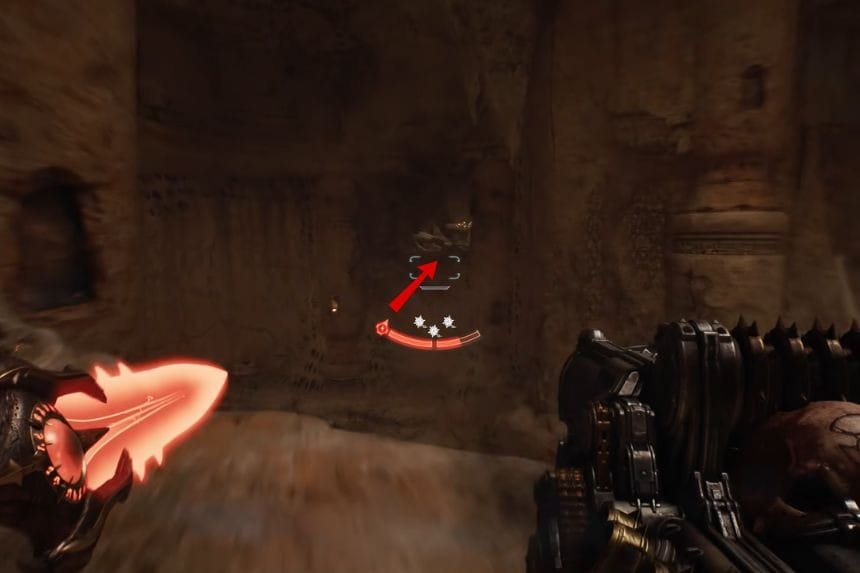
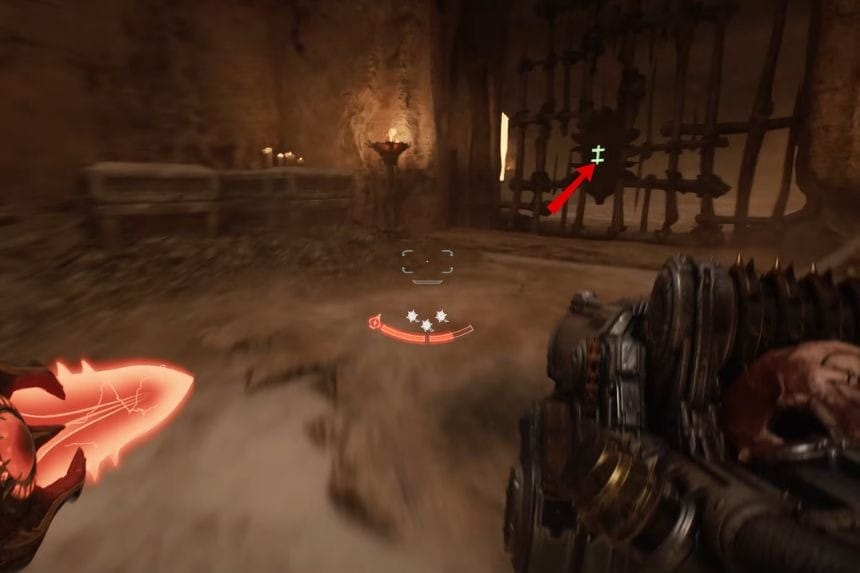
Go to the location marked above and on the right side you will find a broken wall. Jump into the broken wall to reach a room. Move forward in the room to find the Platinum and the Codex: Osseus.
Collectible #7 – Relic Piece #1: Urn
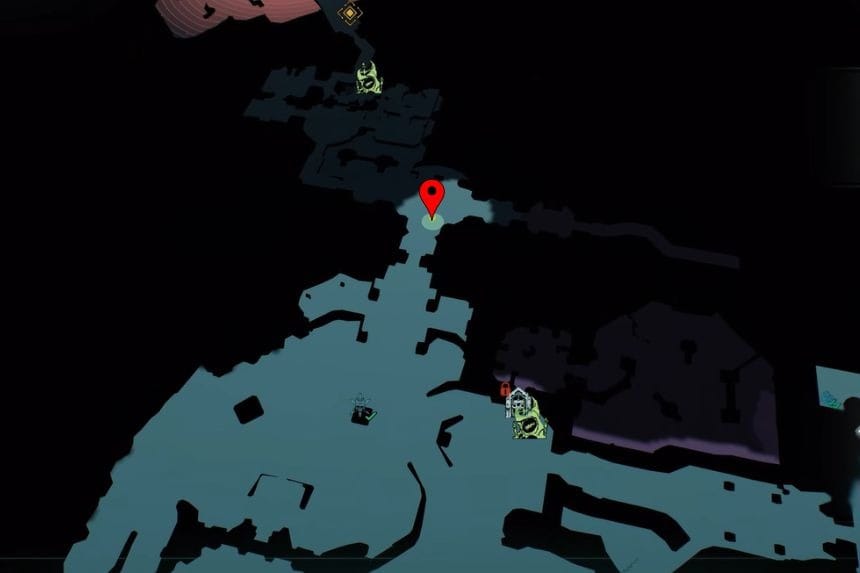
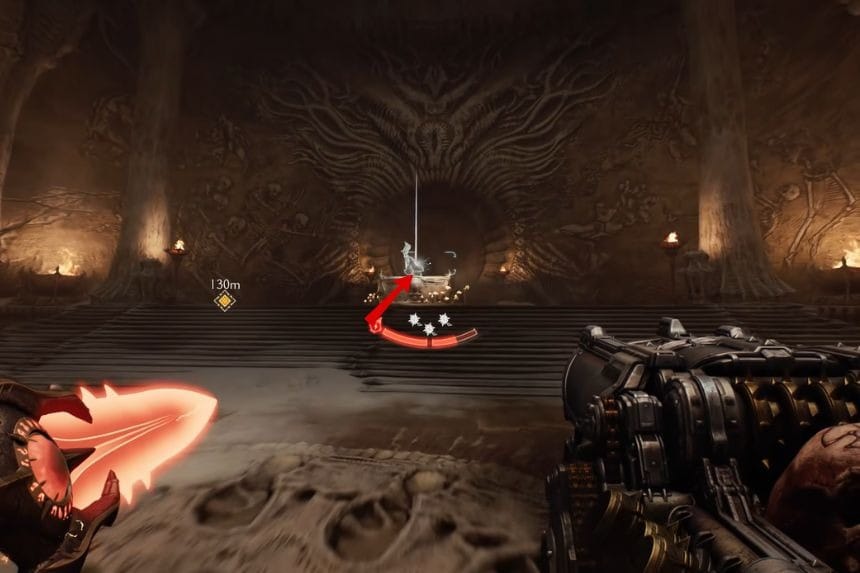
Go to the location marked on the map above and in front of you there will be a relic piece on a pedestal.
Collectible #7 – Relic Piece #2: Urn + Secret Area #11
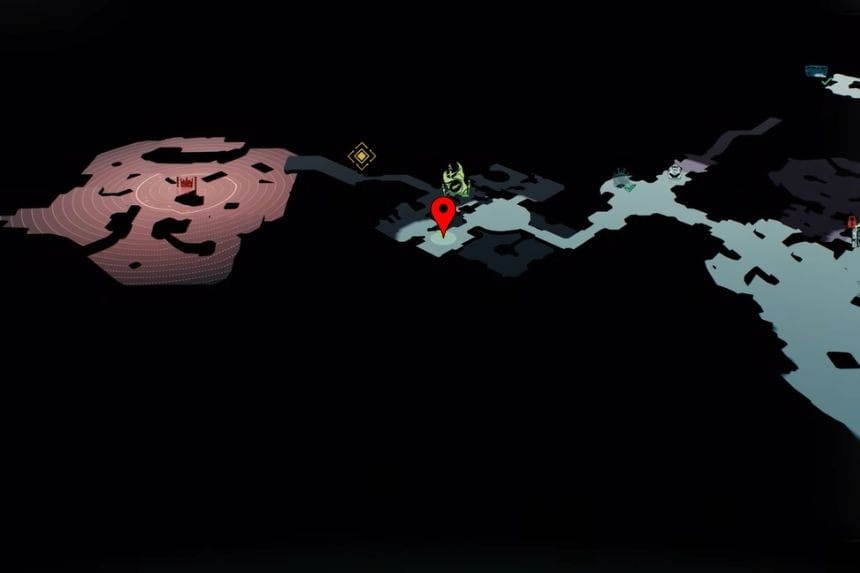
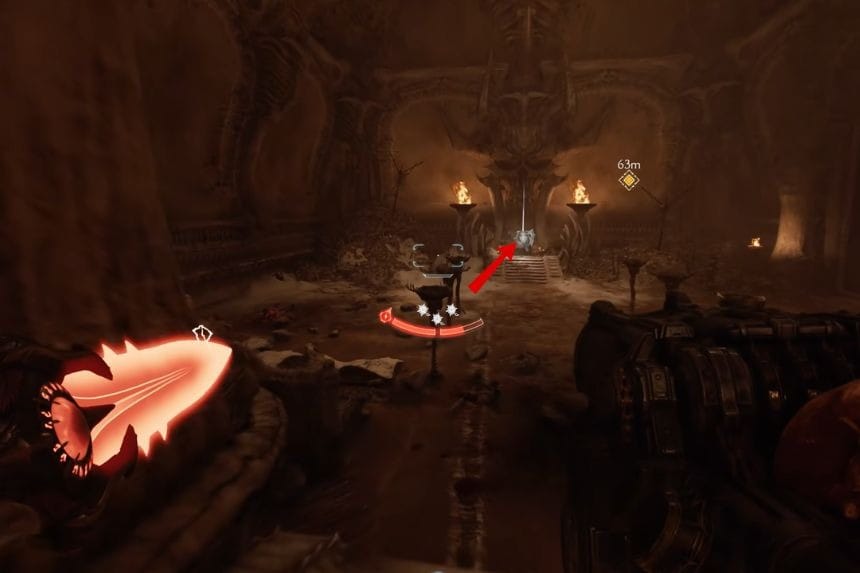
Go to the location marked on the map above and in front of you there will be a relic piece.
Collectible #7 – Relic Piece #3: Urn + Secret Area #12
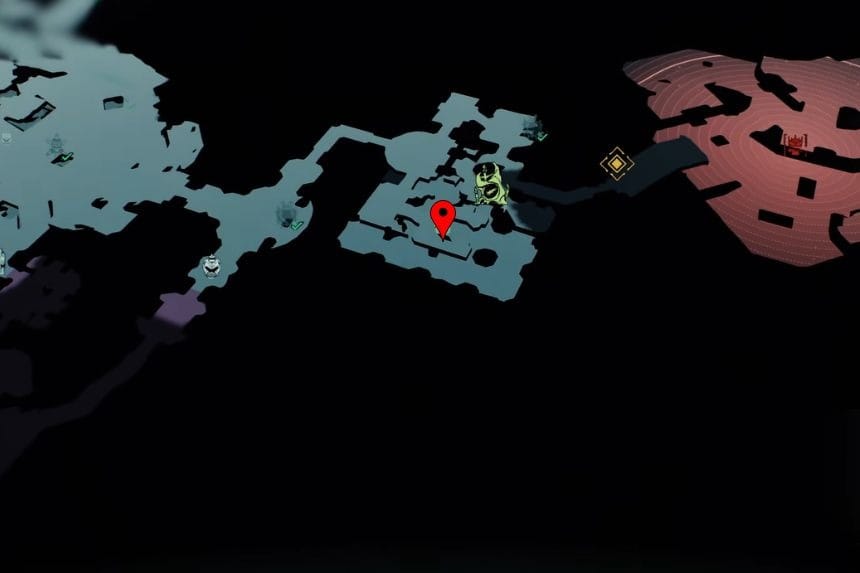

In the above-marked location, take a left turn and behind the climbable wall, you will find the relic piece.
Platinum #15
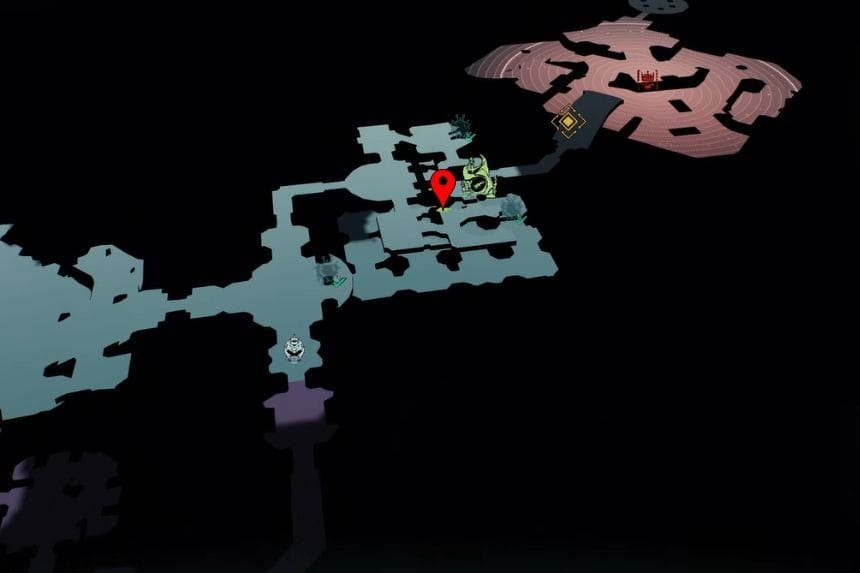
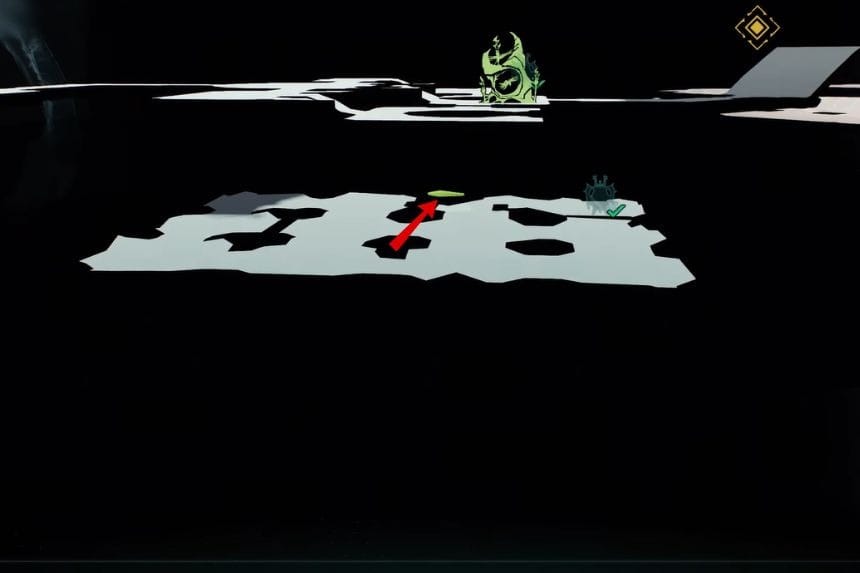
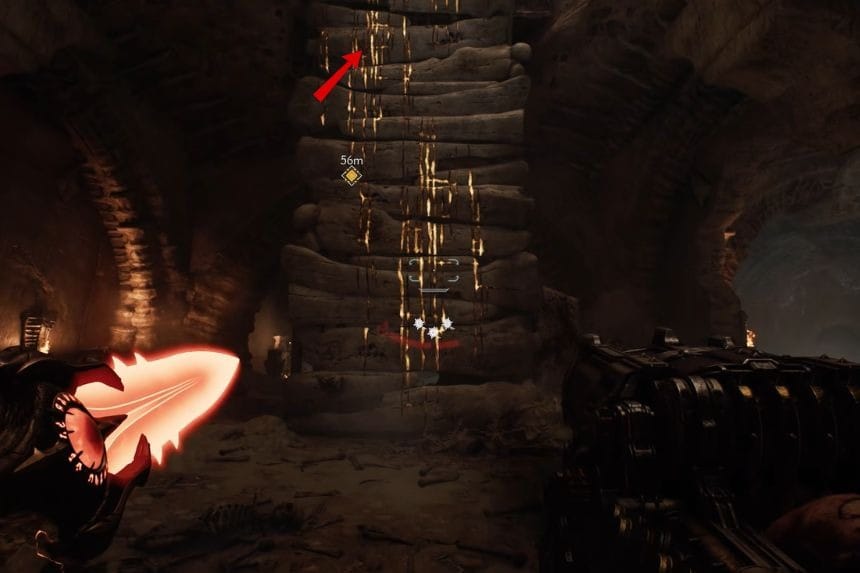
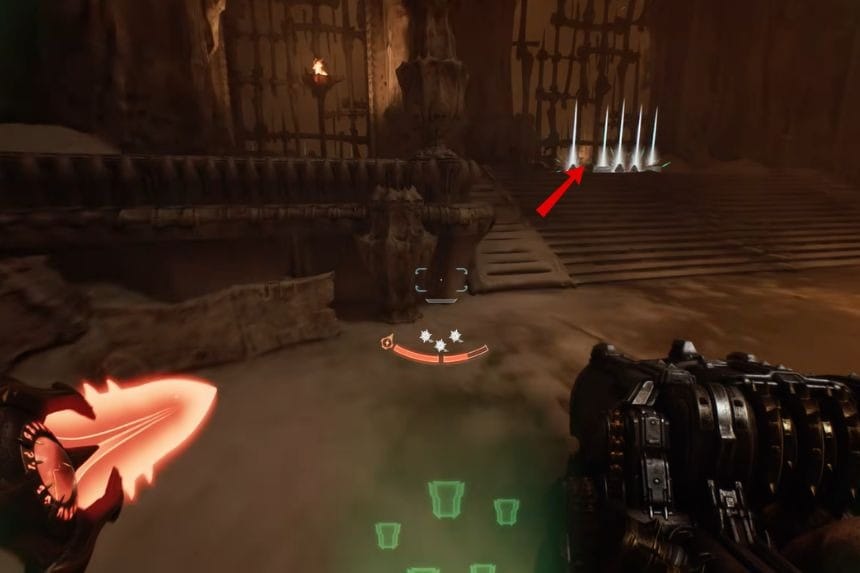
Go to the location marked on the map above and climb the wall in front of you. Take a right turn and on the stairs you will find a Platinum.
Leader Essence #2
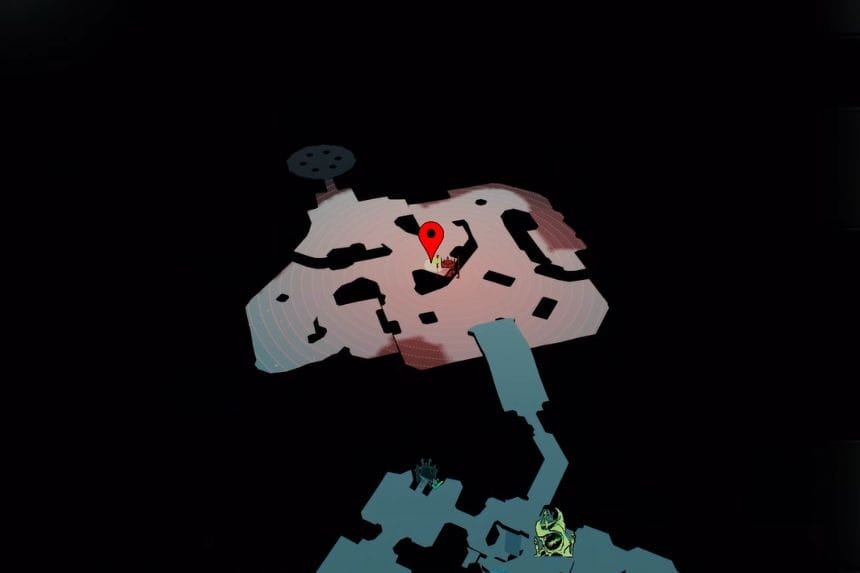
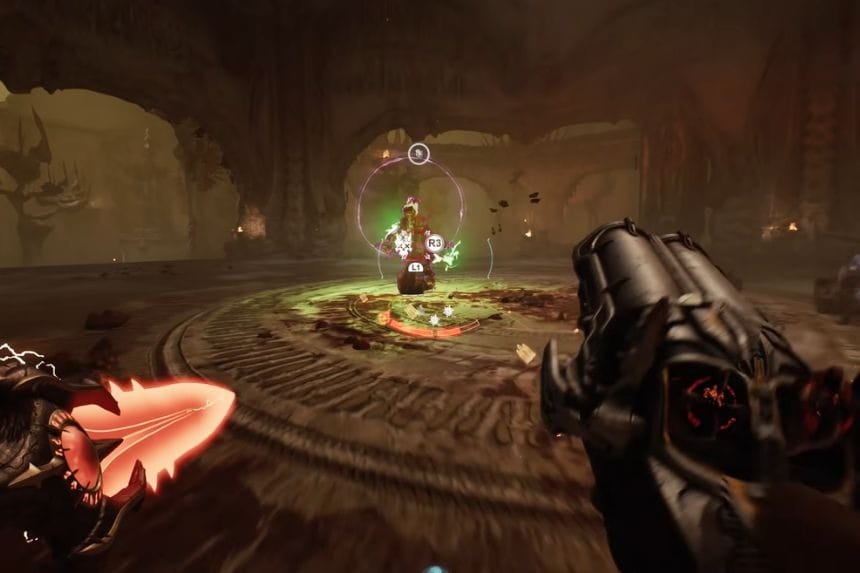
Move through the quest to find the leader inside the building. First, kill all his minions to break his shield. After that, defeat the leader to get the Leader Essence.
Purgatory All Collectables & Secrets
Purgatory is the hub level in DOOM: The Dark Ages – Revelations. After The Henchman defeats the Doom Slayer, he is thrown into a frozen wasteland. To escape this icy place and continue his journey, he will need the help of The Architect.
Collectible #1 – Weapon Skin #1

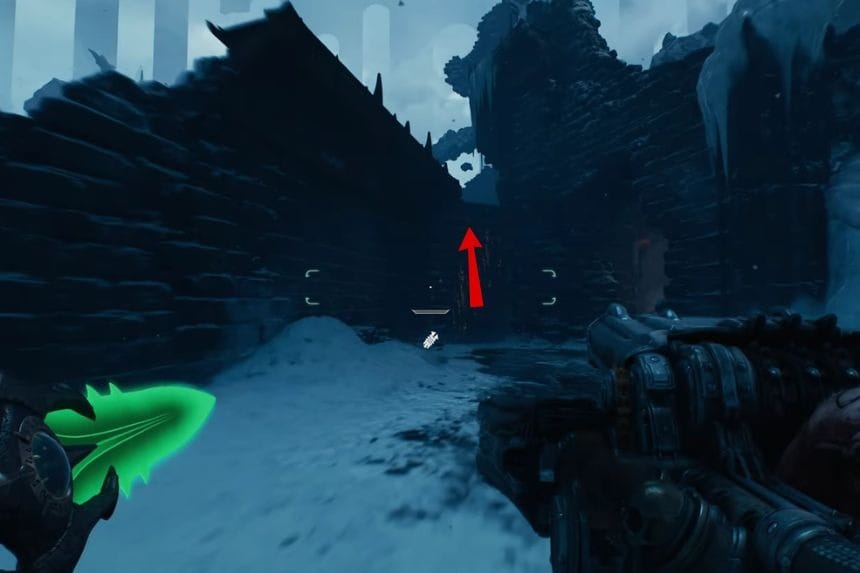

Go to the location and find a climbable wall in front of you. Climb that wall and move forward to find the weapon skin on the right side behind the arch.
Collectible #2 – Codex: Maykr Log I
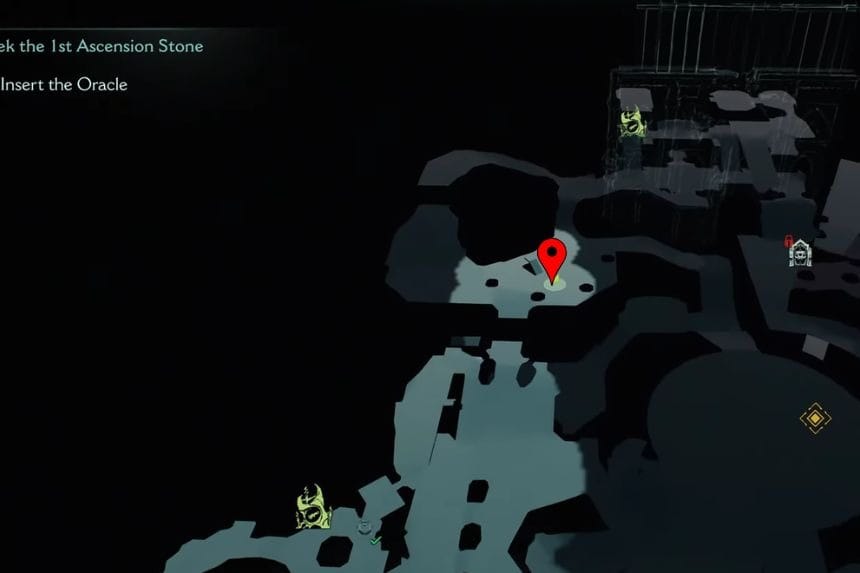
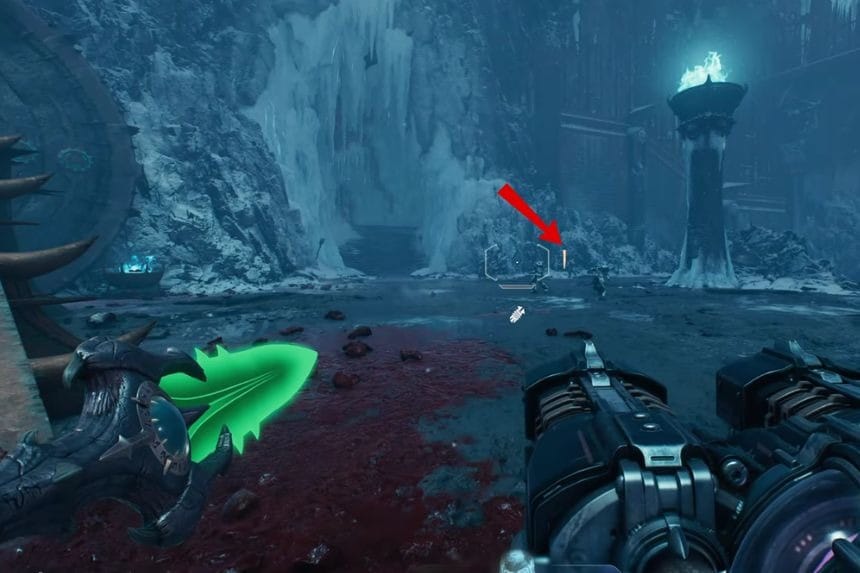
Go to the above marked location and you will find Codex: Maykr Log I in front of you, just beside a torch.
Collectible #3 – Codex: Trials Of Absolution
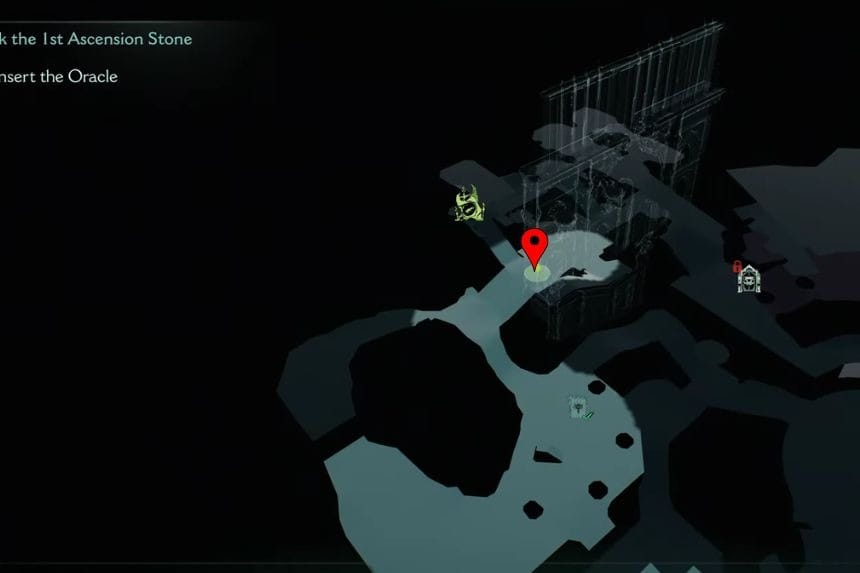
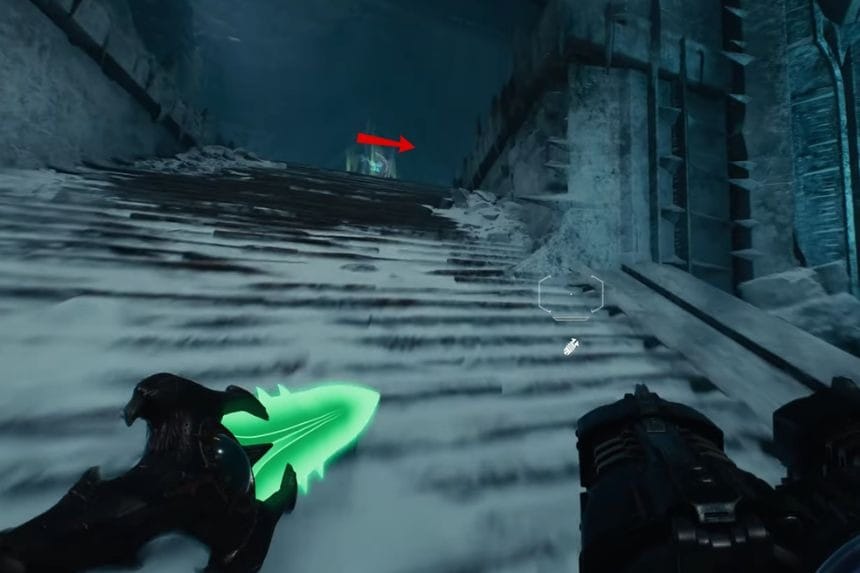
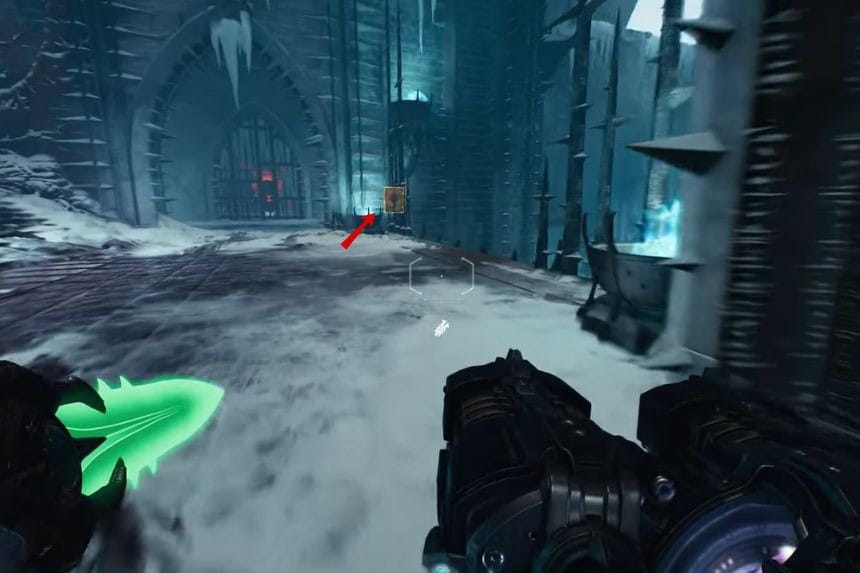
In this location marked above, go towards the left side and climb up the stairs. Then take a right turn and at the end you will find the Codex: Trials Of Absolution.
Collectible #4 – Codex: Slayer Confessional I
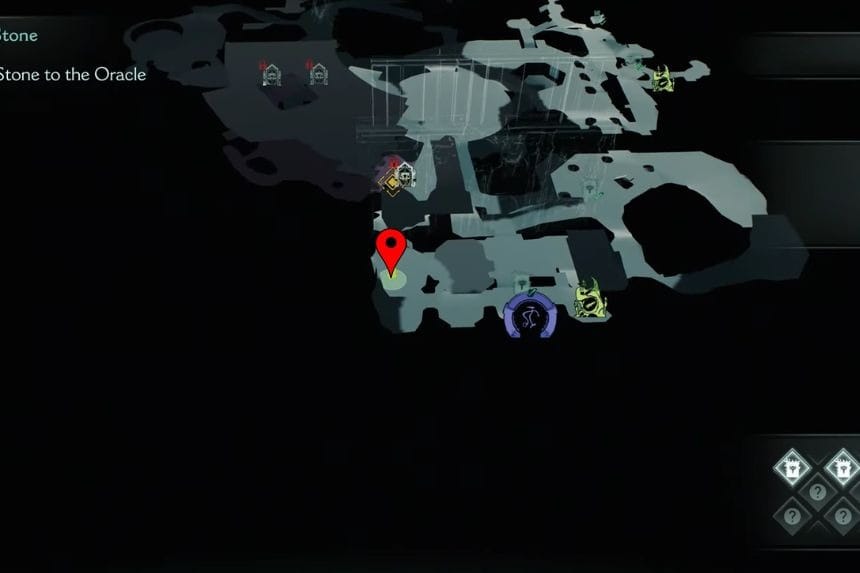
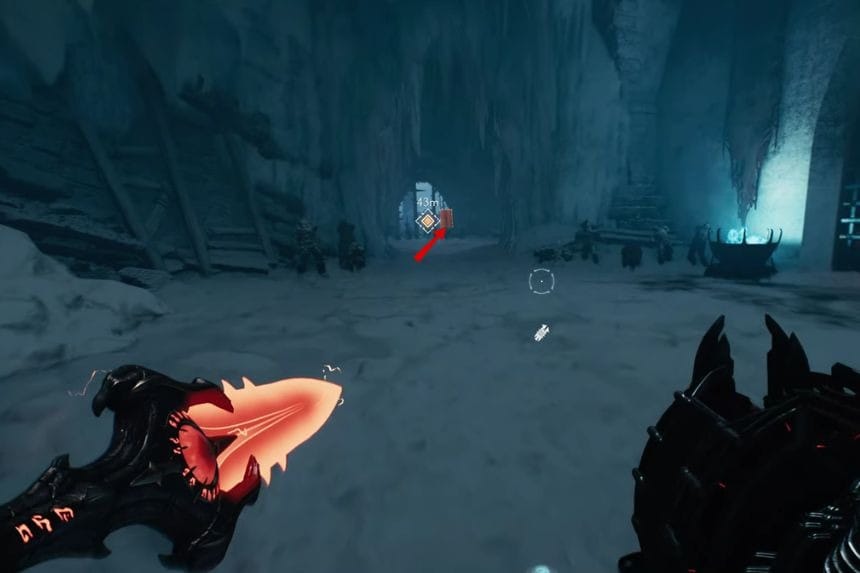
Go to the location marked above and in front of you there is the Codex: Slayer Confessional I.
Collectible #5 – Codex: Marok Letters II
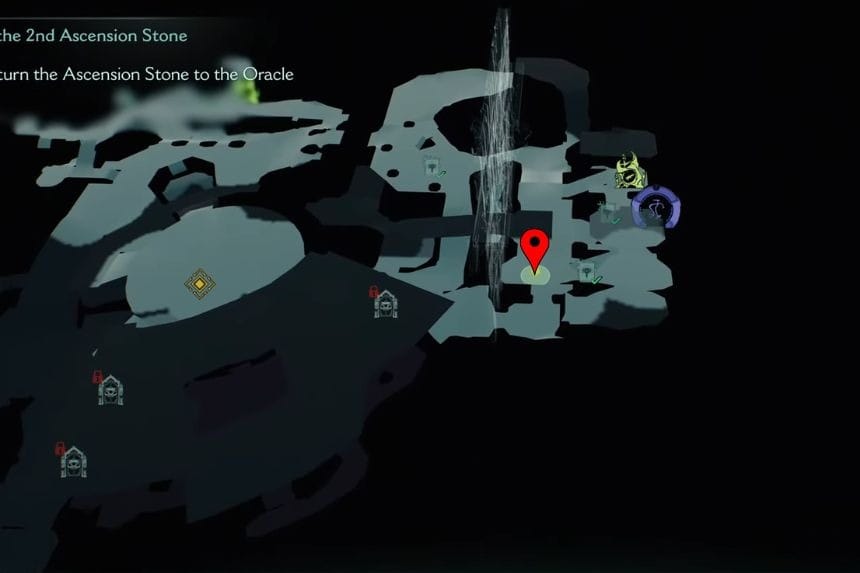
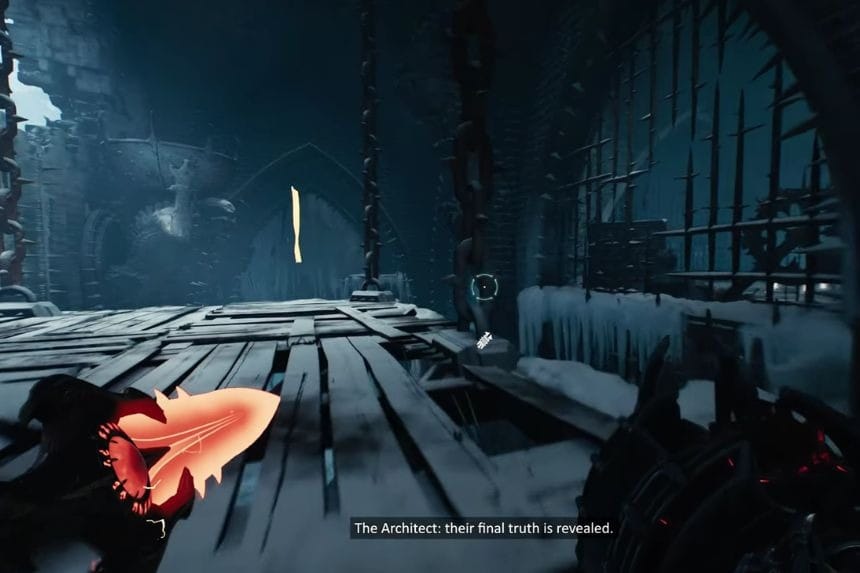
In the above marked location, you will find the Codex: Marok Letters II, on a wooden bridge.
Collectible #6 – Codex: Journal Of The Architect II
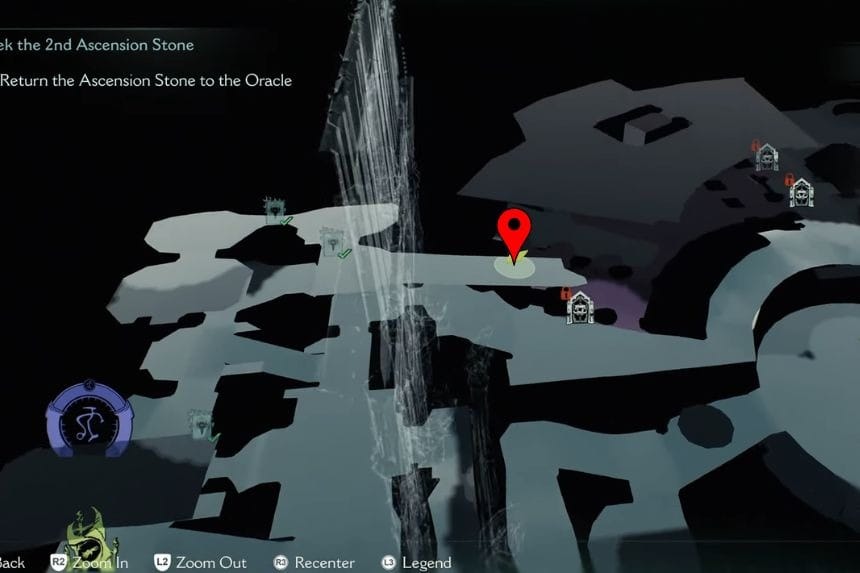
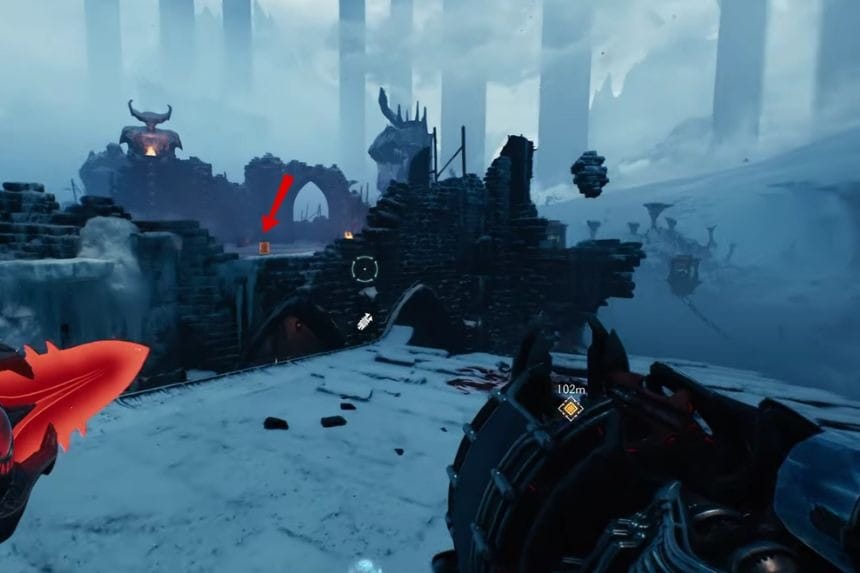
Reach the location marked above. You need to jump towards the building in front of you to get the Codex: Journal Of The Architect II.
Platinum #1
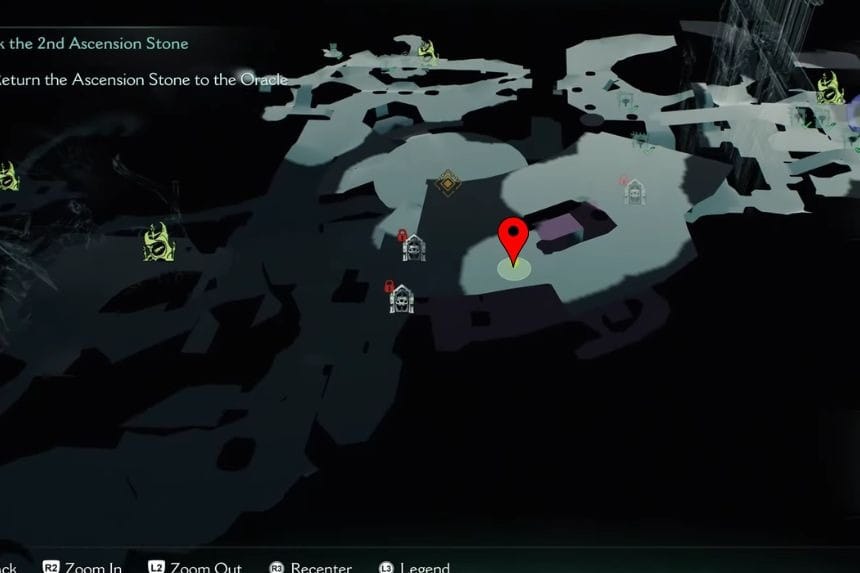
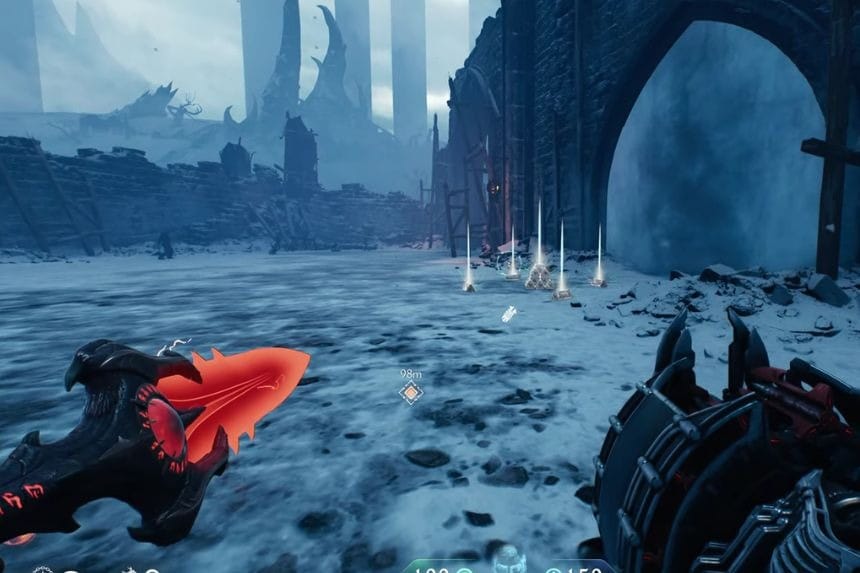
In the location marked above, you will find the Platinums near an arch.
Platinum #2
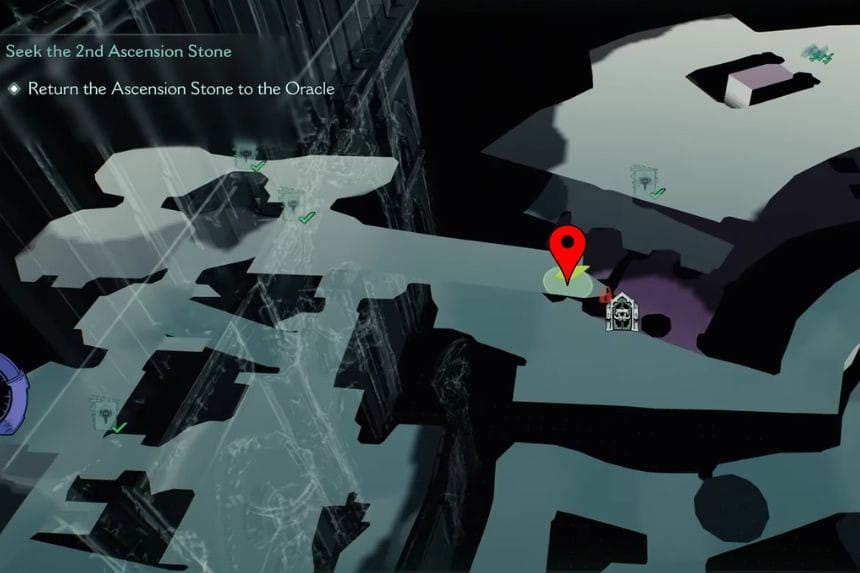
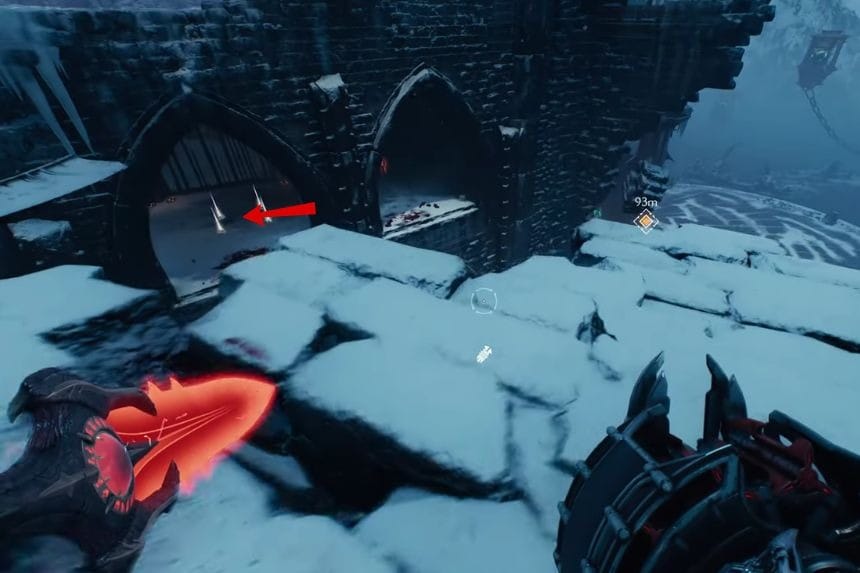
Reach the location in the map and jump towards the building in front of you to reach the first floor. Inside you will find the Platinums.
Platinum #3

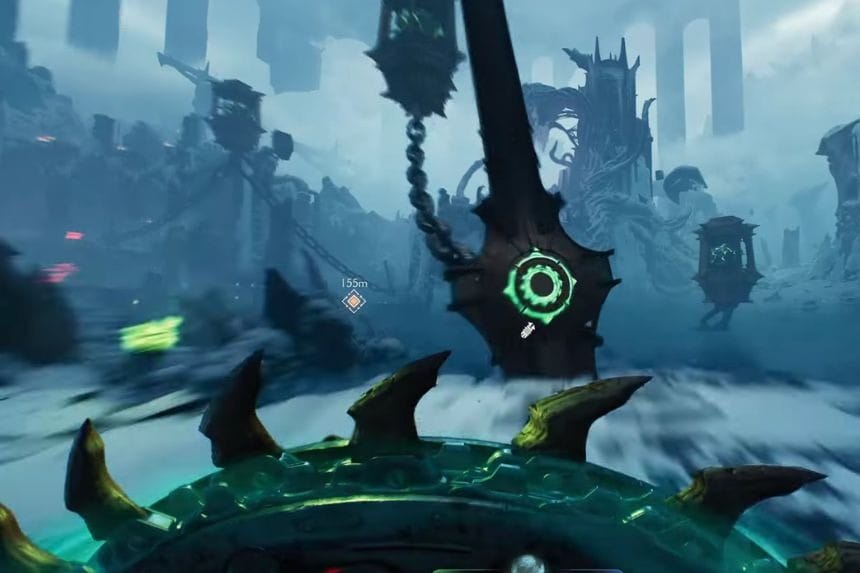
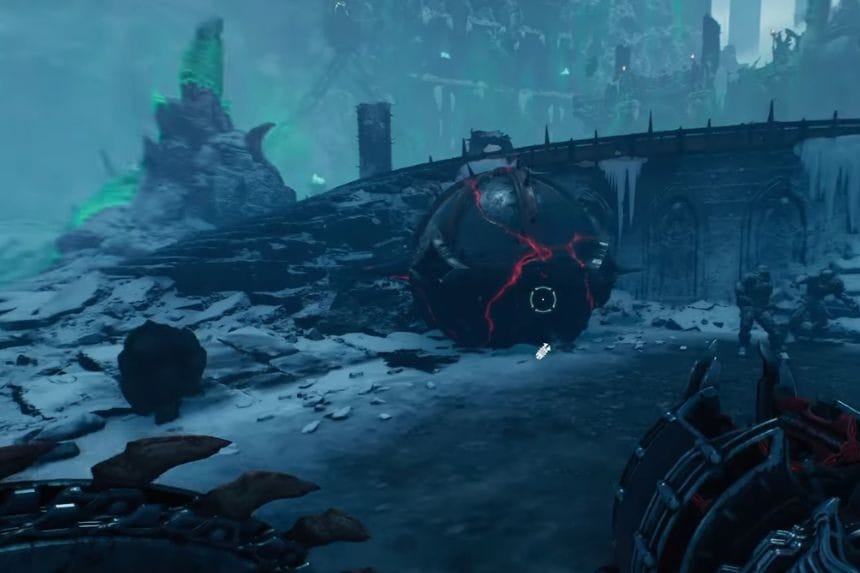
Go to the location marked on the map above throw your shield at the green circle in front of you. This will blast off the chains and a metal ball will fall in the area. To open the metal ball, you need to first defeat the monsters. After defeating the monsters, the metal ball will turn green. Throw your spear towards the ball to get the Platinum.
Platinum #4
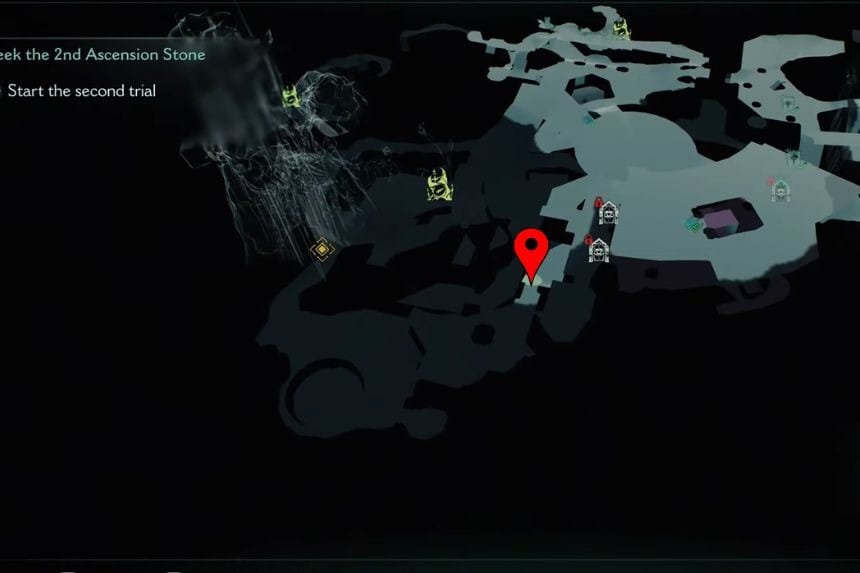
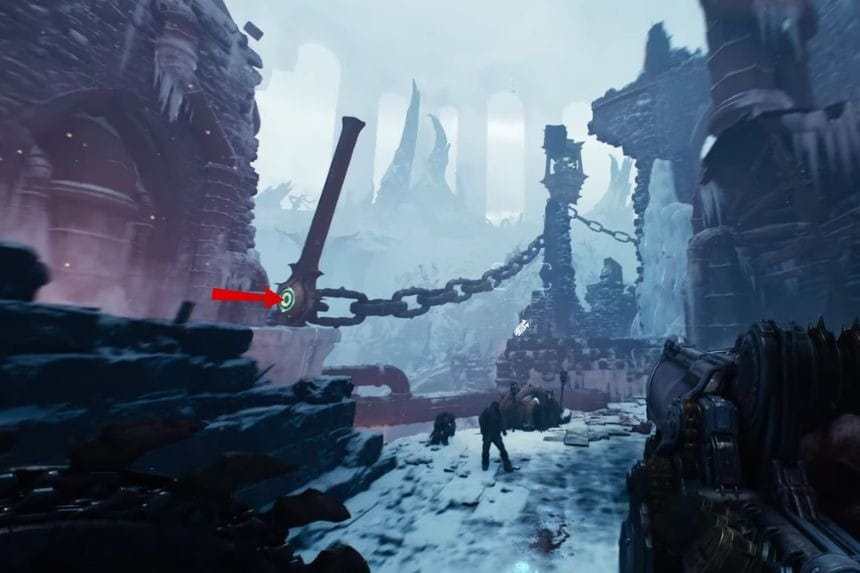
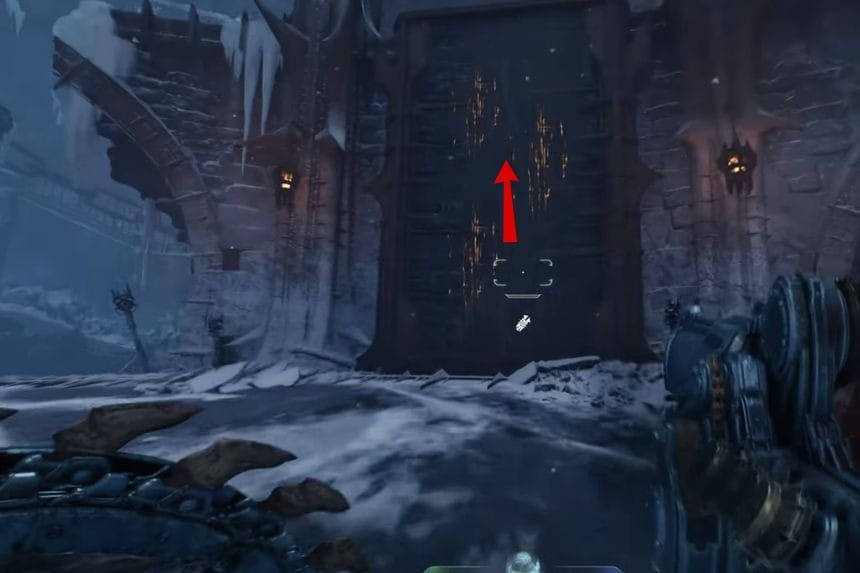
Reach the location and jump towards the left and throw your shield at the green button. Then move forward and take a right turn to climb the wall. After climbing the wall.take another right and throw your shield at the green button. This will break the chains and a metal ball will fall in that area. Defeat the monsters and then throw your spear towards the metal ball to get the Platinums.
Platinum #5
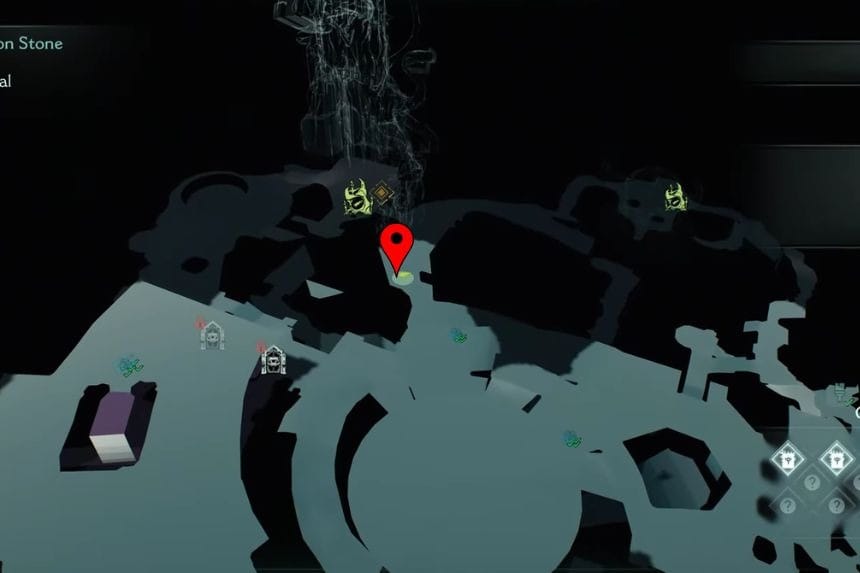


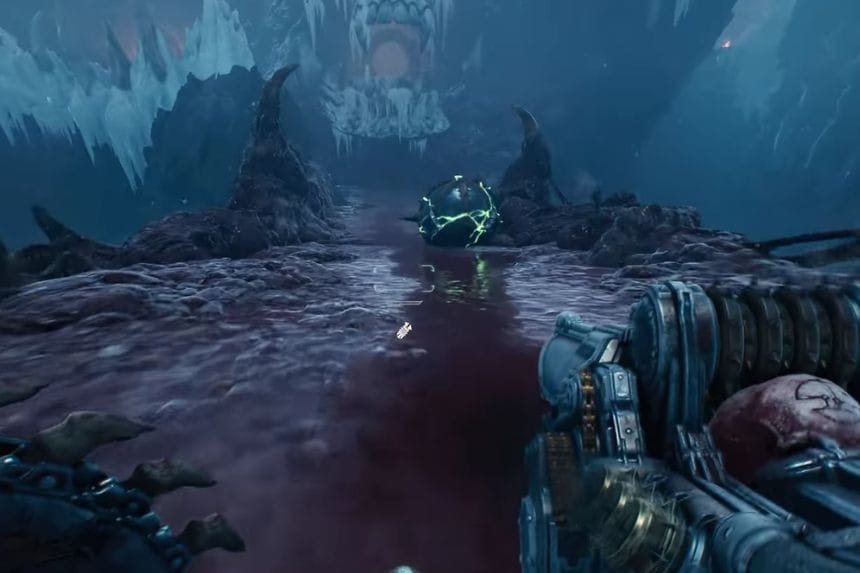
In the above location, throw your shield towards the green buttons so that a metal ball falls in that area. First defeat all the monsters and then throw your spear toward the metal ball to get the Platinums.
Collectible #7 – Codex Journal Of The Architect III
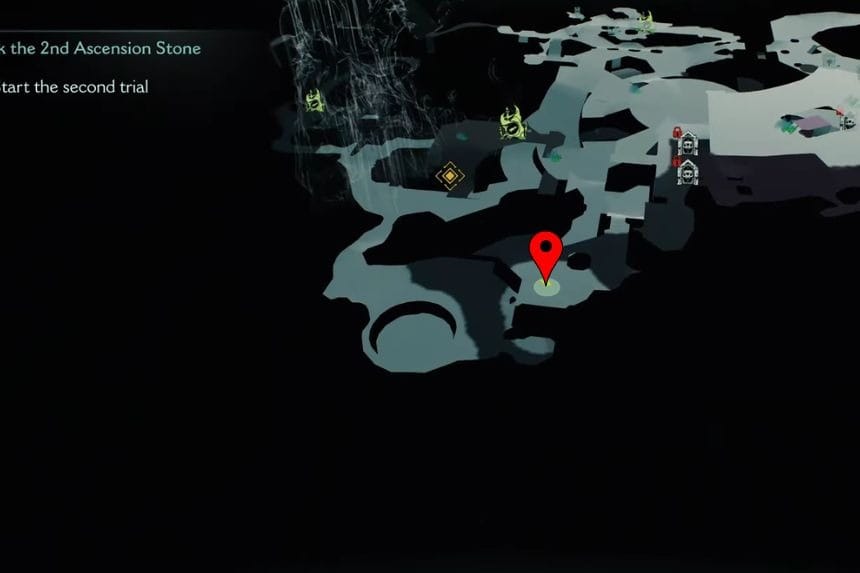
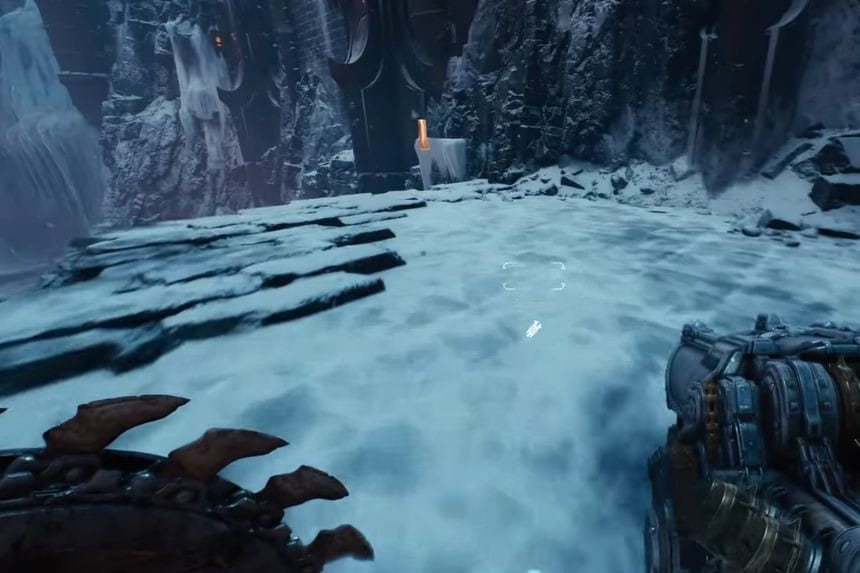
Go to the location marked above and in front of you, there is Codex Journal Of The Architect III.
Platinum #6 + Secret Area #1 + Platinum #7
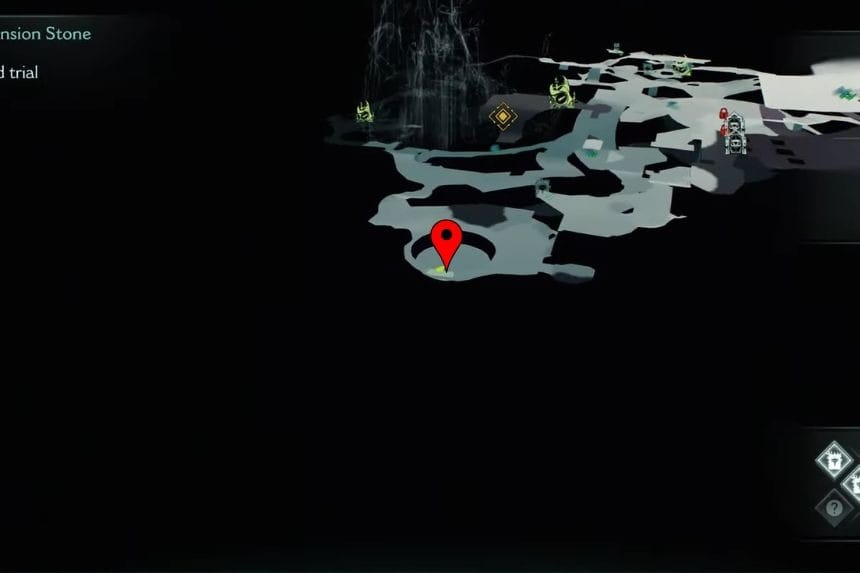
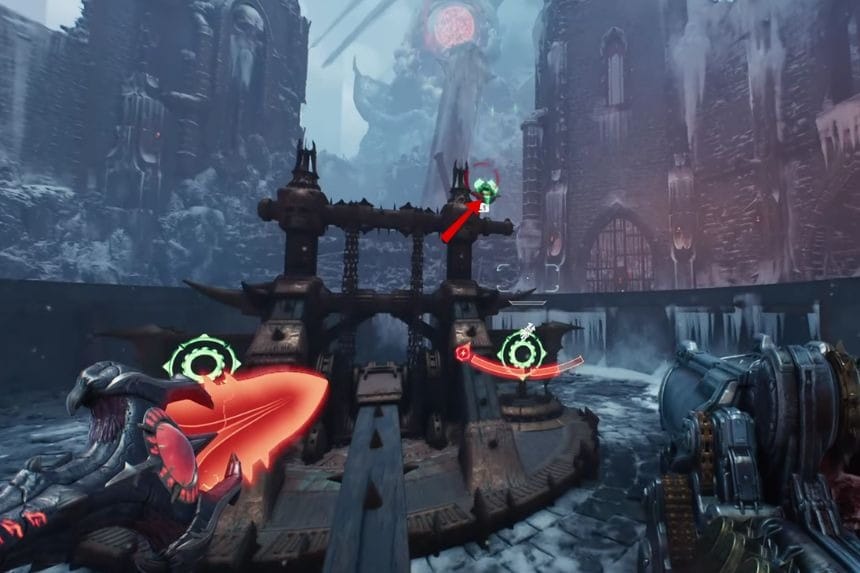
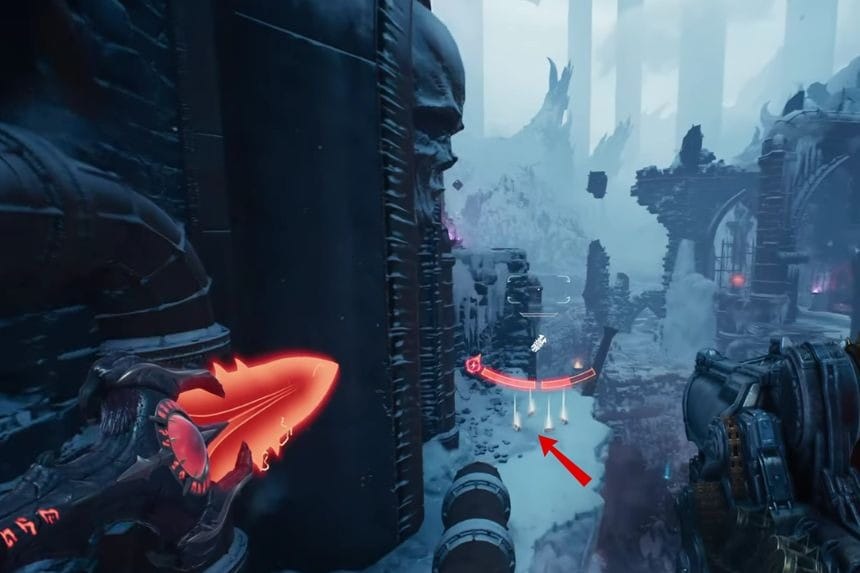
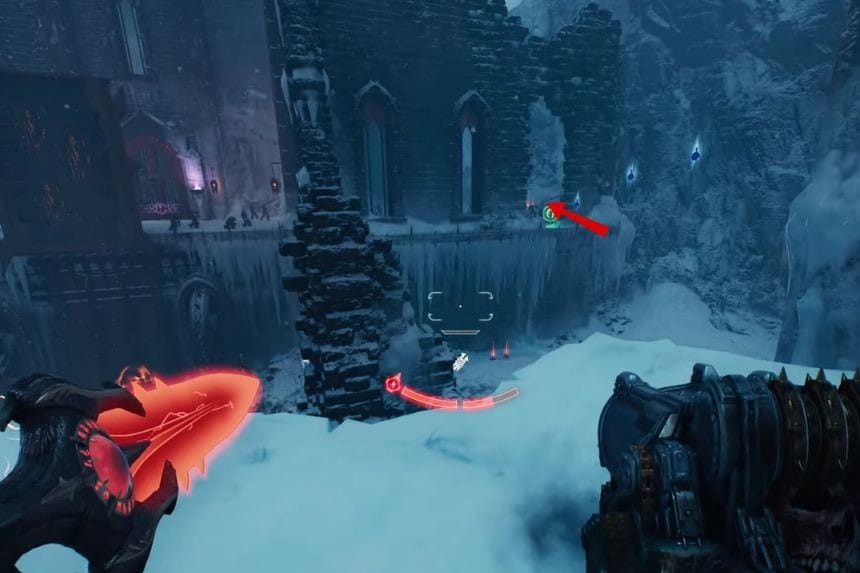
Reach the location marked above and stand on the catapult. Now shoot your spear on the Green Flesh and it will launch you towards the building. Make a left turn mid air to reach the secret area and the Platinums. From that area, jump towards the broken buildings in front of you. There you will find the remaining Platinums.
Platinum #8 + Secret Area #2
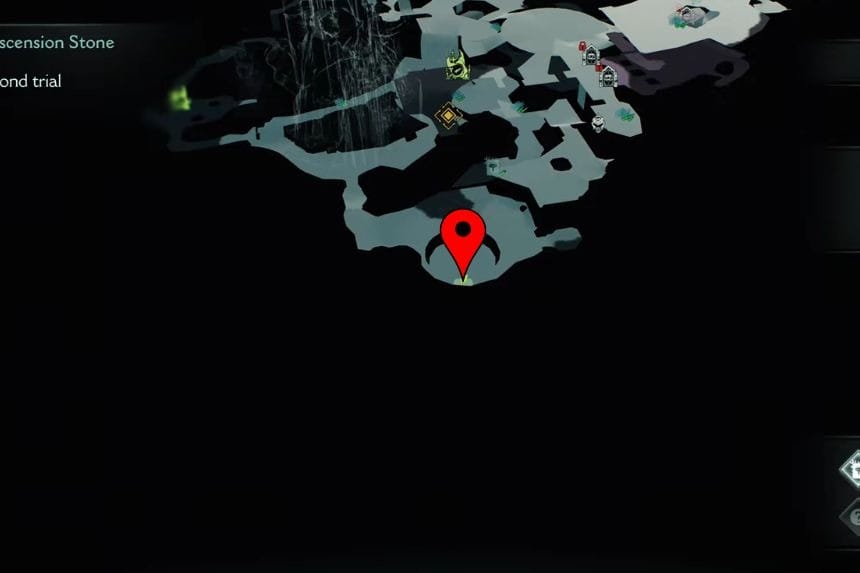
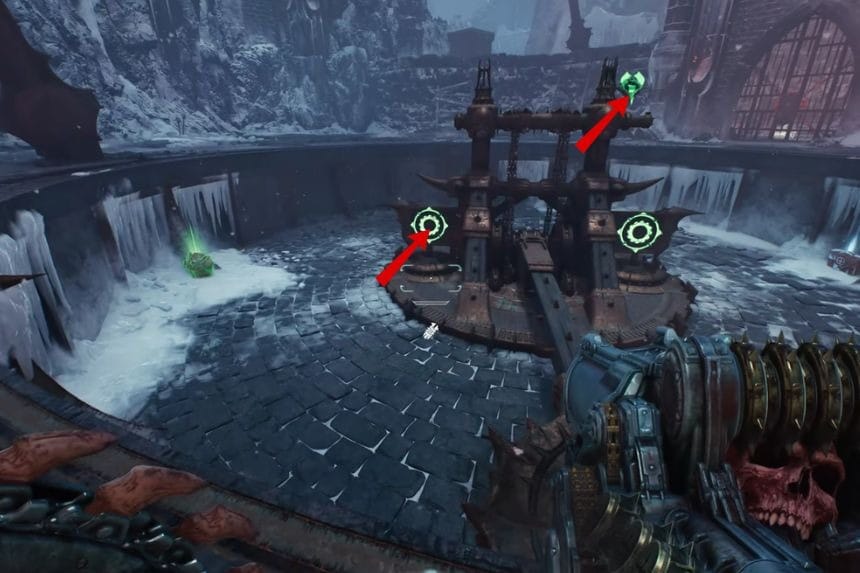
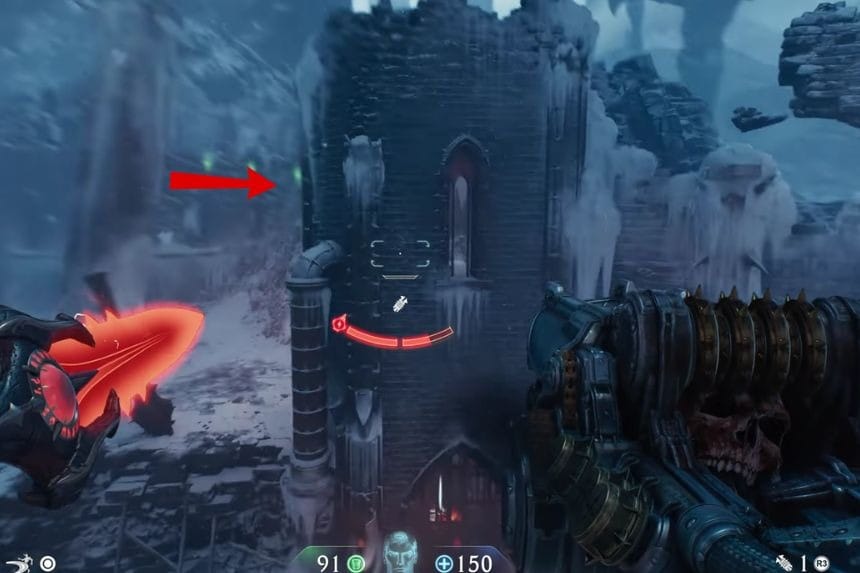
In the location marked above, you will find a catapult. On the left side, you will find a green button. Throw your shield at the green on your left and then throw your spear on the Green Flesh. This will launch you high above, so take a right turn mid air to enter the building. Inside the building, you will find Platinums and a secret area.
Collectible #8 – Codex: Sentinel Log I
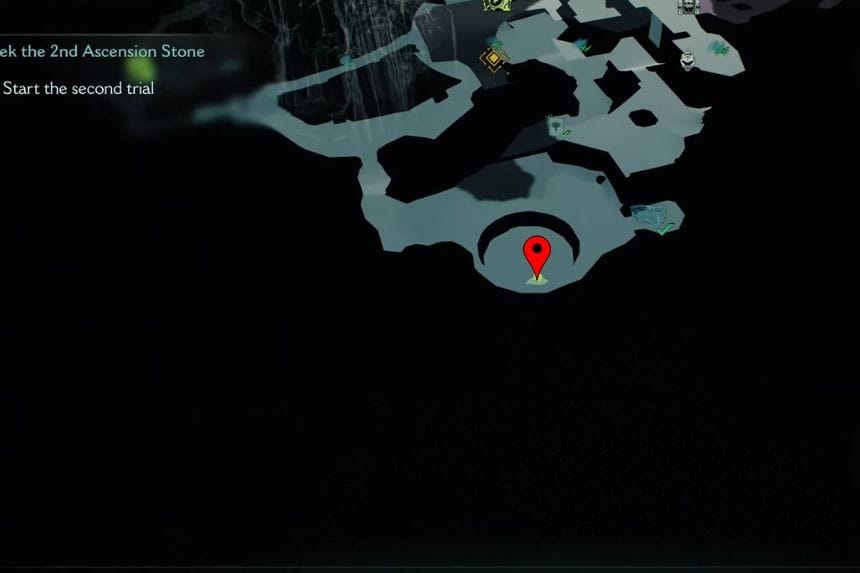
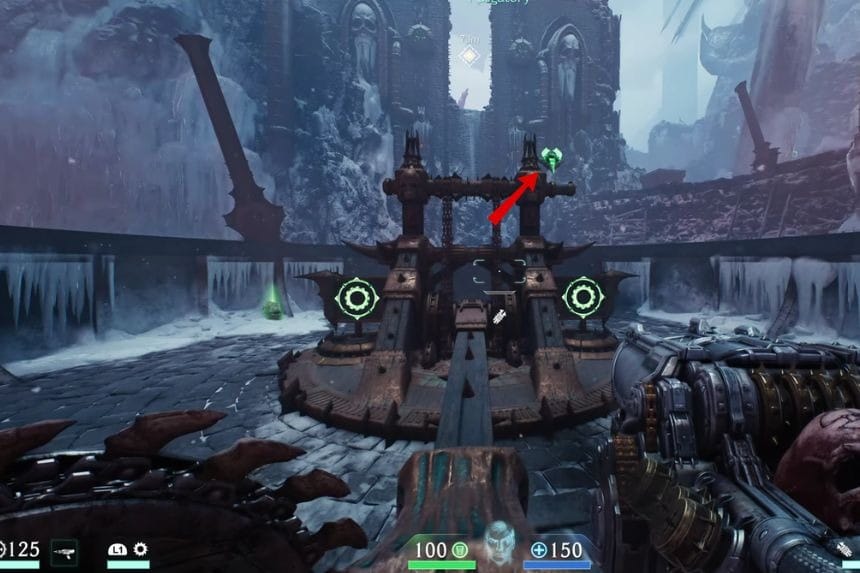
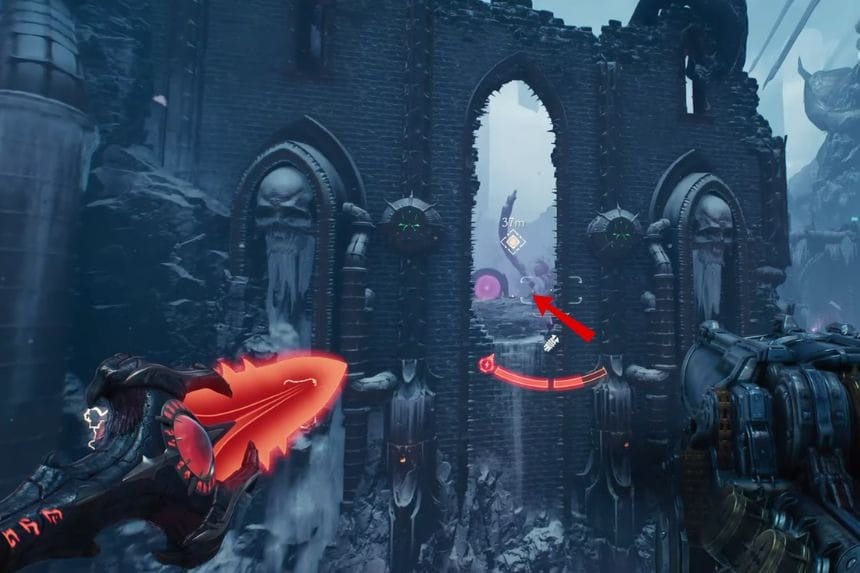
In the location marked above, you will find a catapult. Throw your spear towards the Green Flesh. This will throw you into the air to reach the building in front of you. Enter the building and in front of you will be the Codex: Sentinel Log I.
Collectible #9 – Slayer Confessional II
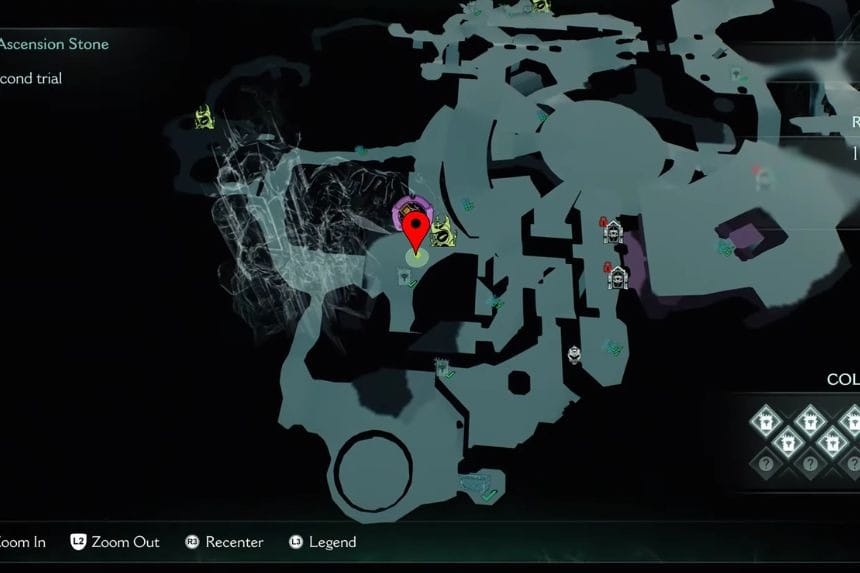
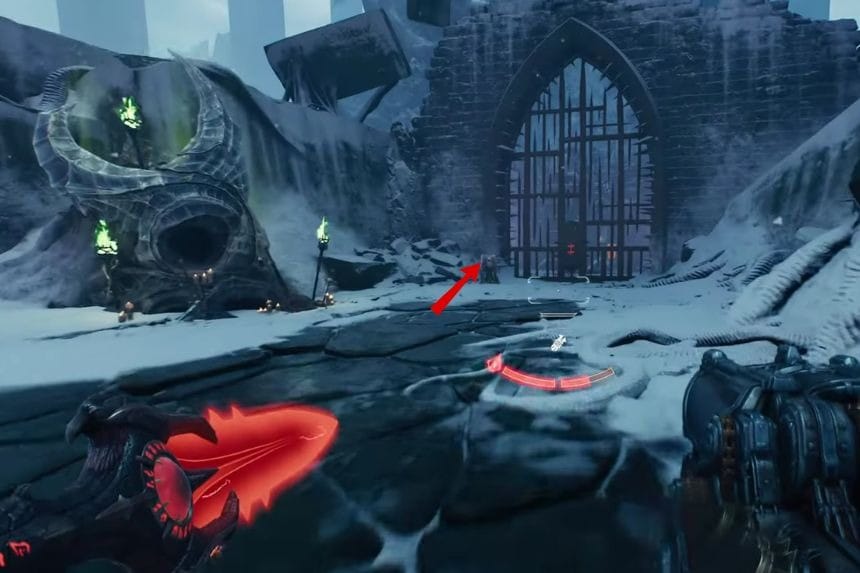
Reach the location, on the right side you will find a lever. Pull the lever to open the gate and you will find the Slayer Confessional II.
Collectible #10 – Marok Letters III
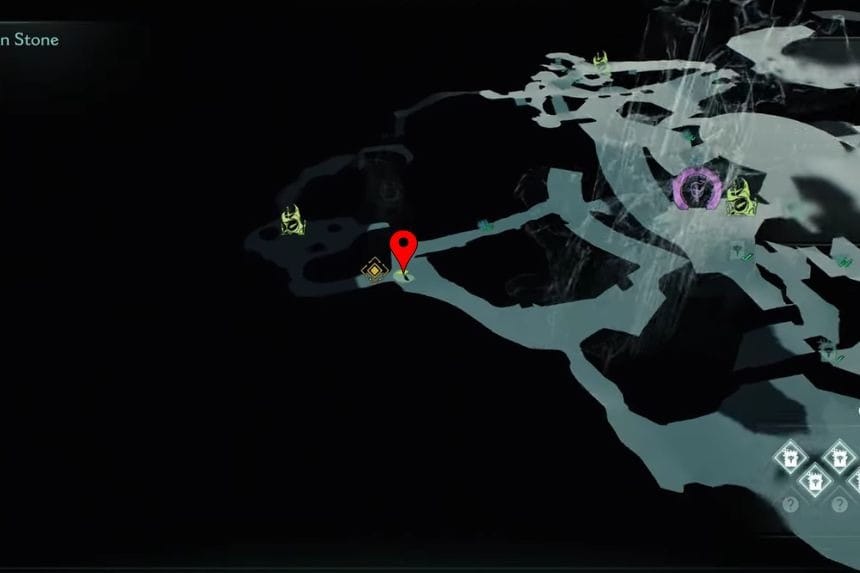
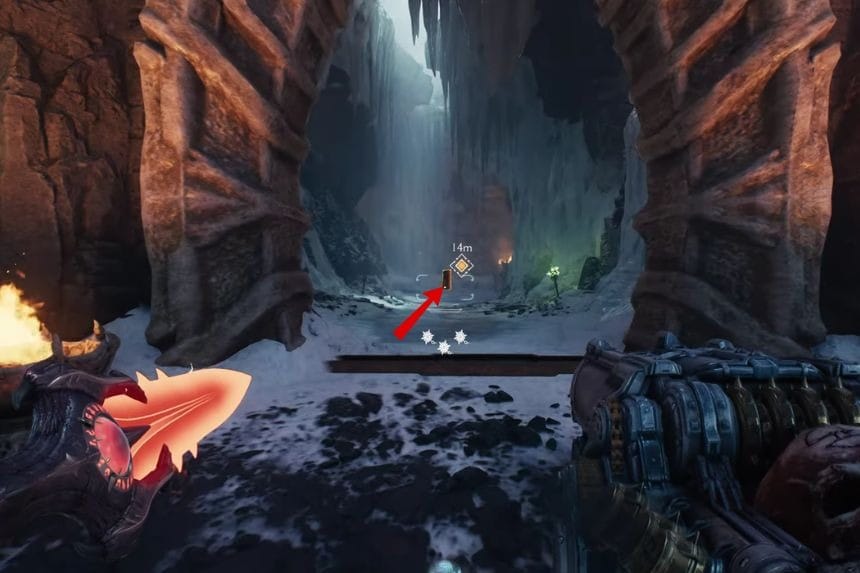
In the location marked above, you will find a gate. Cross the gate carefully as it gets closed once you get near to it. After crossing the gate, you will find the Marok Letters III.
Collectible #11 – Slayer Confessional III
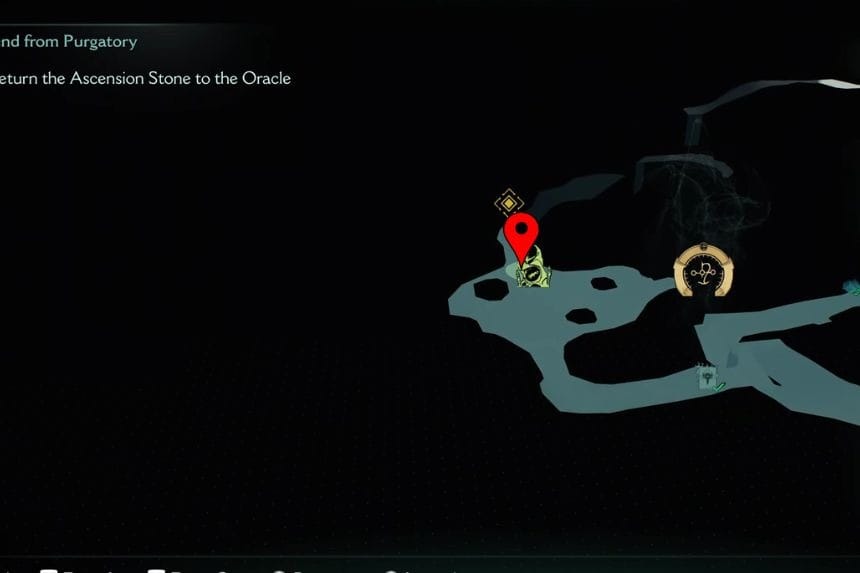
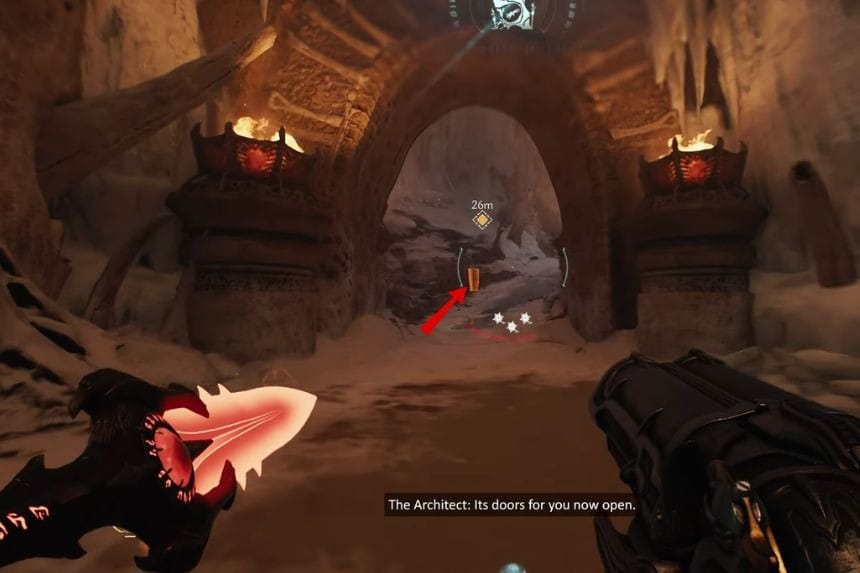
Reach the location and look under the arch to find the Slayer Confessional III.
Collectible #12 – Journal Of The Architect IV
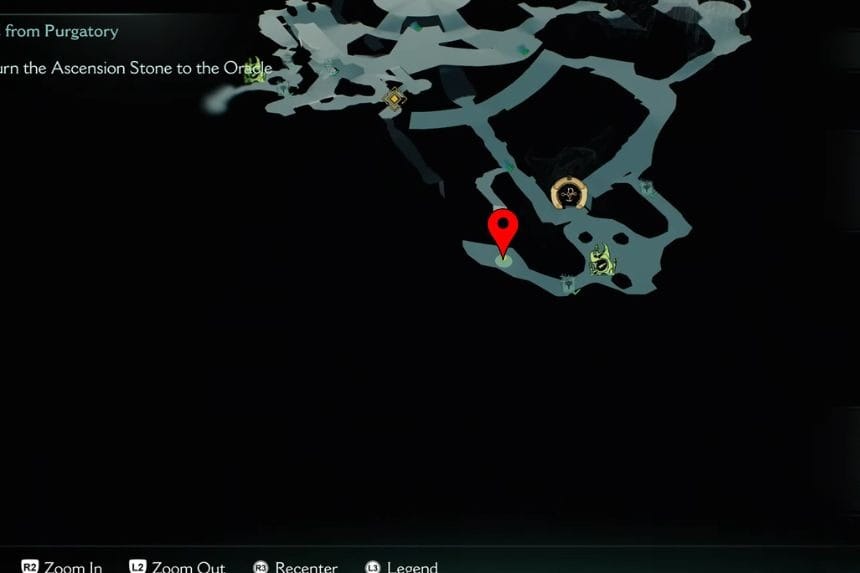
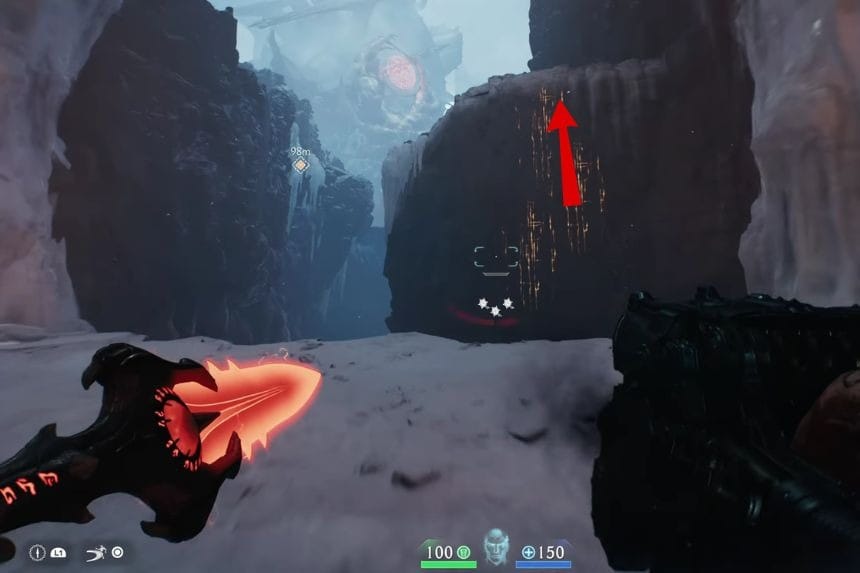
Go to the location and then climb the wall in front of you. Follow the road and at the end you will find the Journal Of The Architect IV.
Platinum #9
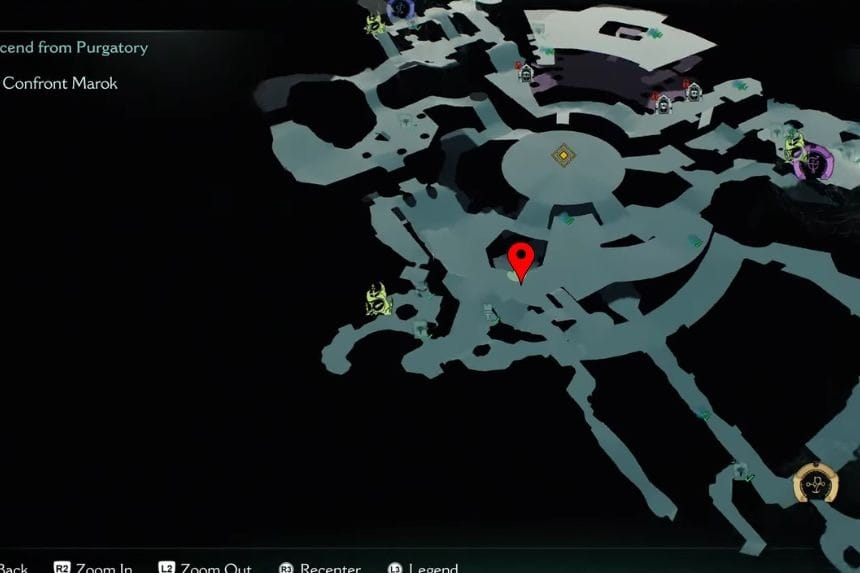
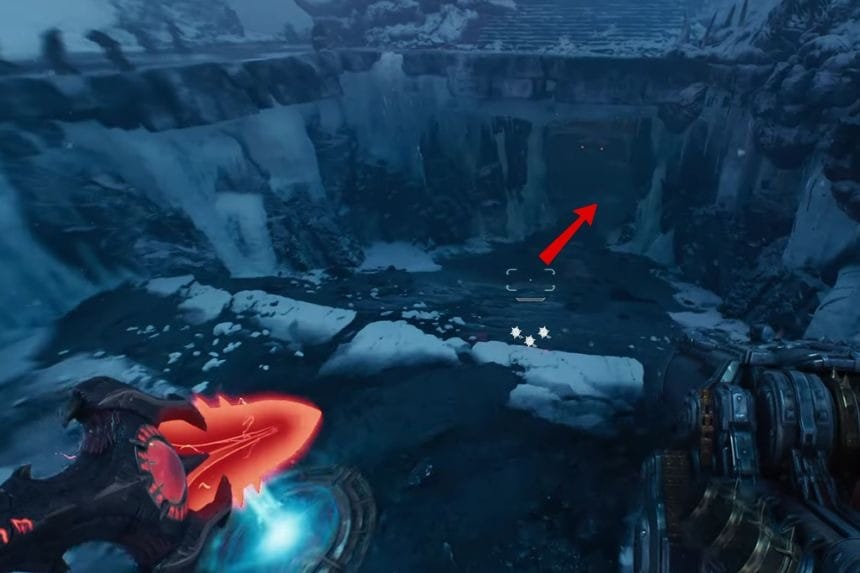
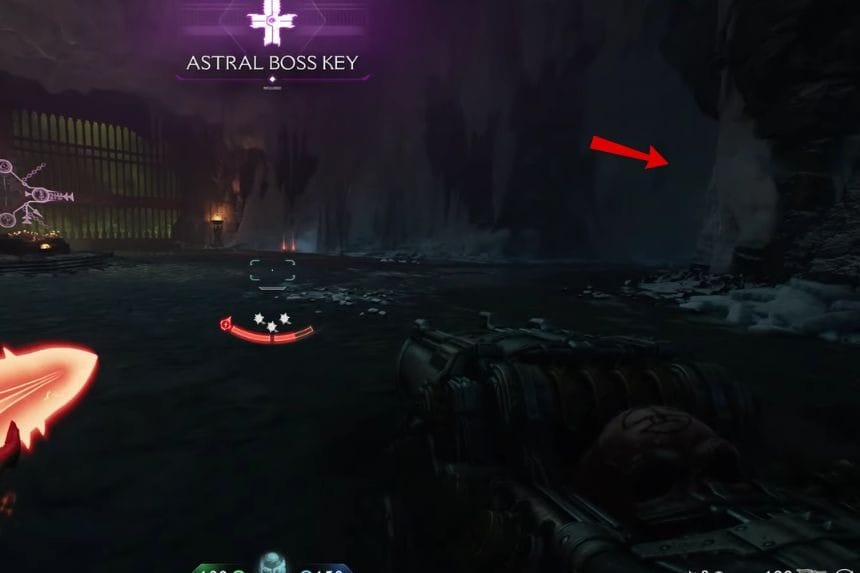
In the location marked above, enter the cave in front of you and take a right turn. At the end of the path, you will find the Platinum.
Platinum #10
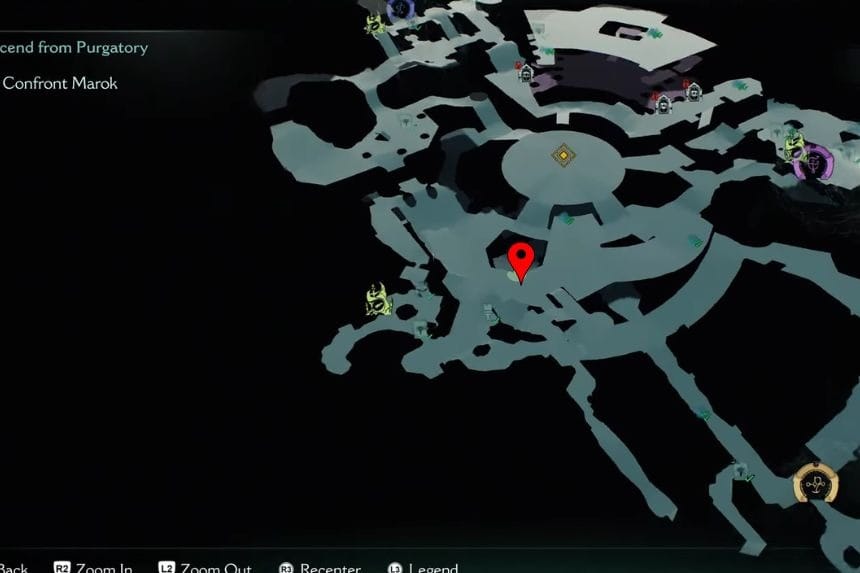

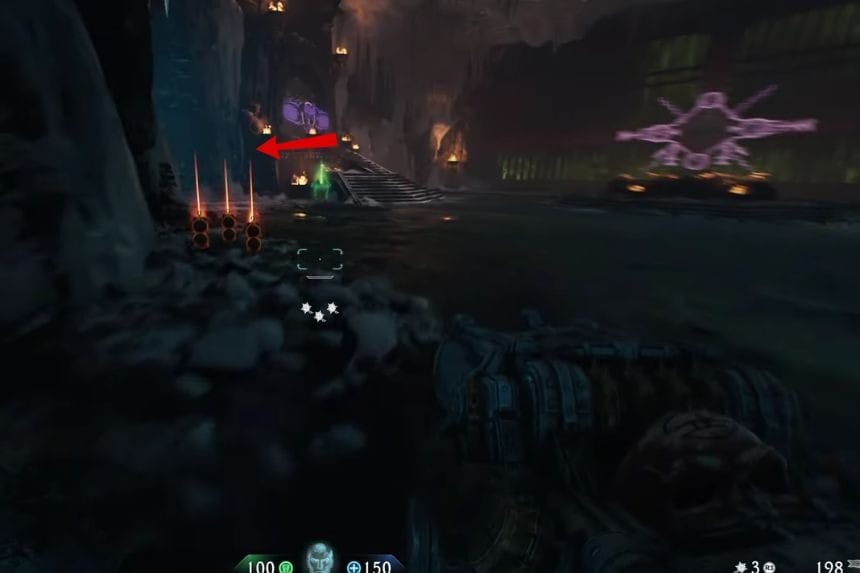
Go to the location marked above and enter the cave. Then take a left turn and on the left side you will find the Platinum.
Platinum #11
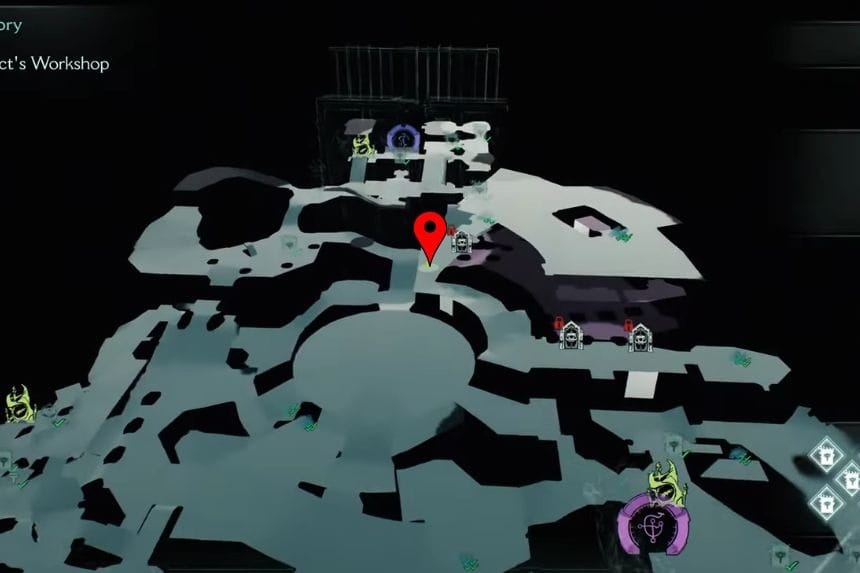
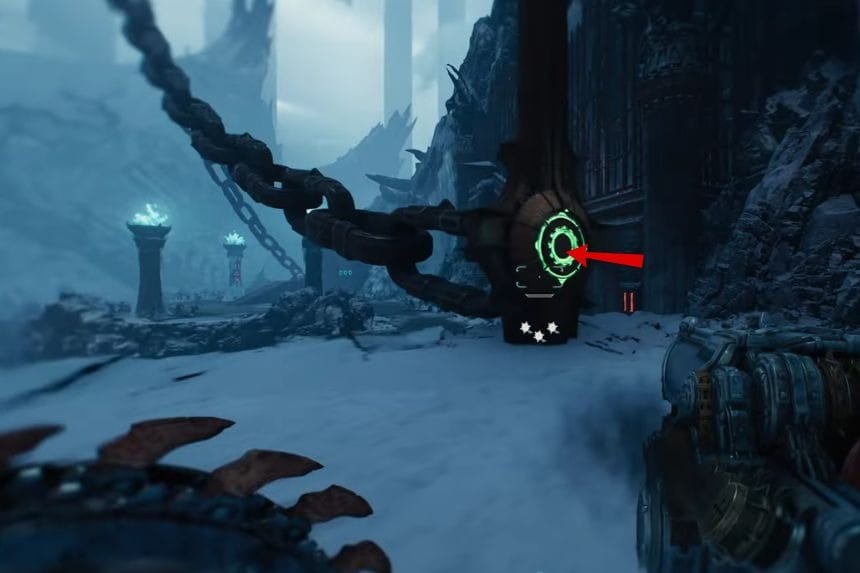
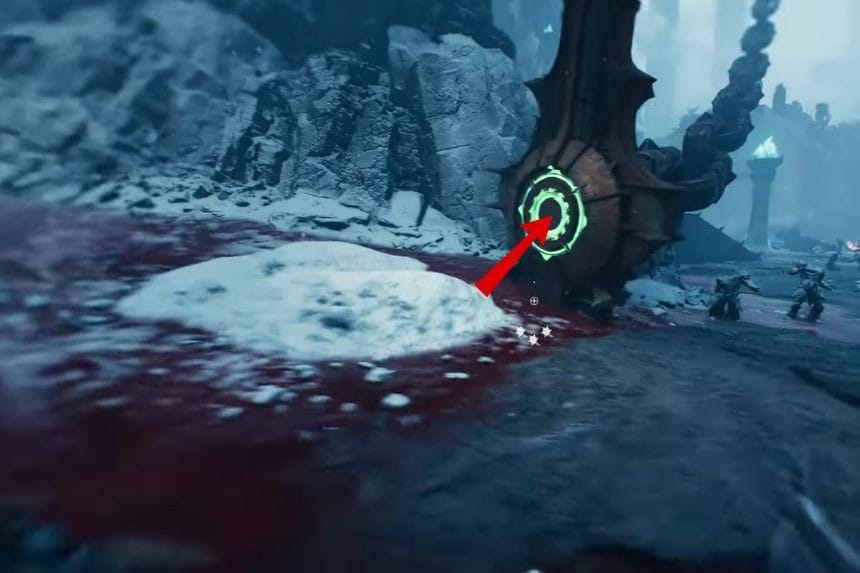
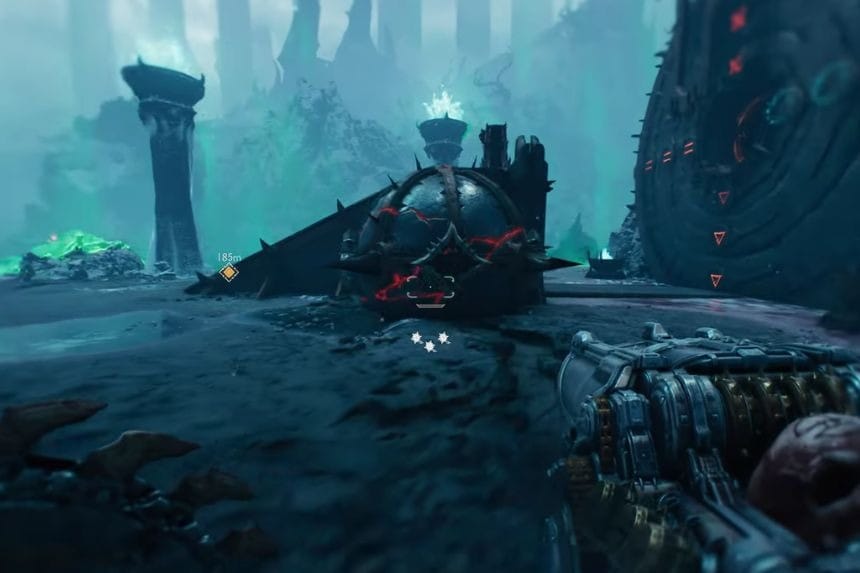
In the area marked above, throw your shield at the green button. Now jump down and move forward. At the end, you will find another green button. Throw your shield at the green button. This will drop the metal ball in that area. Defeat all the monsters and then throw your spear towards the metal ball to get the Platinums.
Platinum #12 + Collectible #13 – Relic Piece #1: Relief + Secret Area #3
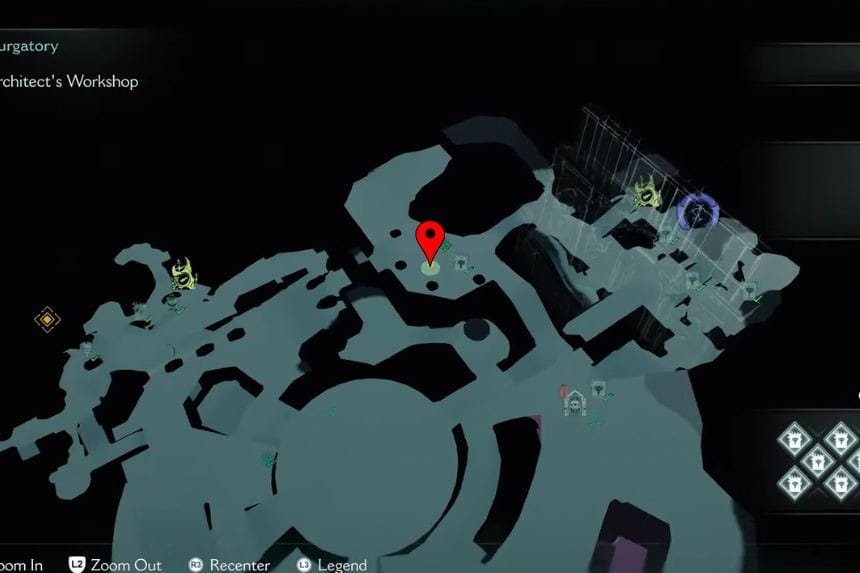
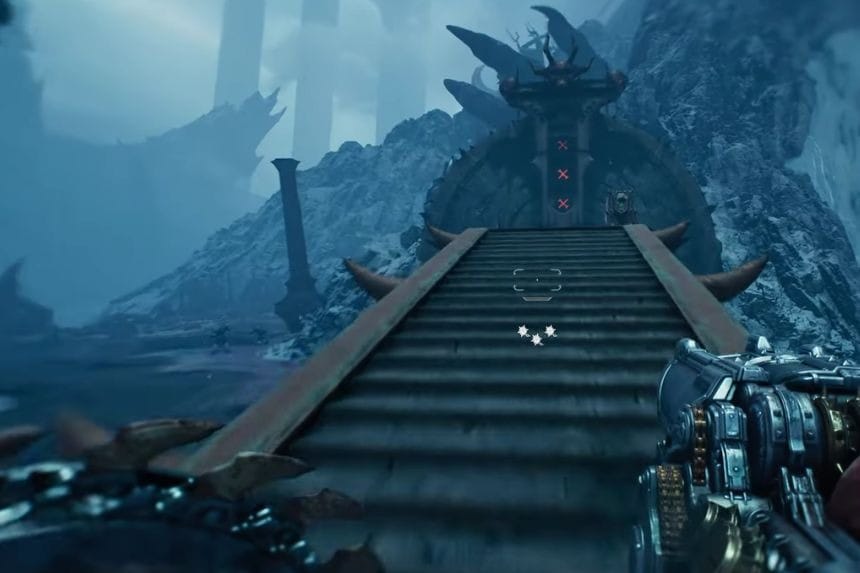
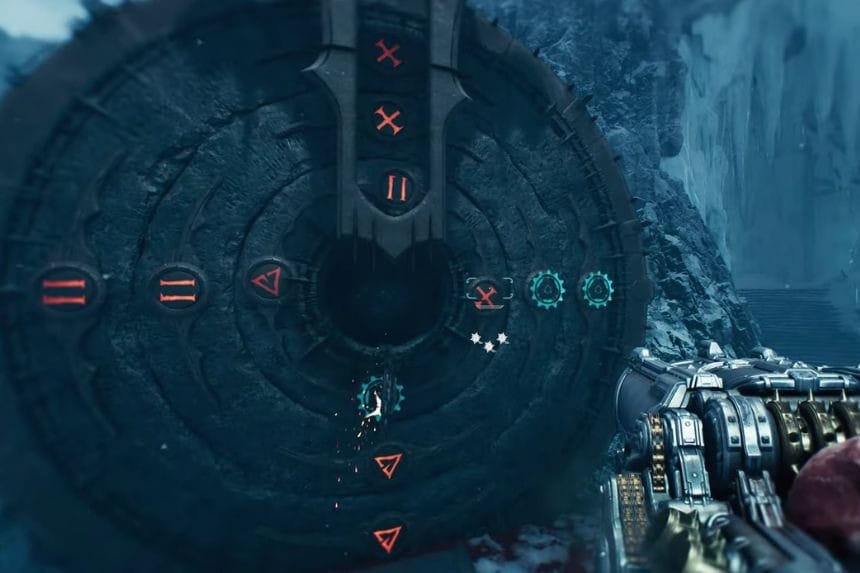
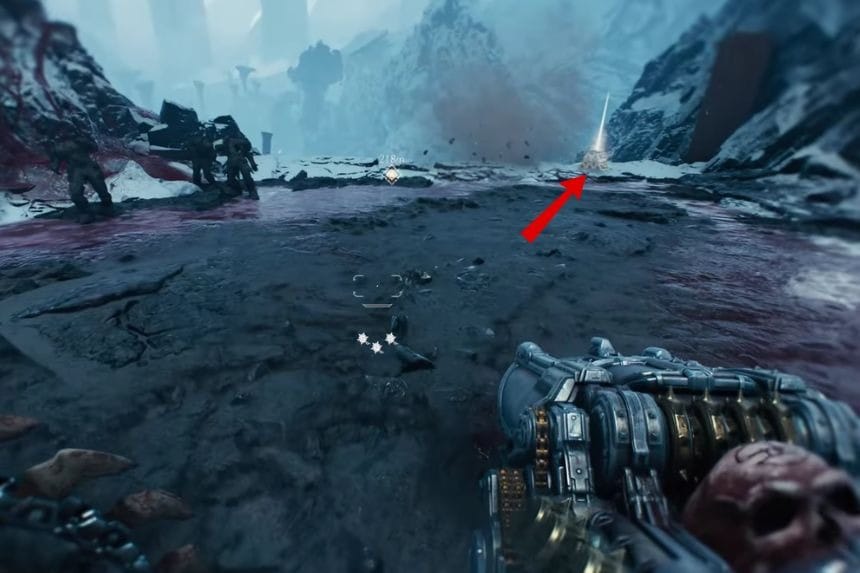
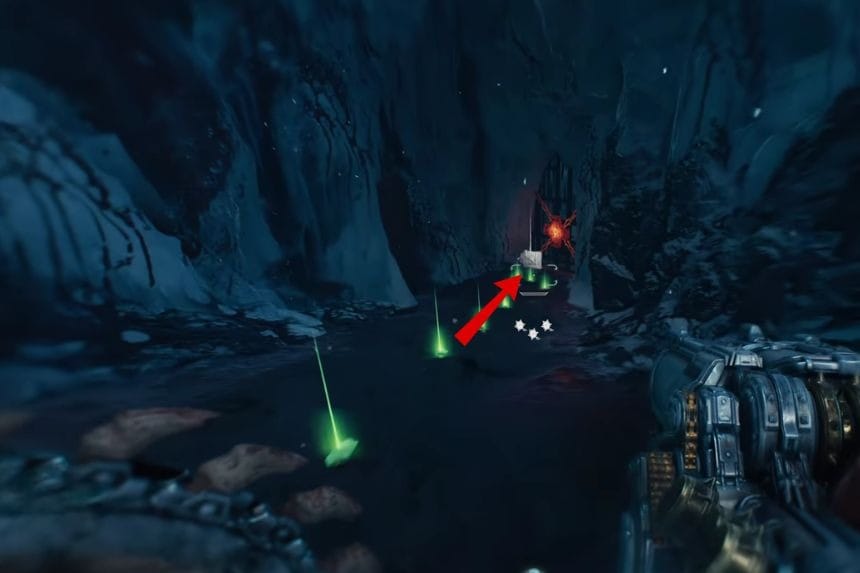
Go to the location marked above and you will find a pedestal. Climb the pedestal and on it you will find a lever. Throw your shield after pulling the lever to rotate the circles in the correct order. Rotate the circles as shown in the image above. Now a portal will open, so enter the area and push the cube on the right side. There you will find the Platinums. Now take a left path and collect the relic piece.
Collectible #13 – Relic Piece #2: Relief + Secret Area #4
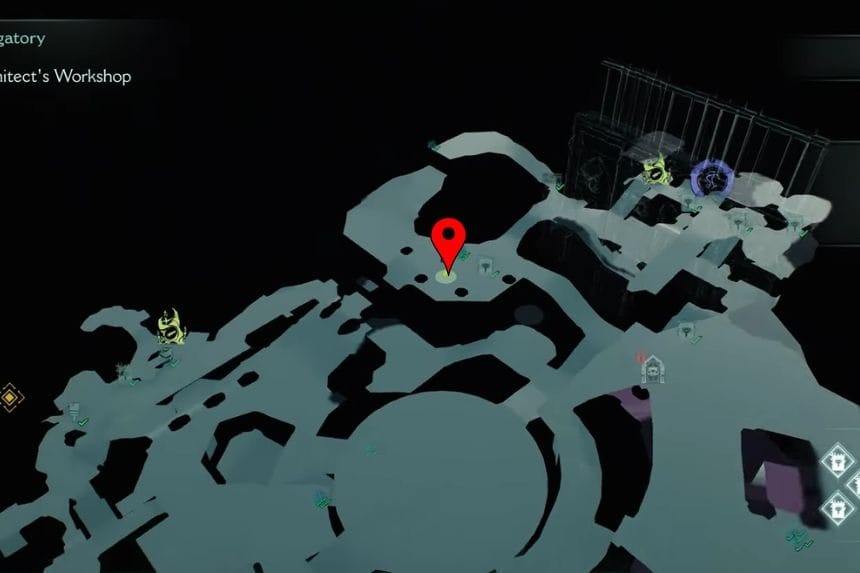
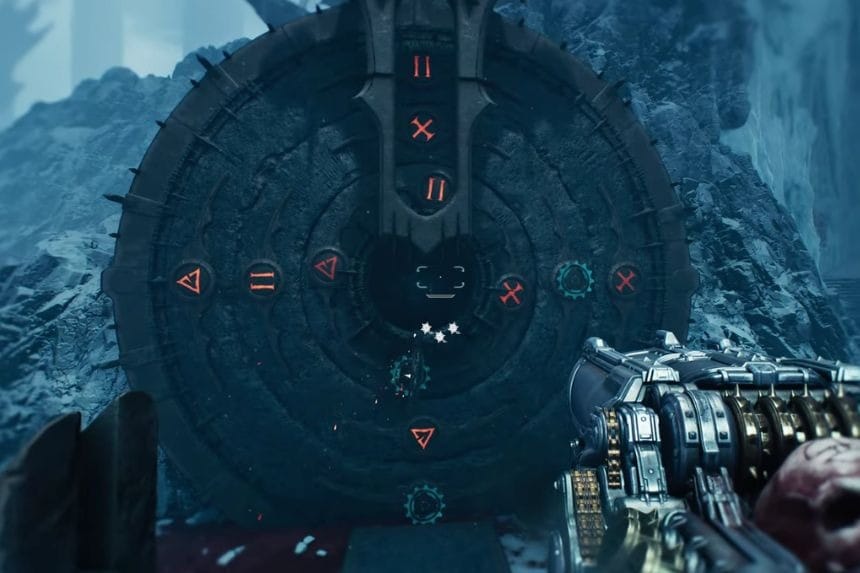
In the location marked above, you will find a pedestal. Climb up the pedestal to find a lever. Pull the lever and throw your shield to rotate the circles. Rotate the circles as shown in the picture above. Now pull the lever and a portal will be open in front of you. Now go through the portal and move forward to find the relic piece.
Collectible #13 – Relic Piece #3: Relief + Secret Area #5 + Platinum #13
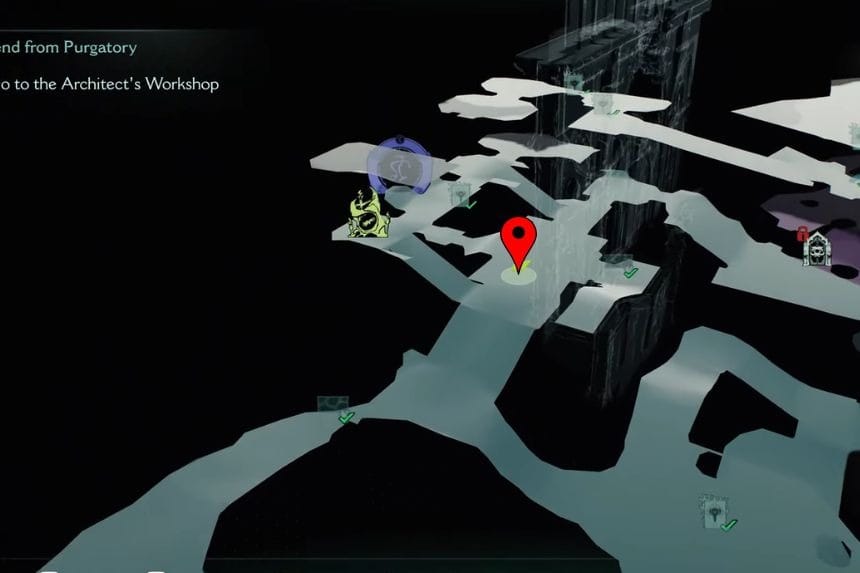
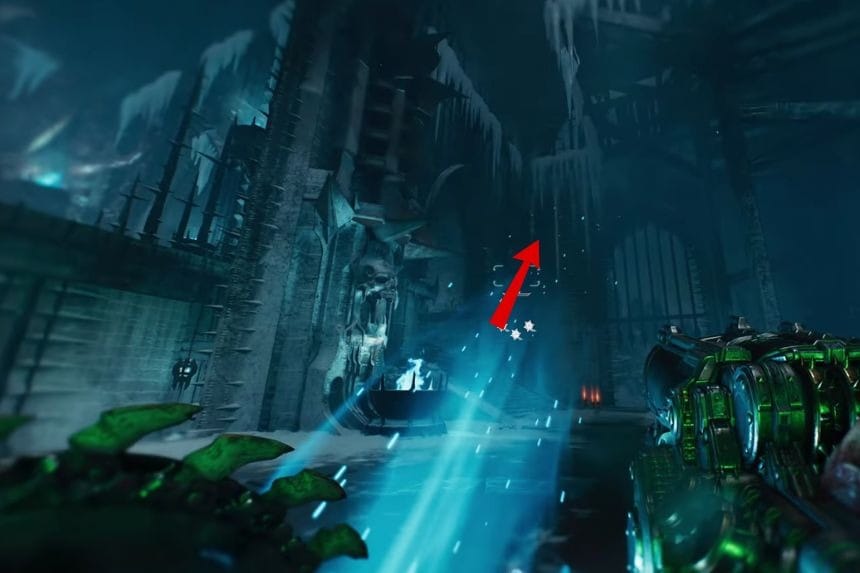
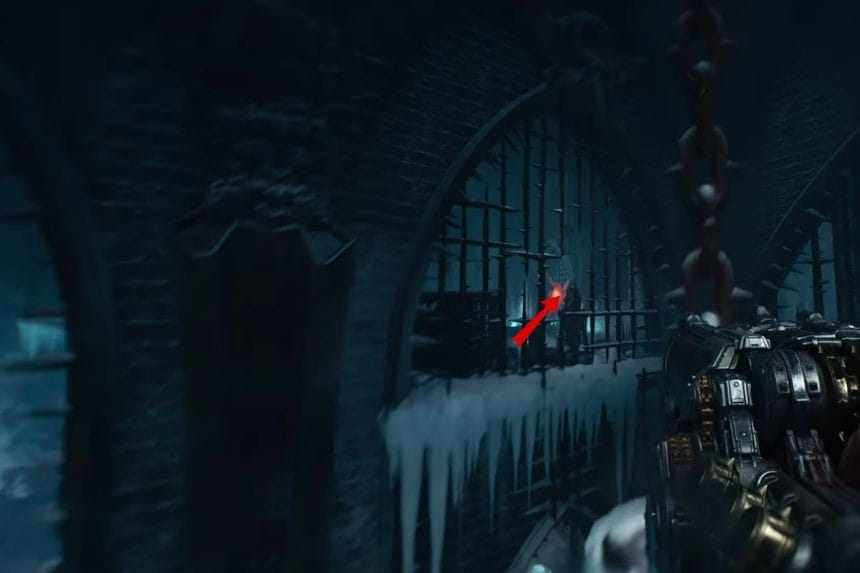
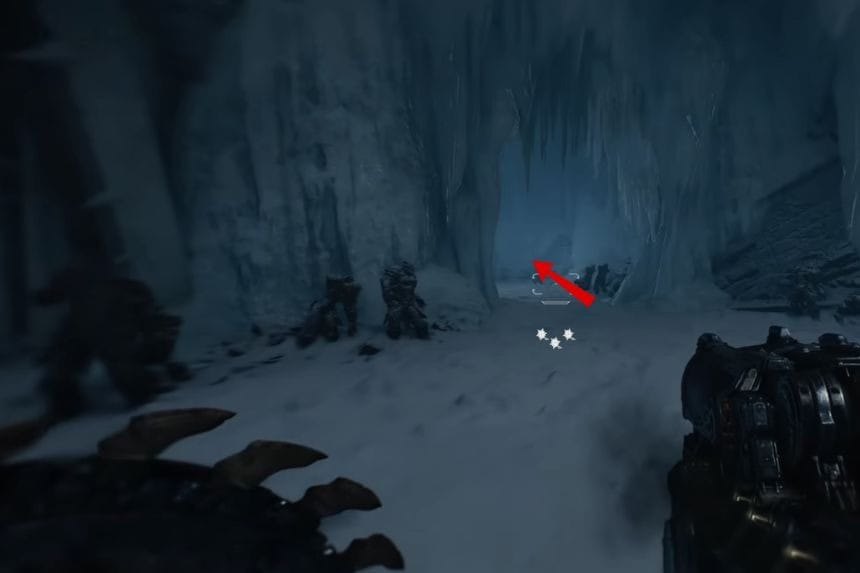
Go to the location marked on the map above and then take a left turn. The door will be closed there, so return, and at the centre will be a blue glowing jump booster. Now use your shield on the red button in front of you. Return and take a left turn, and move forward to find the relic piece and the Platinums.
Collectible #13 – Relic Piece #4: Relief
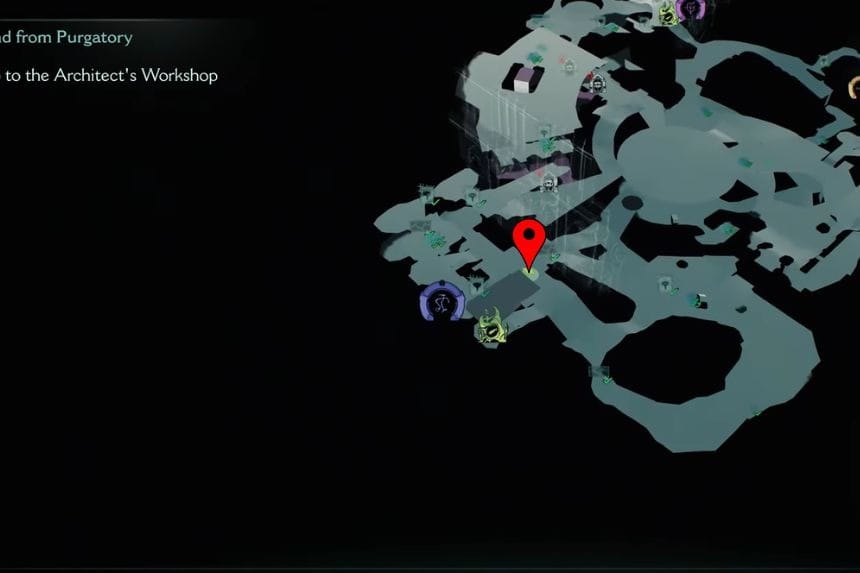
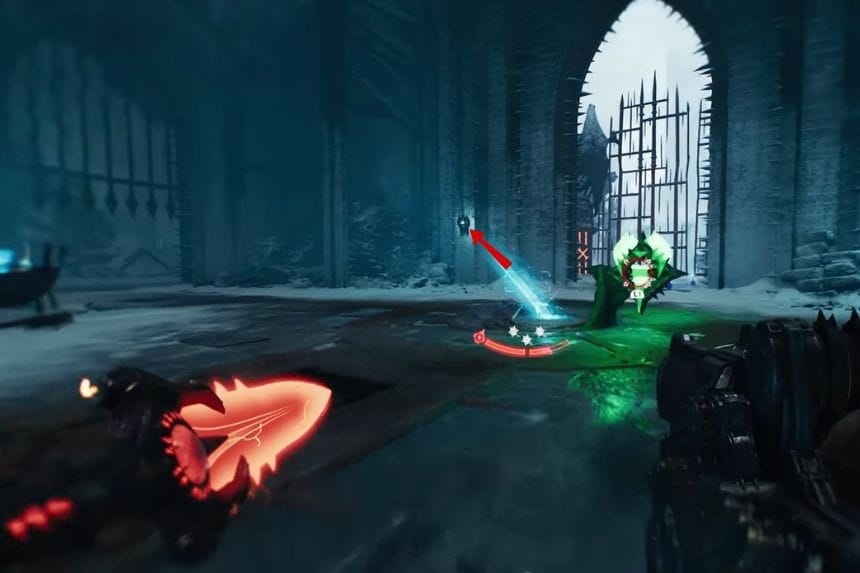
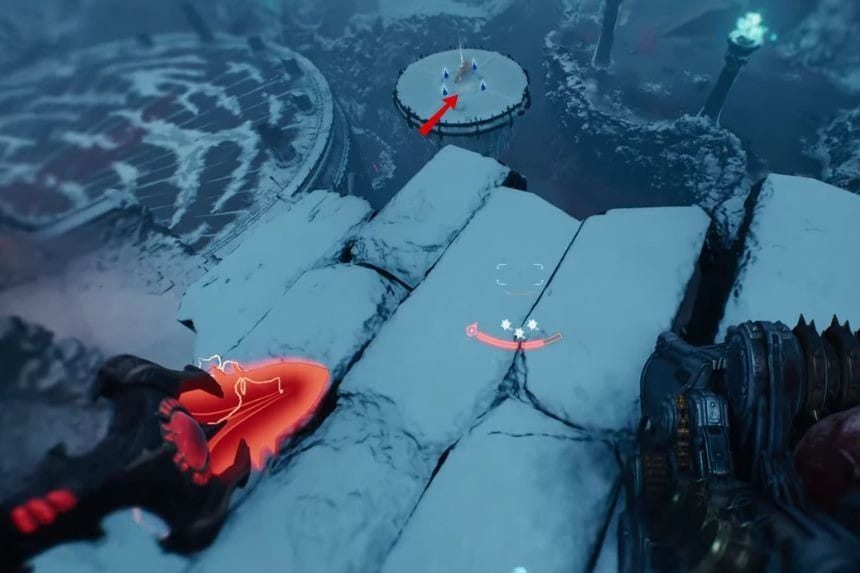
In the location marked above, use the blue glowing jump booster to reach the upper area and take a right turn. At the edge, you will see a platform. Jump towards the platform, and you will find the relic piece.
Platinum #14 + Secret Area #6
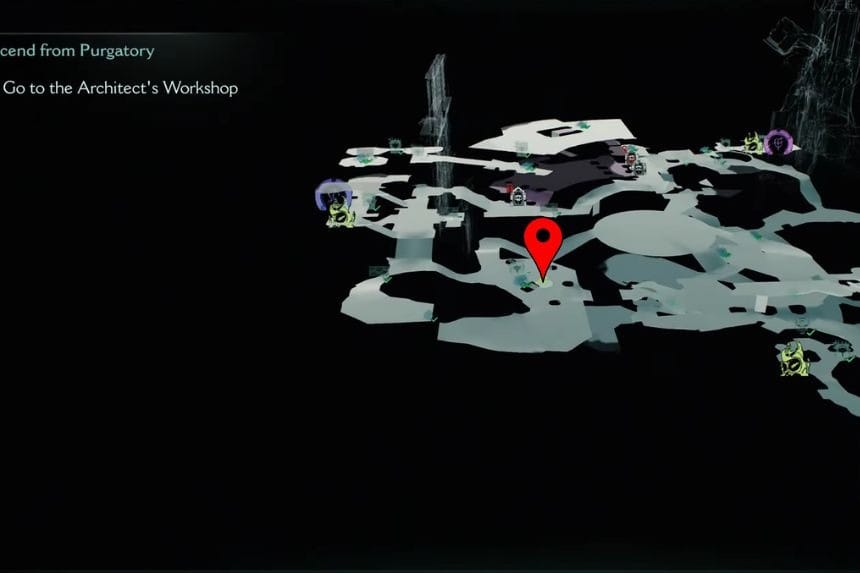
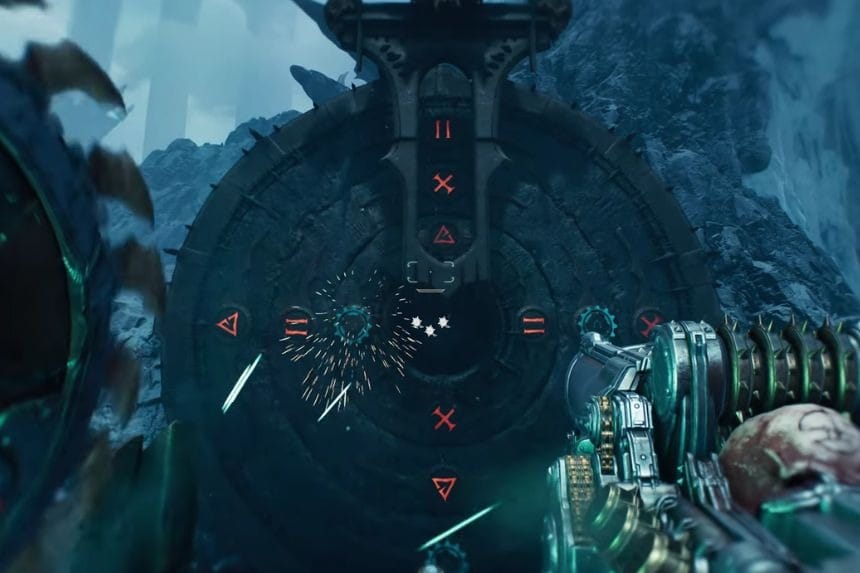
Go to the location marked above and then climb up the pedestal. Pull the lever and throw your shield to change the stone circles. Rotate the stone circles as shown in the picture above. After that, pull the lever and go through the portal. There you will find the Platinums.
Collectible #13 – Relic Piece #5: Relief + Secret Area #7
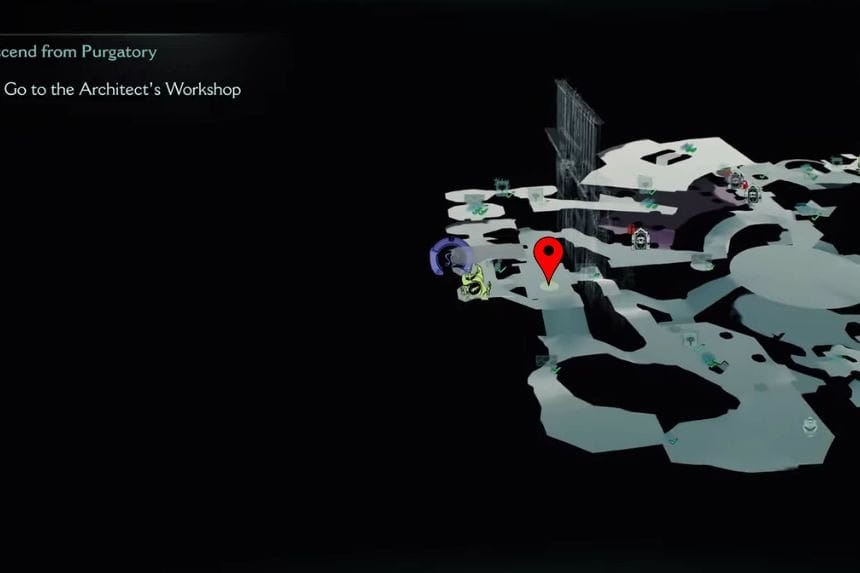
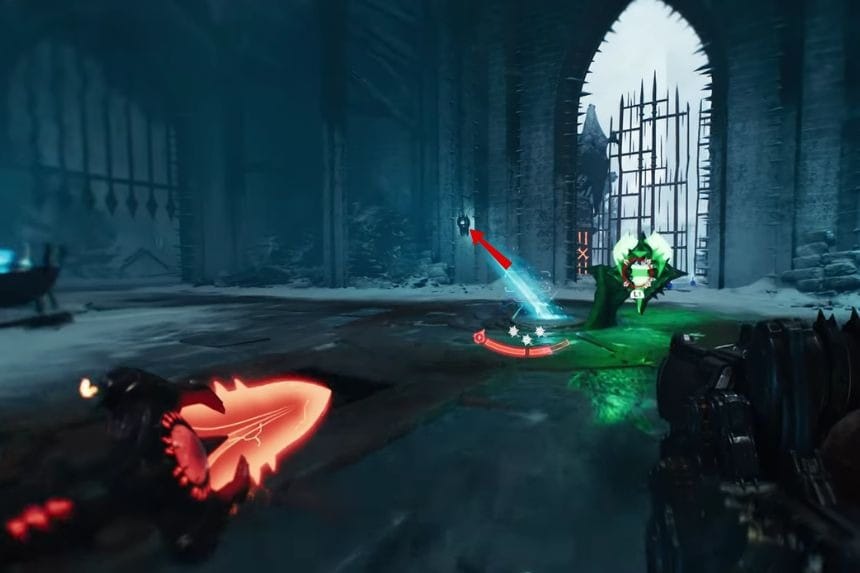
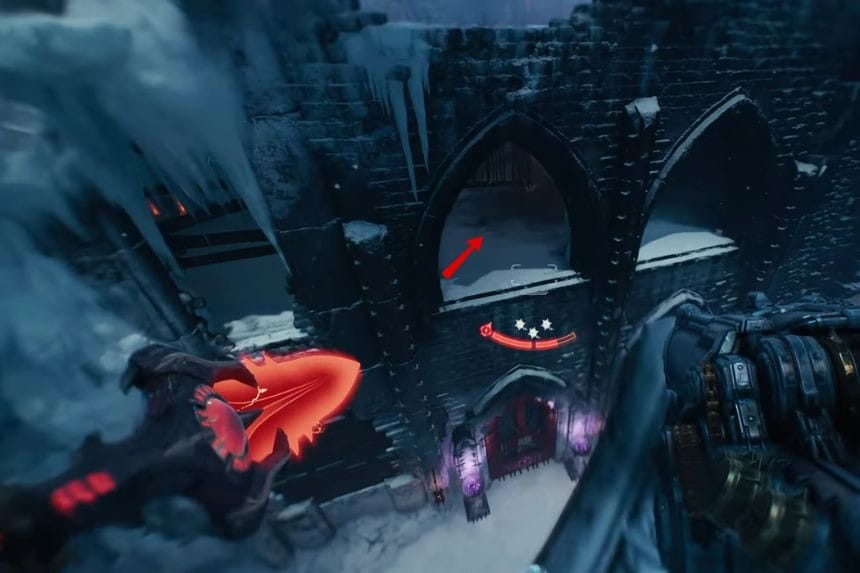
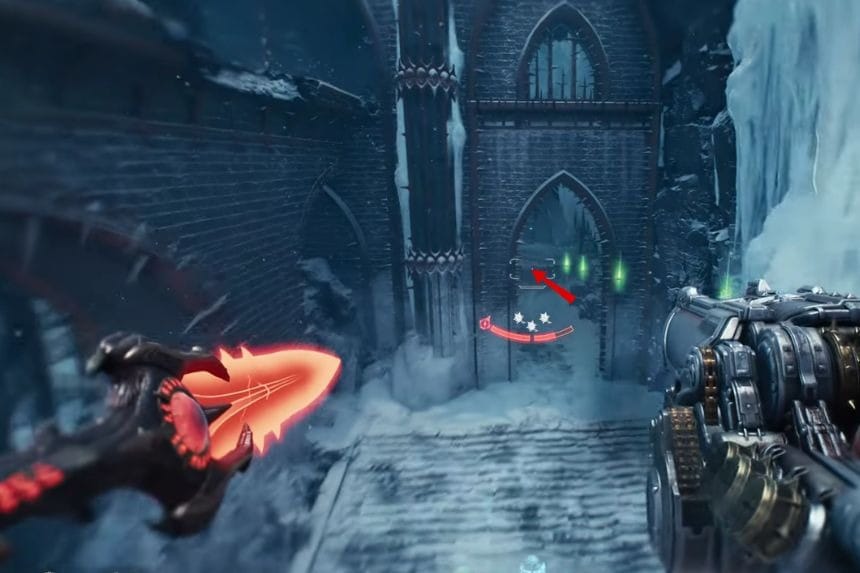
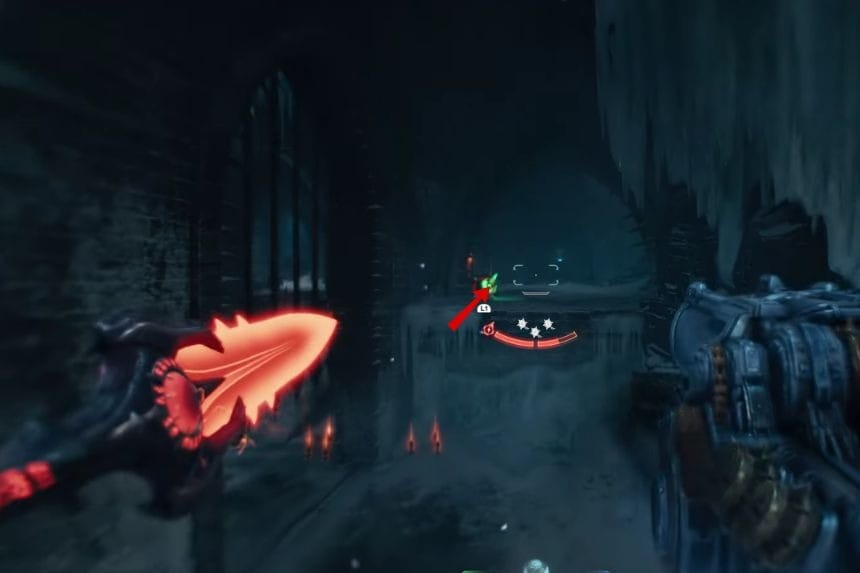
Go to the location marked on the map and use the blue glowing jump booster. Take a right turn and then jump towards the left side to enter a building. After that, jump down and boost yourself forward and then use the spear to pull you towards the building. There, you will find the relic piece.
Collectable #14 – Codex: Sentinel Log II
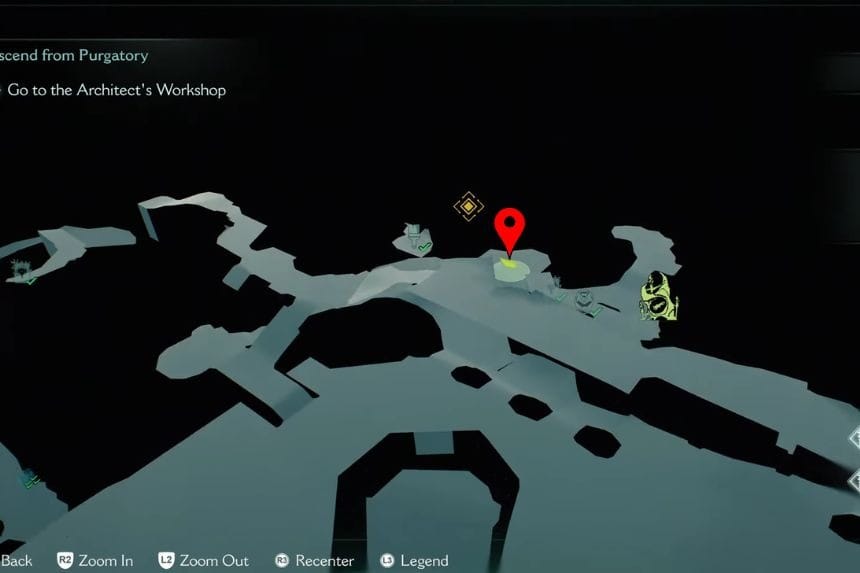
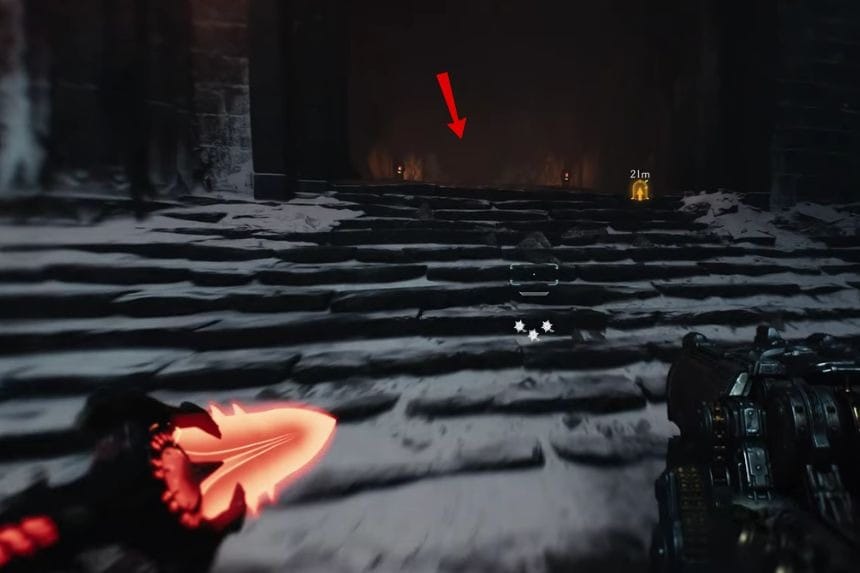
In the above-marked location, move forward and enter the building to find the Codex: Sentinel Log II.
Uprising All Collectibles & Secrets
Uprising is the fifth chapter in DOOM: The Dark Ages – Revelations. As you make your way through the level, you will come across plenty of collectibles, hidden secrets, and optional objectives worth completing.
Platinum #1
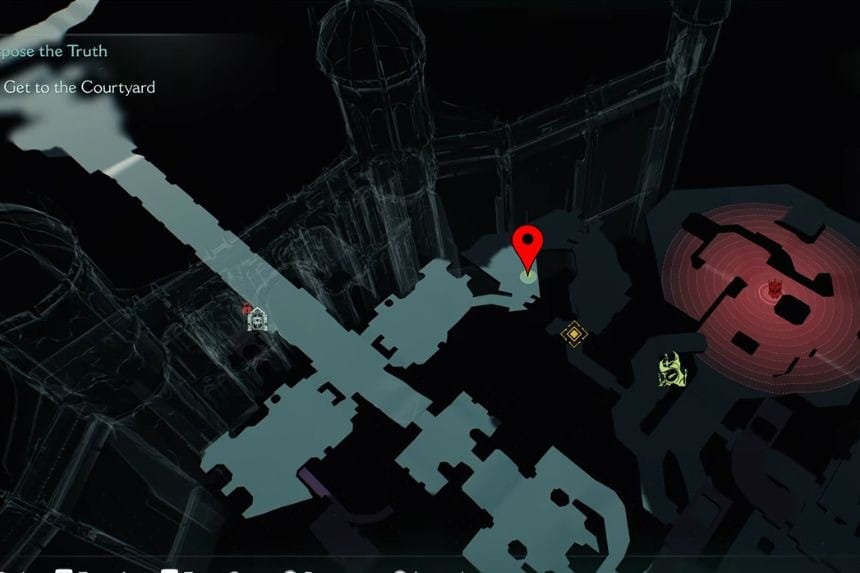
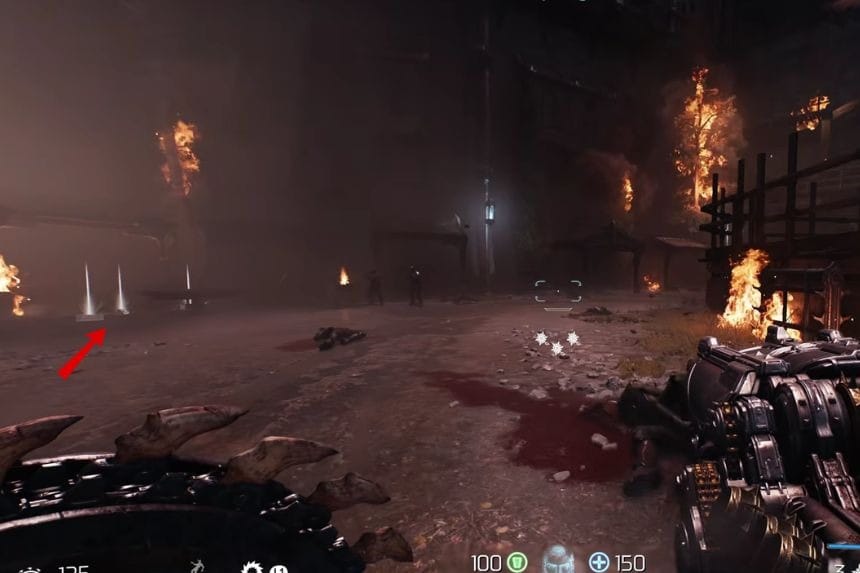
In the above-marked location, on the left side, you will find the Platinums near a table.
Platinum #2 + Collectible #1 – Codex: Plan Ash

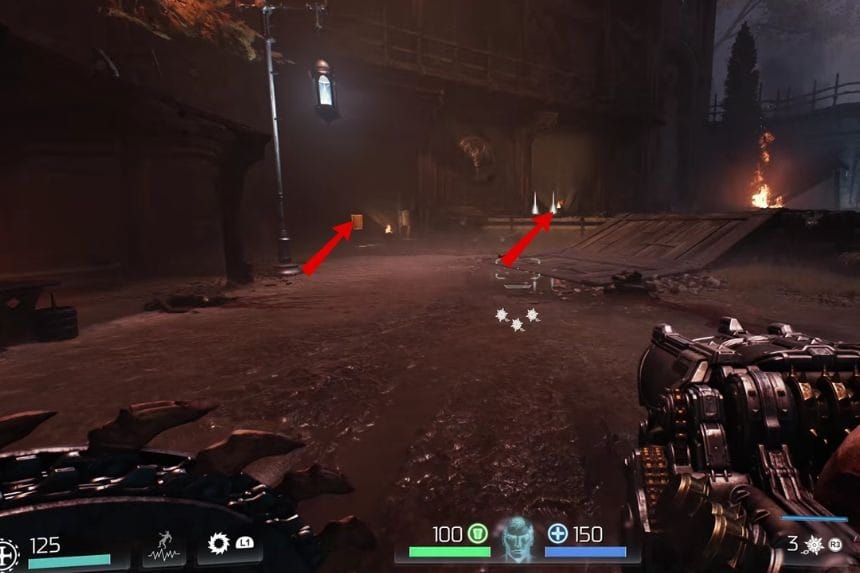
Go to the location and you will find the Codex: Plan Ash, in front of you, just on the left side and you will find the Platinums on the right side.
Platinum #3 + Secret Area #1
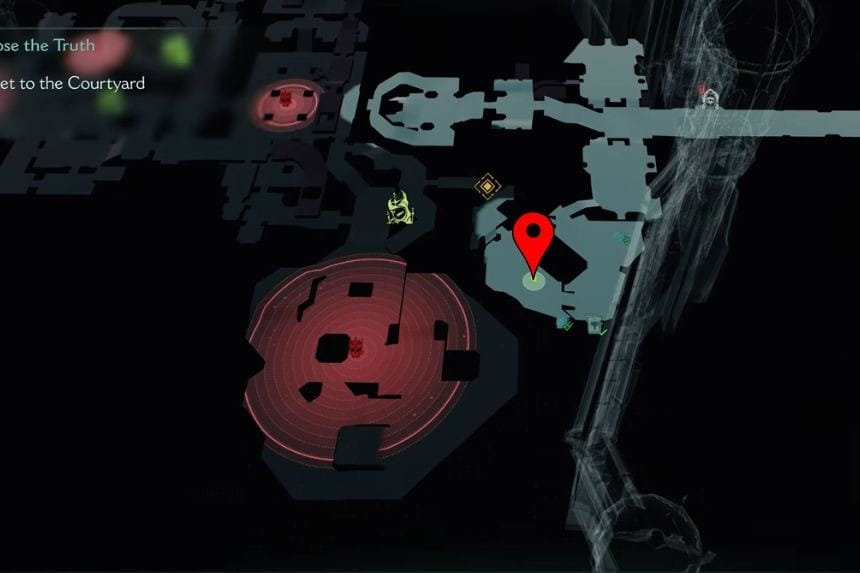

In the location marked above, go towards the ride side part to find the Platinums inside a room.
Platinum #4 + Secret Area #2
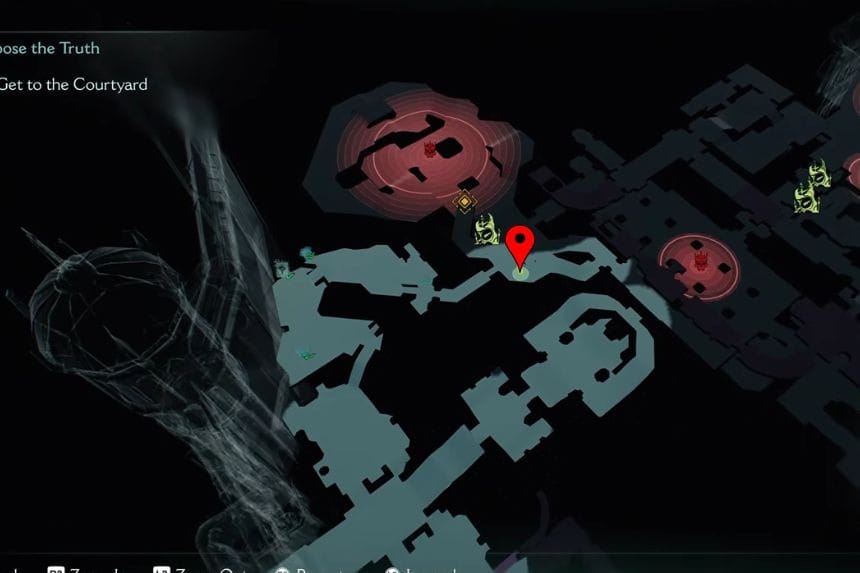
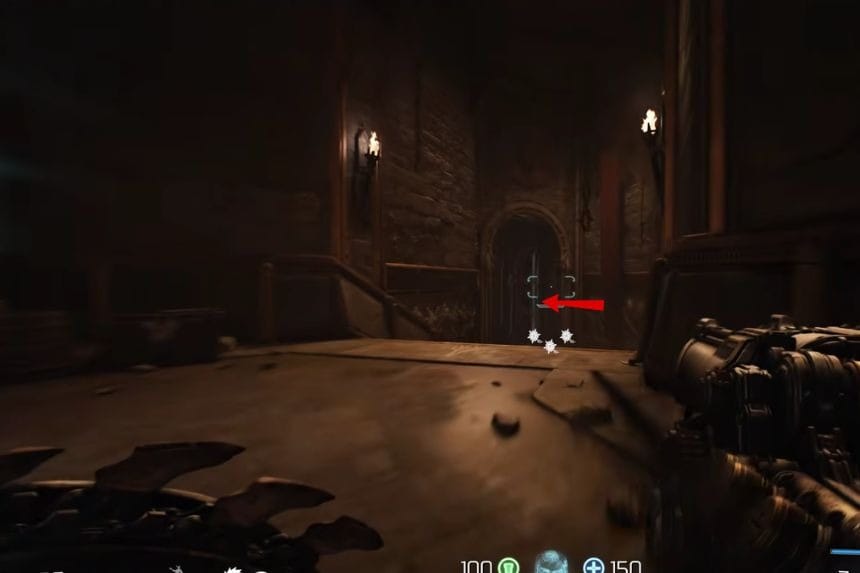
Go to the location marked above and then turn back towards the right side to find the Platinum near the stairs.
Platinum #5

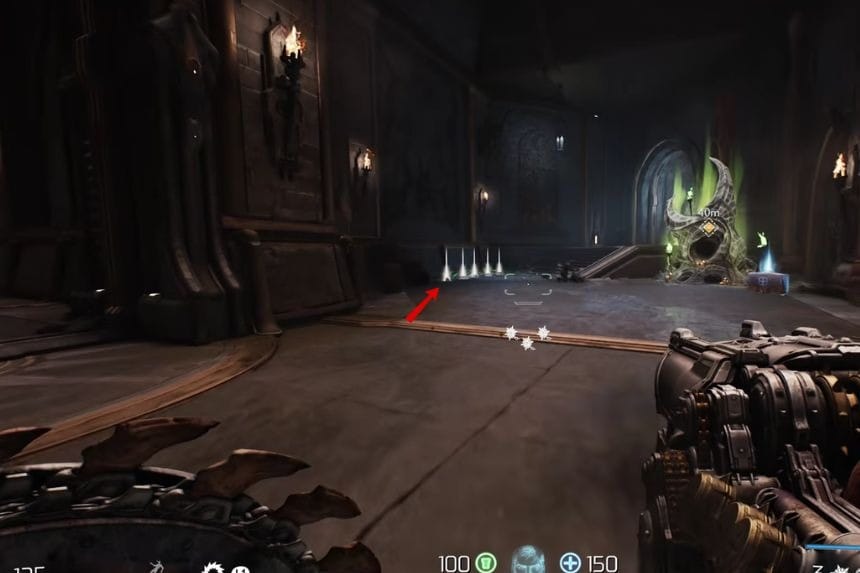
Reach the area marked on the map. You will find the Platinums in front of you just near the stairs.
Leader Essence #1
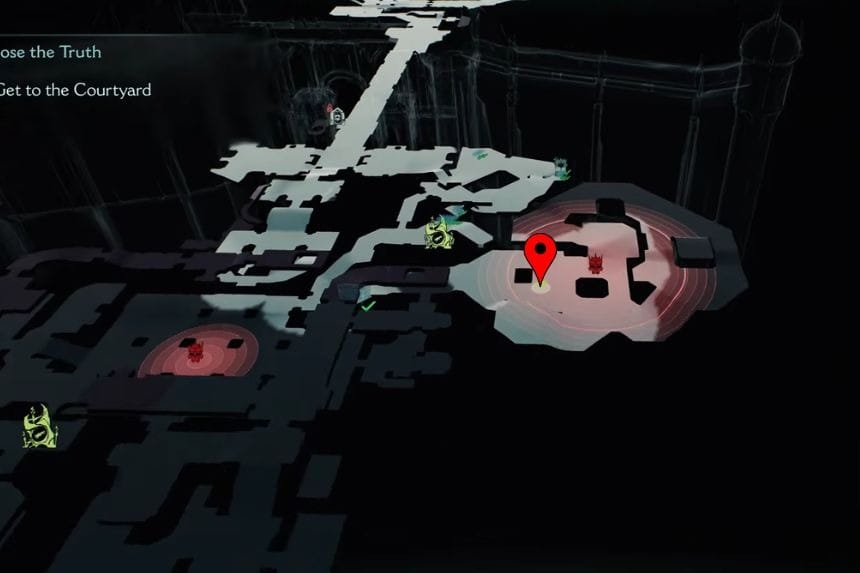

Continue through the story to find the leader. Defeat all its minions and then kill it to get the Leader Essence.
Platinum #6 + Secret Area #3 + Collectible #2 – Weapon Skin #1
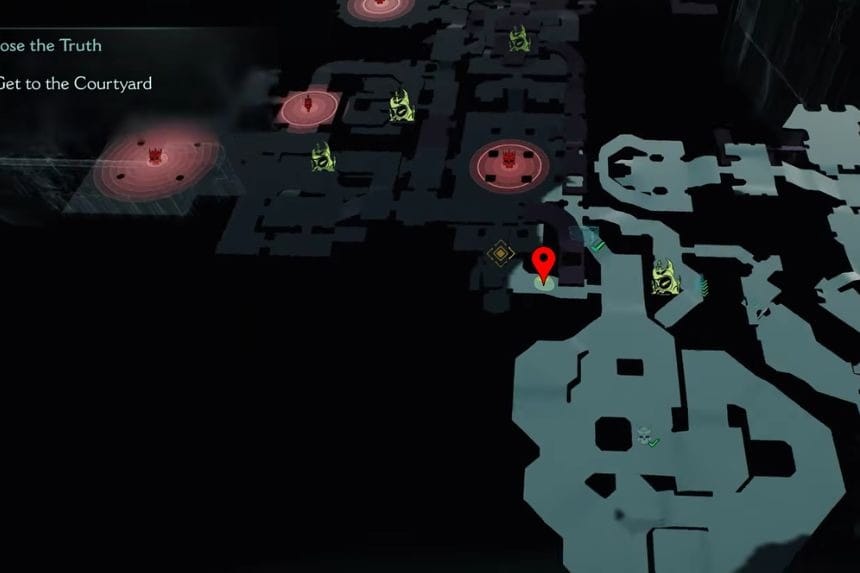
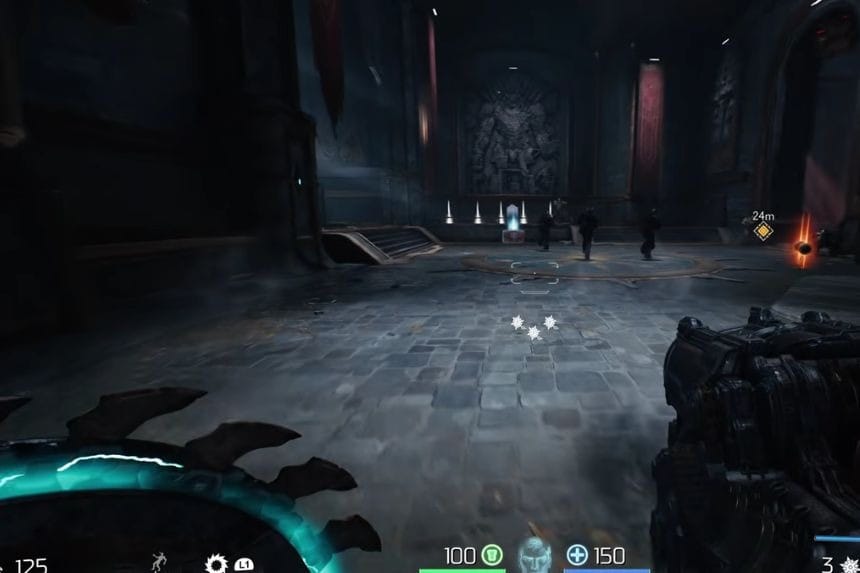
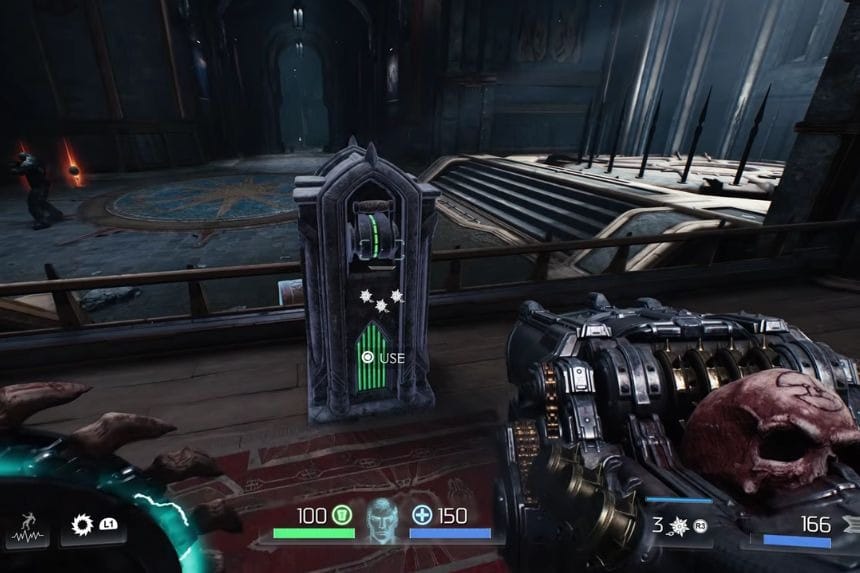
Go to the location and you will find the Platinums. There will also be a lever. Pull that lever to climb up the elevator on the right side. Now, in front of you, there will be the weapon skin.
Platinum #7
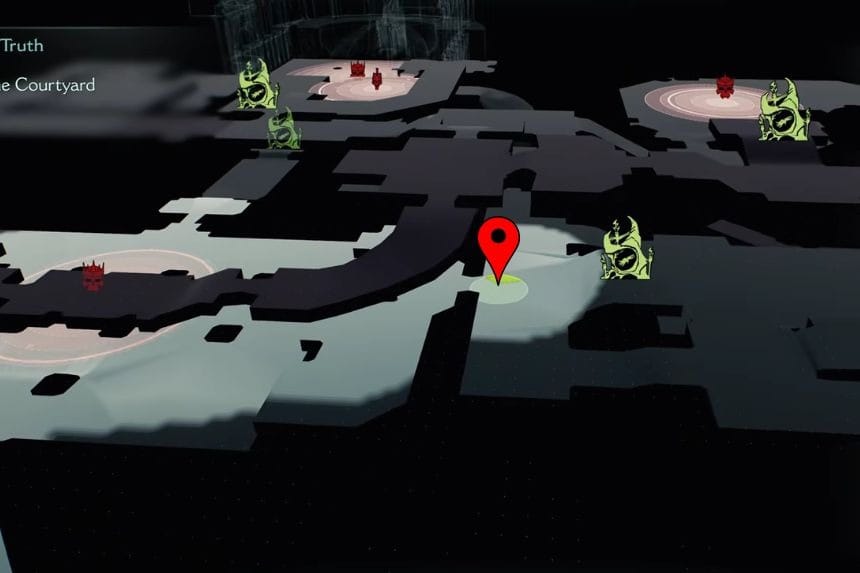
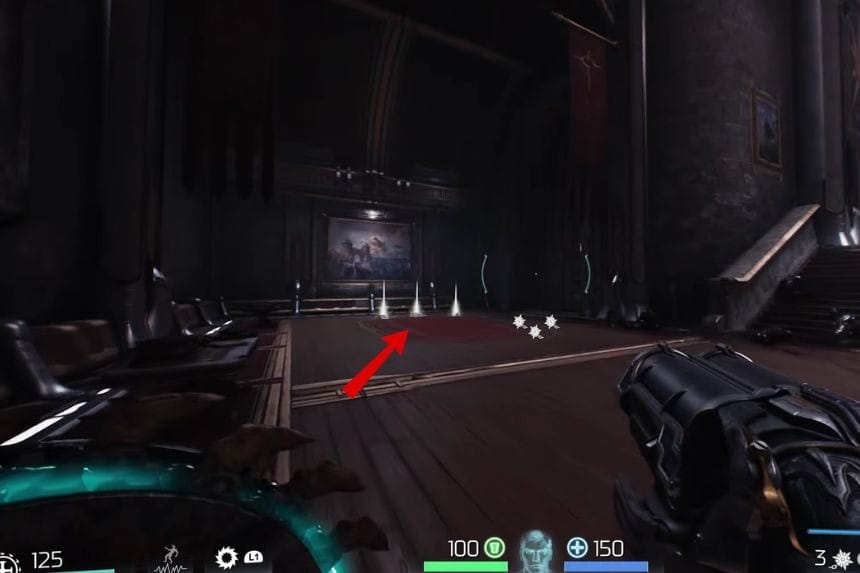
In the above marked location, turn left to find the Platinums.
Collectible #3 – Relic Piece #1: Dagger

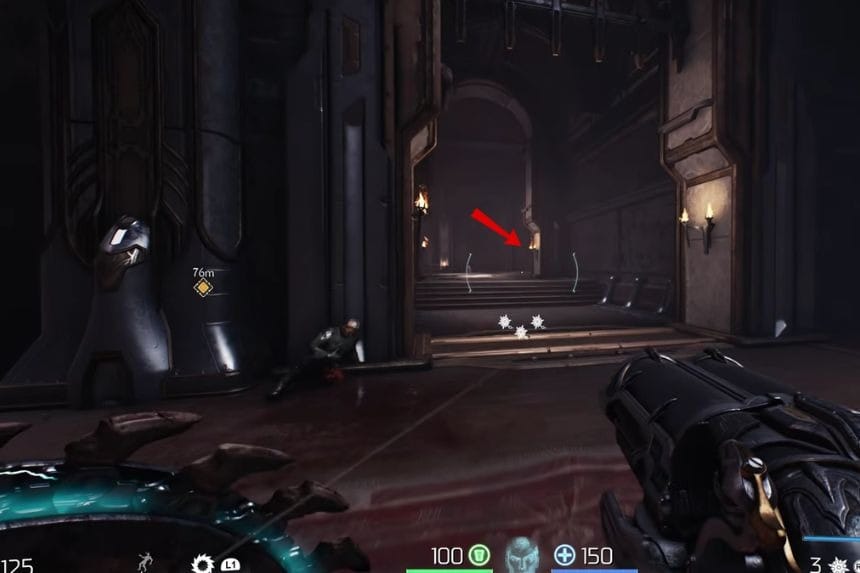
Go to the above marked location and take a right turn. As you cross the arch, on the right, you will find the relic piece.
Collectible #3 – Relic Piece #2: Dagger + Platinum #8
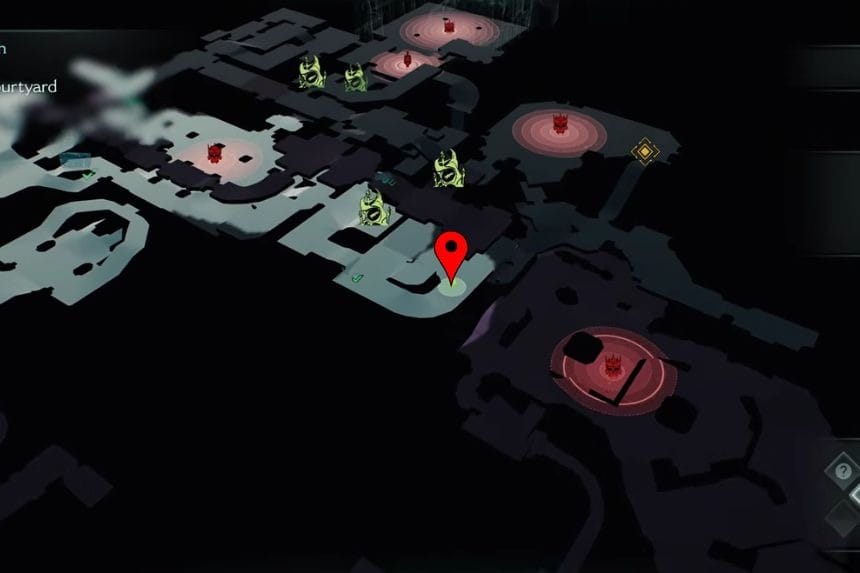
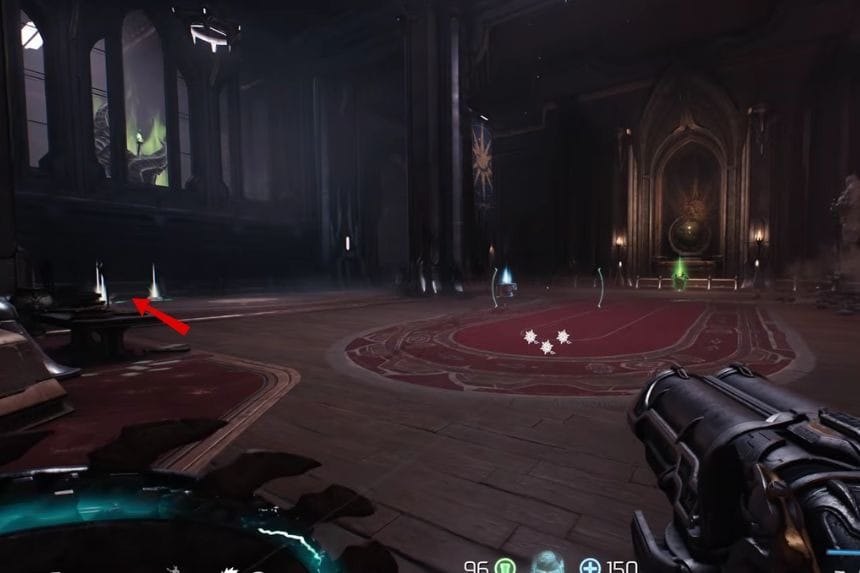
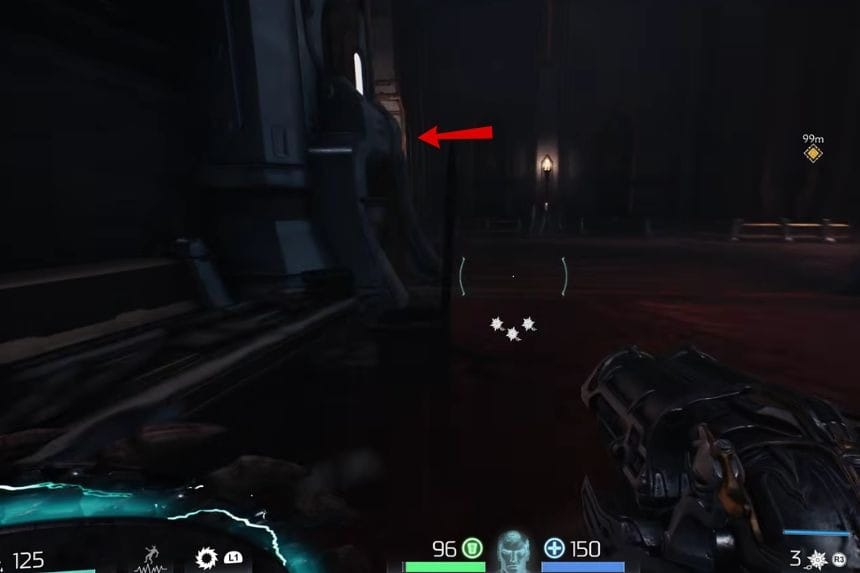
Once you reach the location, take a left turn to find the Platinums. Now move forward and take another left to find the relic piece on the stairs.
Platinum #9 + Secret Area #4
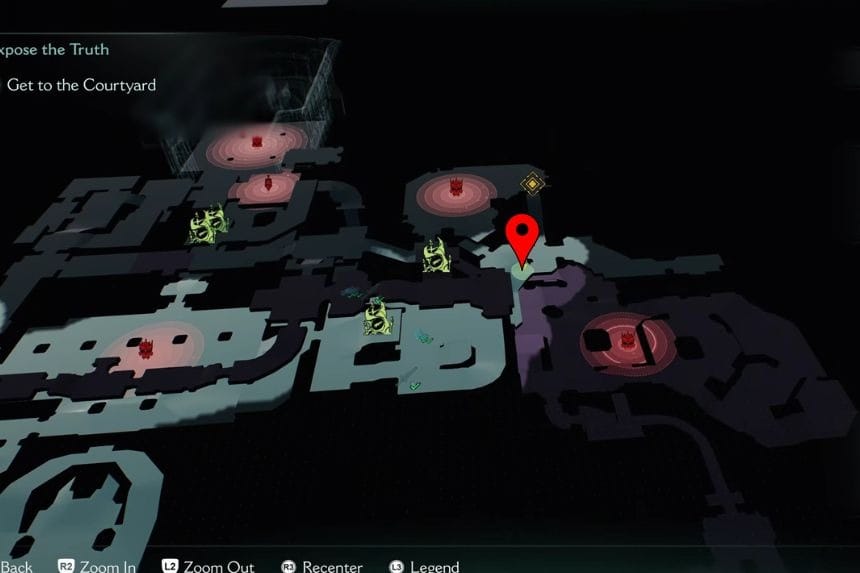
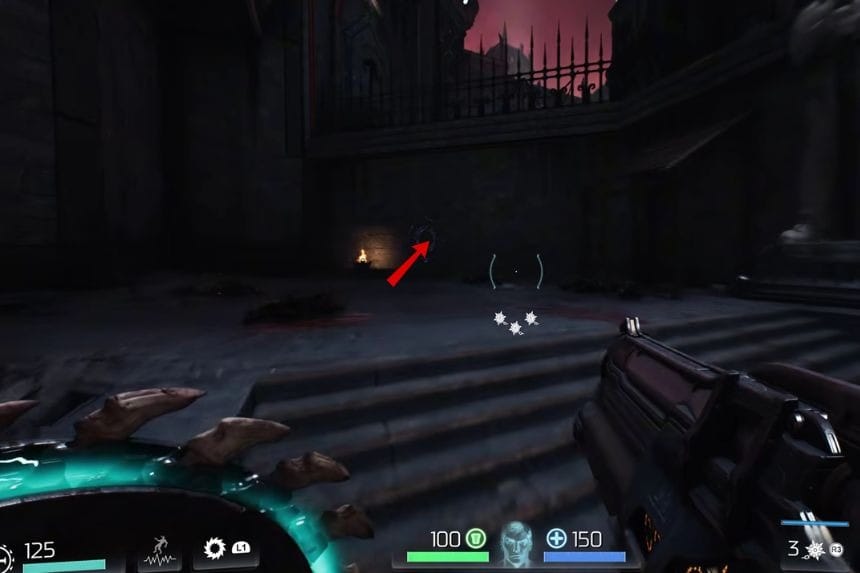
Go to the location marked above and on the left side, you will find a glowing circle, near the fire. Break this area with your shield to get the Platinums.
Platinum #10
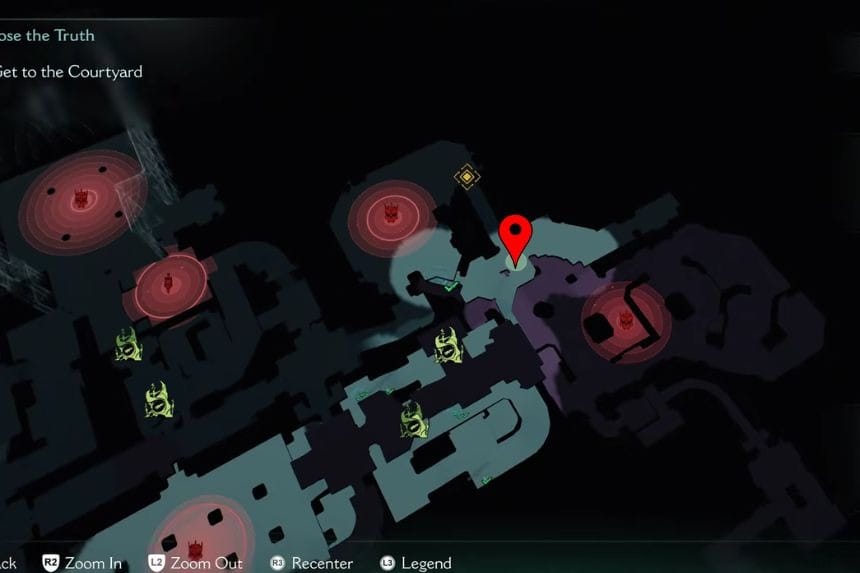
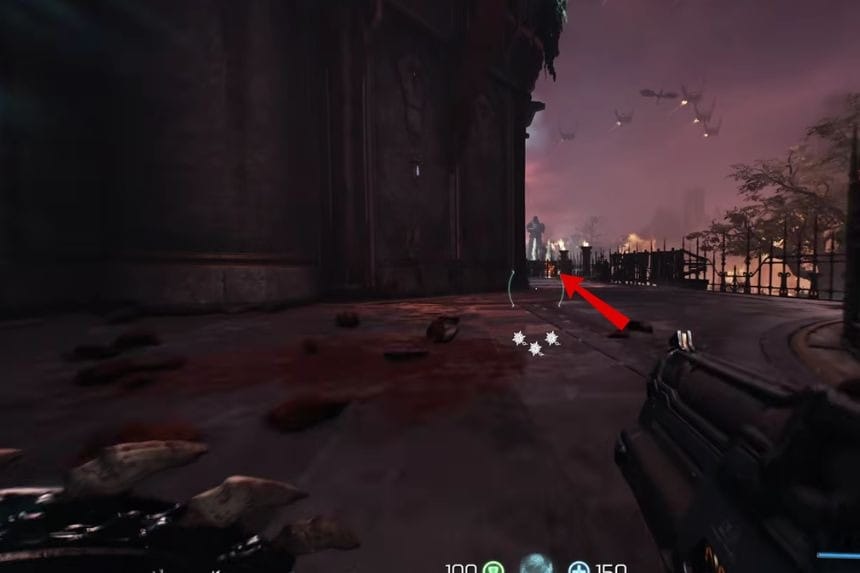
Go to the above marked location and take a right turn. At the end of the path, you will find the Platinums.
Leader Essence #2

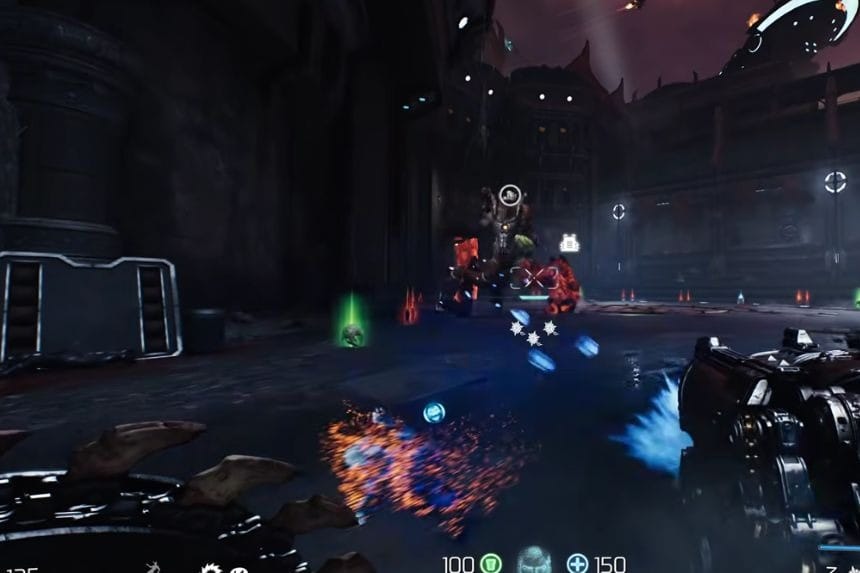
Move forward in the story to find a leader. First defeat all the nearby monsters and then defeat the leader to get the Leader Essence.
Platinum #11
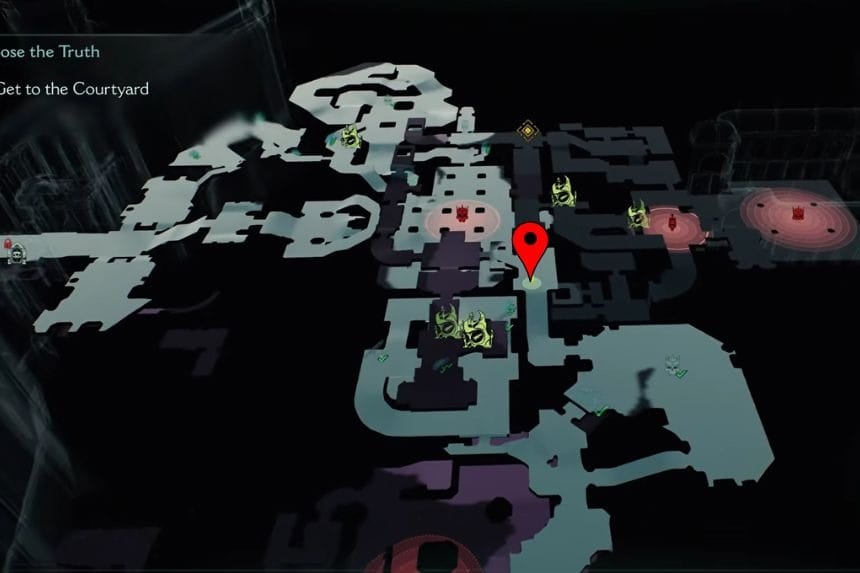
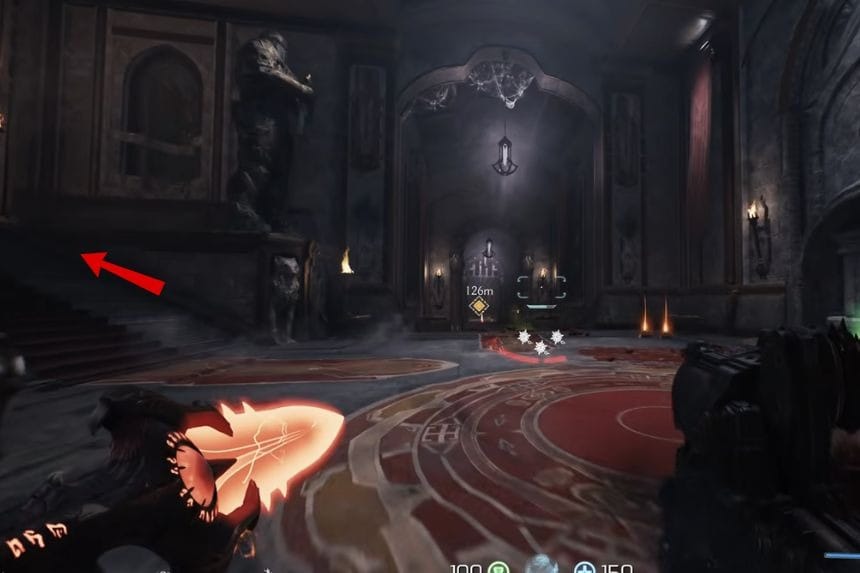
Reach the location and take a left turn to climb the stairs. You will find the Platinums on the left side.
Platinum #12
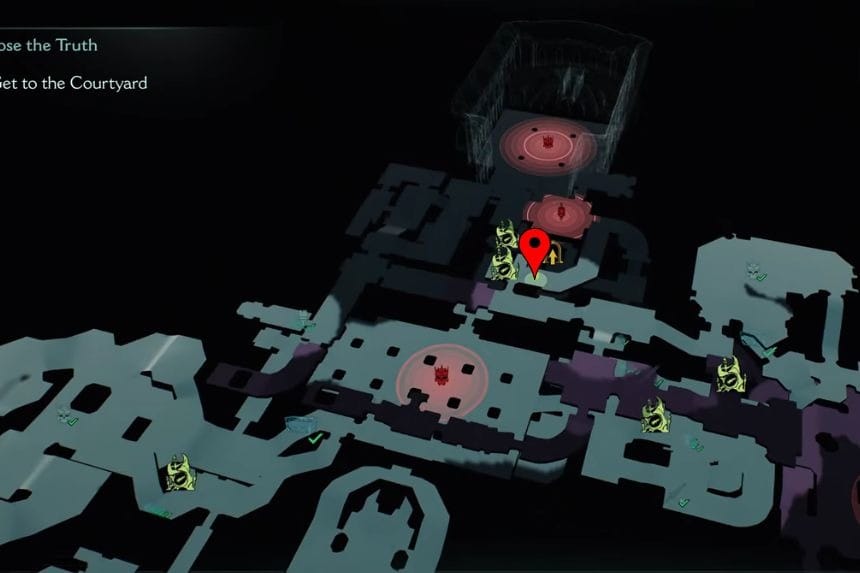

Go to the location and take a right turn. At the end of the path, you will find the Platinums.
Platinum #13 + Collectible #4 – Codex: Argent D’nur
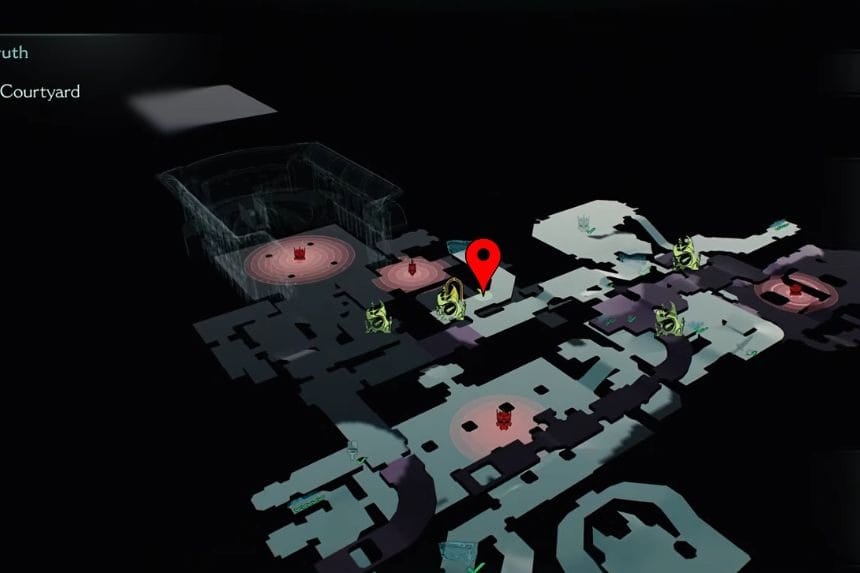

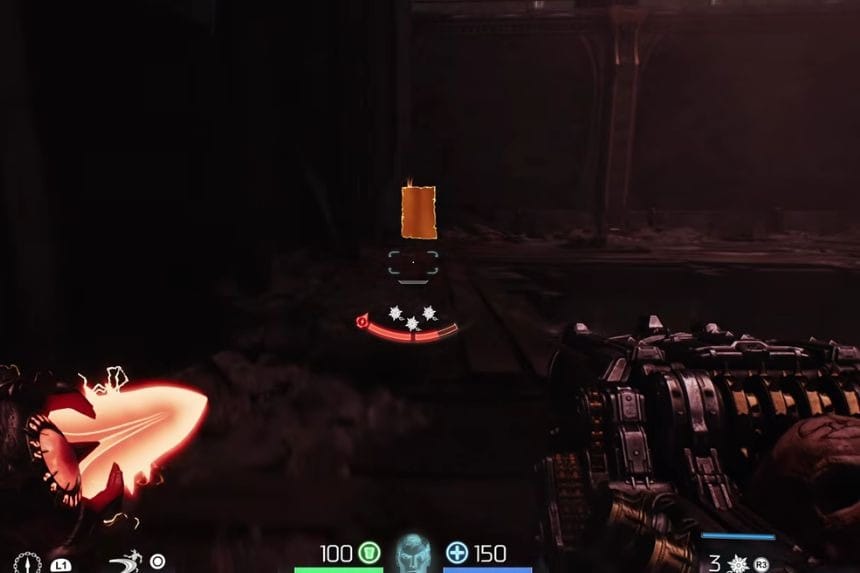
Go to the above marked location and jump down on the left side to find the Platinums and the Codex: Argent D’nur.
Secret Area #5 + Collectible #5 – Toy: Warlock
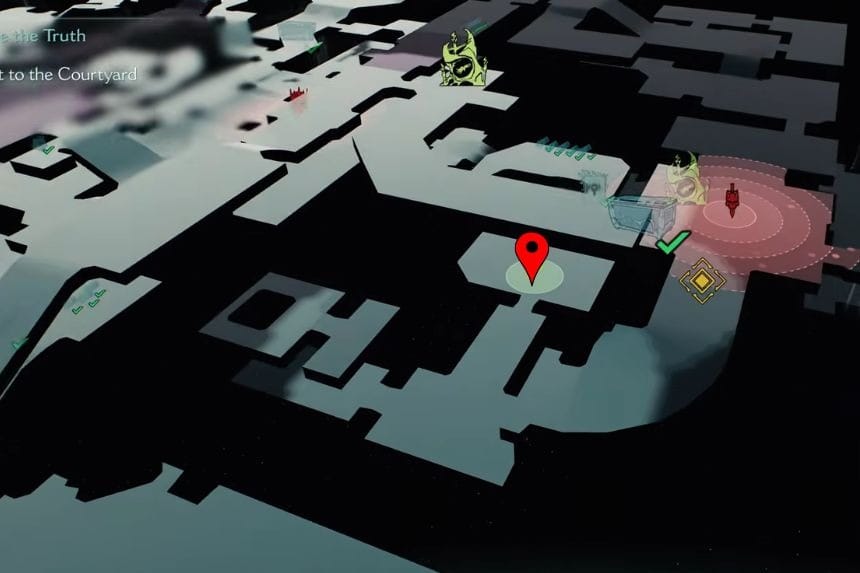
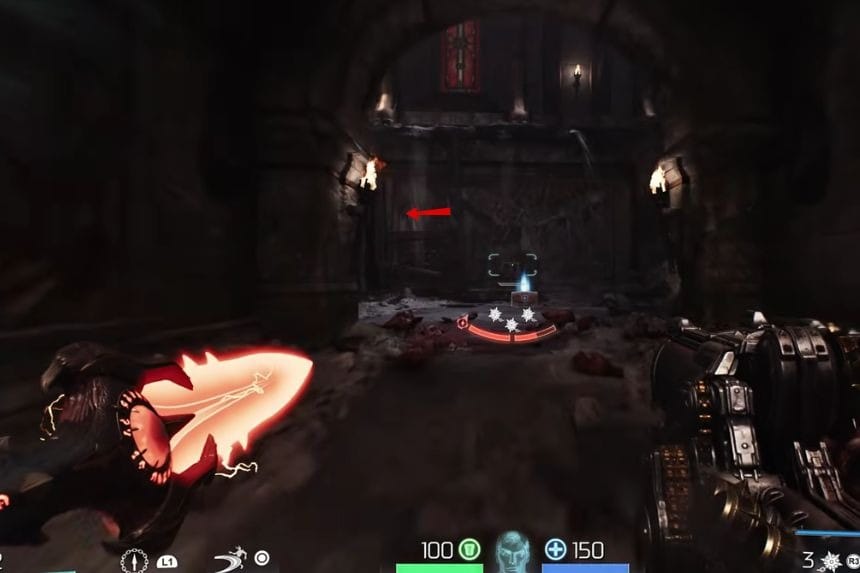
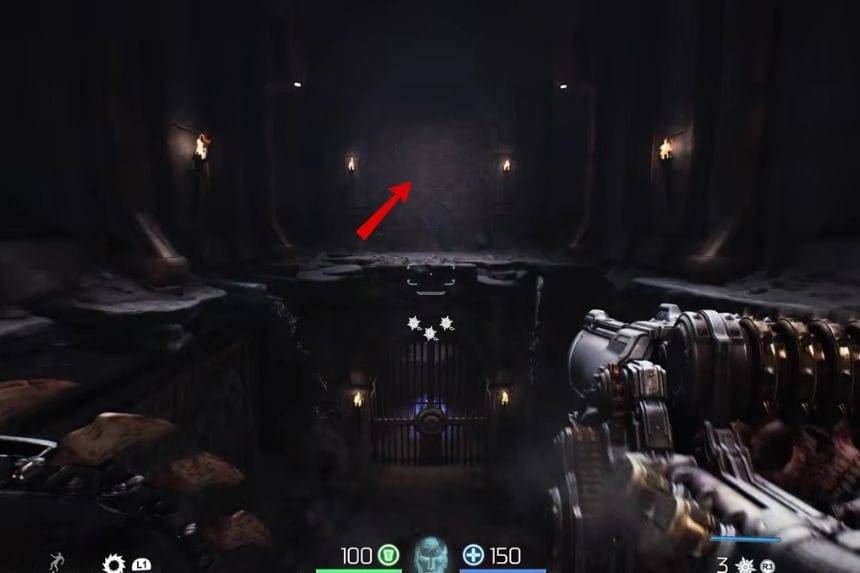
In the location marked above, move forward and on the left side climb a wall. Now turn back and jump towards the wall in front of you with your shield. This will break the wall, so jump down into the hole and move forward to find the Warlock toy.
Secret Area #6
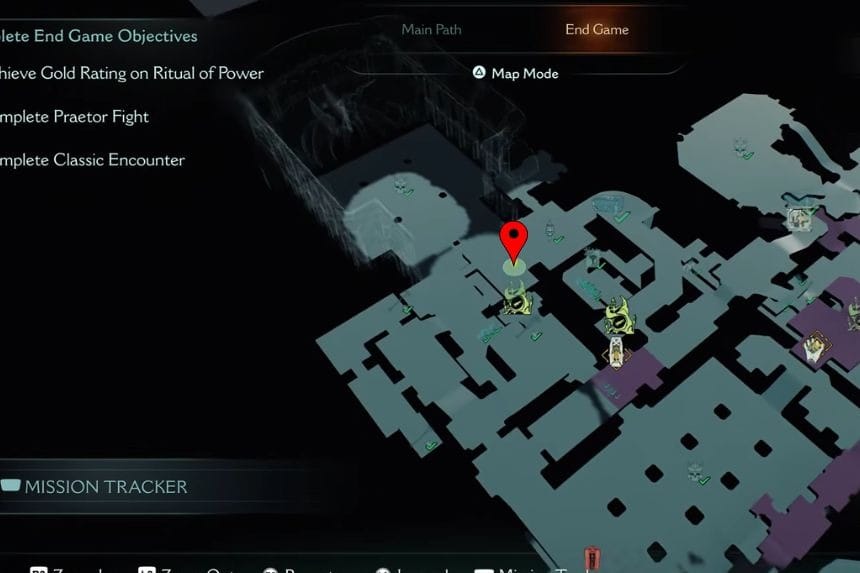
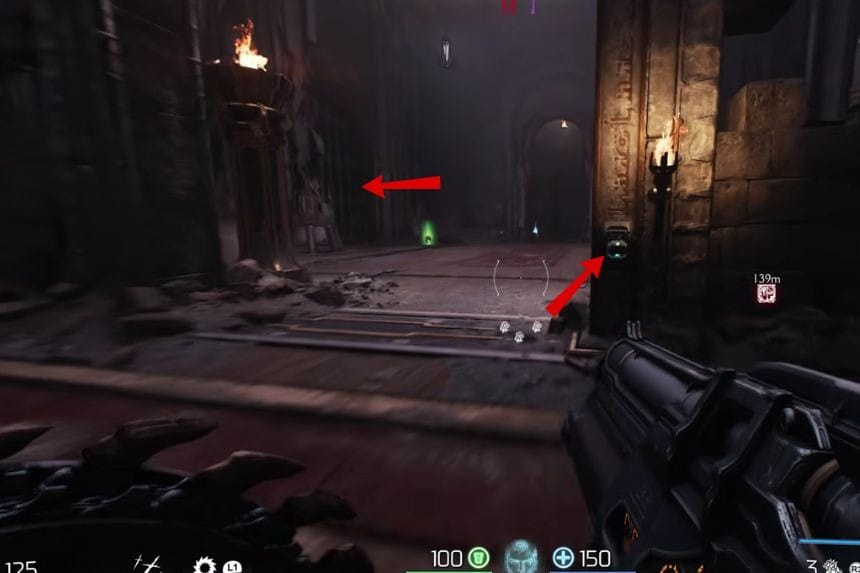
Go to the location and in front of you there will be a lever. Pull the lever and move forward to take a left turn and find the secret area.
Platinum #14
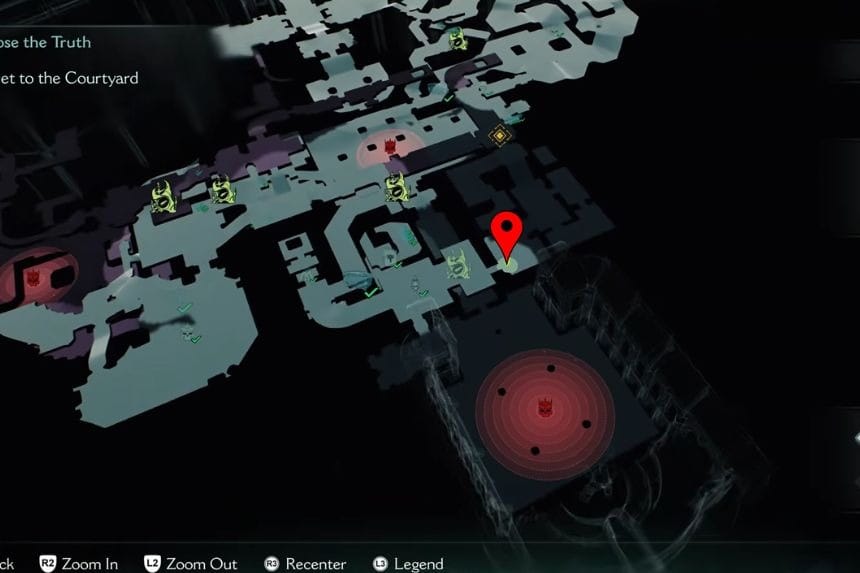
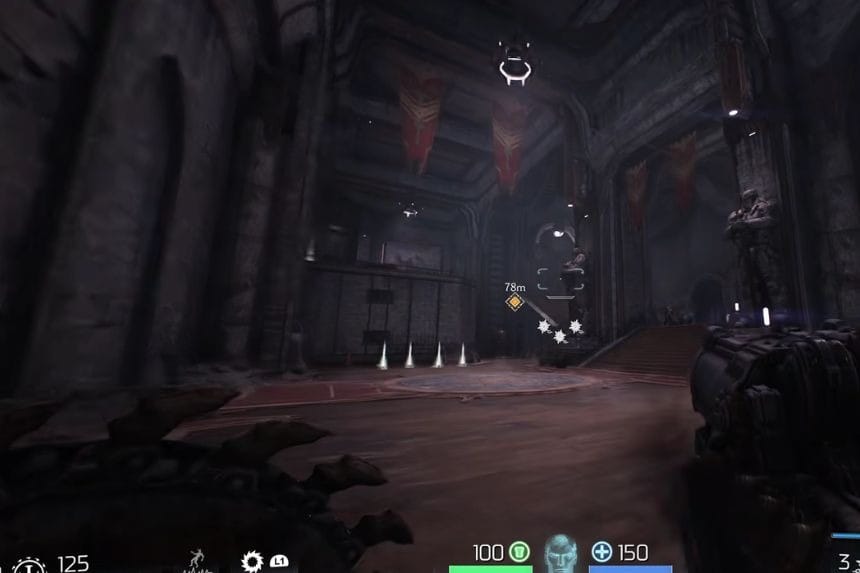
In the above area, you will find the Platinums just near the stairs.
Collectible #6 – Relic Piece #1: Axe
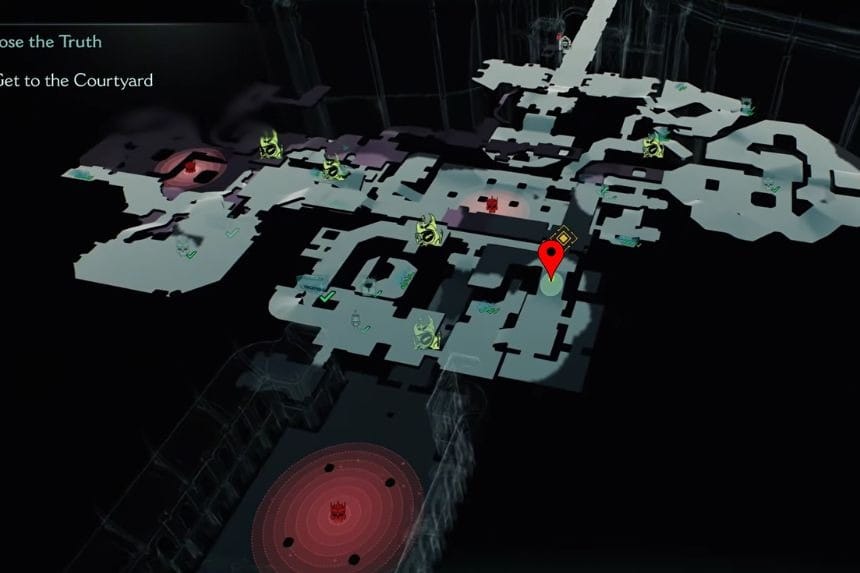
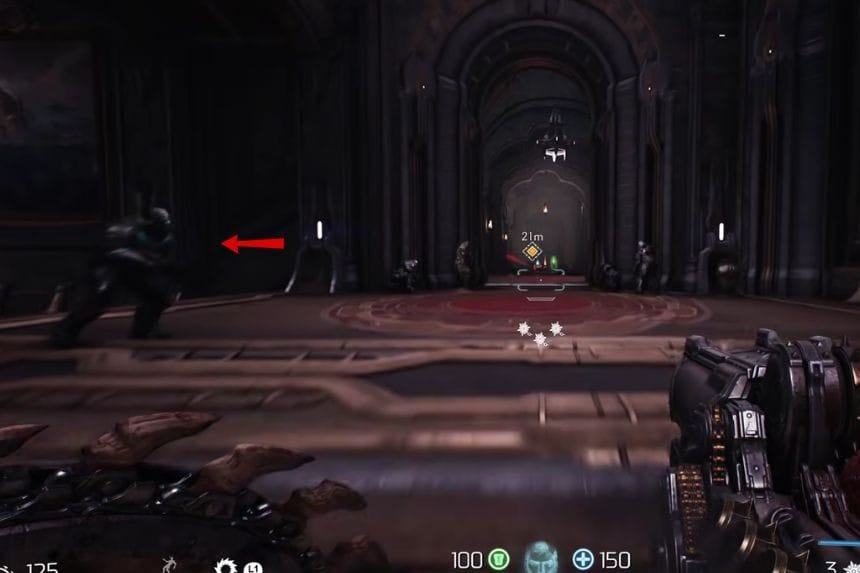
In the area marked on the map, take a left turn to find the relic piece at the end of the path.
Collectible #6 – Relic Piece #2 + #3: Axe + Secret Area #7
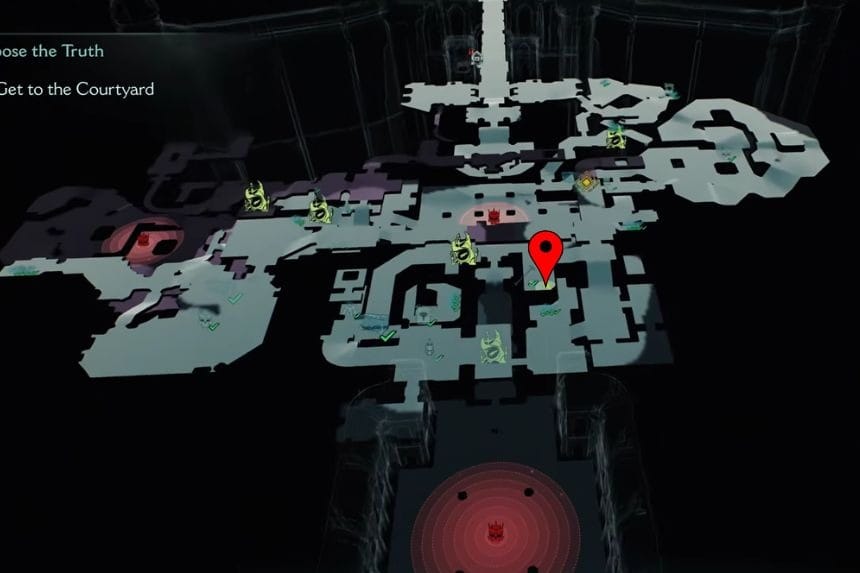
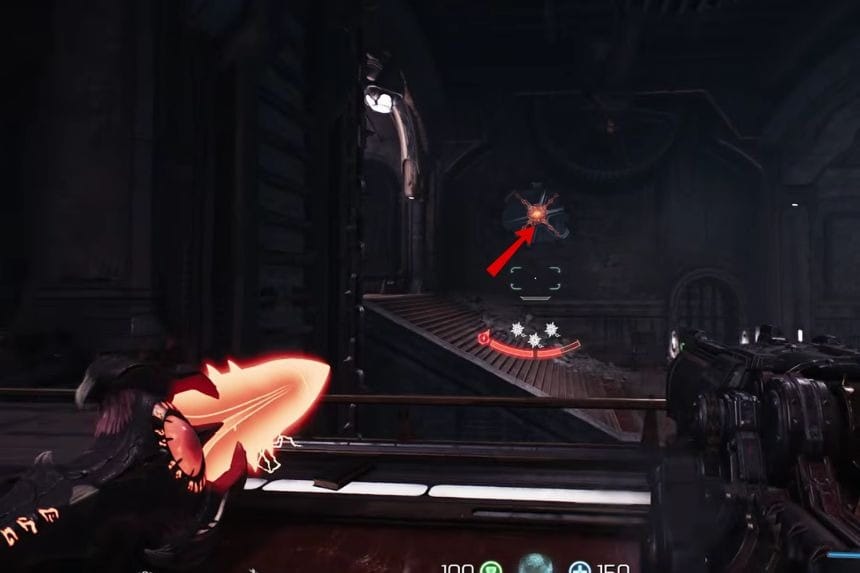
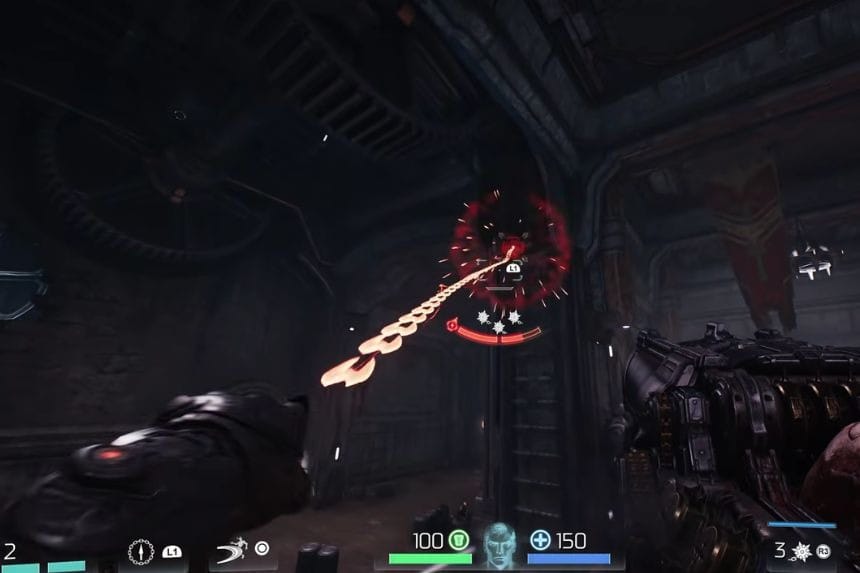
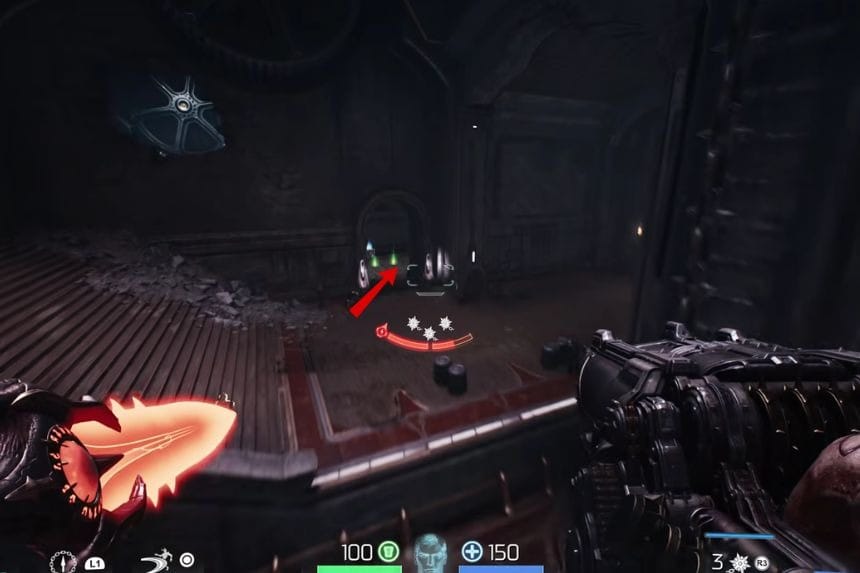
Go to the location marked on the map above and in front of you there will be a red button. Throw your shield at the red button. Then throw your spear on the right side. Now go towards the new area that has been unlocked in front of you. From there, take a right turn and at the end you will find a relic piece. Now return back and kill some monsters. After that climb the wall. At the end you will find the relic piece.
Leader Essence #3
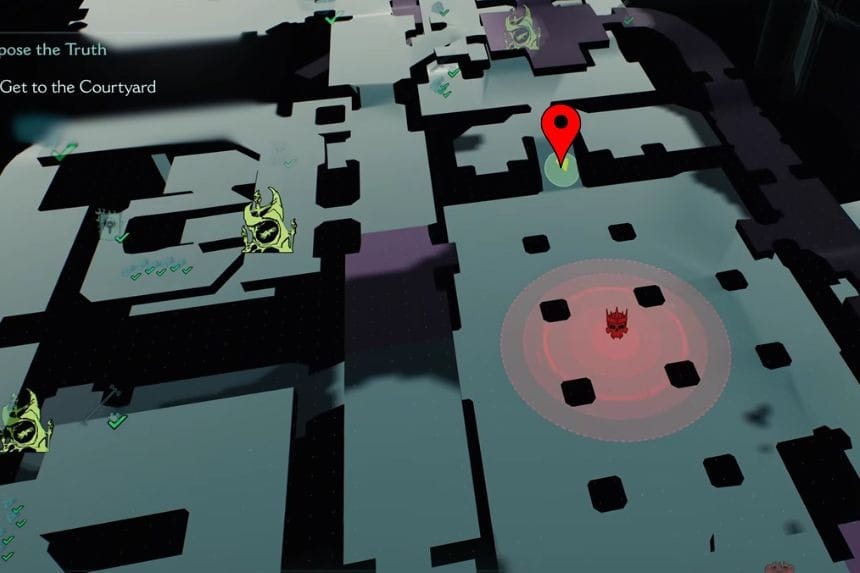
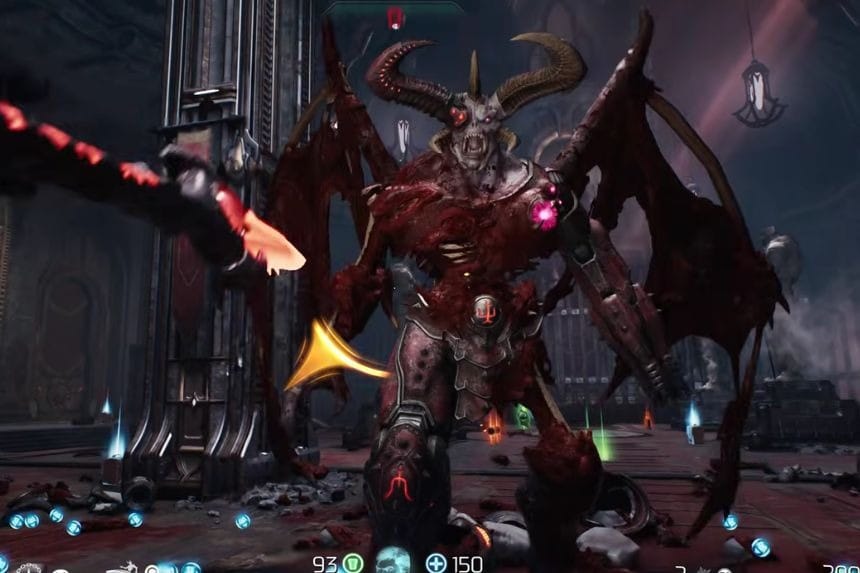
Move through the story to find the leader. First kill all its minions to break its shield and then kill it to get the Leader Essence.
Platinum #15
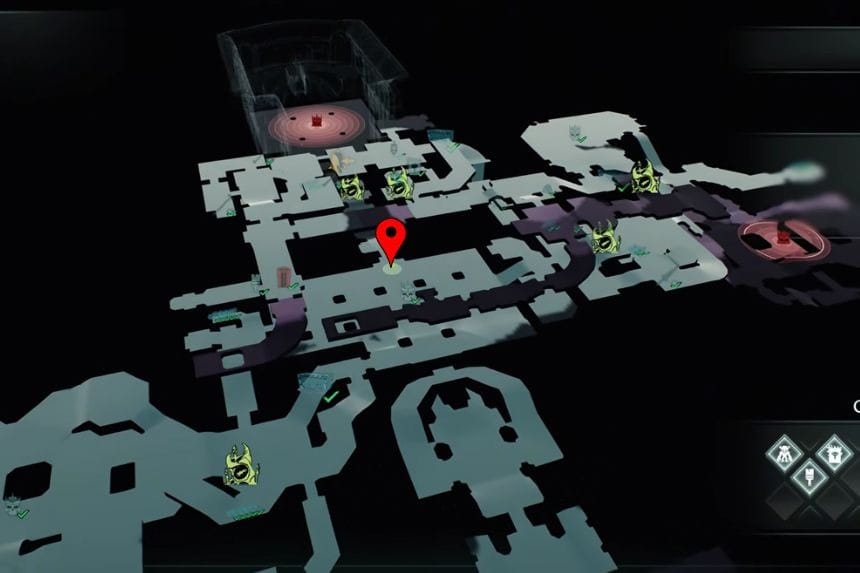
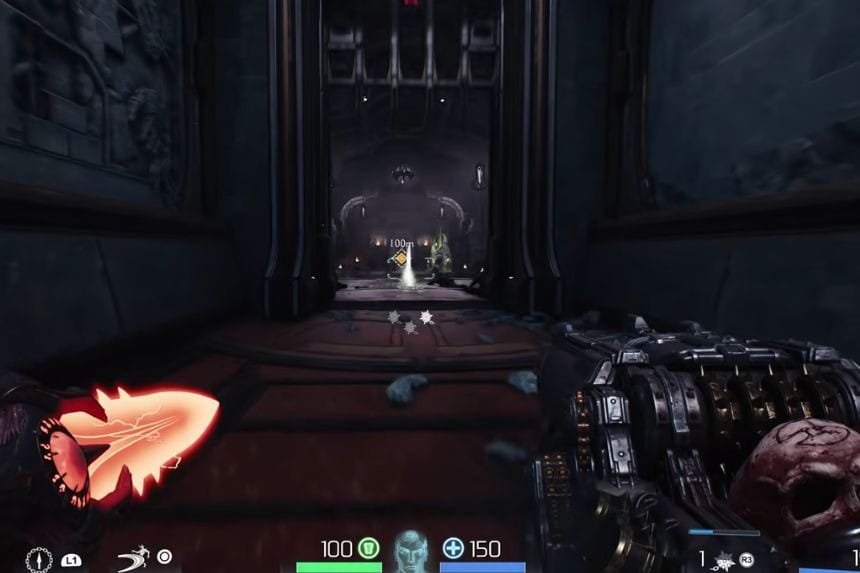
Reach the location on the map and in front of you there will be the Platinums.
