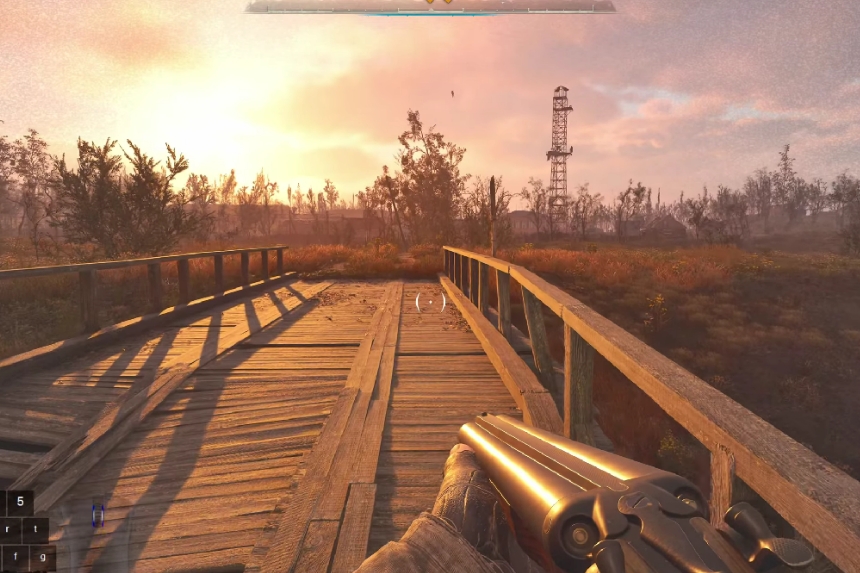
Stalker 2: Heart of Chornobyl features numerous branching paths and decisions that significantly impact the main story. These choices let you align with certain factions while opposing others, creating a playthrough that feels personalized and shaped by your actions.
Choices come quickly and frequently from the beginning, allowing you to set your desired course early. Be ready to make tough decisions immediately, as maximizing each encounter is crucial if you aim for a specific outcome or wish to align with a particular faction.
This walkthrough guide on “A Needle in a Haystack” ‘s main mission will help you discover where to go, which choices will lead to specific outcomes, and where to locate Squint.
A Needle in a Haystack: How to Begin
“A Needle in a Haystack” is a main mission in Stalker 2: Heart of Chornobyl, played during the events of Behind Seven Seals. The mission offers two paths based on your decision to support the stalkers or align with the Ward.
The mission “A Needle in a Haystack” begins when you agree to assist Richter or Captain Zotov during the events of “Behind Seven Seals.” Accept the task of finding a rogue stalker, Squint, and your search will commence.
After accepting the mission, head out of town via the northern road. Continue along the road until you reach an intersection, then take the eastern path. This will lead you directly to the warehouse where Squint was last seen. Be sure to throw bolts at the anomalies to disrupt them and clear your path.
Note: Choosing to side with the stalkers or the Ward is completely your choice
Invisible Nets Side Mission: Why it’s Important
Agreeing to locate Squint starts a side mission called “Invisible Nets.” This mission will help you get the exact location of where Squint is hiding. Unlike most side missions, some are essential for progressing the main story. These missions often become available after accepting a multi-step primary mission. Completing them is usually mandatory; failing to do so may prevent further progress in the story.
Note: If you skip this side mission, you’ll need to determine Squint’s location through other methods, but it shouldn’t be too difficult. Once you track him down, you’ll find Squint hiding inside a windmill just east of Zalissya. Head there when you’re ready.
A Needle in a Haystack: Exploring the Warehouse
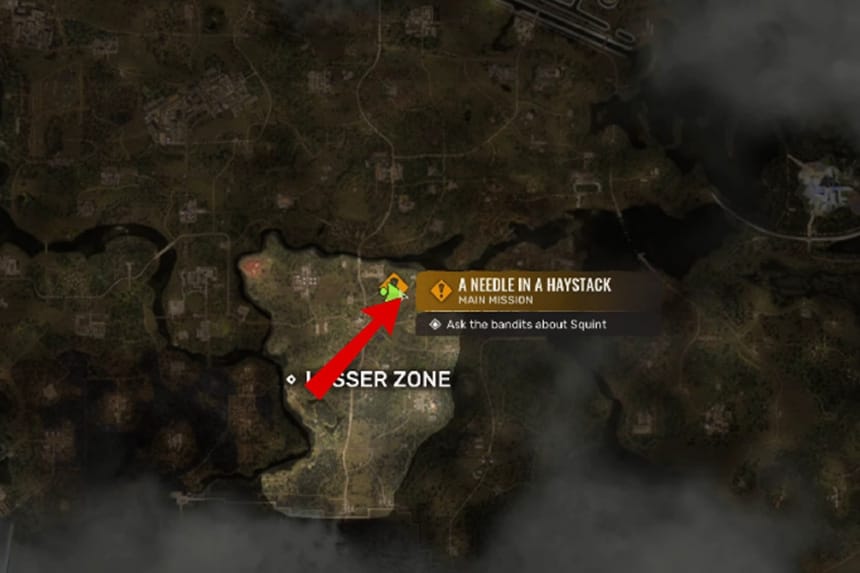
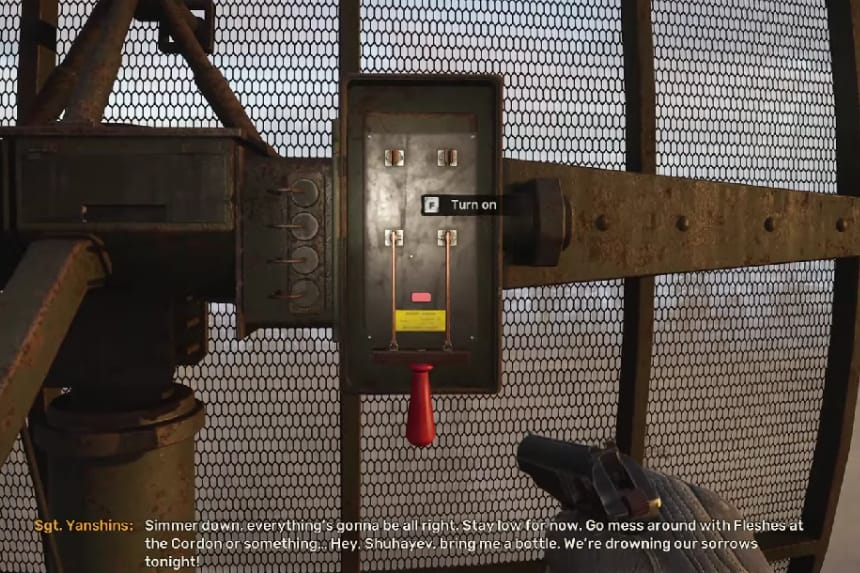
First, you must complete the “Invisible Nets” side mission, for which you need to activate the radio tower beneath the floating balloon in Zalissya.
- Open the map and locate the mission site behind the Ward building on the western edge of the settlement.
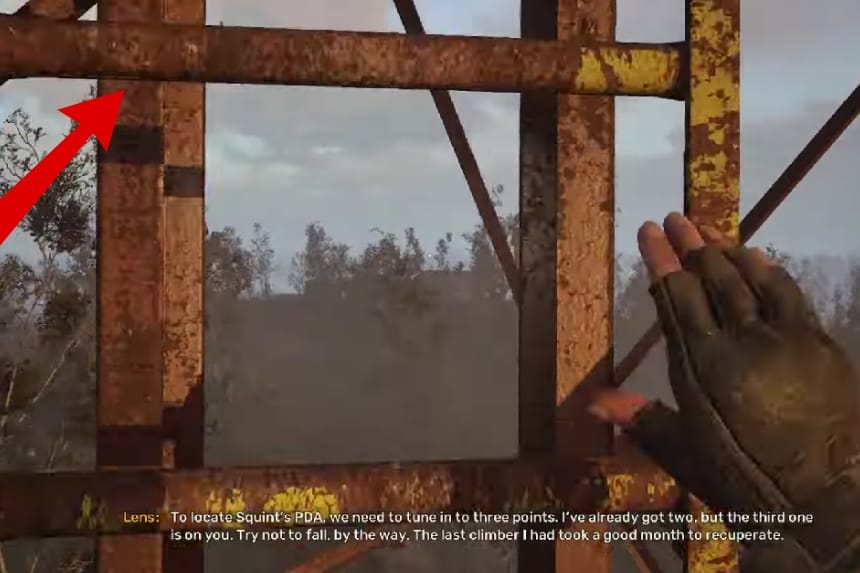
- Circle around the building to locate the tower and then climb the ladder.
- As you climb, a stalker named Lens contacts you over the radio. Lens developed the tracking system to monitor the PDAs of rookies, and now you can use it to locate Squint.
- Reach the top and flip the switch on the antenna, only for it to burn out. Lens informs you of another antenna and provides the coordinates.
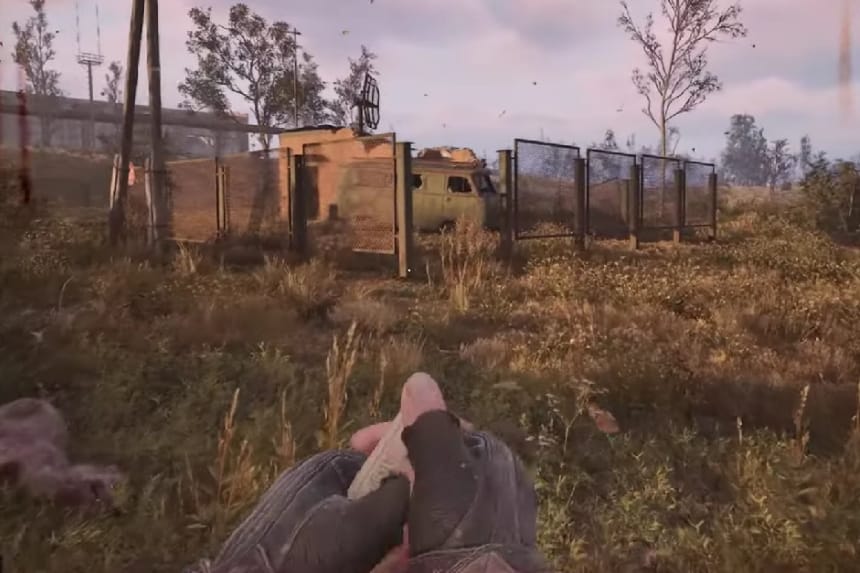
- The second antenna is located in a warehouse southeast of Zalissya. Take the eastern path out of the settlement, but be cautious of anomalies and enemies along the way.
- Arm yourself as you go near the building with the antenna. A pack of feral dogs will rush at you, launching hit-and-run attacks.
- After dealing with the dogs, enter the brick building with the antenna. Go through the door, climb to the structure’s top, and use the broken planks.
- Activate the antenna; Lens will provide the Squint’s location, the Old Mill.
- The mill is not far. Head north until you reach an abandoned settlement near it. Be looking for three mutant enemies that will attack you within the settlement.
Note: As you climb the building, you can converse with Mug. You can pay 1500 Coupons for information on Squint’s location or select the [Attack] option to kill him.
Remember: You can skip this step and go directly to Squint’s location at the Old Mill to the east.
A Needle in the Haystack: Finding Squint
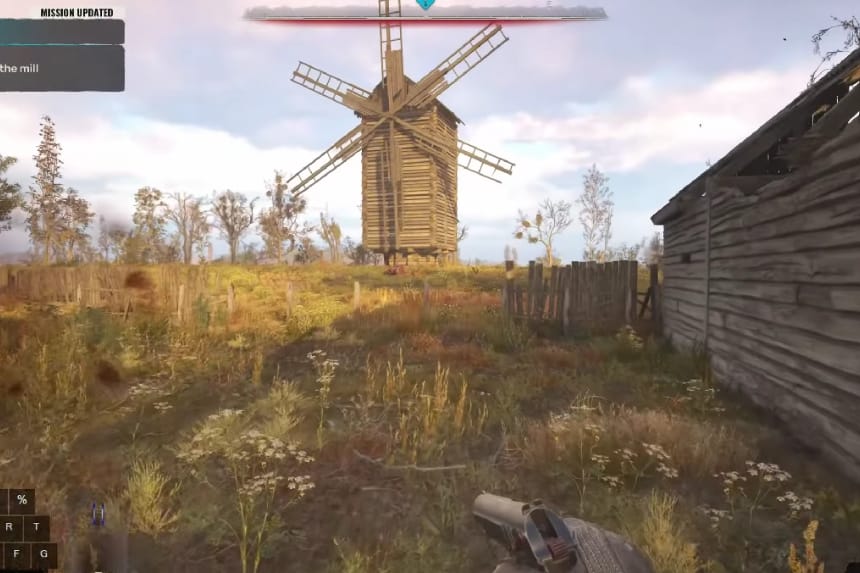
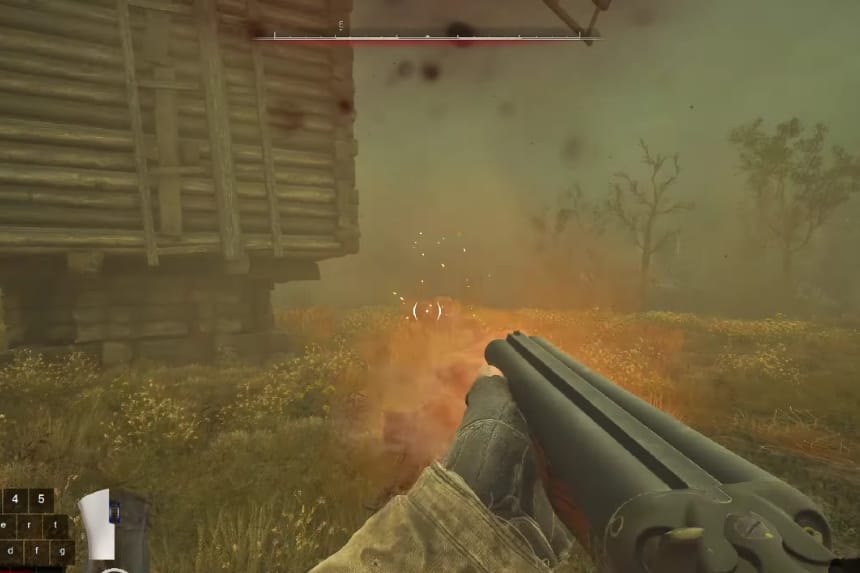
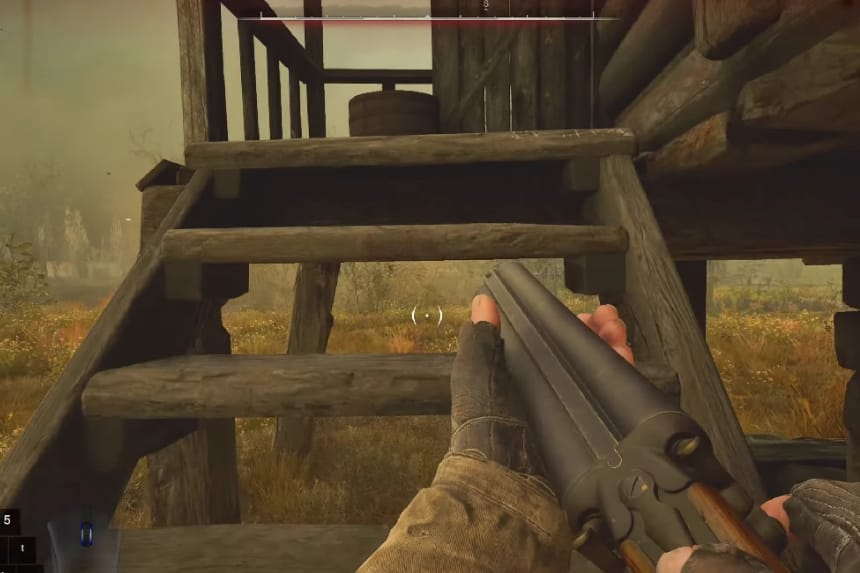
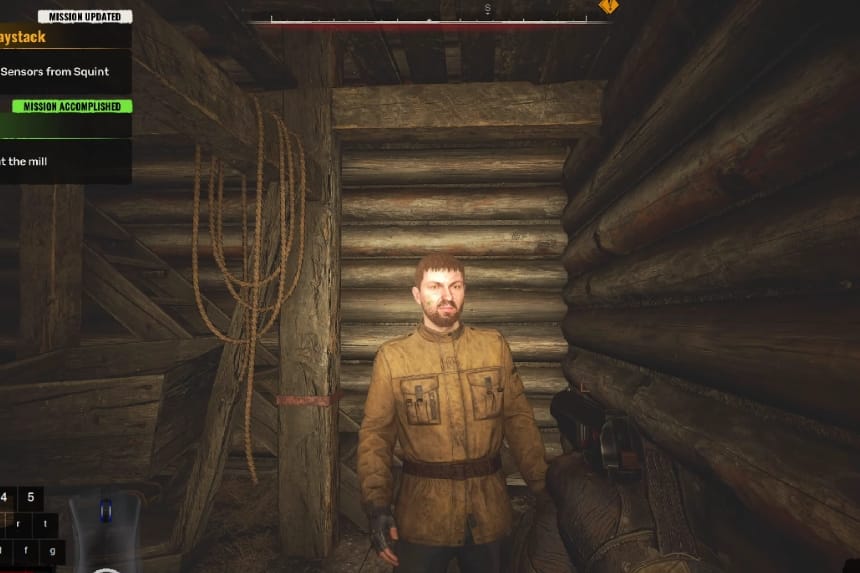
Now that Squint’s location is identified, head towards the orange waypoint. When you spot a windmill in the distance, approach it. Once outside the windmill, circle around until you find the staircase leading inside. Climb the stairs and enter the trap-filled interior.
Crouch down and carefully make your way up the winding staircase inside the Old Mill, looking for tripwires and shotguns to disarm. You’ll also encounter cans on some of the nearly impossible steps to avoid without making noise, so handle them in whatever way works best. When you reach the top, Squint will be waiting for you, shotgun aimed directly at your face.
Note: You can disable the traps by interacting with the thin ropes near the staircases.
Talking to Squint
Meeting Squint may not leave the best first impression, but you have several ways to approach the situation. If your only goal is to get Ward’s sensors, you can attack and kill him immediately, loot his body for the sensors, or help Squint recover Mold Artifacts from a nearby cave in exchange for the Ward Sensors.
Choosing to Help Squint
Agreeing to help Squint will start the “Piece of Cake” side mission. You must head to a cave beneath the area to retrieve the Mold Artifact. Be aware of the Bloodsucker guarding the cave entrance, save your ammo, and prepare to fight it as soon as you encounter it. You’ll also encounter acid anomalies, so use your detector to locate the Mold Artifacts Squint mentioned.
After obtaining the Mold artifact, exit the cave and return to Squint. During your conversation, you can either keep the Artifacts or give it to Squint as promised. If you prefer to get the Ward Sensors without a confrontation, hand over the Artifacts in exchange for them.
Choosing to Kill Squint
Alternatively, you can kill Squint and loot the Ward Sensors from his corpse. Select the [Attack] dialogue option to initiate the fight, but be aware that he will become hostile as soon as you do so.
A Needle in a Haystack: Returning the Ward Sensors
Once you have the Ward Sensors, you can return them to Richter or Captain Zotov. The missions you receive in the Garbage region will vary depending on who you give the sensors to.
Give the Ward Sensors to Richter
Return the Ward Sensors to Richter in Zalissya to complete the “A Needle in a Haystack” main mission. Giving the sensors to Richter prevents the Wardens from cracking down on the stalkers in Zalissya. Aligning with Richter also allows you to exit through the North Checkpoint and influences the missions you’ll receive when you reach the Garbage region.
Give the Ward Sensors to Captain Zotov
Return the Ward Sensors to Captain Zotov to complete the “A Needle in a Haystack” main mission.
By giving the sensors to Zotov, you align yourself with the Ward faction, unlocking new quests from them. Siding with Zotov also leads you to exit through the Western Checkpoint and impacts the missions you’ll receive when you reach the Garbage region.
Tip: Make sure to save your game before making this decision so you can explore both storylines in future playthroughs.
How Your Decisions Influence the Game
One of the standout features of Stalker 2 is its focus on player choice. Whether deciding to help or betray characters like Squint or selecting which faction to align with, every decision you make has a significant impact. These choices affect:
- Faction Alliances: The friends and foes you’ll encounter in the Zone.
- Access to Missions: Some missions/quests become available or locked based on your decisions.
- Endings: Your choices shape distinct outcomes for your character’s journey.
Effects on Replayability
The branching paths in missions like “A Needle in a Haystack” provide significant replay value. Whether you align with the Free Stalkers or the Ward, each playthrough delivers a unique experience, motivating players to explore different outcomes.

