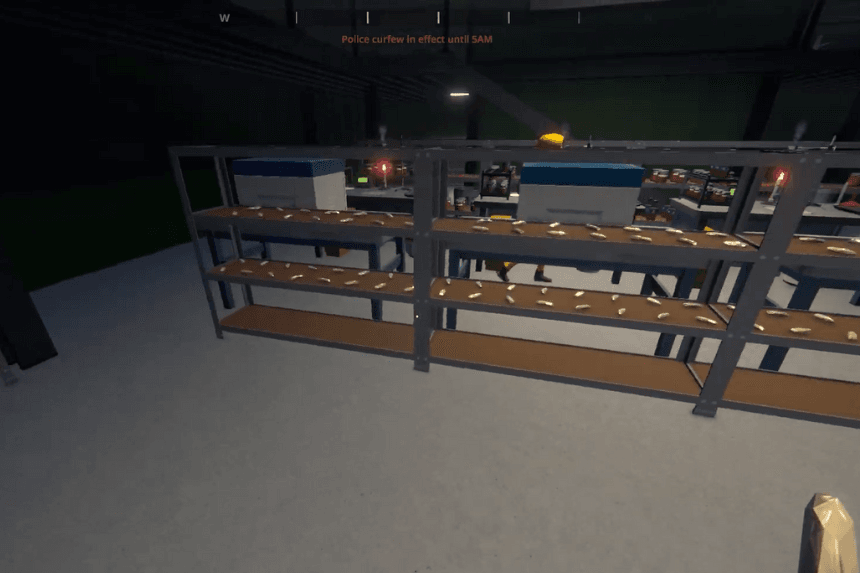
For players in Schedule 1 who prefer to manage their own supply but seek to optimize their workflow by automating the final packaging stage, assigning a Handler to manage this process is a highly efficient strategy. This guide will walk you through the necessary steps to set up automatic Handler worker packaging, allowing you to streamline your operations and focus on other aspects of your production. By strategically configuring routes and output destinations, you can empower your Handler to autonomously manage the packaging of your goods.
How To Setup Automatic Handler Worker Packaging
In Schedule 1, automating the packaging process can significantly streamline a player’s supply chain. For players who are fine with managing their own supply but want to automate the packaging portion, assigning a Handler to handle packaging tasks is a smart move.
Assign a Handler to the Packaging Station
First, the player needs to assign a Handler to the packaging station. This step designates the Handler to work at that station. However, by default, the Handler won’t begin any tasks immediately—they require routes to be created before they take action.
Create the First Route – Jars to Packaging Station
To get started:
- Open the routing system and select “Add New”.
- Choose the source shelf that holds the jars.
- Set the destination as the packaging station.
This route tells the Handler to collect jars from the shelf and place them onto the packaging station. This satisfies one of the two necessary inputs for the packaging process.
Create the Second Route – Product to Packaging Station
Next, create a second route:
- Keep the previous jar route intact—do not delete it.
- Add a new route from the shelf that contains the product (e.g., meth or weed).
- Set the destination again as the packaging station.
Now the Handler understands that they must also move the actual product to the station alongside the jars.
Final Step – Set Output Shelf for Packaged Goods
Once the inputs are at the station, the Handler will automatically package them. To complete the automation:
- Access the clipboard at the packaging station.
- Select “Manage Station”.
- Change the output destination to a different shelf.
This tells the Handler to move the finished, packaged product to the designated output shelf.
With these steps completed, the Handler will:
- Move jars from the shelf to the packaging station.
- Deliver product to the station.
- Package the items automatically.
- Transfer finished packages to an output shelf.
For more automation tips in Schedule 1, be sure to check out additional guides.

