
The Shrouded Warren of Dragon’s Dogma 2: Dark Arisen consists of a dungeon that is full of dangerous enemies and treasures. To obtain all these treasures, you have to battle against some really strong monsters as well as traverse through tunnels underground. In this guide, we will show you how to find the secret treasures in Shrouded Warren, including the Dragonscoil Harness and Sacrificed Boots.
Shrouded Warren Dungeon
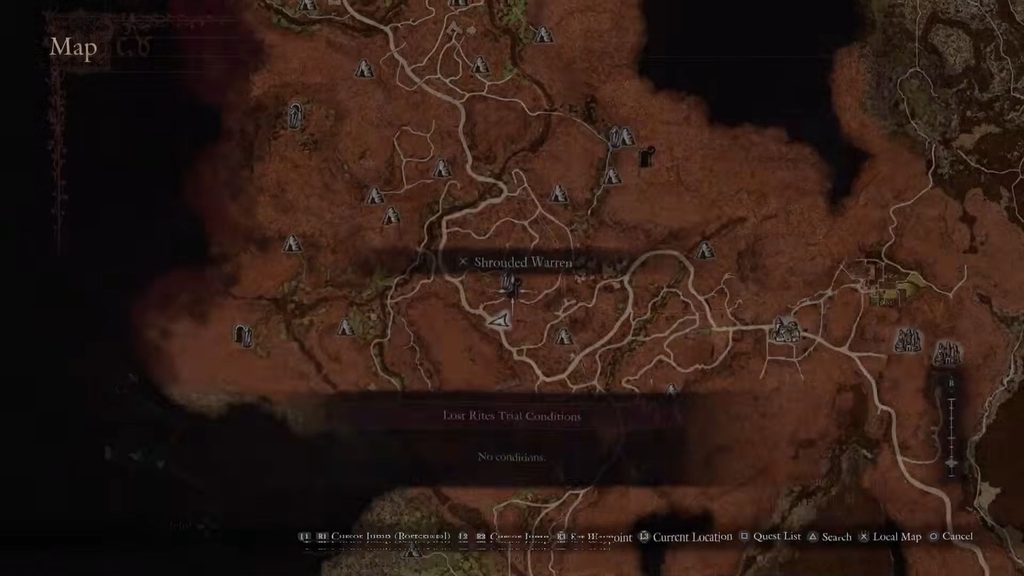
The Shrouded Warren Lost Rites Dungeon in Dragon’s Dogma 2: Dark Arisen is situated slightly to the east of Battahl Ropeway Central Station, which is east of Bakbattahl. Before you go there, it is imperative that you have the Empowered Godsbane Blade because you will require it to access this location. You can get it through the “A New Godsway” quest. In this quest, only your main pawn will be allowed to come along with you. The rest of your pawns have to stay at the entrance point.
How To Get The Secret Treasures In Shrouded Warren Dungeon
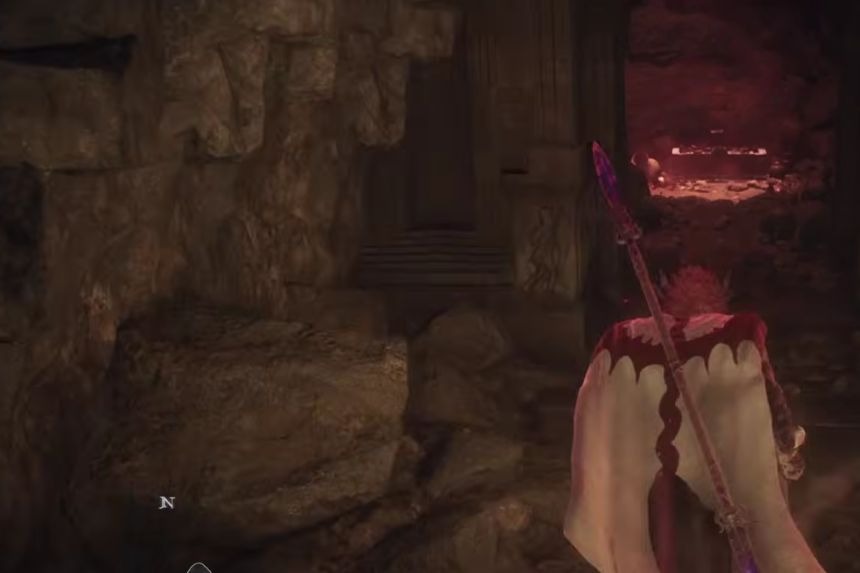
In the Shrouded Warren Dungeon, you will find the Dullahan. After defeating Dullahan, the door behind it will open, which will lead to the first treasure trove. After collecting everything here, backtrack down the same area to find a partially broken floor.
The only way you can break this floor is to collect more loot around the dungeon and increase your carry weight. Once you are heavy enough, jump on the nearly shattered tiles to break it and enter the broken floor. There is a Necromancer mini-boss encounter at the end of the passage here.
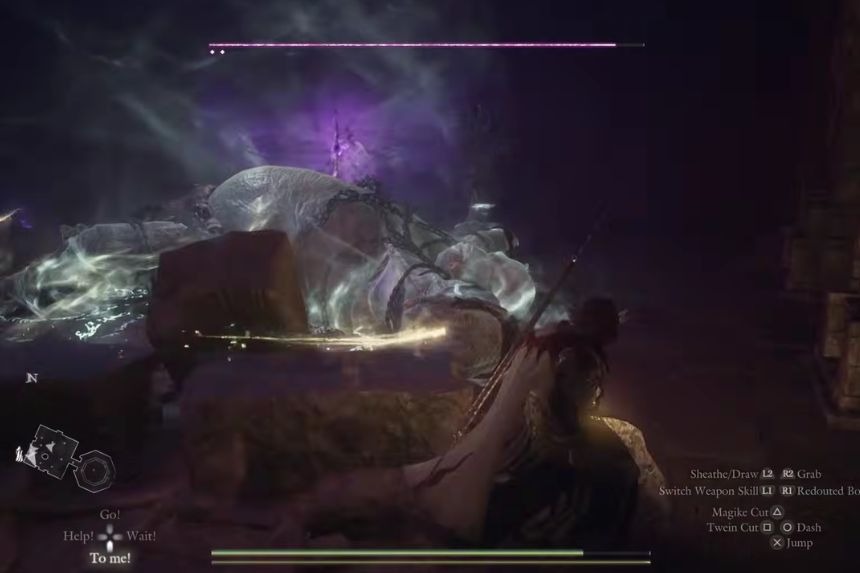
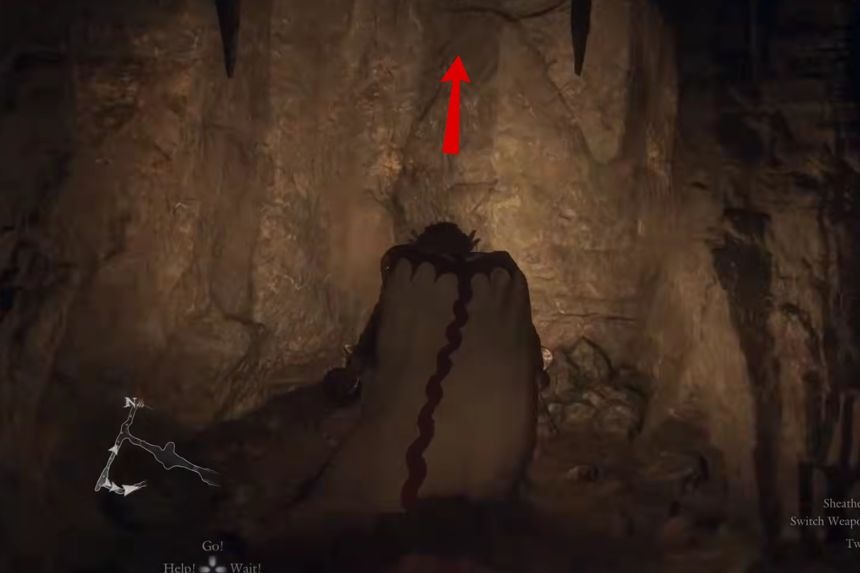
In the same area, you might have bumped into a dead cyclops on the floor. If you look closely, you will find a hole in the floor right under the cyclops. To move the cyclopse, you need to lure the Necromancer towards the cyclops so that he can revive it. After that, defeat both enemies, and you will find the second hole in the ground. Enter the hole to find the treasure chest in the area, which will give you the Lex Talionis and Insidiator’s Boots.
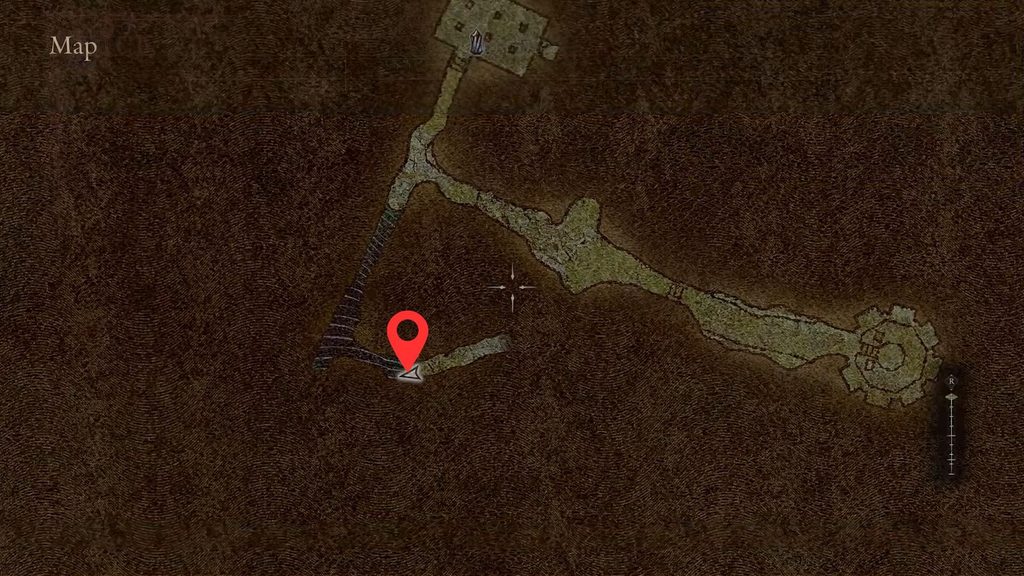
Don’t leave the dungeon just yet, as there is another secret area to check out. Return to the first area and enter the hole marked on the map above. Go through the tunnels until you find a ladder going down into a trench. Continue down this path until you reach a dead end. You can climb the wall here and get up, but it will be very difficult. It is recommended to use staff to help levitate and reach up further. Once you reach the very top, explore the tunnel to find another treasure chest. Inside the chest, you will find:
- Dragonscoil Harness
- Sacrificed Boots
