
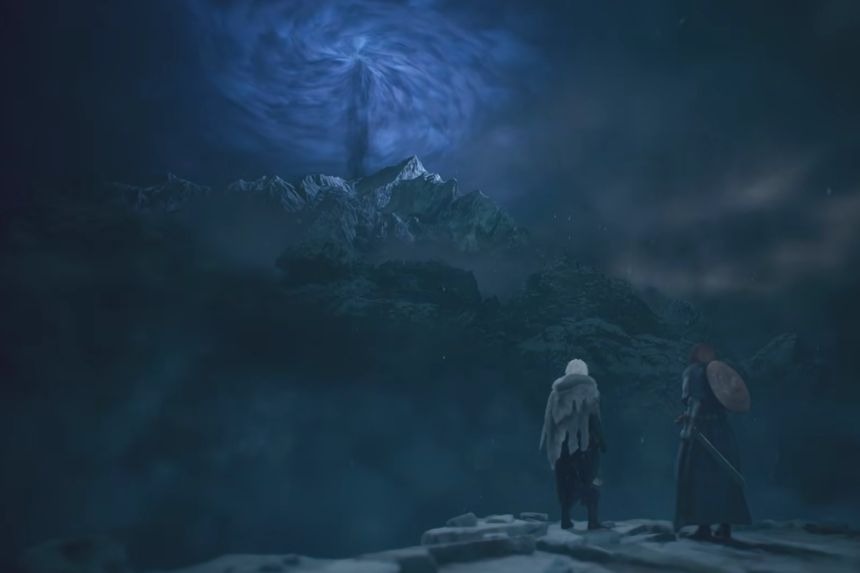
This quest is part of Dragon’s Dogma 2: Dark Arisen and involves finding the will of Rovall to restore the dragon. The mission can be carried out at the Mordria Temple, and you will have to travel with the Sphinx, find the will at the temple, fight enemies, and use the Godsbane sword to create a rift. This guide explains how to reach Mordria Temple and complete each step of the quest.
How to Reach Mordria Temple
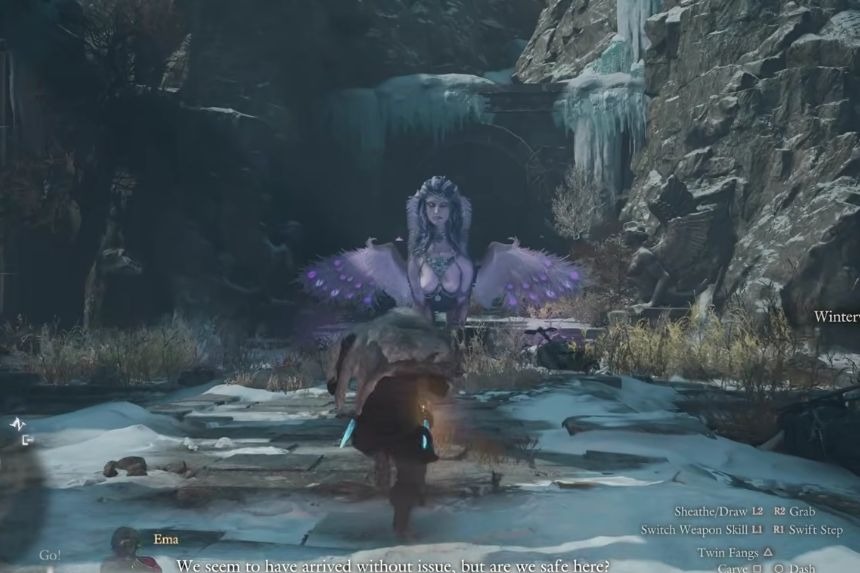
In order to arrive at Mordria Temple in the “Where There’s a Will, There’s a Way” quest in Dragon’s Dogma 2: Dark Arisen, you need to find a way to get to the destination. The simplest way to get to the destination is to seek help from the Sphinx, since she can transport you to the destination.
Proceed to the location of the Sphinx and talk to her. She will describe the situation in a brief dialogue, but she will not transport you to the destination for free. You will have to complete her quest called Sage’s Wisdom first, then defeat the demon that appears in the Shrine of Wisdom. Once you defeat the enemy, make sure to loot its body to collect some Level 4 gear.
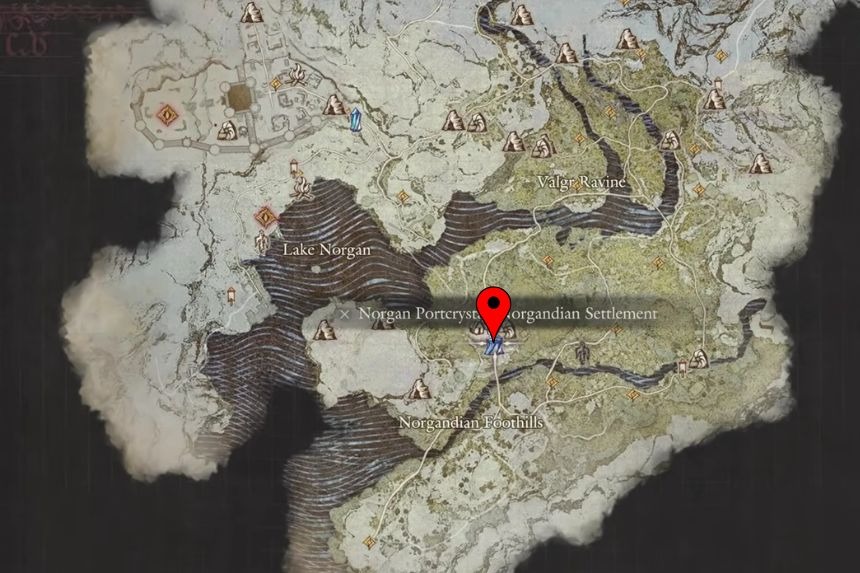
Then, speak with the Sphinx again and choose to travel to the temple. But before going any further, try to go back to the settlement and have a bite and rest there. Once you reach the temple, you can’t return to the village, so stock up on essentials before leaving.
Speak to the Sphinx and she will carry you to Mordria Temple, allowing you to reach your destination without having to find another route. Once you reach Mordria Temple, place the Portcrystal near there. That way, it will be easier to get to the temple when you need it later on.
Scour Mordria Temple for Rovall’s Will
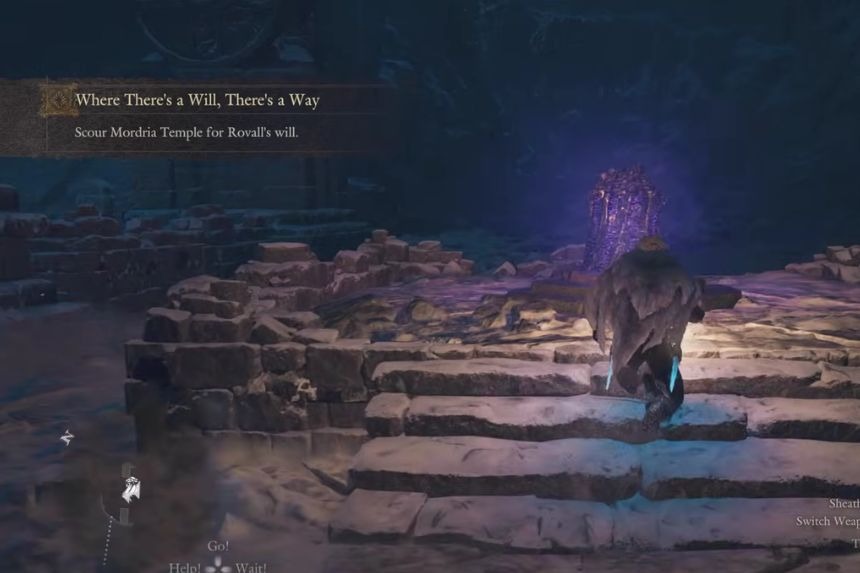
Having returned to Mordria Temple, you will meet Eir there. Follow Eir inside the temple to continue the quest. You will be facing enemies, so be ready to fight them. The first way to proceed further is on the right path, which will take you to the small snowy cave. There you will see an ice wall that will block the road, so you have to break through and kill the flying demon that appears on the other side. Repeat this process to break the next ice wall to pass the gate and advance to the next part of the temple.
There you will see an elevator, but Eir will let you know that you will not have to use it now. Just remember where it is, because later on you will be coming back here to progress with your main quest. Now, go outside and move down the cliff to the next part of the temple. Kill the enemies on the way and move along the low ledges. At one point, you will see an ice block that will block the way, so you have to break it.
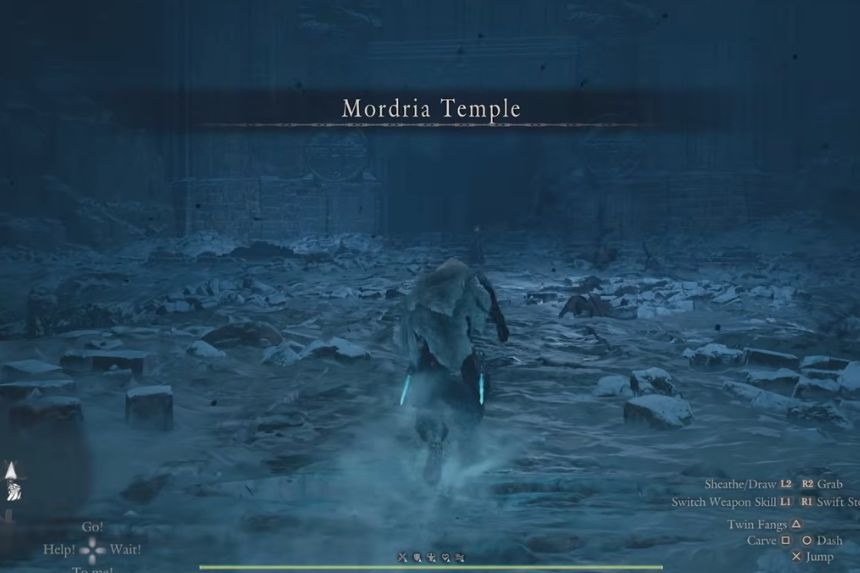
Keep climbing down the mountain while you leap from ledge to ledge. You will soon come to an area containing many bombs, and after a cutscene occurs, you will have a new mission and have to locate a key for the next door.
Search for a Key to the Door
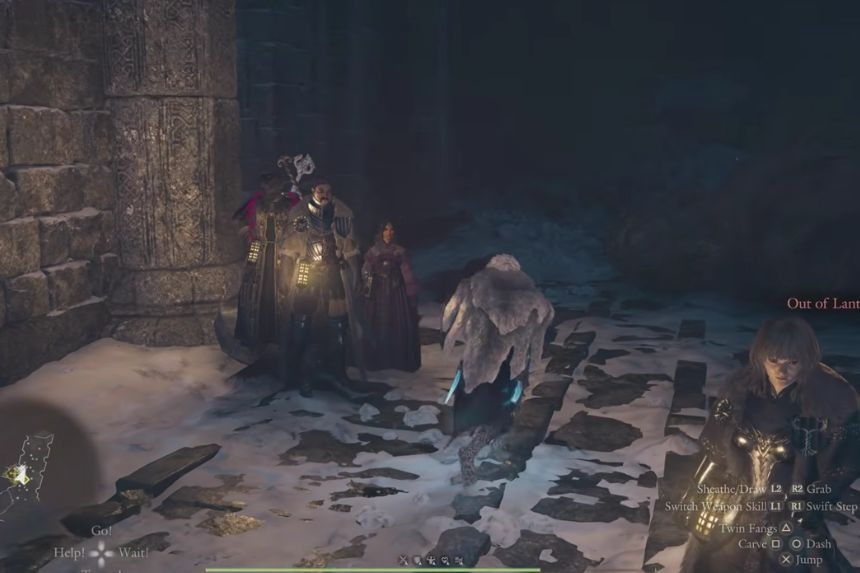
As soon as the cutscene ends, you will have to search the bodies of the soldiers that fell to find a key. While searching the area, you will have to battle with an enormous monster, and during this battle, take care because this monster can attack you and eat you using its big stomach. This battle will become much easier if you make use of the explosive barrels placed all around the area. You can set this monster on fire and also throw some poison pots at it.
After killing this monster, search its dead body to get any necessary items. After that, go back to the locked gate and look around the area to the right of this gate, where there are some dead soldiers. You will find the Temple Key near the dead soldiers. Collect this key and open this gate. Once the door opens, continue inside and follow Eir to the next area.
Follow Eir
After unlocking the gate, continue following Eir down the mountain. Proceed further on the path until you arrive at another combat point where you will find yourself facing two demons. Combating two enemies at once may be challenging; therefore, make sure that you fight them individually and not at the same time. When your health runs low, consume a Regenerative Elixir, and do not forget to use the explosive barrels available in the surroundings to attack.
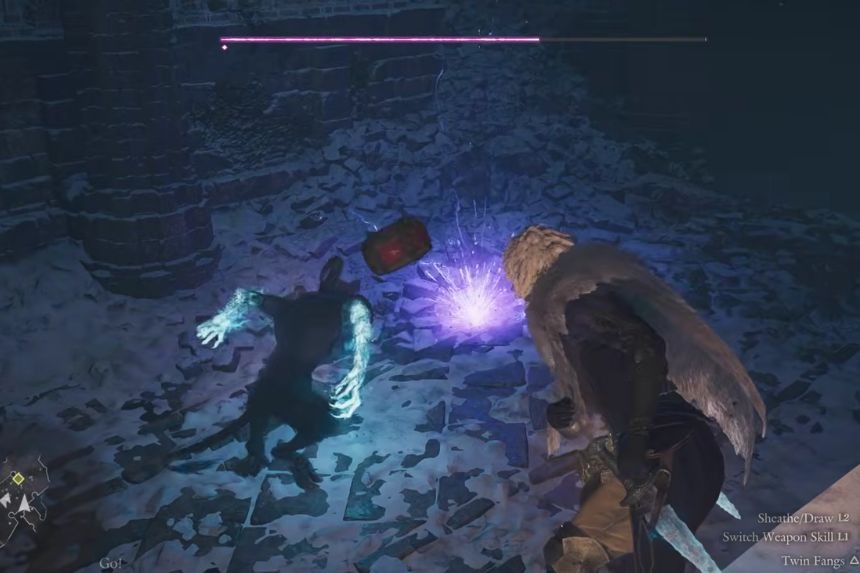
You will be able to defeat one of them faster if you set it on fire. With the first demon being defeated, you can now concentrate on the second demon. Beware of their simultaneous attacks, as this could become overwhelming for you.
Once both of the demons have been defeated, continue walking through the path that is below the location where you had to fight them. Keep following the path all the way to another Portcrystal. Make sure to activate it because this will make it easier for you to get back here again. Eventually, you will be able to reach the Corrupted Heart. As you approach it, a cutscene will begin, revealing the next stage of the quest.
Defeat Willan Barbatos
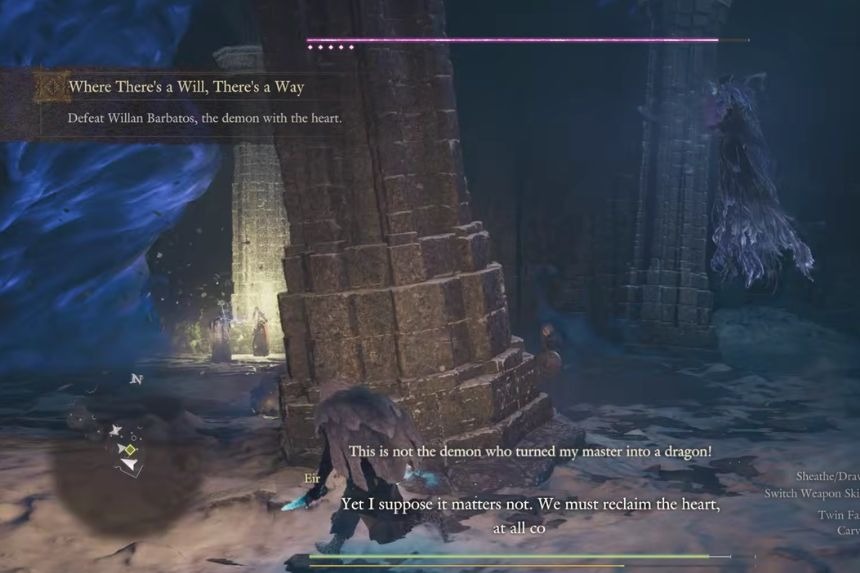
When you reach the Corrupted Heart, you’ll be presented with Willan Barbatos, who is the opponent you have to beat in order to advance through the quest. Attack him and damage him as much as you can. Once you’ve weakened him enough, you’ll watch a cutscene where he gets staggered and runs away through a rift. Following this scene, talk to Eir. It will become clear that you have to use the Godsbane blade to create a rift.
Use the Godsbane to Proceed
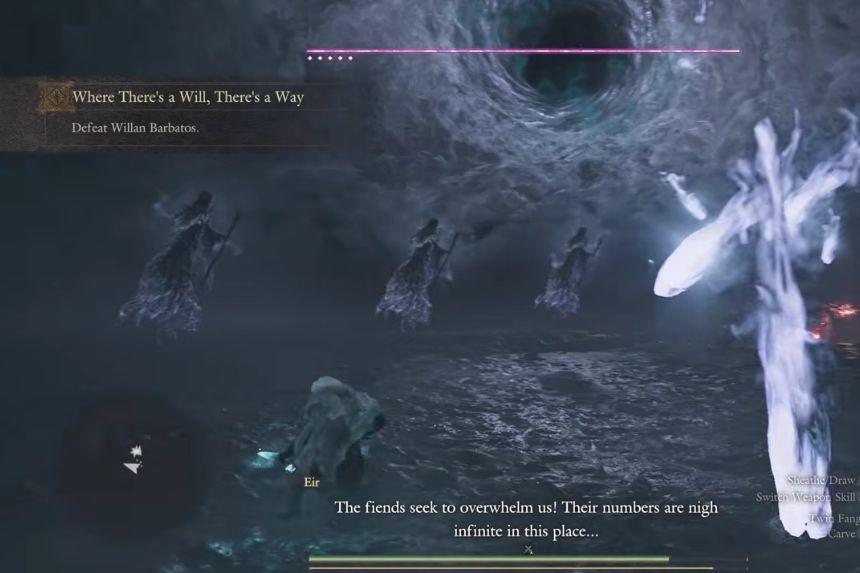
Speak with Eir and get ready to insert the Godsbane sword that you got in the expansion into the rift to open it. The moment you open the rift, you will face another challenging battle with the presence of seven enemies. This battle might seem hard for you to handle, but it is possible to overcome this battle through mobility and attacks.
Keep on moving in the arena in order to evade most damage from the opponents. Whenever any opponent starts to drain your health, target on attacking it in order to disrupt the debuff. Keep on attacking while keeping track of your health and consuming health consumable items if needed. At last, after defeating the enemies, the corrupted heart will be returned to the dragon, and hence, the dragon will be brought back to life.
At this point, you will have acquired the body, soul, and will of the dragon. However, your mission is not over yet as you need to prepare to fight with the resurrected dragon. Go to the elevator located in Mordria Temple in order to advance to the next battle.
Return to the Elevator to Fight the Dragon
After bringing back the dragon, go to the elevator that you found earlier within the Mordria Temple. With the help of this elevator, move towards the dragon to complete your storyline. These are the main steps for completing the quest “Where There’s a Will, There’s a Way” in Dragon’s Dogma 2: Dark Arisen.
