

There are various collectables, documents, clues, important items, and others to be found in Silent Hill Townfall. Most of these items are unmissable, which means that you have to find them before proceeding to the next section of the game. This guide covers all the collectables and items across the different chapters, along with their locations and how to get them. Follow the guide as you play to make sure you do not miss anything. We will update the guide as we find more collectables in the game.
Part 1: Arrival
Part 1: Arrival is the first part of the game. Most of the collectables in this part will be missed, so make sure to get them before proceeding. It is impossible to revisit each part without restarting the game from your last saved progress.
Chapter 1: Cold Open
Document: Boat Tour Cancelled Notice
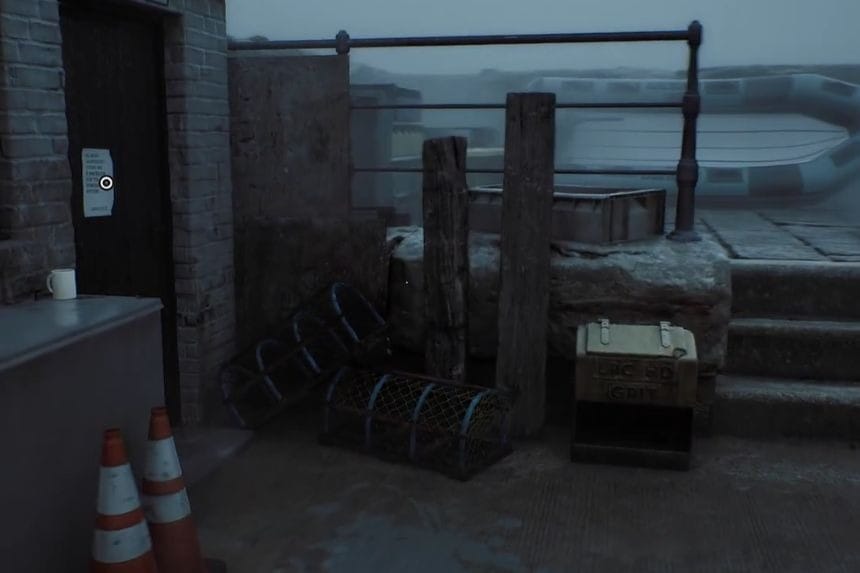
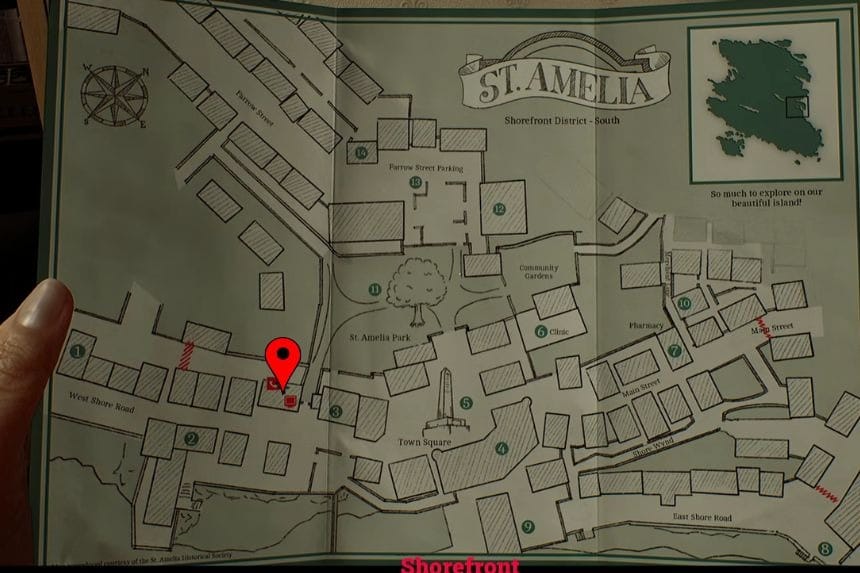
The Boat Tour Cancelled Notice can be found in the Shorefront District – South. Take a walk along the pier, and look for the blowing away of the tarp from the St. Amelia sign. Thereafter, locate the little building on your right and find the notice there.
Shorefront Map
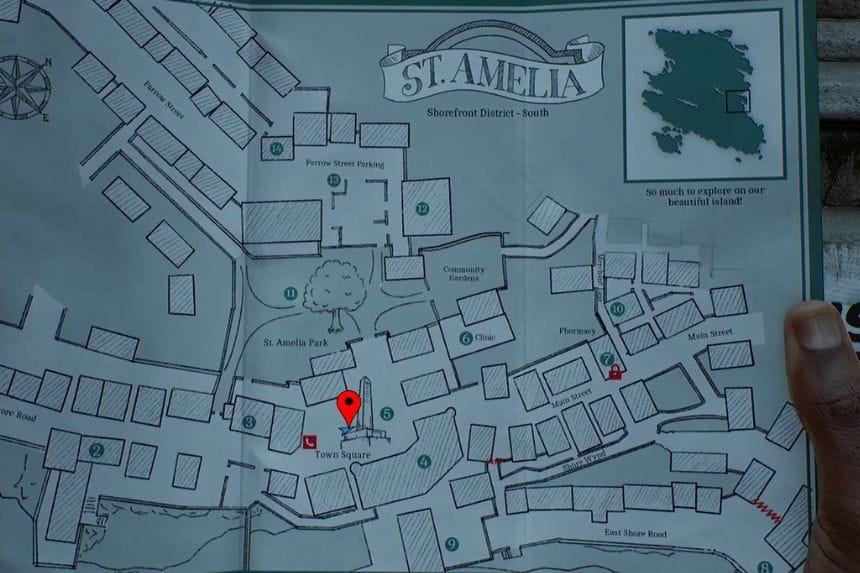
The Shorefront Map is yours by default after passing through the red fog into the Town Square.
Document: Shorefront Family Clinic Notice
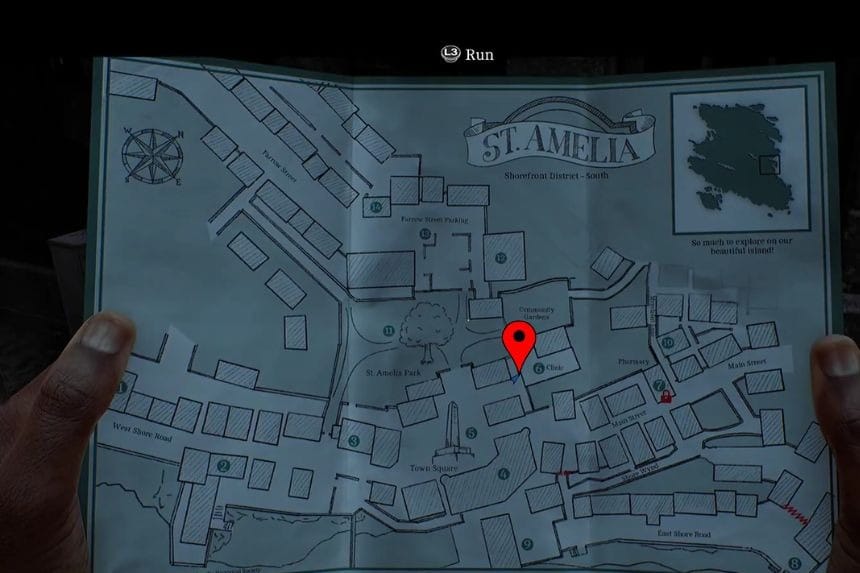
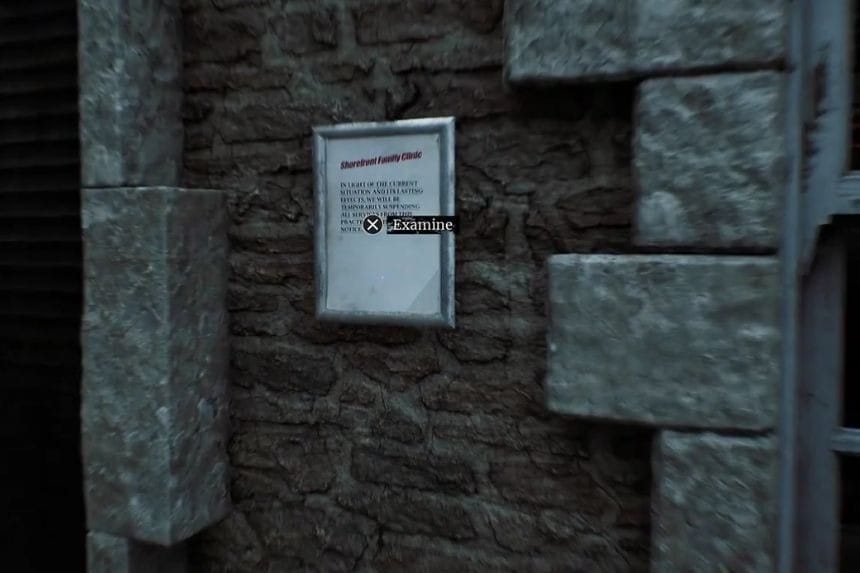
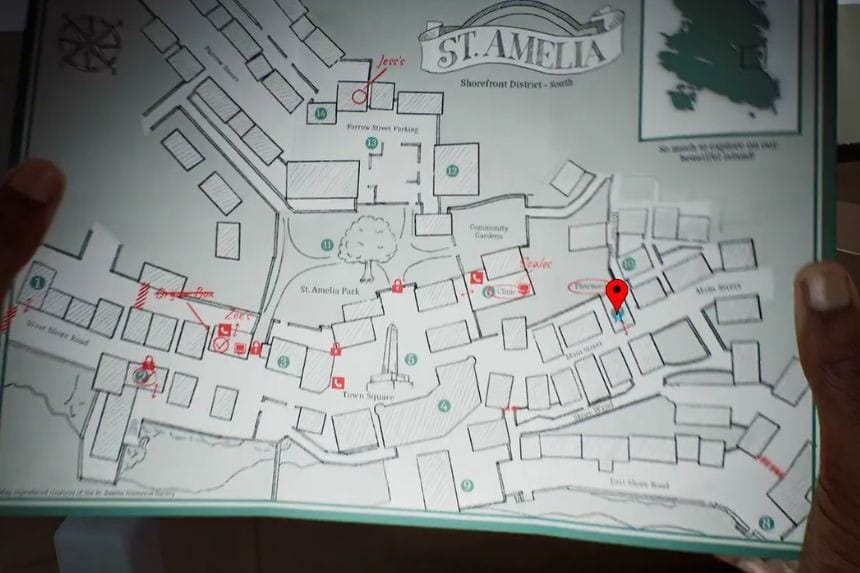
Go to Town Square (5) and move northeast to the Clinic (6). The Shorefront Family Clinic Notice can be seen on the wall near the entrance.
Phone Numbers: 900, 010, 100
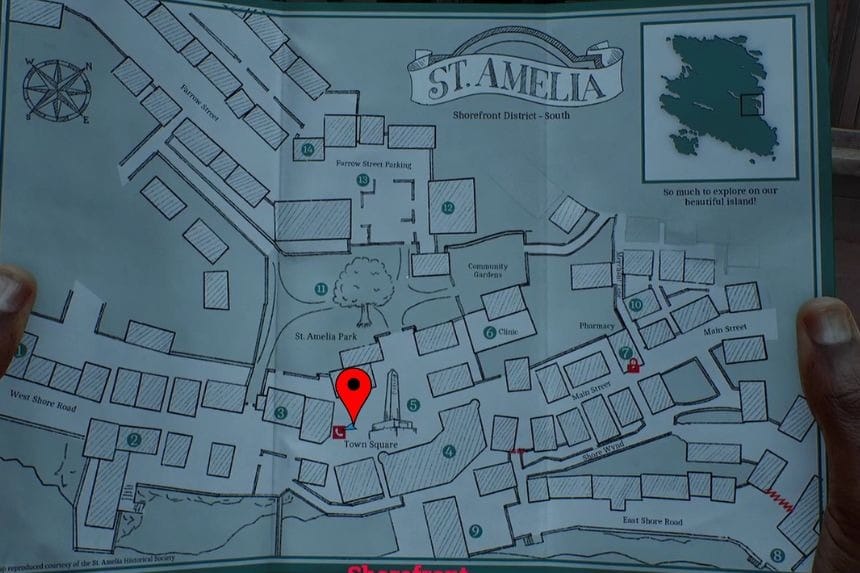

At the first phone booth in Town Square (5), inspect the Your Local Services flyer beside the phone. It lists three numbers:
- 900 – Emergency Services
- 010 – Operator
- 100 – Save Yourself
Call all three numbers as soon as you find the flyer. The 100 number lets you save your game from any phone.
Phone Number: 496 0496 – Tourist Center
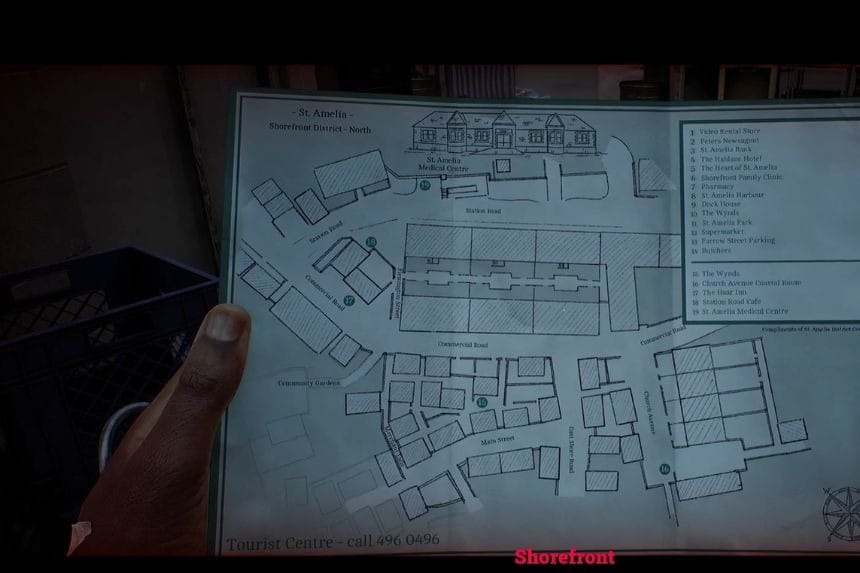
The Tourist Center’s number is provided on the bottom of the map. Dial 496 0496 to include it into your Discovered Phone Numbers directory.
Chapter 2: Escape
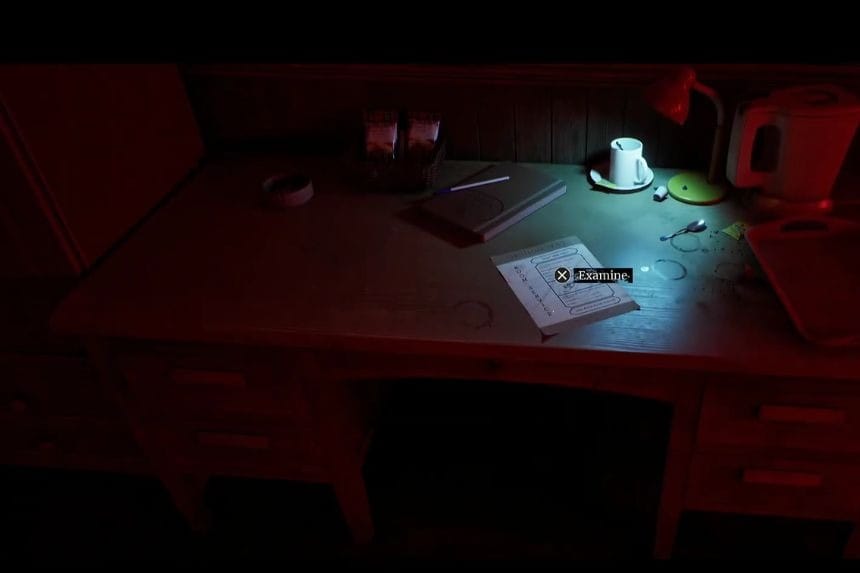
Clue: Room Service Card
After getting the CRTV, check the table nearby to pick up the Room Service Card.
CRTV Channel – 50~
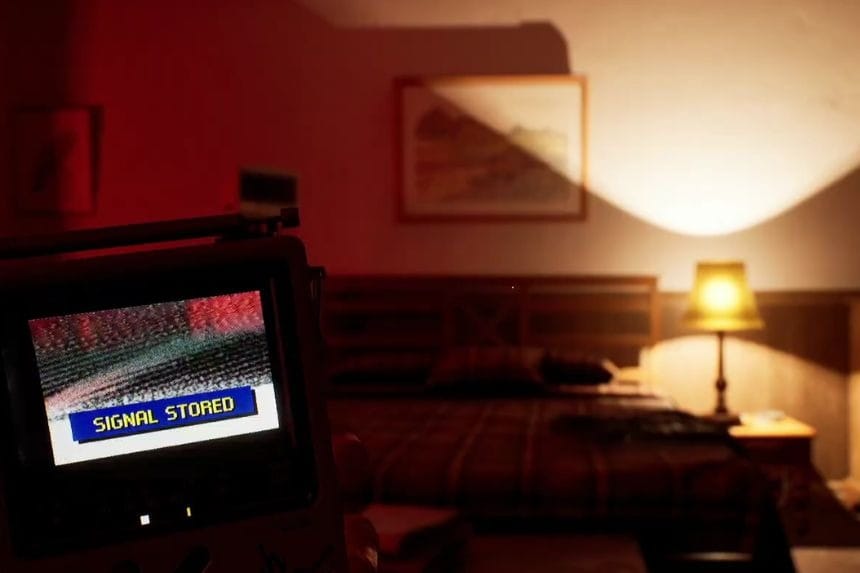
Tune the CRTV to a channel just below 50. When the tracking dot lines up inside the box, press X to save the channel.
CRTV Channel – 62~
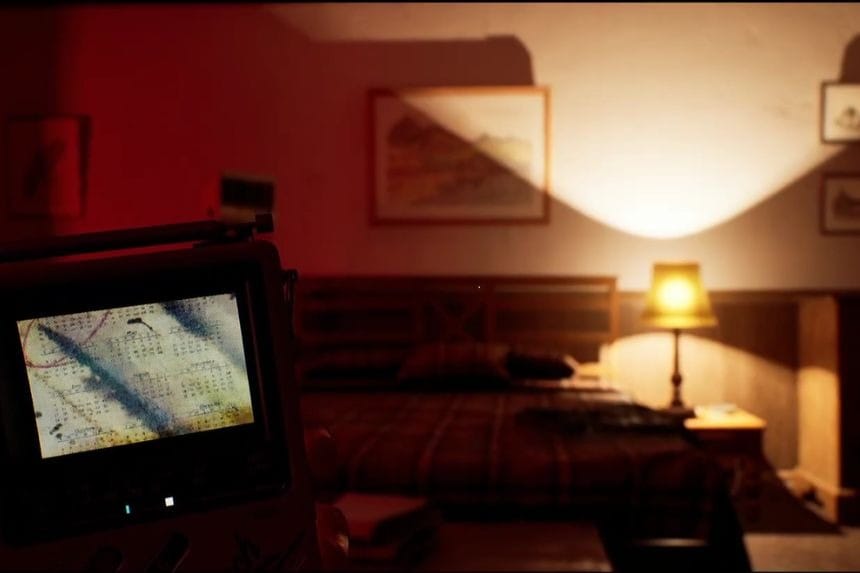
Next, tune the CRTV to a channel just above 62.
Document: Hotel Room Note
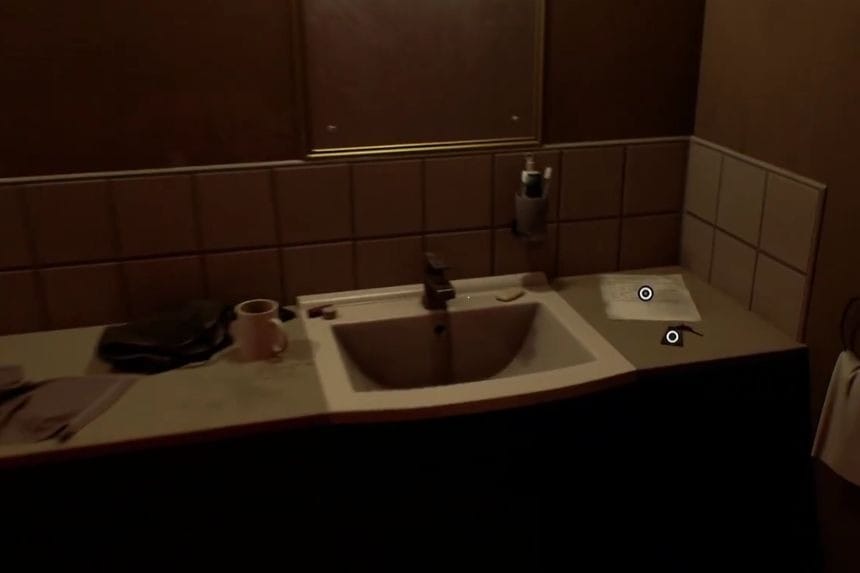
Once you solve the door riddle, enter the room and check inside the bathroom where the Hotel Room Note can be found.
Key Item: Room 204 Key
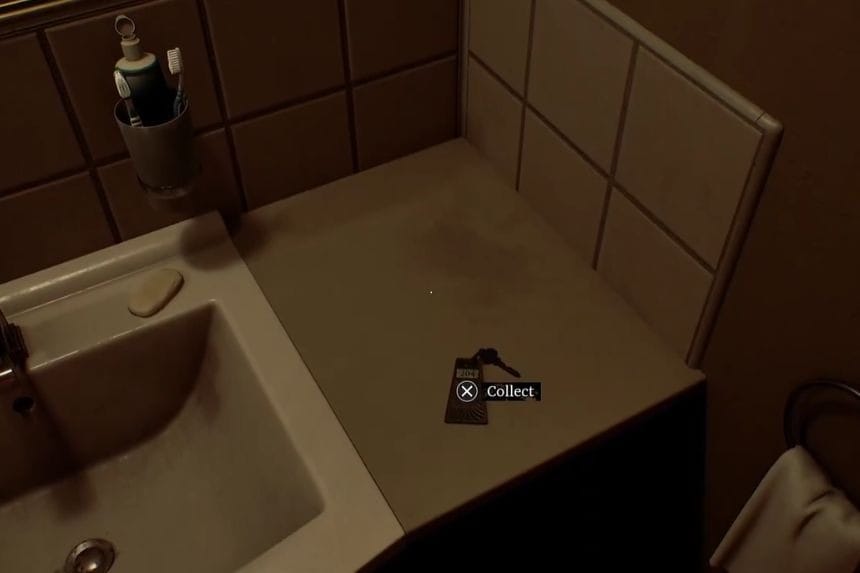
The Room 204 Key is also on the bathroom counter. Pick it up and use it to open the hotel room door.
Document: Hotel Reception Notice
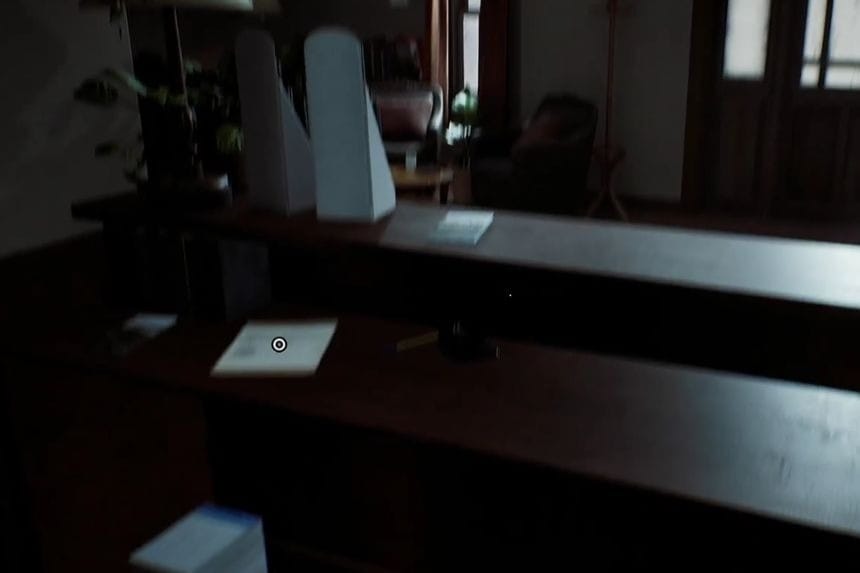
Once you solve the door riddle, enter the room and check inside the bathroom where the Hotel Room Note can be found.
Phone Number: 496 0244 – The Haldane Hotel
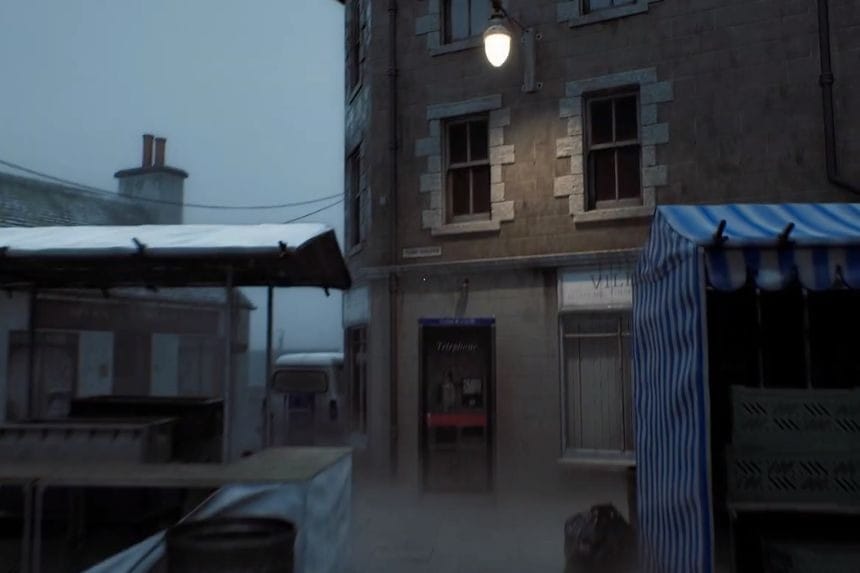
Haldane Hotel’s telephone number 496 0244 is listed at the bottom of the Hotel Reception Notice. After you have left the hotel, make a phone call from the pay phone using this number.
Chapter 3: A Connection
CRTV Channel – 45~
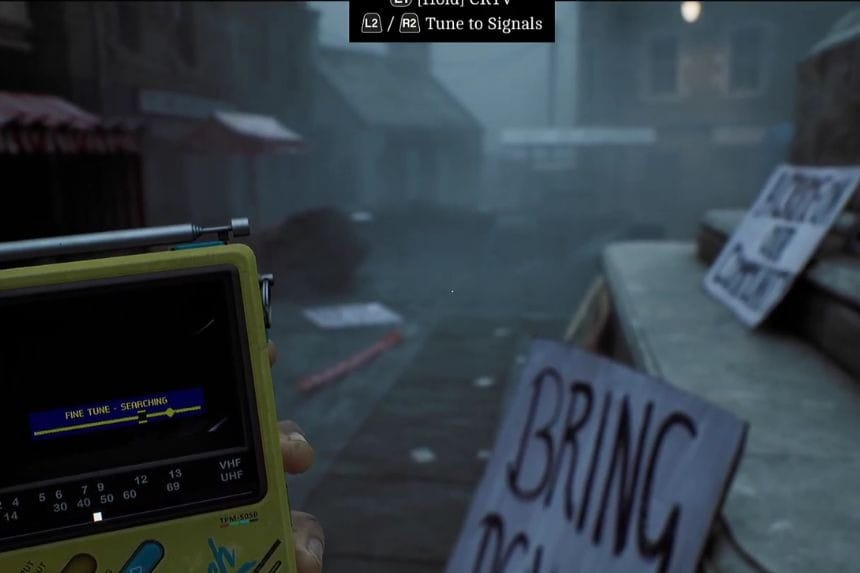
At the beginning of the chapter, tune the CRTV to a channel around 45.
Document: Vigil and Protest Flyer
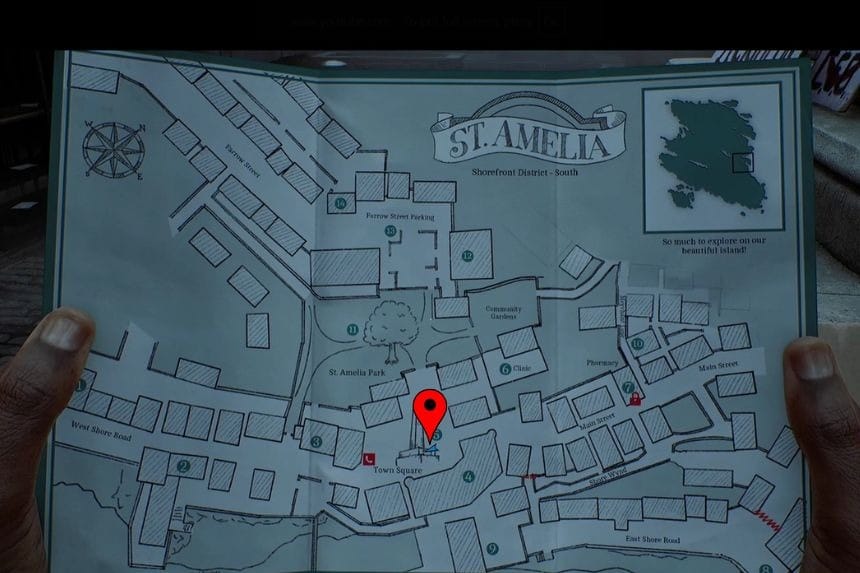
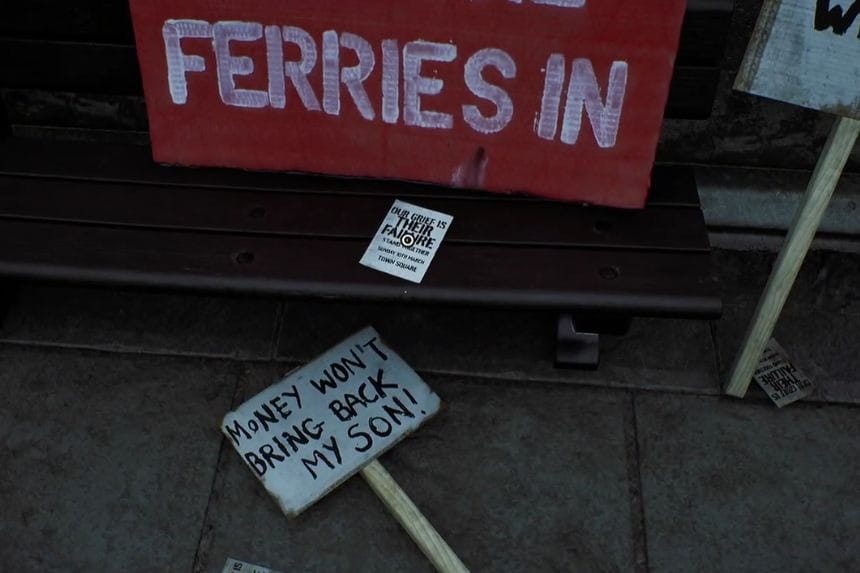
Visit Town Square (5) and locate the red LET THE FERRIES IN sign. The Vigil and Protest Flyer will be located at the bench near the nearby pillar’s west side.
Strange Postcard – 1
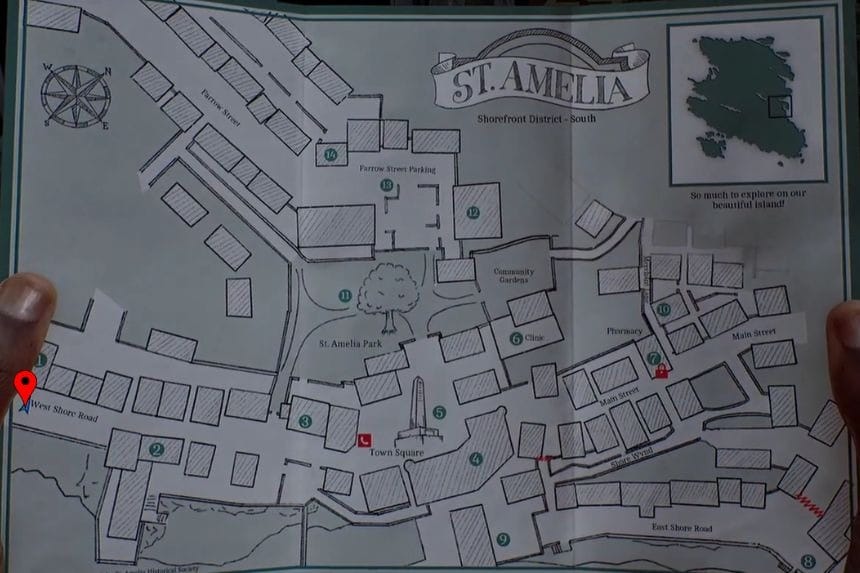

Travel westward from Town Square (5) till you get to the end of the road. Go into the store named VIDEO STAR (1), then search for the first Strange Postcard at the counter.
Key Item: Flashlight (No Batteries)
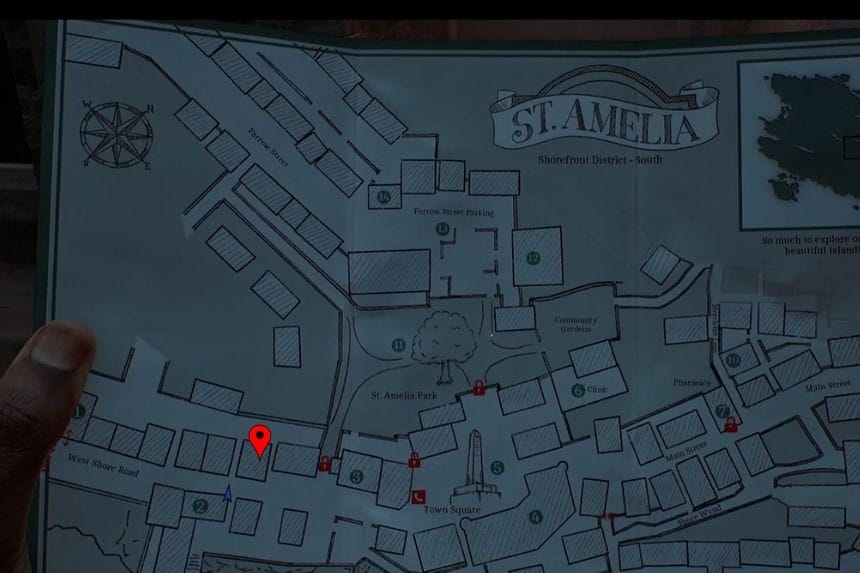
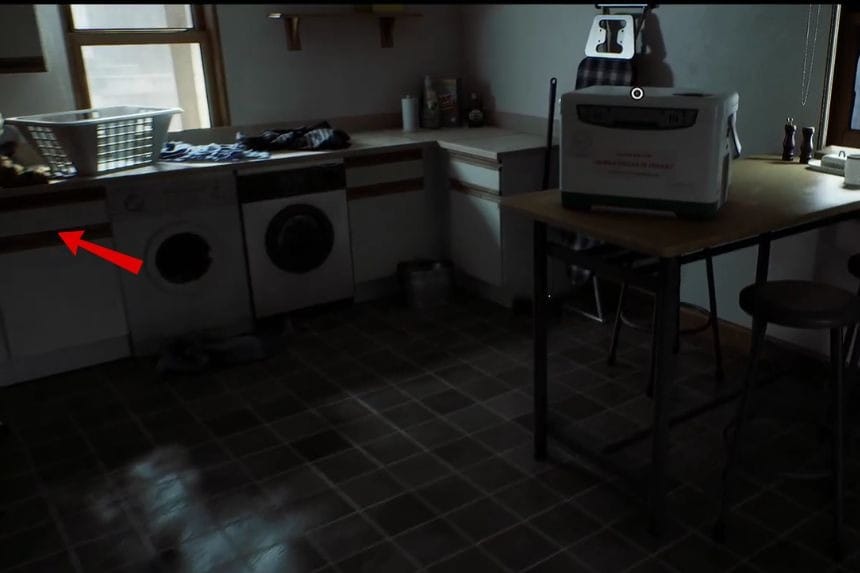
Enter Zoe’s House, located west of Town Square. Check the drawer to the left of the organ box to find the Flashlight (No Batteries).
Document: Hand Delivered Letter
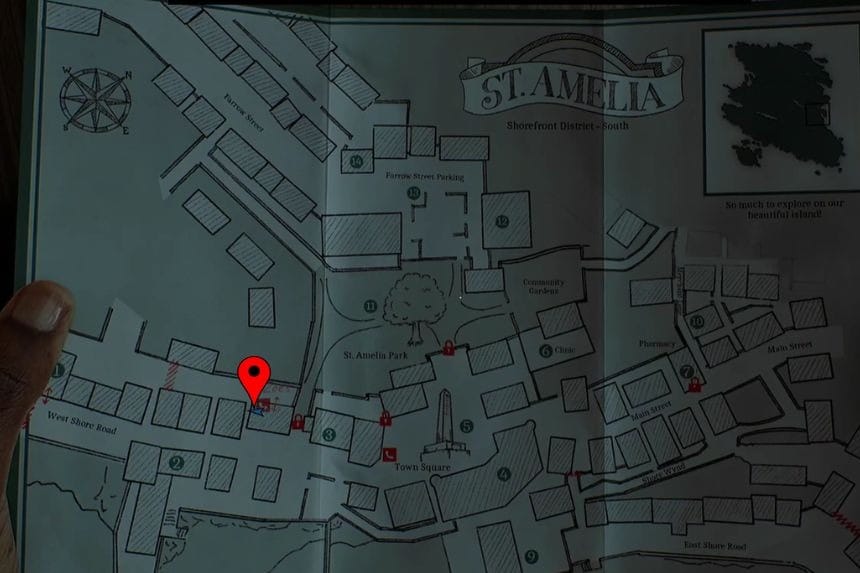
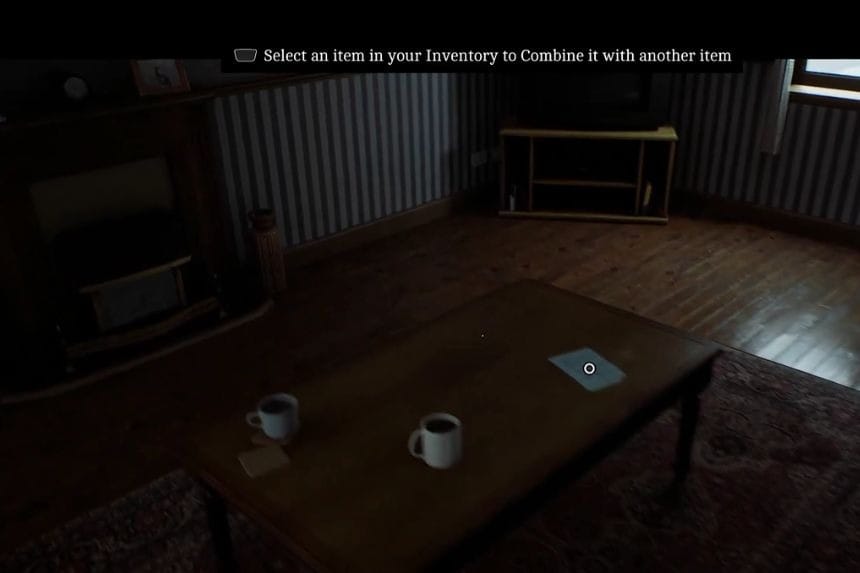
Inside Zoe’s house, check the table in the living room to pick up the Hand Delivered Letter.
Key Item: AA Batteries
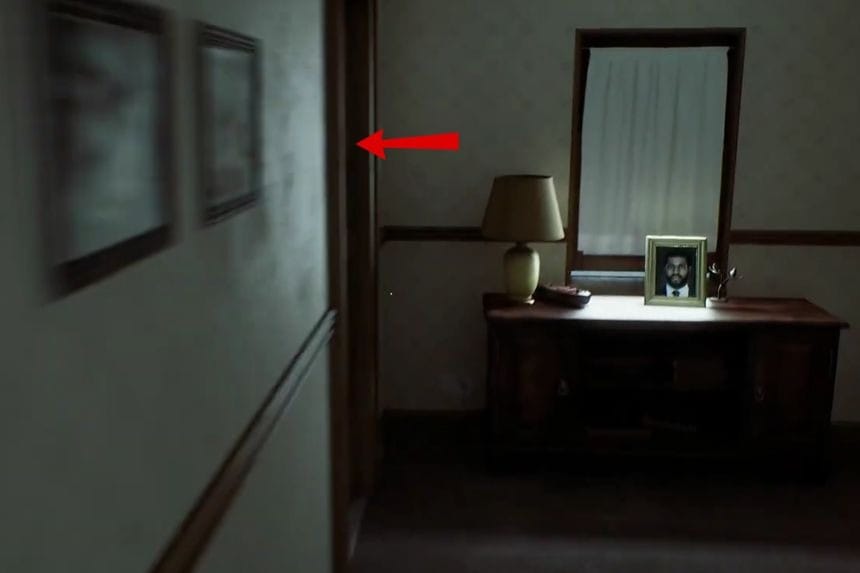
Ascend the stairs and go into the second room to your left; the AA Batteries will be in the drawer of the small cabinet. You can use this in the flashlight to power it on.
Clue: Organ Transplant Card
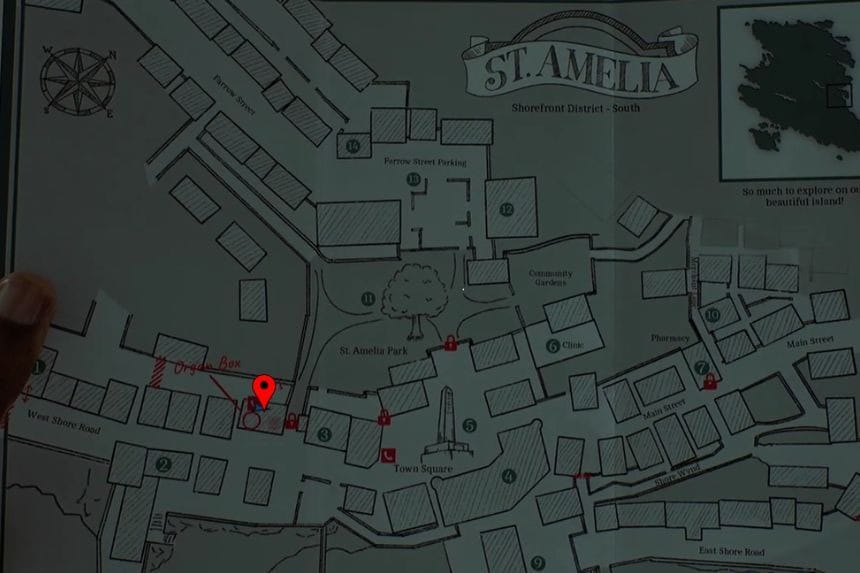
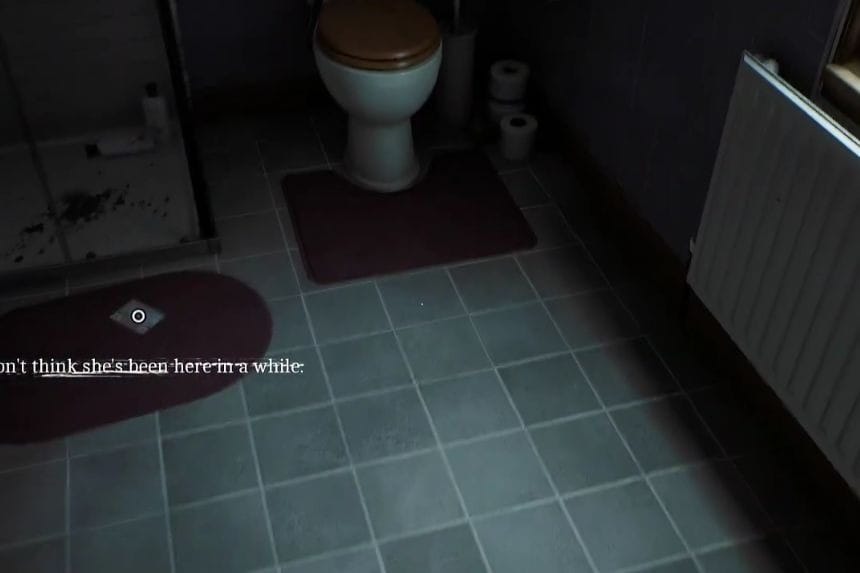
Go upstairs and enter the room on the right. Continue through it and check the bathroom floor to find the Organ Transplant Card.
Clue: Power Card Credit Guide
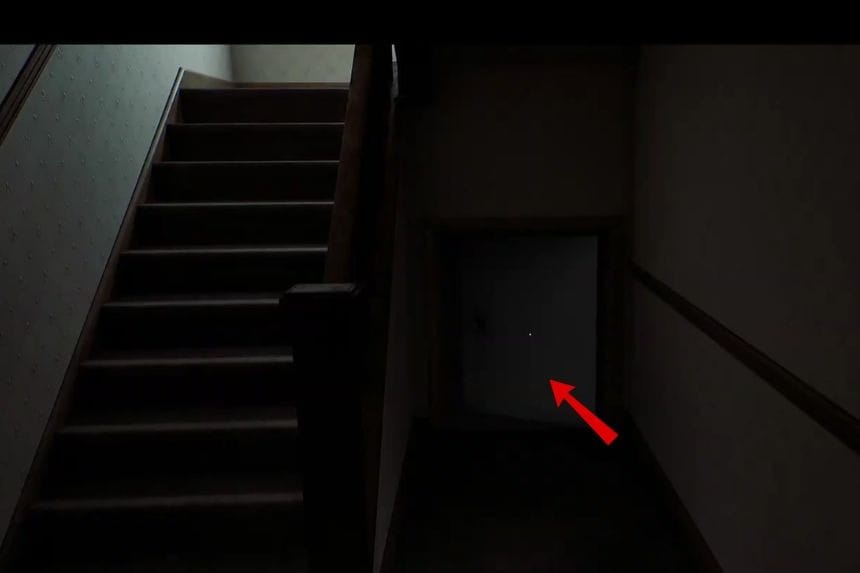
Crouch down and enter the crawlspace beside the stairs. Use your flashlight to look around and find the Power Card Credit Guide.
Document: Newsagents Note
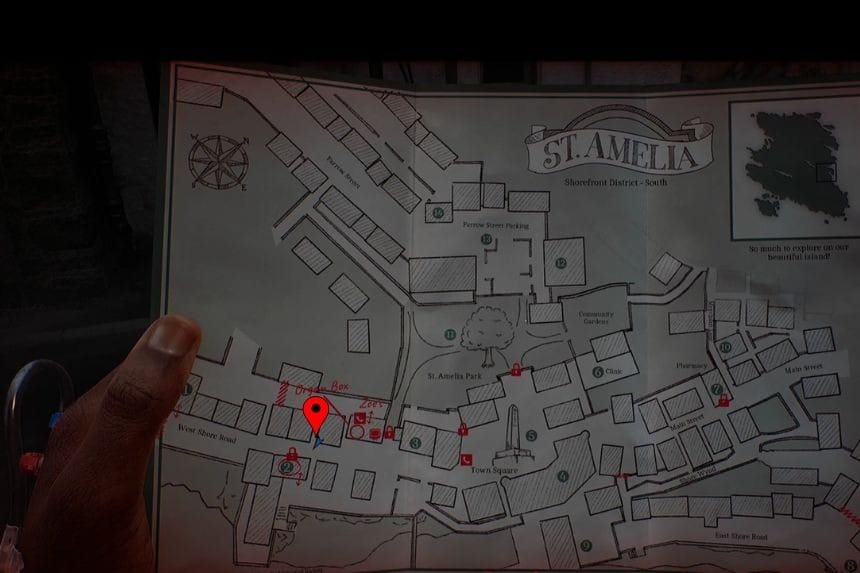
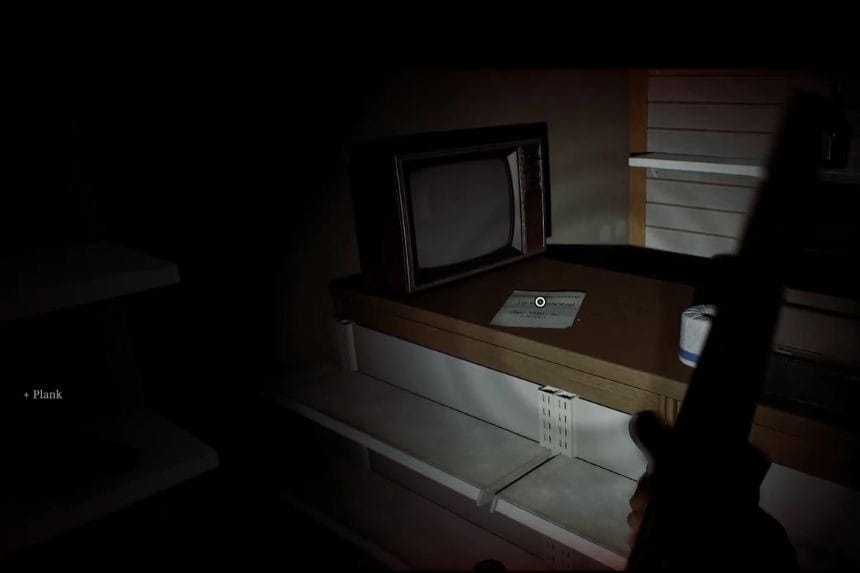
Enter Peters Newsagent (2) and check the counter to find the Newsagents Note.
Key Item: Prepaid Power Card
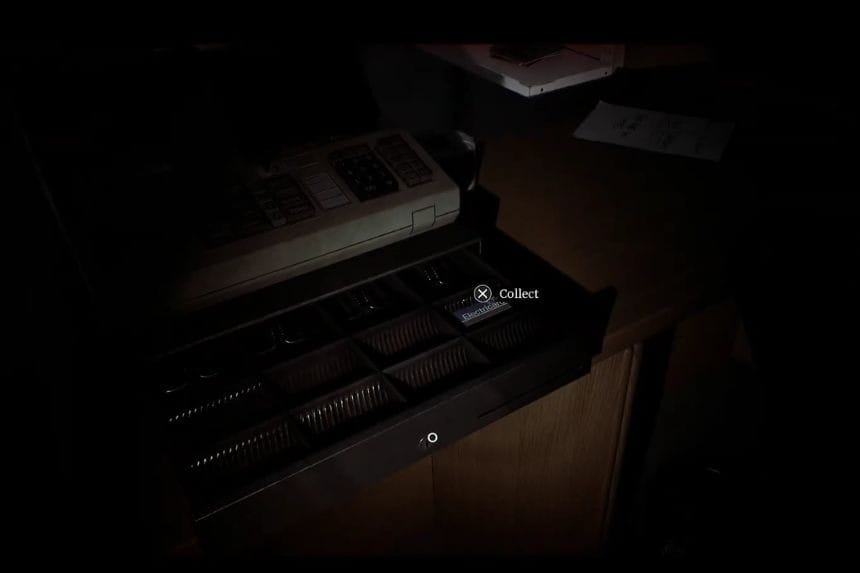
The Prepaid Power Card is inside the cash register in the newsagent.
Documents: Zoe’s Email – “Your Letter” and “Please Report In”

Once the power is back on, use the computer in Zoe’s house. Turn it on and refresh the inbox. Read the top and bottom emails to collect both documents.
Clue: Zoe’s Email – “For Attending…”
Refresh the computer inbox and read the middle email to find Zoe’s Email: “For Attending…”.
CRTV Channel – 17~
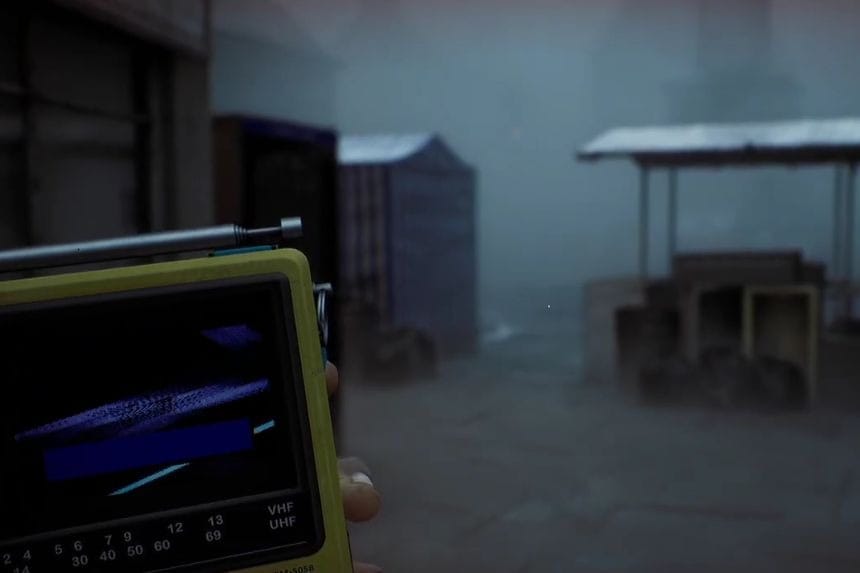
When you approach Town Square, tune the CRTV to a channel around 17.
Document: Note on Patient Records
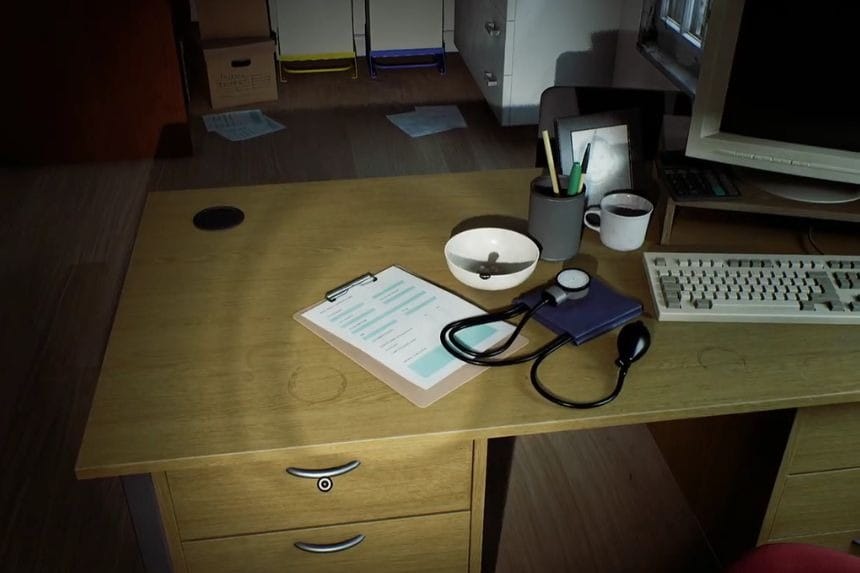
Enter the clinic and take the first door on the right, marked Dr Stevenson. Open the desk drawer inside to find the Note on Patient Records.
Clue: Resignation Letter
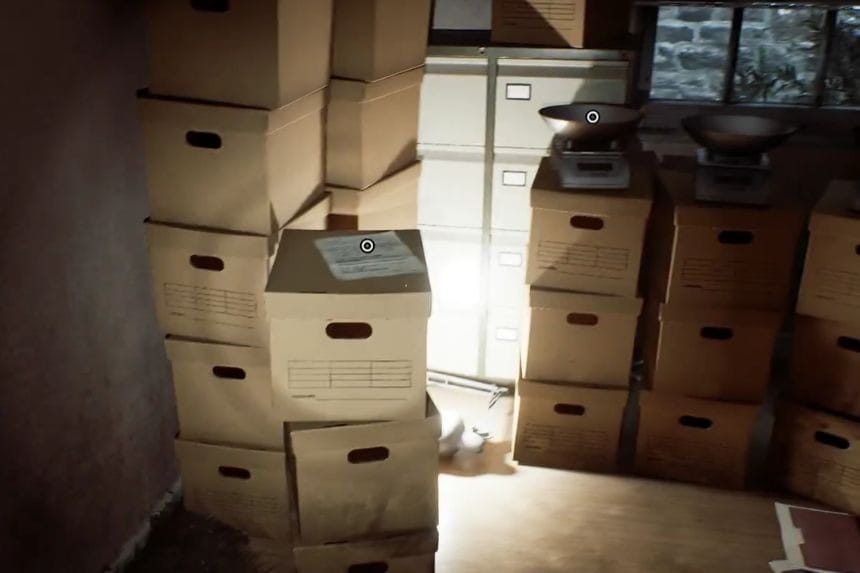
Go to the second door at the end of the hallway, marked Z Ellis. Examine the paper to the left of the scales to find the Resignation Letter.
Equipment: Scalpel
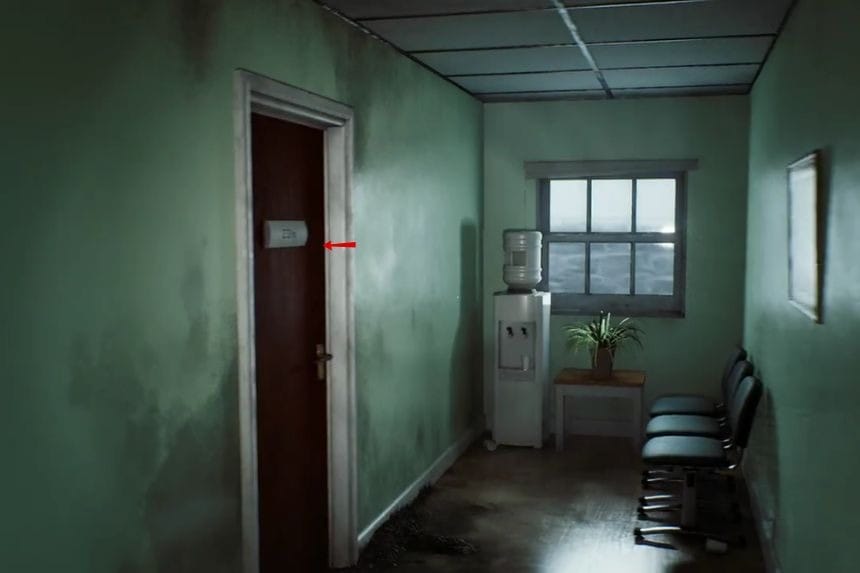
Inside the Z Ellis room, check the green box on the table beside the computer. Pick up the Scalpel. You will need it to open the rusty doors with a hatch in the middle.
Clues: Clinic Email – “Where Are You?” and Reception Answer Phone Message
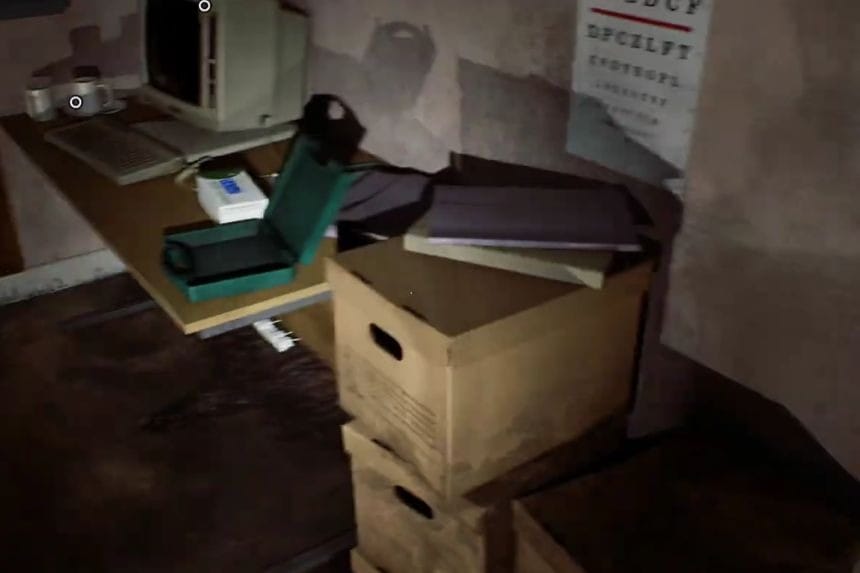
Use the computer inside the Z Ellis room. Read both emails to collect these clues.
Document: Nurse’s Rounds Form
After entering the reception room, check the counter to find the Nurse’s Rounds Form.
Map Location: Pharmacy
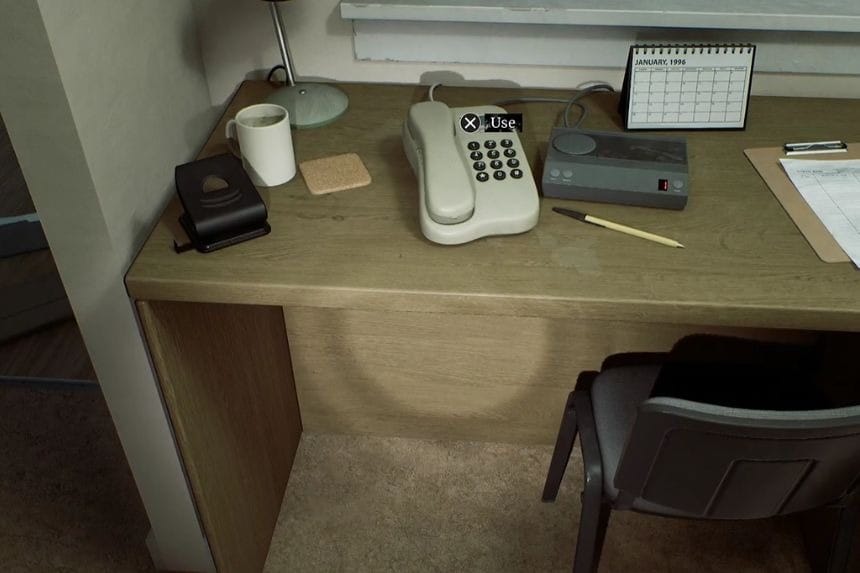
Inside the reception room, interact with the phone and listen to the answering machine message. This will reveal the Pharmacy on your map.
Locked Door – Pharmacy – Document: Restock Issues
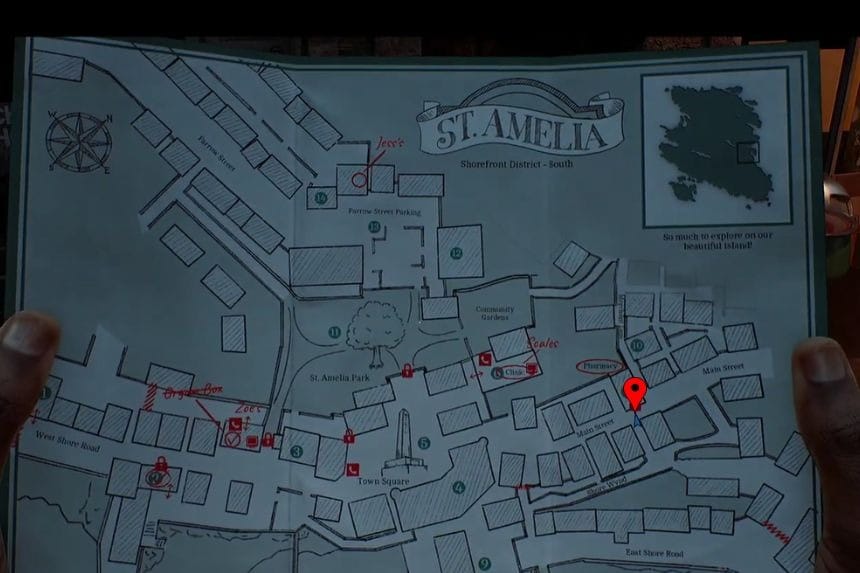
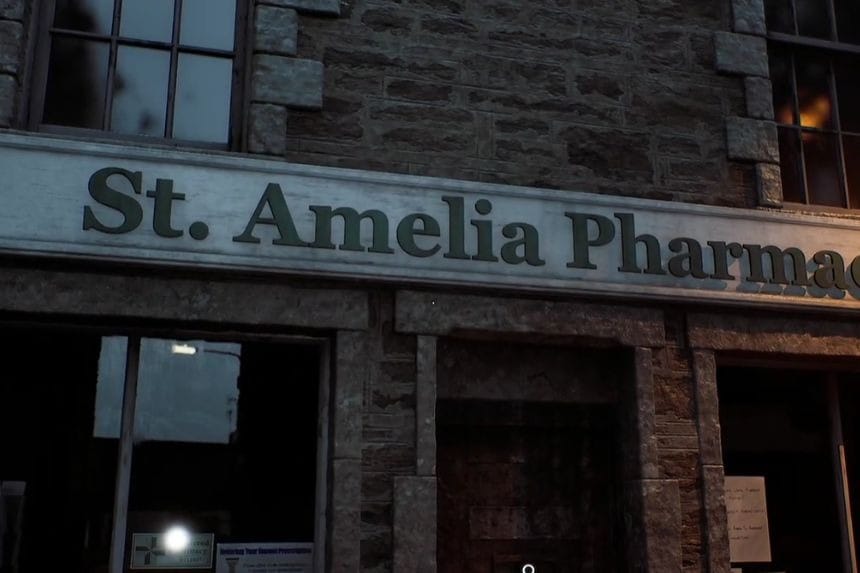
Go to the Pharmacy (7) and interact with its locked entrance. Choose the option to use the Scalpel to open the door. Enter the pharmacy and check the front counter to find the Restock Issues document.
CRTV Channel – 30
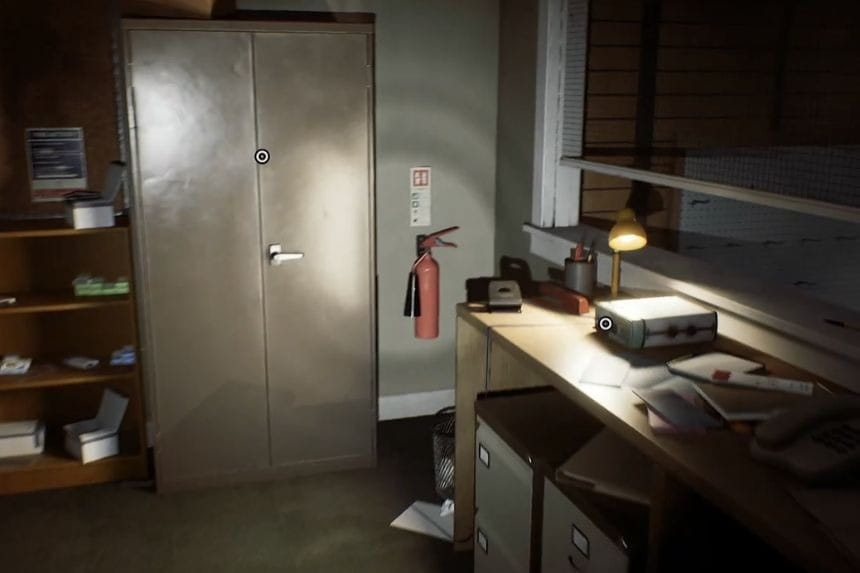
Go into the back room and interact with the radio on the table. First, use the right stick to adjust the CRTV tilt until the colors stop moving. If you are playing on PS5 and have trouble with the motion controls, you can turn off Enable CRTV Motion Sensor Controls in the control settings. Then, use the D-pad to adjust the colors until they fit inside all the boxes.
Key Item: Prescription Dosage Error
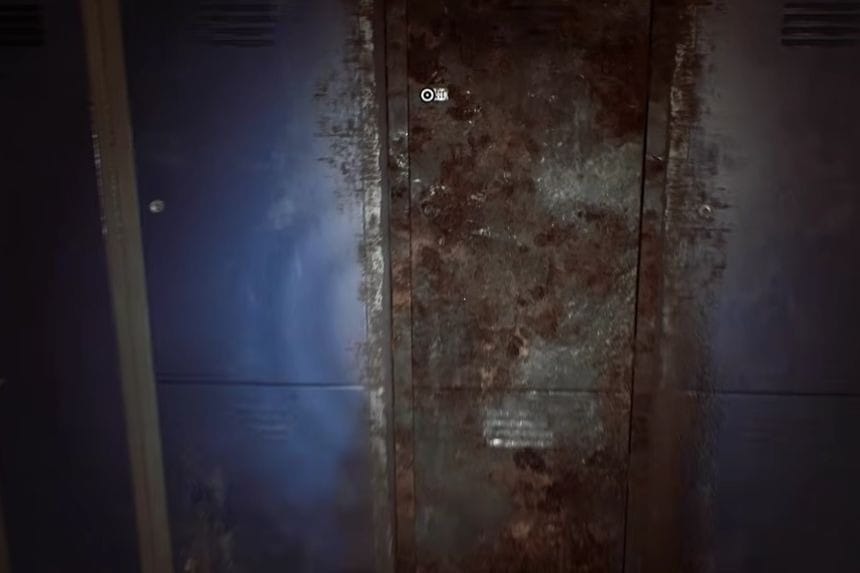
In the back room, interact with the rusty locker. Enter 6539 to open it. The numbers come from the posters around the pharmacy. Enter them in the same order they appear during the CRTV broadcast. After opening the locker, pick up the Prescription Dosage Error inside.
Locked Door – St. Amelia Park

Head to the south side of St. Amelia Park (11) and interact with the locked entrance. Choose the option to use the Scalpel to open it.
Strange Postcard – 2
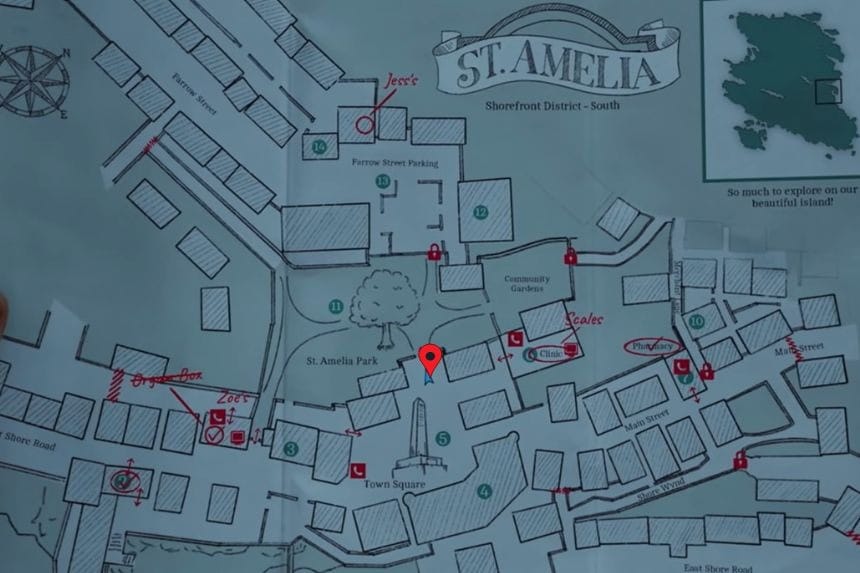
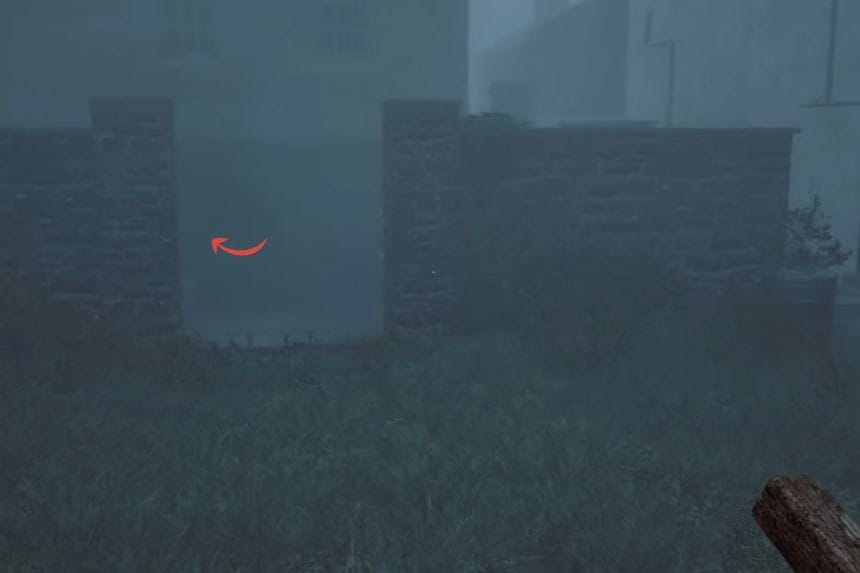
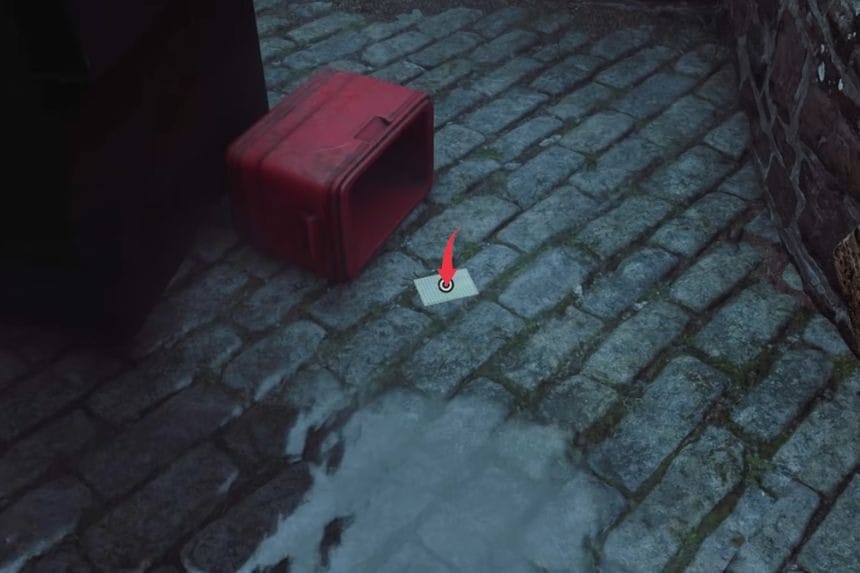
Enter St. Amelia Park through the south entrance and turn left. Find the building marked (3) and go into the back alley behind it. The second Strange Postcard is lying on the ground beside a dumpster.
Strange Postcard – 3
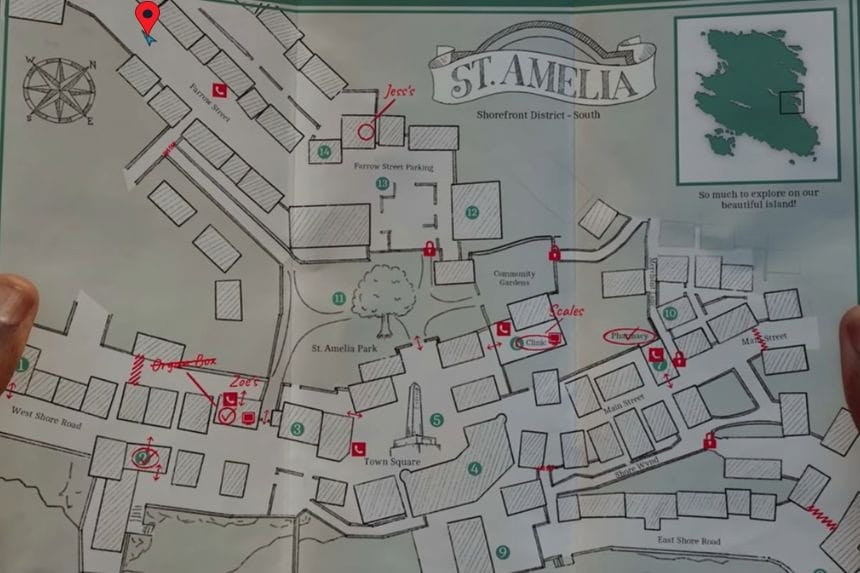
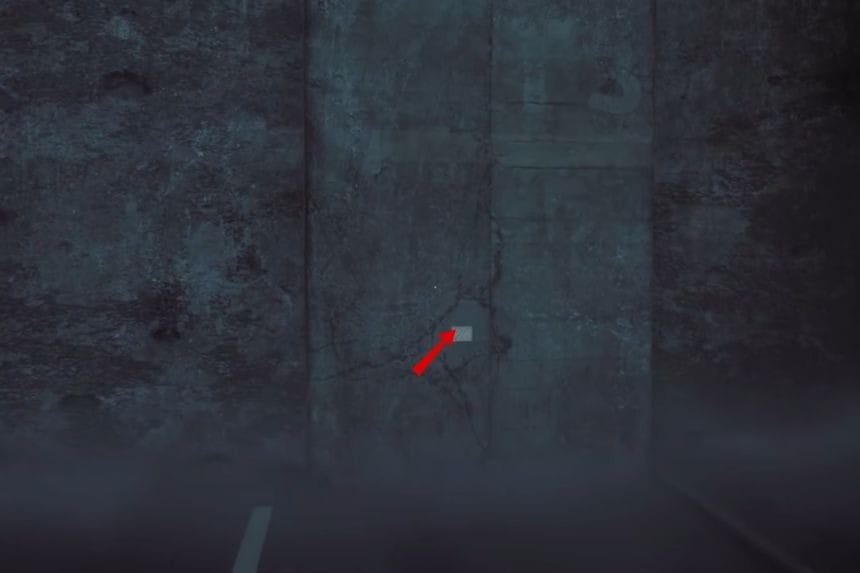
In the northern part of the map, head to the west end of Farrow Street, after St. Amelia Park. Look for the third Strange Postcard stuck to the wall.
Document: Feeling Sick Note
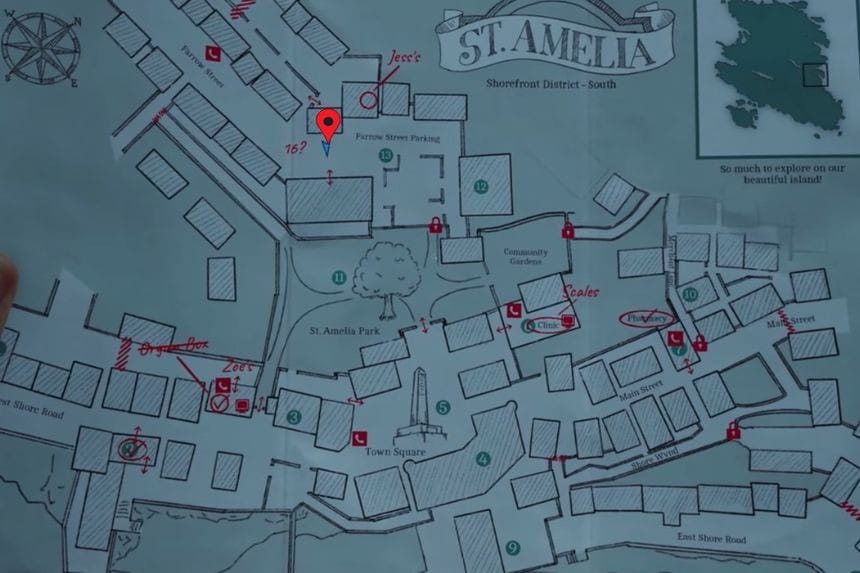
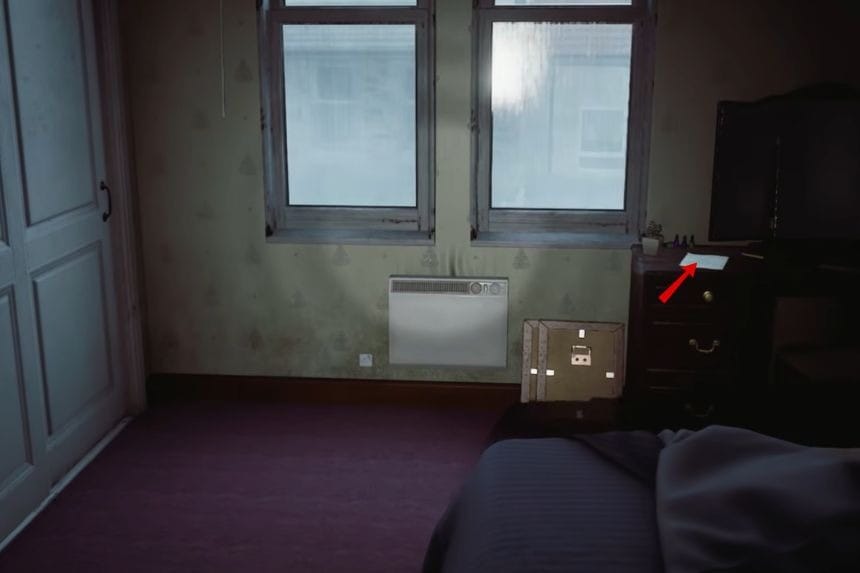
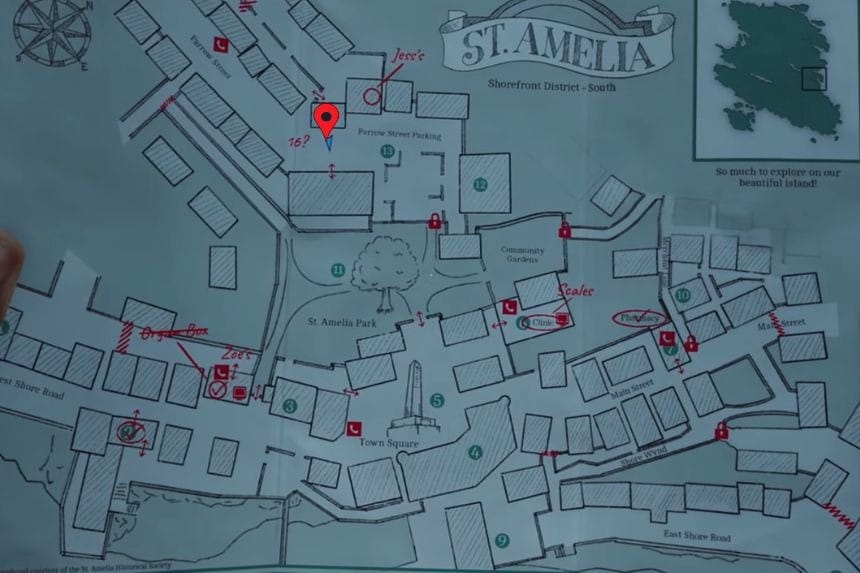
Find the apartment building south of the building marked (14). Go upstairs to the second floor and enter apartment 1/2. Go into the bedroom on the left and check the dresser to find the Feeling Sick Note.
Key Item: 21 Farrow St. – Back Door Key
While inside apartment 1/2, check the table in the living room to pick up the 21 Farrow St. – Back Door Key.
Strange Postcard – 4
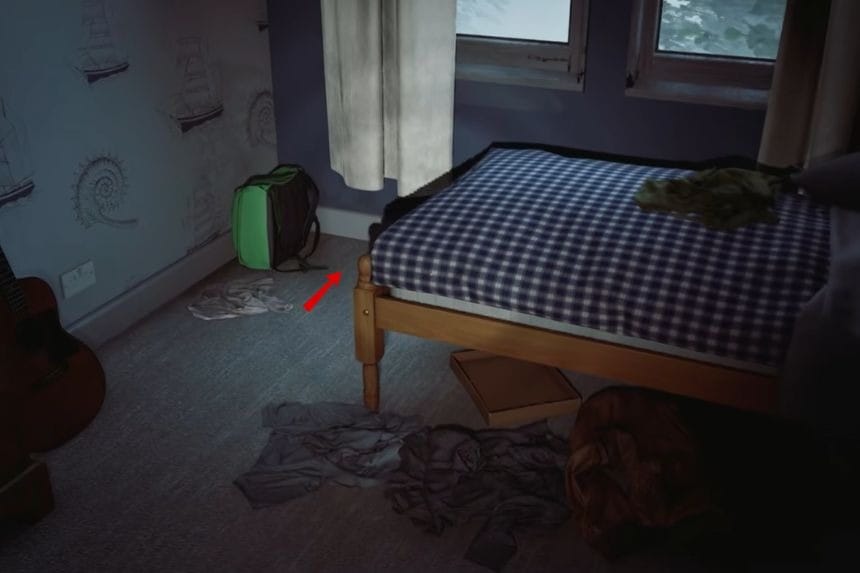
Stay in apartment 1/2 and go to the southeast room. The fourth Strange Postcard is on the floor at the end of the bed.
Clue: Jess’s Door Note
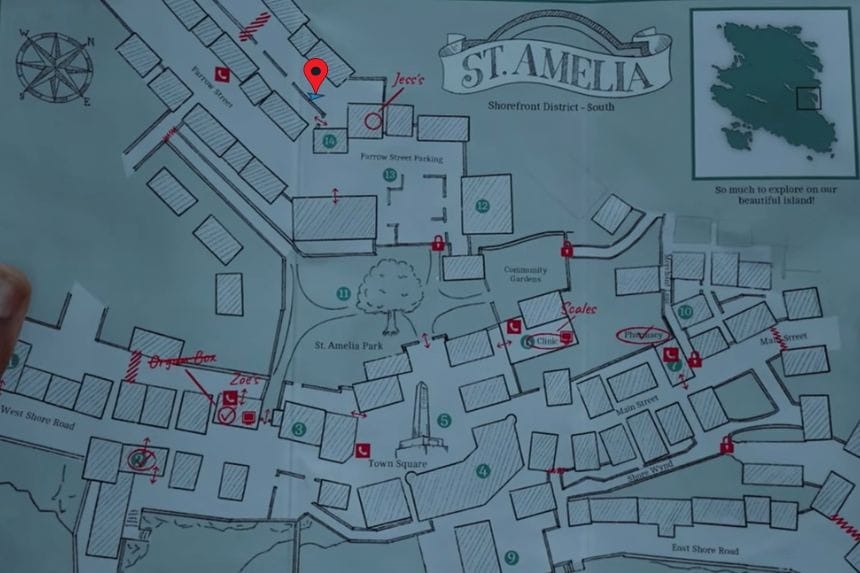
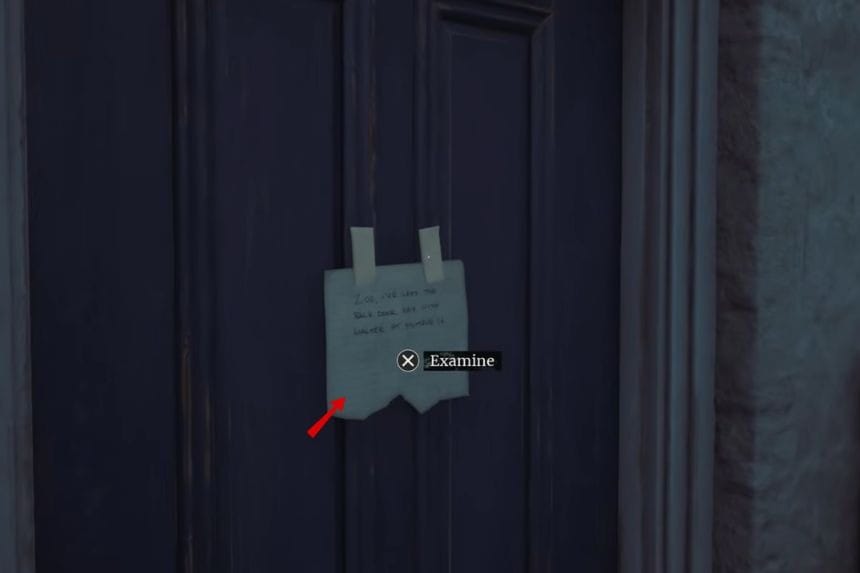
Go to the back door of Jess’s house, beside building (14). Inspect the note attached to the door to find Jess’s Door Note.
Locked Door – Jess’s
Interact with the lock on Jess’s back door and use the 21 Farrow St. – Back Door Key to unlock it.
Document: Task Assignment
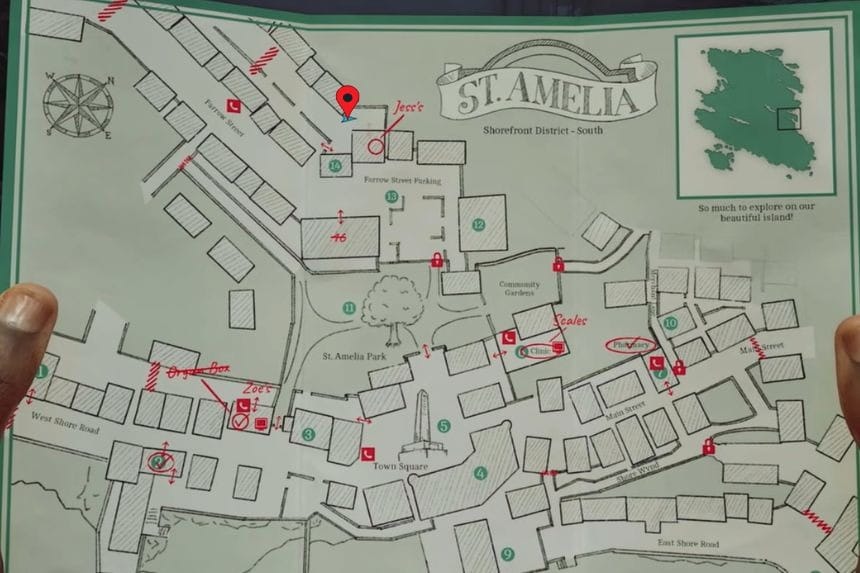
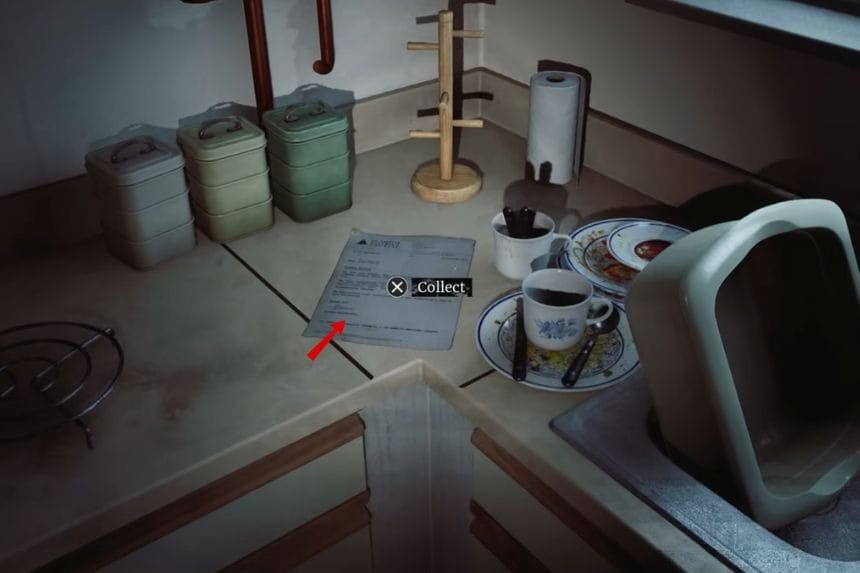
Enter Jess’s house and check the kitchen counter to find the Task Assignment.
Equipment: Lockbox Key
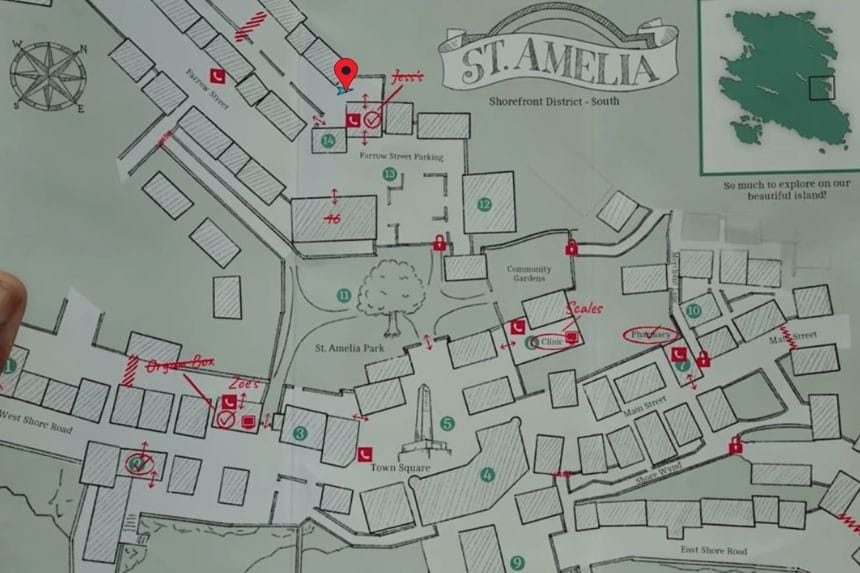
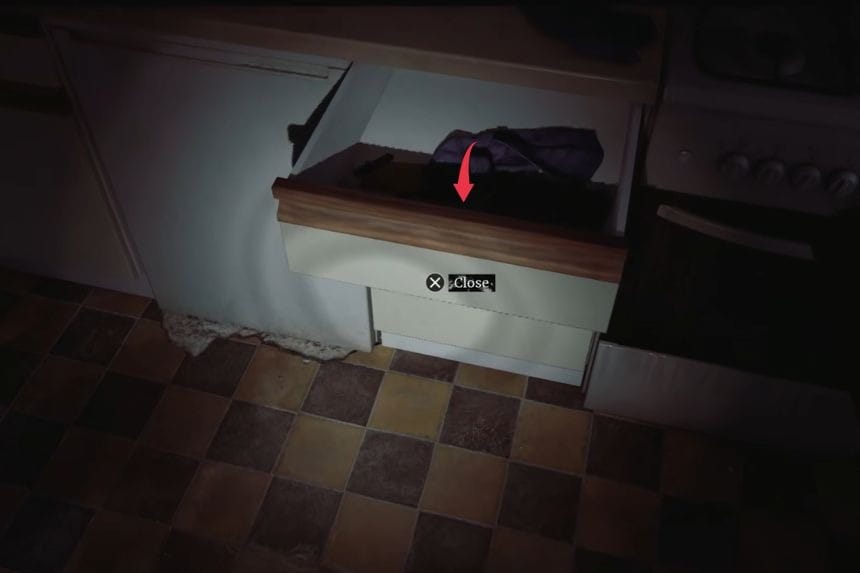
Look inside the kitchen drawer to find the Lockbox Key.
Document: Jess Legal Advice


Go into the living room and check the table to pick up Jess Legal Advice.
Key Item: Broken Stethoscope
Enter the bedroom and check the bed to find the Broken Stethoscope.
Resource Container
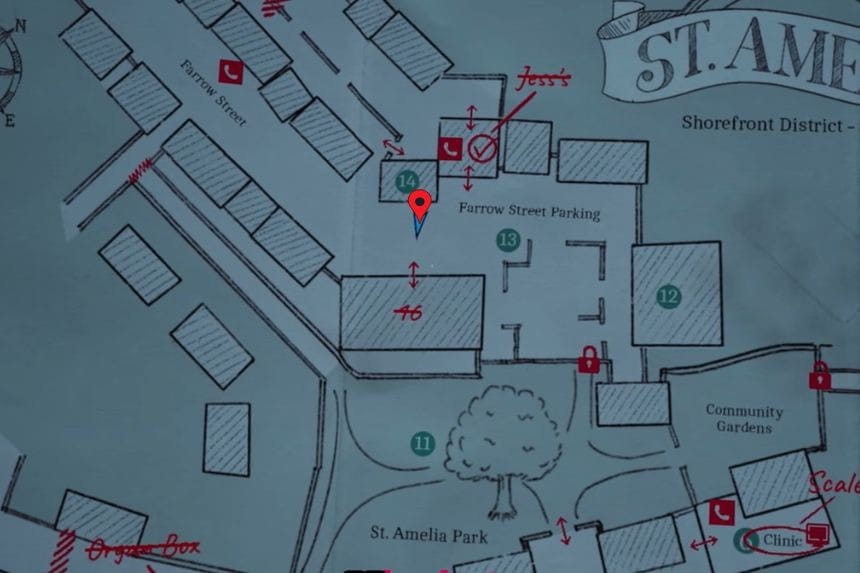

Return to the apartment building south of (14) and enter apartment 0/1. Go into the living room and use the Lockbox Key on the blue lockbox to collect the resource container.
Part 2: Zoe
Part 2: Zoe is part 2 of Silent Hill Townfall, and comprises chapters 5 and 6. Please make sure you get all the items you encounter in this part since most of them are unobtainable later. There’s no way to restart each part individually, so any missed item means having to load a previous save point or starting again.
Chapter 5: Zoe Rounds
Save It For The Patients Trophy
Playing as Zoe in this level, you should not use any health kits. You need to save all the health kits, because once you use one of them, you won’t be able to get this trophy.
Equipment: Pager
The Pager becomes accessible immediately upon starting your game as Zoe within your own home. It operates in a manner similar to that of the CRTV and is used for enemy tracking.
Document: Water Warning
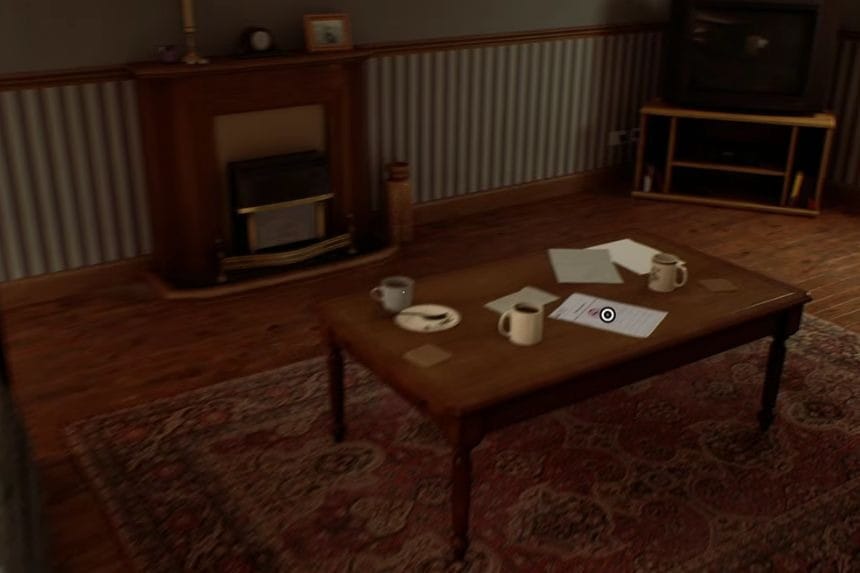
Inside Zoe’s House, check the table in the living room to find the Water Warning document.
Phone Number: 0163 296 0595 – St. Amelia District Council
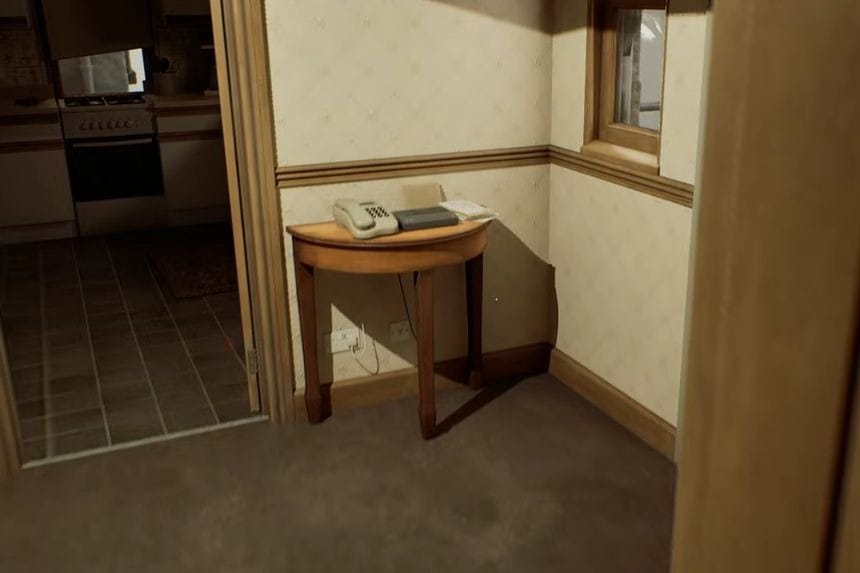
The phone number for the St. Amelia District Council is written at the bottom of the Water Warning document. Pick up the phone inside Zoe’s house and call 0163 296 0595.
Document: Zoe’s Email: “Coming Back”

Use the computer inside Zoe’s House and read the only email available. This gives you Zoe’s Email: “Coming Back.”
Document: Jane Chalmers’ Obituary
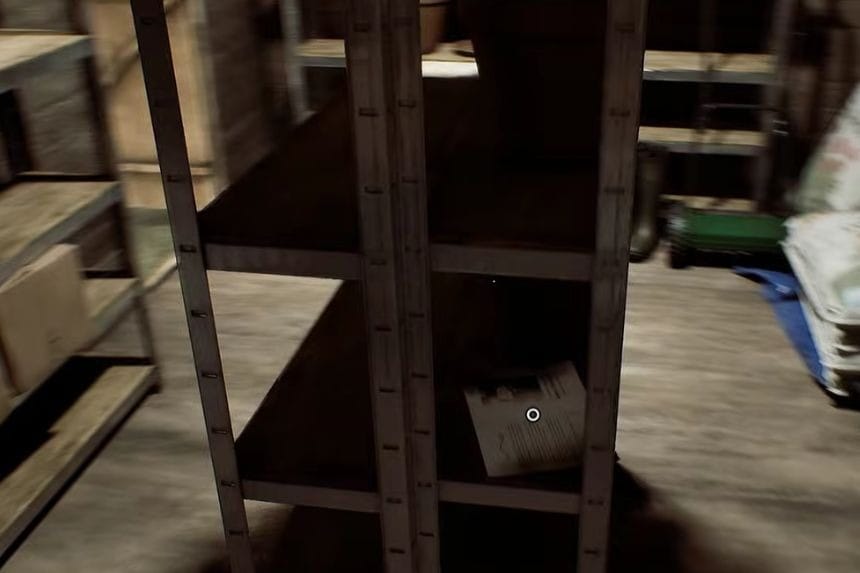
Once inside the shed, check the middle shelf to pick up Jane Chalmers’ Obituary.
Key Item: Community Garden Key
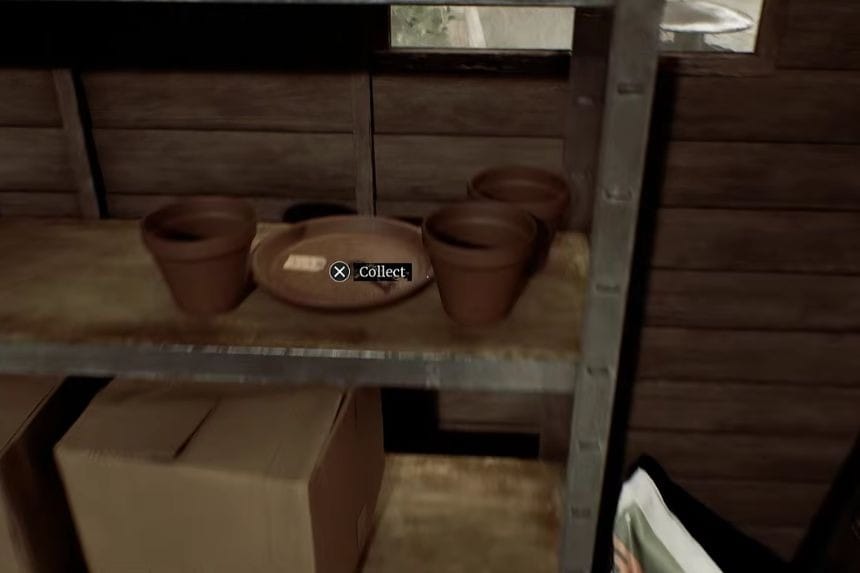
While inside the same shed, look at the shelf on the right to find the Community Garden Key.
Locked Door: Community Gardens
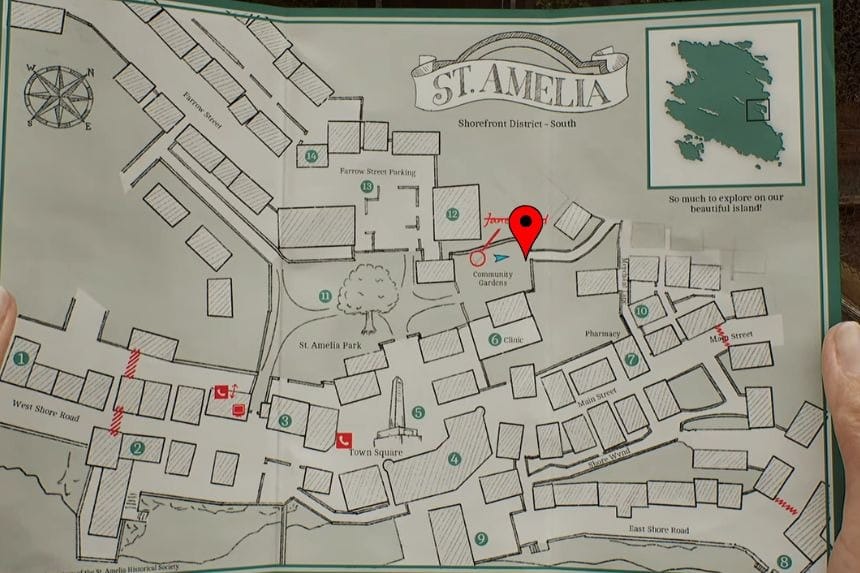
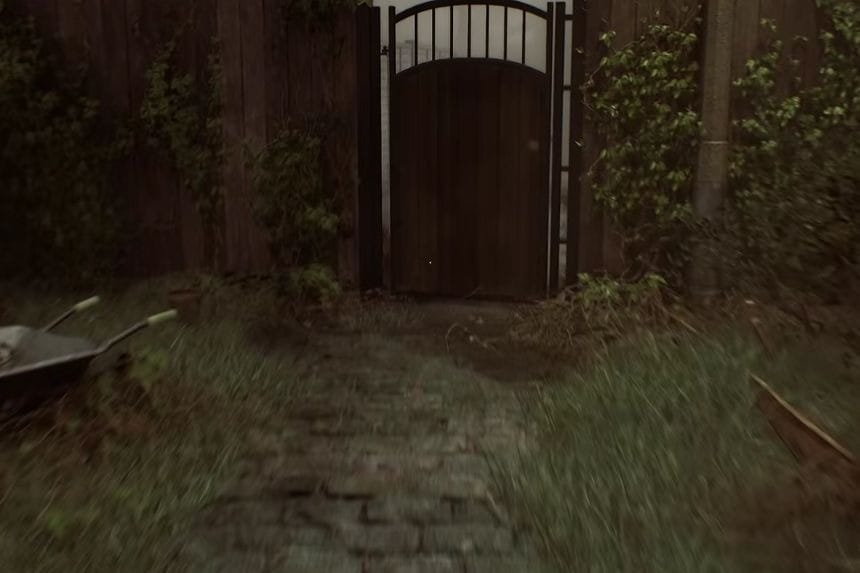
With the key in hand, return to the gate inside the Community Gardens and use the Community Garden Key to unlock it.
Document: St. Amelia Standard
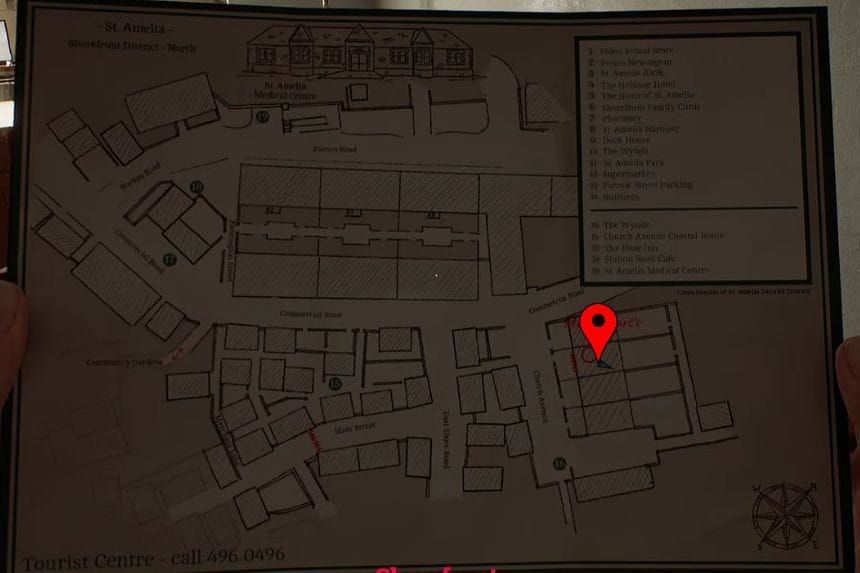
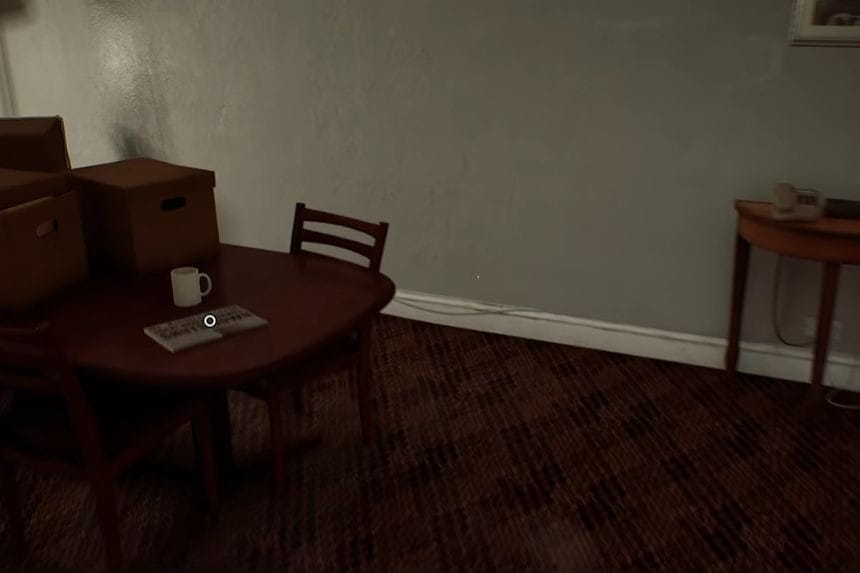
Enter Mr. Stewart’s House and check the table in the living room. You will find the St. Amelia Standard document there.
Phone Number: 496 0103 – Zoe Ellis
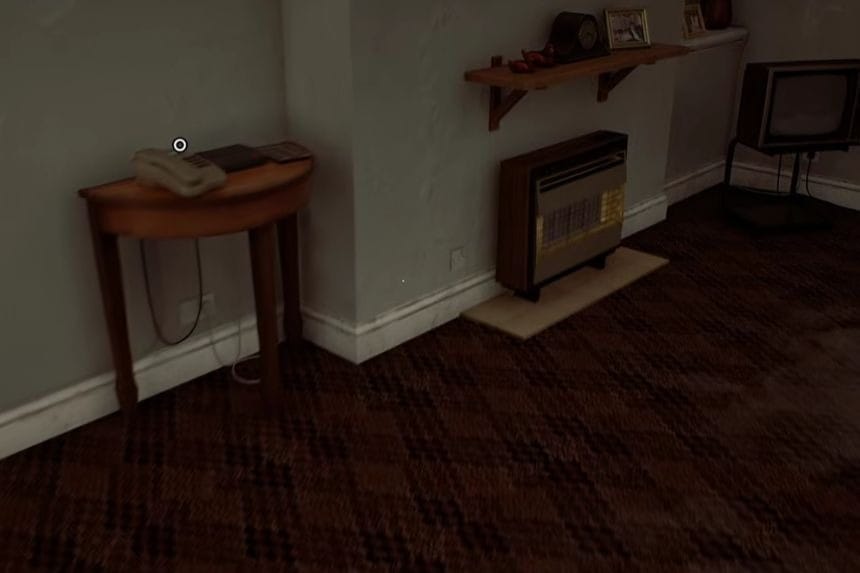
Inside Mr. Stewart’s House, inspect the phone first. Then check the folder to the right of the answering machine to find Zoe Ellis’ phone number, 496 0103.
Static Distractions Trophy
From this point onward, you can turn on radios to distract enemies. There are two radios inside Mr. Stewart’s House, making this a good place to start working toward the Static Distractions trophy. You need to distract 10 enemies with radios in total.
Key Item: Mr. Stewart’s Key
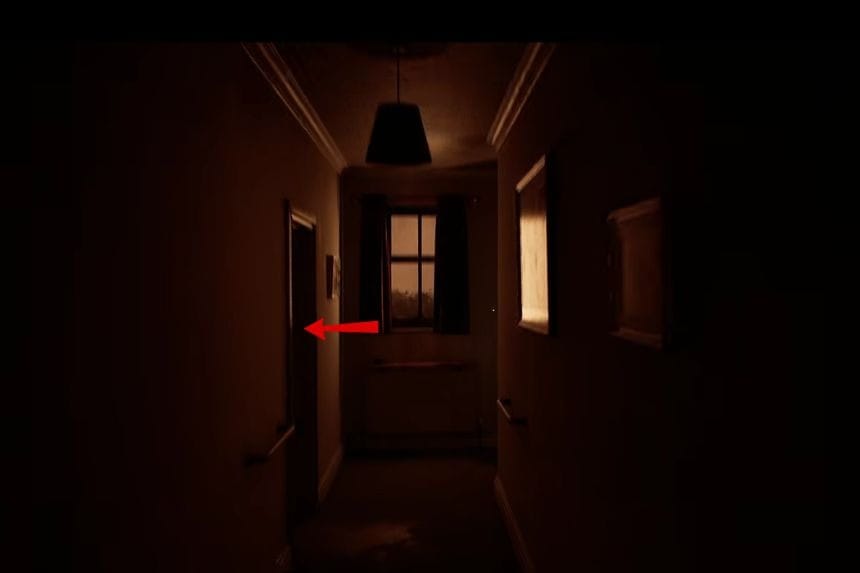
After you see the monster for the first time inside Mr. Stewart’s House, head back to the bathroom. You will find Mr. Stewart’s Key to the right of the bathtub. Use Mr. Stewart’s Key on the back door of the house, which is the same door you used to enter. This lets you leave the house.
Lured Off Track Trophy
You can start collecting bottles around Shorefront District North and throwing them to distract enemies. You need to distract 20 enemies with bottles for the Lured Off Track trophy. Bricks can also be thrown to distract enemies, but they do not appear to count toward this trophy. The progress carries over between playthroughs.
Alarmingly Effective Trophy
While making your way back toward the Clinic, you will automatically trigger a car alarm in the street. After this happens, you can use nearby cars to distract enemies by throwing bottles or bricks at them or hitting them with a melee attack. Find a car with an enemy nearby and set off the alarm to unlock Alarmingly Effective.
Clue: Medical Security Note
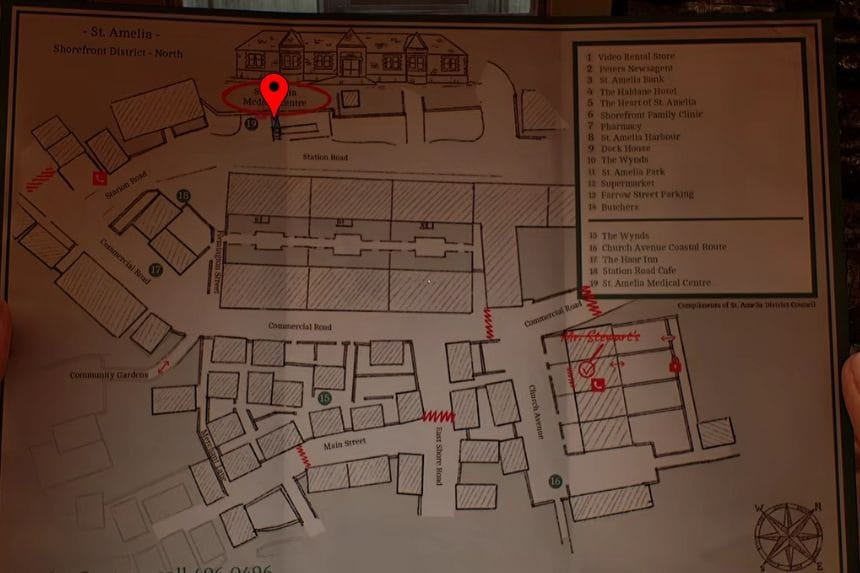
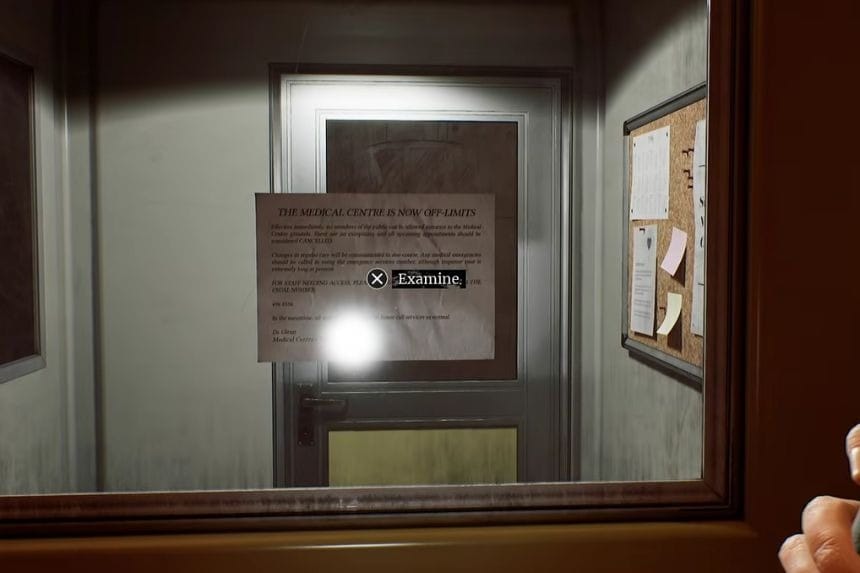
When you reach the Medical Centre, check the security booth outside. Inspect the paper on the booth’s window to find the Medical Security Note.
Document: Community Help Needed

In the Medical Centre parking lot, check the first table on the right to find Community Help Needed.
Document: Exhausted Supplies

Continue to the back-left side of the Medical Centre parking lot and enter the tent. Exhausted Supplies are lying on the bed inside.
Locked Door
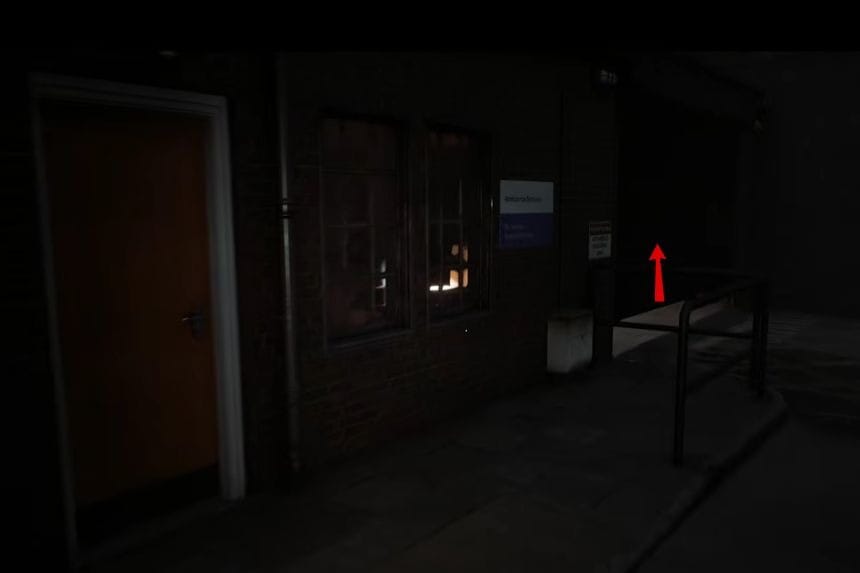
In the back parking lot, interact with the garage door to enter the building. Go into the office and press the button beside the phone. This opens the gates beside the Medical Centre.
A Long Night Ahead Trophy
You will unlock the A Long Night Ahead trophy during this part of the game.
Chapter 6: Journey to Medical
CRTV Channel – 63~
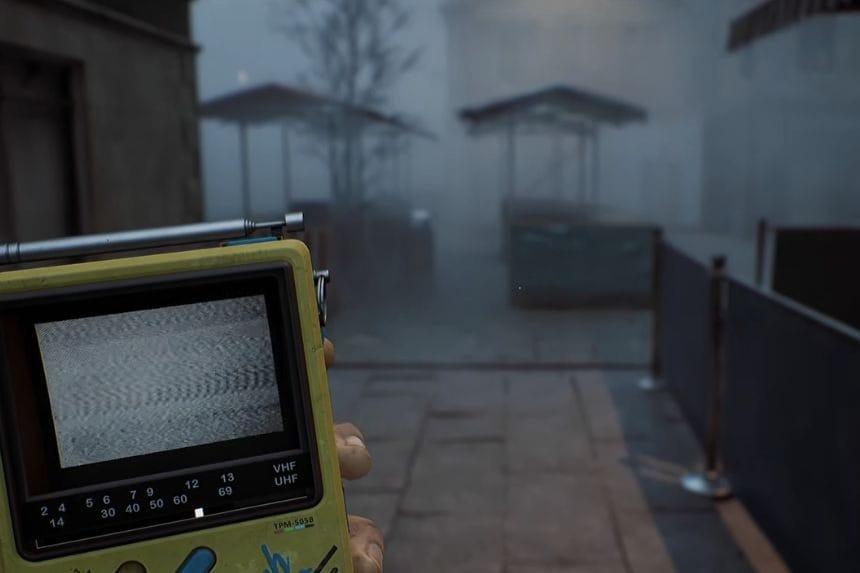
As soon as you leave the Clinic, tune the CRTV to around 63 to pick up the required channel.
Equipment: Pistol
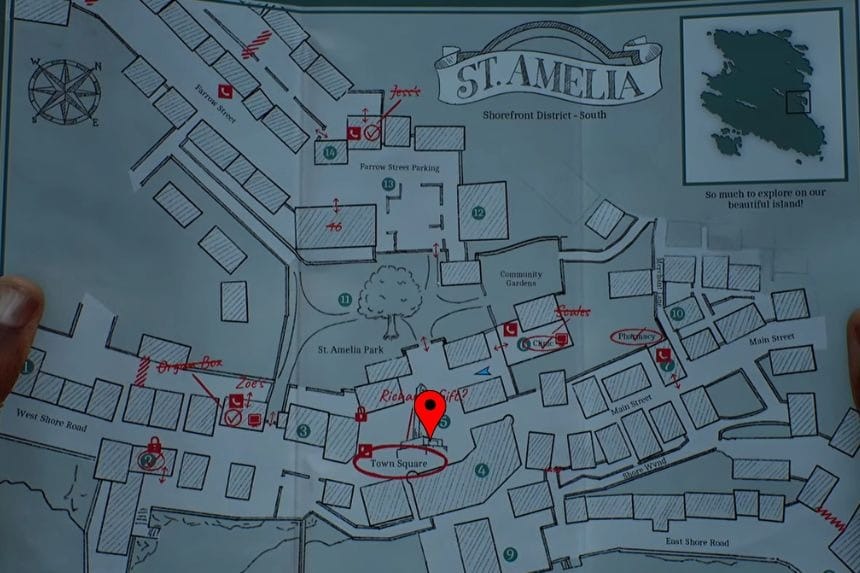
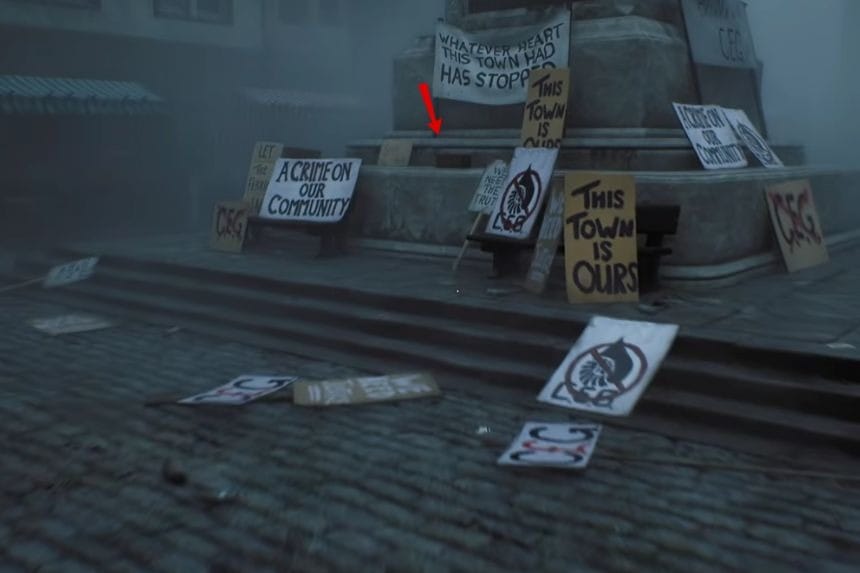
Head to Town Square (5) and look inside the box to find the Pistol. When the game gives you a choice, select Yes. This triggers the Otherworld shift in the town and allows you to continue.
Pull! Trophy
You can find a bottle on the road just past the Pharmacy when playing as Simon for the first time. Pick it up, return to the Pharmacy, and save your game. Then go back onto the road, throw the bottle straight into the air, and shoot it with the pistol to unlock Pull!.
Strange Postcard – 5
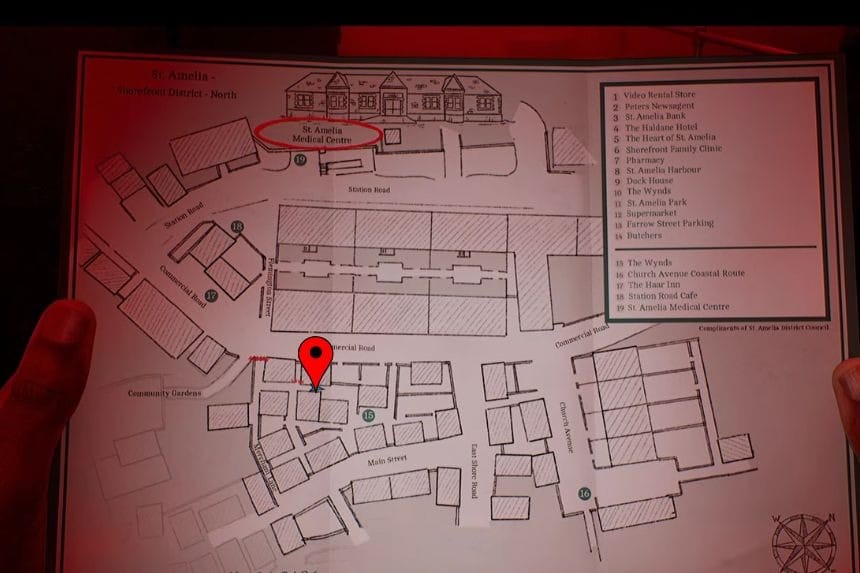

In The Wynds (15), head into the alley west of the phone booth. Follow the stairwell down beside the boots to find Strange Postcard – 5.
Locked Door – Flemington Street
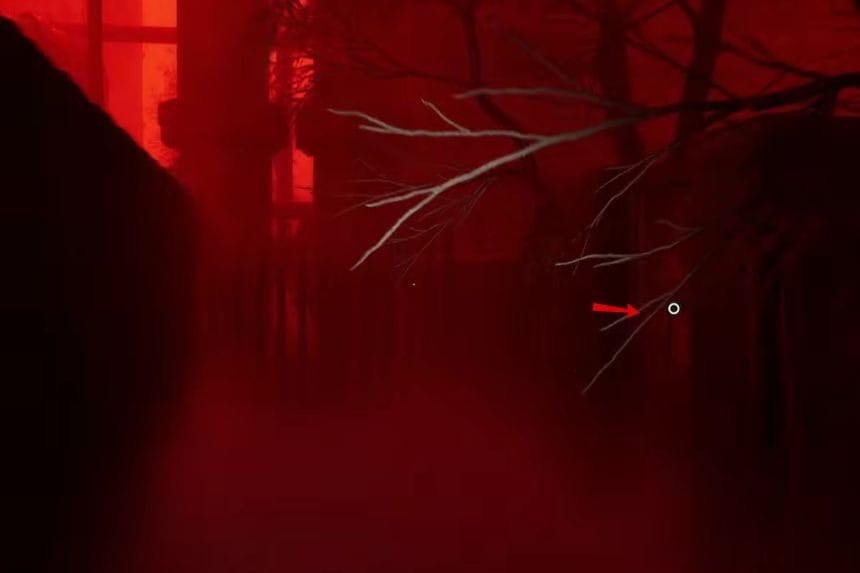
On Flemington Street, interact with the locked door and choose the option to use the Scalpel to open it.
Document: Scaffold Notice
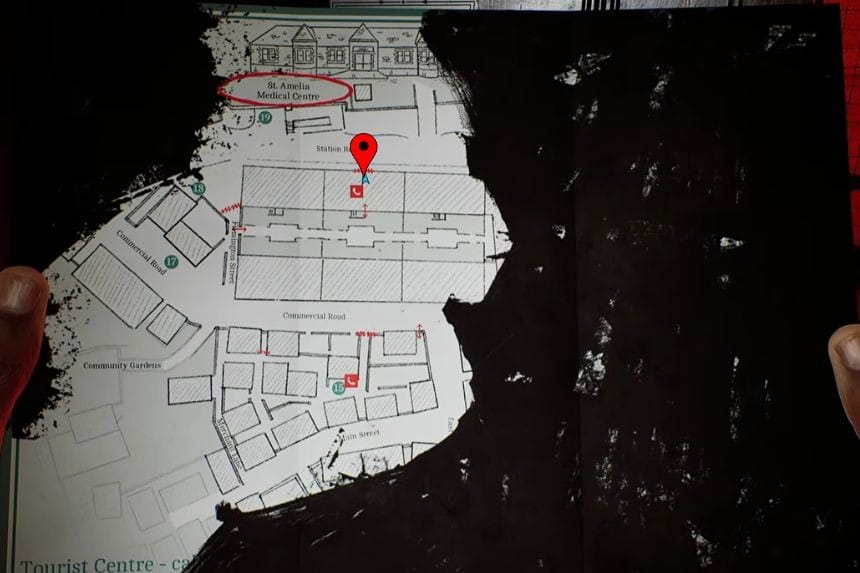
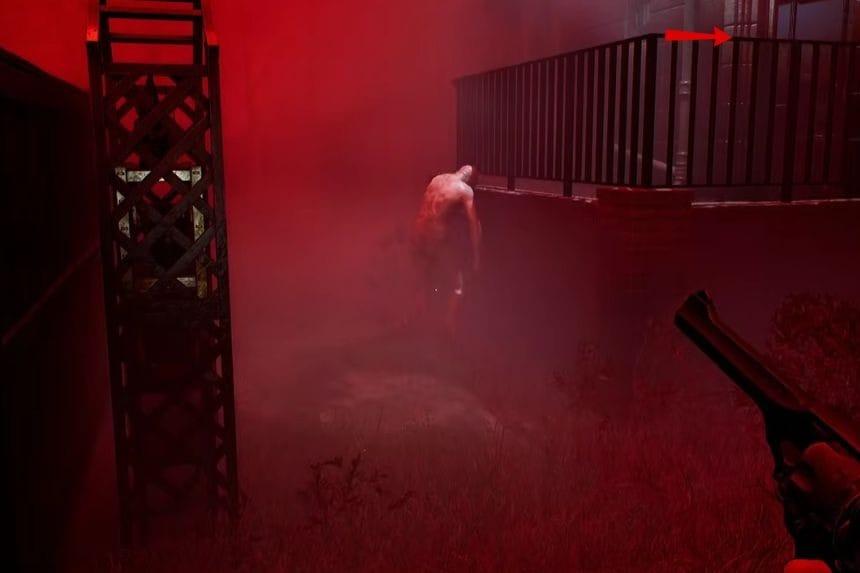
Enter the apartment south of the Medical Centre and head to the first floor. Walk past the phone and check the door to find the Scaffold Notice.
Document: Handwritten Note
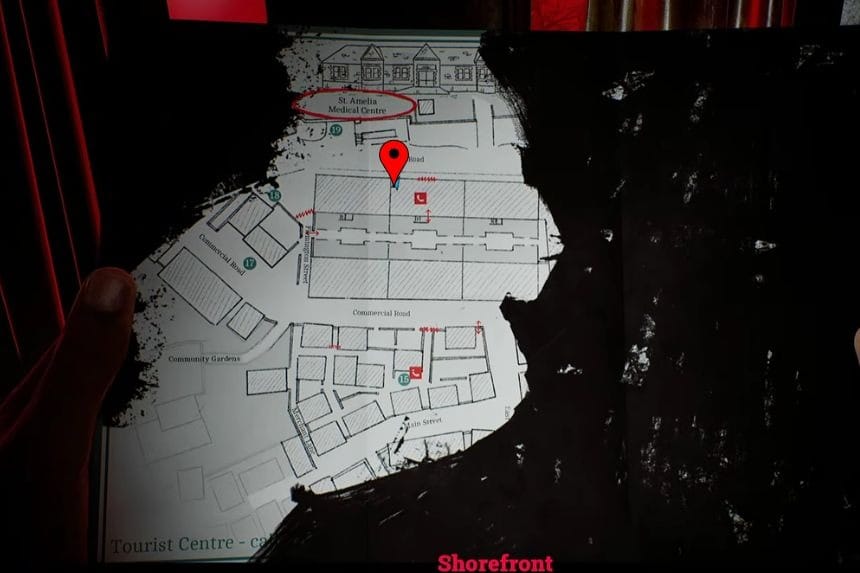
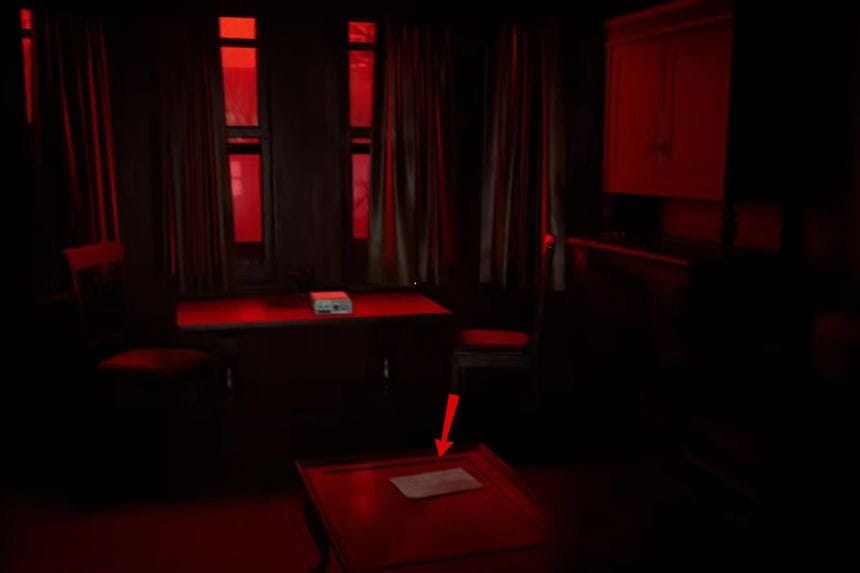
Go up to the second floor and enter apartment 1/1. The Handwritten Note is on the table in the living room.
CRTV Channel – 25~
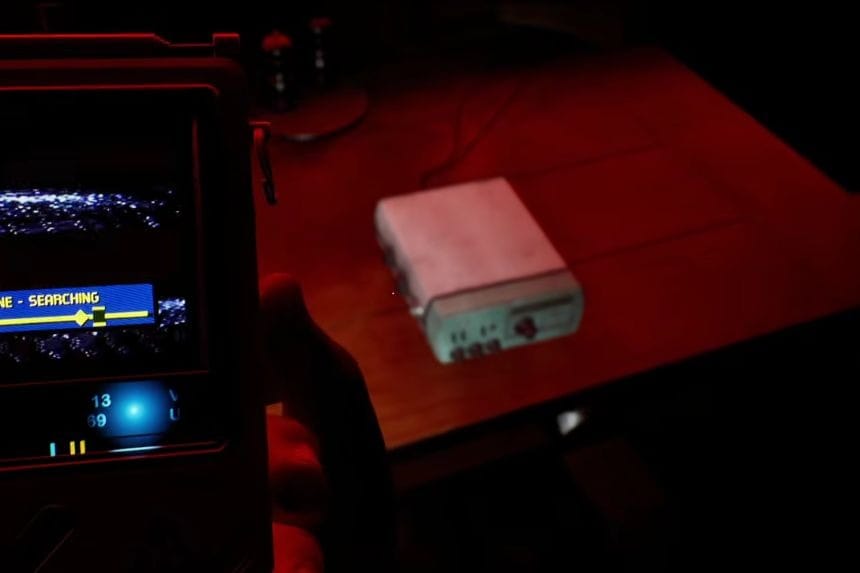
On the second floor, interact with the radio on the table. Use the right stick to adjust the CRTV tilt until the colours stop moving. Then use the D-pad to line up the colours with all the boxes.
Locked Door
Go to the third floor and interact with the door of apartment 2/2. Choose the option to use the Scalpel and open the apartment.
Document: Press Photos “Note.txt”
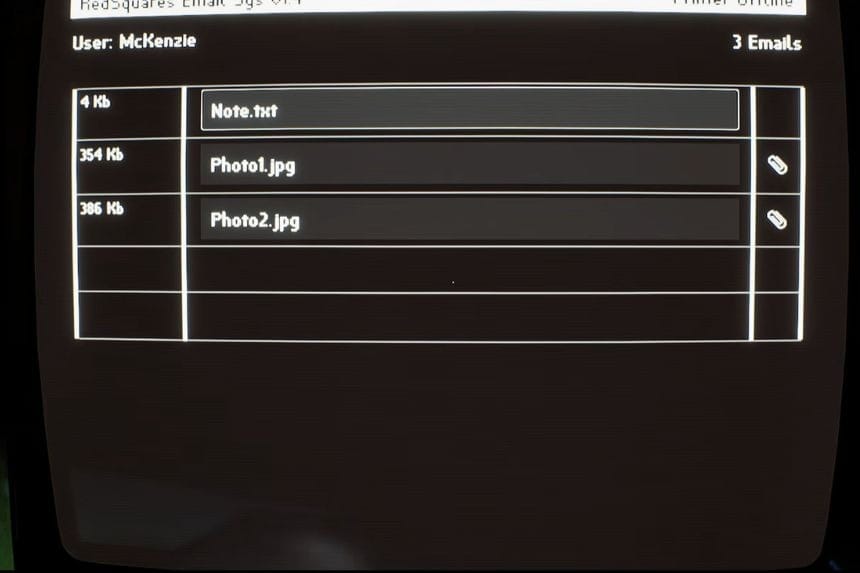
Inside apartment 2/2, interact with the computer on the left and read the top email to collect Press Photos “Note.txt.”
Documents: Photo1.jpg and Photo2.jpg
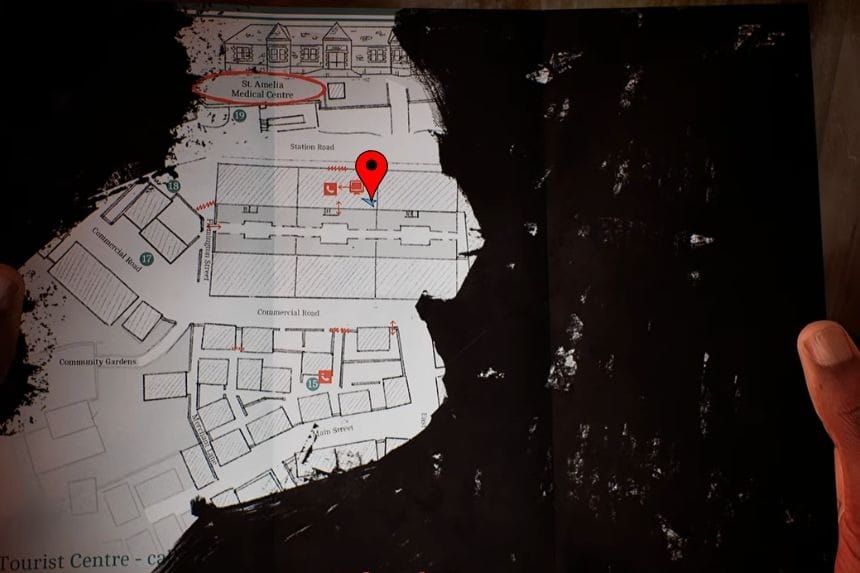

Go into the kitchen and turn on the printer by interacting with it until the light turns green. Then return to the computer and open both photos. Choose the option to print them. Head back to the kitchen and collect Photo1.jpg and Photo2.jpg from the printer.
Key Item: Lockbox Key
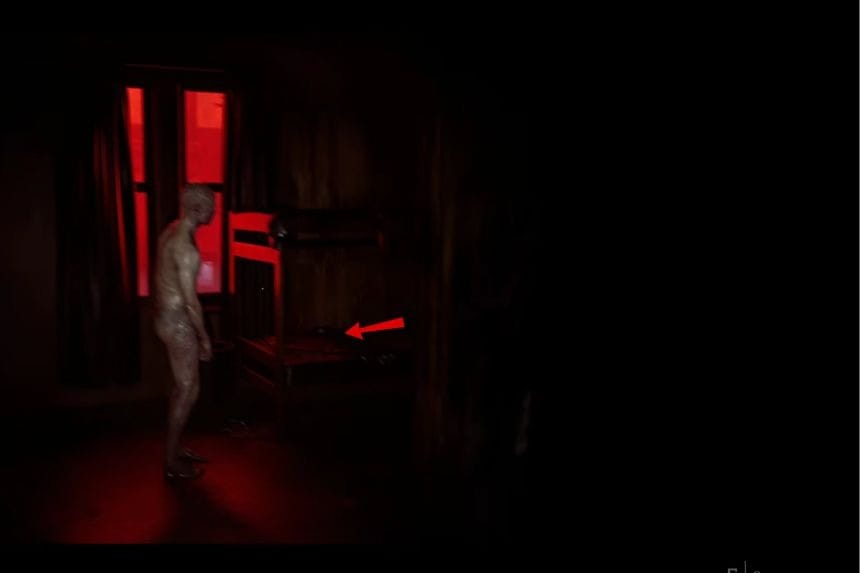
After going outside onto the scaffolding, return to the second apartment. On the second floor, enter apartment 1/1 and check the bed in the room with the enemy. You will find the Lockbox Key there.
Resource Container
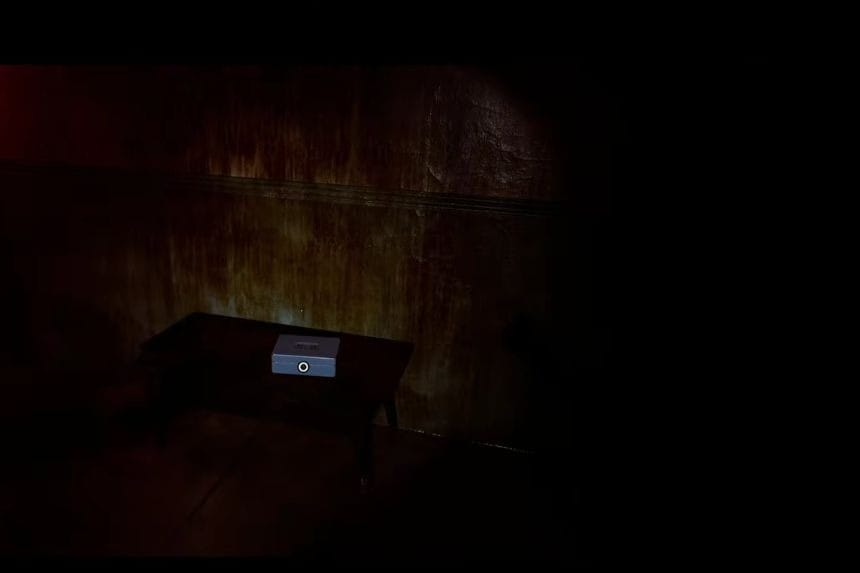
Take the Lockbox Key up to the fourth floor and look for the container sitting on a table on the landing. Use the key to open it and collect the resources inside.
Strange Postcard – 6
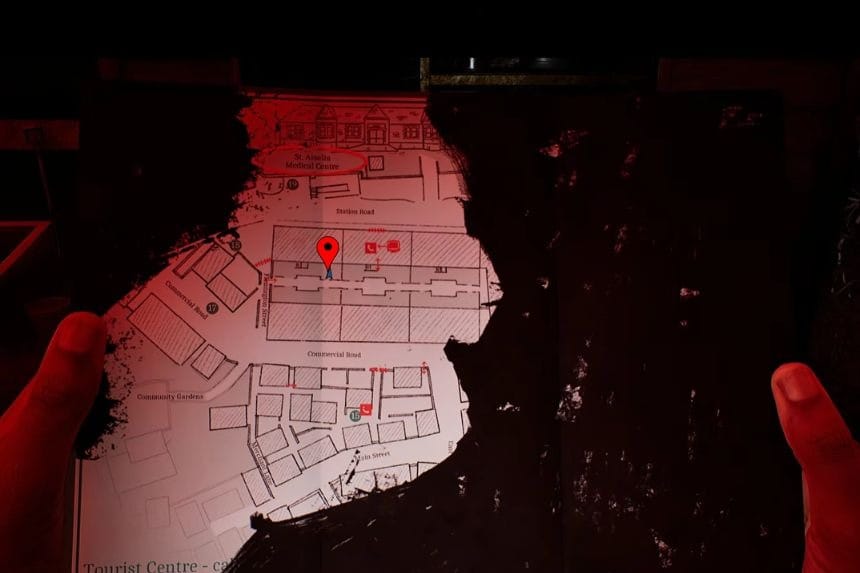
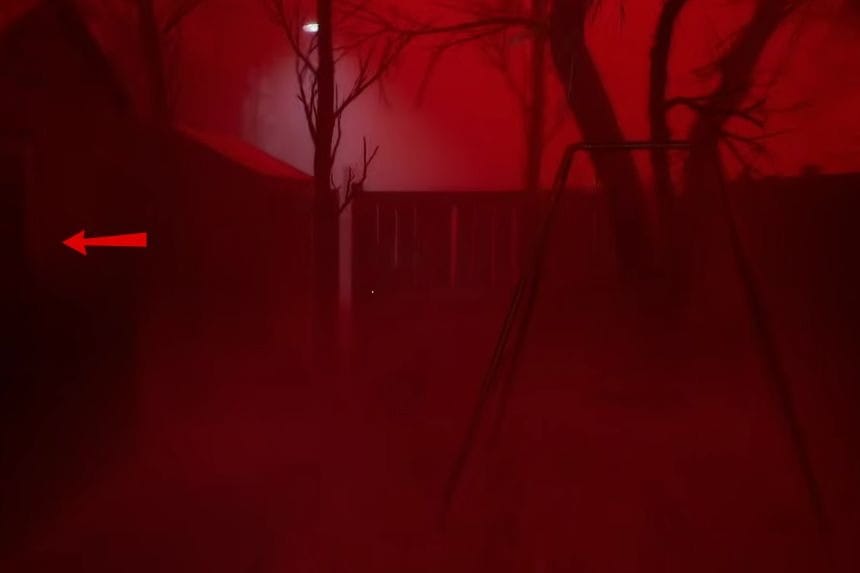
Finally, return to the ground floor of the apartment and go through the back door, away from the Medical Centre. Follow the path to the last shed on the left to find Strange Postcard – 6.
Part 3: The Patient
Part 3: The Patient – This part consists of chapters 7 and 8 of Silent Hill Townfall. It is necessary to collect all the available items in these chapters since almost all of them are missable. The game does not allow you to revisit a particular part, so it will be necessary to load an earlier save game or begin a new game.
Chapter 7: Zoe The Patient
St. Amelia Medical Center Map
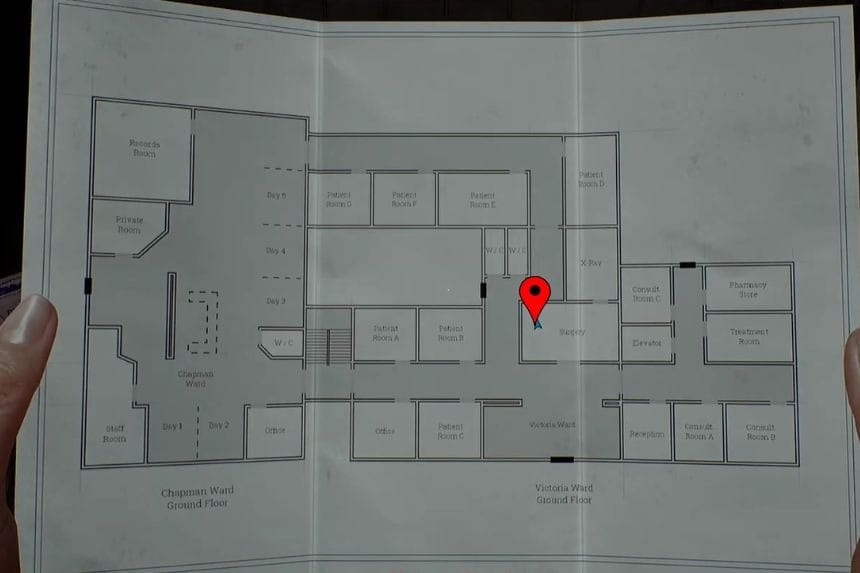

At the start of the chapter in the Surgery area of St. Amelia Medical Center, look at the wall on the left to find the map.
Locked Door – Surgery Code 7103
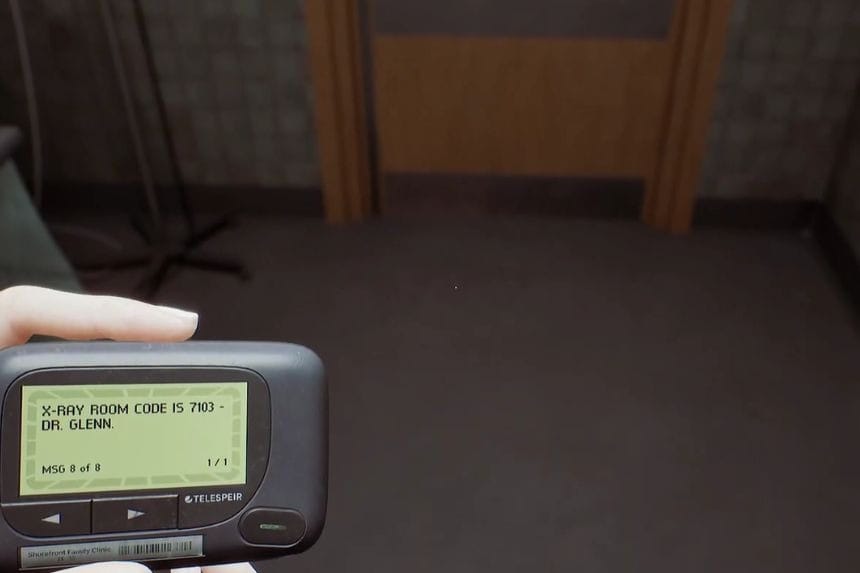
In the Surgery area of St. Amelia Medical Center, go to the door on the right side of the room and enter 7103. You received this number on the pager.
Key Item: Head and Chest X-Rays
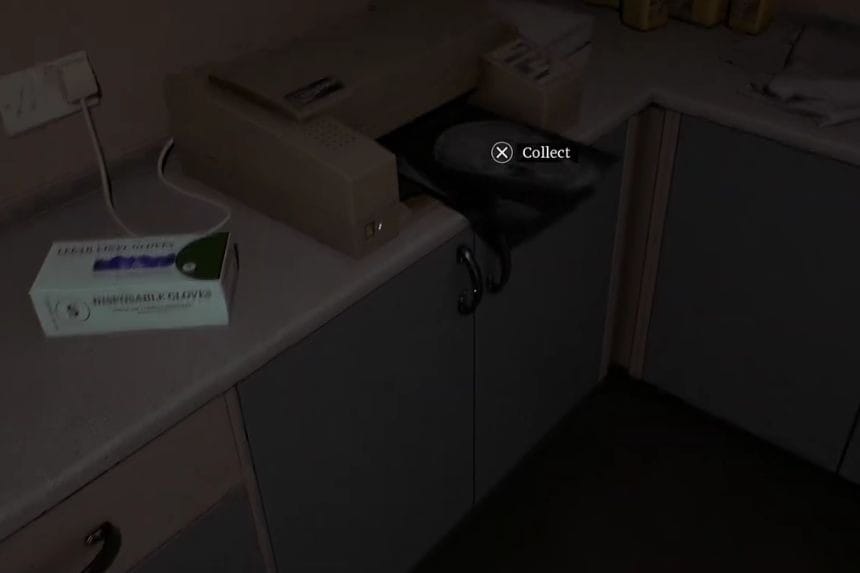
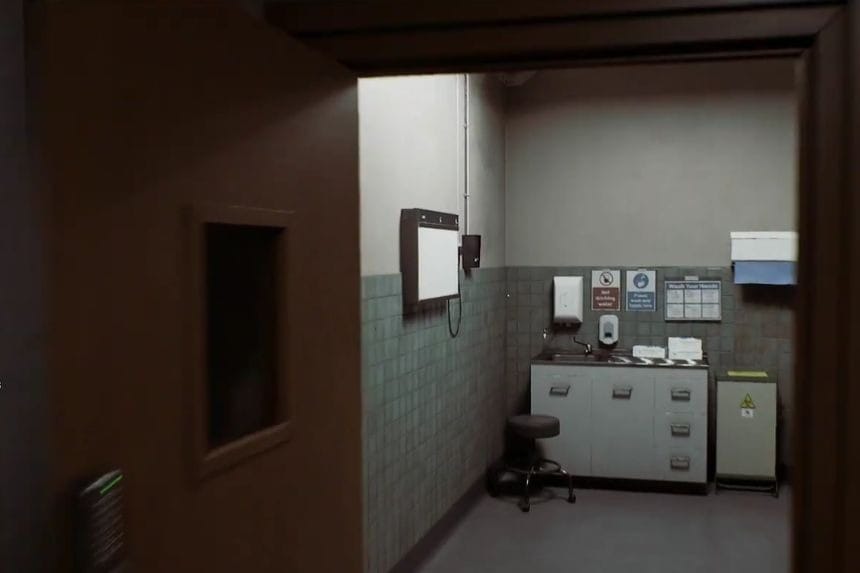
In the X-Ray area of St. Amelia Medical Center, pick up the printed X-Rays from the printer beside the computer. Take them to the board on the left of the intercom and place them there. Interact with the head and chest X-Rays when prompted.
Documents: Supply Situation Update, RE: Supply Situation Update
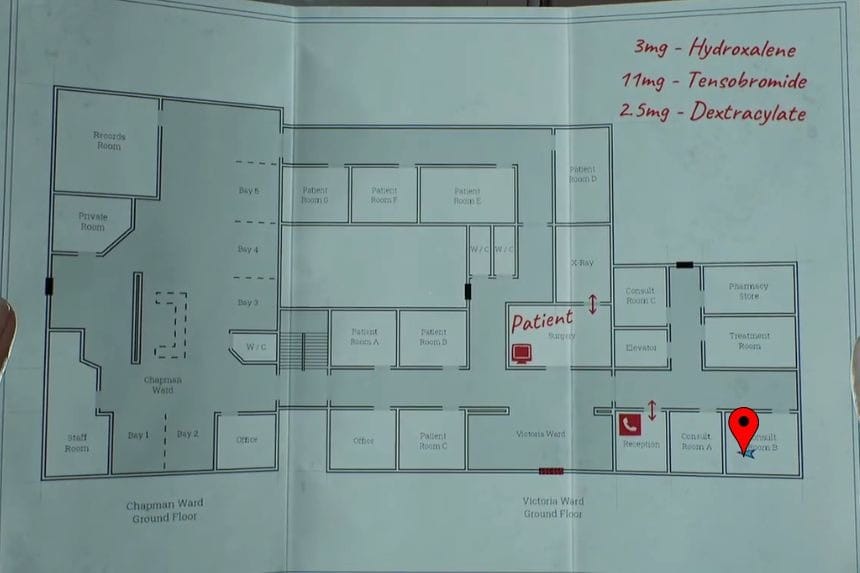
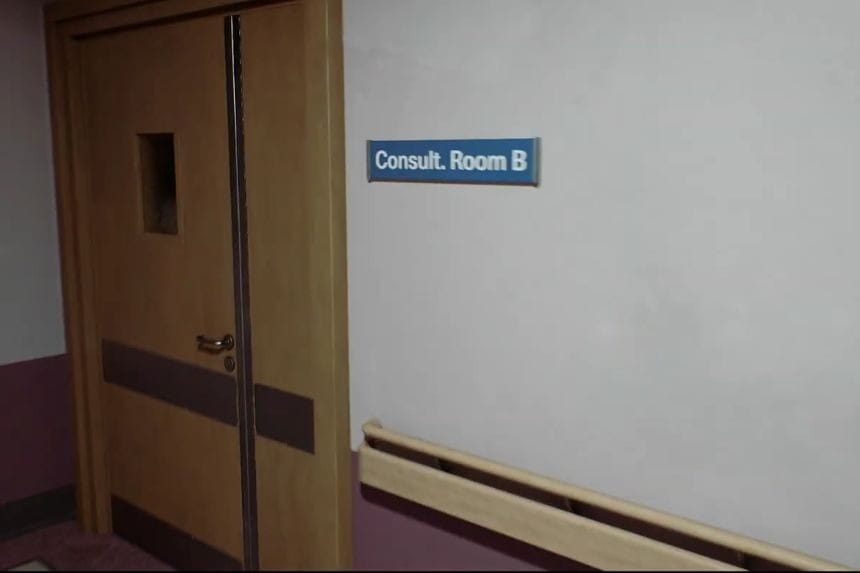
In Victoria Ward Ground Floor – Consult Room B at St. Amelia Medical Center, walk past reception and head to the end of the hallway. Enter Consult Room B, interact with the computer, and read both emails to collect the documents.
Key Item: Tensobromide

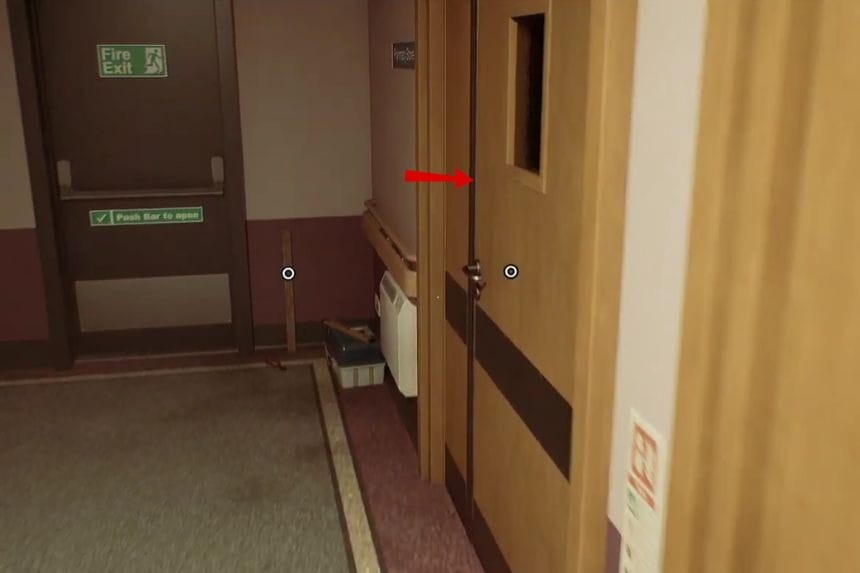
In the Pharmacy Store on Victoria Ward Ground Floor at St. Amelia Medical Center, walk to the end of the hallway and enter the room. Open the green medical box to find Tensobromide.
Document: Unrealistic Expectations
In Chapman Ward First Floor at St. Amelia Medical Center, interact with the computer behind the desk and read the first email to find Unrealistic Expectations.
Clue: Dailies – Infusion Status
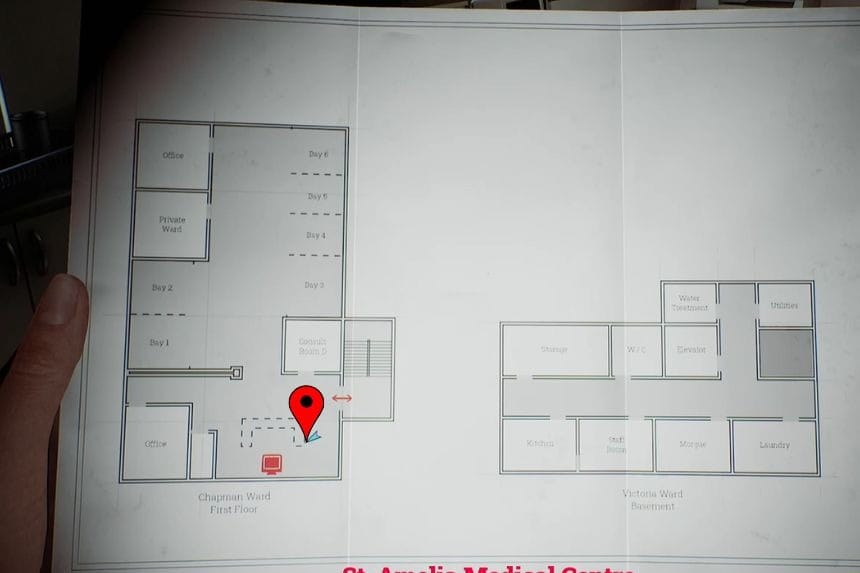
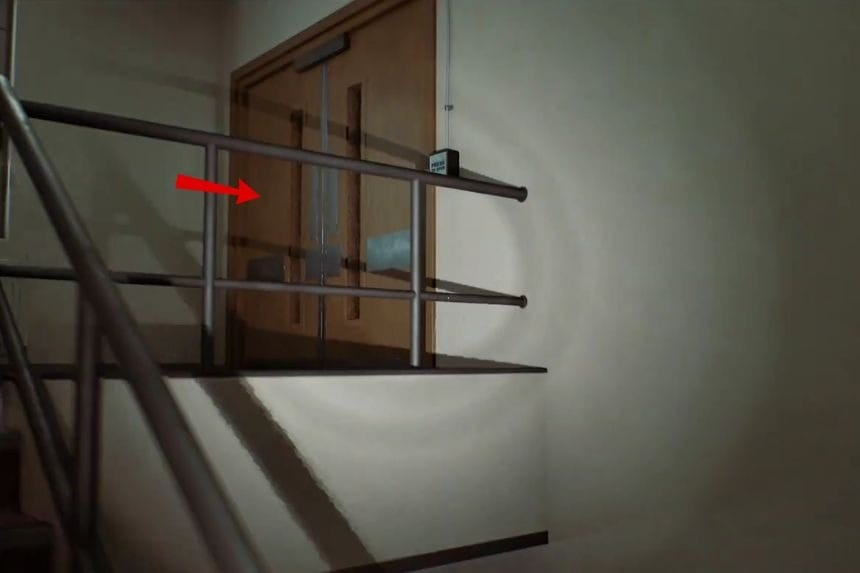
At the same computer in Chapman Ward First Floor at St. Amelia Medical Center, read the second email. This gives you the locations of the infusions and marks them on your map.
Clue: Dailies – Records Room Code
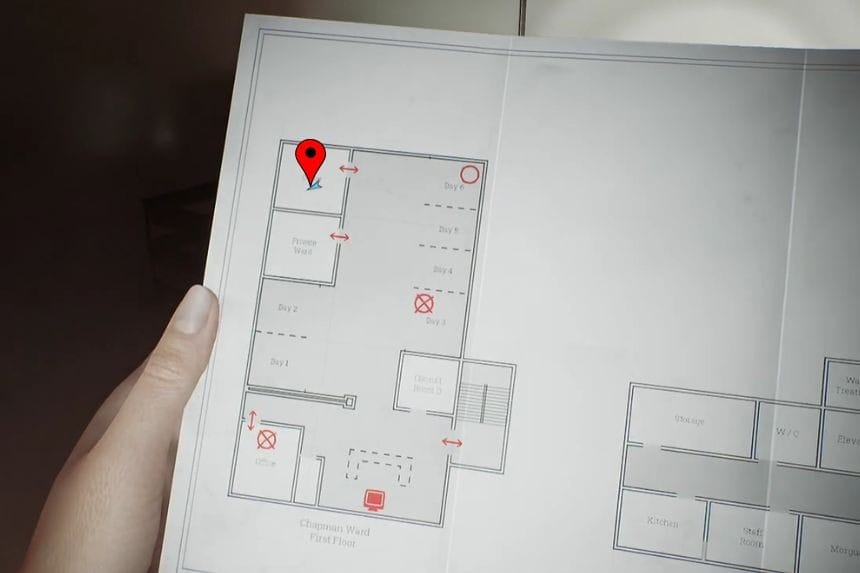
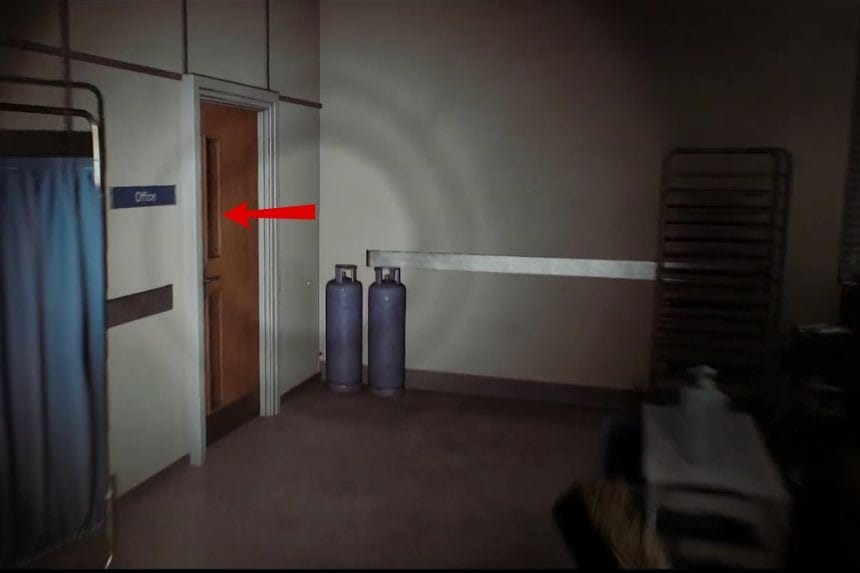
In the Office on Chapman Ward First Floor at St. Amelia Medical Center, check the board to the left of the computer to find the Records Room code.
Key Item: Dextracyclate

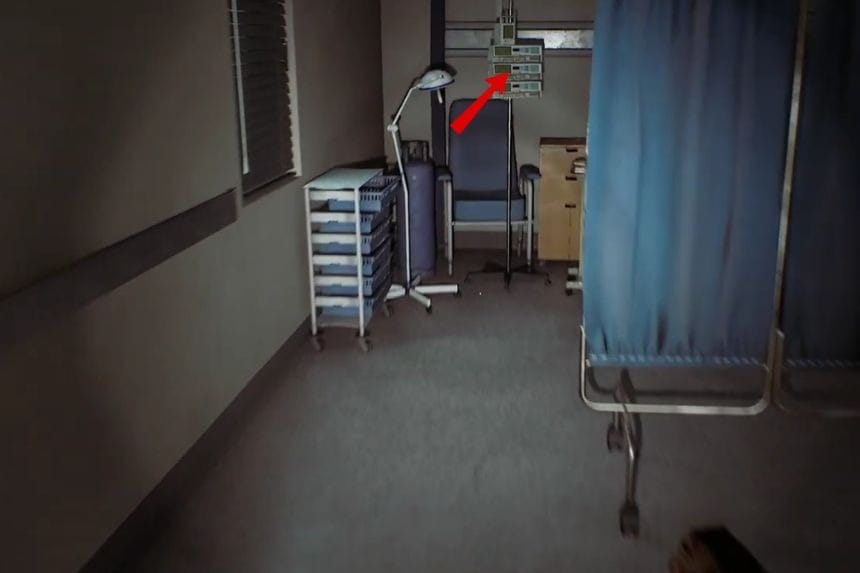
In Bay 6 on Chapman Ward First Floor at St. Amelia Medical Center, check the infusion machine to find Dextracyclate.
Locked Door – Records Room Key Item: Hydroxalene
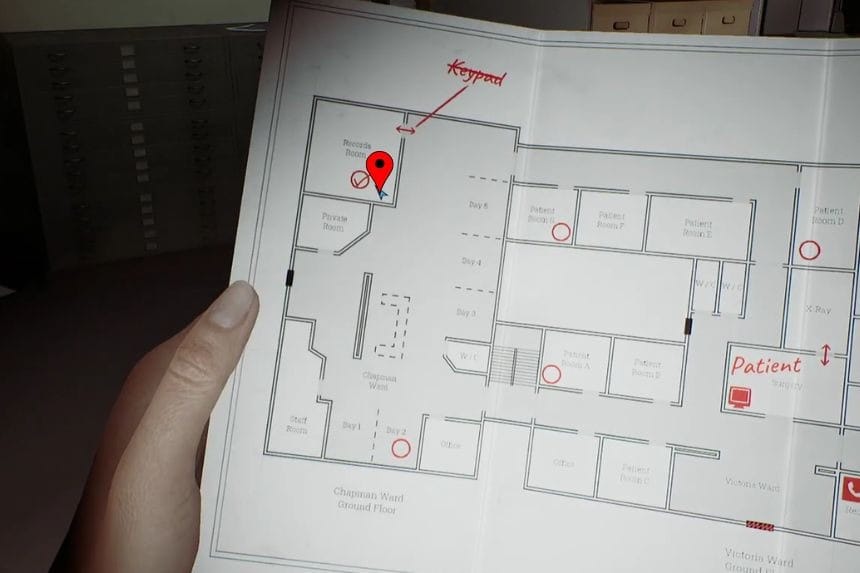

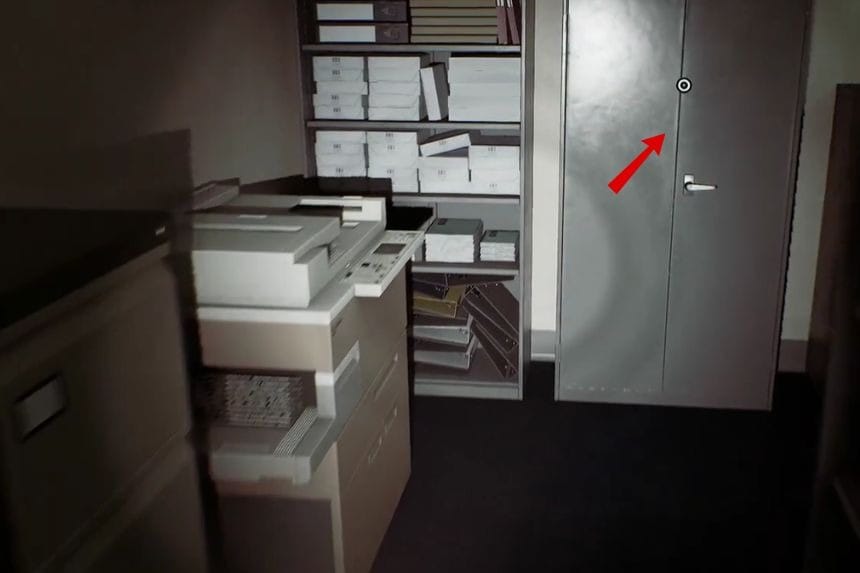
In Chapman Ward Ground Floor at St. Amelia Medical Center, head to the top-left corner and interact with the Records Room door. Enter 2605, which is the code you found upstairs. Inside the Records Room on Chapman Ward Ground Floor at St. Amelia Medical Center, search the cabinet and open the green medical box to collect Hydroxalene.
Phone Number: 5353 – Hospital Storage
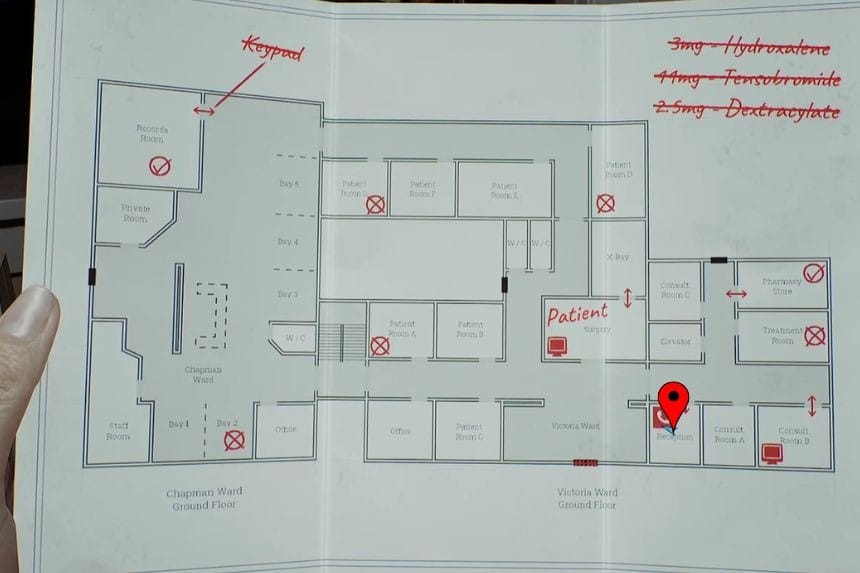
While in the Surgery area of St. Amelia Medical Center, Dr. Glenn will automatically give you the number 5353. You can use this number on the phone at reception.
Document: Equipment Cleanup Notice
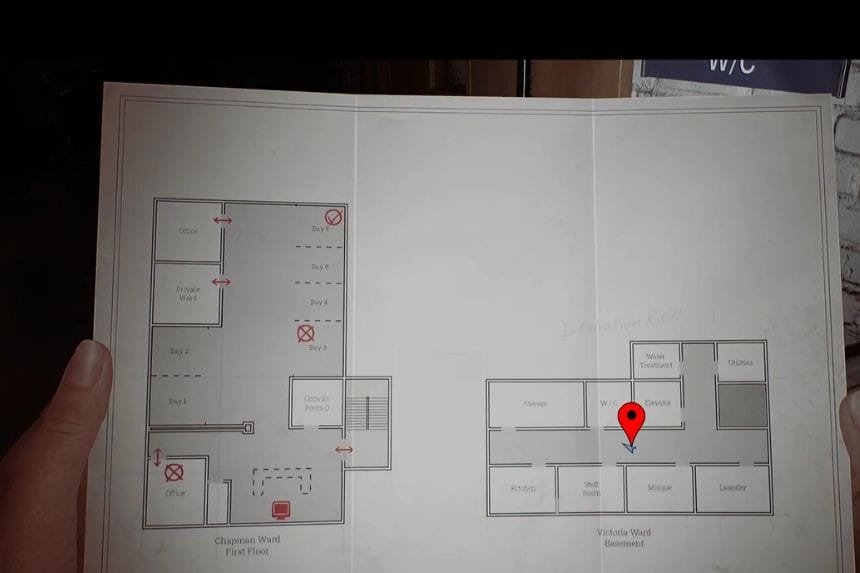
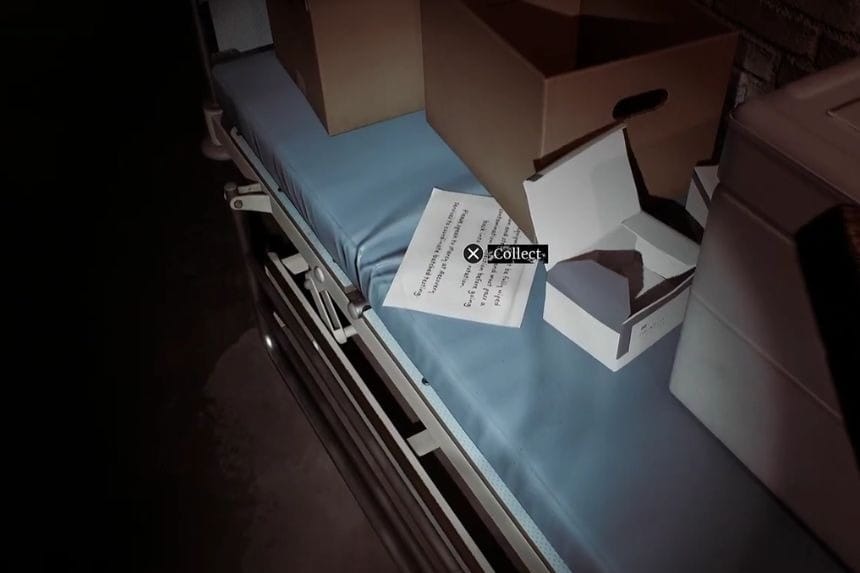
In the Victoria Ward Basement of St. Amelia Medical Center, check the hallway to find the Equipment Cleanup Notice on a bed.
Key Item: Medical Intubation Kit
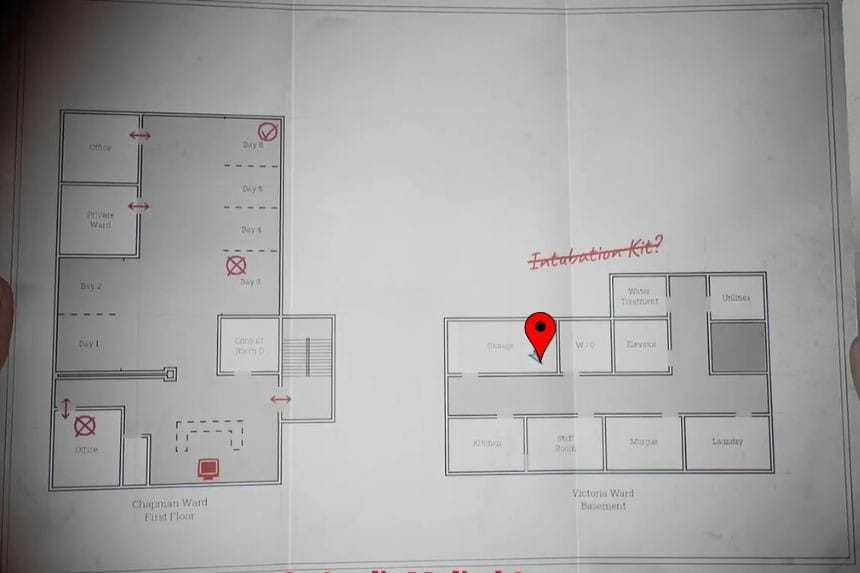
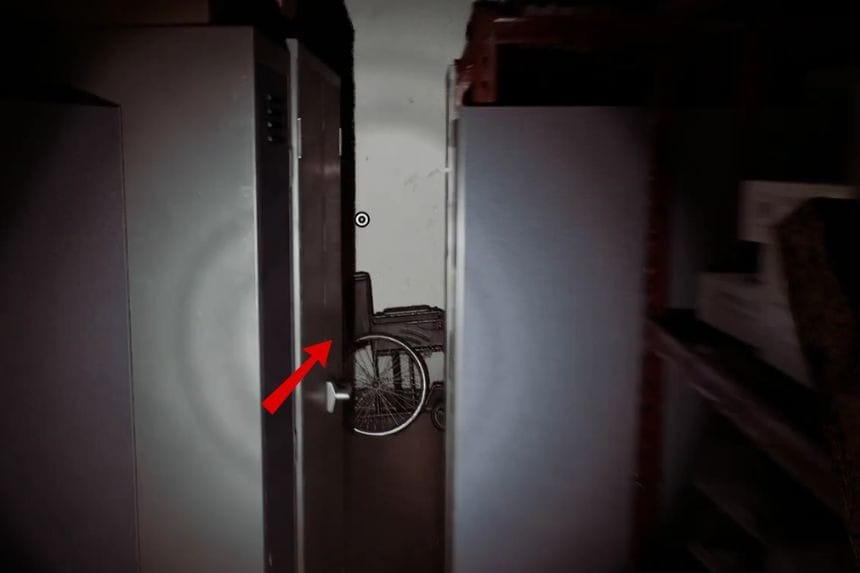
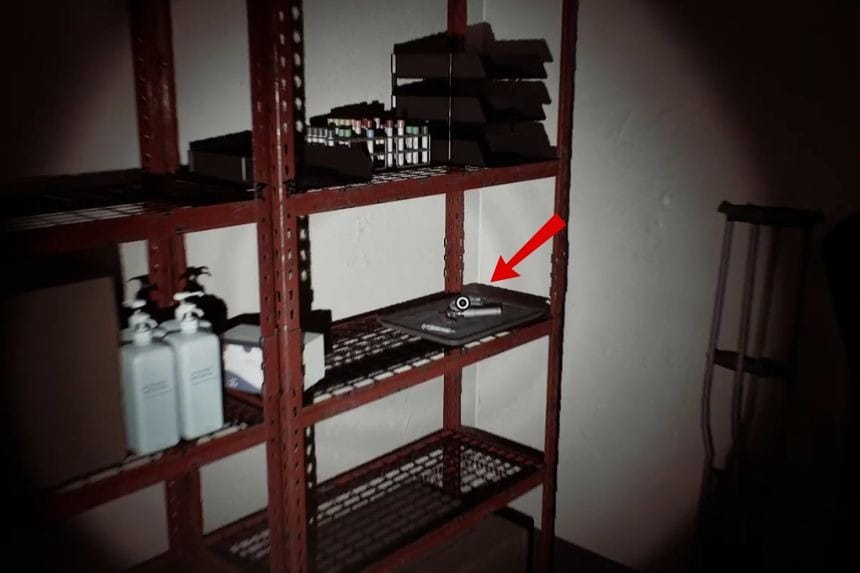
In the Storage room in Victoria Ward Basement at St. Amelia Medical Center, go through the gap in the lockers and check the shelf to find the Medical Intubation Kit.
Trophy: The Patient
If you completed both chapters as Zoe without using any healing items, the Save It For The Patients trophy will unlock at the same time as the story trophy.
Chapter 8: Many Into One
Locked Door – Surgery Code 7013
In the Surgery area of the Medical Center – Different, go to the door on the right and enter 7103. This is the same code you used earlier while playing as Zoe.
Strange Postcard – 7
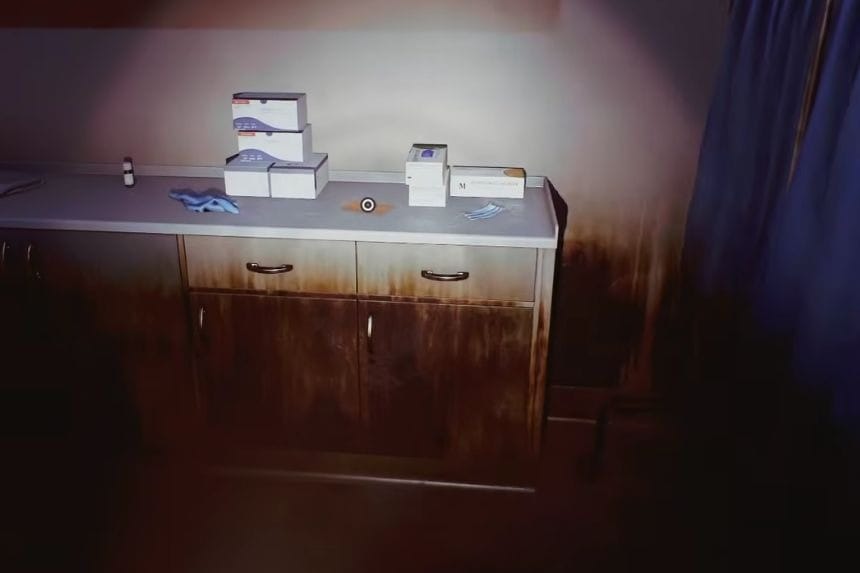
In the X-Ray area of the Medical Center – Different, check the counter at the back of the room to find Strange Postcard – 7.
CRTV Channel – 28~

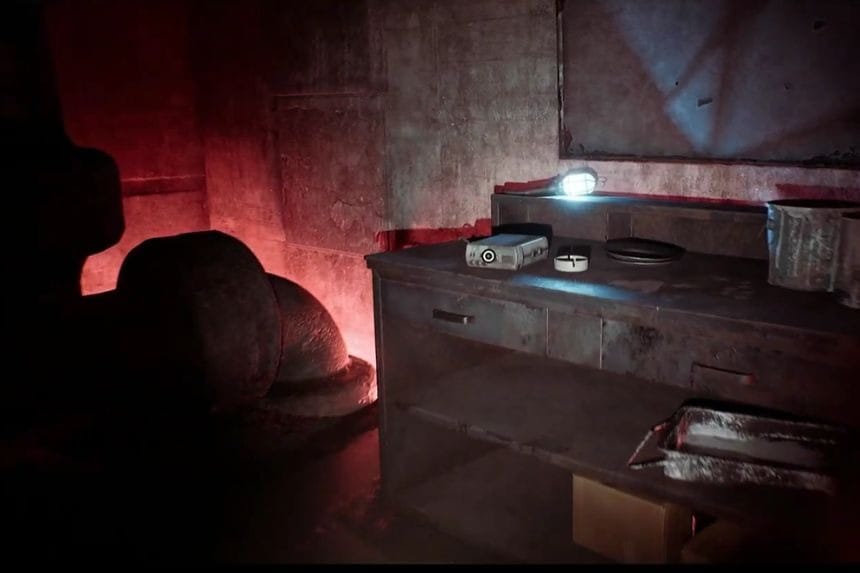
In the Medical Center – Different, squeeze through the crack to continue forward. When you reach the radio on the table, interact with it. Use the right stick to adjust the CRTV tilt until the colors stop moving, then use the D-Pad to fit the colors into all the boxes.
Weapon: Pipe
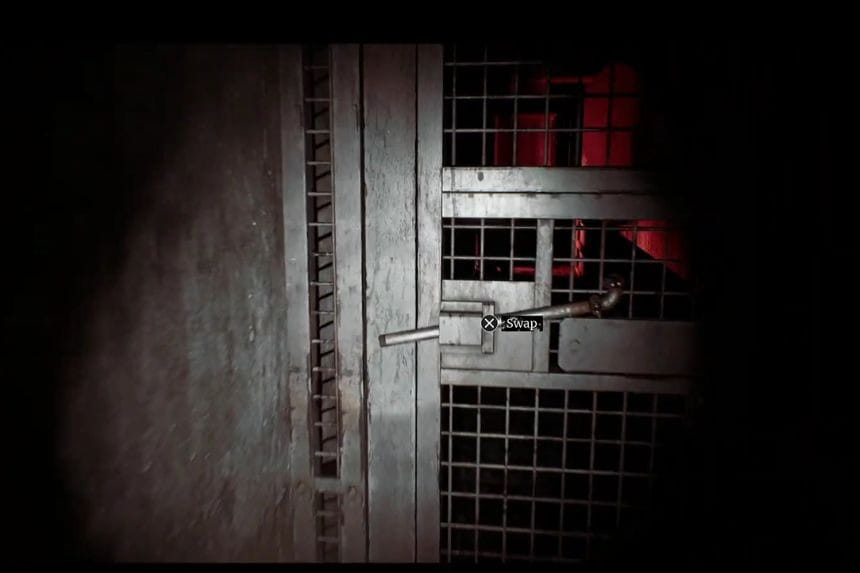
After crouching through the vent in the Medical Center – Different, turn left to find the Pipe beside the blocked door.
Medical Center – Different Map
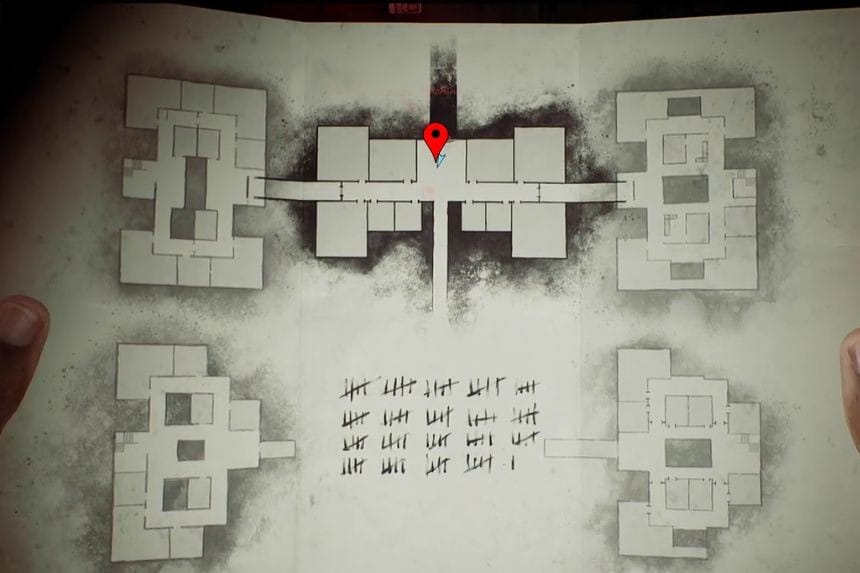

On the upper floor of the Medical Center – Different, follow the hallway and check the counter beside the metal door to find the map.
Key Item: Alan Duncan Blood Bag
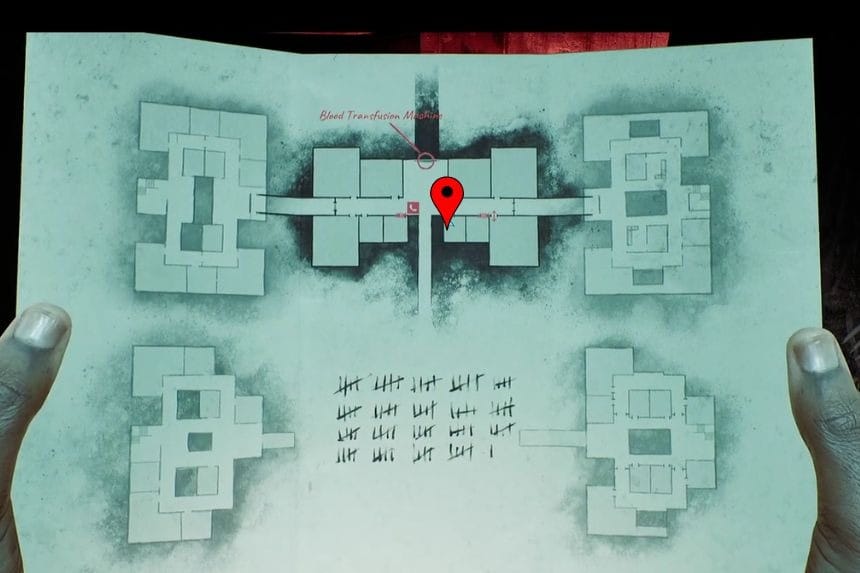
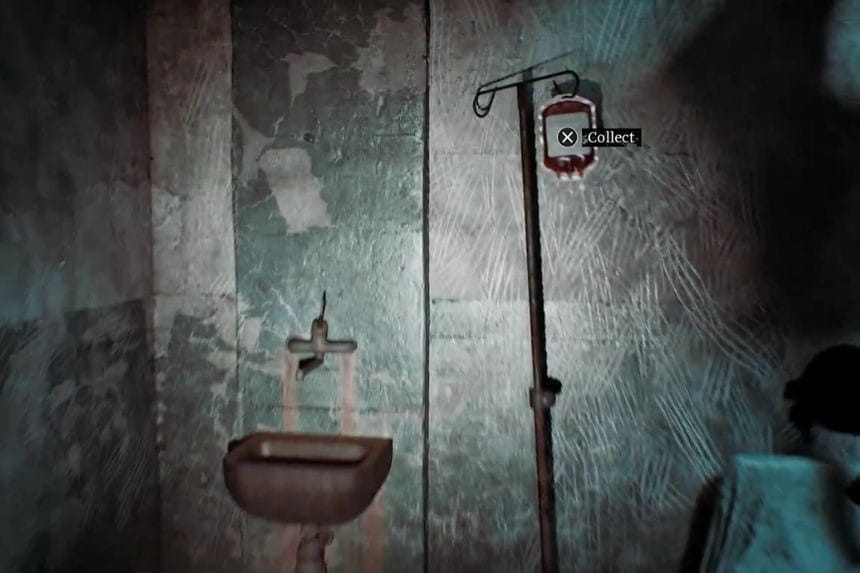
In the Medical Center – Different, take the hallway on the right and enter the bottom door at the end. Crouch through the vent and look to the left of the bed to find the Alan Duncan Blood Bag.
Clue: Zoe’s Patient List
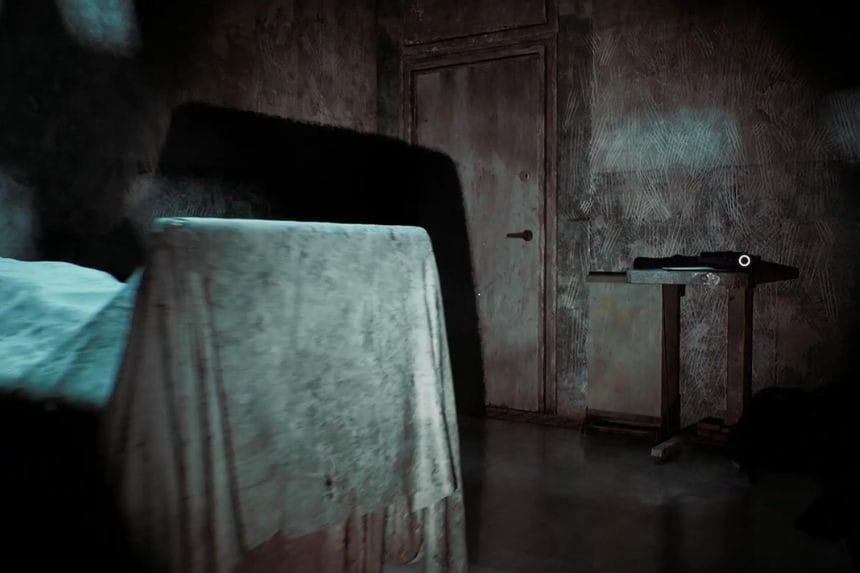
In the same room in the Medical Center – Different, check the table beside the tape player to find Zoe’s Patient List. This marks the locations of the blood bags on your map.
Locked Door – S.W.
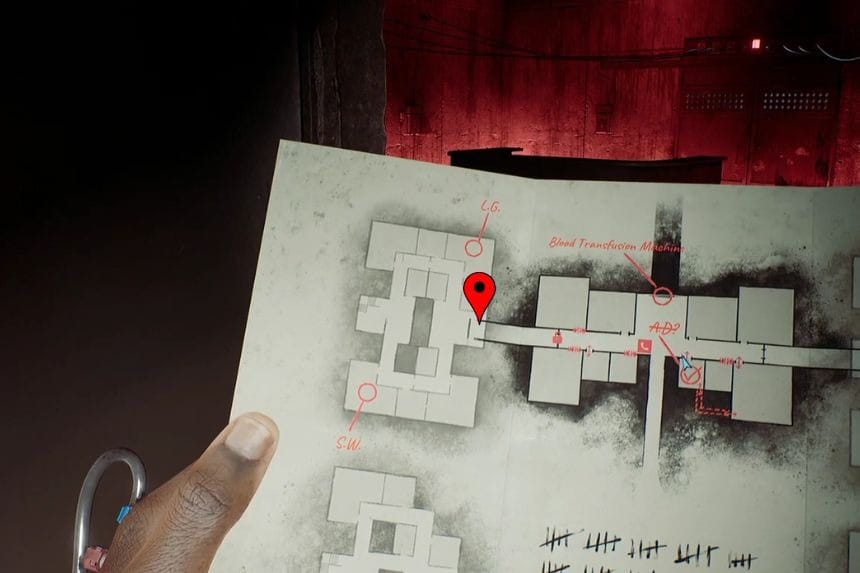
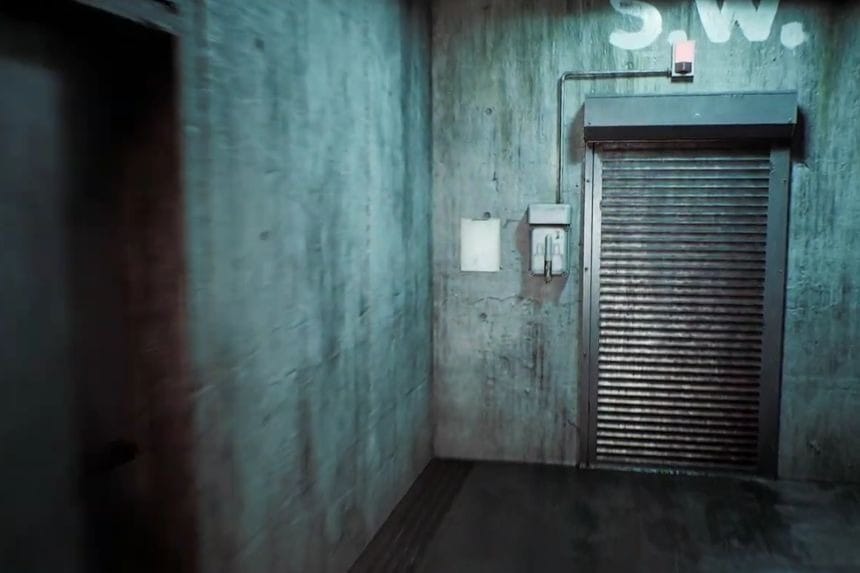
At the end of the left hallway in the Medical Center – Different, look for the door marked S.W. Interact with the transfusion machine, place the Alan Duncan Blood Bag inside, and then use the transfusion switch.
Key Item: Sarah Watson Blood Bag
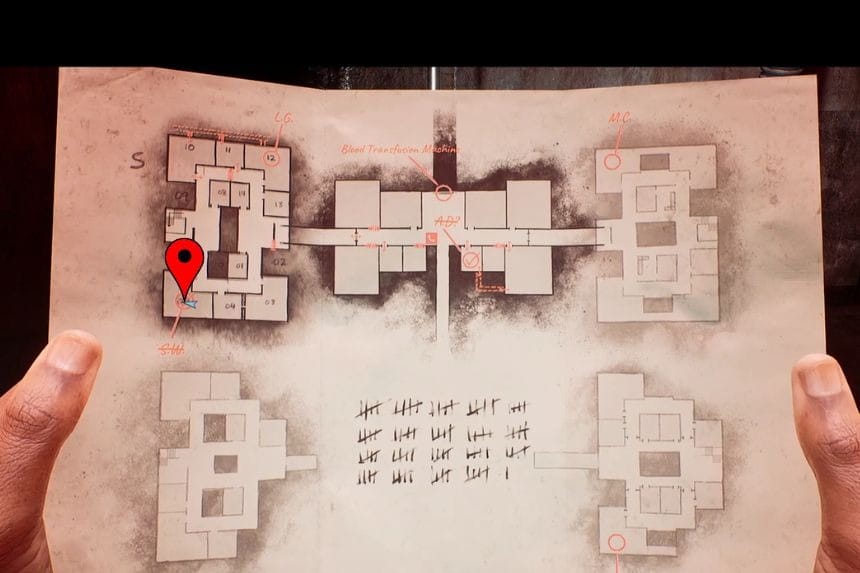
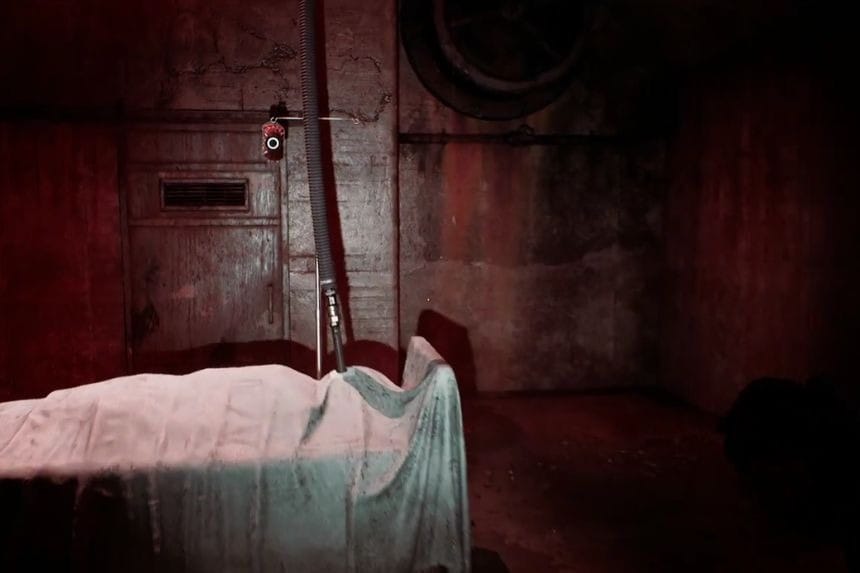
In Ward S of Medical Center – Different, follow the path around the left side of the map until you reach Room 05 in the bottom-left corner. Check beside the bed to find the Sarah Watson Blood Bag.
Key Item: Ward W Master Key
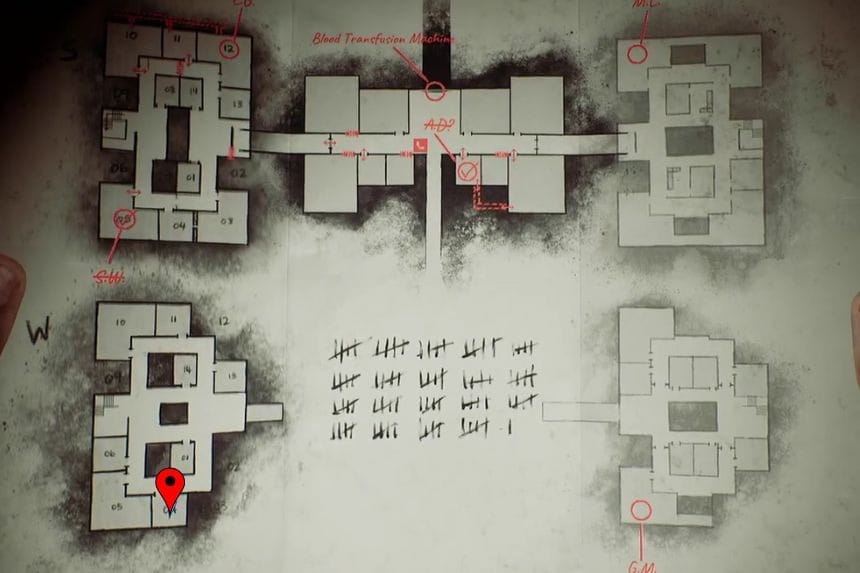
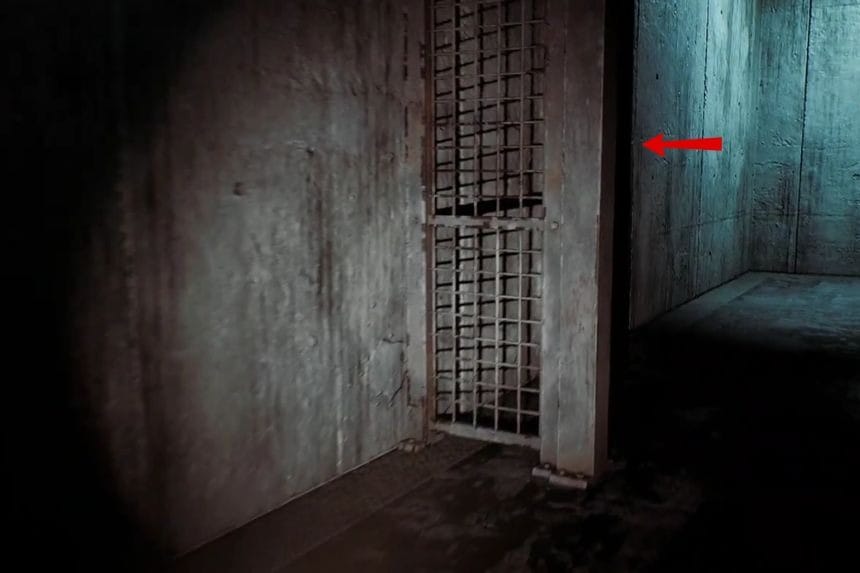
In Ward W of Medical Center – Different, go to the bottom floor on the left side of the map and enter Room 04. Check the table to find the Ward W Master Key.
Locked Door – 06
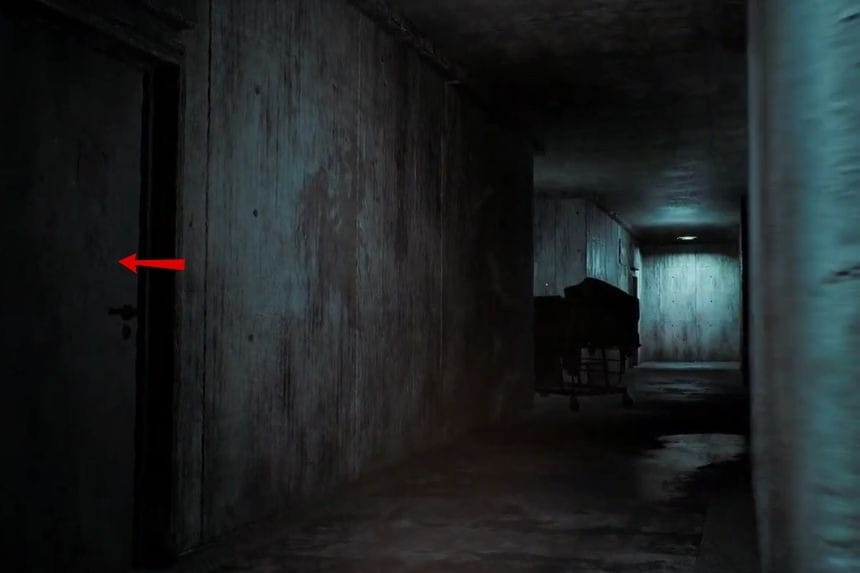
In Ward W of Medical Center – Different, go to Room 06 and use the Ward W Master Key to unlock the door.
Strange Postcard – 8
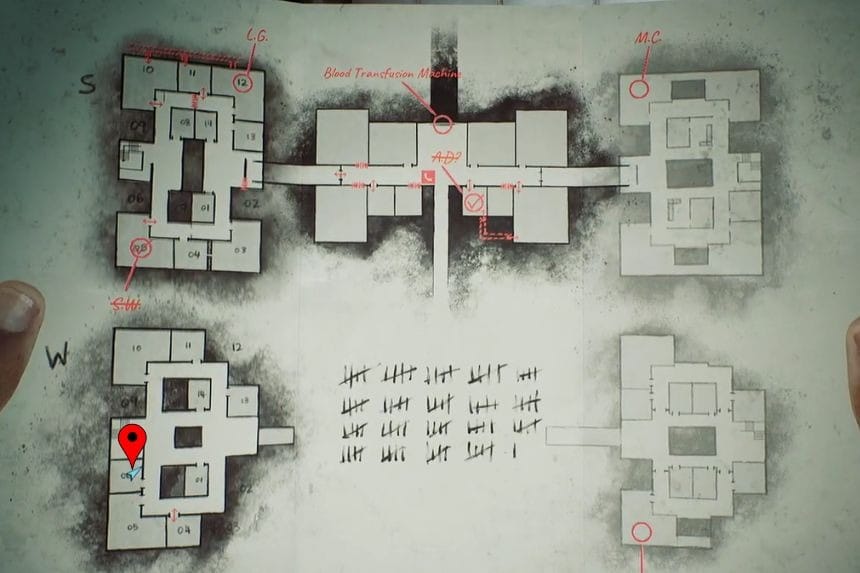
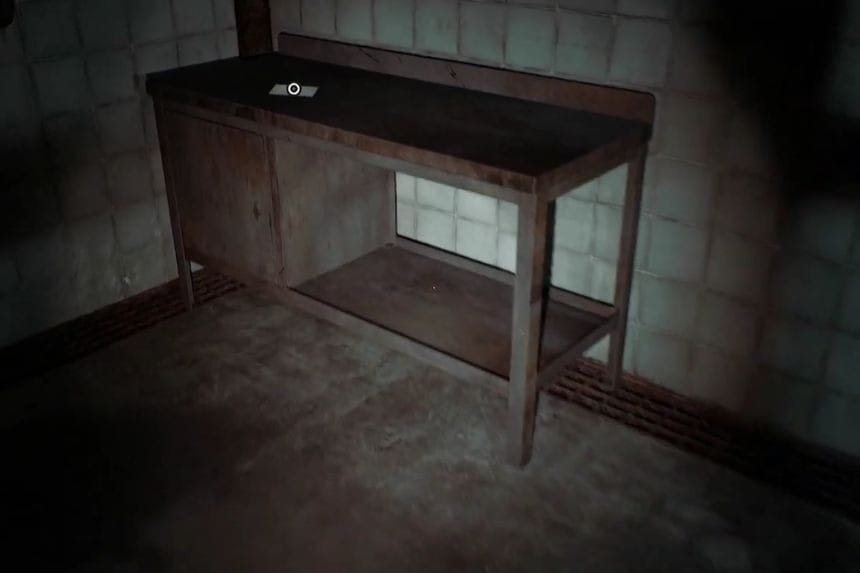
Inside Room 06 in Ward W of Medical Center – Different, check the table to find Strange Postcard – 8.
Key Item: Lockbox Key
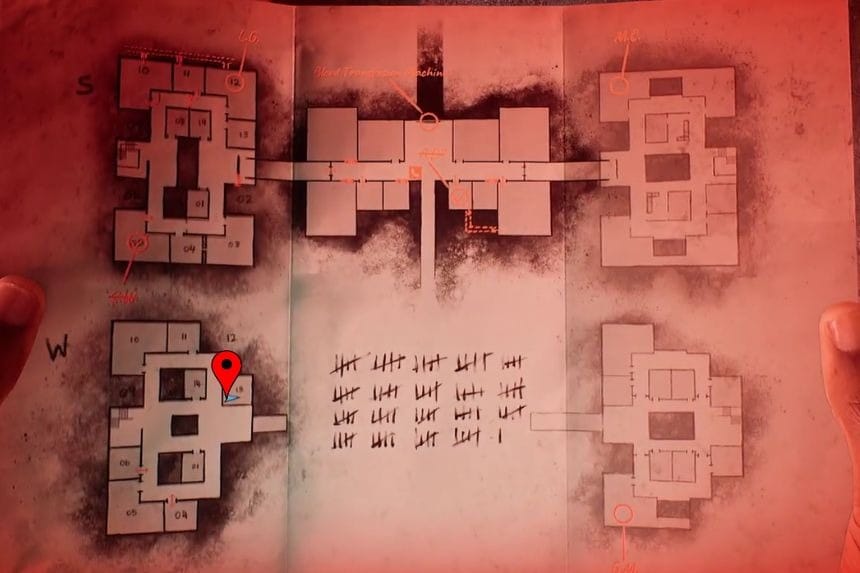

In Room 11 of Ward W at Medical Center – Different, check the key cabinet to find the Lockbox Key.
Locked Door – 13
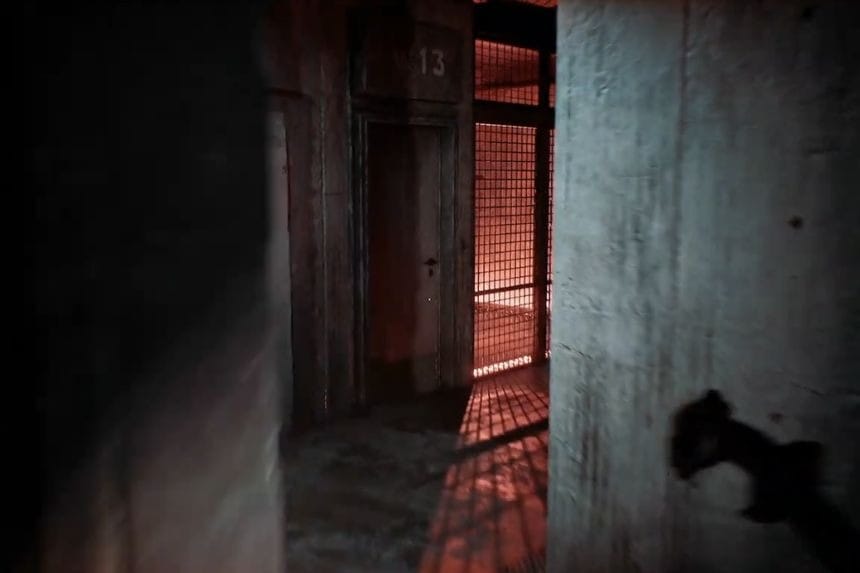
In Ward W of Medical Center – Different, go to Room 13 and use the Ward W Master Key to open the door.
Key Item: Lesley Greer Blood Bag
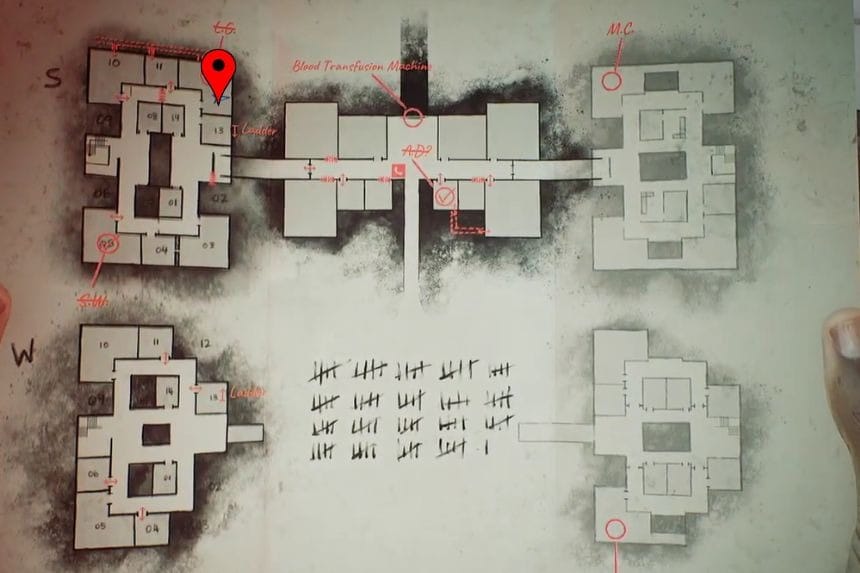

In Ward S of Medical Center – Different, go to the lower-floor Room 13 and climb the ladder to reach the upper-floor Room 12. The Lesley Greer Blood Bag is inside.
Resource Container
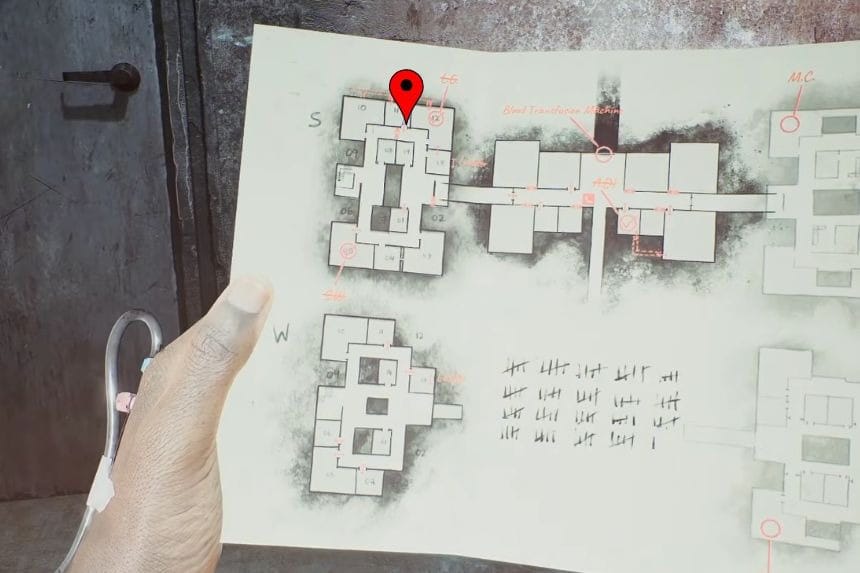
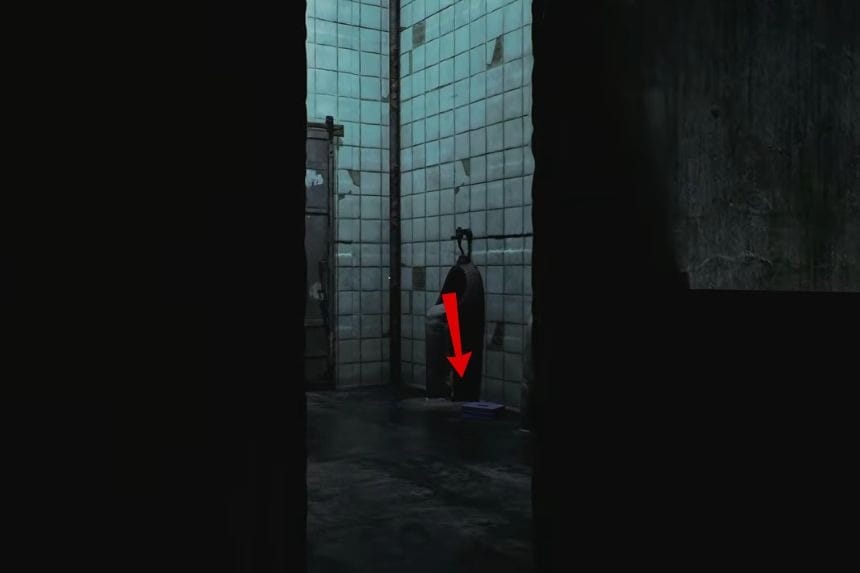
In Ward S of the Medical Center – Different, return to Room 01, which is now open. Check the floor to find the resource container and use the Lockbox Key to open it.
Locked Door – D.P.
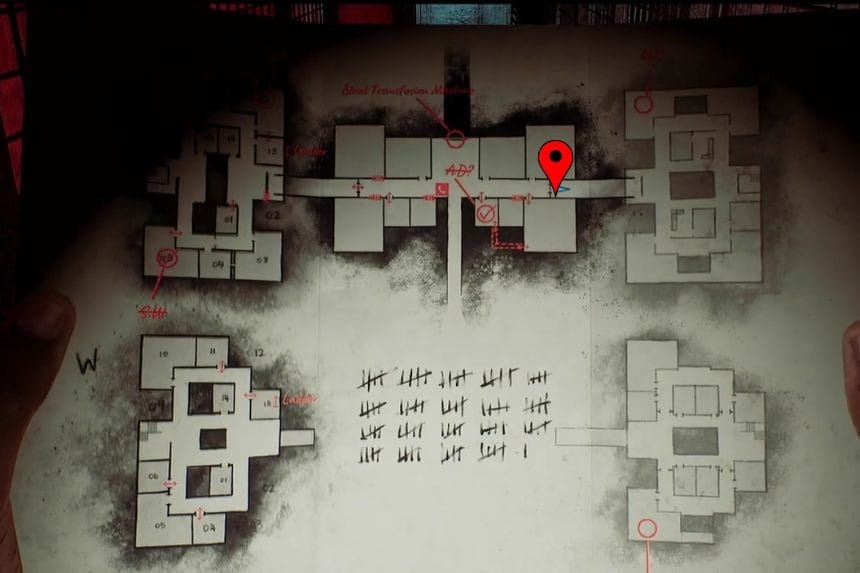

In the Medical Center – Different, go to the end of the right hallway and look for the door marked D.P. Place the Lesley Greer Blood Bag in the transfusion machine and use the transfusion switch.
Key Item: Matthew Clark Blood Bag
In Ward D of Medical Center – Different, enter Room 03 and follow the hallway to Room 02. Interact with the elevator button to send the blood bag down to the lower floor.
Strange Postcard – 9
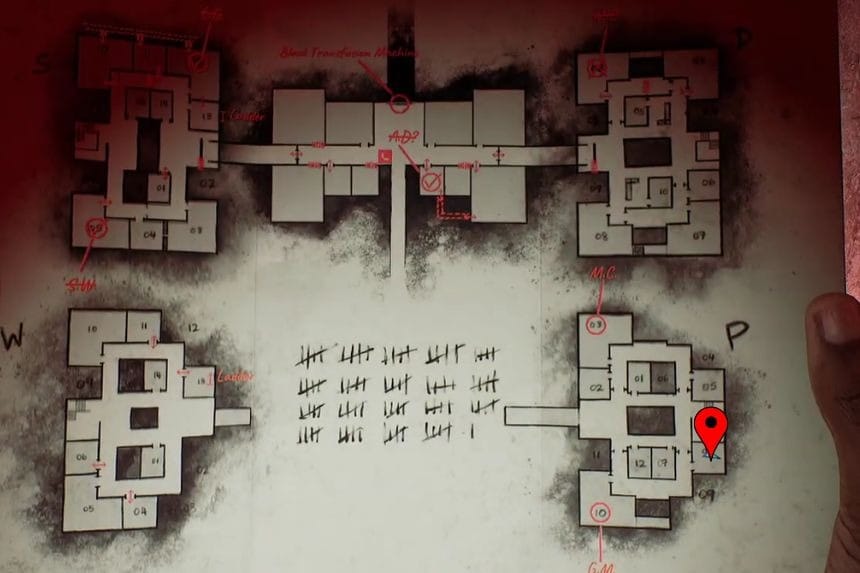
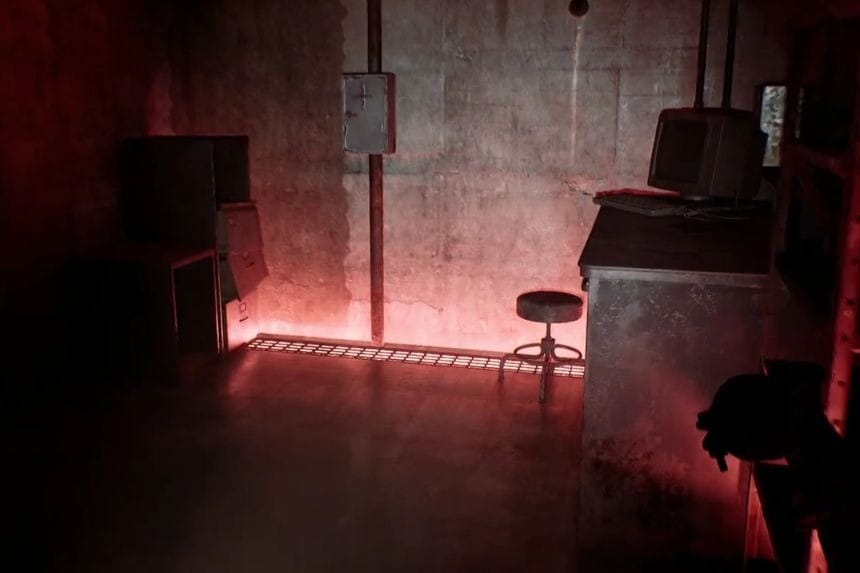
In Ward P of Medical Center – Different, enter Room 08 and open the medical cabinet on the wall. You will find Strange Postcard – 9 inside.
Key Item: George McEwan Blood Bag
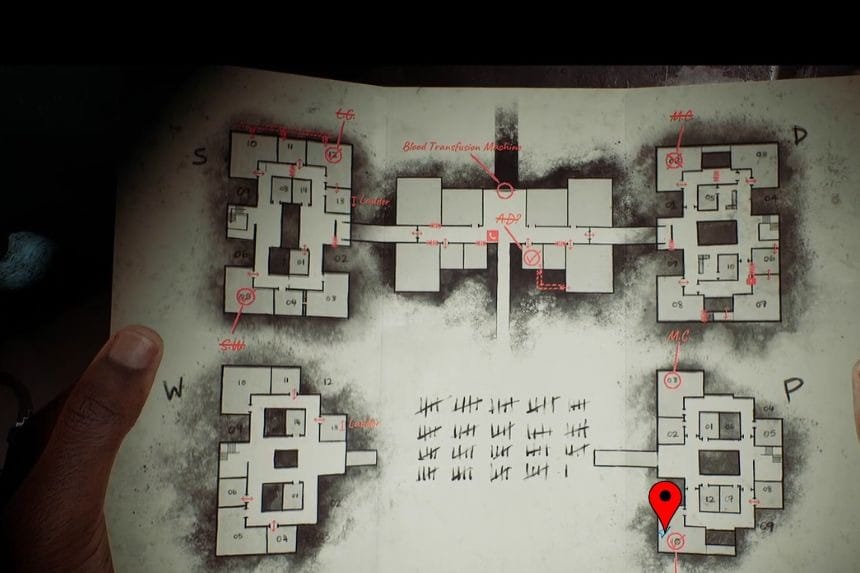
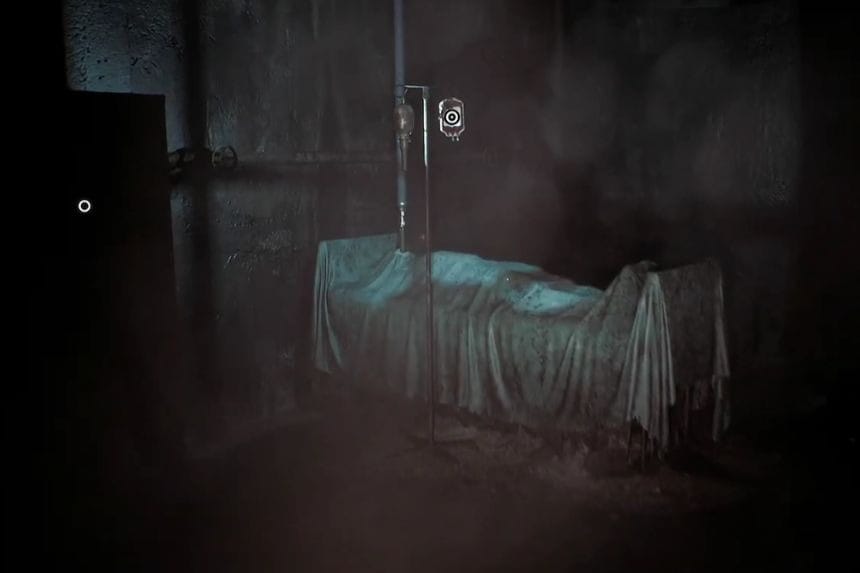
In Ward P of Medical Center – Different, return upstairs and check the north wall of Room 06 for a vent. Crawl through it and continue to the end of the room. Drop down to the lower area and enter Room 10 to find the George McEwan Blood Bag.
Key Item: Ward P Master Key
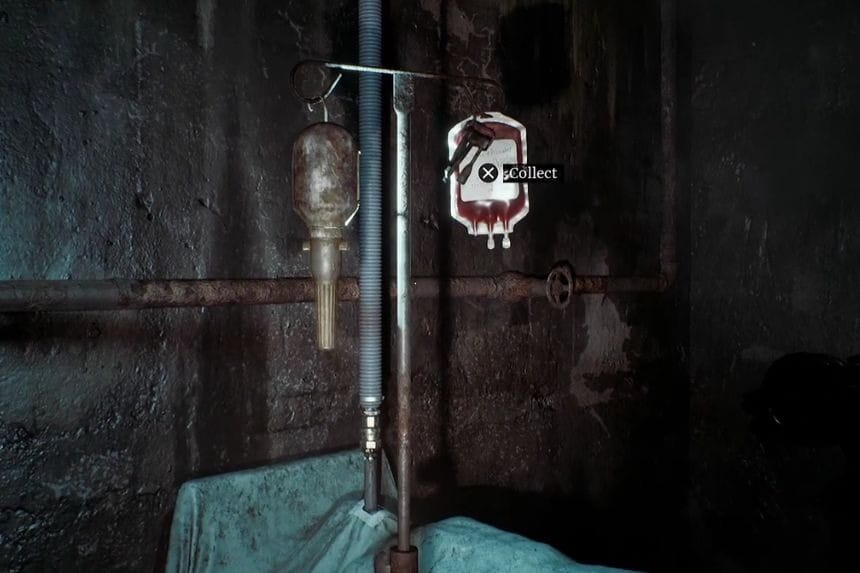
You automatically receive the Ward P Master Key when you pick up the George McEwan Blood Bag in Ward P of Medical Center – Different.
Key Item: Matthew Clark Blood Bag
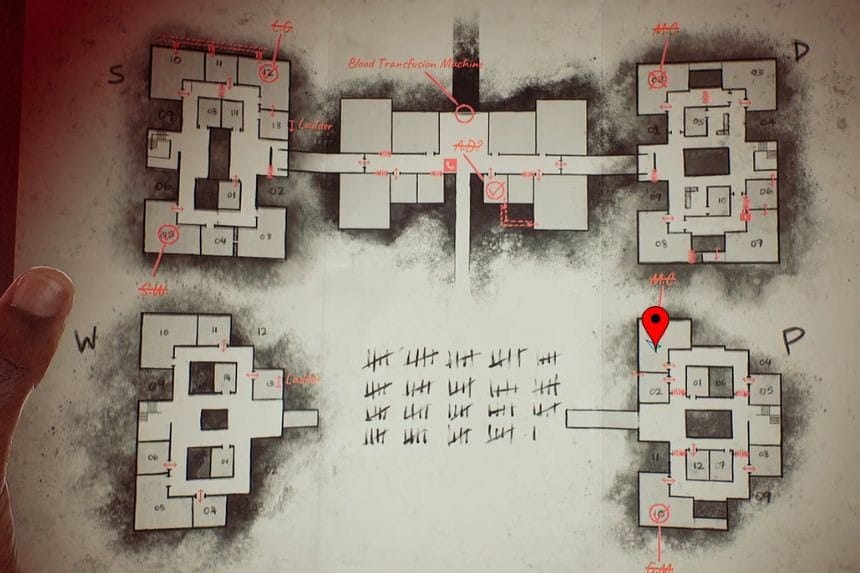
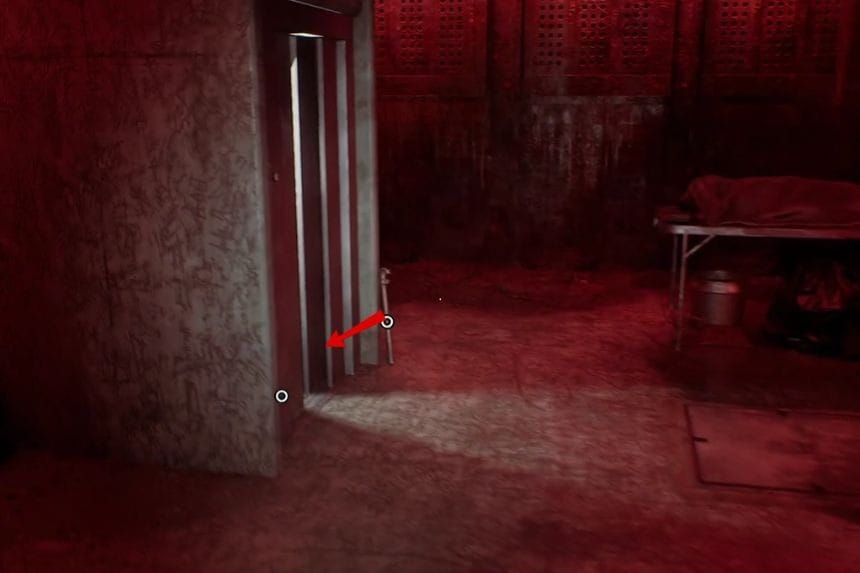
Inside Room 03 in Ward P of Medical Center – Different, check between the elevator doors to find the Matthew Clark Blood Bag.
Locked Door – Ward D

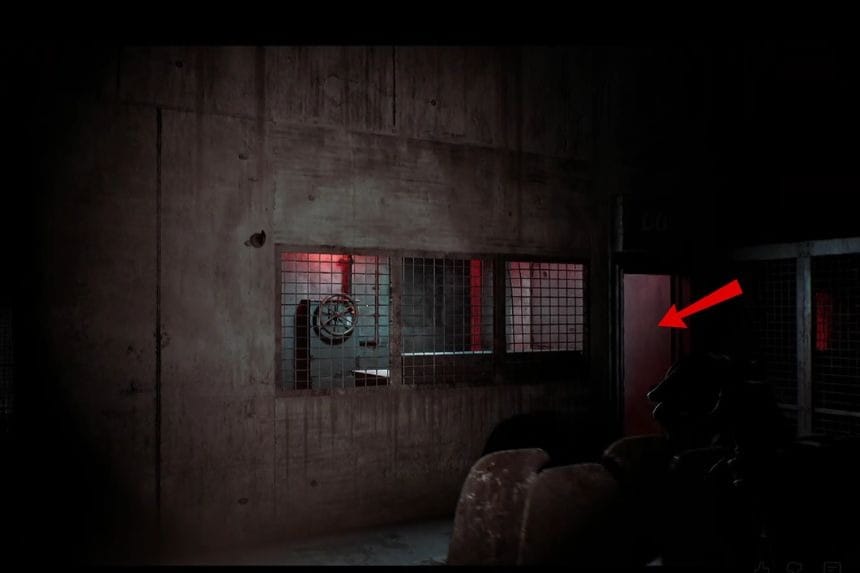

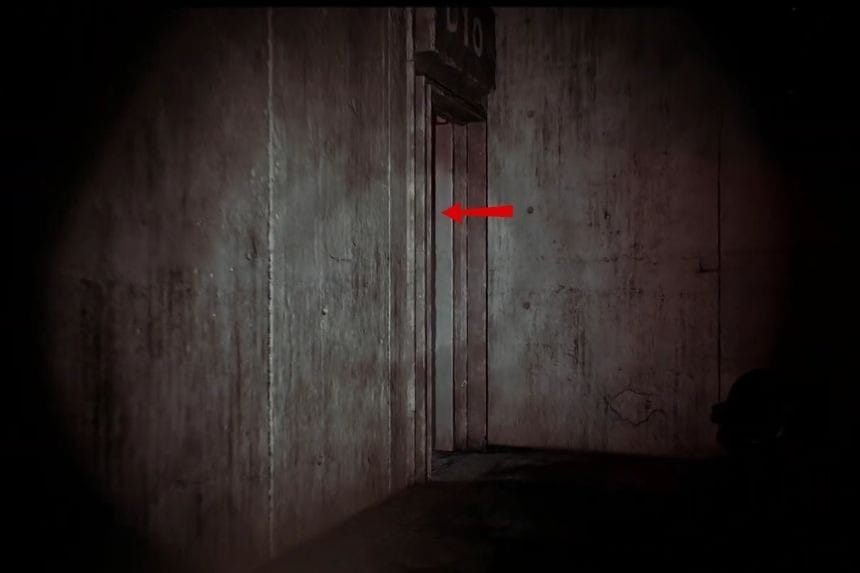
To leave Ward D in the Medical Center – Different, you need to turn the valves in Rooms 05 and 10 on the upper floor. Be careful of the large enemy while doing this. Wait until it moves to the other side of the room before turning each valve. If it gets too close, hide in one of the nearby closets until it moves away.
