
Thieves’ Retreat is a challenging level in Mortal Shell 2 that requires you to cautiously move around damaged pathways and invisible platforms. The zone is full of deadly enemies and thin walkways, which may get you killed if you run around recklessly. In this guide, we’ll show you where to find Thieves’ Retreat, how to safely make your way through the dungeon, and what rewards you can get at the end.
Thieves’ Retreat Location
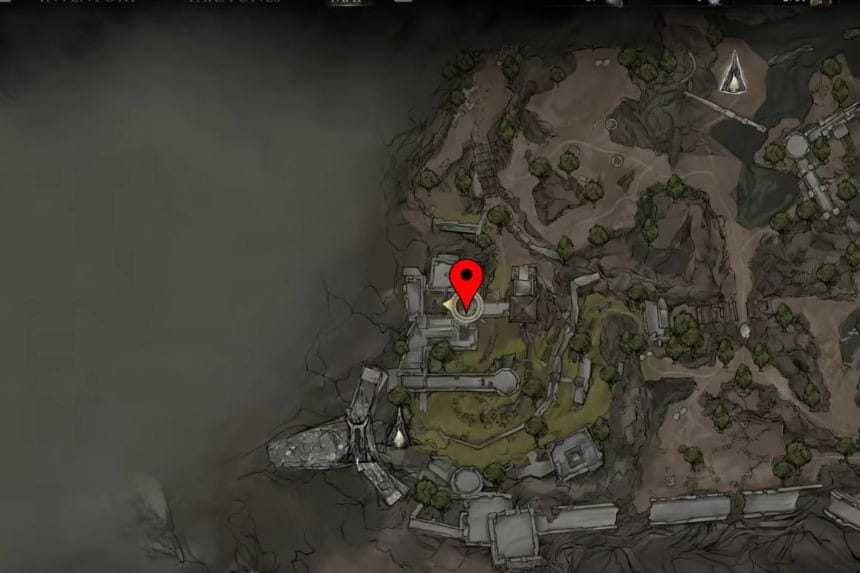
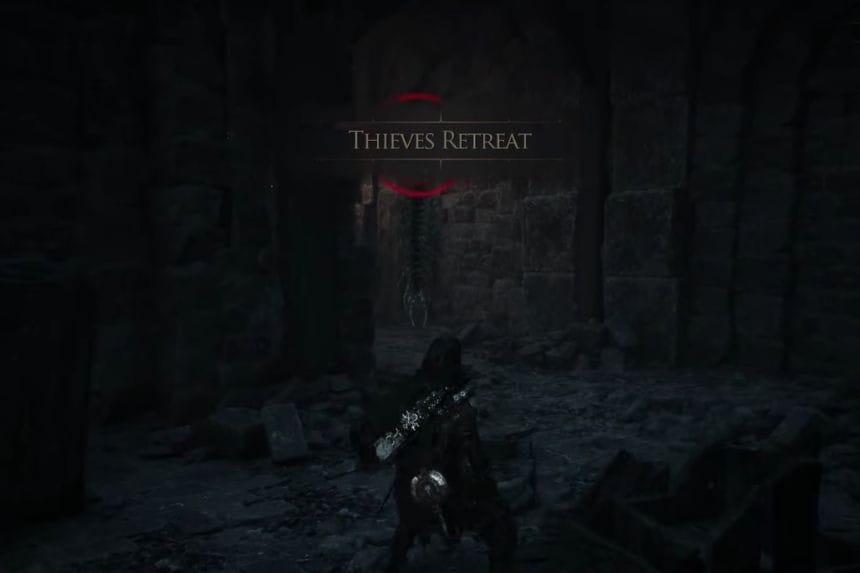
The Thieves Retreat can be found north of the Nochtean Gate Beacon in Fainweald. After reaching the beacon, keep going north until you reach a dead end past the arched doorways. Drop down and look around for a hostile enemy that will toss boulders at you. Right opposite it is the entrance to the dungeon, and there is a switch nearby that you can use to unlock the gate.
How To Get Through Thieves’ Retreat
It is easy to get stuck in this dungeon due to the fact that there are many places where you can easily fall into a trap. Do not rush, and take your time when passing through narrow tunnels. At the beginning of the level, you will find a part where you usually have to shoot a bell in order to create a bridge.
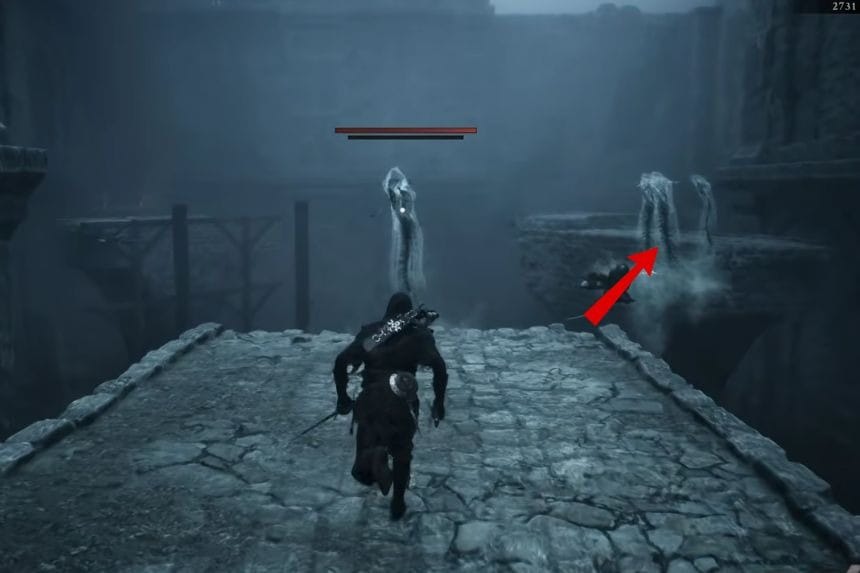
However, in this particular case, the bell will not be right in front of you; you should look around. There are some corpses across from you, and these can serve as a hint as to where you should go.
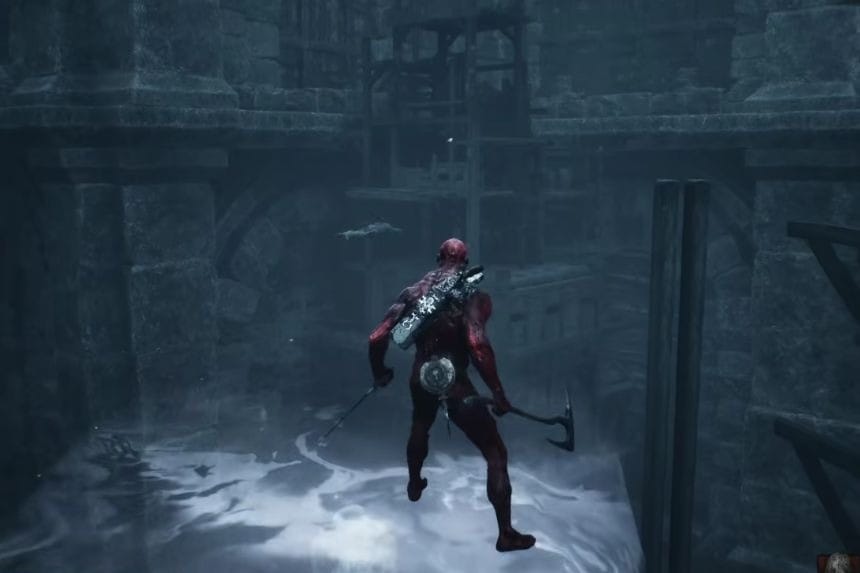
When you arrive at the narrow part, walk around the edges as carefully as possible. You can see many safe places to pass through if you explore this area carefully. Go further by following the path to the right, and proceed straight ahead to the place where the bodies are located.
There are some enemies on the way that you should be careful about, so you will need to have enough health points and healing items before proceeding. You don’t want to get knocked off the path and fall to your death.
If you fall down the hole, do not worry. There are many enemies that are ready to attack you at the bottom of the hole, but there is still an opportunity for you to get back to the bridge using the elevator. In order to do so, you will have to get back to the elevator lever. You can kill the enemies surrounding you or lure them away from the lever in order to be able to turn it on.
Thieves’ Retreat Reward
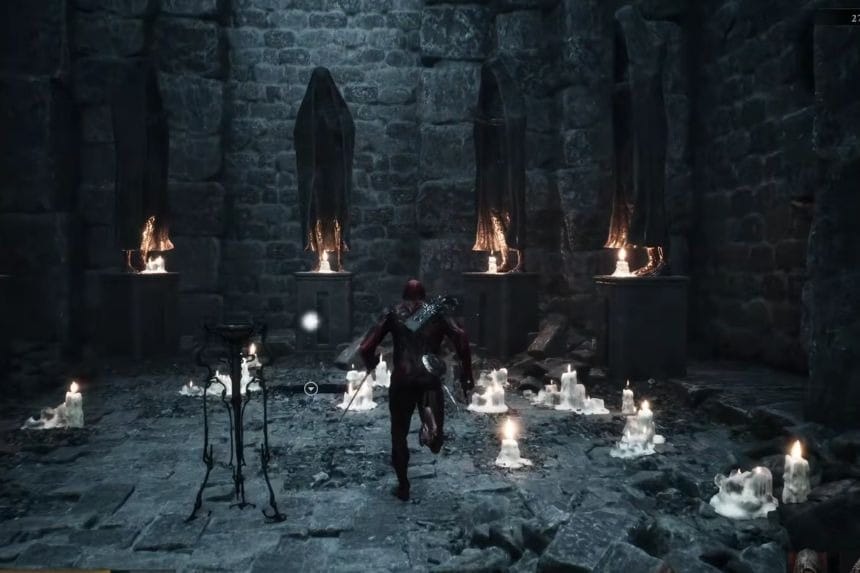
Once you make it across the broken bridge, you’ll reach an area with a Revered Gland surrounded by statues. Pick it up and a portal will appear that will take you back directly to the dungeon entrance. It’s also worth visiting the bottom of the pit where you will find a Ventrium Totem near the ruined shack. You’ll be able to use it to enhance your gear.
