
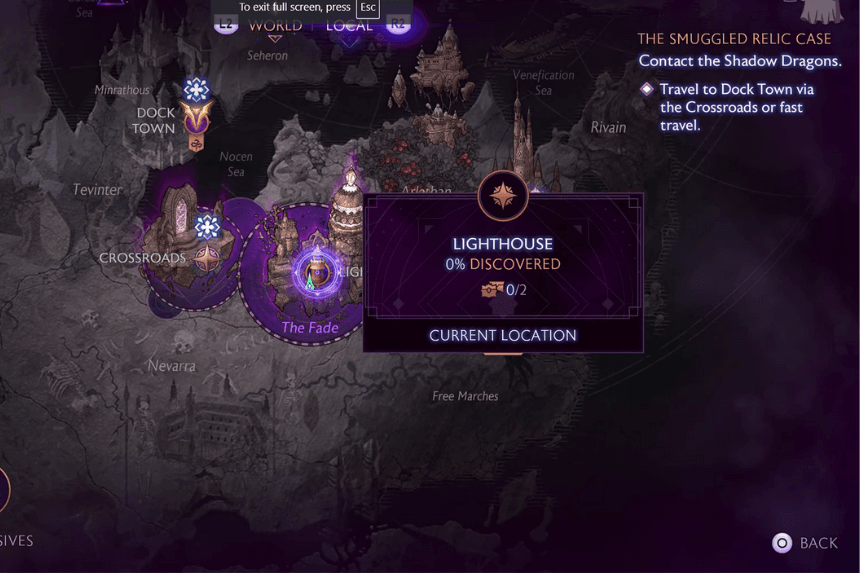
In Dragon Age: The Veilguard, players can unlock the Nostalgia Trip trophy by completing a unique puzzle in the Lighthouse. This guide will walk you through each step of the puzzle, including how to find the wisp, activate the mysterious pedestal, and access the Library’s hidden balcony. Along the way, you’ll repair a key piece of equipment that grants useful in-game benefits. Follow these instructions to solve the Lighthouse puzzle and earn the Nostalgia Trip trophy, described as “Tested for fall damage and survived in the Lighthouse.”
How to Start the Veilguard Lighthouse Puzzle
To enter the Library passage, you’ll need to arrange three pairs of statues to face each other. The first pair can be found on the central platform of the exterior stairs, directly to the north. For the second pair, look further apart—there’s a statue at the top of the southwestern staircase, with another one facing east nearby. The final pair is behind the northern buildings: the Guesthouse (Neve’s room) and the Workshop (Bellara’s room).
How to Solve the Veilguard Lighthouse Puzzle
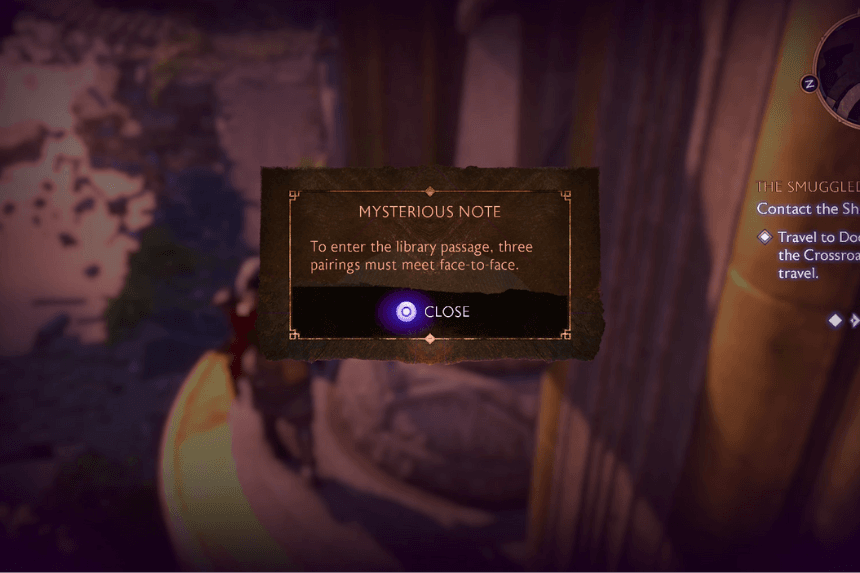
Early in the game, you’ll come across a hidden, unmarked quest involving the statues around the Lighthouse. Near a pair of elven statues on the exterior stairs, you’ll find a “mysterious note” that reads: “To enter the Library passage, three pairings must meet face-to-face.”
Here’s how to align each pair of statues:
- First Pair: Stand in front of the handles at the statues’ bases on the exterior stairs platform and rotate them to face each other. If done correctly, green glowing wisps will appear and move toward the building.
- Second Pair: Go to the statue at the southwestern staircase and turn it to face east, if it isn’t already. Next, go across the courtyard to the dining hall, head up the stairs to the hall’s southeast corner, and find a second statue. Rotate it to face west.
- Third Pair: For the statue behind Neve’s room, face the entrance walkway and drop down onto a lower broken walkway leading to a basement level. There, you’ll find the statue; turn it to face west. The statue behind Bellara’s room is easier to find—just circle around the platform edge to the left of her room’s entrance and rotate it to face east.
Once all three pairs are aligned, return to the Library inside the Lighthouse. Facing the table where Rook and the team gather, you’ll see a sealed door now lit by the wisps. Approach the door to access the newly unlocked Library Passage leading to the Music Room.
The Veilguard Lighthouse Puzzle Solution for Nostalgia Trip Trophy
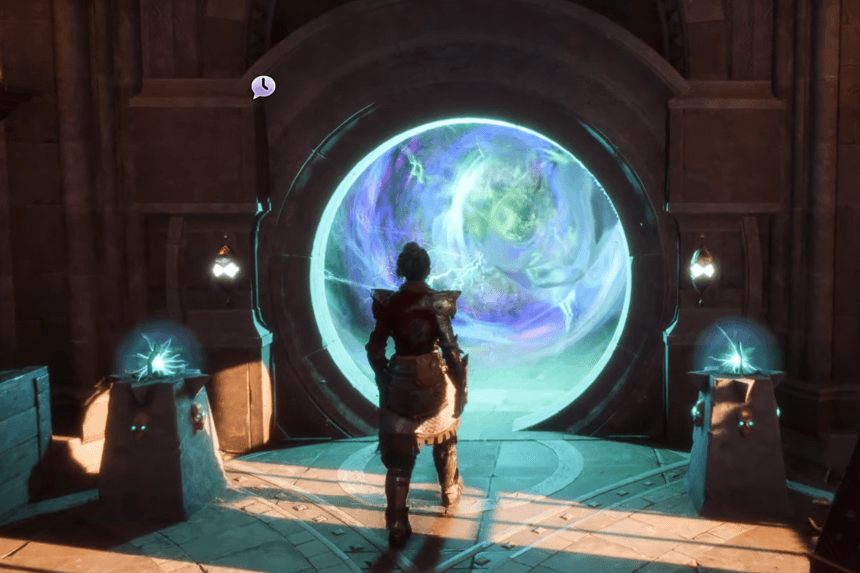
You’ll spot a note mentioning a new “helper” in the Library room. Head inside, and you’ll notice a mysterious pedestal added to the Music Room’s blank wall. Look for a wisp on the exterior staircase of the Lighthouse, near the statues used for the initial unlock. Approach the wisp, and it will start following Rook. Lead it back to the Music Room and toward the pedestal. The wisp will merge with it, activating the door and revealing a bright portal.
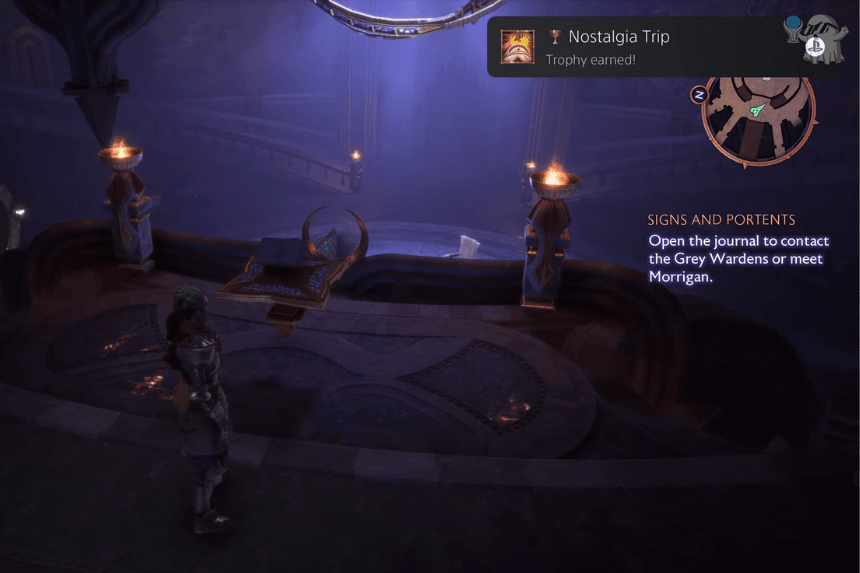
Step through the portal to find yourself on the Library’s balcony. Go to the railing and interact with the globe there. This will repair the armillary sphere above the team’s meeting table. Finally, climb over the railing and drop to the floor below. If you haven’t unlocked it yet, this will award you the “Nostalgia Trip” trophy, described as “Tested for fall damage and survived in the Lighthouse.”