
The Treasure Maps are randomly found all throughout the Caribbean in the Assassin’s Creed Black Flag Resynced game, and they each point out the way to a hidden treasure that is buried somewhere in the world. The map is a rough sketch of the treasure spot, and it is your job to hunt down the exact spot from where the treasure lies. In this guide, we’ll show you where to find every Treasure Map and where to dig up its hidden treasure.
All Treasure Map and Buried Treasure Locations
While you explore the Caribbean, you will be able to find Treasure Maps spread across the globe. Every map has a picture which is supposed to show the locations of a certain treasure but will not indicate the actual position on your map. You will have to analyze the picture, understand its meaning and dig in the correct area to collect your prize. Treasures consist of unique outfits, ship improvements, weapons, Reales, and other valuable things. We’ll also keep updating this guide as we discover more information.
Treasure Map #1 – Havana
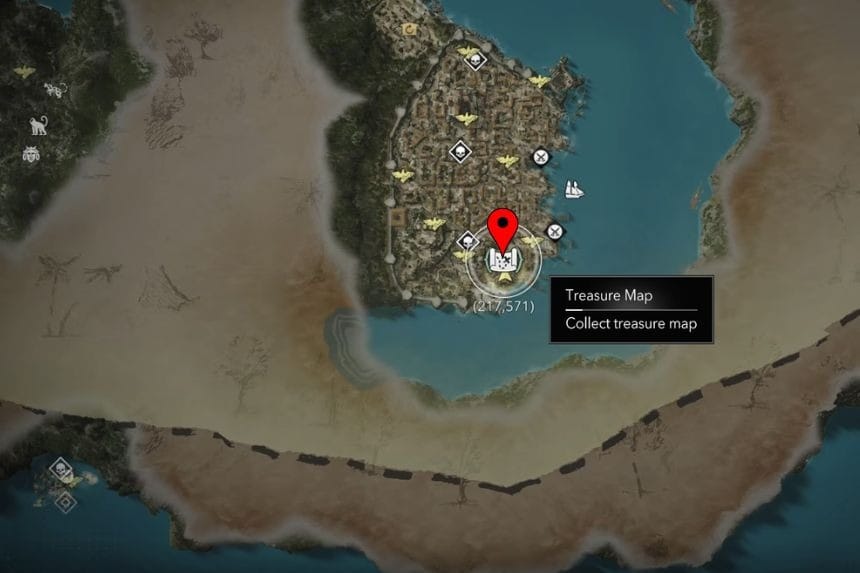
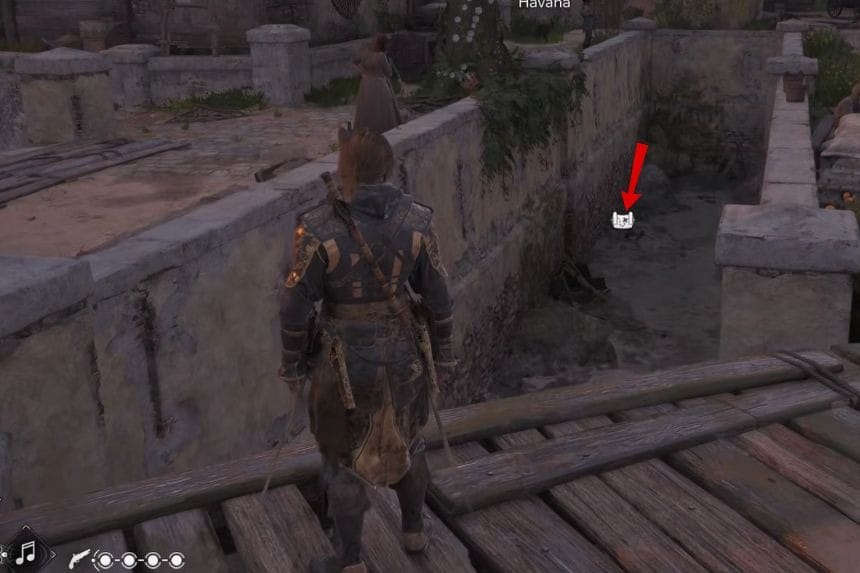
The first treasure map can be found at Havana (217, 571). Go south from the city center and find a gutter where you will need to collect the map.
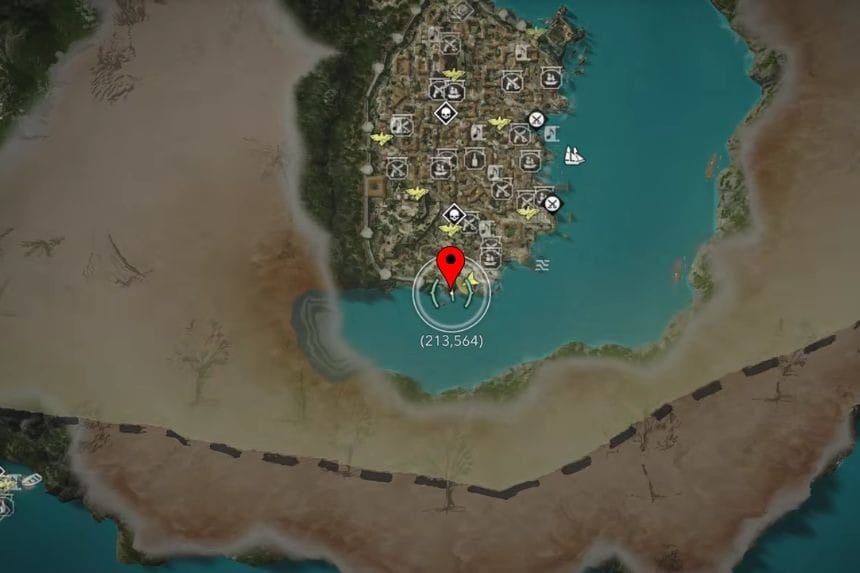
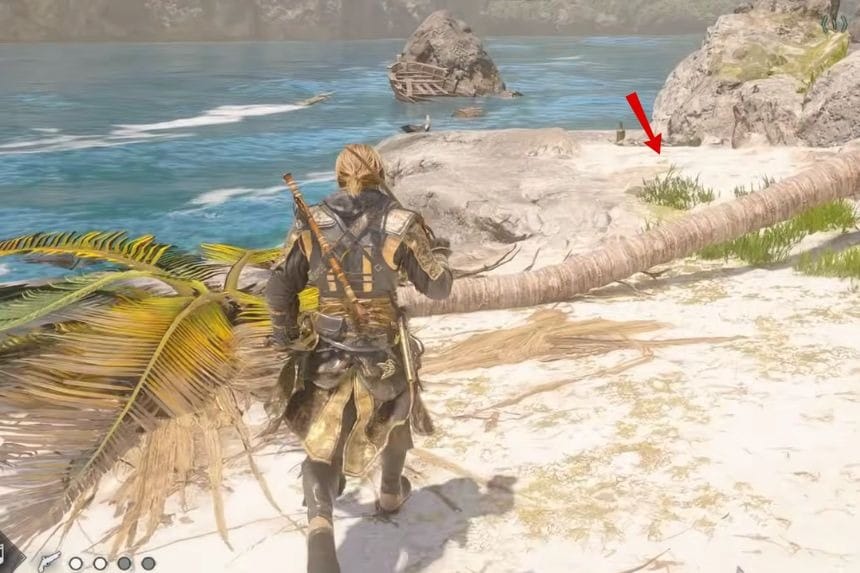
The location where the treasure is situated is at Havana (213, 564). Go south from Havana to its shoreline and explore the area near the tower. Dig at the marked spot to uncover the treasure. As a reward, you will get the Queen Anne’s Figurehead Design Plan which can be used in the Harbourmaster’s Shop to customize your ship, together with 3,000 Reales.
Treasure Map – Havana Warehouse
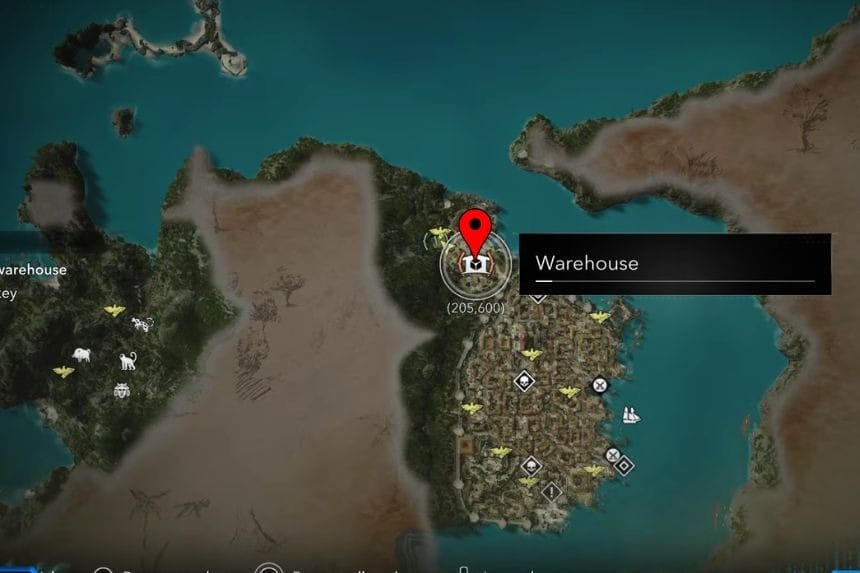
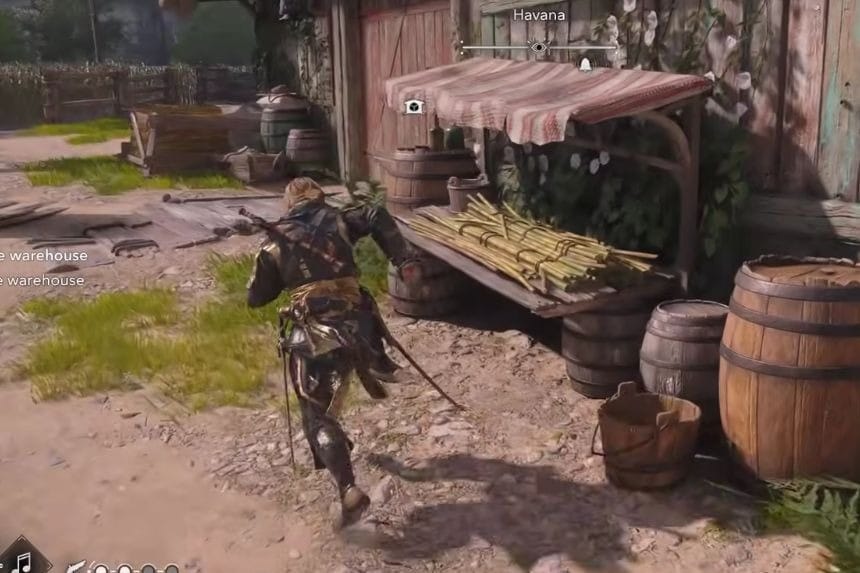
First of all, to get this treasure map, you will have to loot the warehouse in Havana (205, 600). After you’ve looted the warehouse, you will get the treasure map.
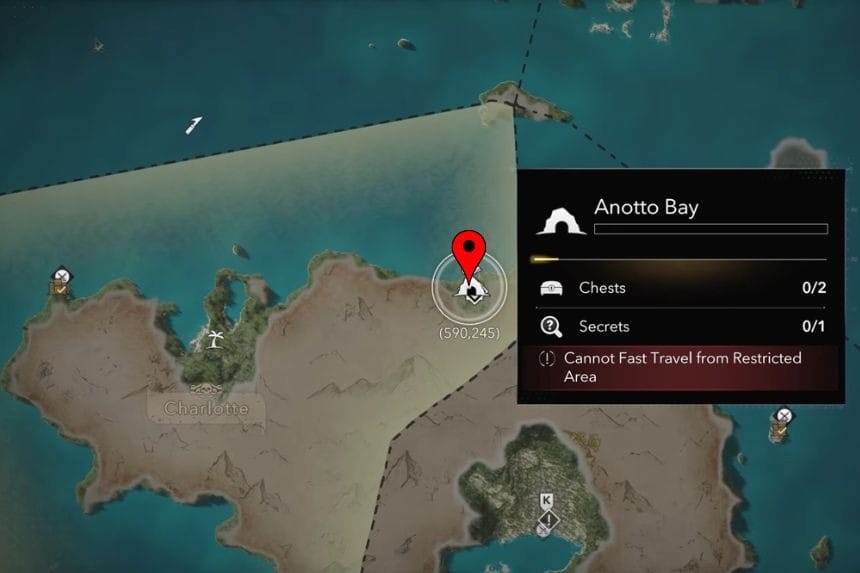
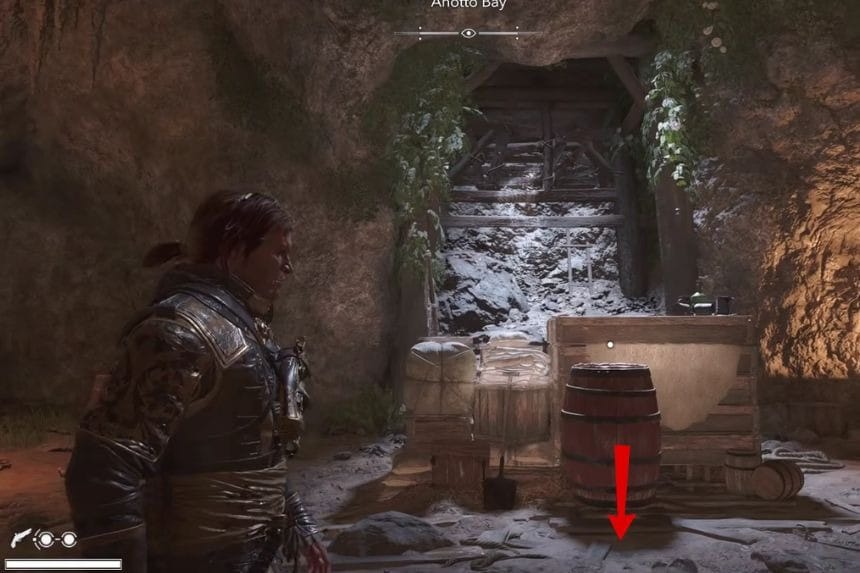
The location of the treasure is Anotto Bay (590, 245). Upon reaching the shore, you need to find a sunken diving bell placed on the water surface. Under this diving bell, there will be an underwater passage leading to a cave with pirates and explosive barrels.
The treasure is placed in the ground in front of the middle explosive barrel, before the exit from the cave. You can dig out the treasure to collect the rewards. The rewards include Crimson Cloak (Rare Outfit) and 2,000 Reales.
Treasure Map #3 – Map of Shipwreck
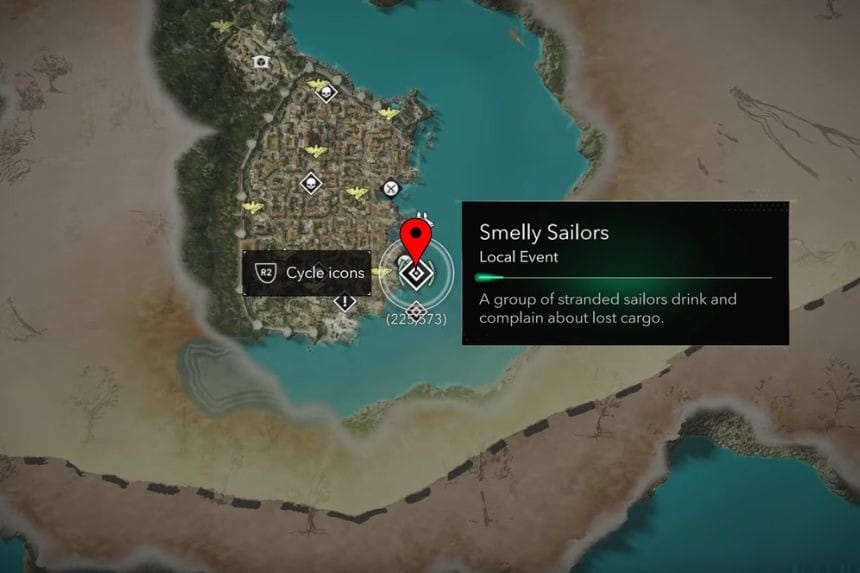
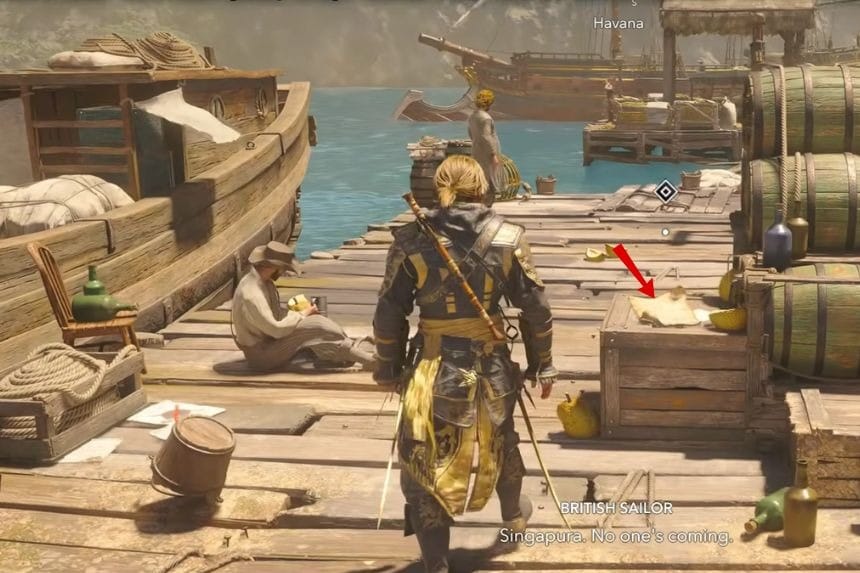
This map is available in Havana (225, 573) at the time of the “Smelly Sailors” local event. Find the docks and read the notice to obtain the map.
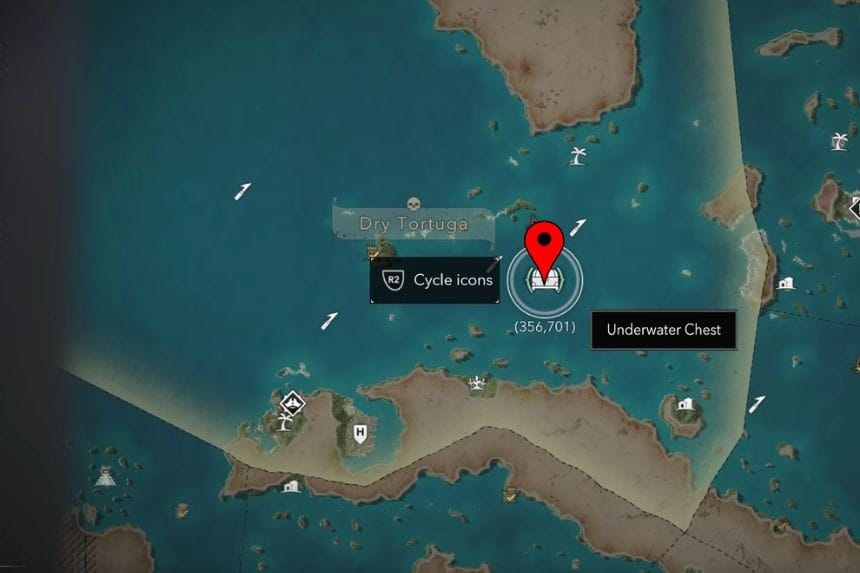
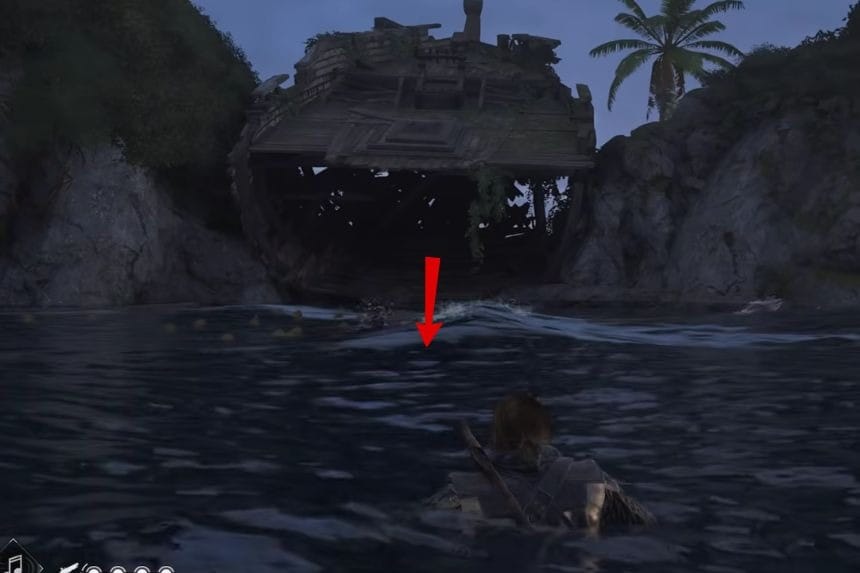
The treasure is located on an unnamed island in the Dry Tortuga territory (356, 701), which is northeast of Havana. Travel to the island and move to its centre to locate the spot for diving underwater. Investigate the underwater location and locate the two underwater chests. One of the chests will contain a Legendary Trinket. You will be rewarded with the Guardian Beast Trinket (Legendary Trinket) and 1,000 Reales.
Treasure Map #4 – Cape Bonavista
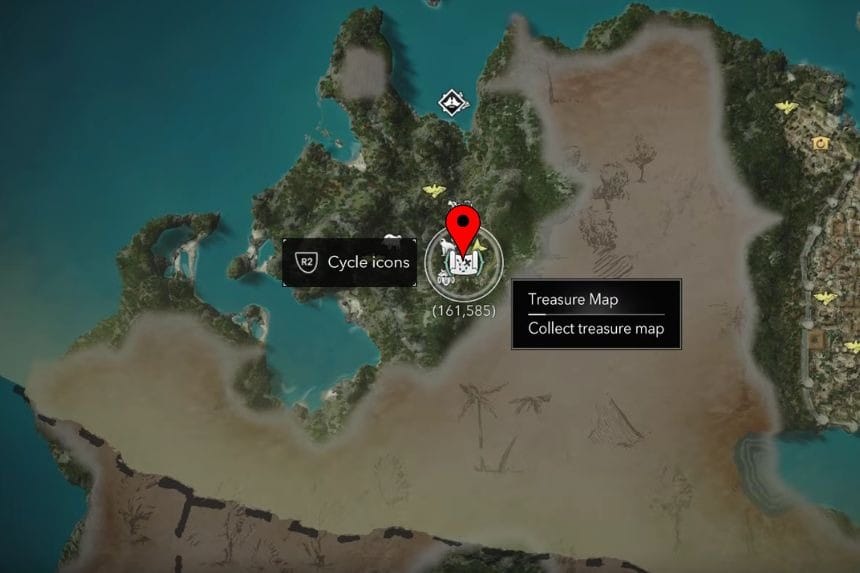
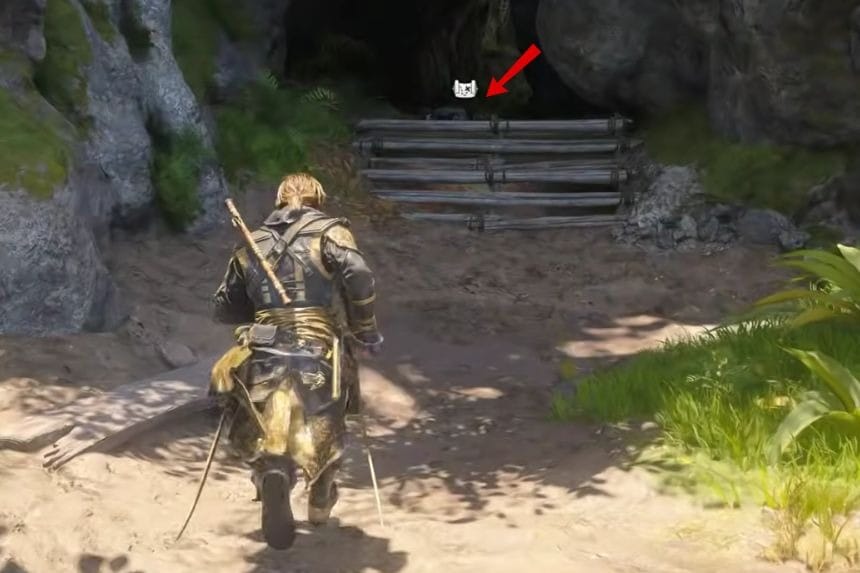
This map can be found at Cape Bonavista (161, 585). There will be a scaffold near it. Climb it to gain access to a cave that has the treasure map.
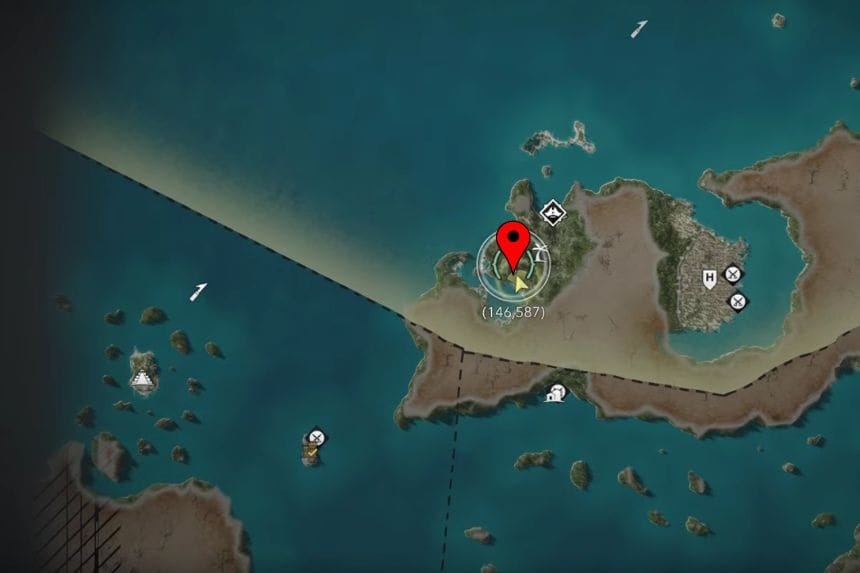
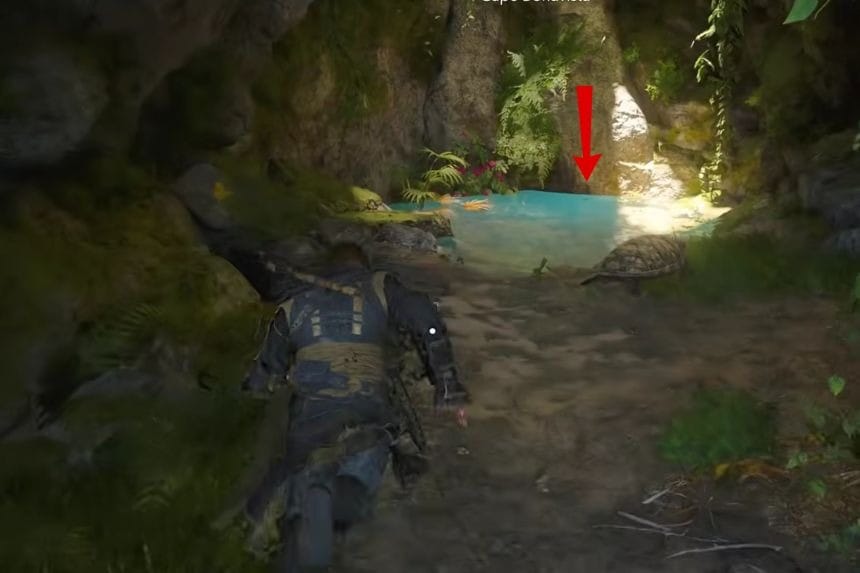
The treasure can be found at Cape Bonavista (146, 587). Make your way to the southern part of the island’s beach. Then, go inside the cave. Just follow the path until you reach its end. There, you will see the treasure in a puddle of water. Collect 1,500 Reales from it.
Treasure Map #5 – Nassau Warehouse
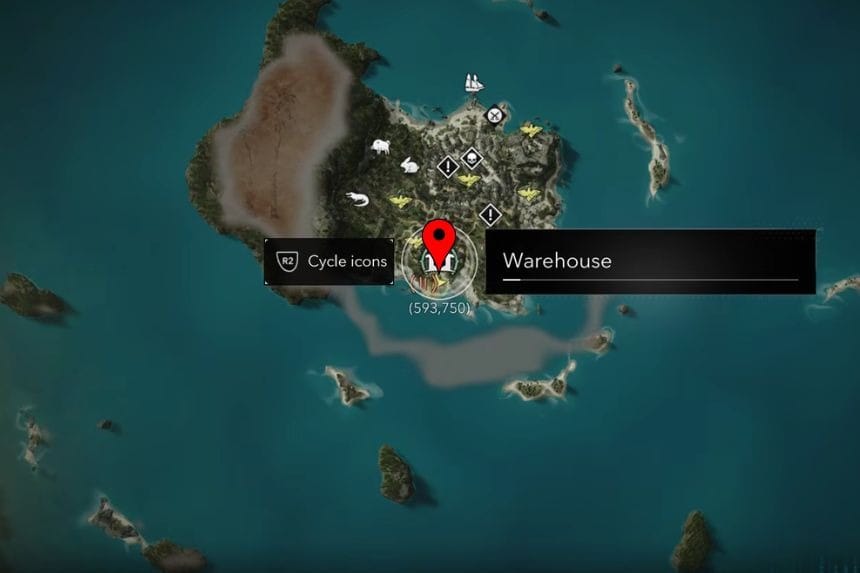
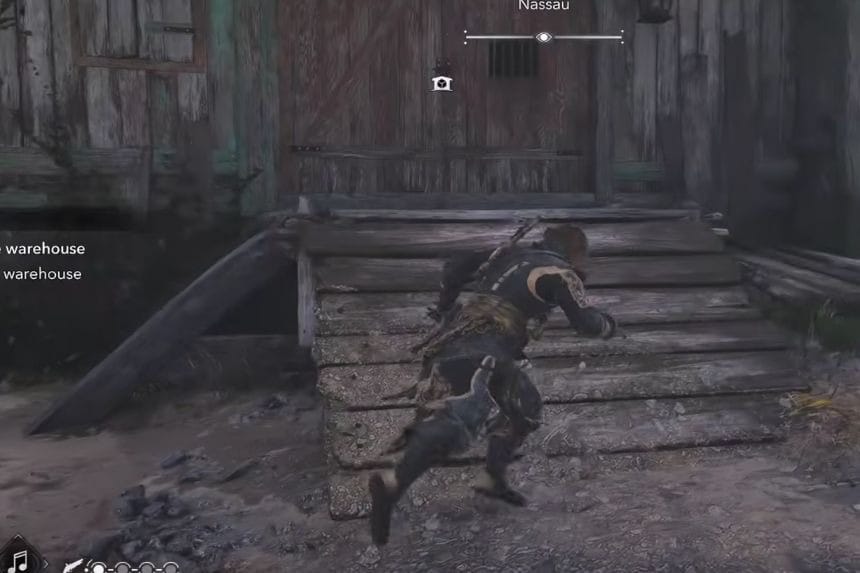
This treasure map can be found as loot in the warehouse in Nassau (593, 750). After looting the warehouse, the map will become part of your inventory.
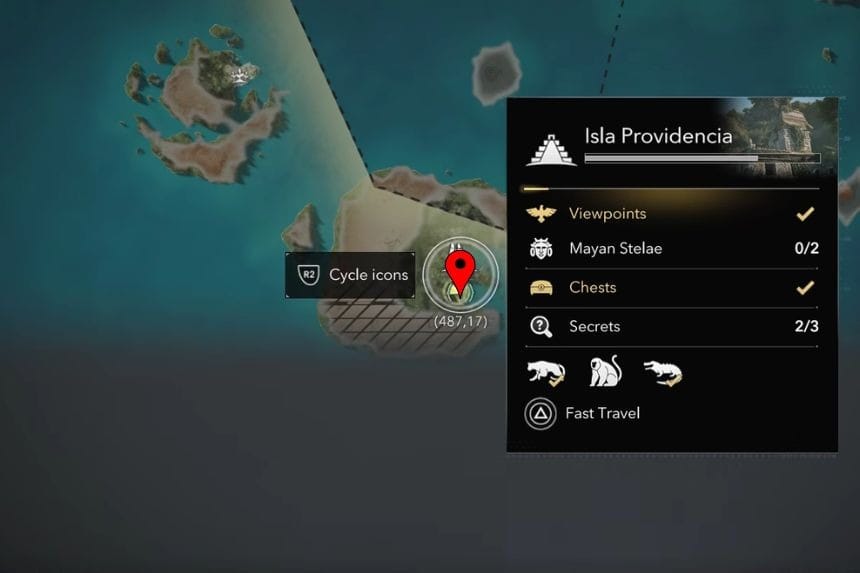
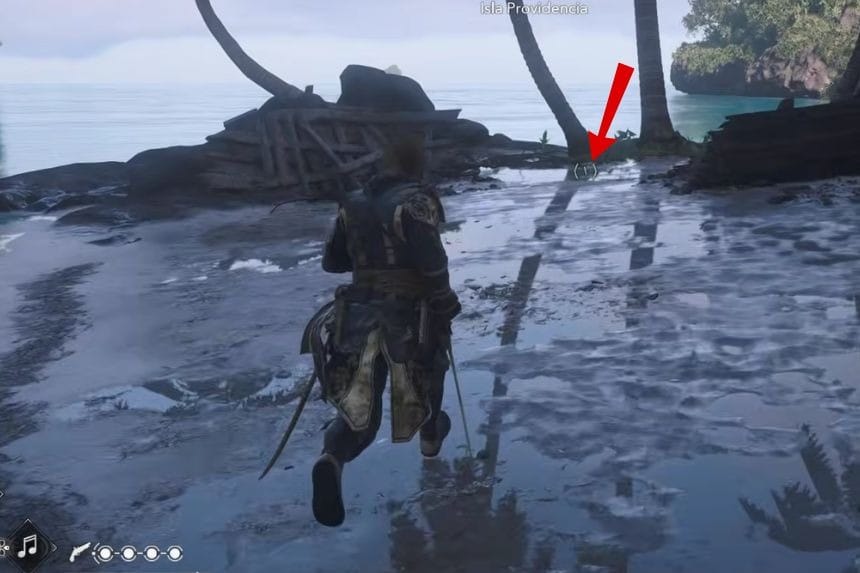
This treasure can be found on the Island of Isla Providencia (487, 11). Starting from the southern end of the island, travel a bit further down towards the shore. There will be three palm trees which are grown very close to each other, and you will find the treasure hidden underneath them. It should be noted that the island Isla Providencia is accessible only after completing Sequence 08 – Mission 03: Marooned.
Treasure Map #6 – Andreas Island
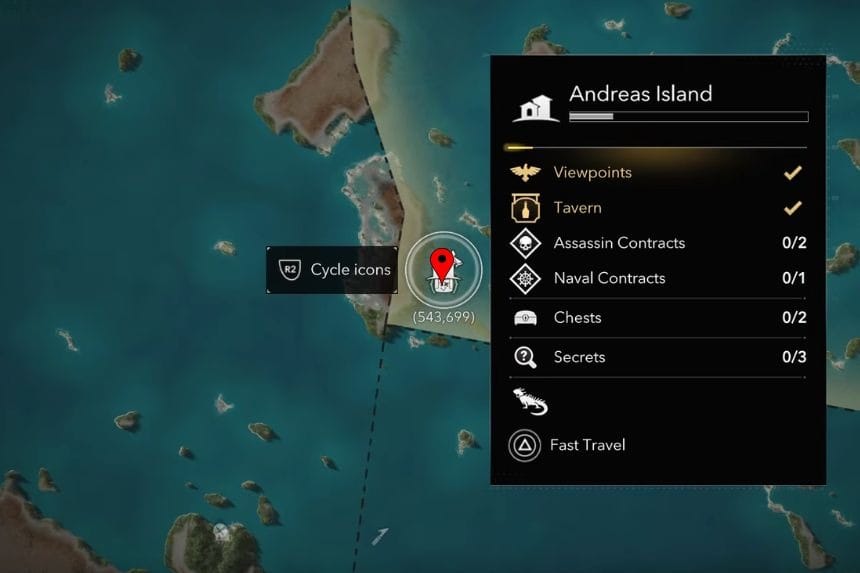
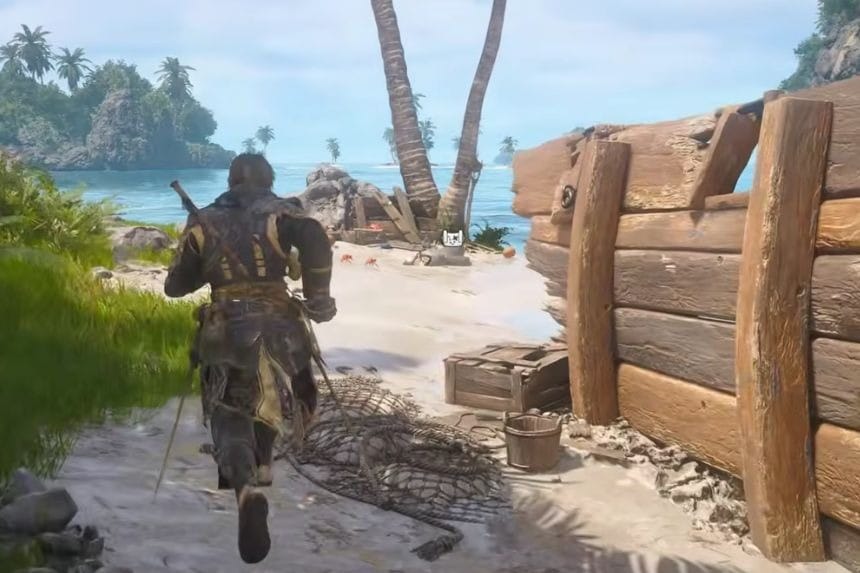
You will be able to get the treasure map at Andreas Island (543, 693). Go to the south coast and search for the skeleton. It lies just next to the map.
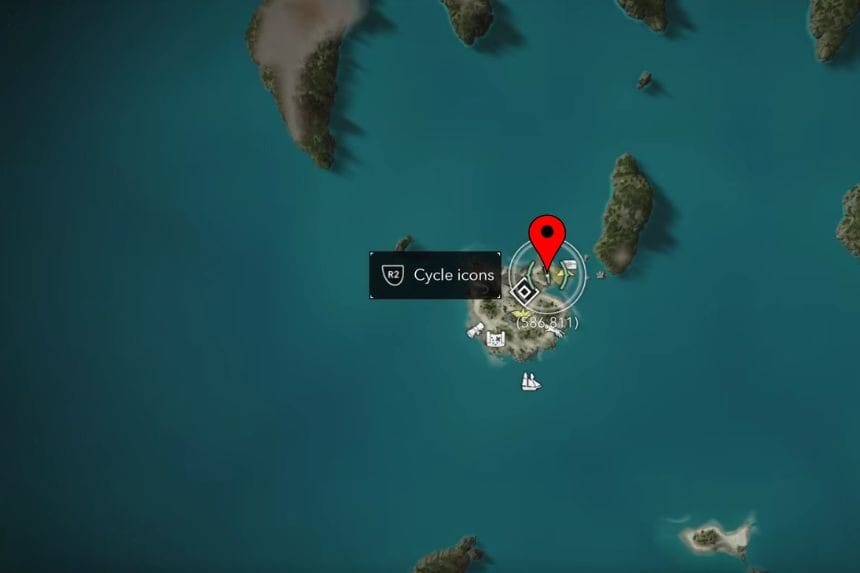
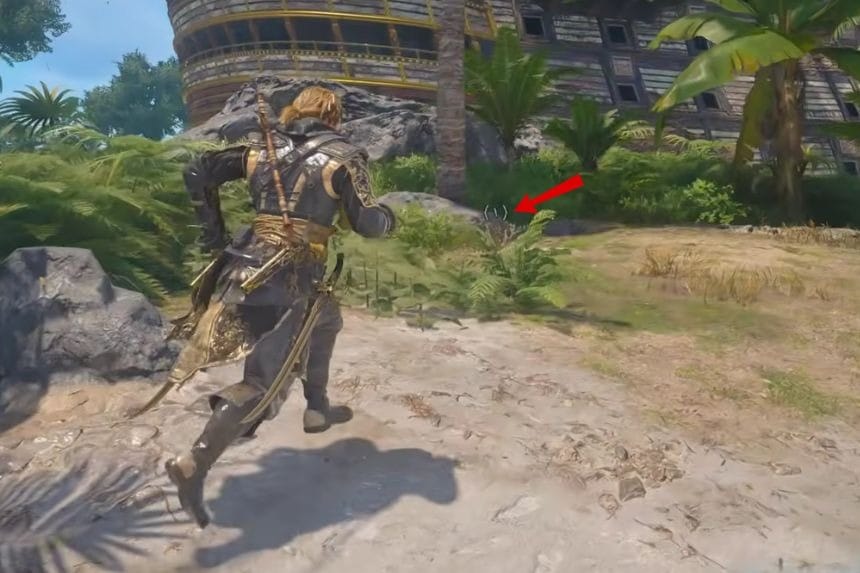
The treasure lies on Abaco Island (586, 811). Go there and then search for the large shipwreck. Between the palm trees next to the shipwreck lies your treasure. The reward for completing this quest is the Earth Monster Relief Art Collection Piece, which is required to receive the Dilettante trophy, together with 2,500 Reales.
Treasure Map #7 – Abaco Island
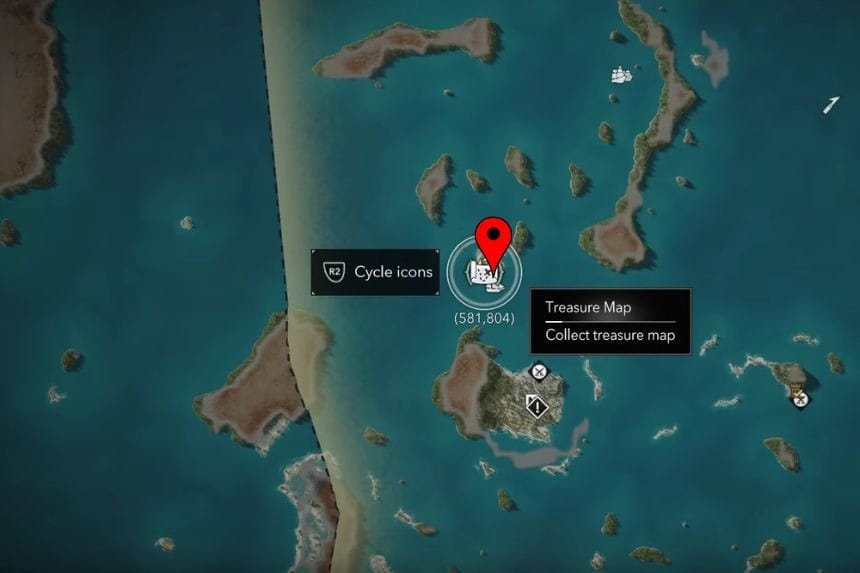
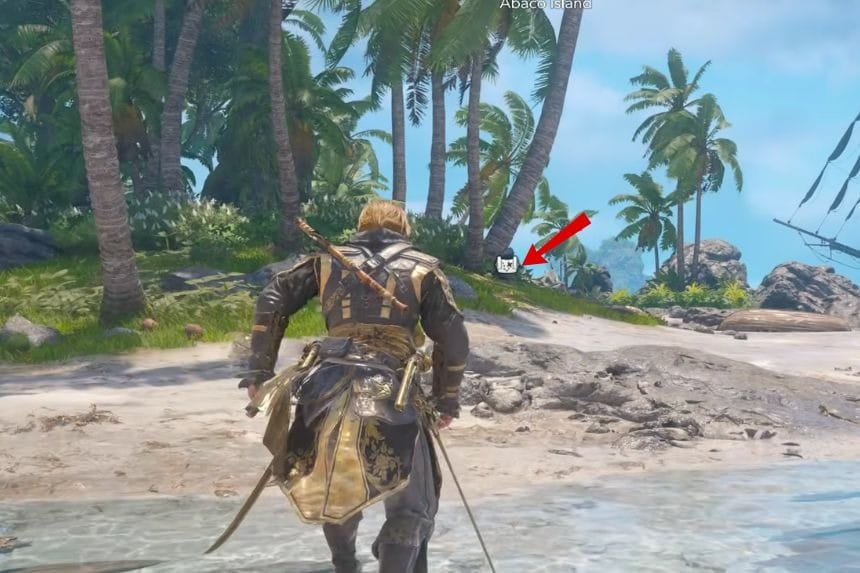
You will find the treasure map at Abaco Island (581, 804). Travel to the southwest coast and collect the treasure map from the skeleton standing by a palm tree.
You will find the treasure map at Abaco Island (581, 804). Travel to the southwest coast and collect the treasure map from the skeleton standing by a palm tree.
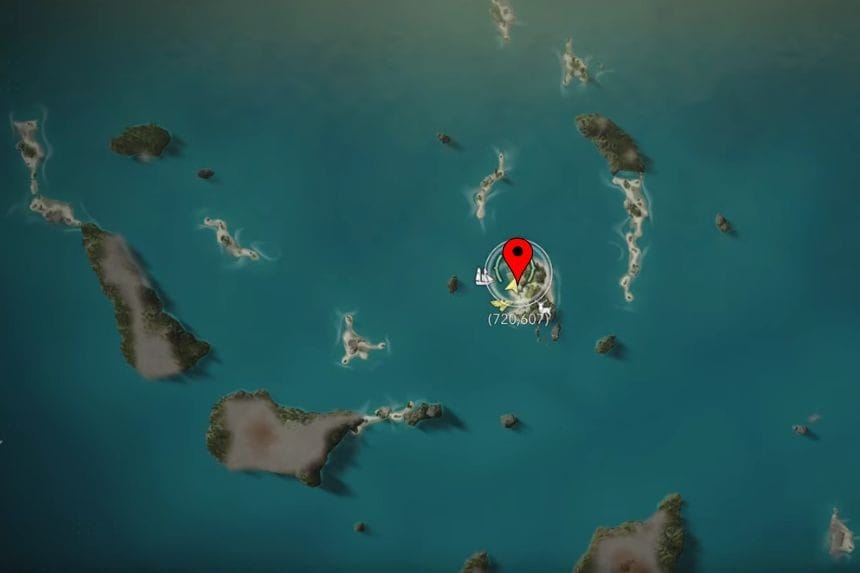
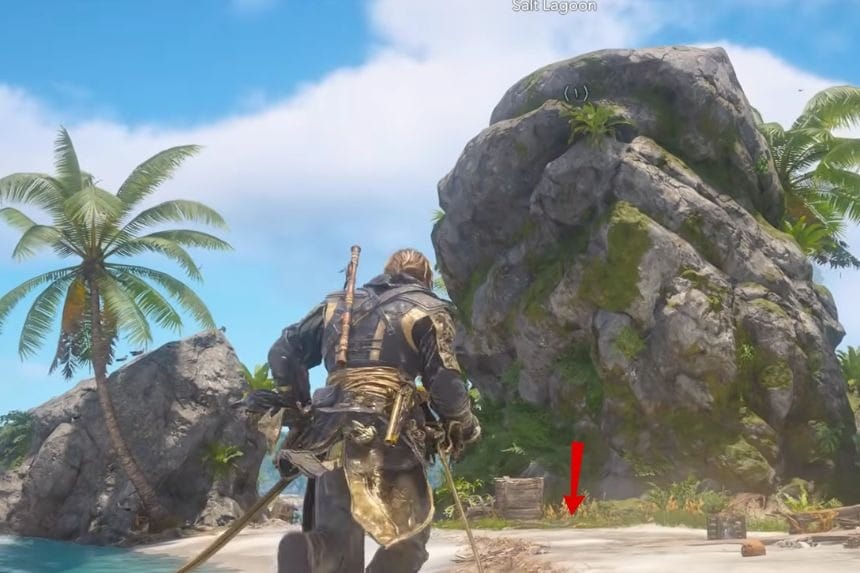
You will discover the treasure at Salt Lagoon (719, 607). Make your way to the beach and find the highest rock neaby. The treasure will be buried in the sand at the feet of that rock. Retrieve the treasure to get the Serpent Figurehead Design Plan, worth 3,000 Reales.
Treasure Map #8 – Mariguana Island
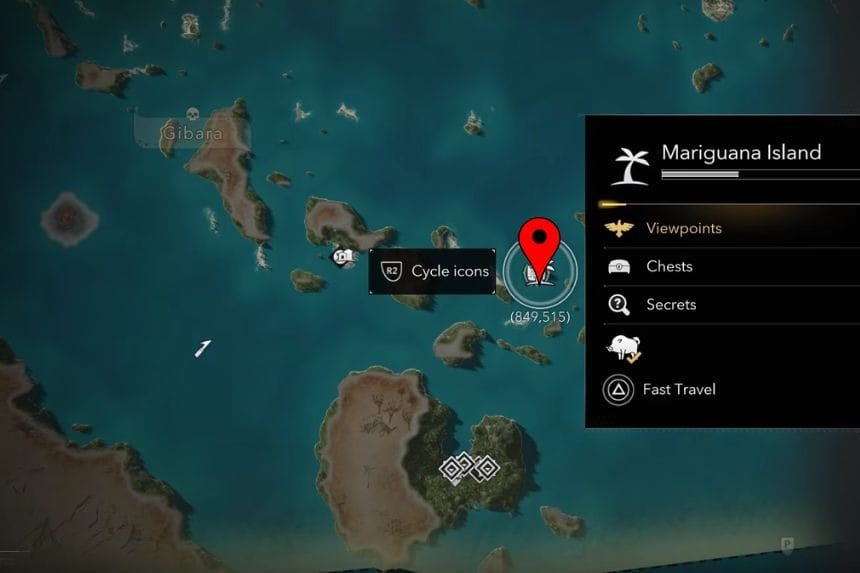
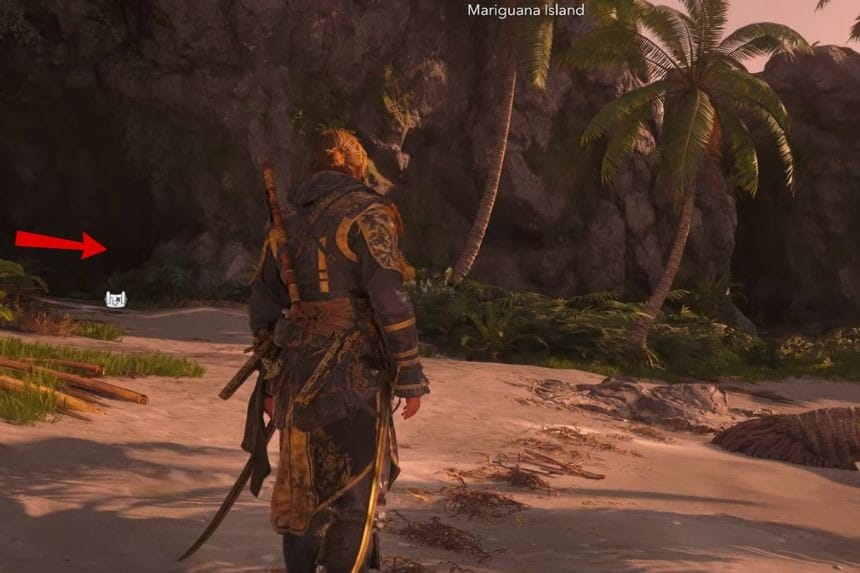
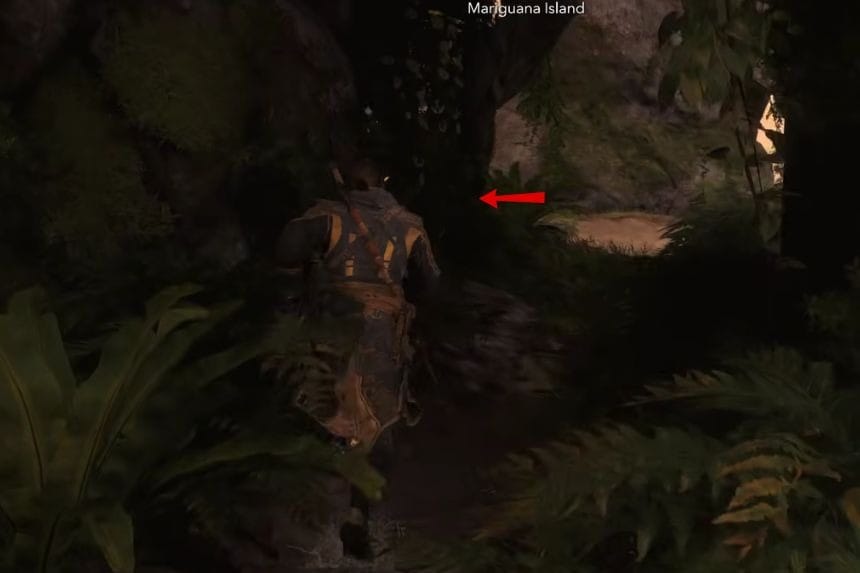
This treasure map can be found on Mariguana Island (847, 514). Enter this map through its north end to reach a tiny cave. Within this cave, there will be a tunnel camouflaged with green leaves. After crawling through this tunnel, you’ll find the treasure map.
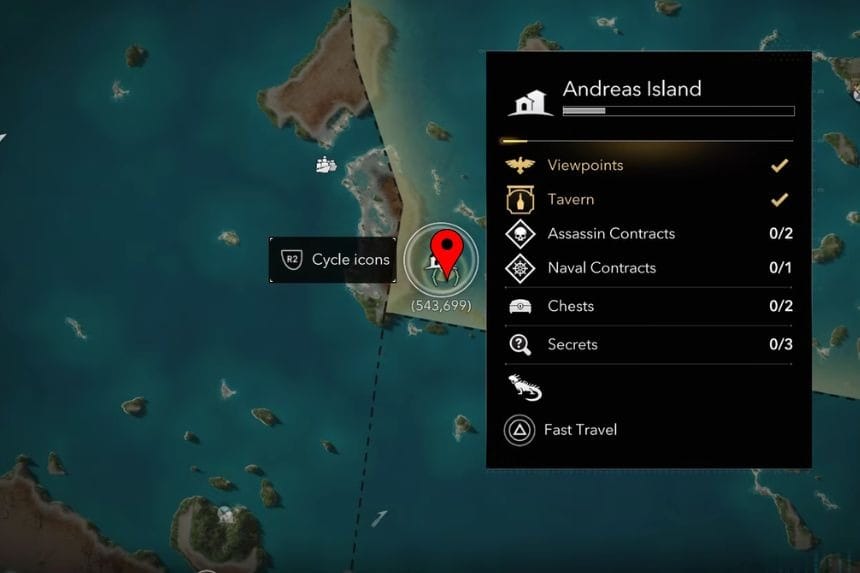
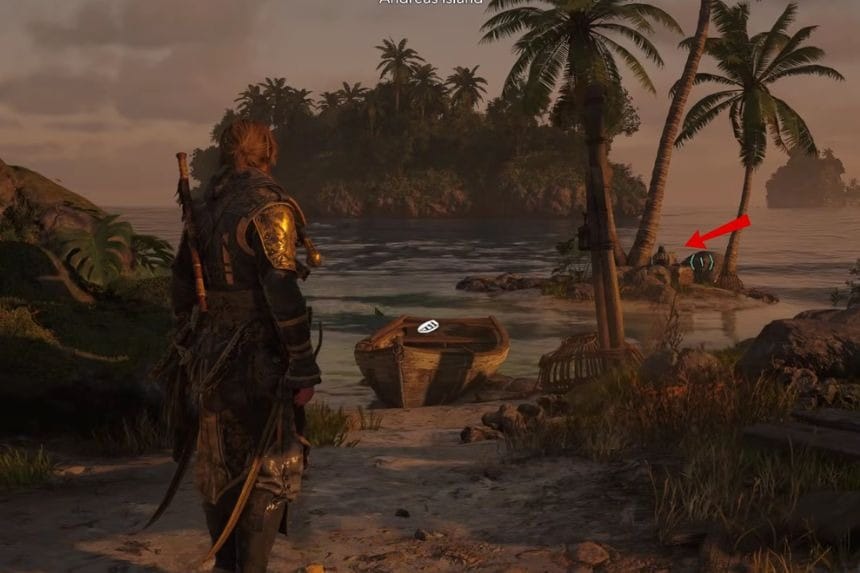
The treasure can be found on Andreas Island (544, 693). Head over to the small island right below Andreas Island, where the treasure can be found under the soil. Your reward for this treasure hunt is the Harpoon Strength Ultimate Plan and 3,000 Reales.
Treasure Map #9 – Great Inagua
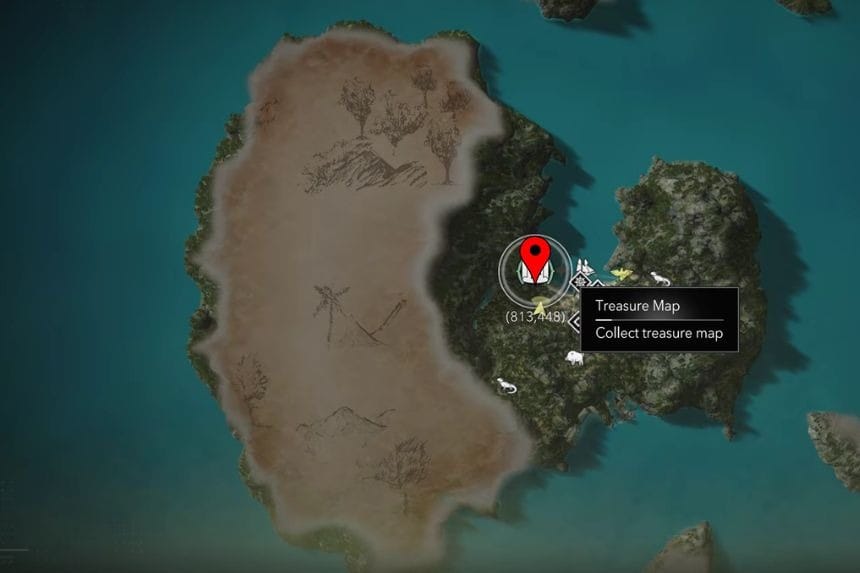
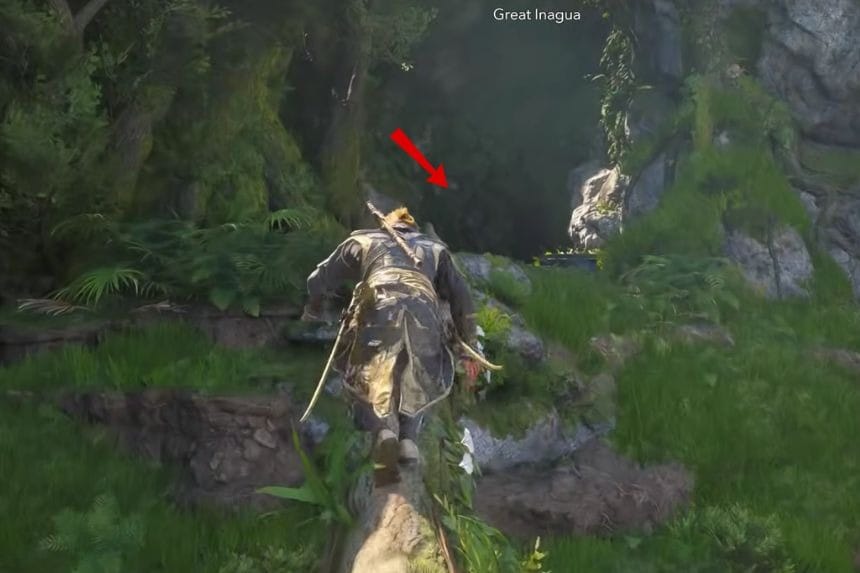
This map of the treasure can be found in Great Inagua (813, 448). Climb through the trees along the beach to reach a cave where the map is waiting.
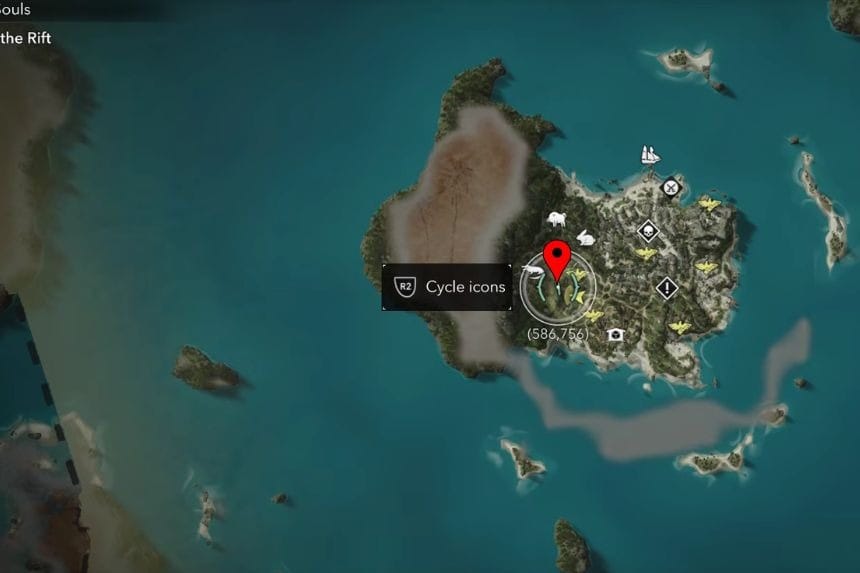
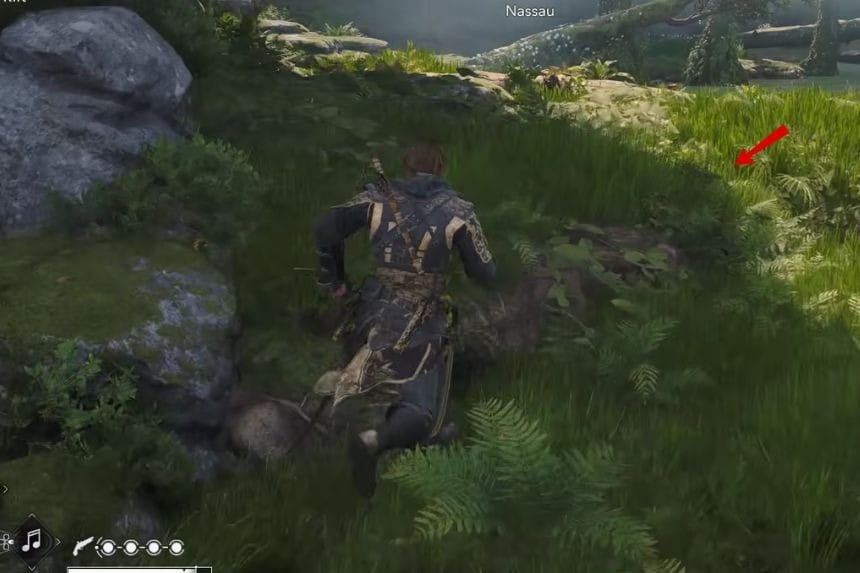
The location where the treasure is hiding is located in Nassau (586, 755). All you need to do is go to the west part of the town and search for the cliff on the mountain. The treasure is waiting there. After you get it, you will have an Elite Sails Design Plan worth 3,000 Reales.
Treasure Map #10 – Great Inagua
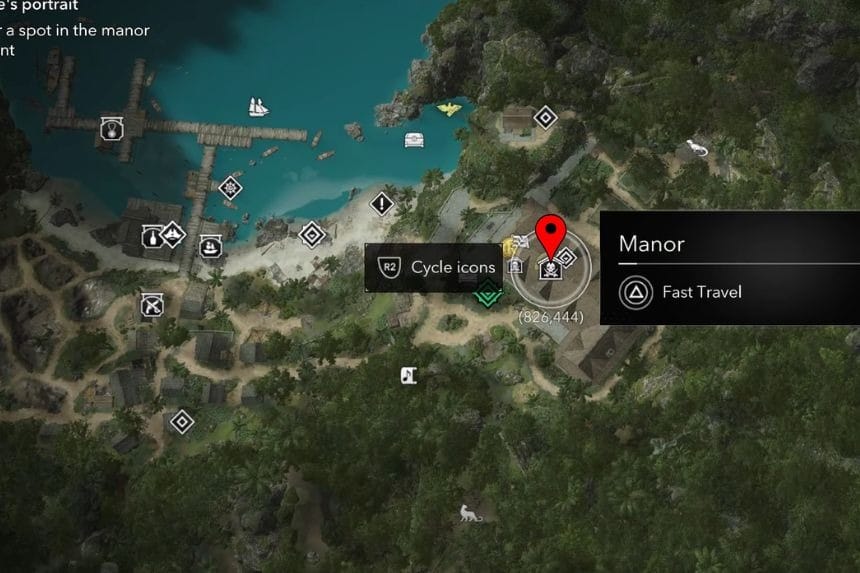
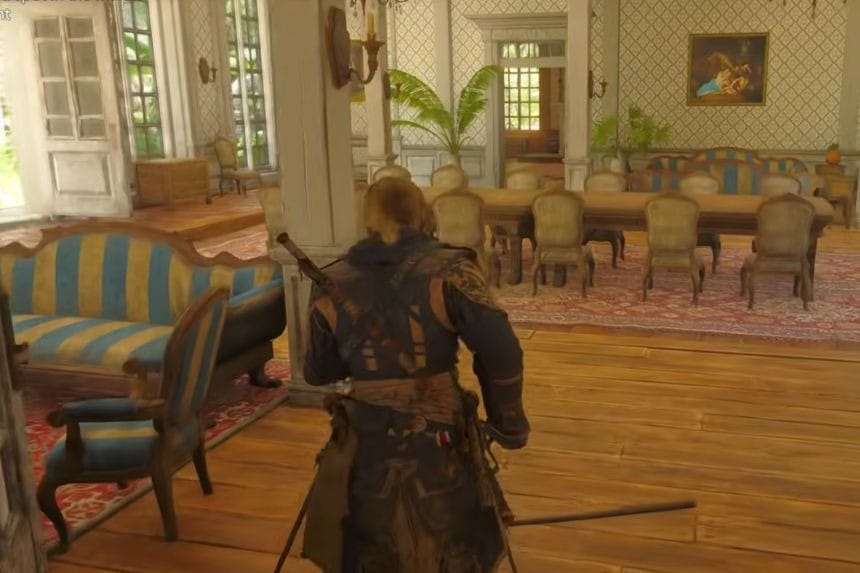
Instead of finding it in the world, you’ll unlock it after placing all 11 Character Portraits inside the Great Inagua Manor.
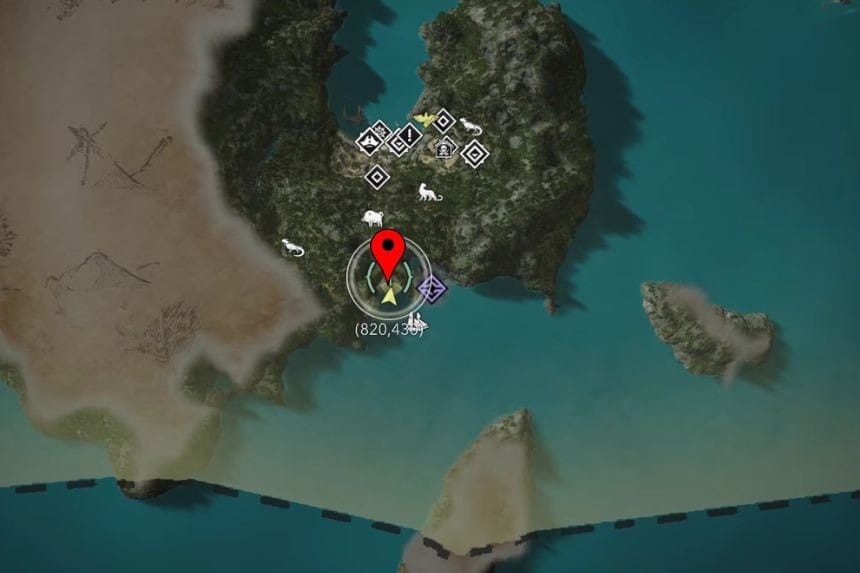
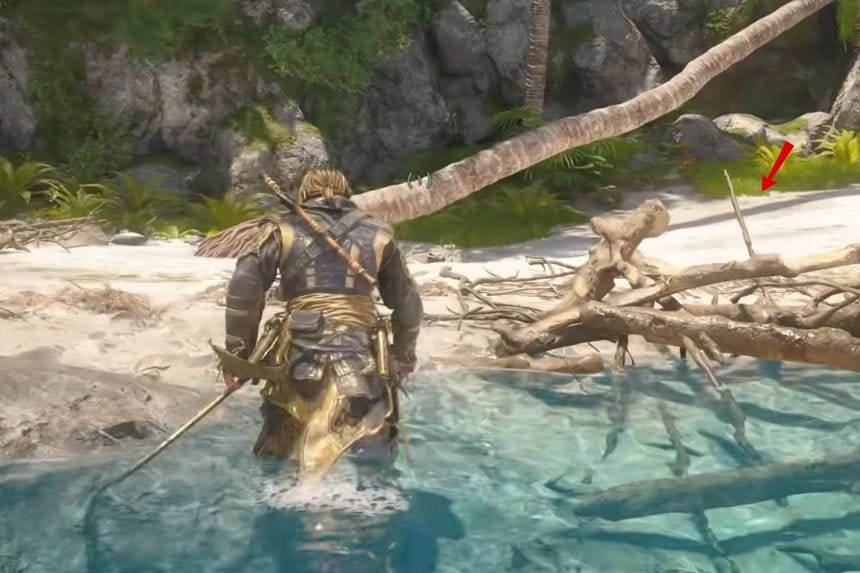
The treasure will be found in Great Inagua (820, 430). Just go to the south beach and find the palm tree on the shore. The treasure will be found under this tree. You could get there either by sailing or by crossing the island. The prize is called “The Fortune” – Legendary Cutlass.
Treasure Map #11 – Salt Lagoon
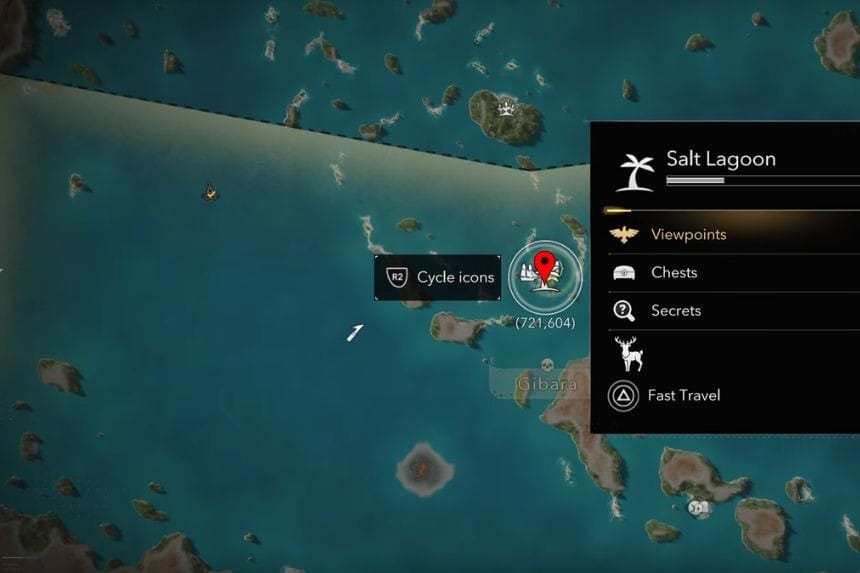
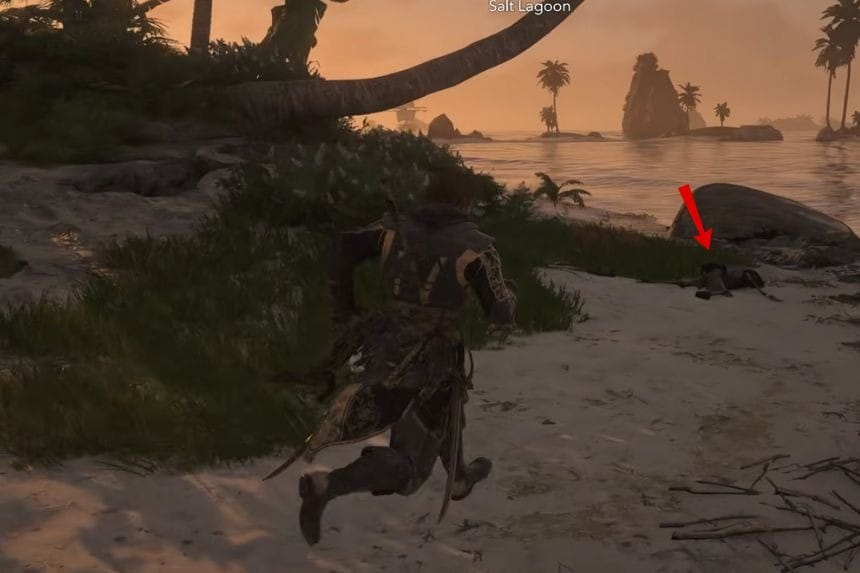
The treasure map can be found in Salt Lagoon (723, 608). Go to the northeast shore of the map and search for the skeleton on the beach.
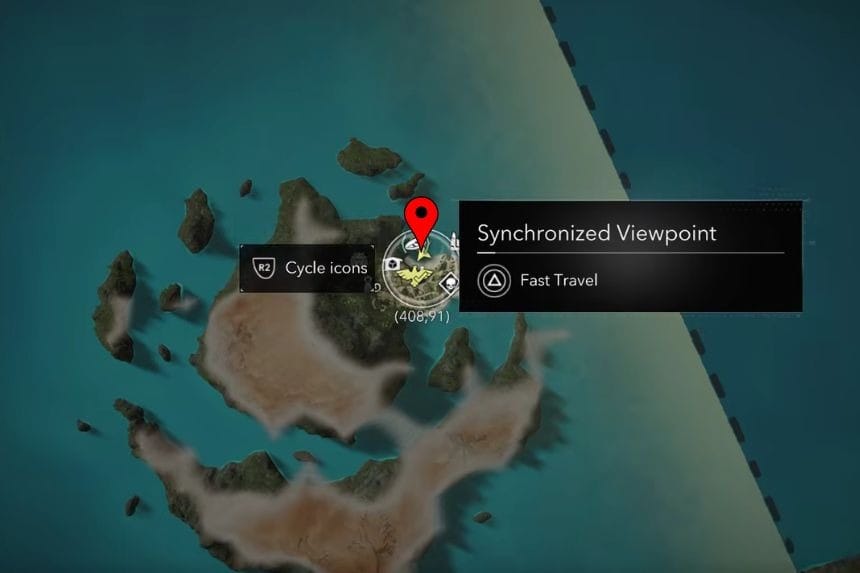
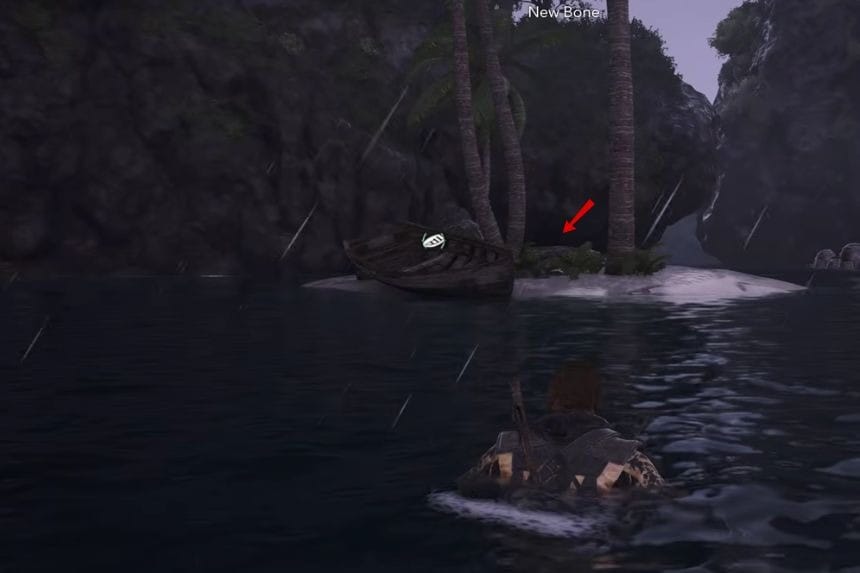
This treasure is located in New Bone (407, 94). Head towards the small island in the northern part of New Bone where the treasure lies under the soil. You will be rewarded with the Maize Deity Art Collection Piece and 2,500 Reales that are necessary for obtaining the Dilettante trophy.
Treasure Map #12 – Tortuga
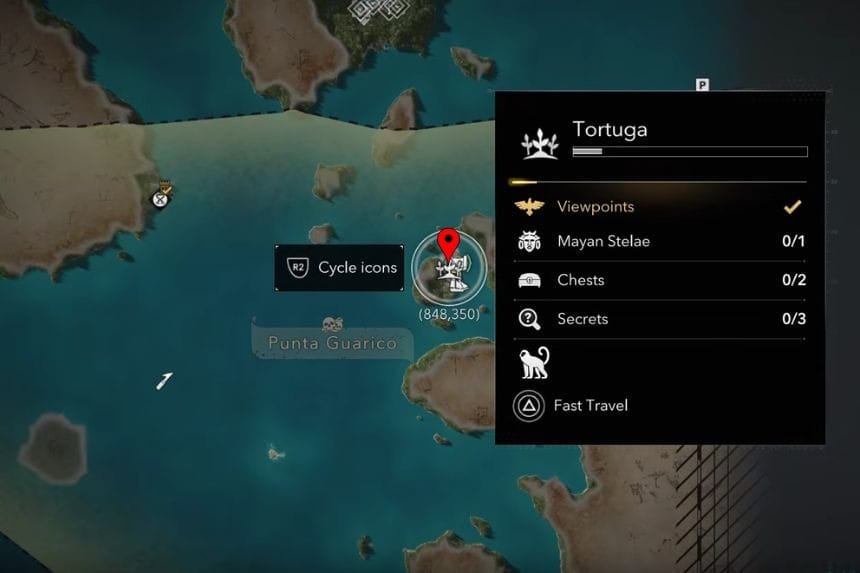
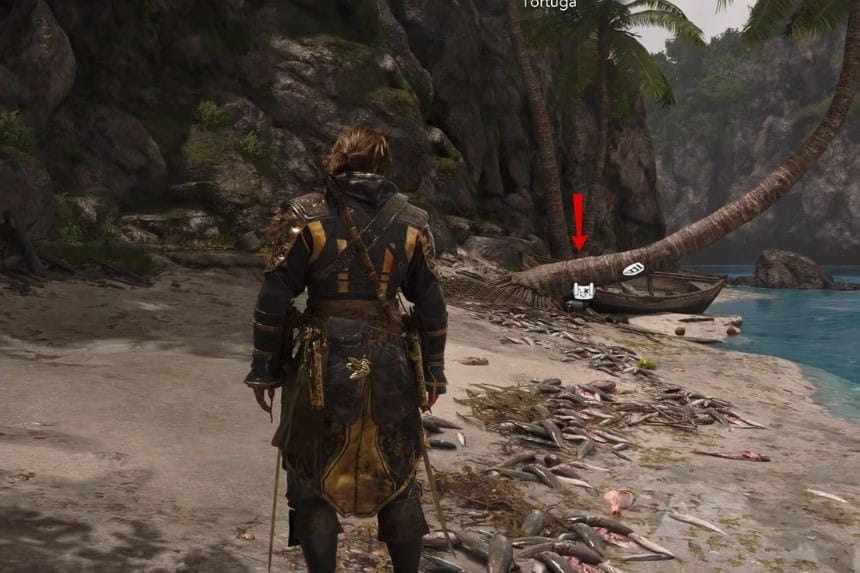
Here you will find the treasure map, which can be found at Tortuga (851, 352). Head to the eastern shoreline and look for a skeleton on the beach to collect it.
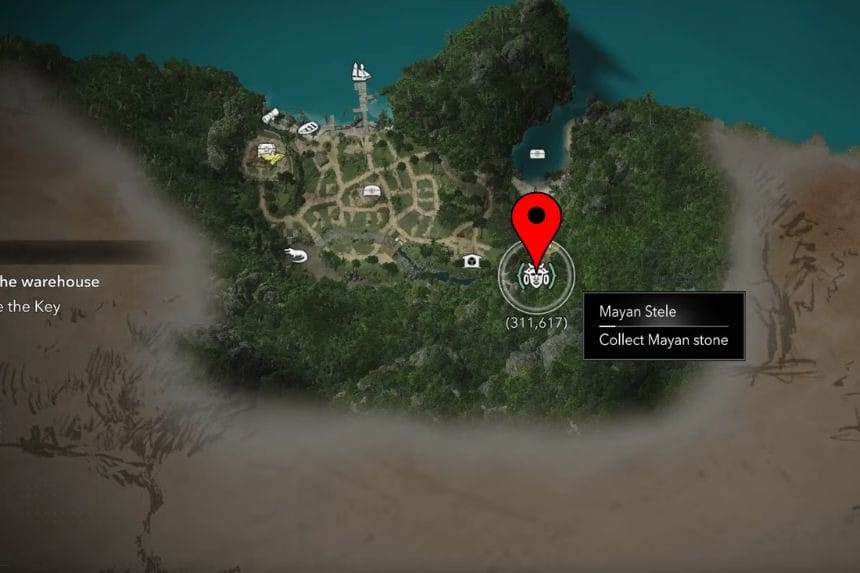
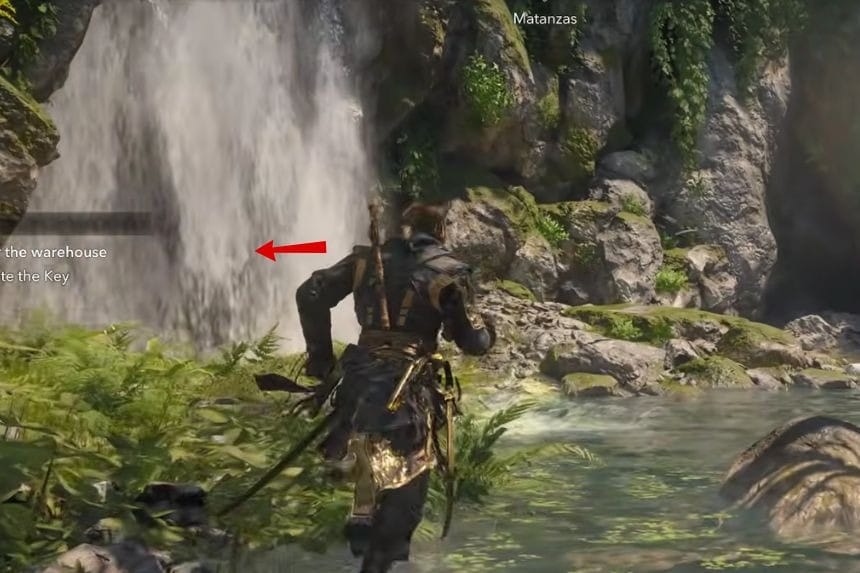
This treasure can be found in Matanzas (312, 617). Go to the southeastern part of the island and dig where there is a waterfall to the left of the Mayan Stelae. You will get the Mortar Storage Ultimate Plan and 3,000 Reales when you do so.
Treasure Map #13 – Petite Caverne
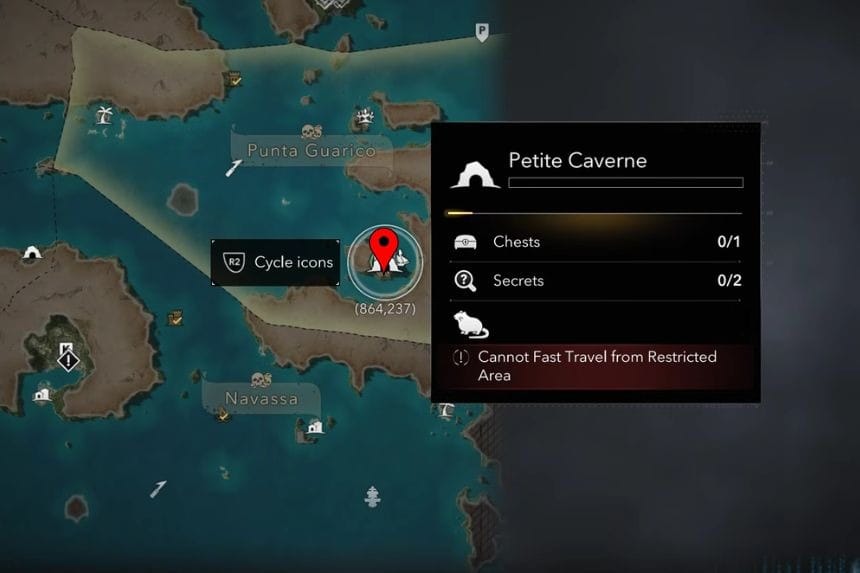
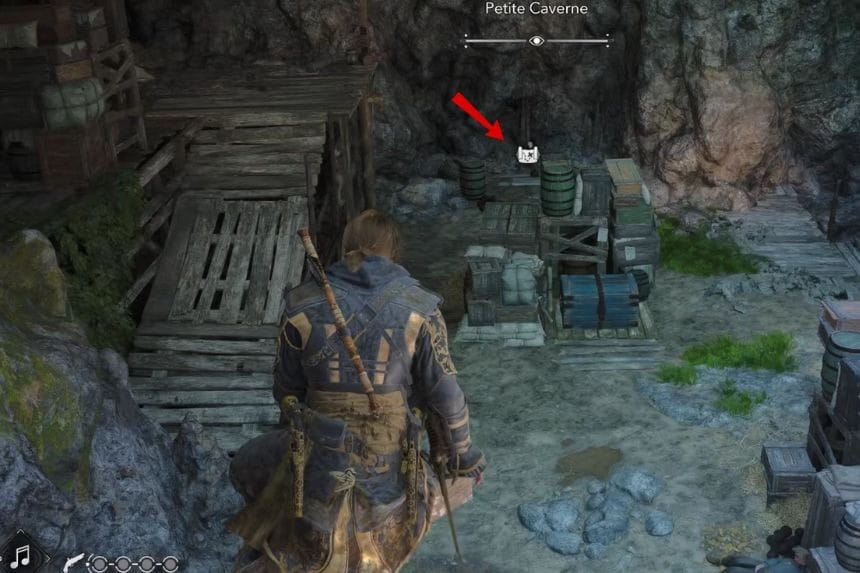
The treasure map is located in Petite Caverne (862, 237). Search for a skeleton in the cave, and the treasure map will be next to it.
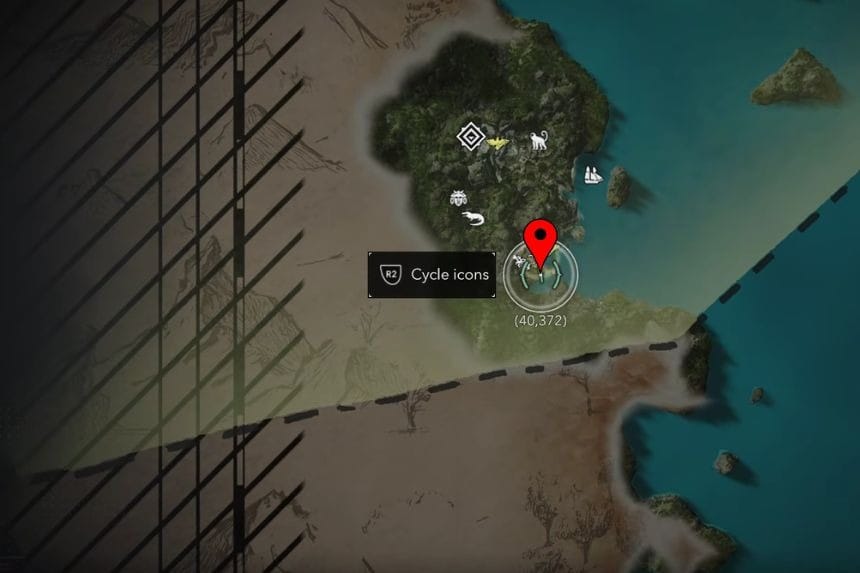
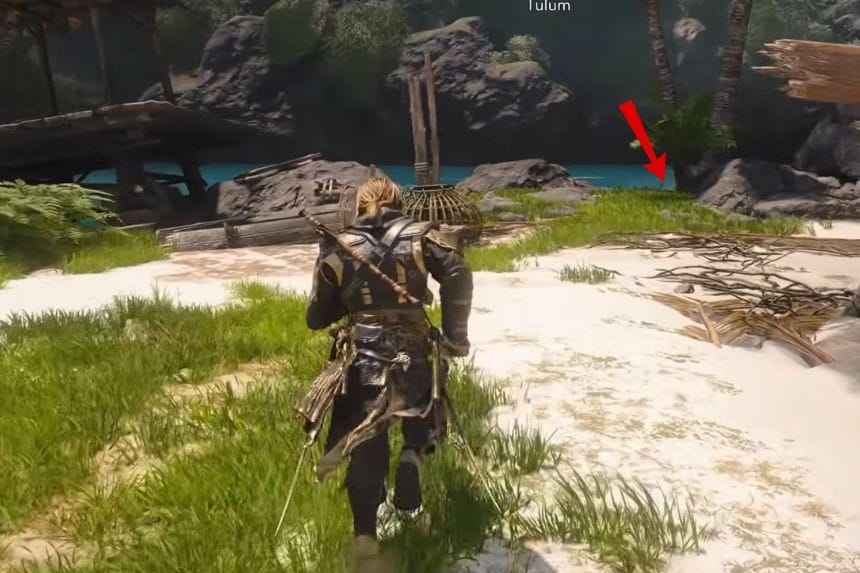
The treasure is located in Tulum (40, 372). Go to the south end of the island, and walk up to the beach near the shipwreck. Dig for the treasure on the beach. You will get the Fire Barrel Storage Ultimate Plan and 3,000 Reales as a reward.
Treasure Map #14 – Cumberland Bay
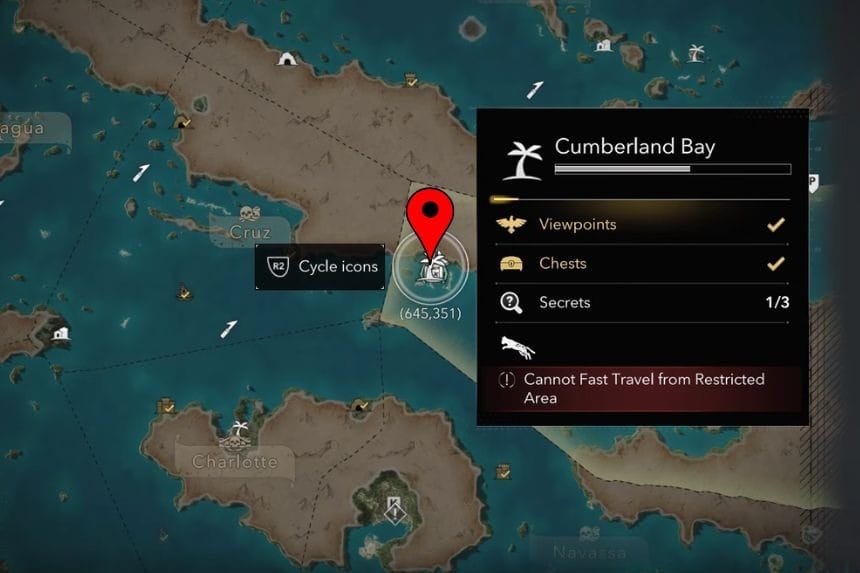
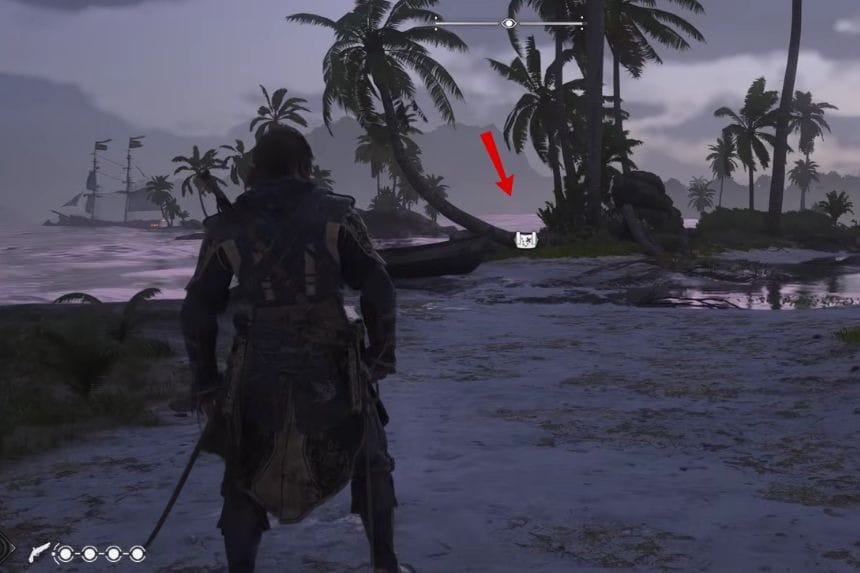
This map can be obtained from Cumberland Bay (648, 345). The map will direct you to a place where a skeleton will be seen lying near the beach.
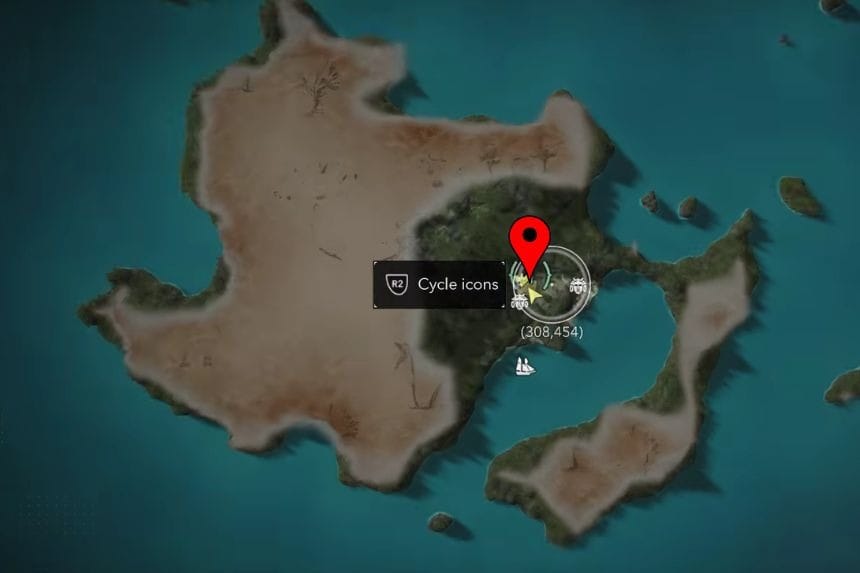
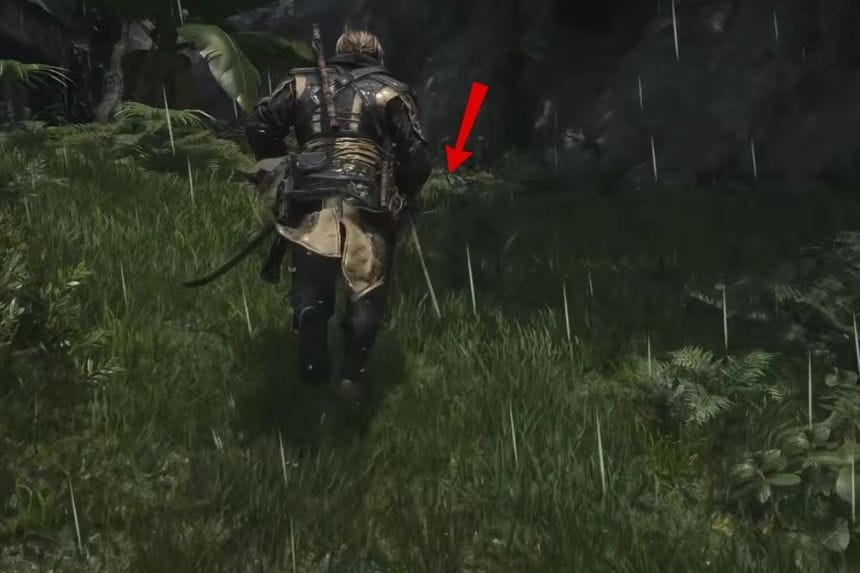
This treasure is situated at Pinos Isle (304, 455). Move to the temple that has a view point and find the treasure in the northwest part of the ruins. Dig the treasure to get the reward of Ivory Wheel Design Plan, which is available in the Harbourmaster’s Shop, together with 3,000 Reales.
Treasure Map #15 – Cayman Sound
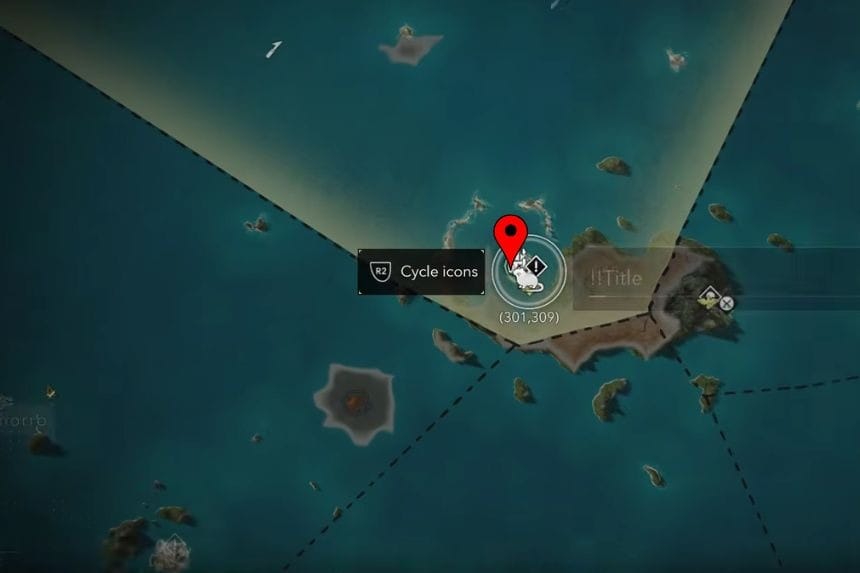
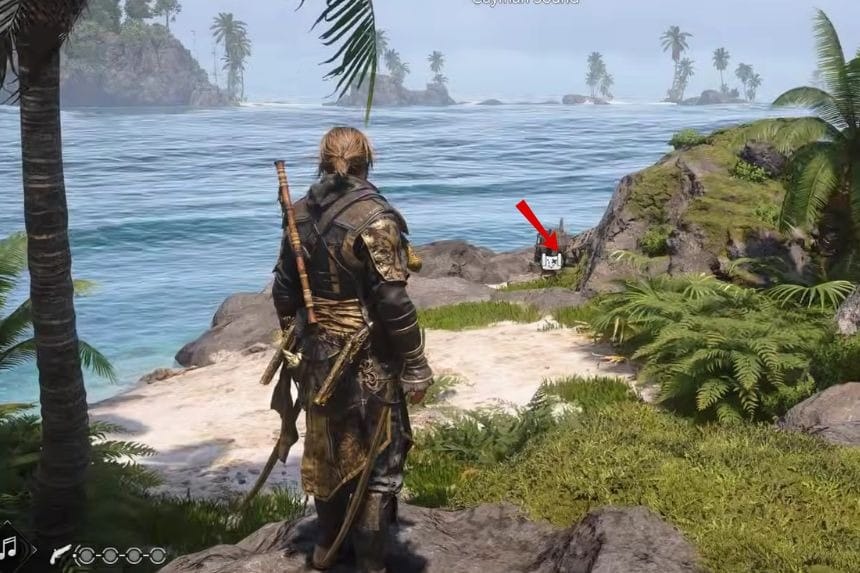
This treasure map can be found at Cayman Sound (298, 311). You need to go to the beach and locate a skeleton that will be found near the water. The map will be right next to it.
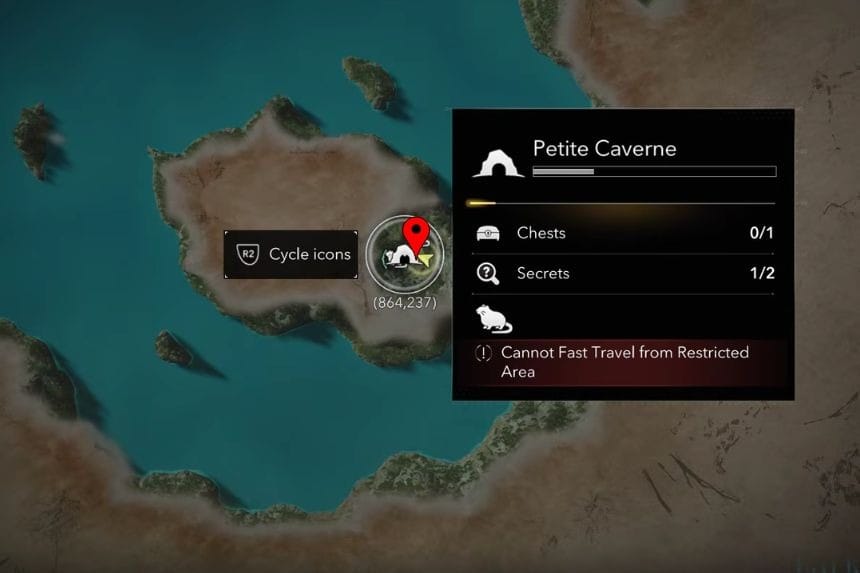
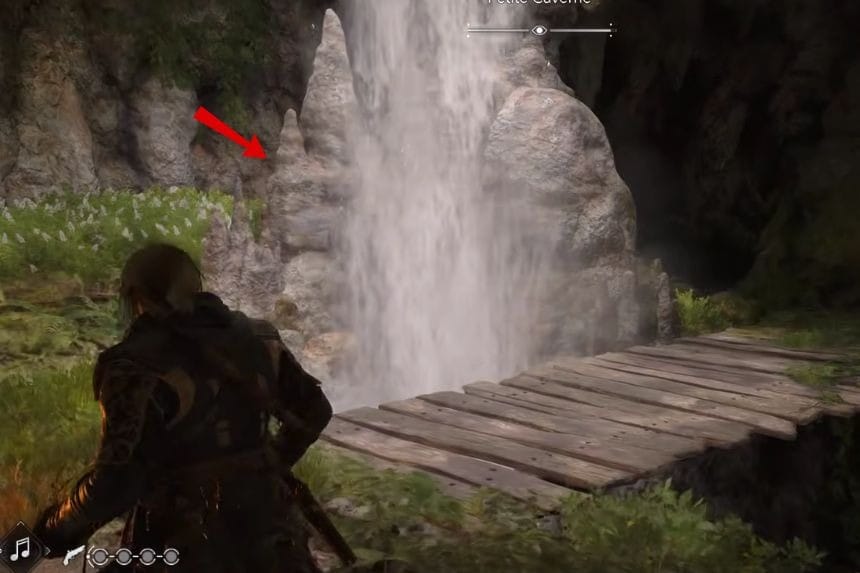
The treasure is kept in Petite Caverne (863, 235). Find the entrance to this location and then move southward to reach the Hutia hunting point, which is denoted by the rat on the map. The treasure is located behind the rocks where the waterfall is. You will get the Heavy Shot Storage Ultimate Plan and 3,000 Reales for it.
Treasure Map #16 – Pinos Isle
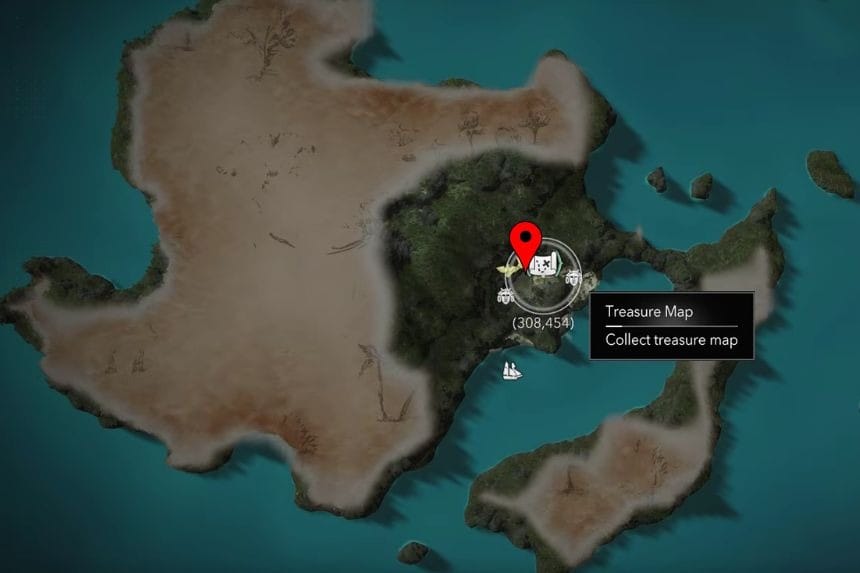
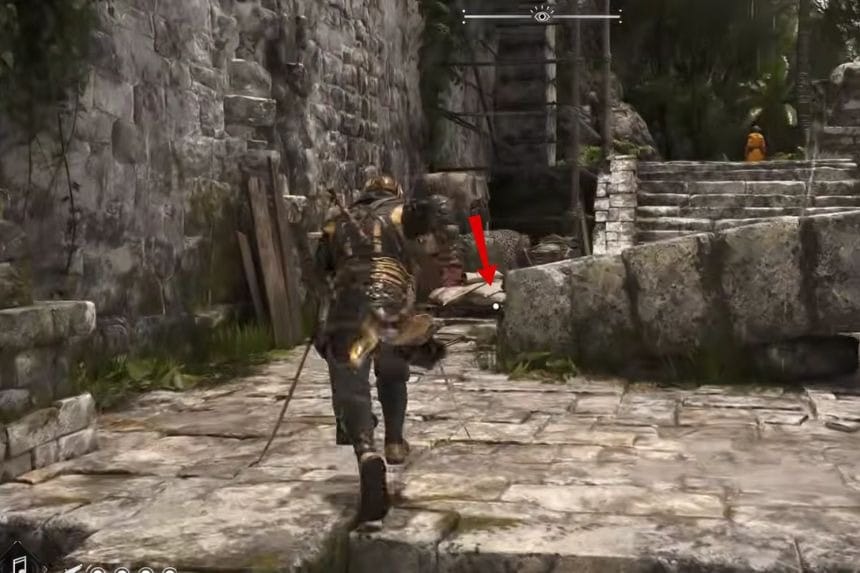
This treasure map can be found on Pinos Isle (308, 456). Navigate to the northern ruins where there will be a skeleton along with other enemies. Kill the enemies if you have to and take the map.
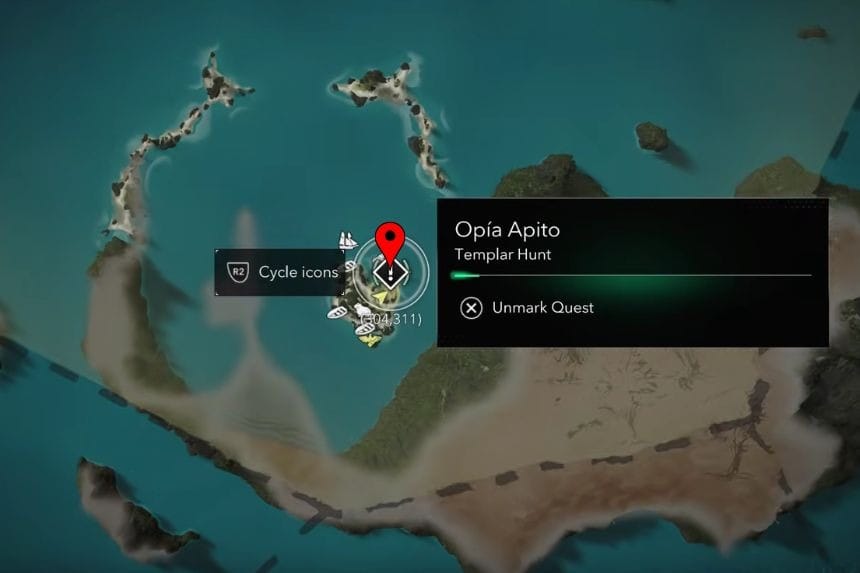
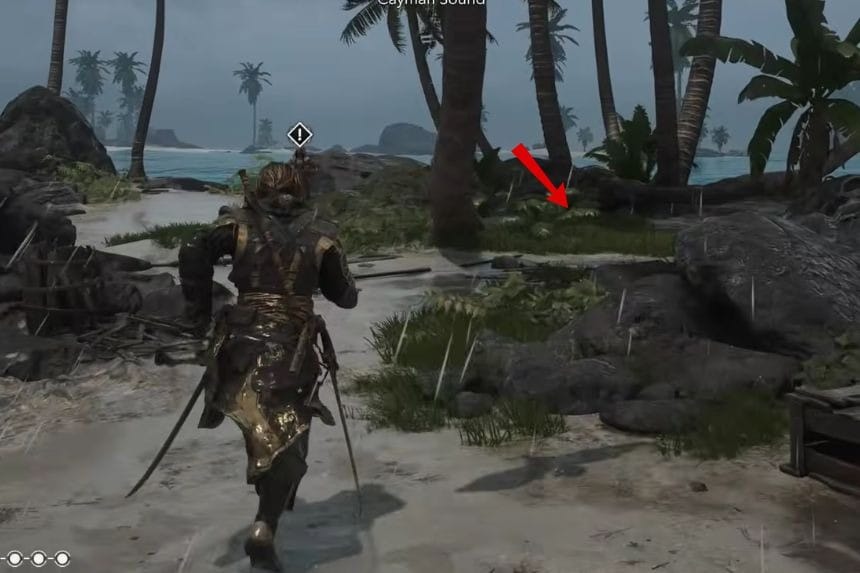
The location of the treasure is at Cayman Sound (304, 310). Move to the northeastern shore and search among the palm trees for the treasure, which is buried under the sand here. The reward is 4,000 Reales.
Treasure Map #17 – Santanillas
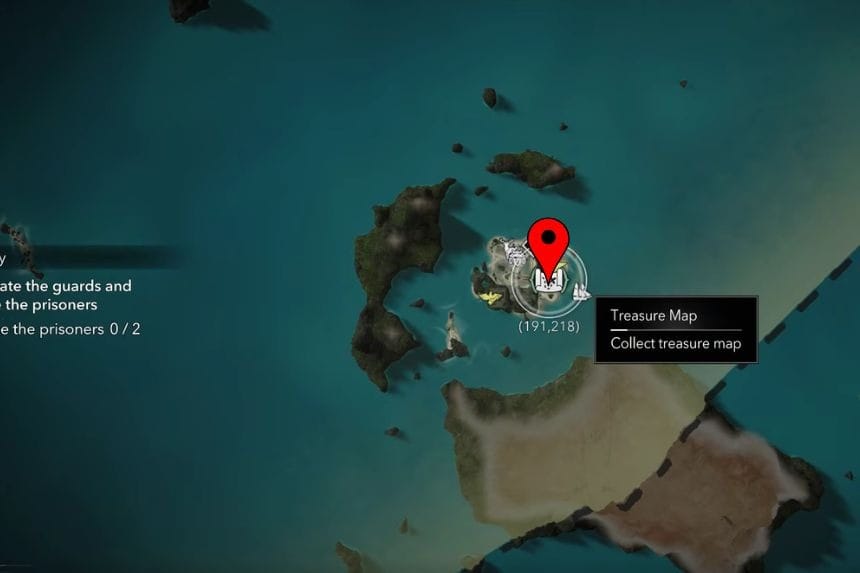
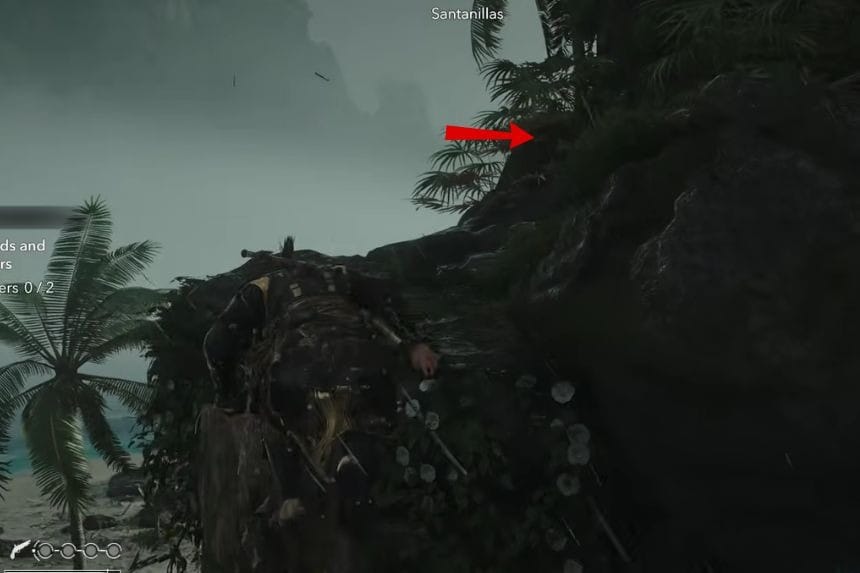
This treasure map can be found on Santanillas (191, 218). You just need to climb to the top of the hill by using the branches of the tree located close by.
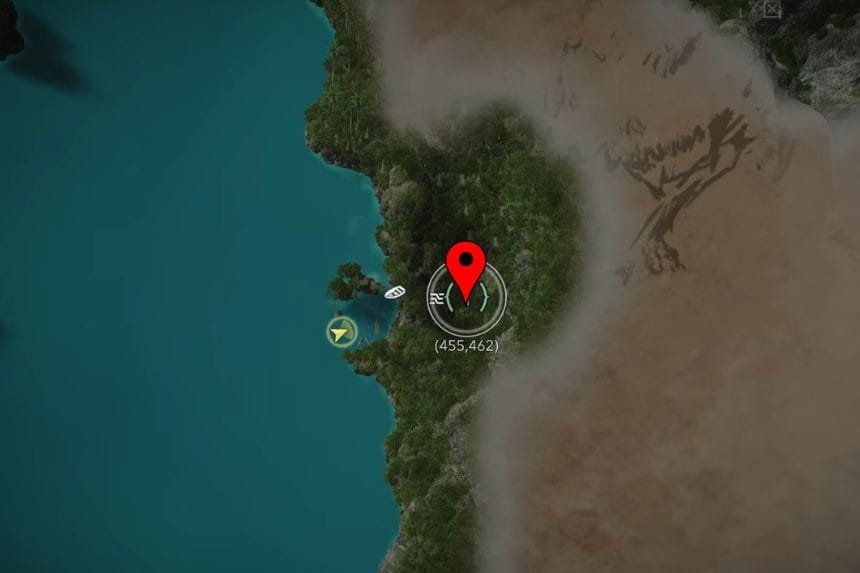
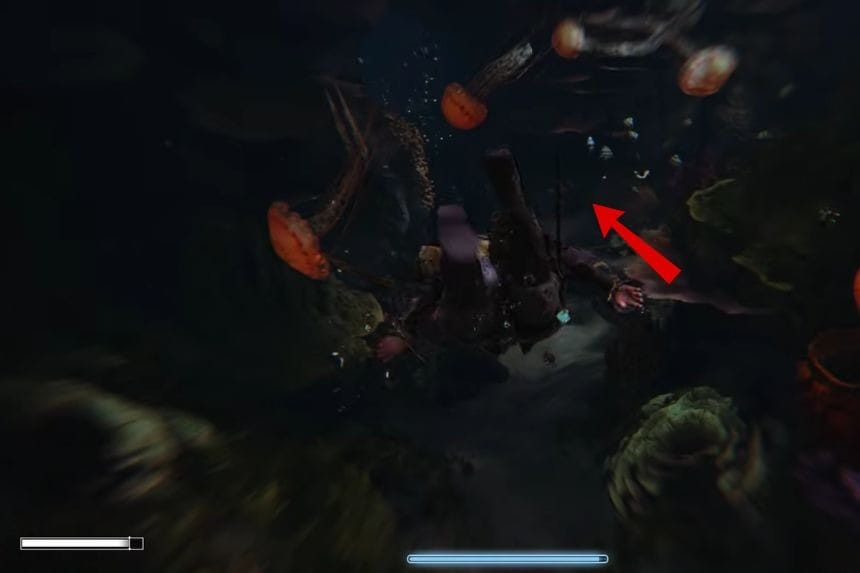
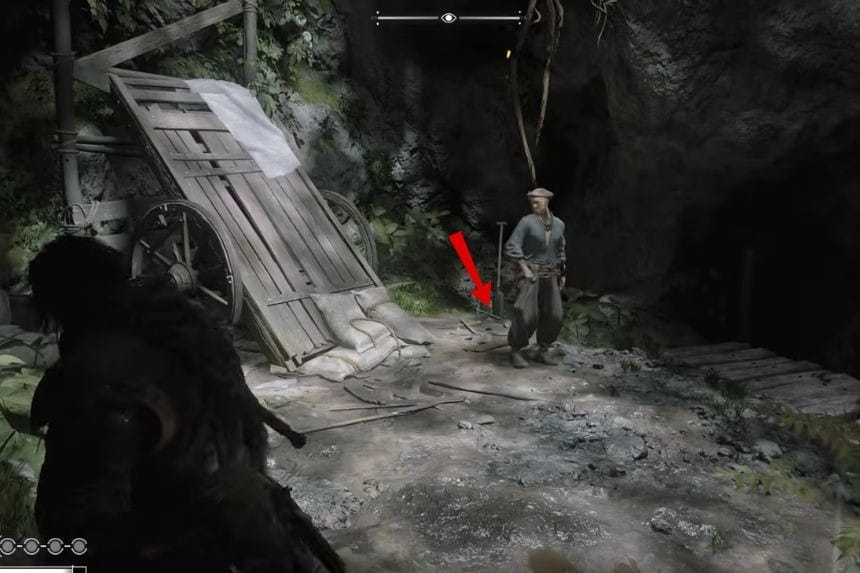
The treasure is placed in San Juan (455, 462). It is necessary to swim through the underwater tunnel and enter the cave. The moment you exit the water, you will notice that the cave area contains only one enemy. After exiting the wooden scaffolding, you should turn right and find the treasure. You will get the Fire Barrel Strength Ultimate Plan and 3,000 Reales.
Treasure Map #18 – Ambergris Key
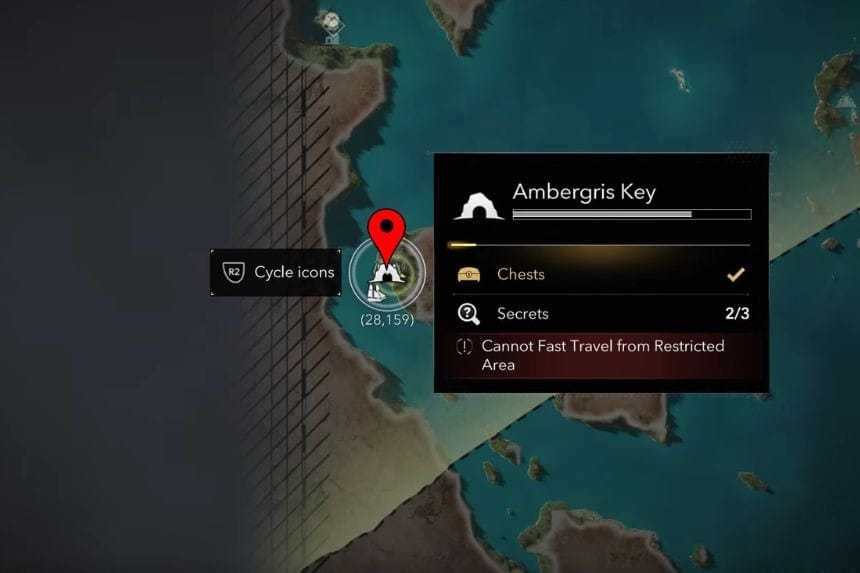
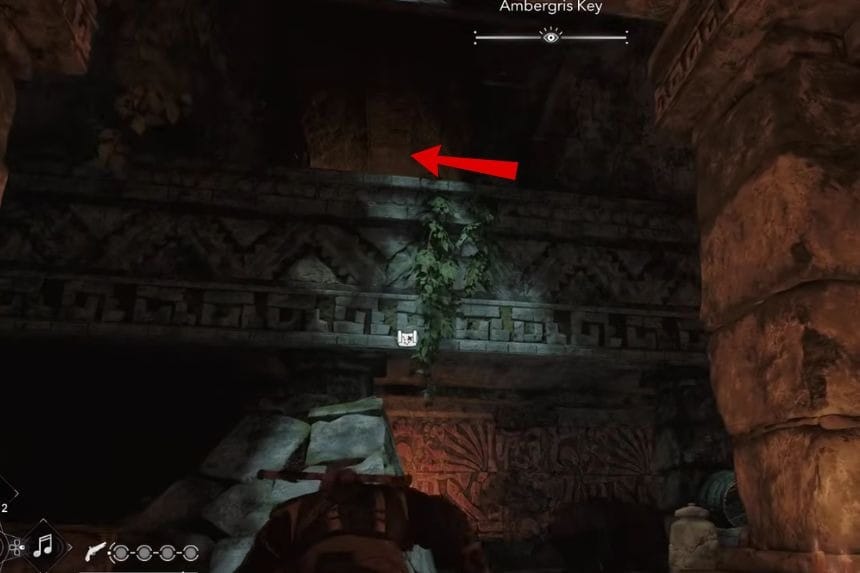
This treasure map can be found on Ambergris Key (28, 160). Go through the underwater tunnel in order to get into the cave. In the cave, go further until you find a big room with many enemies and a chest that is closed. Go up through the pillars in the centre of the room to find the treasure map.
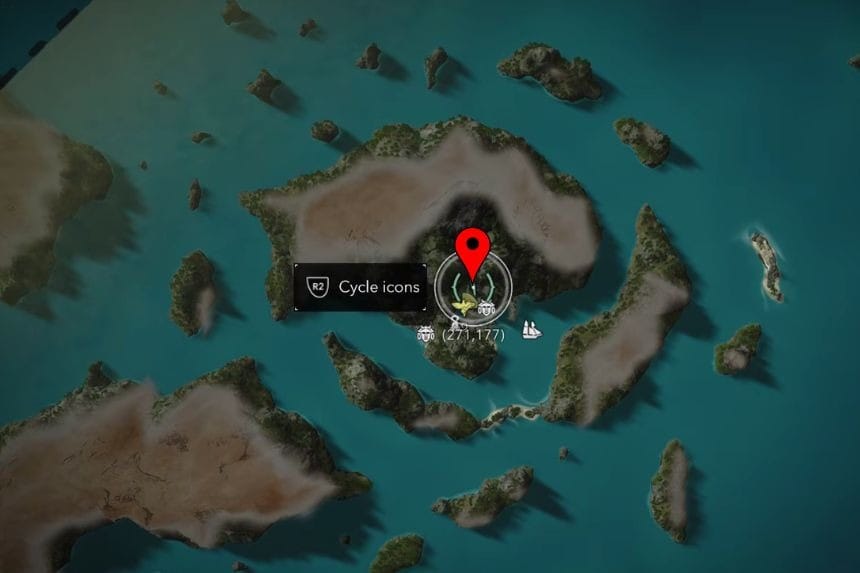
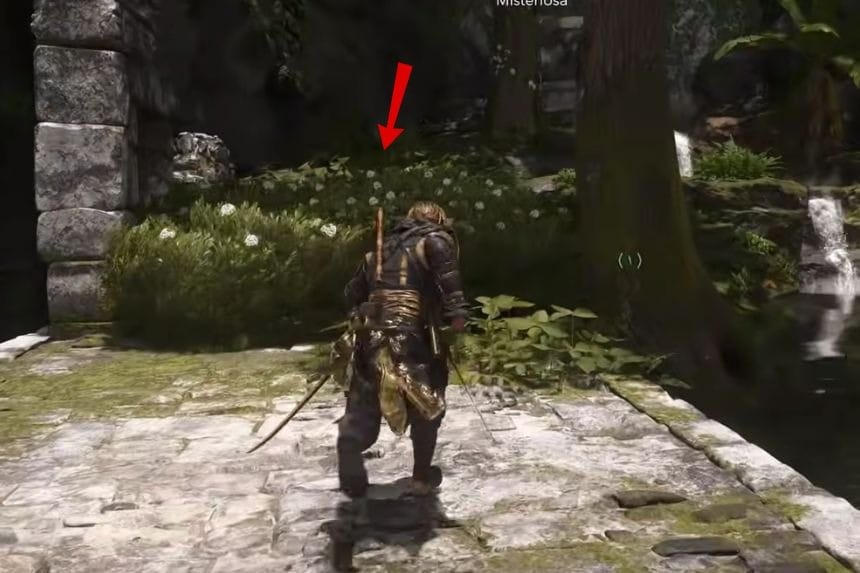
The treasure is located on Misteriosa (271, 178). Use fast travelling to the viewpoint and turn back rather than go down. Find the fountain that is near the Mayan temple. The treasure lies behind tall white flowers, which are to the left of the fountain. Your prize for finding this treasure is the Heavy Shot Strength Ultimate Plan and 3,000 Reales.
Treasure Map #19 – Corozal
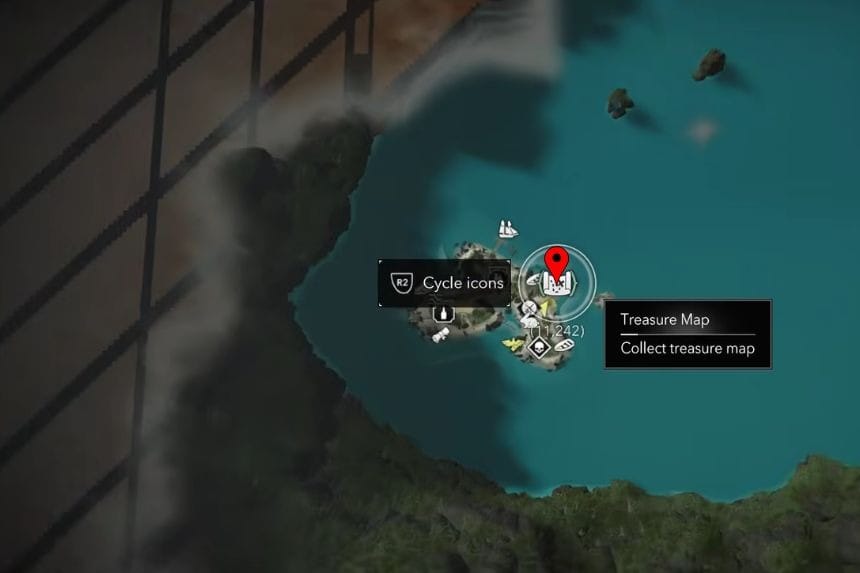
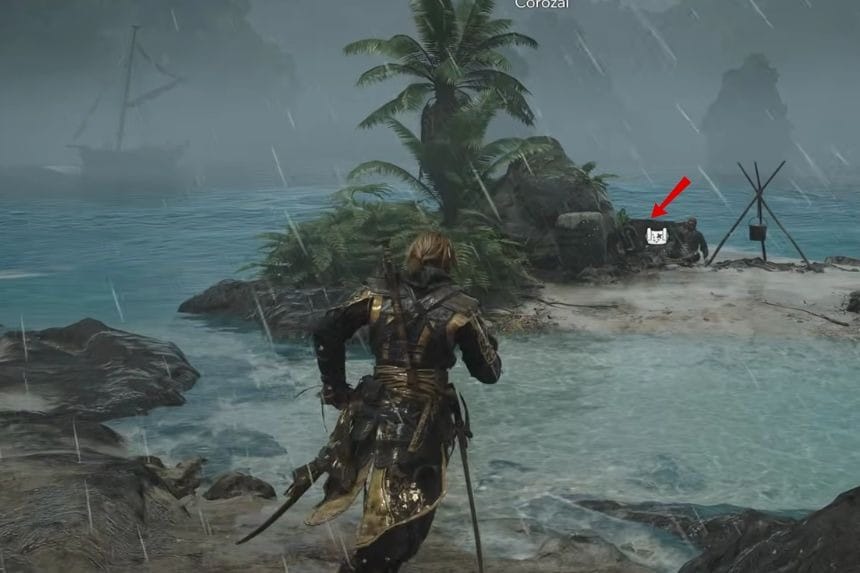
The treasure map can be located in Corozal (11, 242). Go to the small island located in the northeastern coast and find the map from the skeleton.
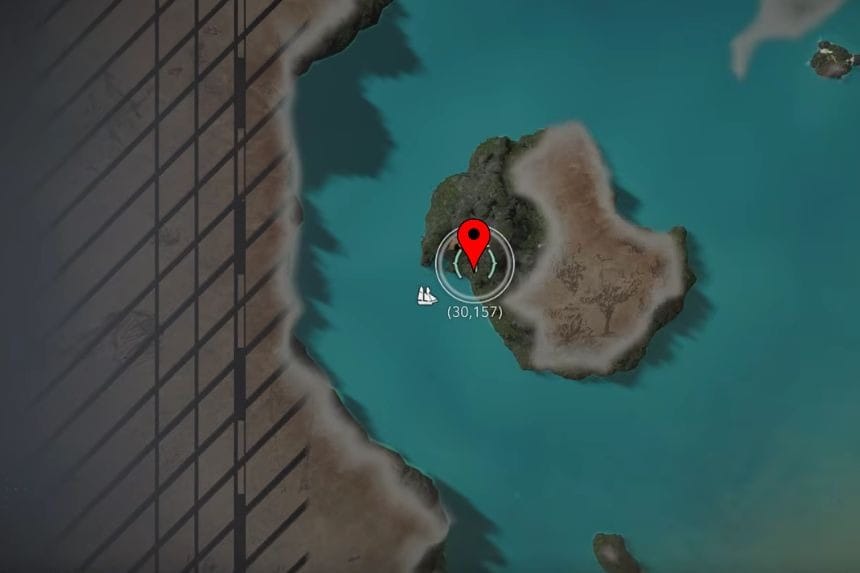
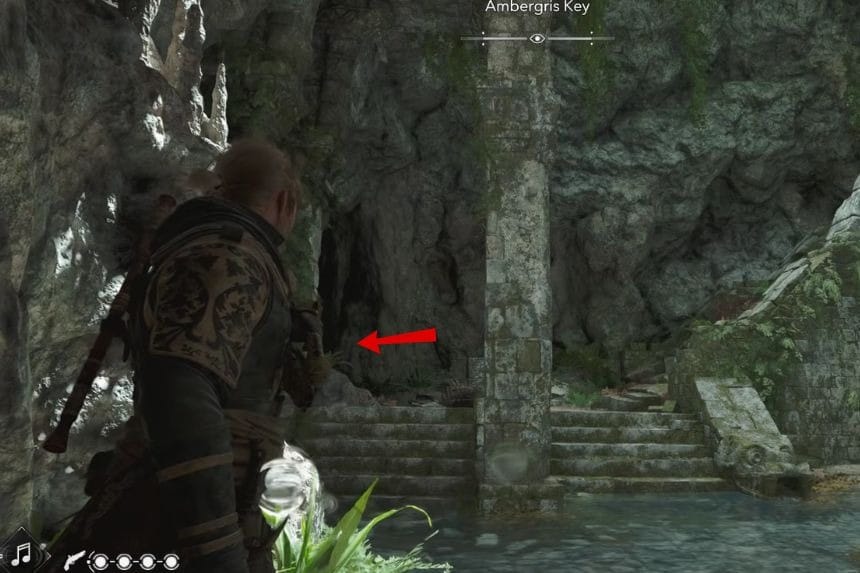
The treasure is kept in Ambergris Key (30, 157). In order to access the location of the treasure, first you need to go underwater and follow the red jellyfish through the tunnel. When you come out of the tunnel in the cave, look for the treasure in the left corner. Dig it up to receive the Pirate Captain Outfit (Rare) and 2,000 Reales.
Treasure Map #20 – Misteriosa
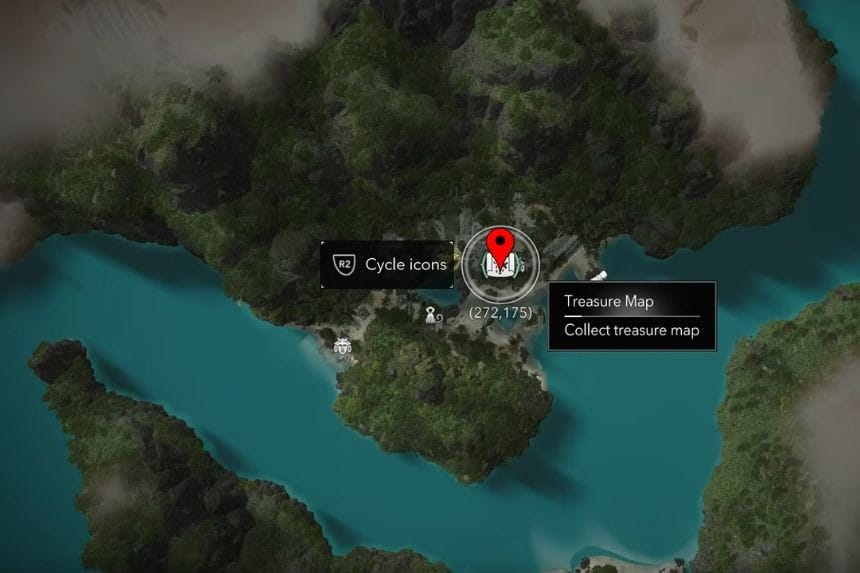
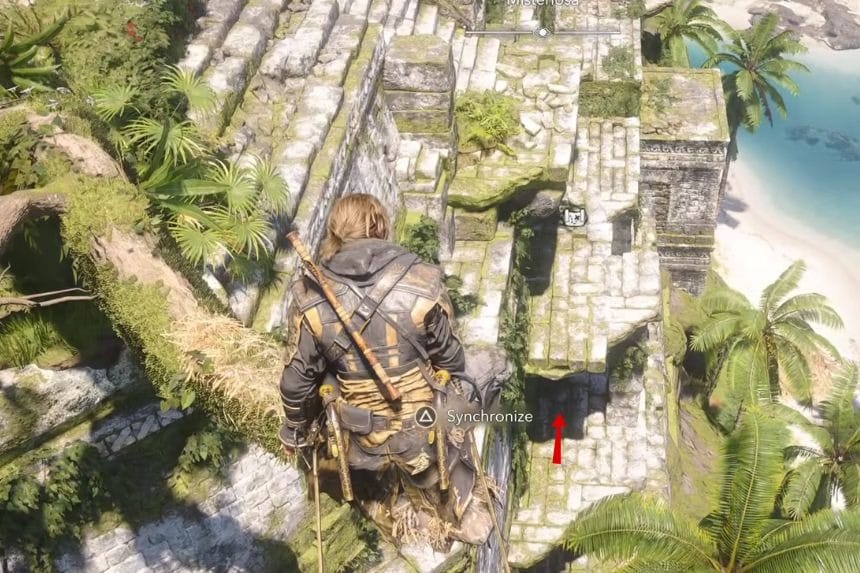
The treasure map can be found in Misteriosa (272, 175), situated under the viewing point among the bones of a skeleton in the ruins. If you happen to be at the viewing point, all you have to do is go downwards to find it.
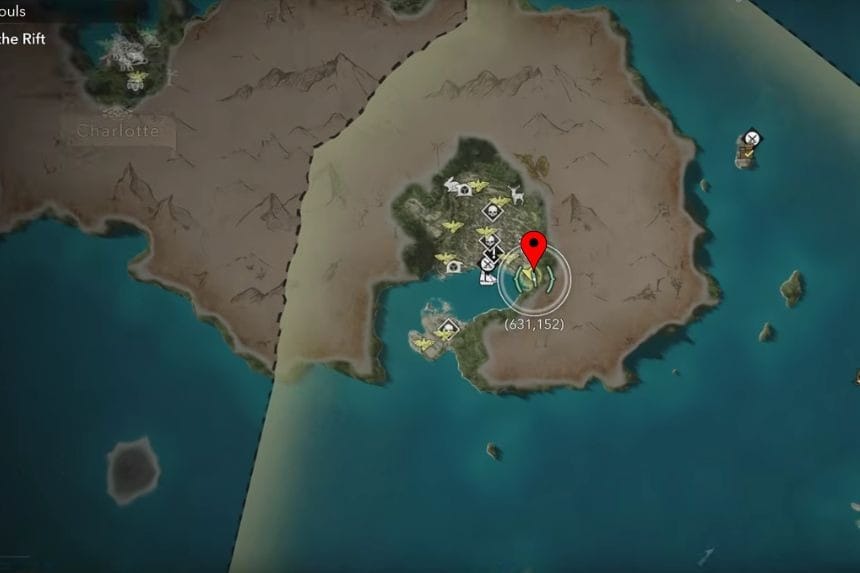
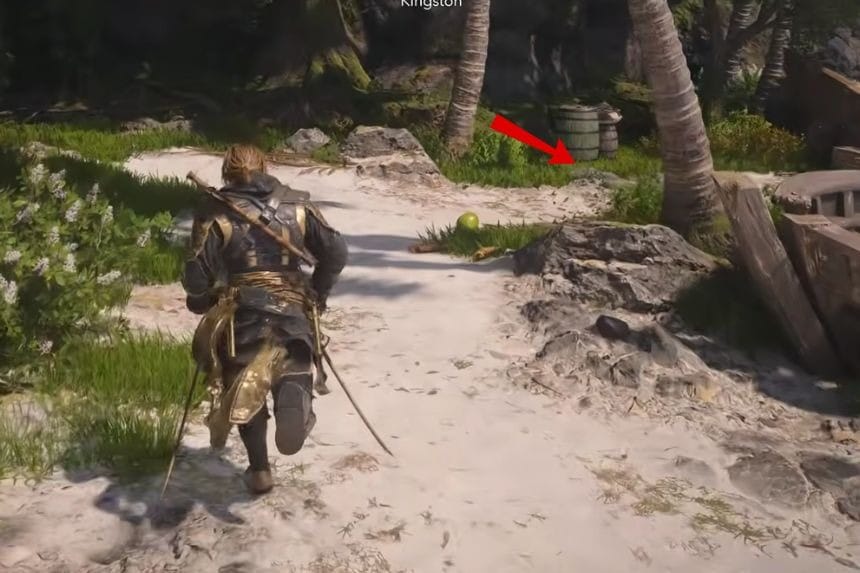
The treasure is found in Kingston (631, 152), and it will take you to a little beach that lies to the southeast of the city. It will be found under the two broken sections of a boat lying at that beach. You get the Gilded Hull Design Plan and 3,000 Reales.
Treasure Map #21 – Isla Providencia
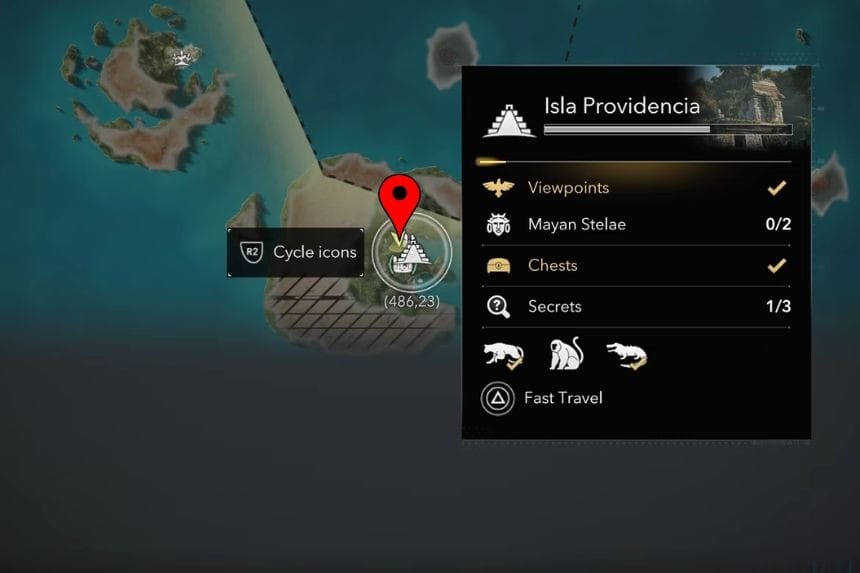
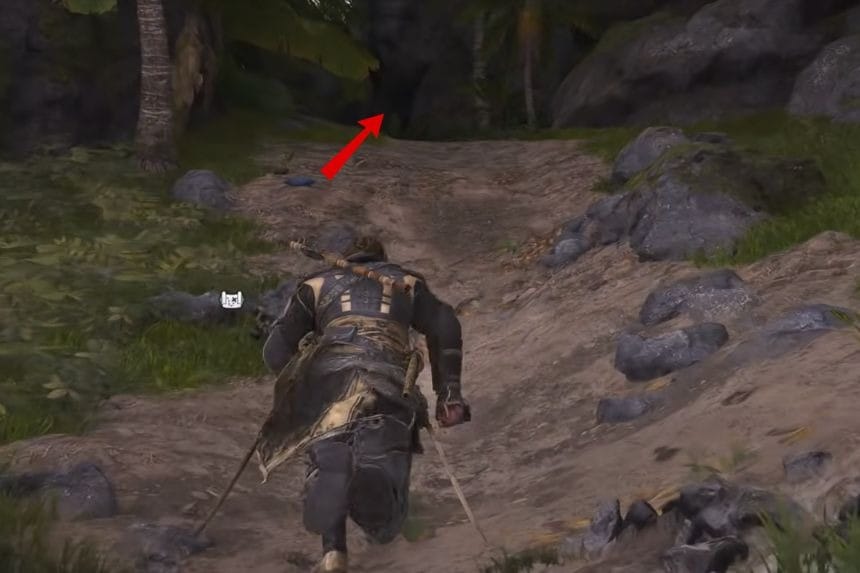
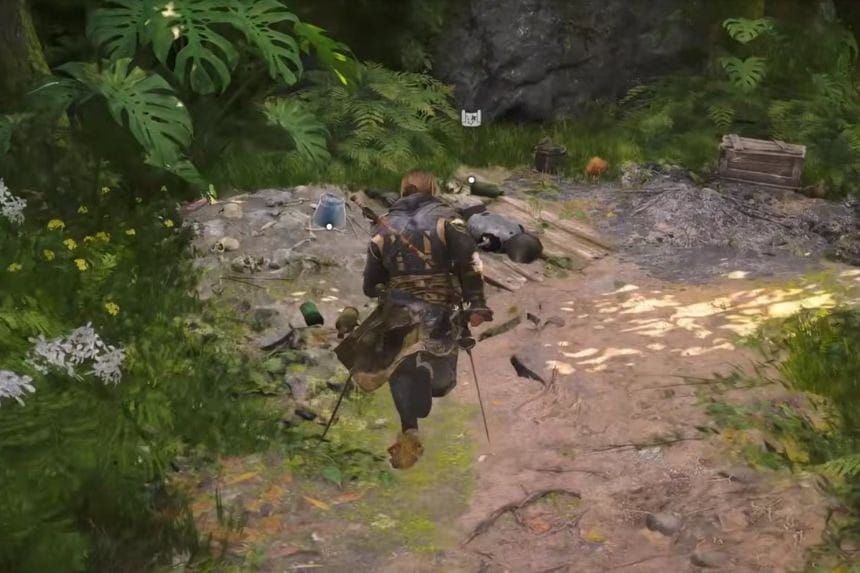
You will find this treasure map on Isla Providencia (483, 19). Walk along the dirt path through the trees beginning from the beach on the north side until you get to the treasure map.
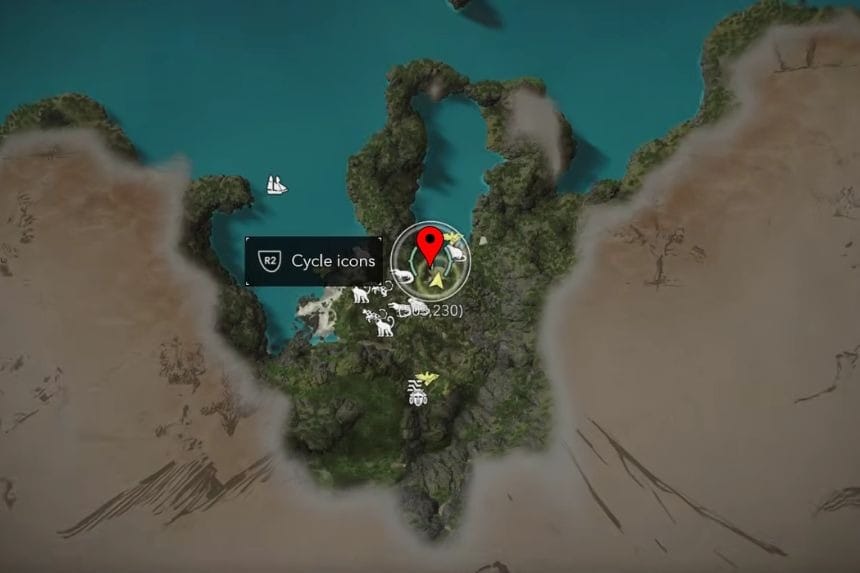
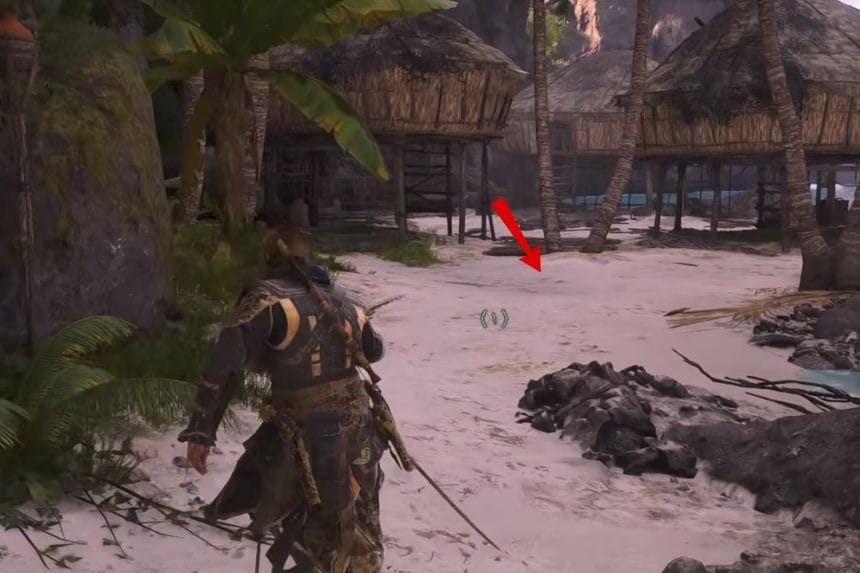
The treasure is located at Long Bay (503, 230). It should be noted that Long Bay becomes available only after Sequence 10 – Mission 03: The Observatory. Having entered the area, approach the viewpoint and search for the three huts on the beach. There you will find the treasure buried in the sand to the south of the huts. Take it to get the Scottish Broadswords (Rare Melee Weapon).
Treasure Map #22 – Port Royal
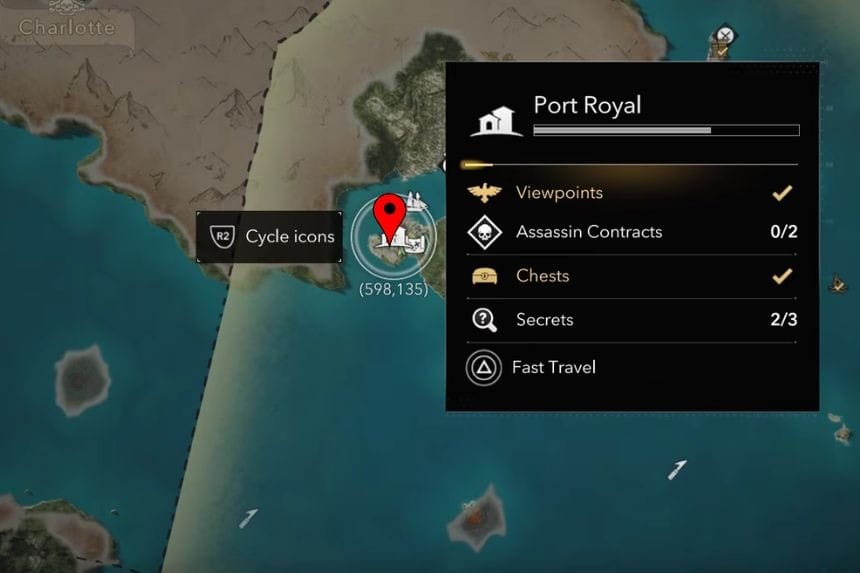
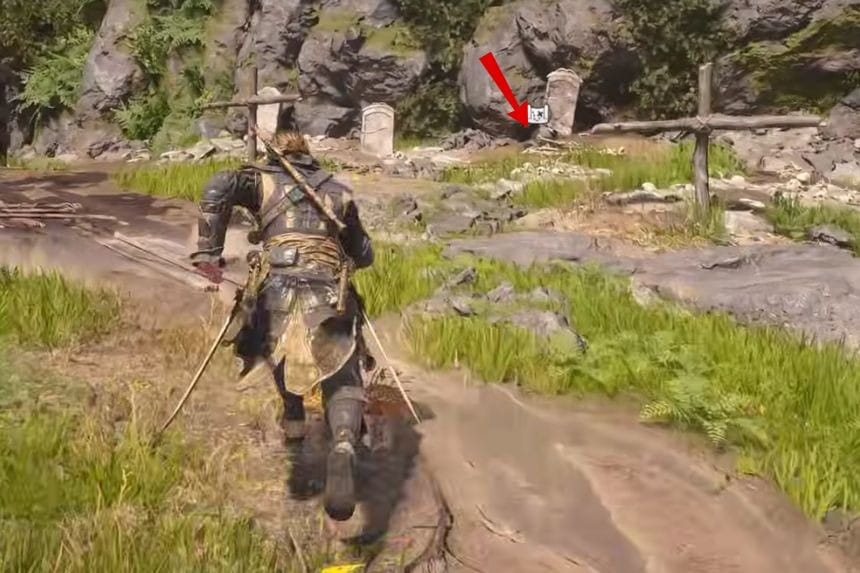
This map to the treasure is available in Port Royal (605, 132). Go to the graveyard and find a skeleton near one of the tombs. The treasure is available on Princípe (113, 11). Travel to the southeastern coast and locate a palm tree jutting into the water. The treasure will be found beneath it.
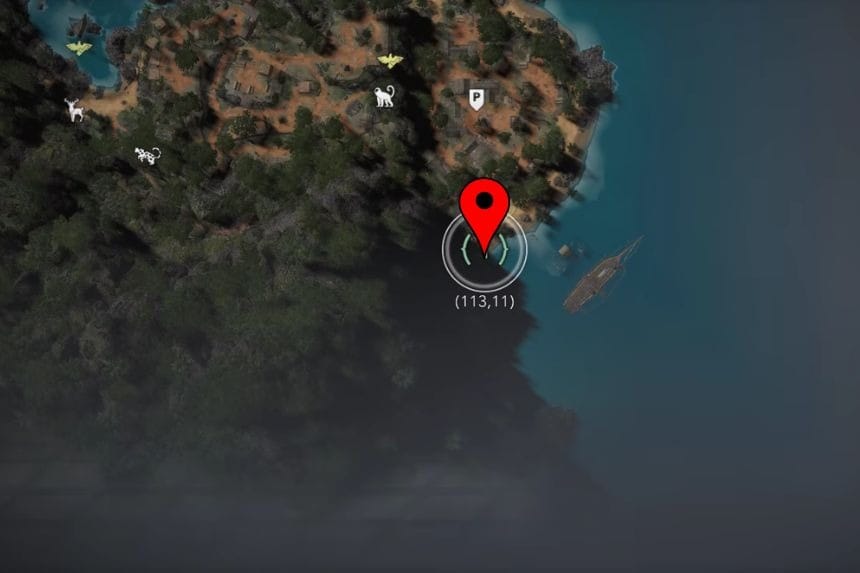
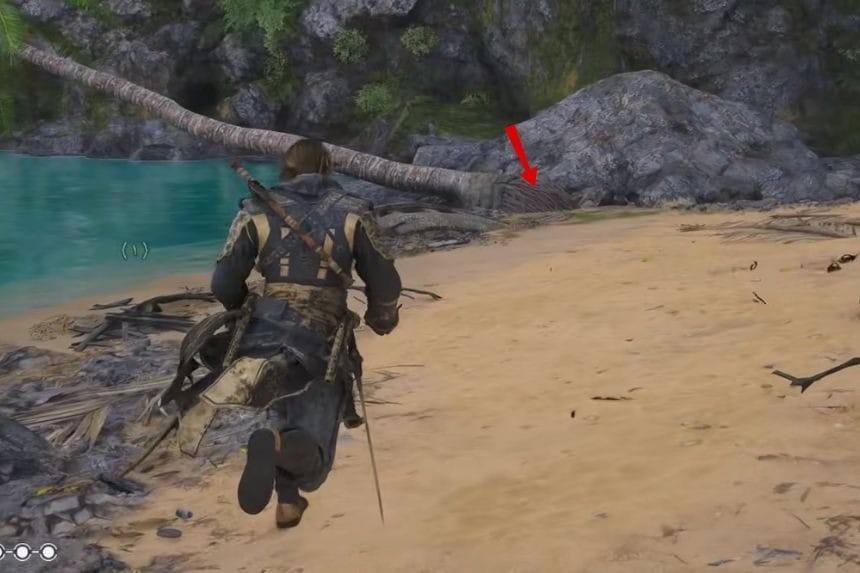
Remember that Princípe will be accessible from the time you reach Sequence 09 – Mission 02: Trust is Earned. Once unlocked, fast-travel back via the white P marker on the Caribbean map. The treasure is worth the Standard Bearer Art Collection Piece, which is required for the Dilettante achievement, and 2,500 Reales.
Treasure Map #23 – Île à Vache
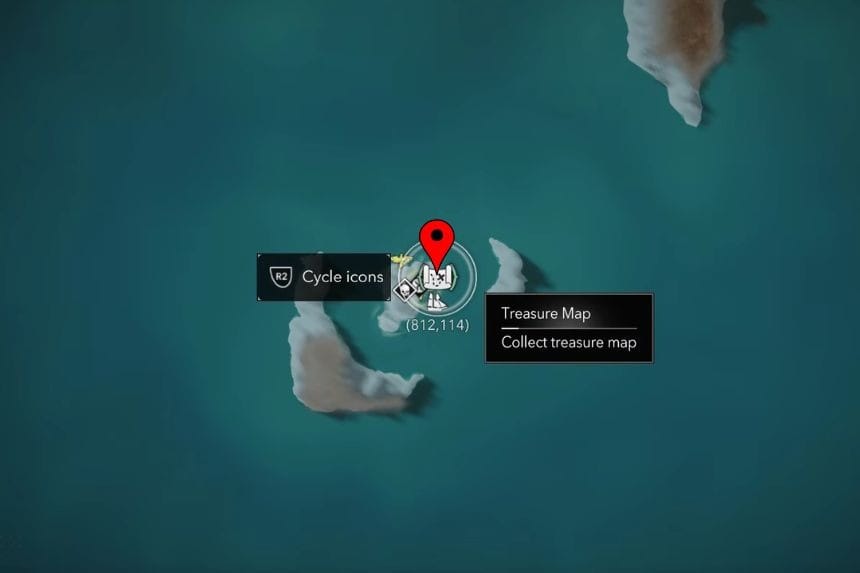
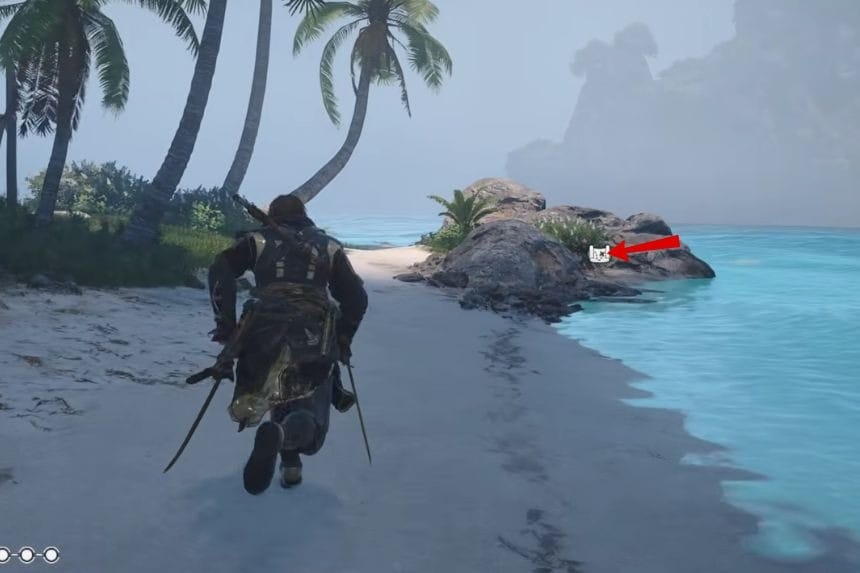
This treasure map can be found on Île à Vache at coordinates 812, 114. You just need to travel to the northeastern shoreline and collect the treasure map from the skeleton on the beach.
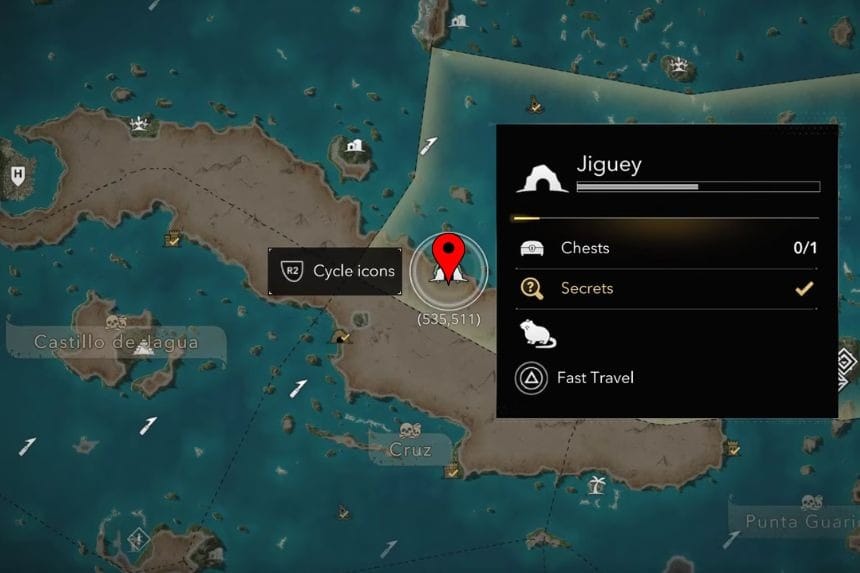
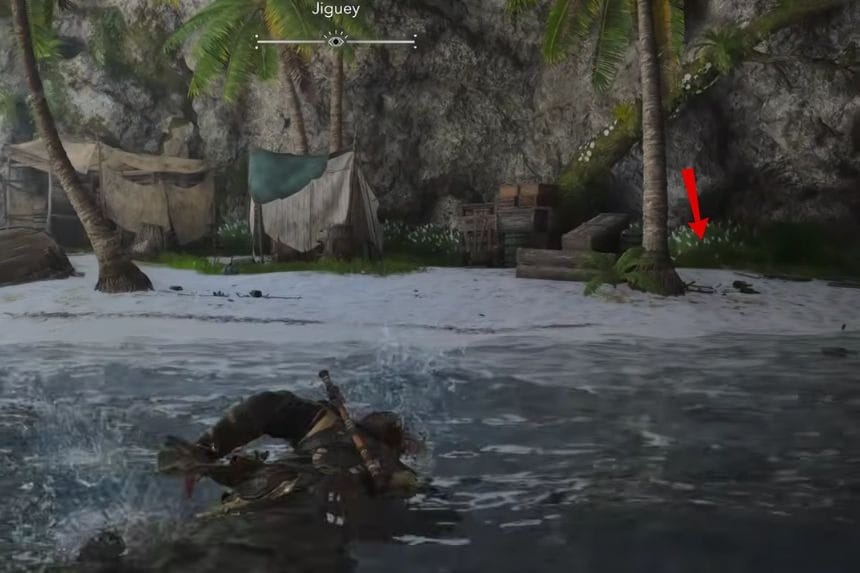
This treasure is located in Jiguey at coordinates 534, 510. Navigate to the area that contains the cave and then head to the area where there are pirates waiting for you. Move forward until you see the beach with the enemy waiting for you there. This treasure is located in the sand near the right palm trees. Collecting the Baroque Guitar Art Collection Piece, you will also get 2,500 Reales.
Treasure Map #24 – Kingston Warehouse
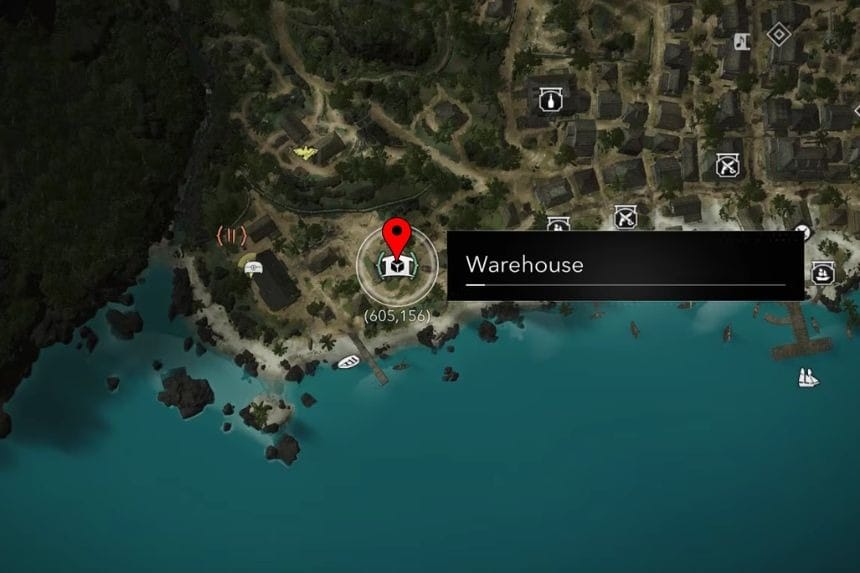
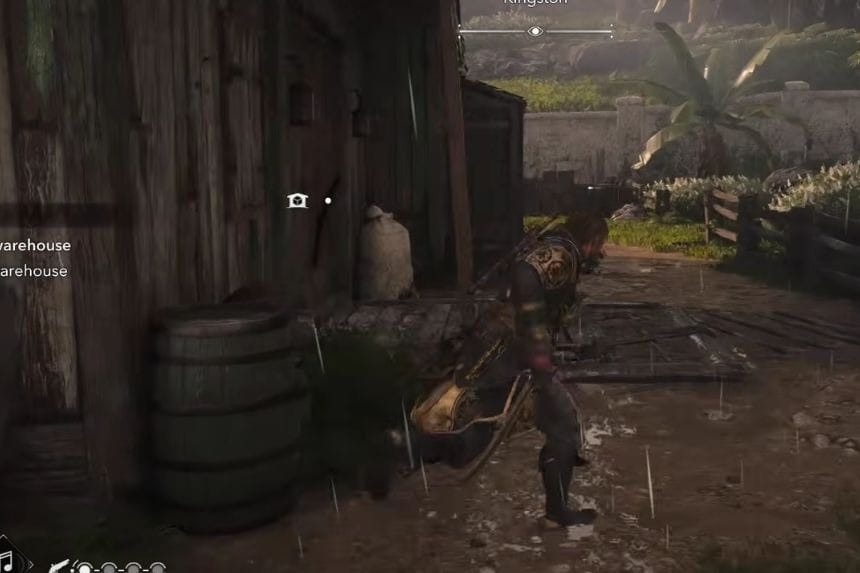
In order to find the treasure map, you must first loot the warehouse located in Kingston (605, 156). After looting, you will receive this map into your inventory.
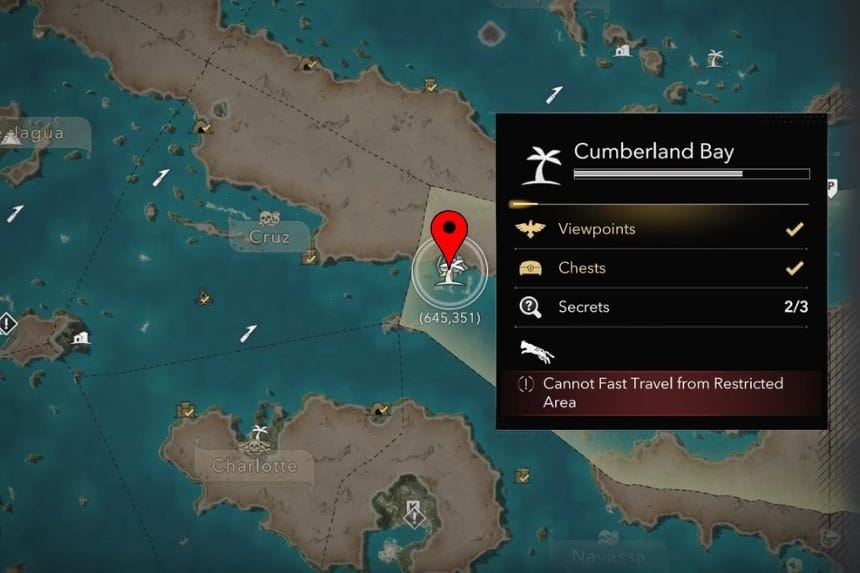
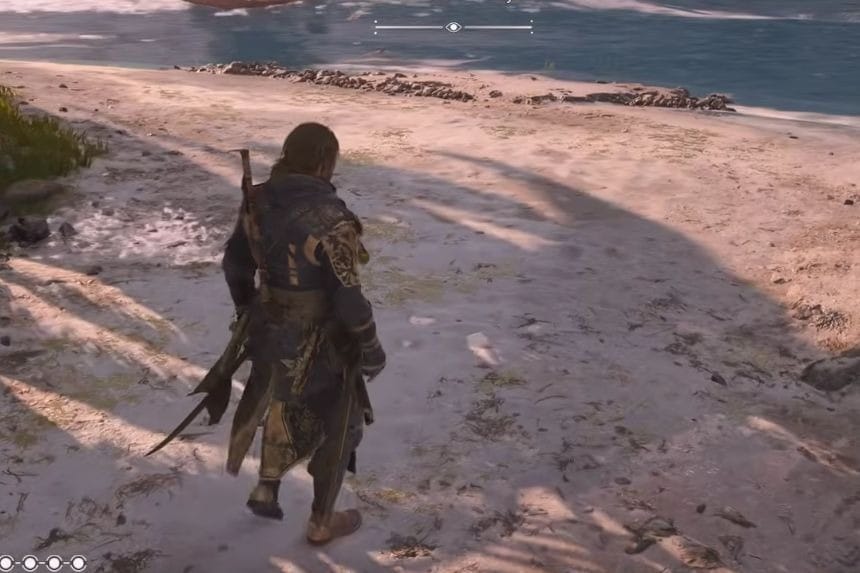
The location of the treasure is Cumberland Bay (645, 355). Travel to the beach and find the interactable rowboat. The treasure is buried in the sand nearby. You gain 4,000 Reales as a reward.
Treasure Map #25 – Blackbeard’s Treasure Map
You will get this treasure map automatically while completing Sequence 08 – Mission 01: Do Not Go Gently. Once the mission completes, a cutscene will be shown, during which Edward will discover Blackbeard’s Treasure Map, and it will start the Blackbeard’s Treasure quest.
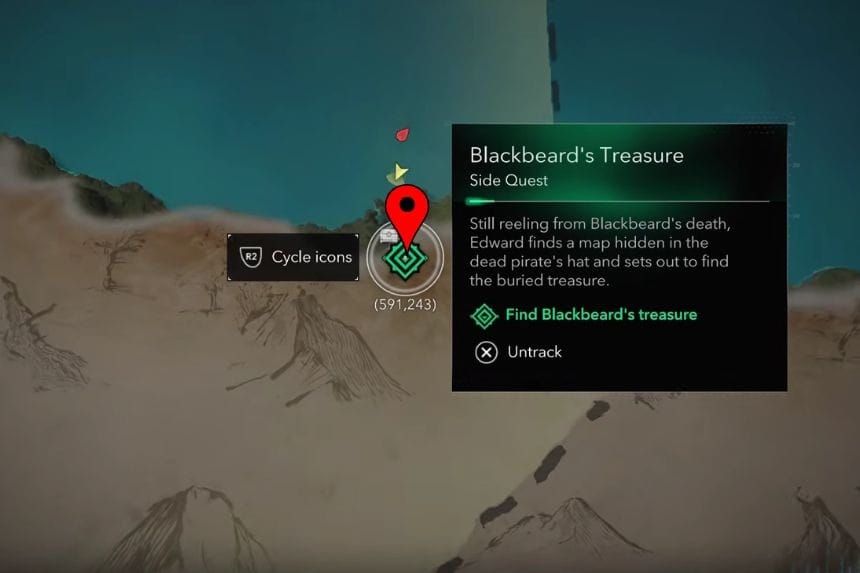
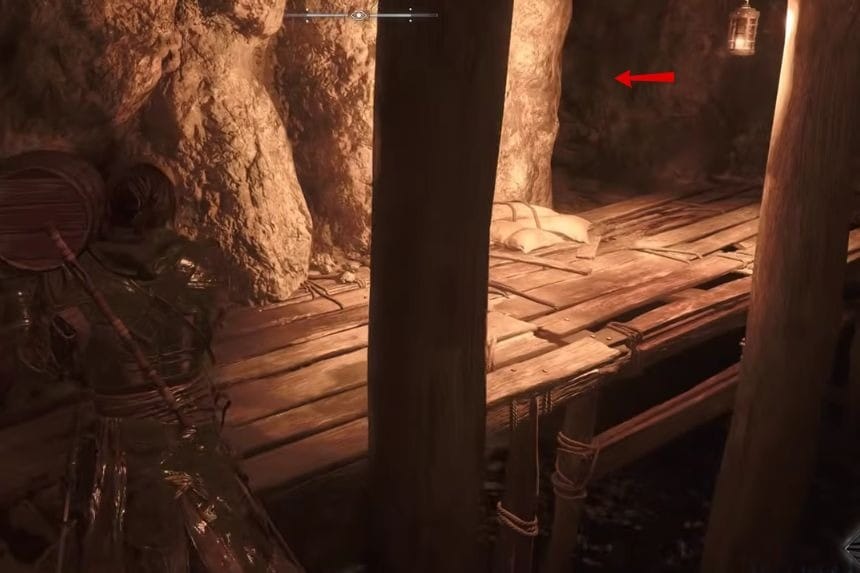
The treasure can be found in Anotto Bay (590, 245). Use the quest marker to get to the cliffs near the sea, and find a damaged diving bell. Diving in the water will lead you through an underwater tunnel to the cave.
Go towards the pirates, pick up any explosive barrel from there, and plant it next to the cracked wall on the eastern side; shoot it to open the wall. Now go further and find another room containing pirates. Again, use an explosive barrel to break the wall next to the waterfall. On the other side of the wall, you will finally find Blackbeard’s Treasure. Once you collect the treasure, fast travel to Great Inagua, and open the chest at the marked location to view the last cutscene. You will get Blackbeard’s Portrait as a reward for this task, which is needed for The Memory of My Enemy trophy.
Treasure Map #26 – Restored Weathered Map
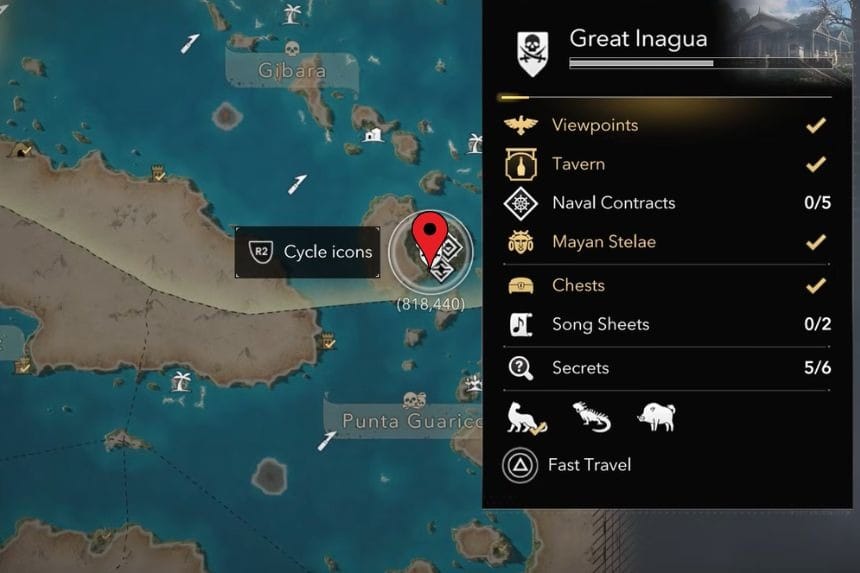
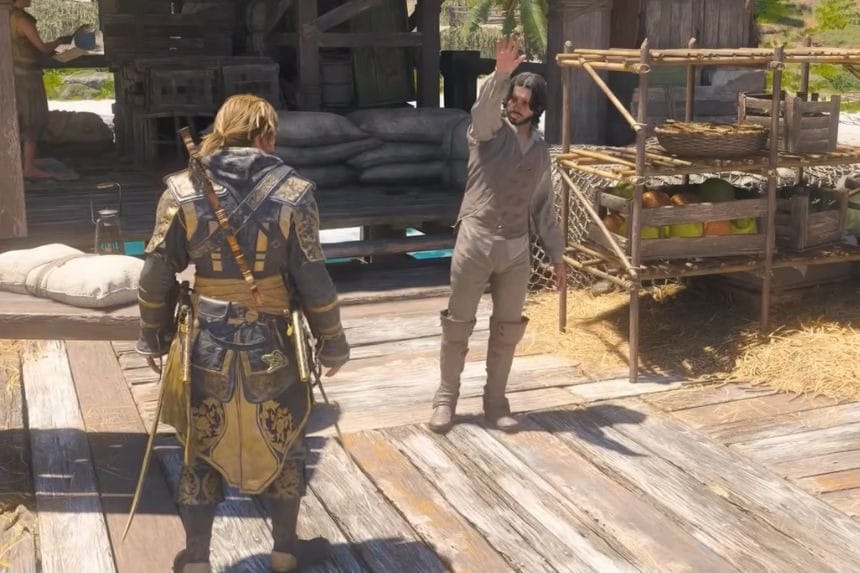
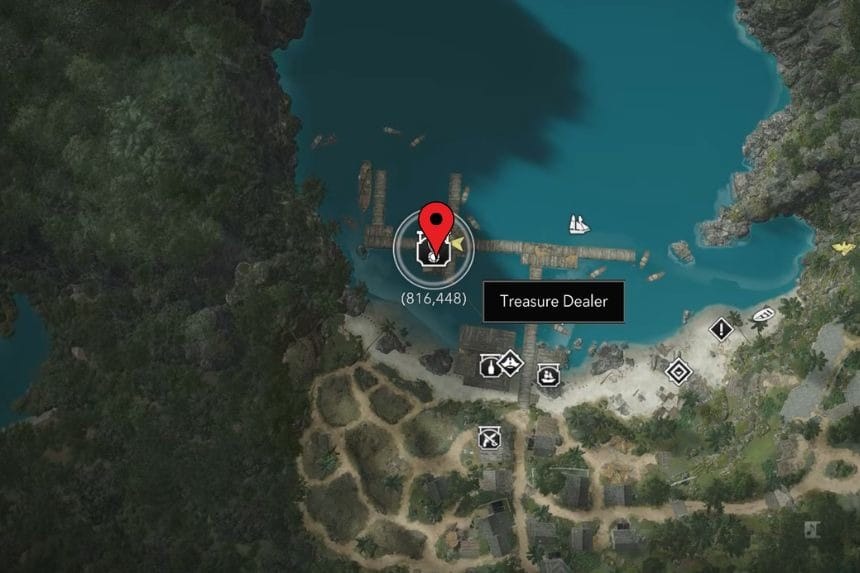
This map requires you to rebuild the Treasure Dealer in Great Inagua in Sequence 4. It will require 6 Weathered Map Pieces and 350 Tobacco. Five of the map pieces can be found in a locked cave chest, and one is bought from the Treasure Dealer. Each cave has a pirate boss that gives the key to open the chest. However, if you do not get the key in Anotto Bay, just wait for two hours until they respawn.
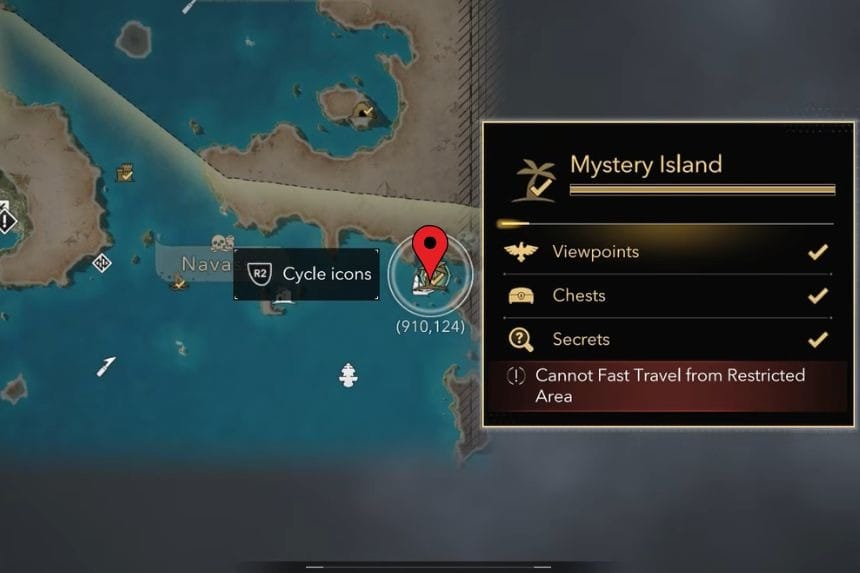
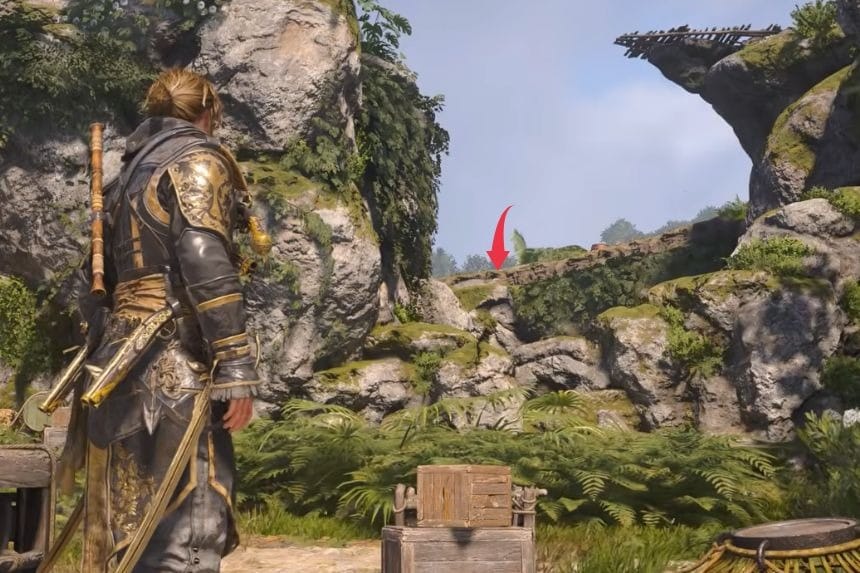
After you obtain the map and locate the treasure spot, go to Mystery Island (914, 124). Locate a circular rock formation near the haystack on the east side of the island. You will find the treasure in the middle. Your reward consists of the Persian Scimitars (Legendary Cutlass) and Gargoyle’s Breath (Legendary Pistol).
Treasure Map #27 – Restored Yellowed Map
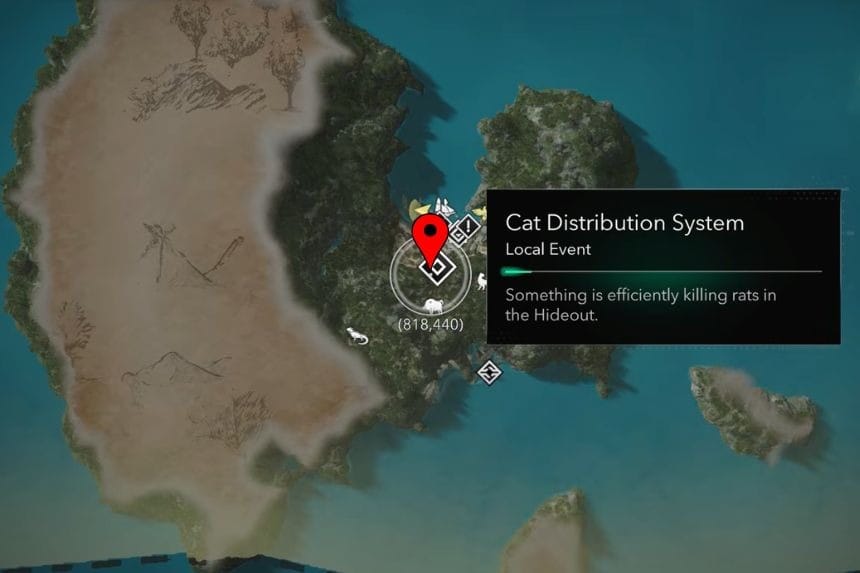
To unlock this map, you will need 10 Yellowed Map Pieces and 100 Aloe. Yellowed Map Pieces are obtained randomly during Kenway’s Fleet, using Schooners to perform missions for trade. Before going on a trade mission, make sure that there is a map icon present on your fleet screen, indicating missions that give map pieces.
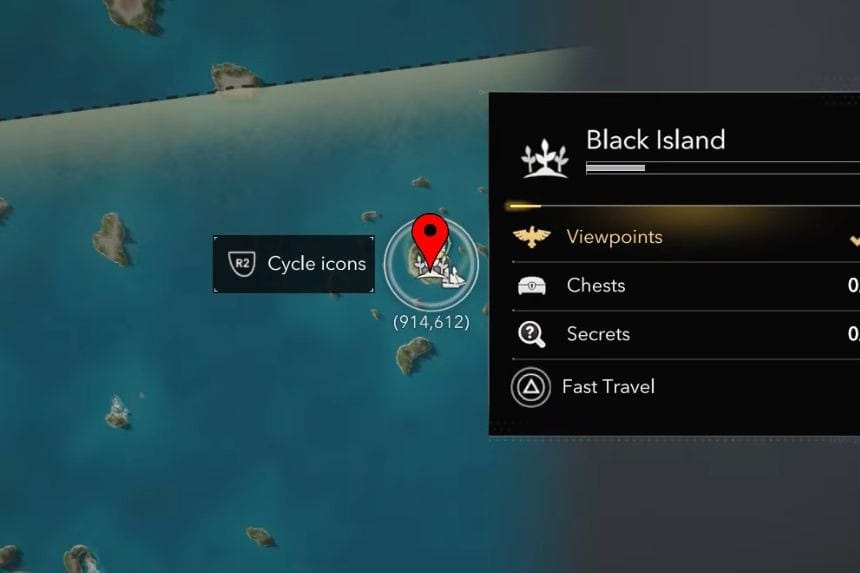
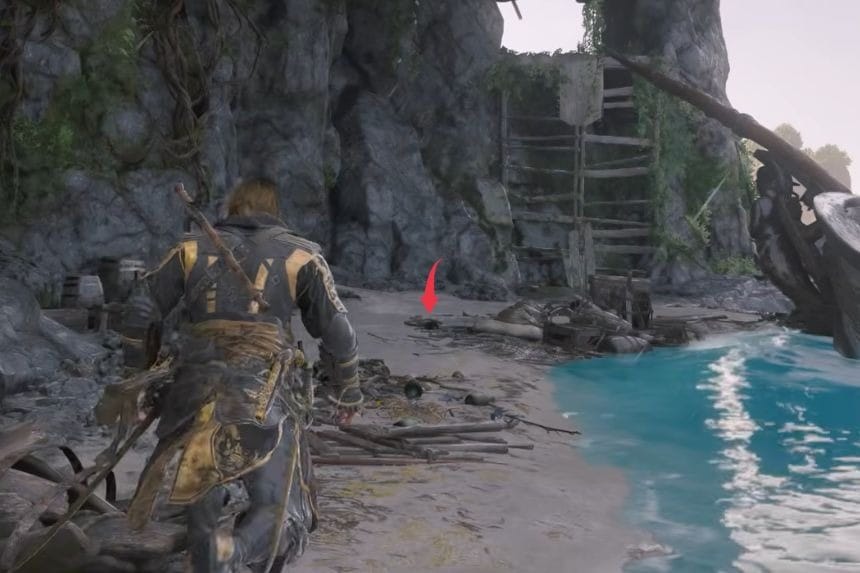
Having restored the map, move on to Black Island (915, 617). Head to the northern shore of the island, and search for a shipwreck. Your loot will be buried nearby. There, you will get Obsidian Sails (Legendary Sails), “The Wellerman” Sea Shanty, and Helm of the Night Owl (Legendary Ship’s Wheel).
Treasure Map #28 – Restored Digested Map
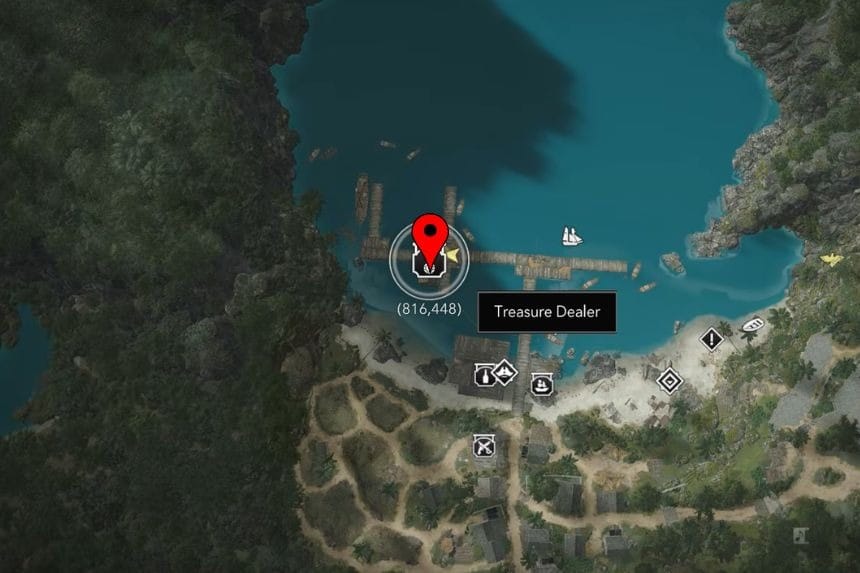
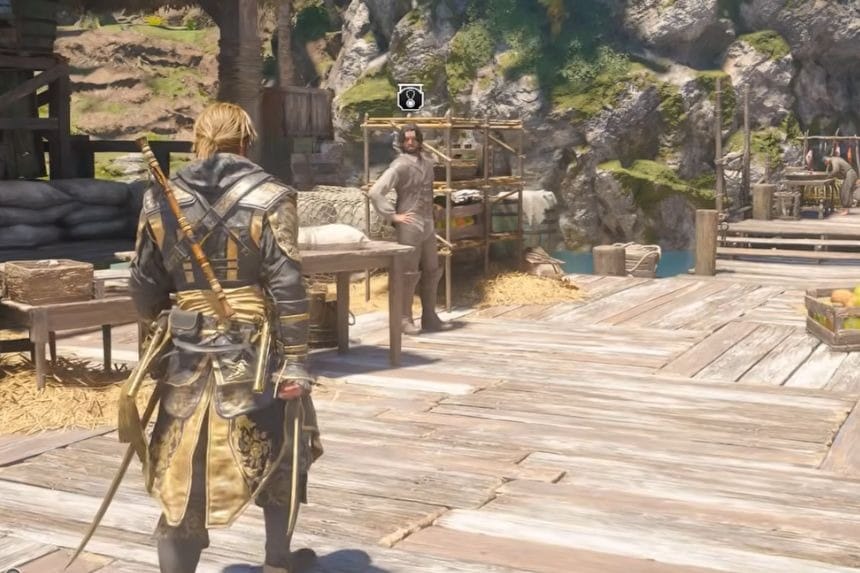
The map for this location needs 2 Digested Map Pieces and 200 Rum. Both map pieces can be found from the White Jaguar in Great Inagua (825, 439). The jaguar gives only one piece at a time and takes time to respawn, which means that you should revisit the area several times before collecting all pieces.
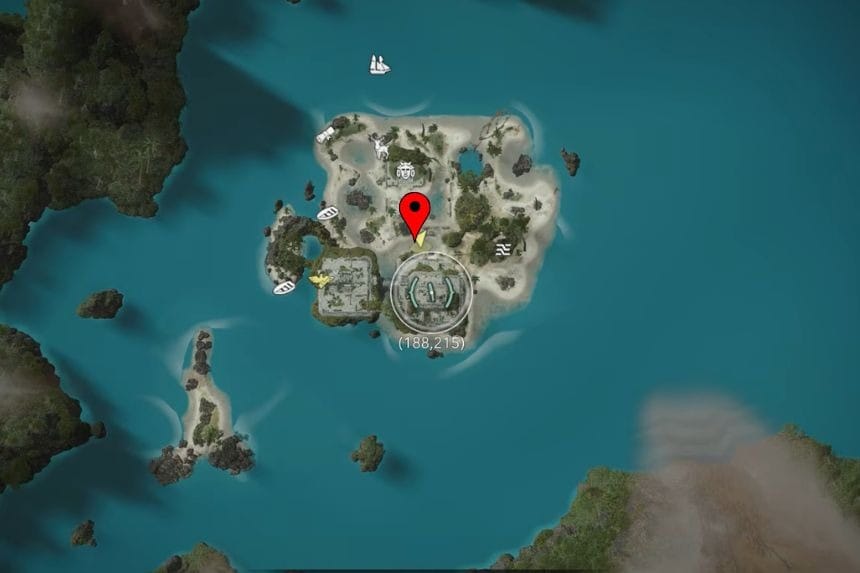
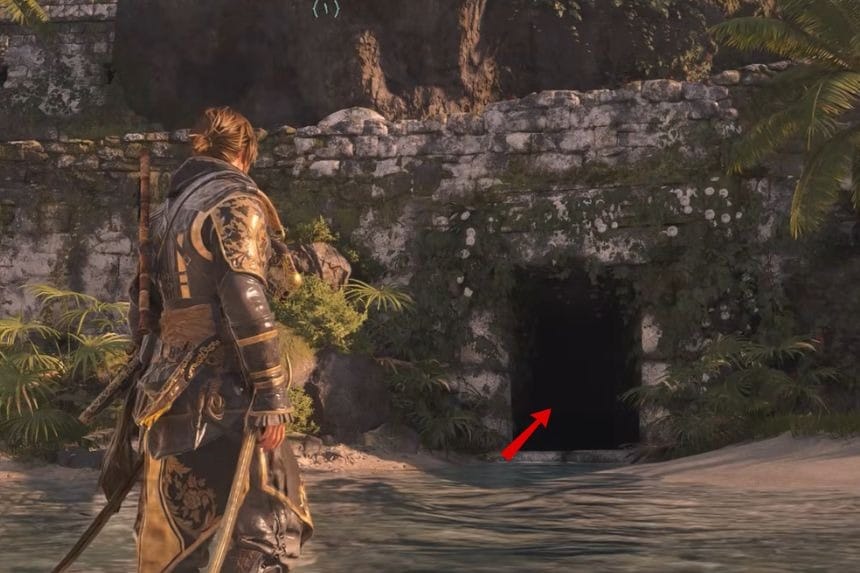
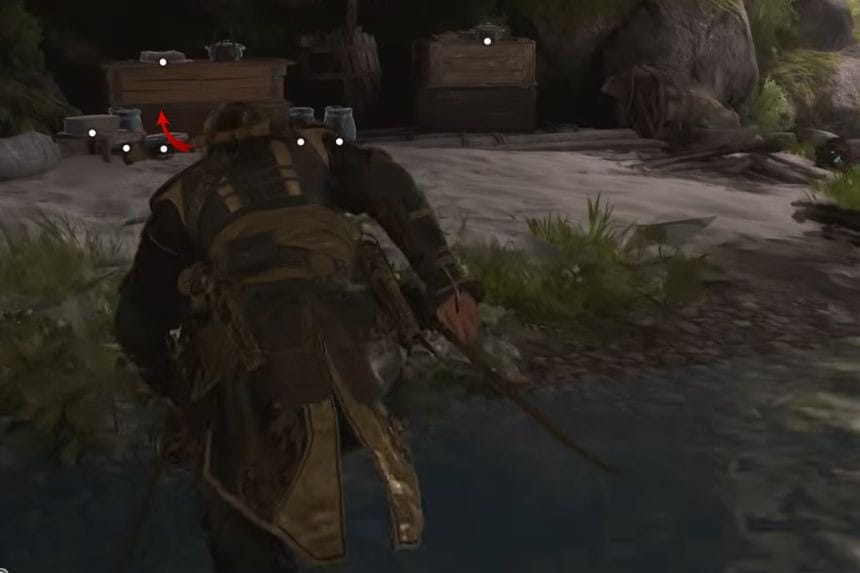
Having obtained the map, go to Santanillas (188, 215). The treasure is located inside a cave under the temple. You can access it from the beach tunnel above the treasure point or simply jump down into the well below. Digging up the treasure grants you the Hunter Outfit (Rare Outfit) and the Hunter’s Amulet (Rare Trinket).
Treasure Map #29 – Restored Tattered Map
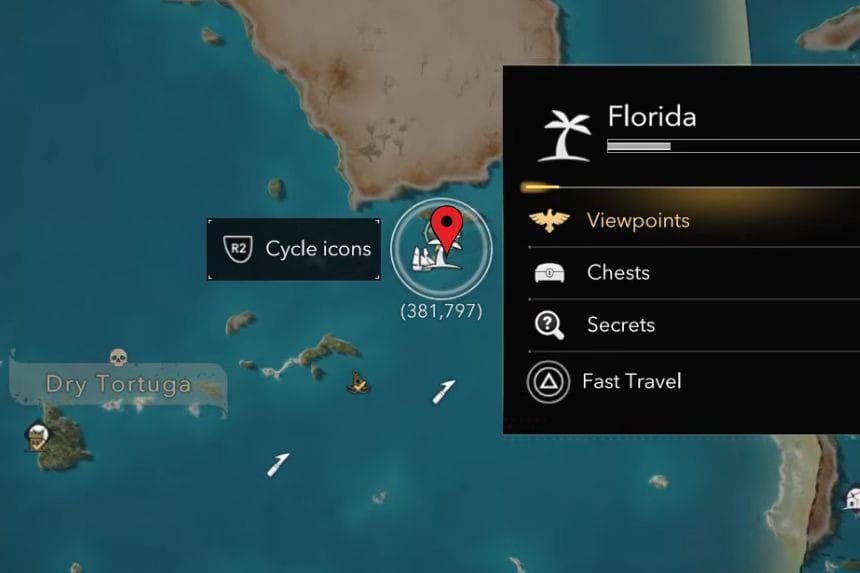
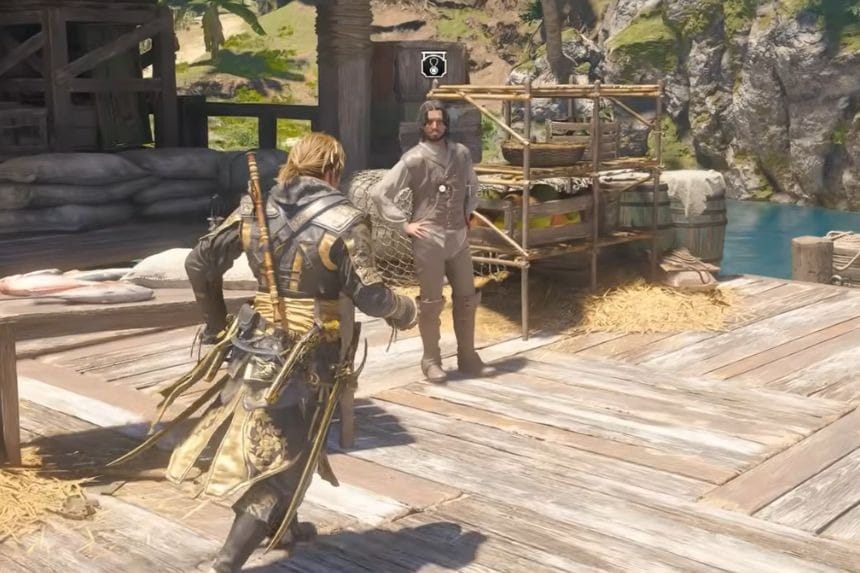
For restoring this map, 3 Tattered Map Pieces and 200 Sugar will be required. Tattered Map Pieces can be acquired from Pirate Hunter Frigates and Man-O-War frigates. These enemies spawn at a wanted level of 3 or 4 and after successfully boarding them, select the Captain’s Lockbox as the loot choice to get the map pieces.
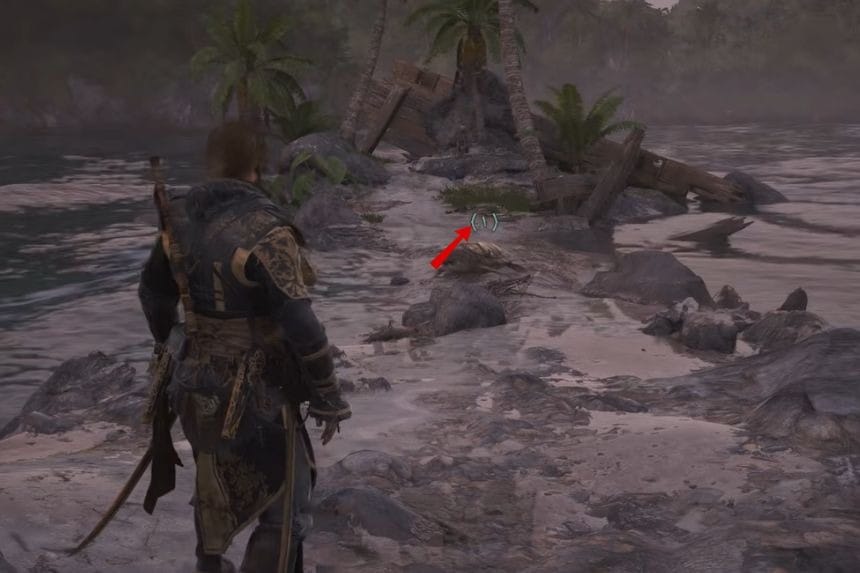
After restoring the map, head over to Florida (381, 803). Head to the top of the island where you will see three palm trees. You will find the treasure buried in the sand under these trees. Rewards for completing this include the Elite Wheel (Rare Ship’s Wheel), Gilt Lined Sails (Legendary Sails), and Sleek Crew Attire (Rare Crew Attire).
Treasure Map #30 – Restored Preserved Map
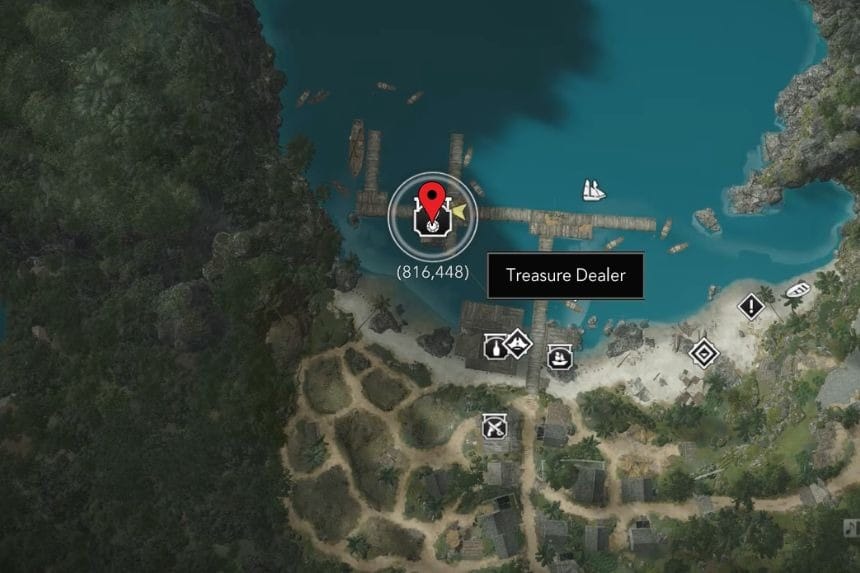
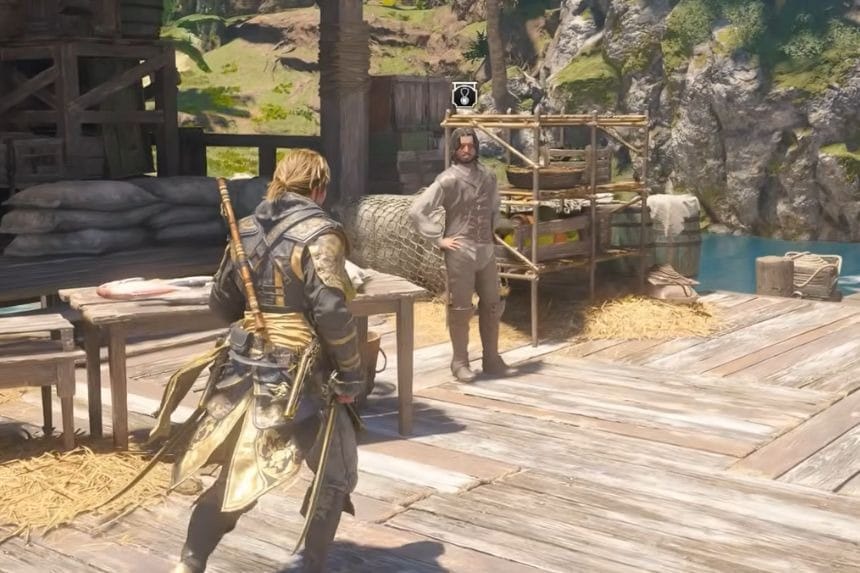
For the restoration of the final treasure map, you would require 4 Preserved Map Pieces and 150 Tobacco. Preserved Map Pieces are available through raiding the warehouses twice. There are nine warehouses in the Caribbean, and once the cooldown period of these finishes, you can raid them again for the purpose of acquiring these map pieces.
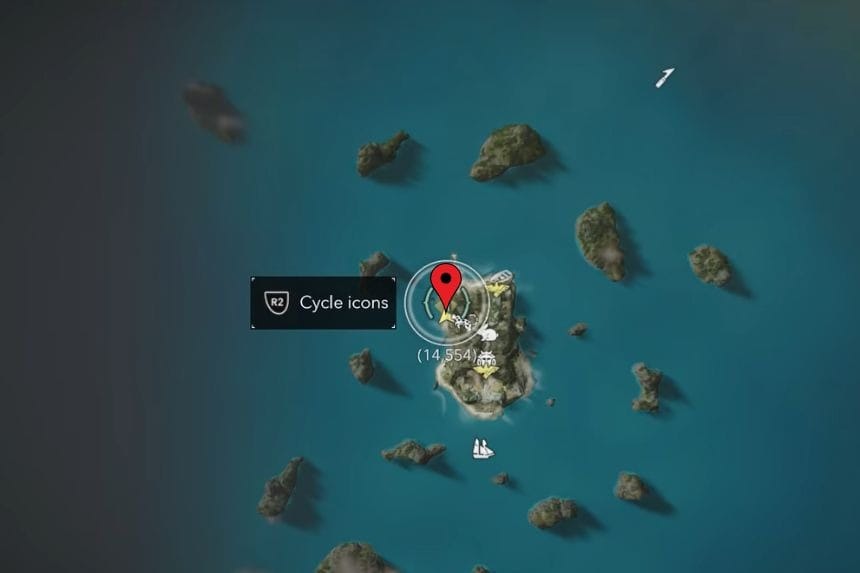
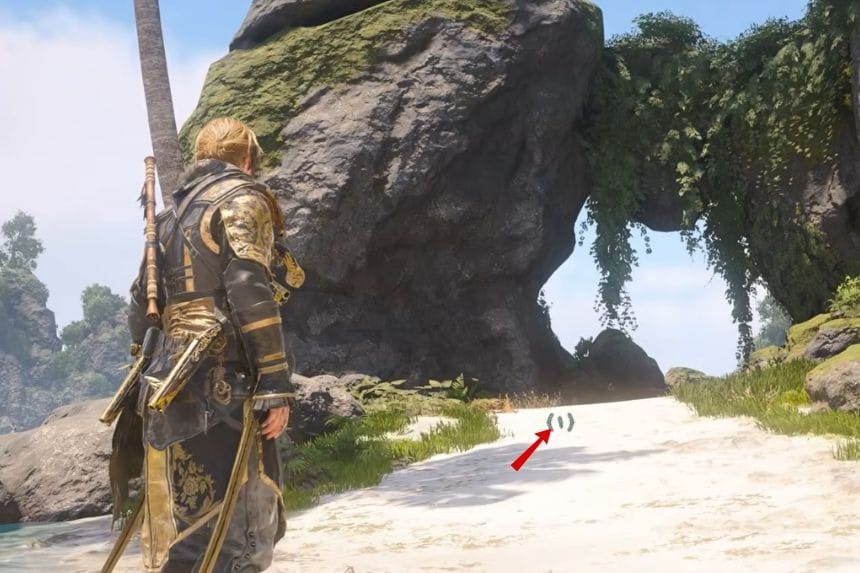
Now, once you have restored the map, you will have to sail to the Sacrifice Island (14, 554). On arriving there, visit the southwestern coast and dig the ground under the big rock arch. The treasure will be found there. You will get Shade and Shadow Robes (Legendary Outfit) and Wooden Eyeball (Legendary Trinket).
