
The Stress Testing Chamber forces you to think like an agent under pressure – use cover, pick your moments, and exploit the lab’s interactive elements to create openings rather than charging blindly. The chamber is a confined lab with high end security protocols which force you to use environmental hazards to break out, turning a routine escape into a puzzle. This guide breaks the escape into clear steps – initial reconnaissance of the chamber, locating the locked cabinet code that hides a collectible, and following the escape route.
Stress Test Chamber
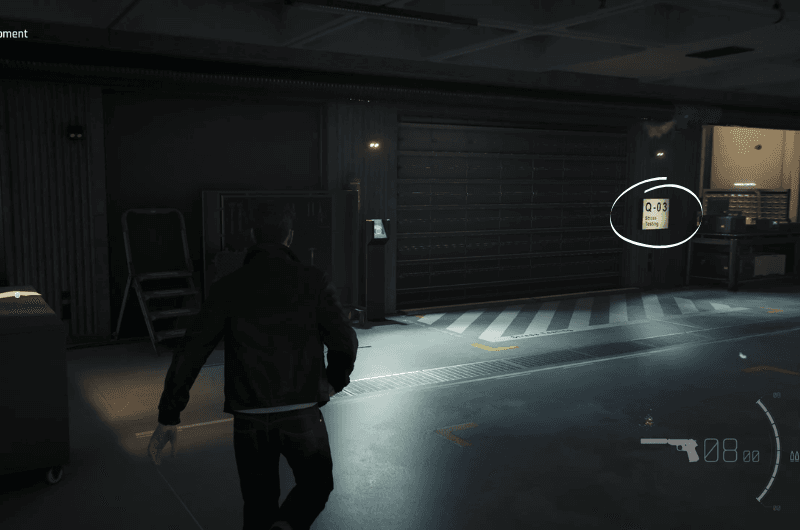
You must enter the Q-03 Stress Testing Lab to retrieve the Q-Watch; when you pick it up the lab locks down and you’ll need to trigger the emergency evacuation protocol to escape.
Locked Cabinet
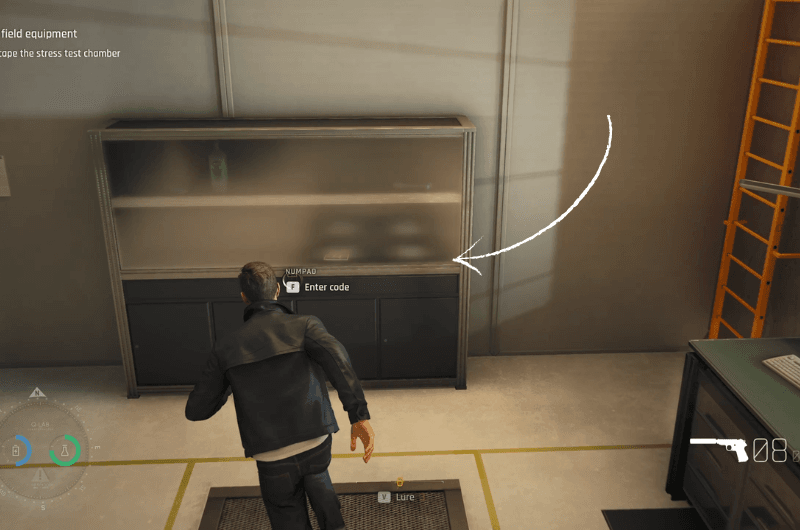
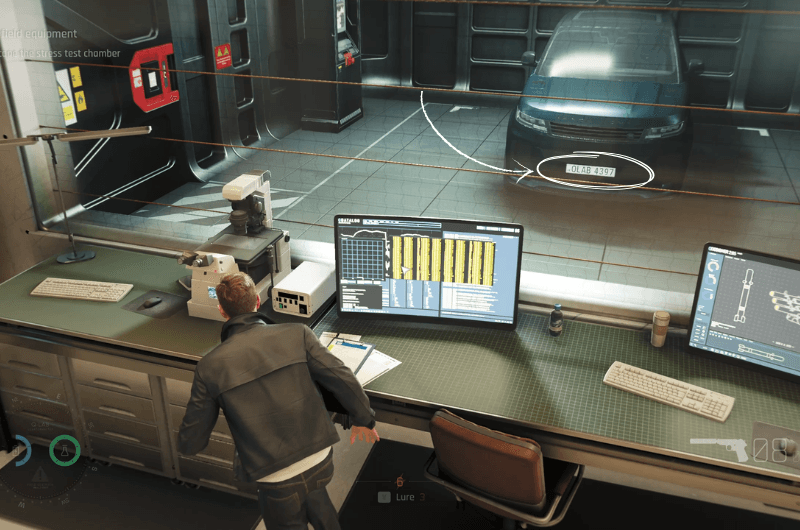
Before escaping the lab, claim the hidden collectible in the locked cabinet. The collectible sits inside the cabinet; inspect the note on the wall beside it to learn the code clue – the cabinet code is the test subject in the case. Look right from the cabinet through the window panels to see the test subject – a car, and read its number plate. The last four numerals of the vehicle’s plate are the cabinet code – 4397. You’ll find a photo collectible of Q and Rhys inside the cabinet.
Emergency Evacuation Protocol
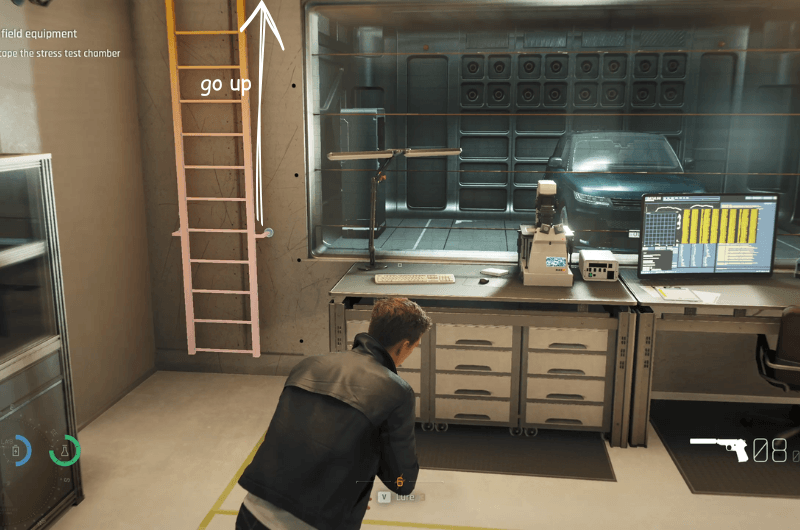
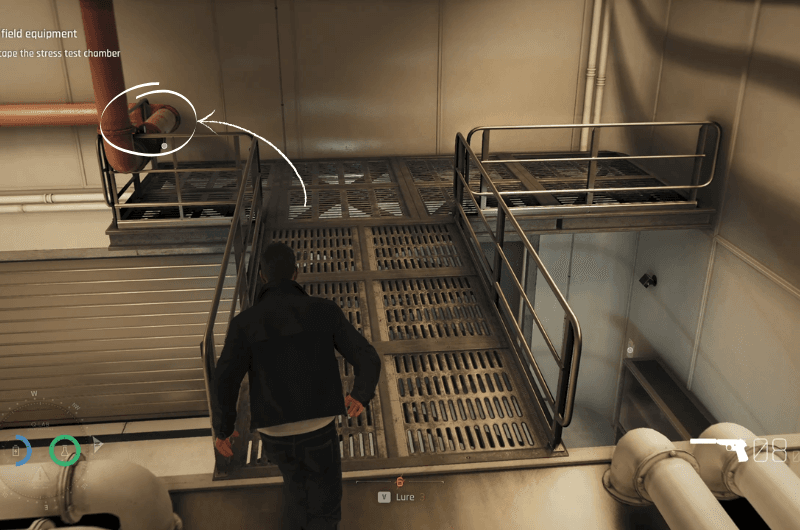
To the right of the cabinet you’ll see a ladder – climb it, locate the valve shown in the second image, and then turn the valve on.
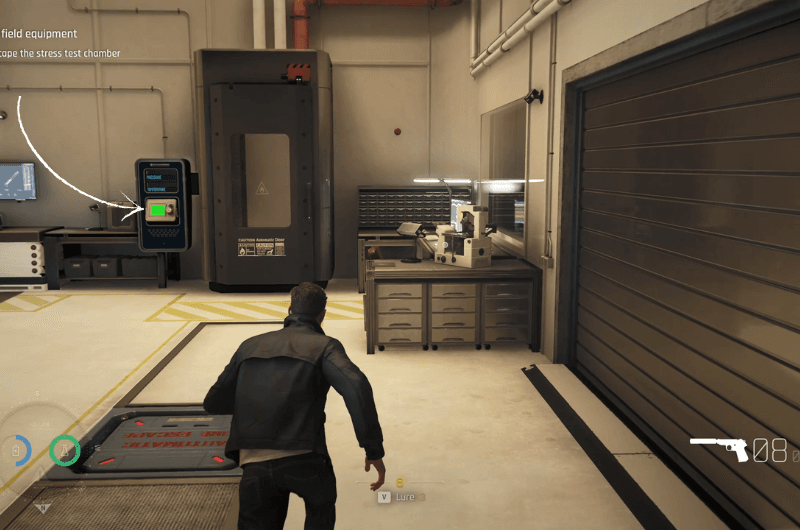
Next, go to the furnace below and activate it using the terminal beside it; once the fire is burning, use the laser to break the furnace lock.
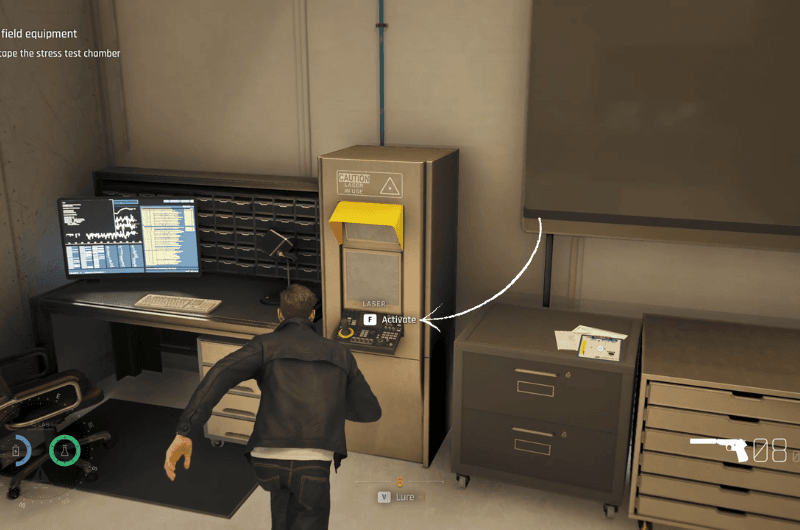

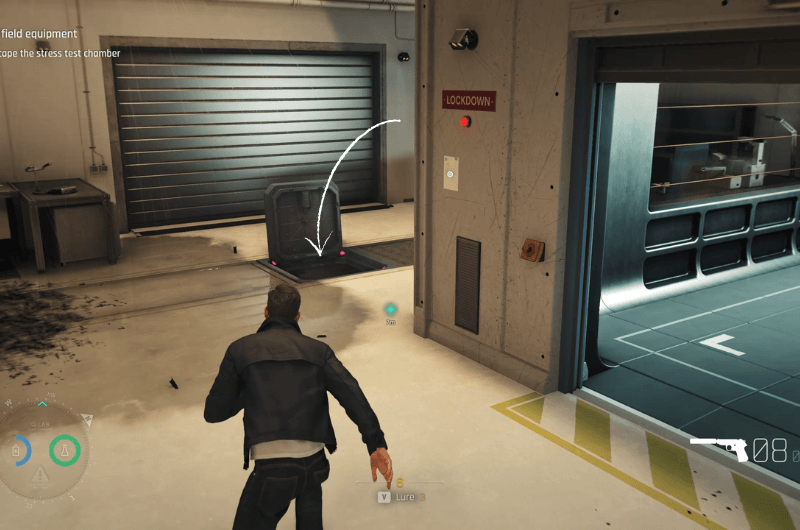
Look left of the furnace for the laser terminal shown in the first image; interact with it to control the laser, then direct the beam toward the furnace and aim at the yellow lock atop the furnace’s glass screen as shown in the second image. Use the laser to shatter the lock – the resulting small blast will trigger an emergency and initiate the evacuation protocol, opening an underground hatch you can use to escape the Stress Testing Chamber.