
Aza is one of the many companions in The Outer Worlds 2, and a faithful member of The Glorious Dawn — at least initially. This guide details where to locate Aza, how to hire her, and how to finish her companion quest, The Dawn of a Glorious Betrayal, from beginning to end.
Where to Find Aza
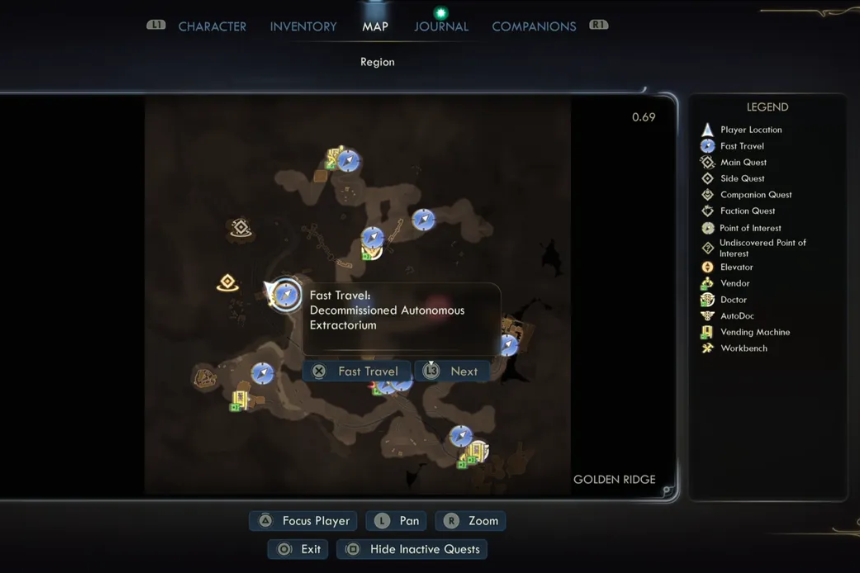
You’ll encounter Aza for the first time inside the Decommissioned Autonomous Extractorium on Dorado. The building is infested with Glorious Dawn enemies, so remove them however you like — stealth, persuasion, or all-out combat are all suitable methods.
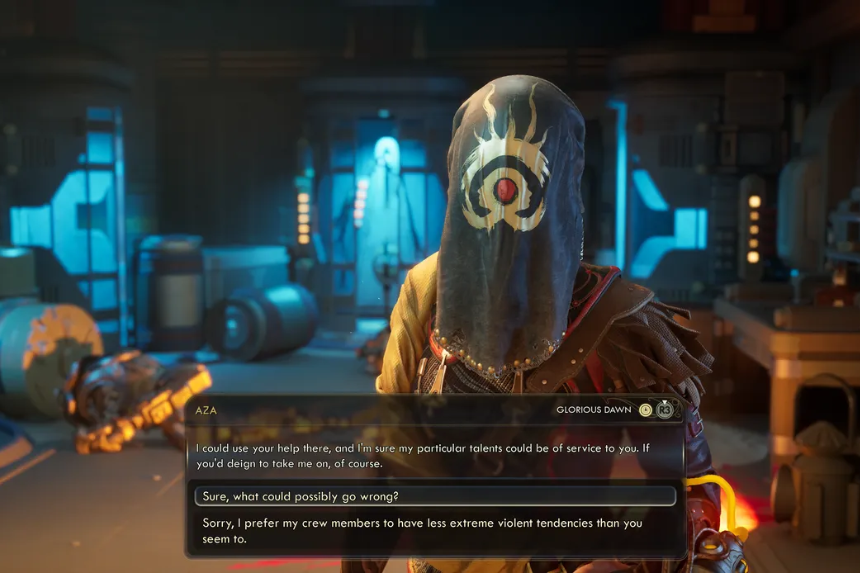
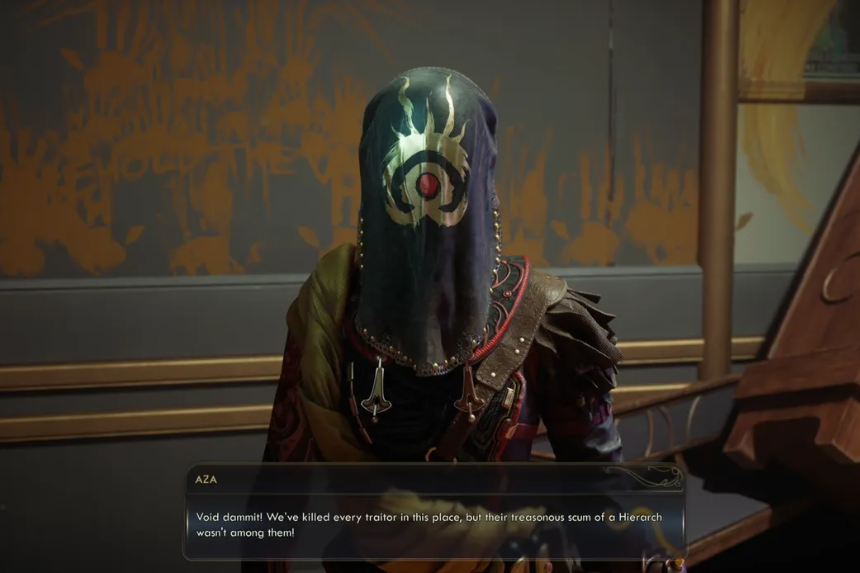
After securing the area, make your way upstairs and open the door that’s been barred. Aza will initiate a cutscene where she introduces herself. She’s upset that she didn’t get to fight the Dawn enemies outside — even more so considering she was betrayed by her own order.
As you talk to her, ask her questions regarding the Glorious Dawn’s faith and their fixation with the rifts, but Aza will bring up that she still has business at the N-Ray Range. Invite her along, and she’ll accept and join your party, beginning the Dawn of a Glorious Betrayal companion quest.
Proceed to the N-Ray Range
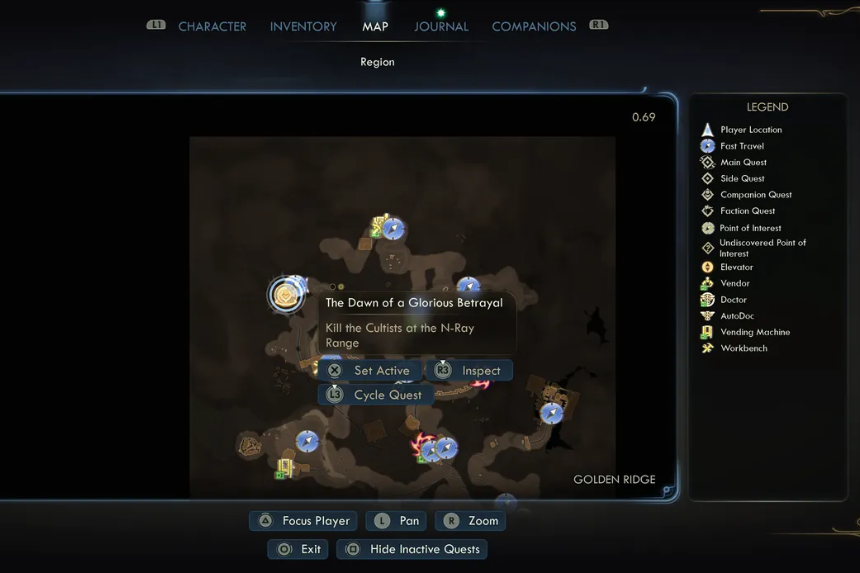
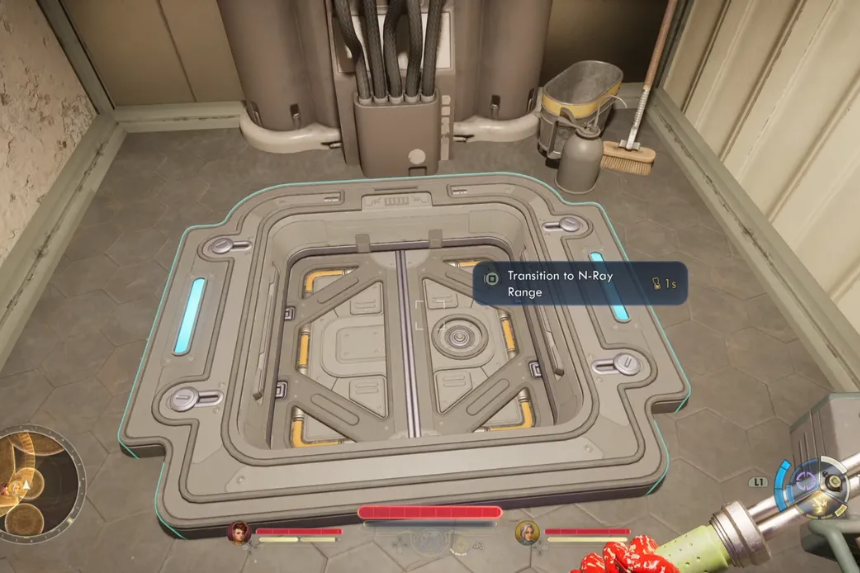
Your initial destination is the N-Ray Range in Golden Ridge, also in Dorado.
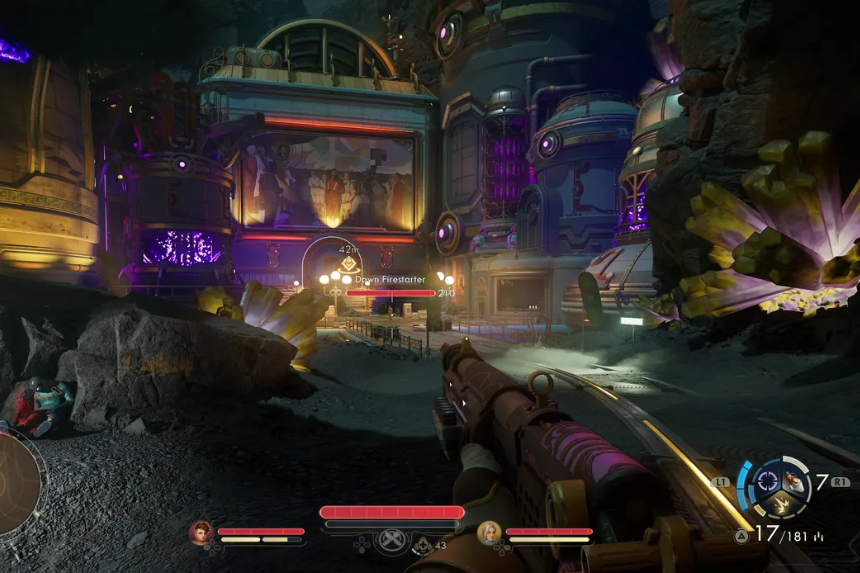
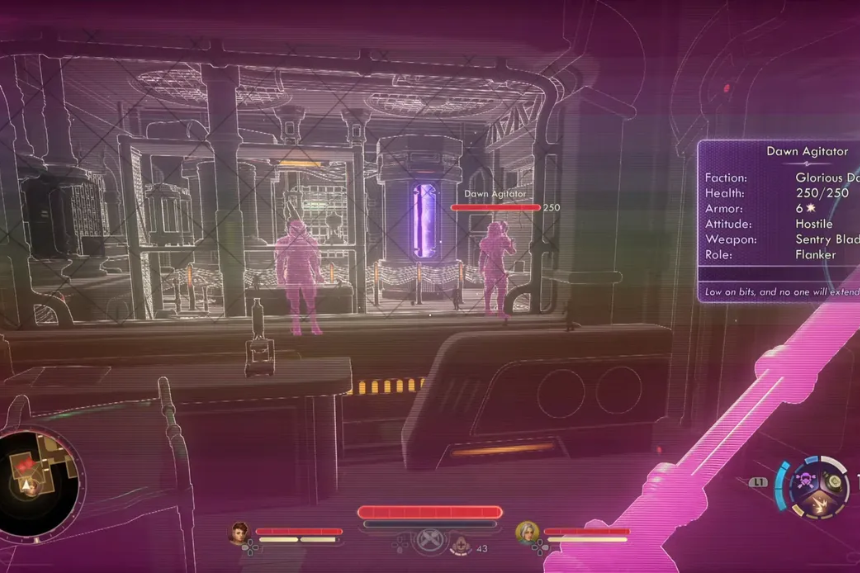
Cross the bridge ahead and deal with three enemies — a Dawn Agitator, Dawn Provocateur, and Dawn Firestarter. After defeating them, go into the side room on the right. You’ll find a hatch in the back — interact with it to descend into the N-Ray Range facility.
Explore the Facility
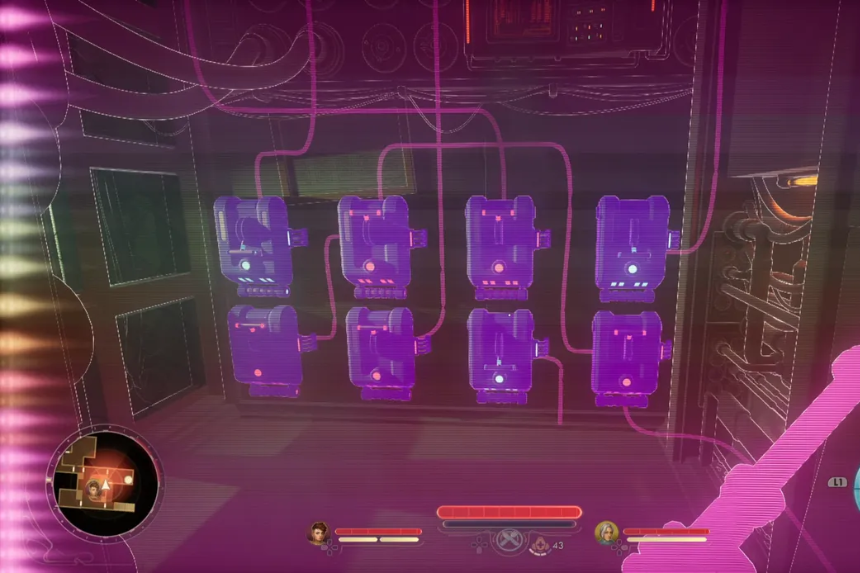
In the first corridor, search for a storage room with a hatch in the back wall. Make your way through it and discover two sets of four levers (eight in total). A warning on the wall says that activating three of them will unlock the main door — but you don’t yet have the device to fix the puzzle.
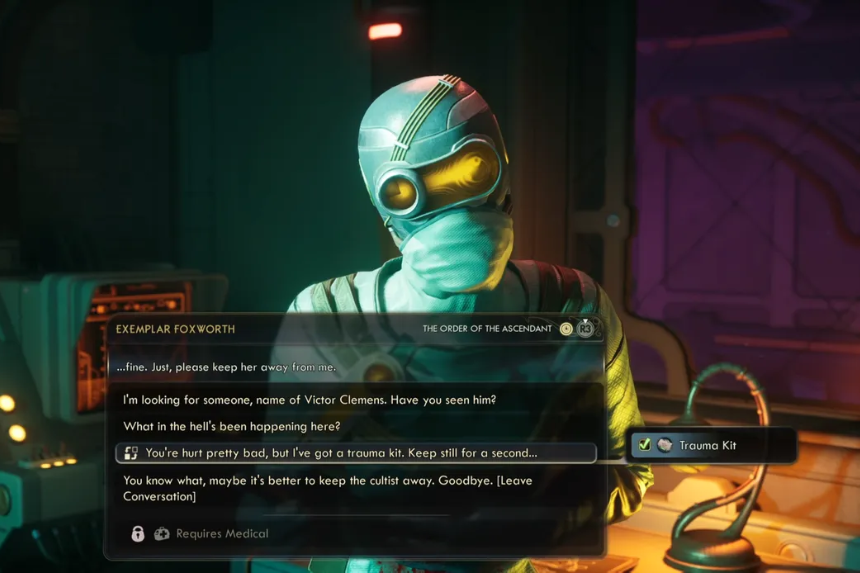
Continue on to locate Exemplar Foxworth in a local medical room. They are hurt and scared of Aza. You can assure them that you mean no harm — and if you carry a Trauma Kit, you can use it to save their life, gaining a reputation with The Order of the Ascendant.
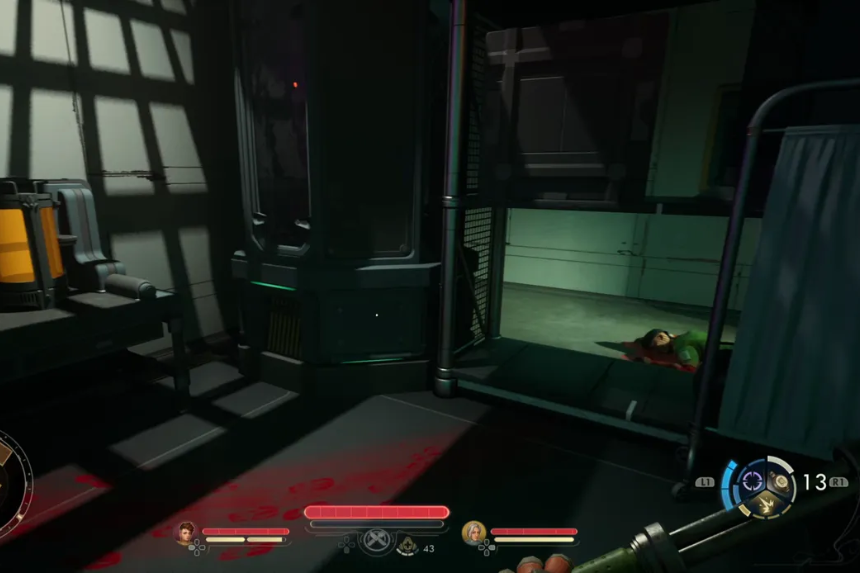
Foxworth describes that the cultists who attacked the facility can become invisible and lead you to a vent behind one of the medical screens. Crawl through it and steer clear of electrified floors within.
Get the N-Ray Scanner
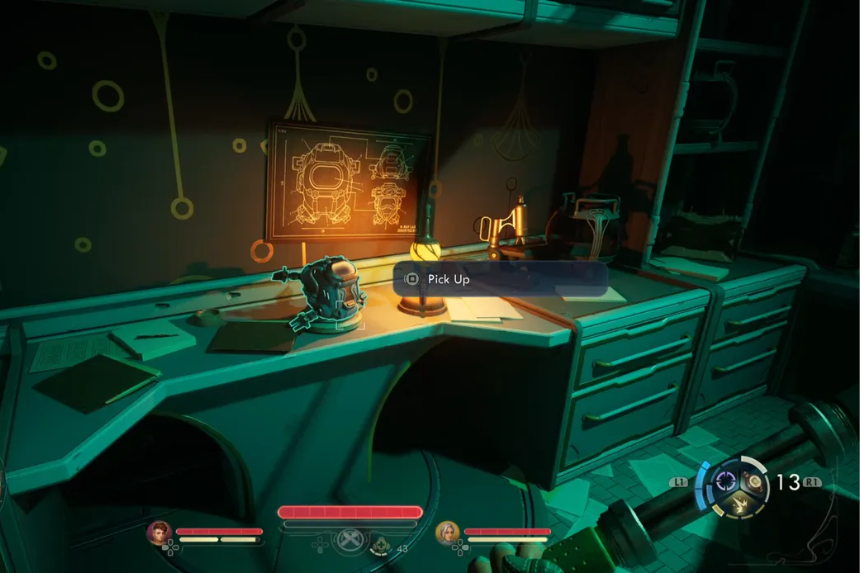
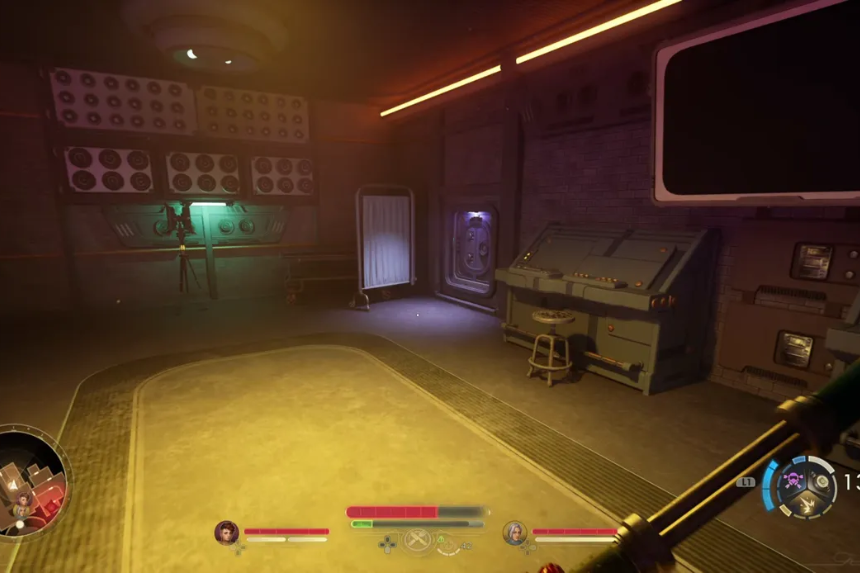
Following the exit from the vents, drop down and unbar a shortcut door. Proceed forward into the following room in order to acquire the N-Ray Scanner, an item that makes invisible enemies, traps, and wires visible through walls. It also provides a minor critical hit bonus when active — an essential for the remainder of this quest.
Equip the Scanner and scan to find and kill two invisible Dawn enemies in the following area.
Head back to the storage room with eight levers. Scan with the scanner to follow which wires go to the door — the right combination will open it.
Clear the Facility
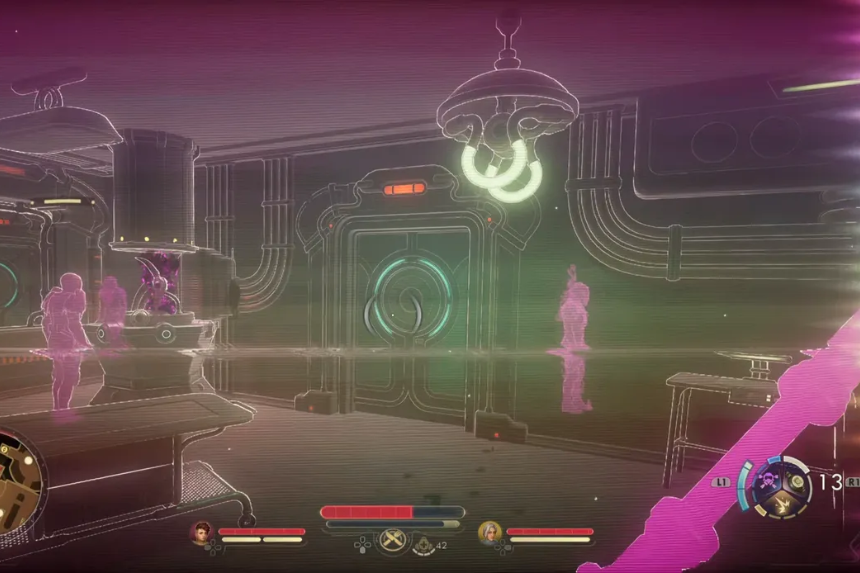
Return to Foxworth’s room and pass through the now-open door to the right. The following large room is teeming with invisible Dawn foes. Employ your Scanner judiciously — it uses energy quickly — and take out all inhabitants.
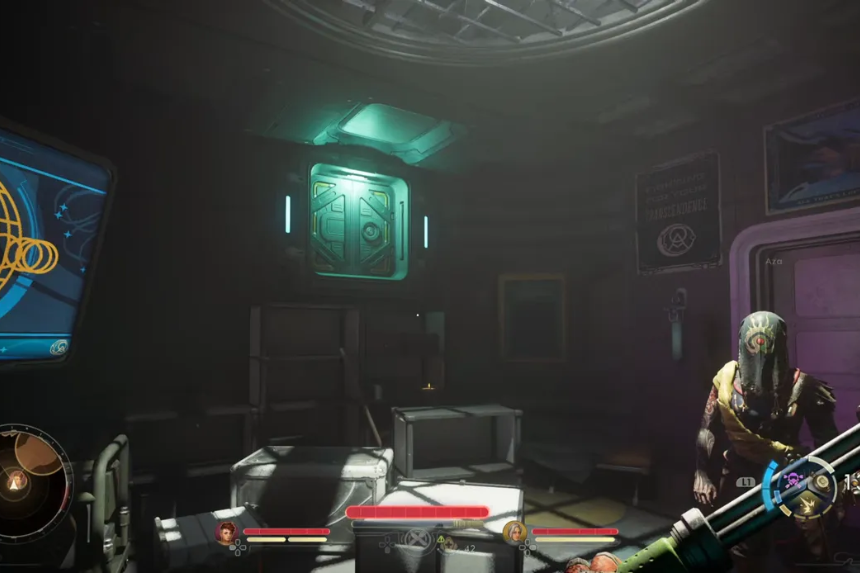
From there, go into the room below the stairs and proceed through the wall hatch. You’ll be crawling through vents and eventually come across a computer and a locked storage room containing treasure (a shotgun, armor, and ammo). You can access it with a high enough skill level.
Head forward into a hall with several enemies. Vault through the shattered window on the right to take cover — it’s an excellent choke point to drive enemies towards you.
Once the area is clear, proceed through the dining room to avoid an electrical danger, then push through the far door into another big room with additional Dawn enemies.
Rescue the Archivist

Sneak downstairs and stealth-kill one of the enemies plaguing Novice Archivist Trammell. Kill the others and talk to Trammell — they’ll open a door nearby to progress the story.
In the upper floor, behind a Workbench, search for a fallen wall panel concealing a lever. Pull it to regain power and open the following door.
In the cave before you, employ your Scanner frequently — sightless tripwires and mines abound. If you have Observation, you’ll have forewarnings of traps in the vicinity.
Move cautiously until you come to two nonpowered doors. Go back, climb through a crawlspace atop the wall. In there, pull a lever to power up and open the door on your right.
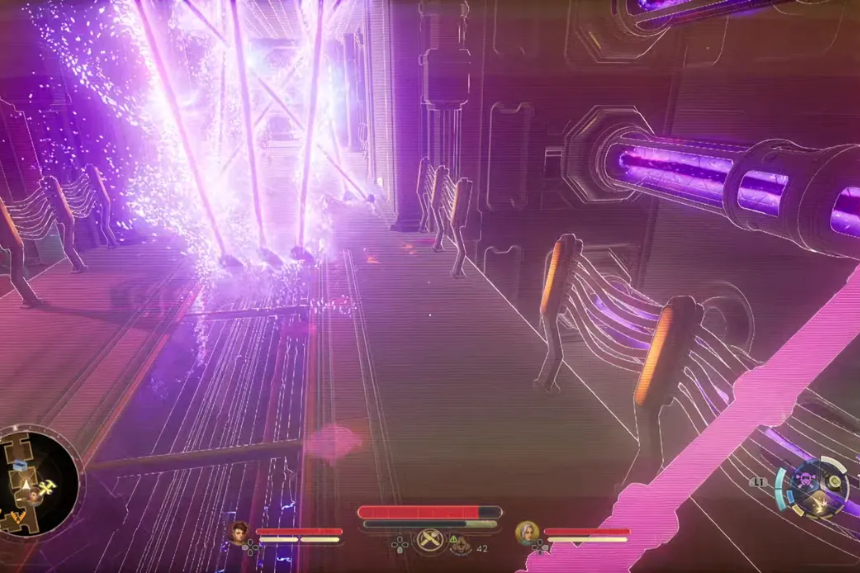
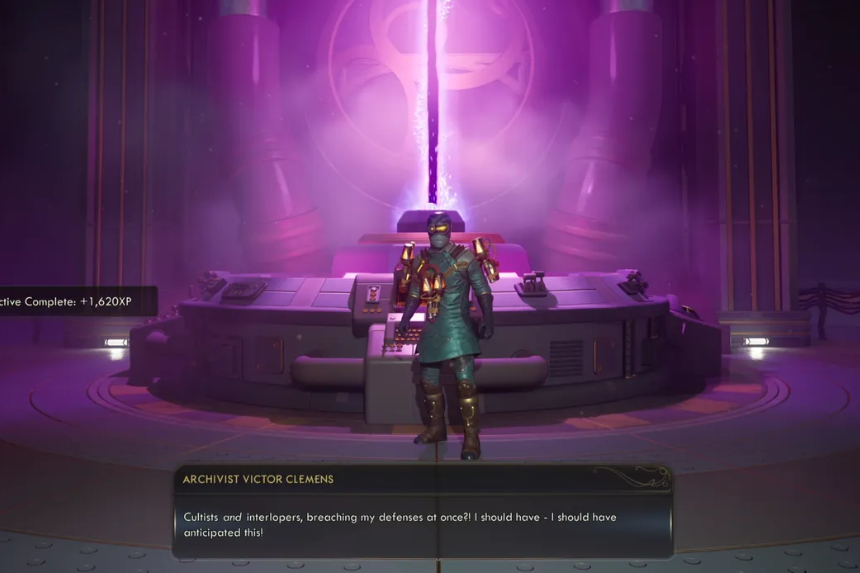
Proceed along a passageway lined with flowing purple lasers. Jump down to dodge them when necessary, or creep underneath the floor if your abilities permit disarming mines. Finish up by descending via elevator to encounter Archivist Victor Clemens, an important figure in the primary storyline.
Tracking Hierarch Ziegler
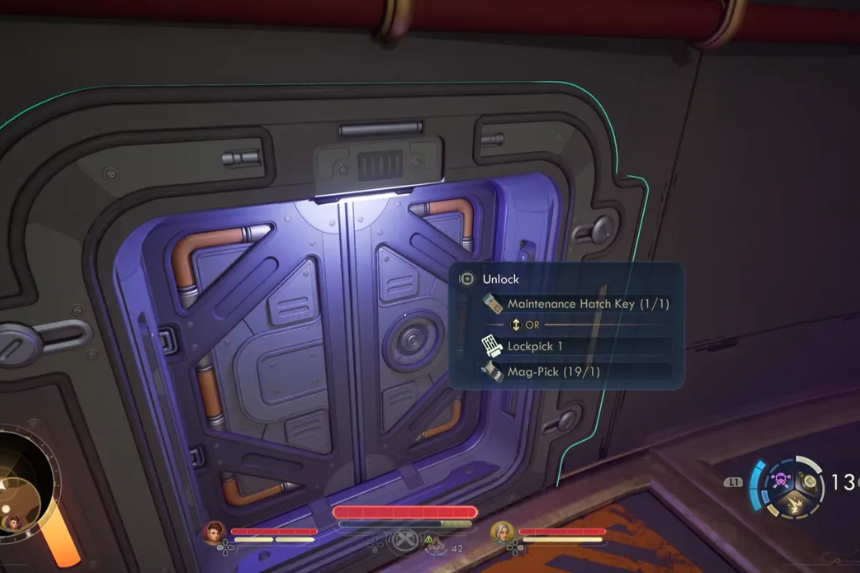
From Clemens’s sector, drop from the top platform and search for a Maintenance Hatch Key (or use Lockpick 1) to access the hatch in the corner. Proceed through the vents until you arrive at Victor’s quarters, where Seer Landon Wiley speaks on an adjacent screen.
Squeal through the vent above and to the right of the screen. You’ll fall back closer to the entrance of the facility and automatically get into a discussion with Aza.
She’s angry to discover her previous comrades dead, but that Hierarch Ziegler, the real traitor, got away. She tells you to get a communication device to track him down.
The Final Showdown
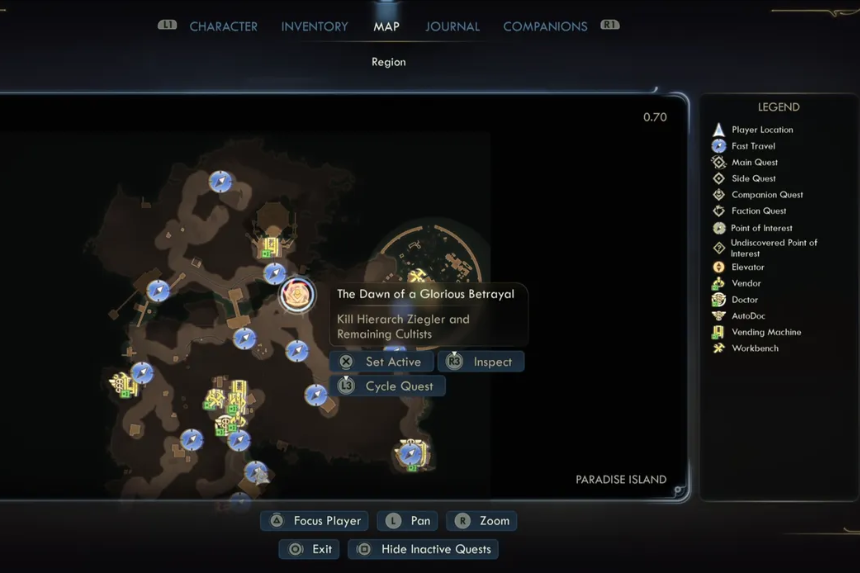

The unit is in the room under the stairs, close by — engage with it to track Ziegler’s position to Paradise Island on Eden.
Go back to the Incognito and plot a course for Eden via the Navigation Terminal. When you arrive, go north of the Excogitation Chapel, west of the central bridge, to the northern part of the island.
At the rift of the cliff, kill the Dawn enemies that are patrolling the area, and then ascend the adjacent tower to engage Hierarch Ziegler.
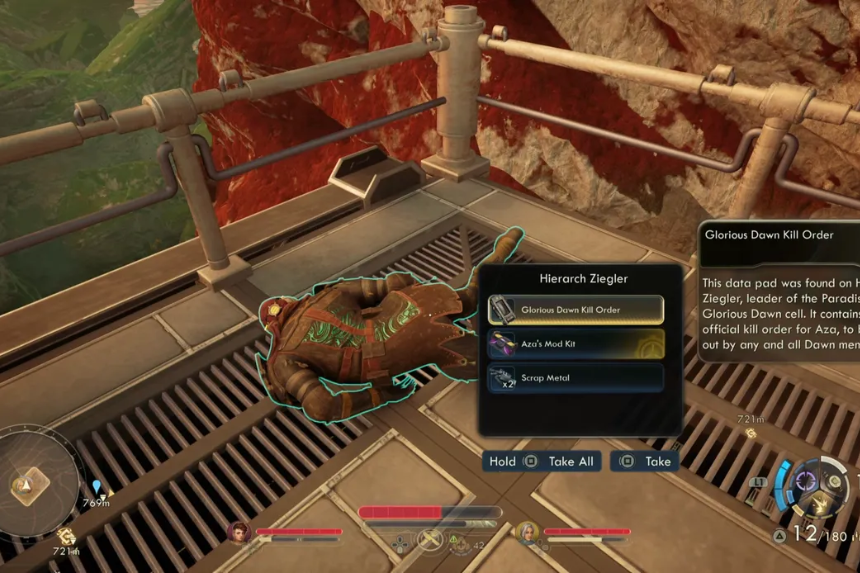
Regardless of your choice of dialogue, Ziegler will become hostile. Kill him in order to finish the quest.
After the battle, Aza will confront the reality of the betrayal — learning that an official kill order was placed on her. Though shaken, she decides to stay with you, completing The Dawn of a Glorious Betrayal.
You’ll earn:
- 648 XP for key objectives
- 3,456 XP for quest completion
- Aza’s Mod Kit and the Glorious Dawn Kill Order (lootable from Ziegler’s body)