
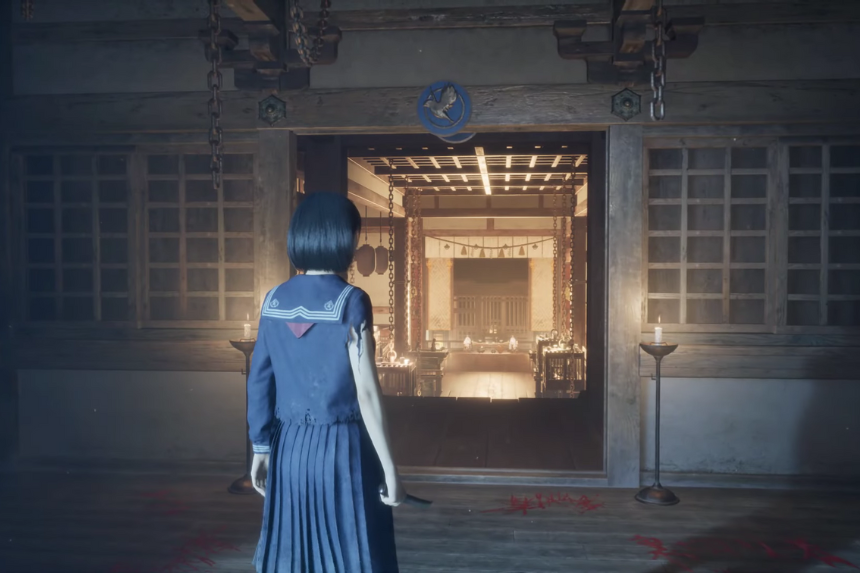
The Worship Hall in Silent Hill f throws another one of the game’s classic maze-like puzzles at you. This time, you’ll need to manipulate a network of colored doors and switches to reach Sakuko, who waits in the central chamber. While it’s not mechanically difficult, the overlapping routes, optional paths, and switches can make it disorienting.
If you’ve had difficulty with previous puzzles, such as gathering pieces for the device, then this one will come easily to you — but with a bit more depth of deception. What follows is a step-by-step guide to making your way through the Worship Hall maze, which periodically reverses to flip, and where to go if you wish to take optional bonuses before moving on.
Understanding the Puzzle
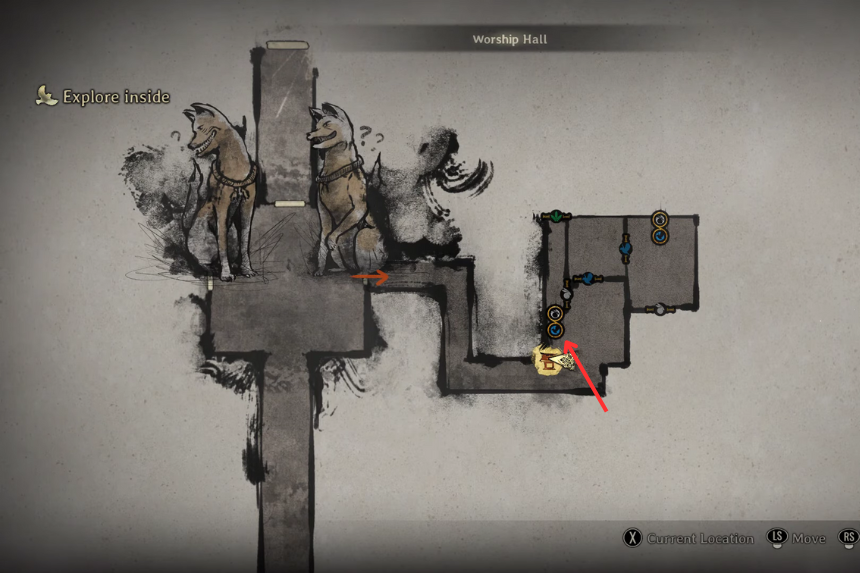
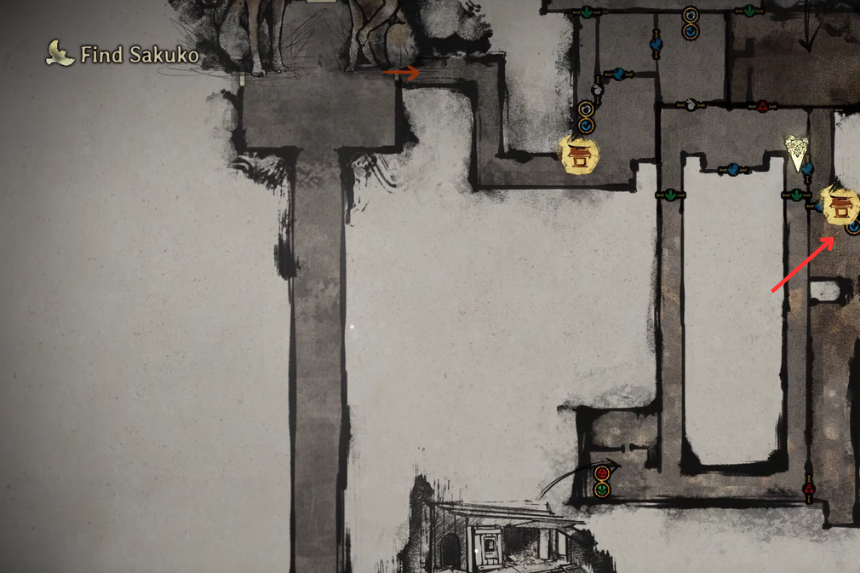
When you arrive at the region for the first time, you will notice that the room in the middle — Sakuko’s location — is within tantalising reach, a mere pair of rooms away. But the colored door system makes it impossible to just walk in. Every switch you will find switches the colour of a nearby door, changing the available routes or blocks.
The issue is the blue/grey combination locks you out of both accessing the central chamber and opening the door to it simultaneously. In order to get past the puzzle, you’ll be required to circle through corridors, flipping the switches in the right order until all falls into place.
Optional Route for Extra Rewards
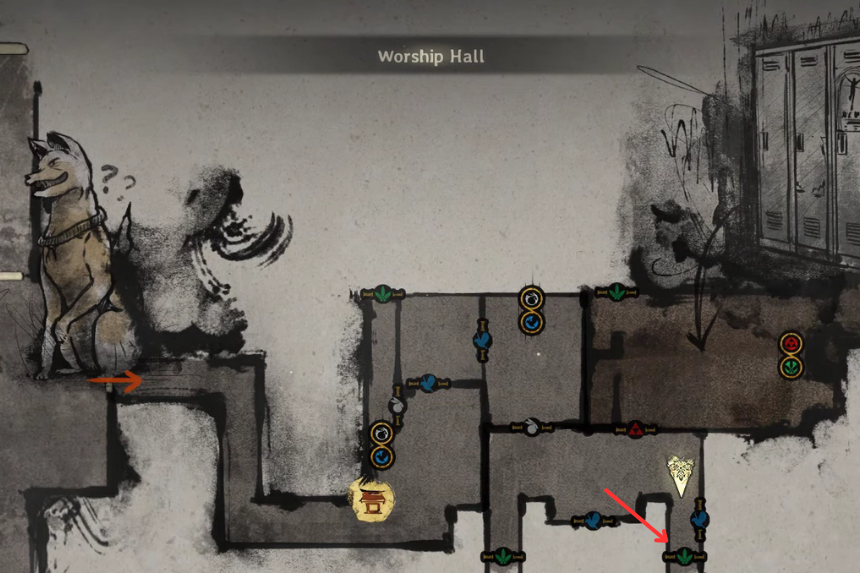
There is an optional side route that loops you back, providing access to worthwhile items — a Shriveled Abura-age among them in a red-door room. If you’re seeking 100% completion, it’s a trip worth taking. Otherwise, you can feel free to skip it and proceed directly to Sakuko.
Here’s the way that side route functions:
- Flip the first switch blue so that access is provided to the second switch.
- Switch the second switch to grey, which opens up the corridor surrounding the central chamber.
- Proceed and turn the next switch to green, taking you up to another section.
- The next switch is green by default, but if you activate it, you will open up a red room with the Shriveled Abura-age.
This side route will ultimately bring you back around to the beginning. When you’ve gathered what you’re looking for, you can begin the cycle that gets you to Sakuko again.
Main Route to Sakuko

Regardless of whether or not you went through the sidestep, the following is what you must do to actually get to the central chamber:
- Flip the first switch back to blue, which opens up the route to a side passage.
- At the following switch, switch it to red. This gets you into the corridor that ends at the sixth switch.
- At switch 6, switch it to blue. It unlocks the gate that takes you directly into the central room.
With this final adjustment, the path forward is clear. Proceed through the newly opened doorway, and you’ll finally step into the central chamber to confront the next stage of the challenge.