
Crests in Hollow Knight: Silksong are special items that give Hornet new powers, like stronger attacks or better healing. Some are easy to find, while others need you to beat bosses, explore tricky areas, or solve small puzzles. In this guide, we will show you where to find every Crest we know about so far, including how to get them and what they do. If you’re trying to collect them all or just want to make Hornet stronger, this guide will help you out.
All Crest Locations
Each Crest comes with a set of tool slots that let you equip different gear. You can unlock more slots for each Crest by collecting items called Memory Lockets. Whenever you find a new Crest, it will be equipped automatically. If you want to switch to a different one or change your tools, just rest at a bench to make your changes.
Reaper Crest Location
You need to first head to Bonebottom. There, you will find a quest posted on the board that talks about fleas. After that quest shows up, go back to the Marrow and look around the centre area. That’s where you will spot your first flea. Now, your task is to find five hidden fleas scattered around the map. To get all five fleas, read our guide on Flea Locations Guide.
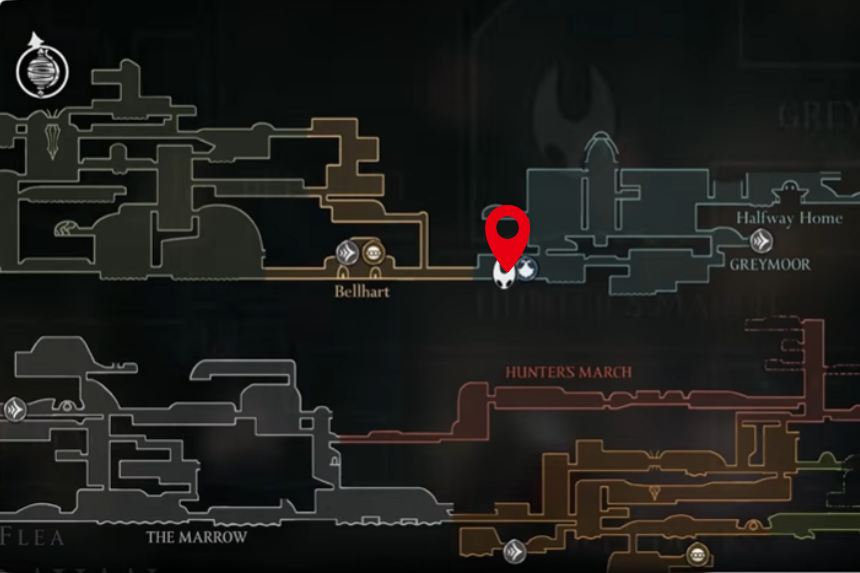
Once you have found all five fleas, head back to the Marrow. Now, the caravan ride to Greymoor will be unlocked. When you arrive at Greymoor by caravan, head to the right and then start going upwards. The path ahead won’t be open at first.
You will need to go right, then up, then loop around to the left and down. Doing that will unlock the Jetream shortcut, which you can use to return faster next time. With a little exploring, it’s not too hard to figure out.
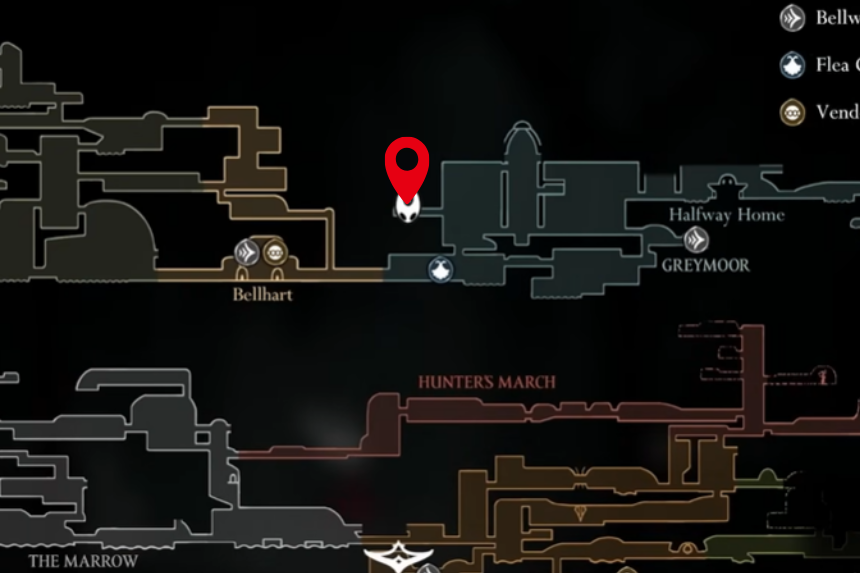
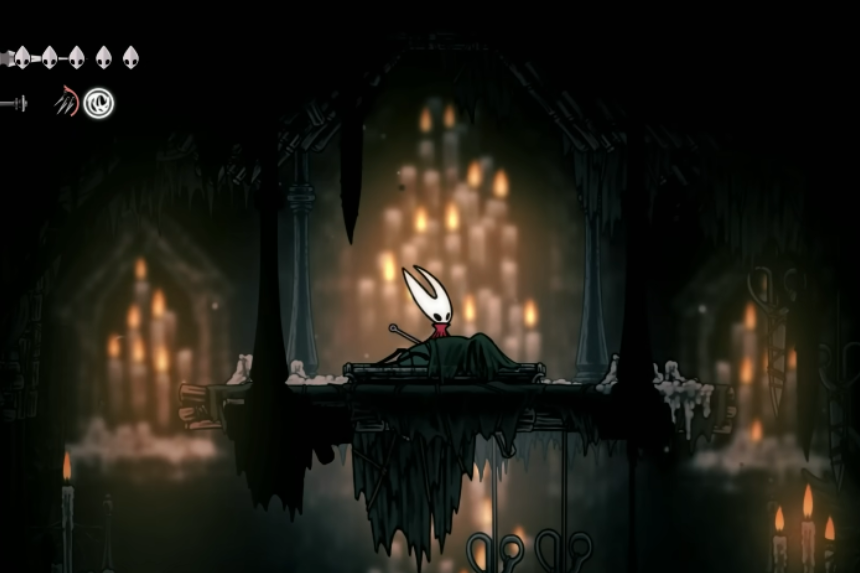
Eventually, you will reach a spot just above the caravan area. From there, go left and climb up. This will take you to the Citadel. Inside the Citadel, fight your way through the enemies and make your way to the end. Now you will reach the final area. Here, you will be rewarded with the Reaper Crest.
Wanderer Crest Location
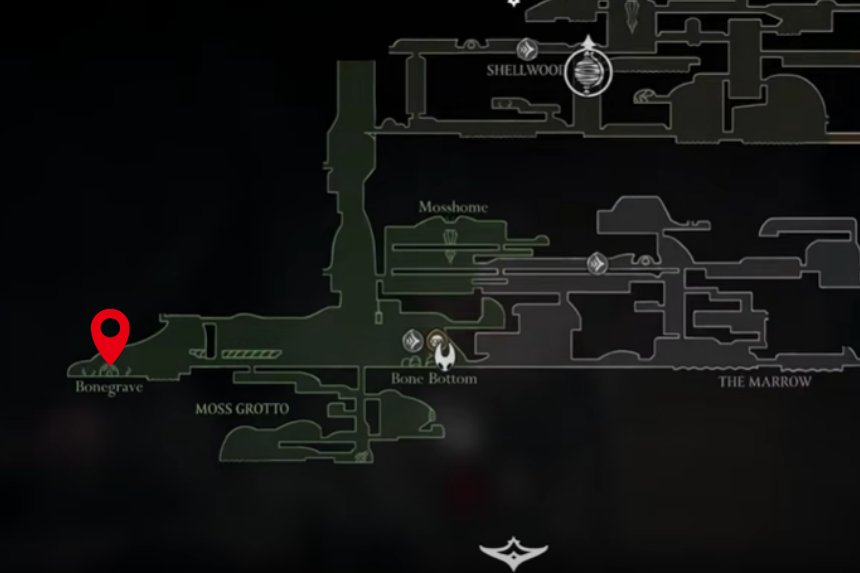
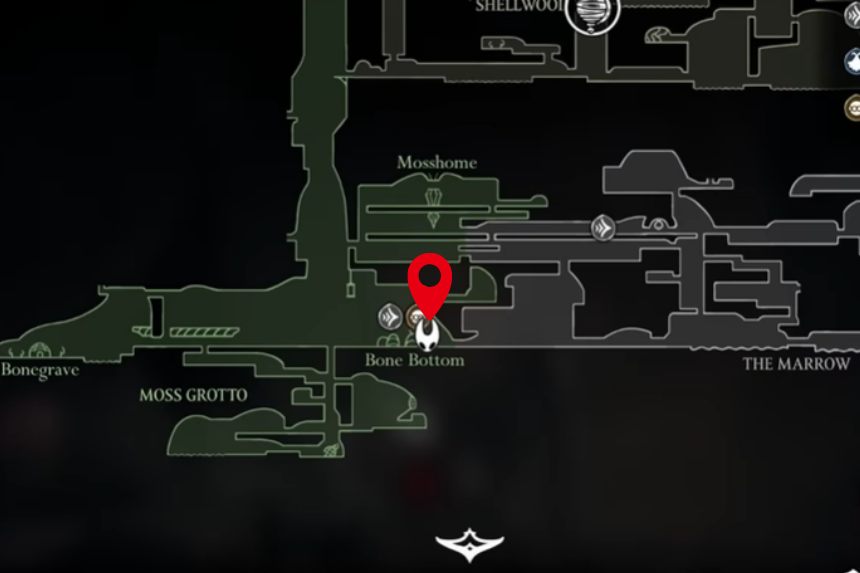
The Wanderer Crest is located in the Bone Bottom. To get it, you will first need a Simple Key to unlock a sealed door west of Mosshome. From there, you will travel through an area called the Wormways, reach the Chapel of the Wanderer, and take on a tough gauntlet-style enemy challenge.
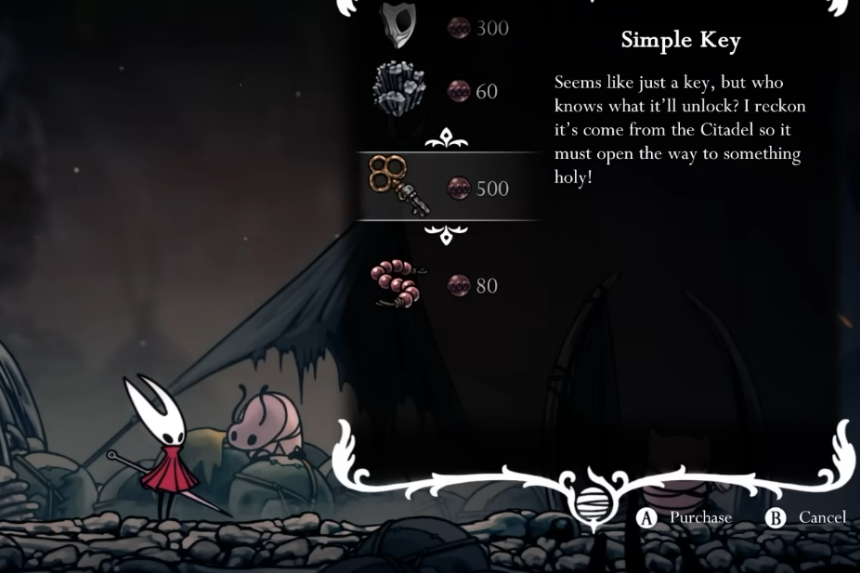
Buy a Simple Key from Pebb, who sells one in Bone Bottom for 500 Rosaries. Next, make your way toward Mosshome by climbing up through The Marrow. Once you reach the area, turn left and continue straight until you find a platform with a lever. Hit the lever to open a trapdoor underneath.

Drop down through the trapdoor and go left. You will soon come across a locked elevator. There you will find a lever. Pull the lever to connect the elevator to Bone Bottom. After that, ride the elevator down and stop at the bench to update your respawn point, just in case things go wrong.
Now take the elevator back up to reach the upper platforms again. To move forward, you will need to cross a large gap using two hanging cages. You can either use the Swift Step ability mid-jump or bounce (pogo) off the flying enemies nearby to reach them. Once you are across, keep heading left and be careful of a dangerous enemy that spits acid in the next room. Use the stone platforms for cover as you make your way through.
Eventually, you will reach a locked door. Use the Simple Key here to open it and enter the Wormways. Inside, avoid the two sandworms that drop from the ceiling. Look for a hole in the ground and drop down into it.

Follow the tunnels all the way down until you end up on a ledge in a mossy green area. Drop all the way to the bottom. On the right, there’s a shortcut you can unlock that leads back to Bone Bottom. On the left, you will find an old, broken-down hut called the Chapel of the Wanderer.
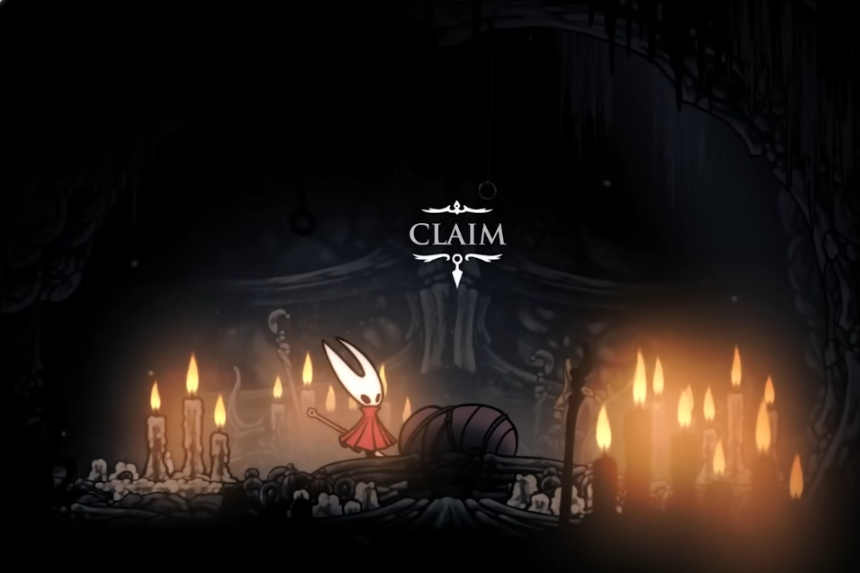
Inside the chapel, you will face a room full of enemies in a gauntlet-style battle. Defeat them all to reach the final chamber, where you will be able to Bind with the Wanderer Crest. Hornet will automatically equip the crest once it’s bound. Later, if you want to switch, customise, or upgrade your crest, just rest at any bench to make changes.
Hunter Crest Location
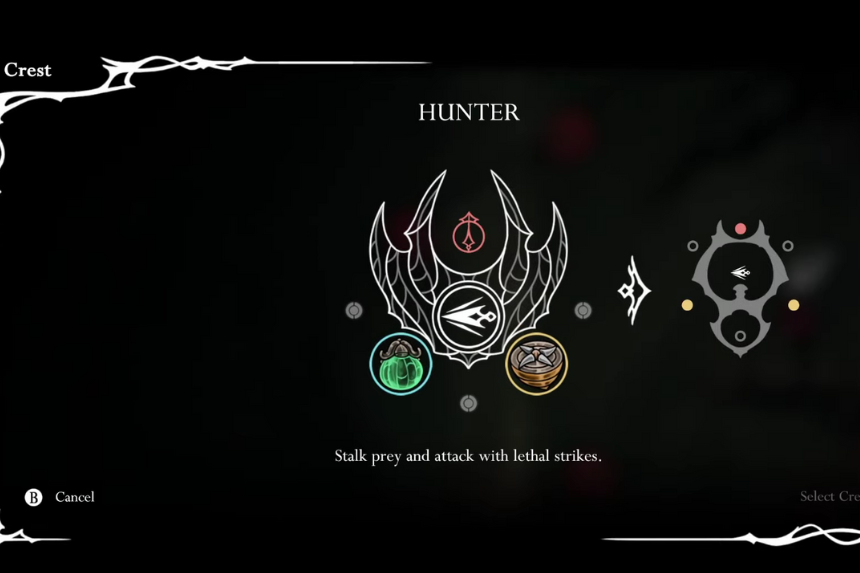
The Hunter Crest is available right at the beginning of your journey in Hollow Knight: Silksong. It lets you stalk enemies and strike with deadly precision. When you pogo with it, you perform a diagonal slash. This crest starts with four tool slots: one white, one red, one blue, and one yellow. Later on, you can unlock three more slots, one red, one blue, and one yellow, to expand its power.
Beast Crest Location
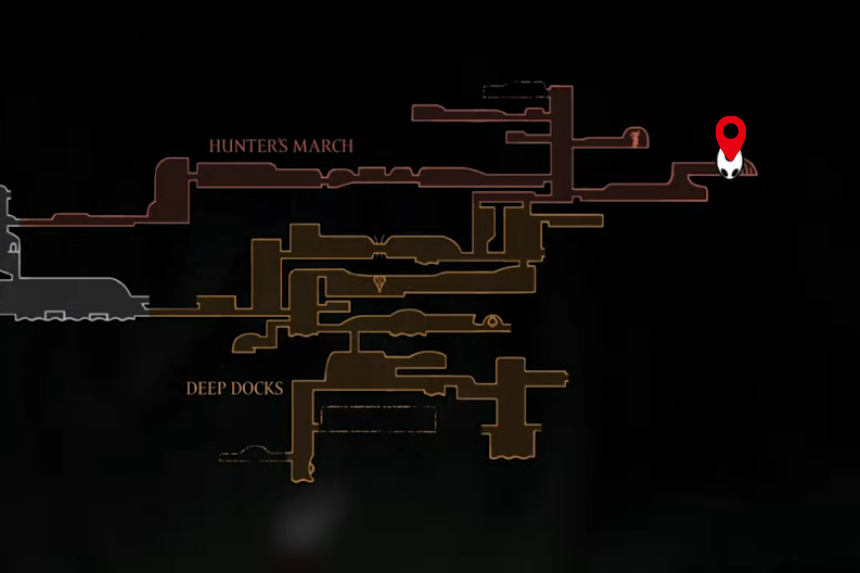
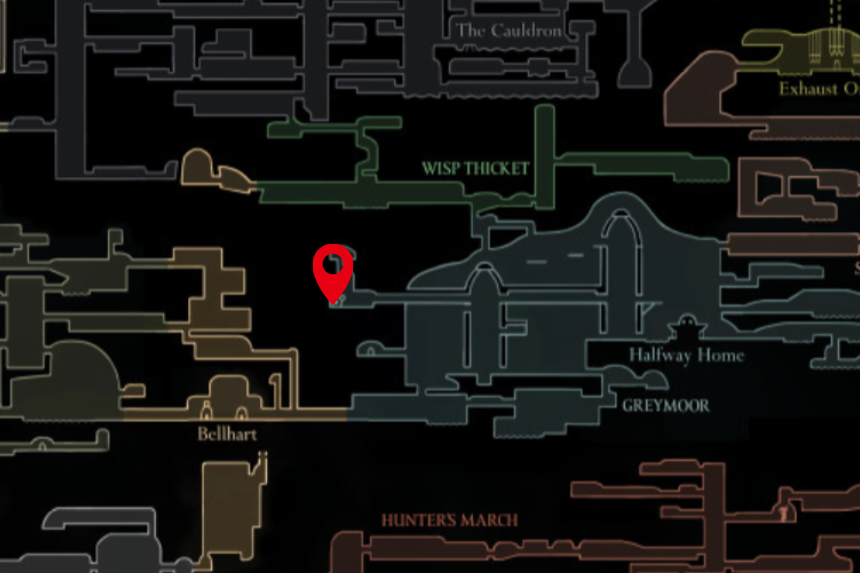
The Beast Crest is found in the Hunter’s March region, but to get there, you first need to defeat a miniboss named Skarrgard. You will find him at the far right end of The Marrow. Once you beat him, keep heading right until you meet Shakra, the map vendor. From there, pogo up the shaft to reach the Chapel of the Beast, where you will face the Savage Beastfly boss. Defeat it, then interact with its body to claim the crest.
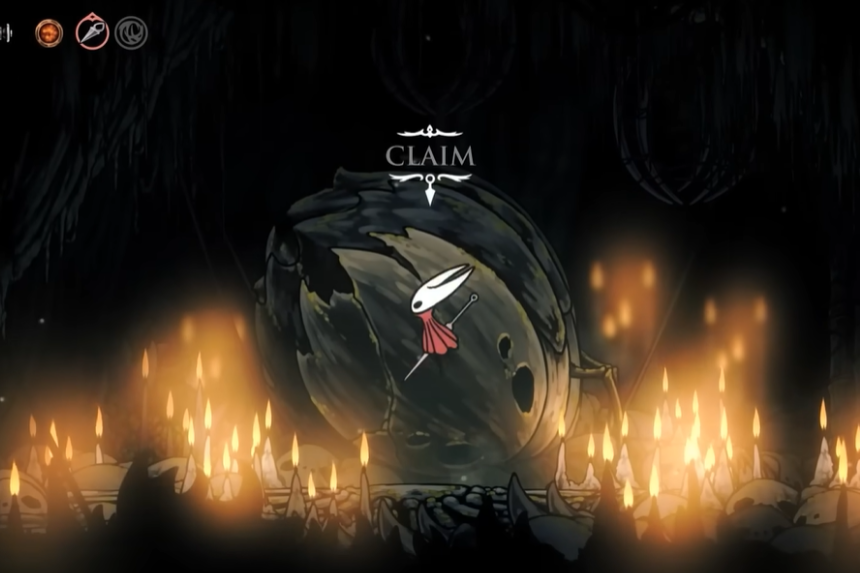
The Beast Crest lets you tear through enemies with feral slashes, and if you bind, it activates a wild rage mode that steals health from foes. Its pogo move is a diagonal rolling slash, and it also changes your healing spell into a temporary lifesteal effect. It comes with three tool slots at first, one white and two red, and you can later unlock two yellow slots.
Architect Crest Location
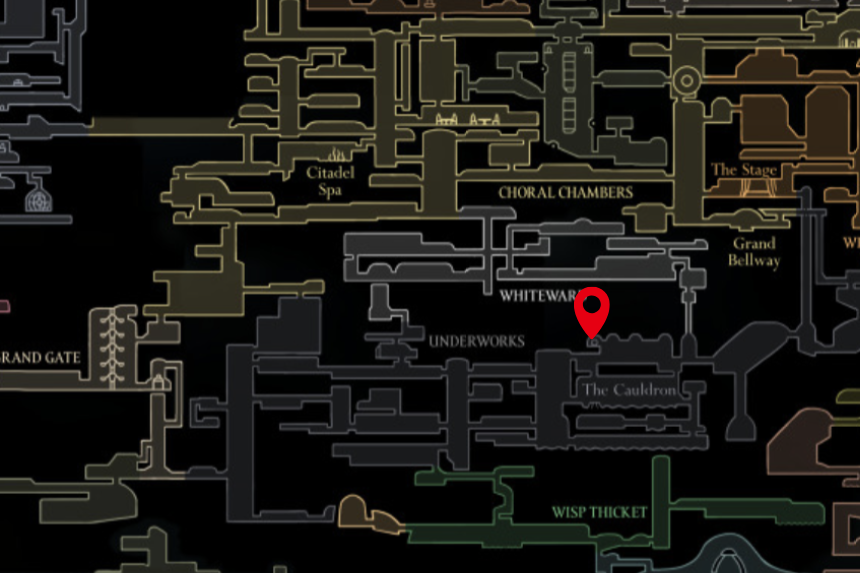
The Architect Crest gives you extra red slots and even lets you craft ammo for your tools. The tradeoff is that you lose access to Silk skills.
To get the Architect Crest, first buy the Architect’s Key from the Twelfth Architect’s shop. Then use it to unlock the Chapel of the Architect, which is located at the top of their room.
To reach the chapel, start from the Grand Bellway and head left until you hit a dead end. Keep going left again, and start climbing up. You will find lots of small enemies along the way, but you don’t need to fight them; just skip past to save time.
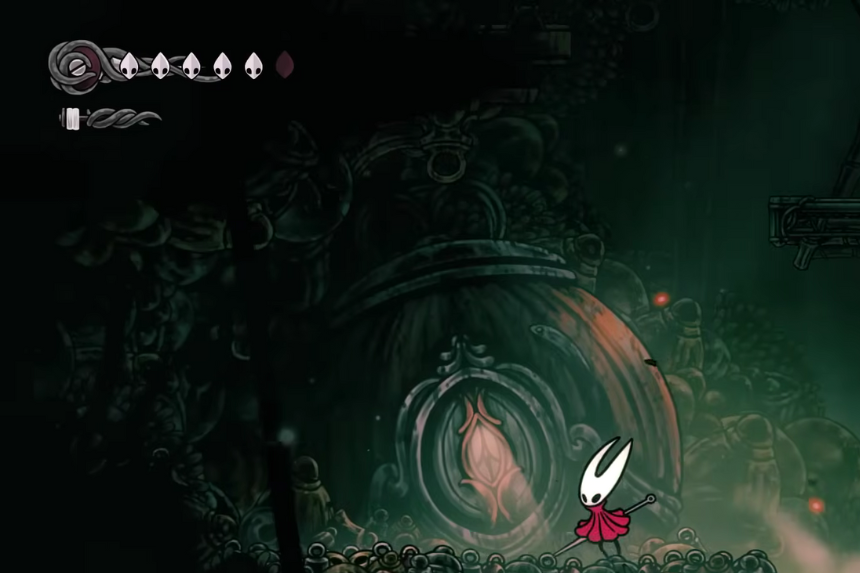
Eventually, you will reach a big platform with a path leading to the right. You will know it’s the right way when you see a circular frame with three teardrop-shaped heads. Keep going, but be ready, there might be a boss fight ahead.
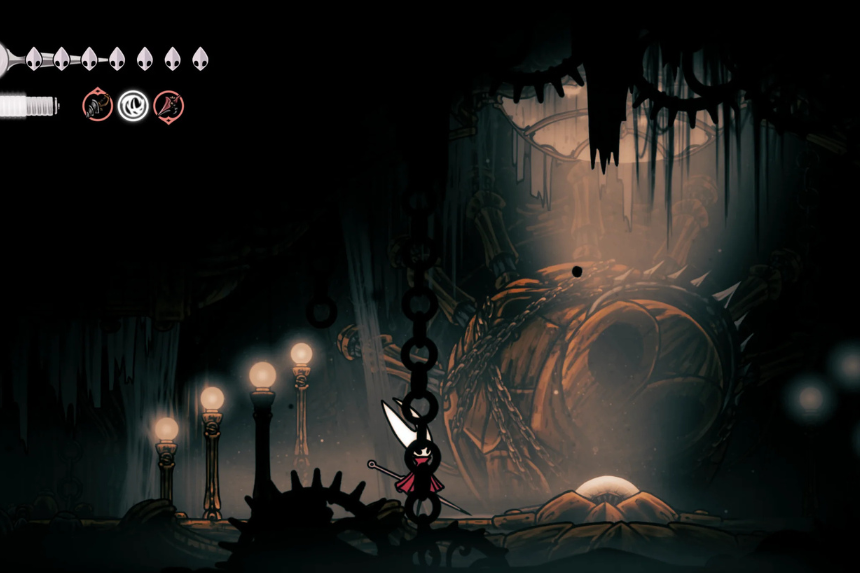
After that, you will find an elevator. Ride it down, then go left. You’ll go through a few stacked platforms, keep pushing through until you see a bench. Definitely rest there, because the next part gets a bit tricky to navigate.
Witch Crest Location
The Witch Crest is a great pick if you enjoy attacking from a distance and want to heal while fighting. It changes Hornet’s regular needle strikes into long, sweeping whip-like swings that also drain life from enemies using twisted roots. Along with that, the crest gives you one red slot for offensive tools and one blue slot for defensive ones. Like all crests in the game, it also determines which types of tools you can equip based on its colour-coded slots. Some crests, like this one, also come with special effects to match different playstyles.
To get the Witch Crest, you will need to unlock a late-game area called Bilewater and complete two quests there: Twisted Bud and Infestation Operation. This isn’t something you can get early on, so make sure you’ve progressed far enough in the game to reach these regions.
You can access Bilewater from the Whispering Vaults, which are east of The Stage, starting from the Grand Bellway. Head into the lower part of the Whispering Vaults and look carefully for a hidden path just above the eastern route. Follow that secret path east until you find a breakable wall. Use the Clawline tool to smash through it, opening a way down into Bilewater. Once you enter, drop down one level, go west, then continue heading up and east to fully explore the area.
While exploring Bilewater, you will find a crying creature called the Twisted Bud. Pick it up to start the first quest. Your goal is to bring it to Greyroot, an NPC you’ve met before if you finished the “Rite of the Pollip” quest. Before leaving, it’s a good idea to drop down a bit and unlock the nearest Bench to save your progress. Once you deliver the Twisted Bud to Greyroot in Shellwood, something strange happens: Greyroot infects Hornet with a parasite. This adds a new objective: finding a cure.
The second quest, Infestation Operation, starts after you escape the Chapel of the Witch. Your next stop is Greymoor, where you will find a locked bellhouse in the upper-left part of the region. Talk to the NPC inside, Yarnby, through the door. She will eventually agree to help, but says you need to collect a specific tool first. She sends you to find Benjin and Crull, two merchants located on Sinner’s Road.
To find them, go to the centre of Sinner’s Road, which is full of hanging cages. Climb up to the easternmost high platform to reach the merchants. From there, buy the Steel Spines for 260 Rosaries. After purchasing the item, return to Yarnby in Greymoor and give her the Steel Spines. This triggers a final cutscene, and once it ends, you will receive the Witch Crest as your reward.
Vesticrest Location


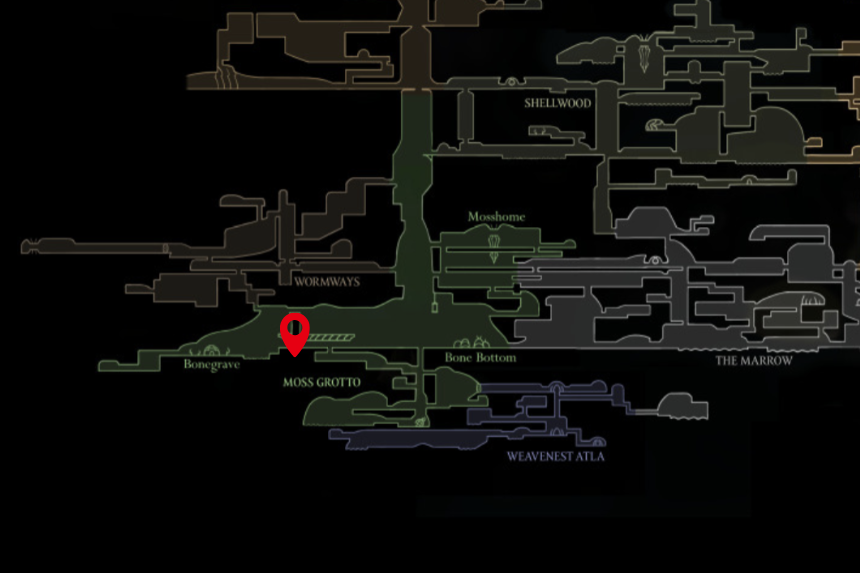
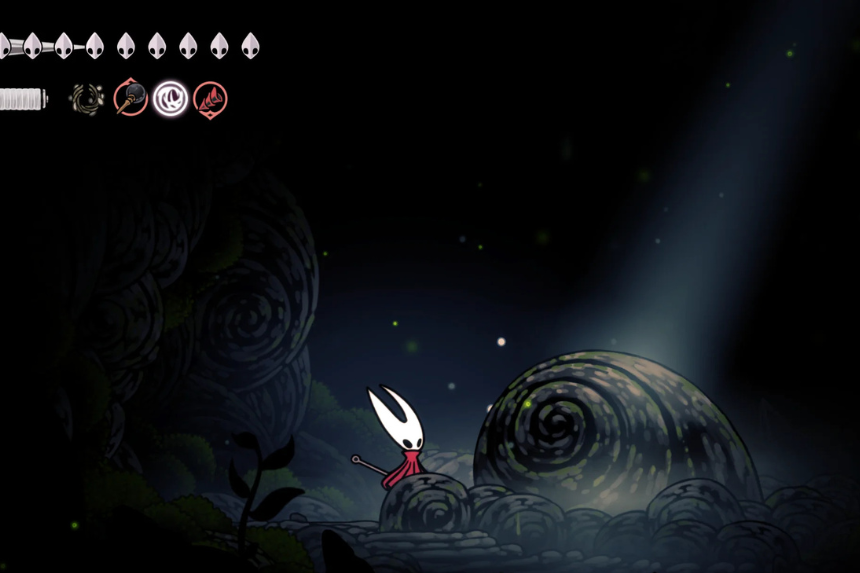
To get the Vesticrest, go talk to Eva in Weavenest Atla. This special crest is super handy because it gives you two extra tool slots. Even better, the tools you put in these slots stay active no matter which other crest you’re using.
Shaman Crest Location
The Shaman Crest is a great choice if you like using Silk Skills. When you equip it, Hornet can cast her needle forward and power up her Silk Skills using magical runes, making them much stronger. Like other crests, it also has a set number of colour-coded slots that let you equip different types of tools. Some crests also come with special effects, and the Shaman Crest is especially useful for boosting your skill-based attacks.
You can find the Shaman Crest in Act 3, inside a place called the Ruined Chapel. To get there, go to the Bone Bottom entrance and look for a door on the left. Head through it, and at the far end of the first room, you will need to use the Silk Soar ability to reach a hidden area. The crest is located behind two breakable walls.
There’s also another way to reach it. If you wall-jump to a small hole at the top of the wall, you can access the other side and grab the crest from there.
Vesticrest Upgrade Location


If you have used enough Memory Lockets, you can unlock another special Vesticrests by talking to Eva. This one unlocks after twelve lockets and adds an extra Blue slot. This also works with all seven crests.
Hunter Crest Upgrade Location
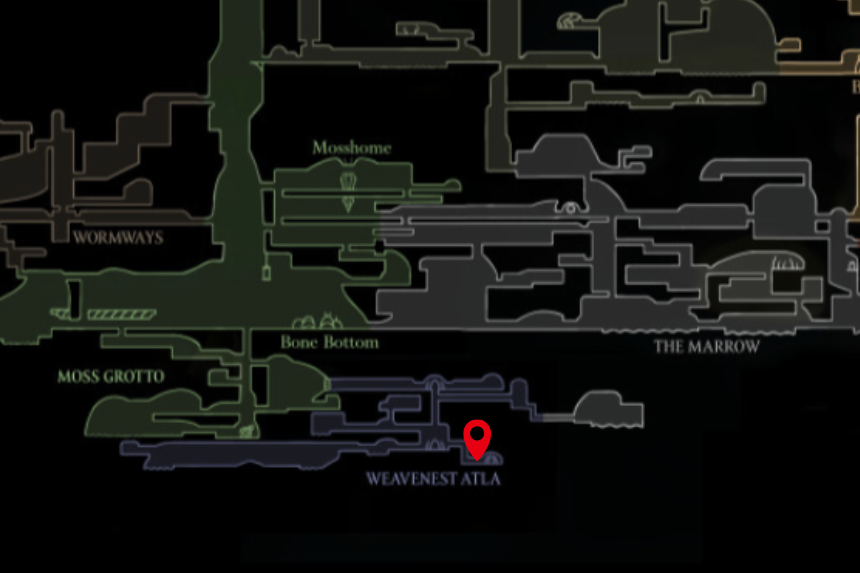

Once you rescue Needolin in Bellhart, head over to Eva in the southeast part of Weavenest Atla to upgrade your Hunter Crest. After the upgrade, the crest will have 2 Red slots, 2 Blue slots, 2 Yellow slots, and 1 White slot.