
Once Act 1 ends in Clair Obscur: Expedition 33, your adventure continues from Stone Wave Cliffs to the Forgotten Battlefields, with your newest party member, Verso, joining the crew. The Forgotten Battlefields have many hidden items and valuable collectibles. To save you time, this guide lists every collectible in the area in the best order so that you can get them easily.
All Collectibles Locations in Forgotten Battlefield
After Act 1 ends in Clair Obscur: Expedition 33, your team sets out from Stone Wave Cliffs to the Forgotten Battlefields, now joined by your newest party member, Verso. The Forgotten Battlefields is a region on the game’s overworld, known as The Continent, and it comes with its own set of collectibles. Below is the list to find all of them in the most efficient order possible.
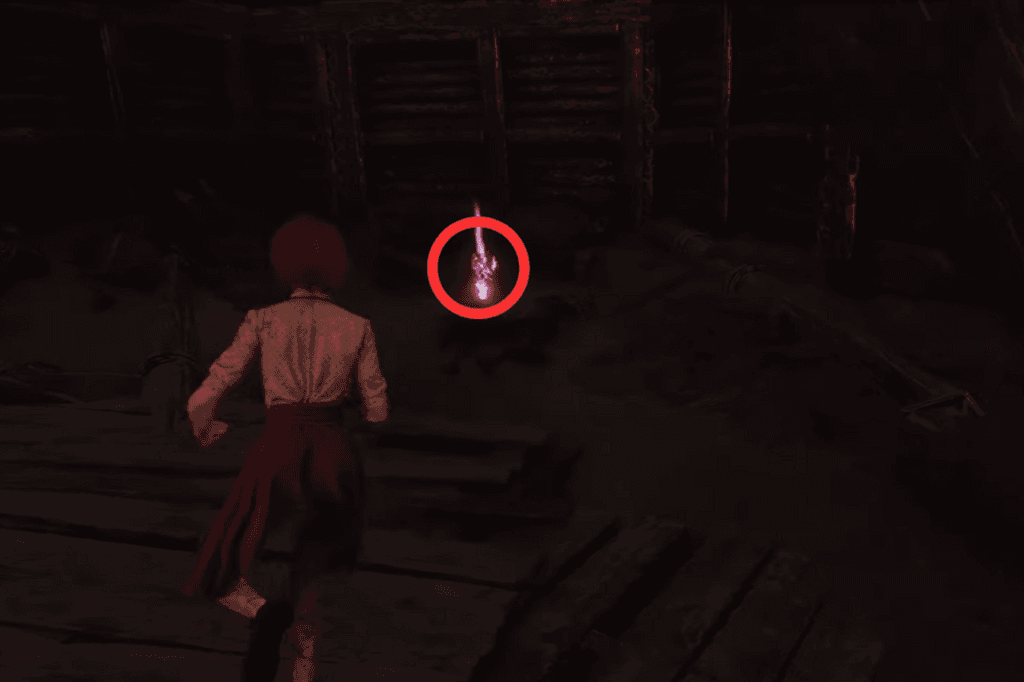
1 Collectible: Polished Chroma Catalyst
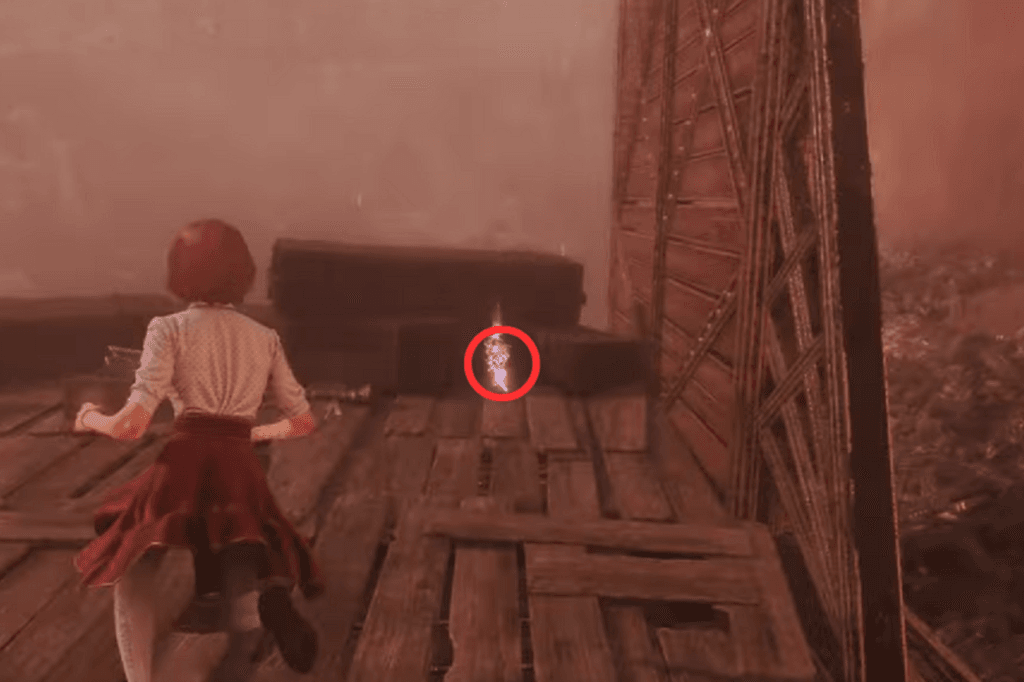
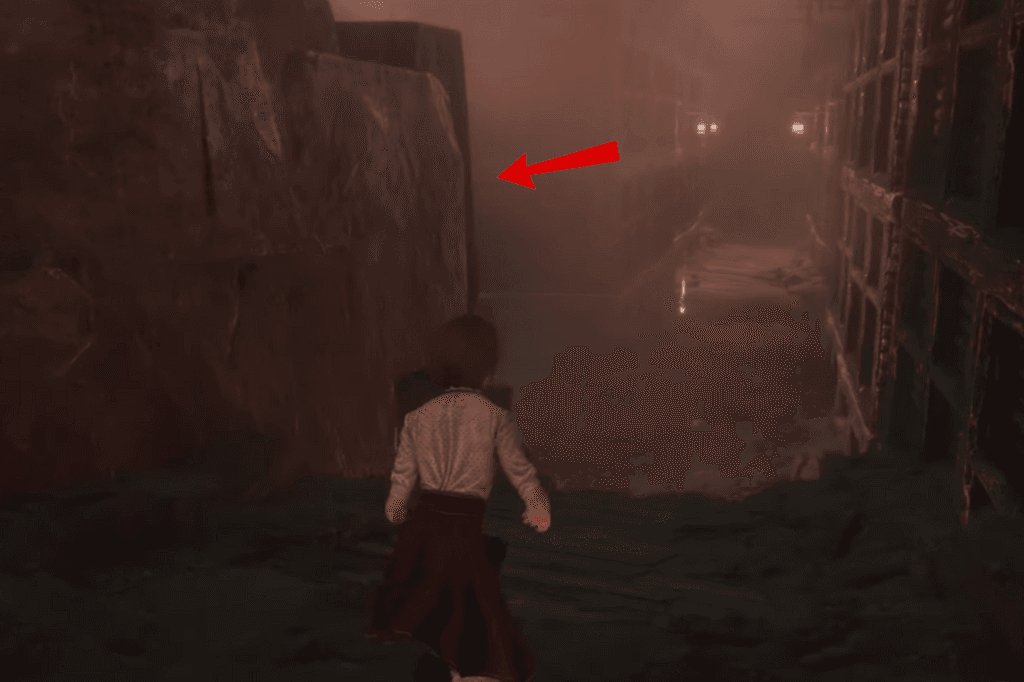
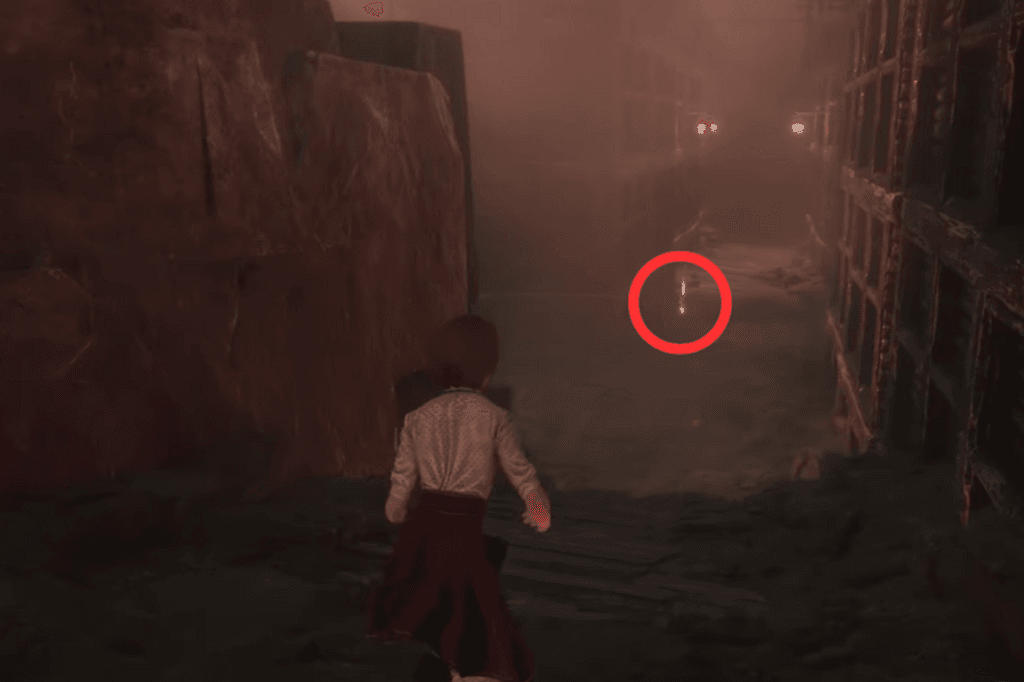
Keep walking past the Main Gate Flag until you see a wooden walkway. Climb up, then turn right you’ll find the collectible tucked away in the corner.
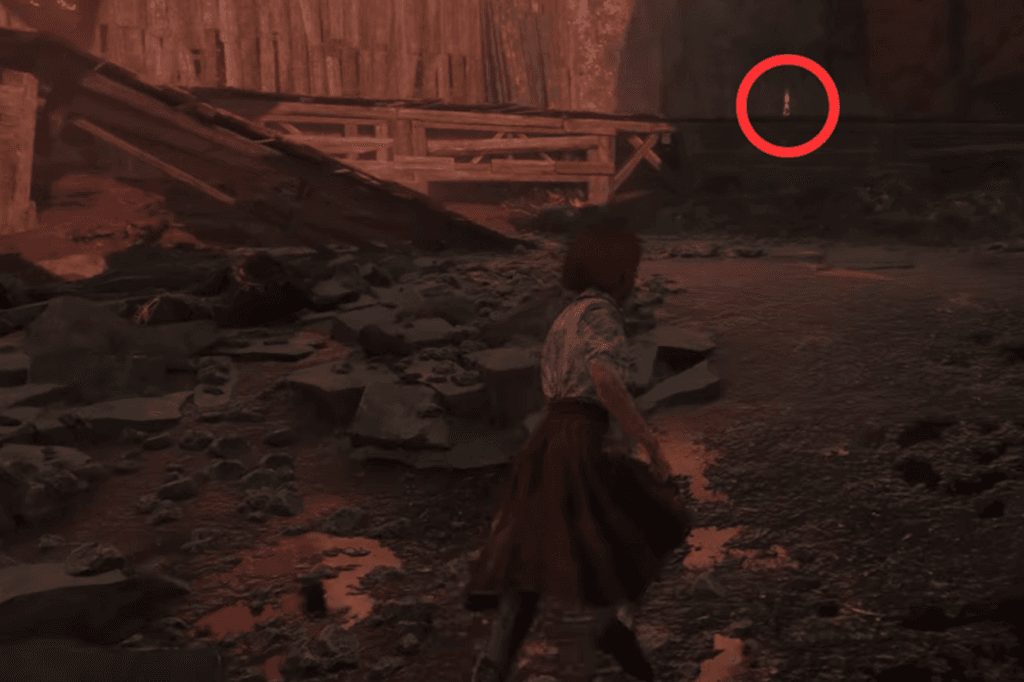
2-3 Collectible: Ramasson and Longer Shell Pictos
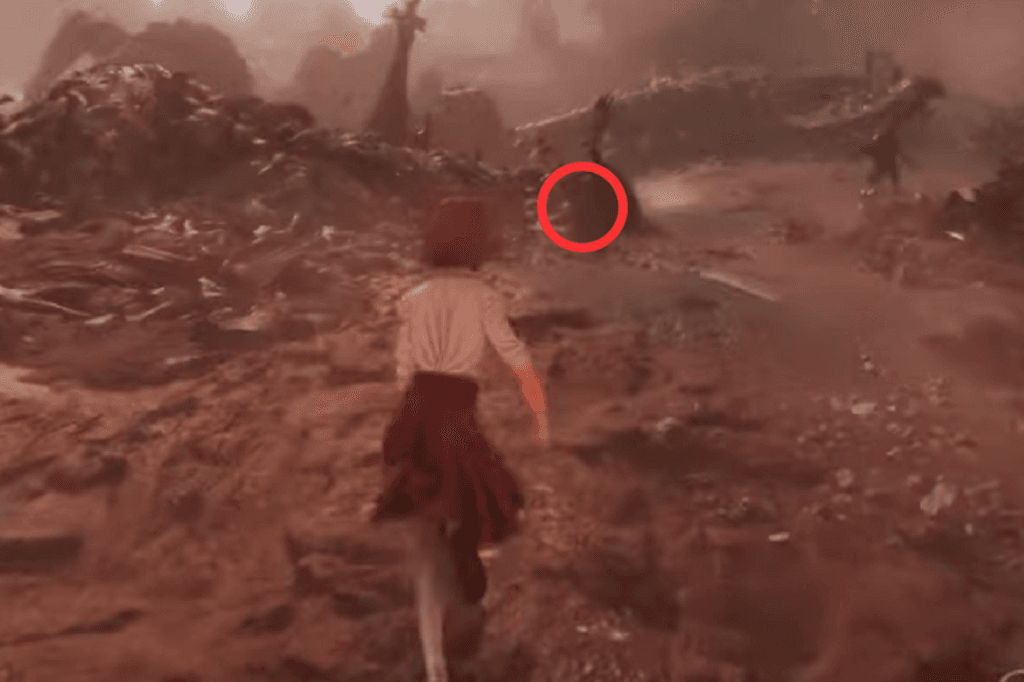
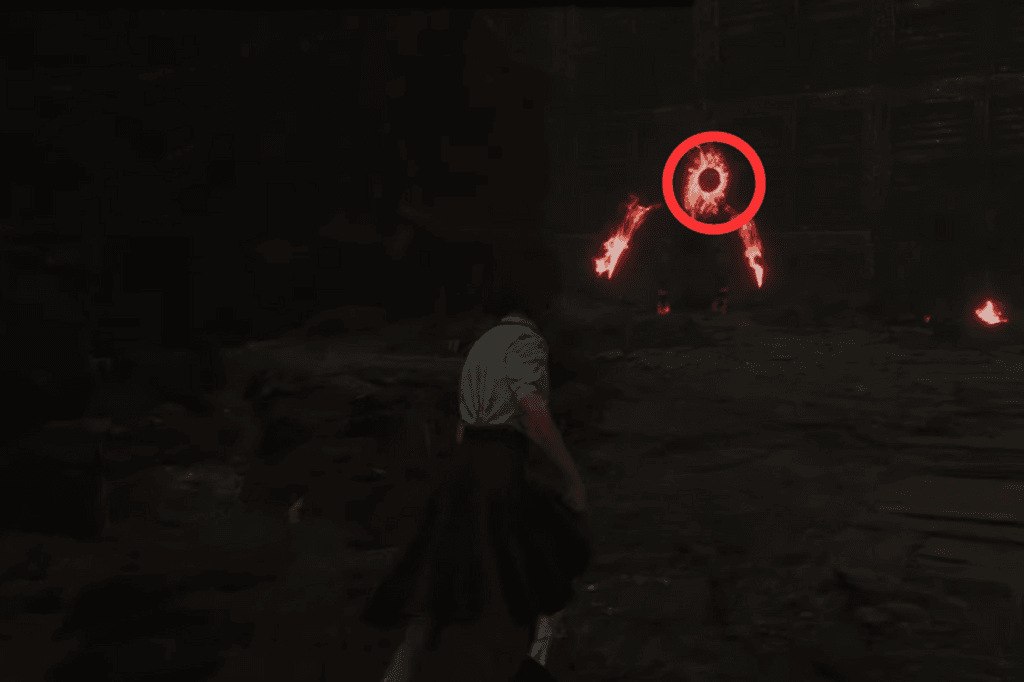
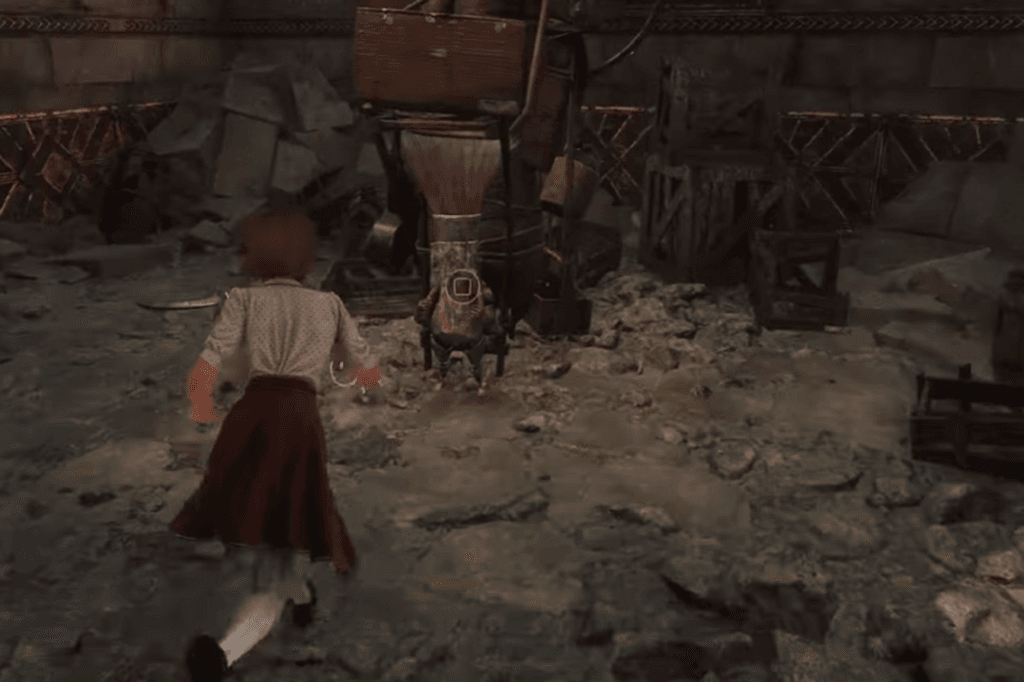
From where you left off, keep going until you reach an intersection. Take out the first enemy you come across there.
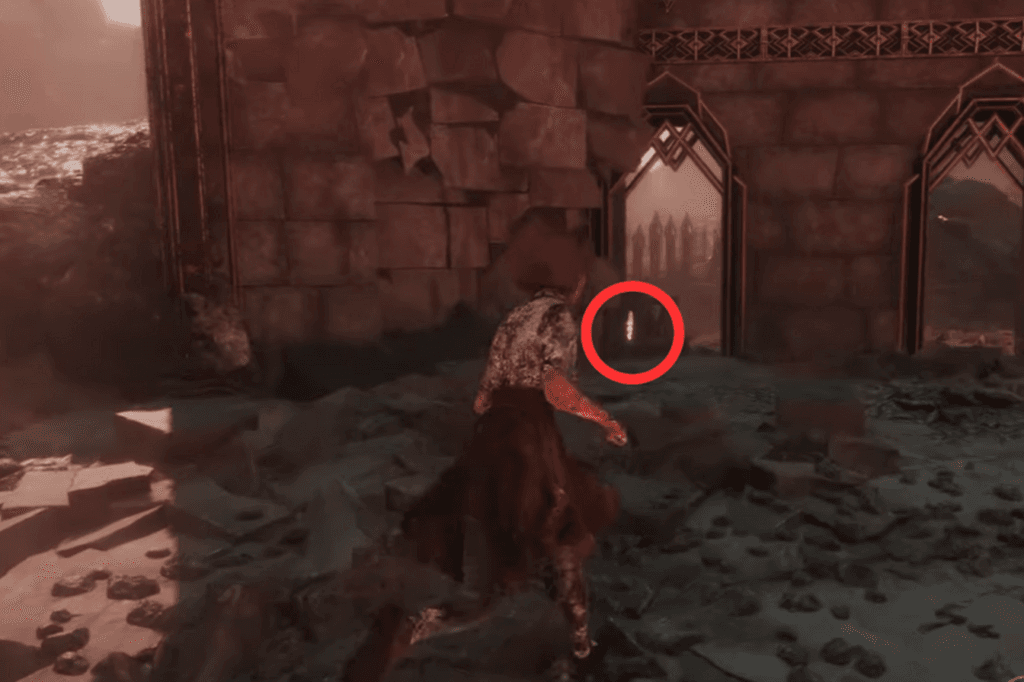
4 Collectible: Troubadin
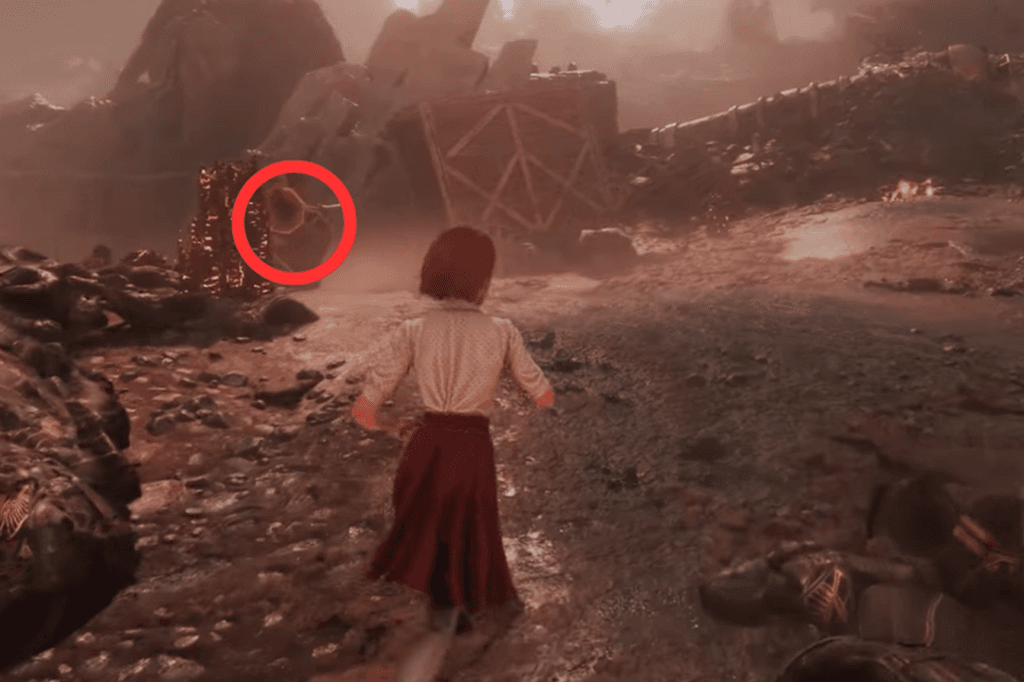
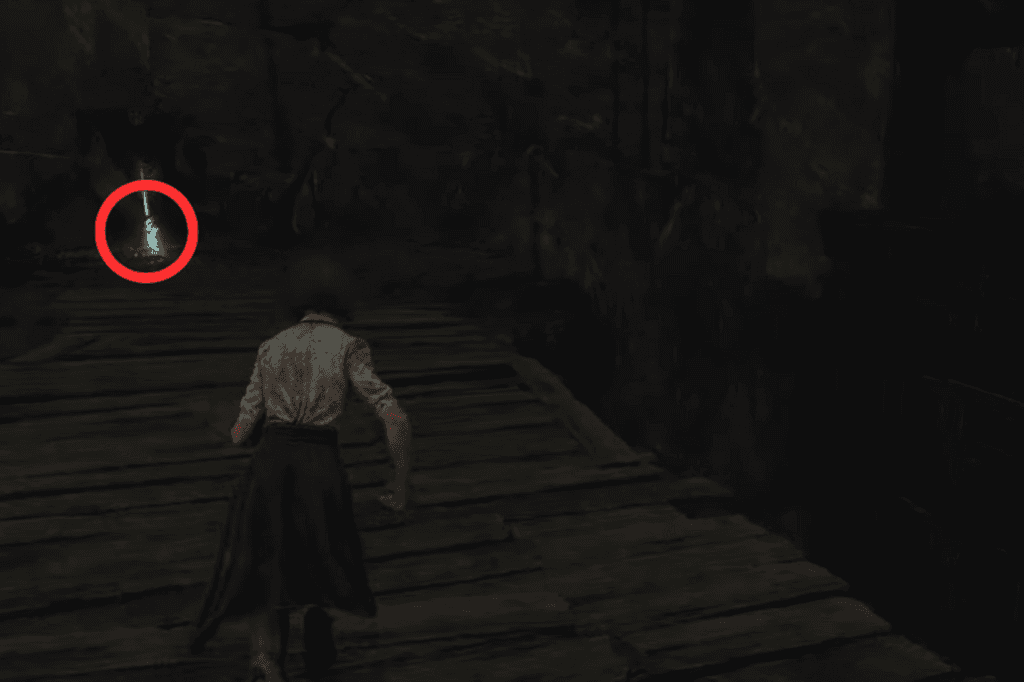
Another enemy nearby drops this item look around the area where you just fought the last one.
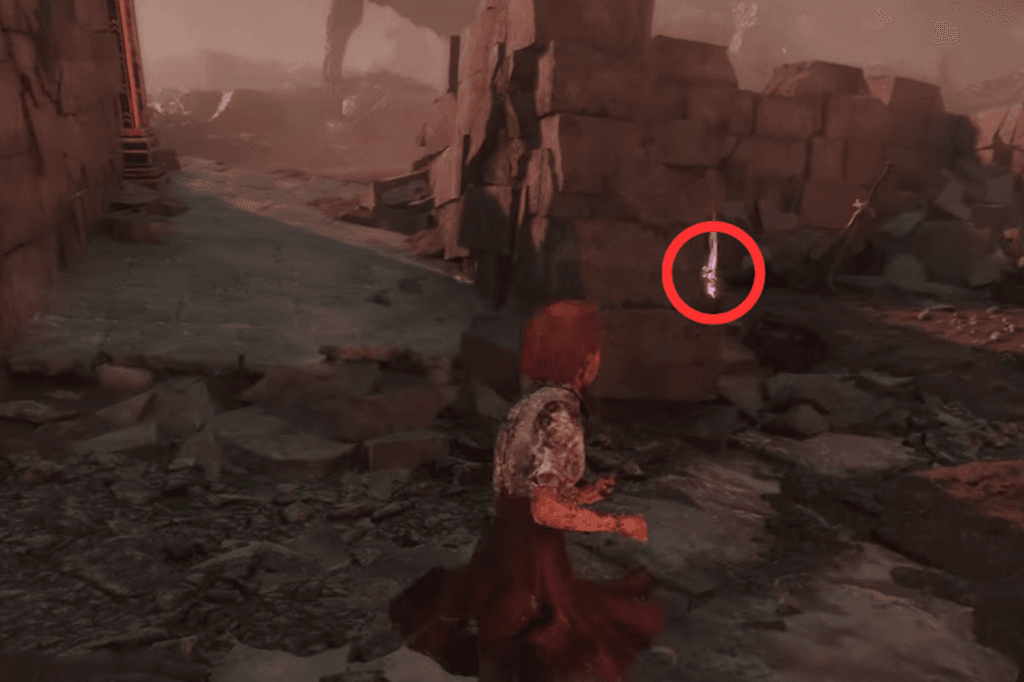
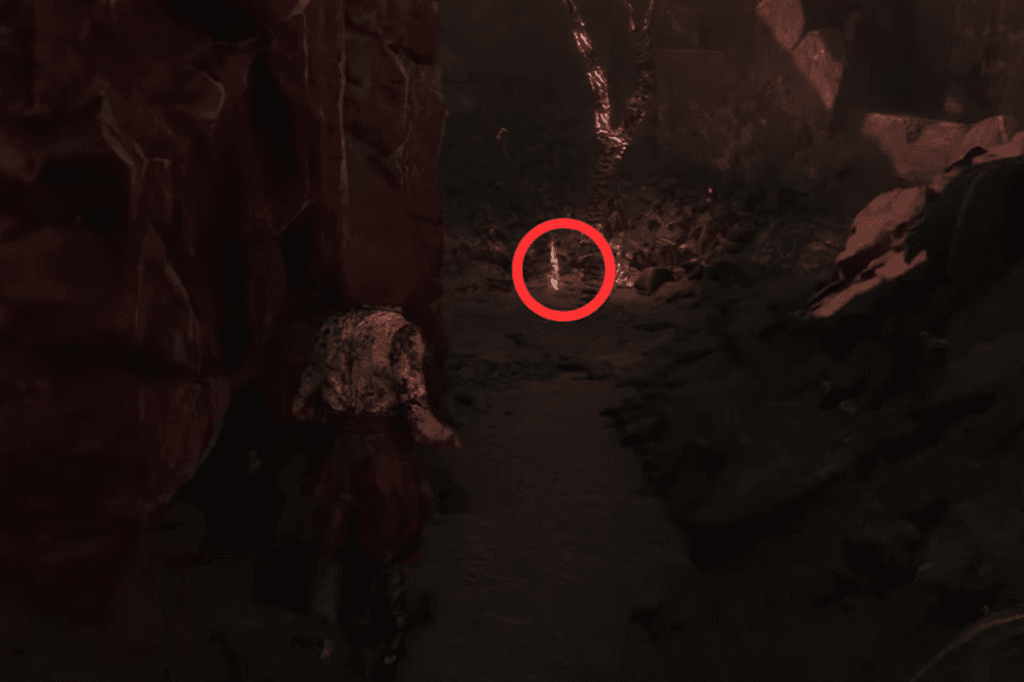
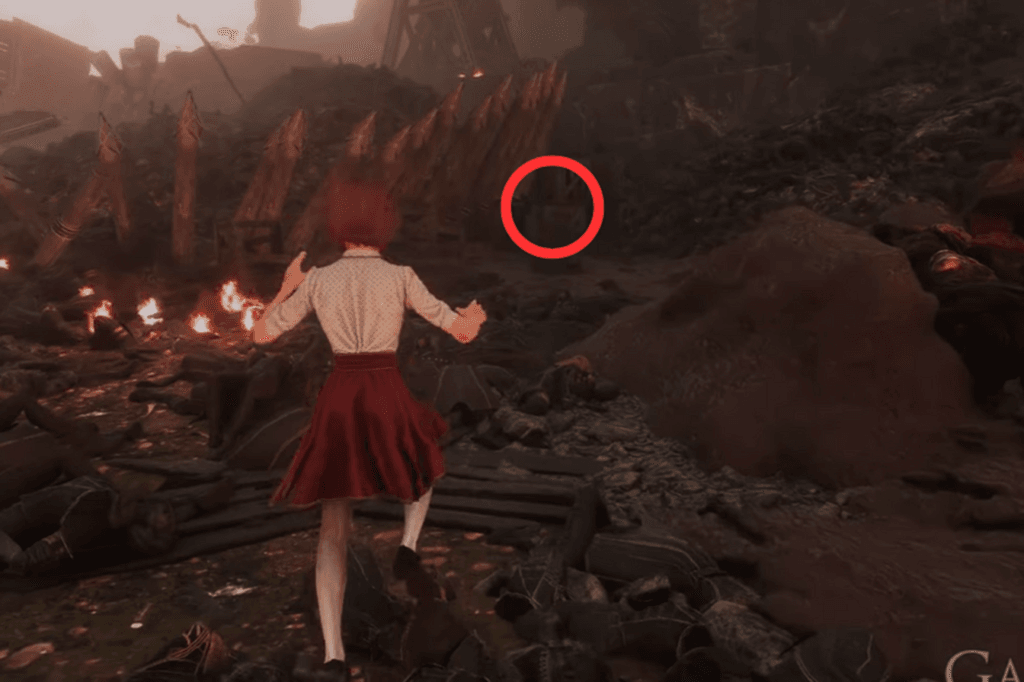
5 Collectible: Energising Start IV Pictos
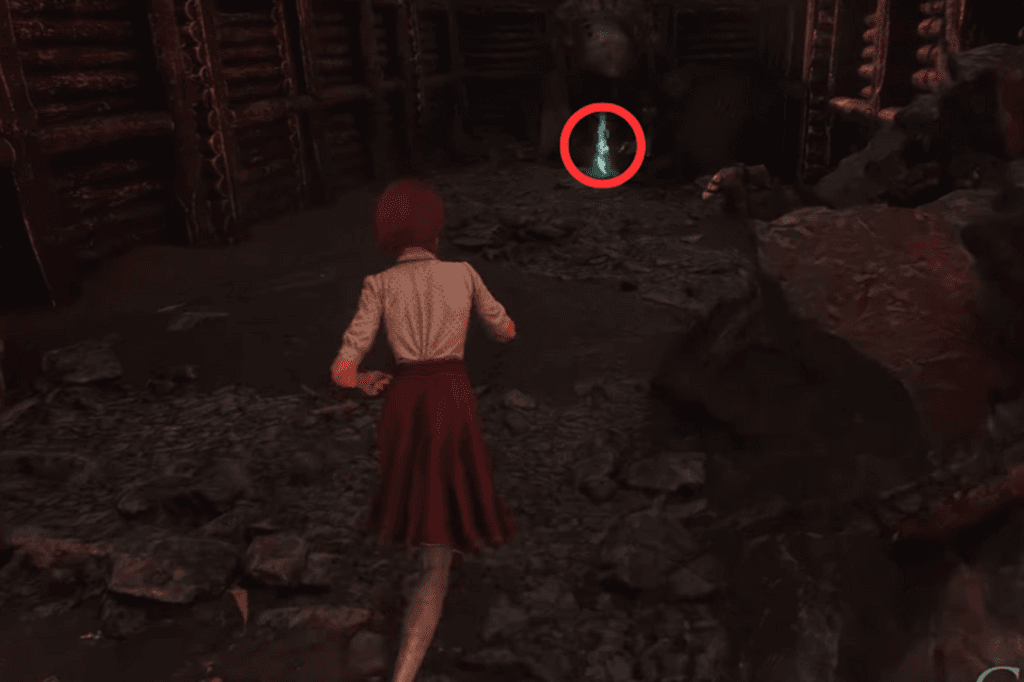
Head east from the intersection and go into a small nook with wooden spikes on top.
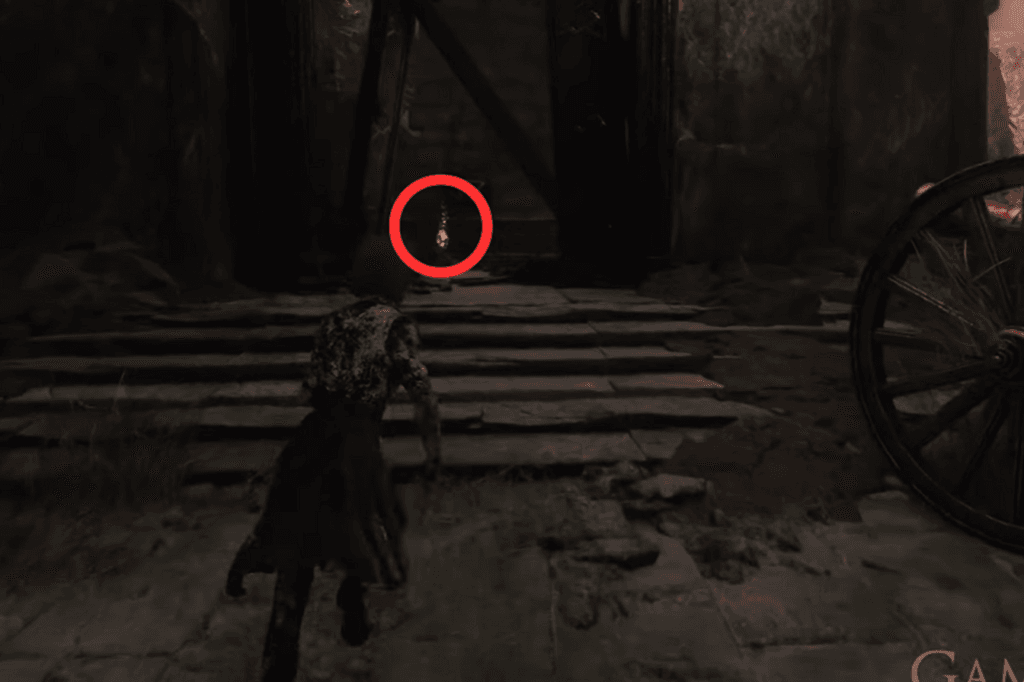
6 Collectible: Colour of Lumina
From the intersection, head west and follow the road until it comes to an end.
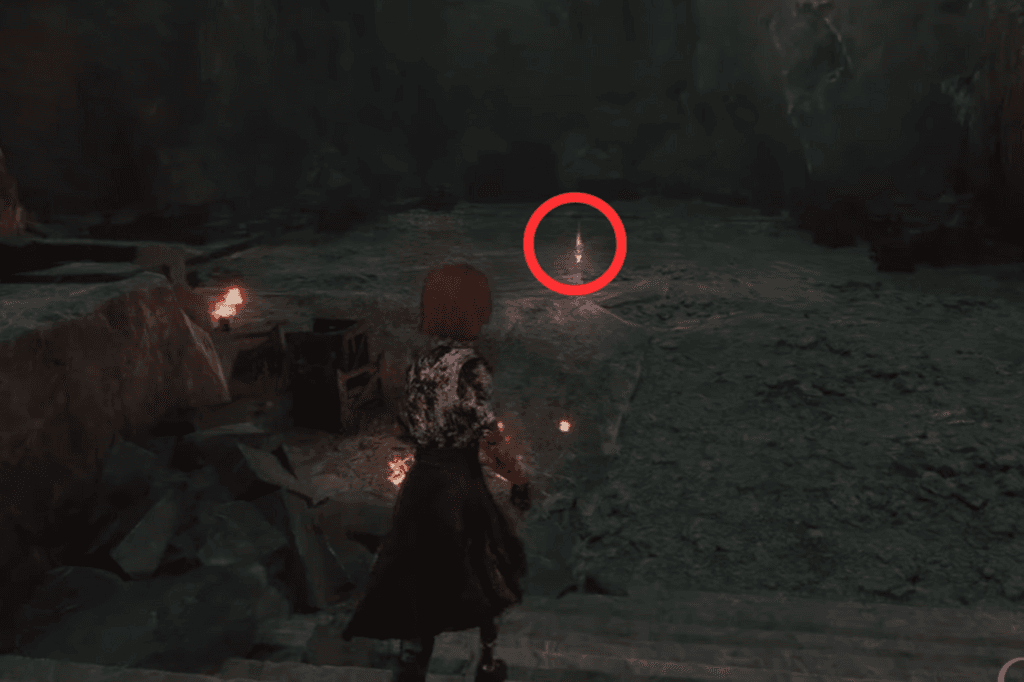
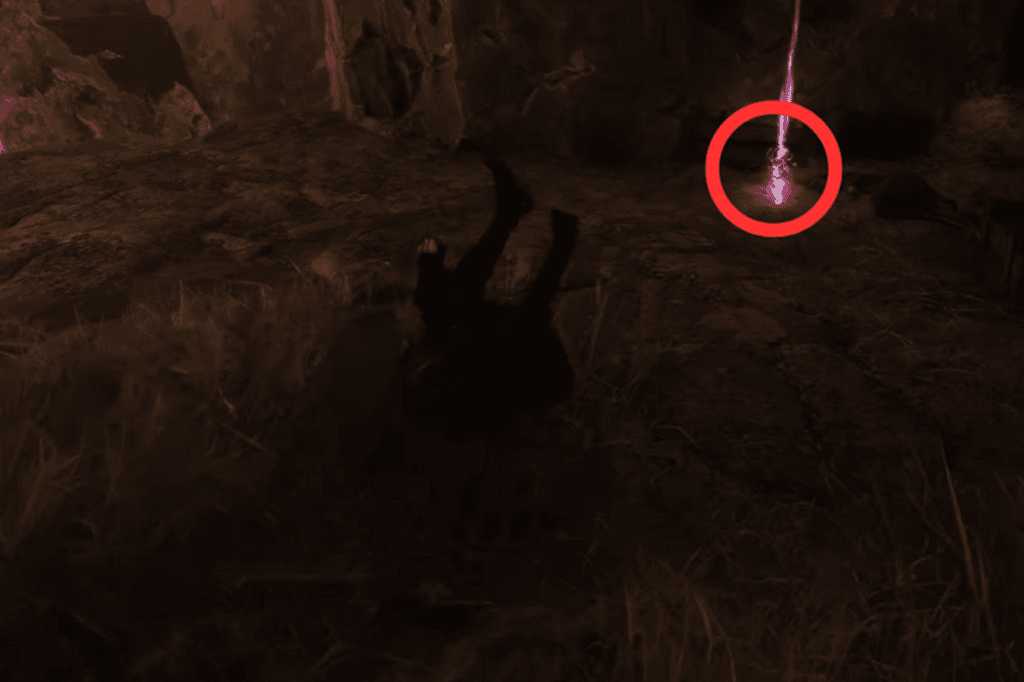
7 Collectible: Colour of Lumina
At the same intersection, look for a narrow path on the far west side. Follow it until you find a corpse with the collectible nearby.
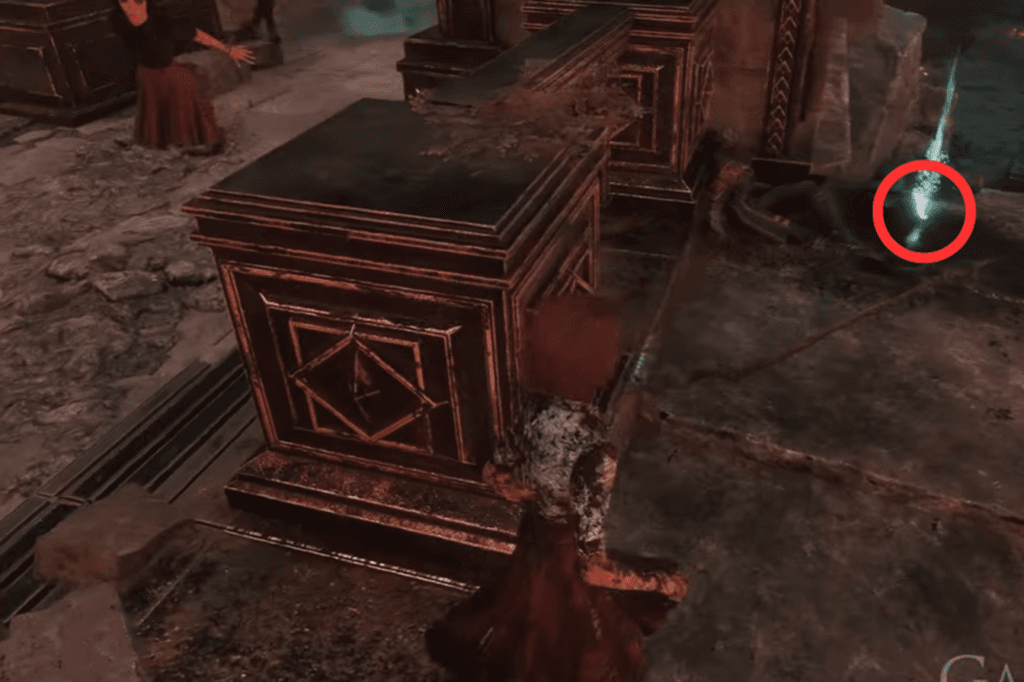
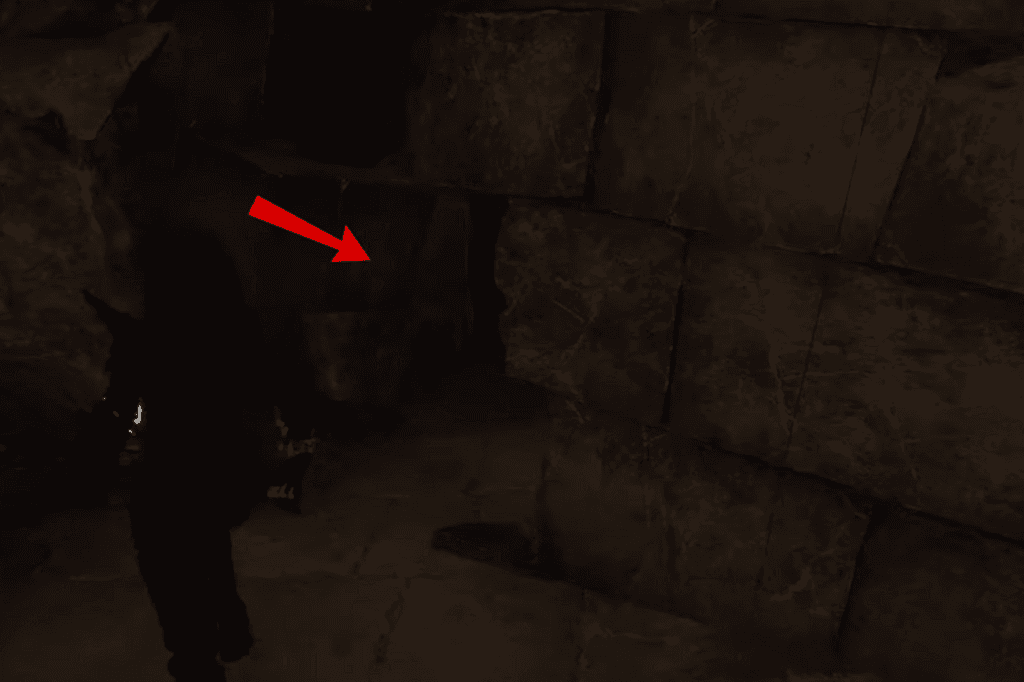
8 Collectible: Recoat
Turn around and go up the stairs from where you just found the last one. Look inside a crate in the ruins to find this collectible.
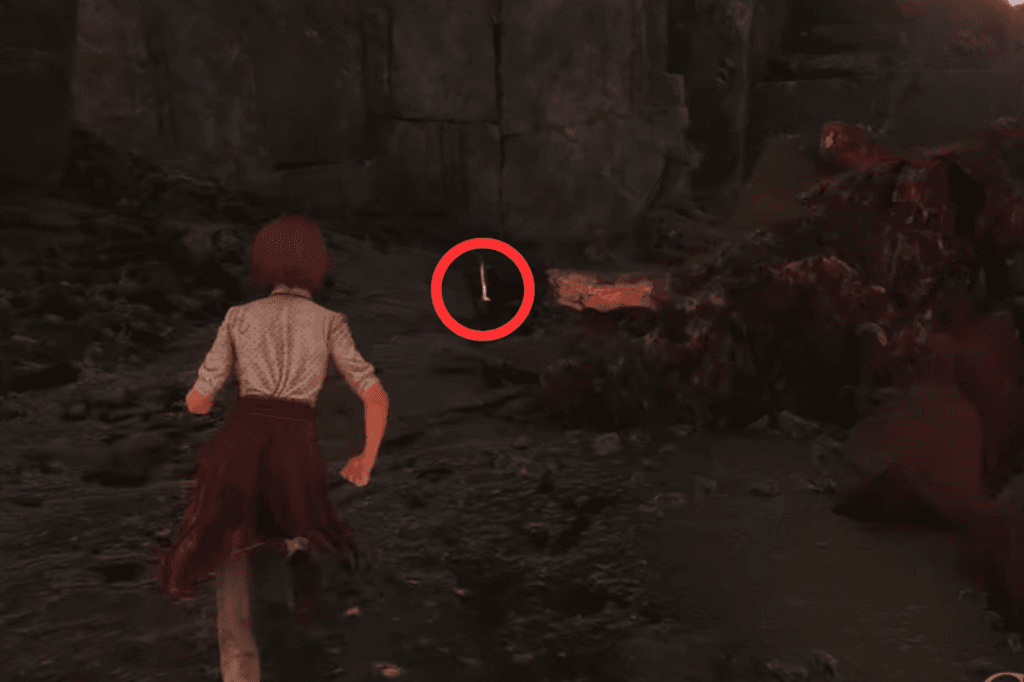
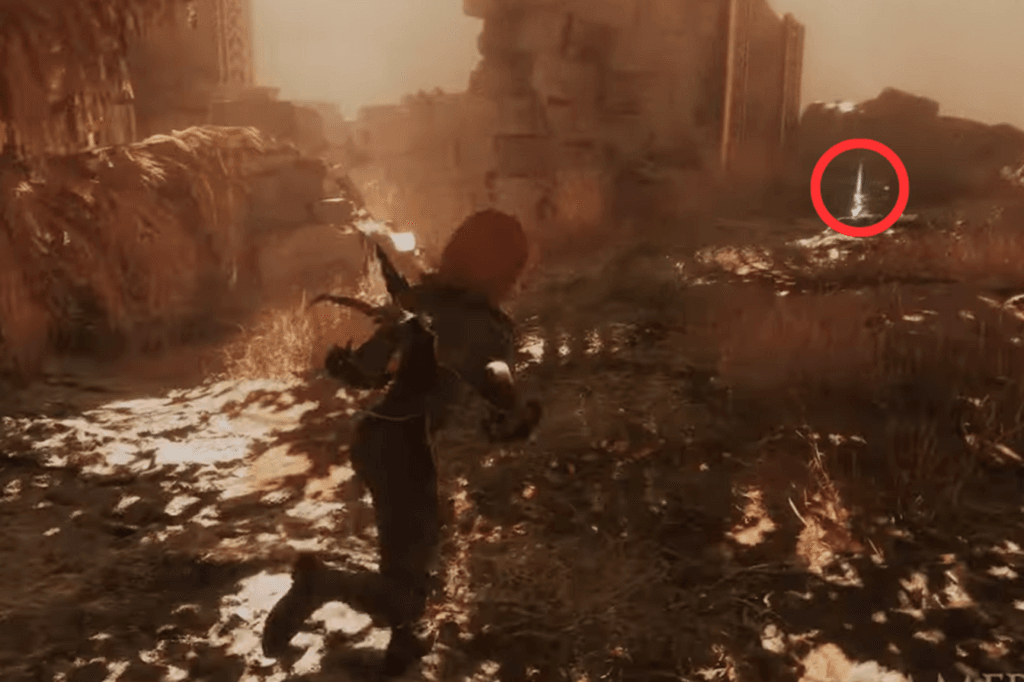
9 Collectible: Healing Tint Shard
Still in the same ruins, look near a sword that’s stuck in the ground this is where you’ll find it.
10 Collectible: Sweet Kill Pictos

From the ruins, head up the cliff that looks like a junkyard. Turn right at the top to spot the collectible.
11 Collectible: Revive Tint Shard
Go back to the main intersection and this time head east. Keep going until you’re under a bridge, and check near a tree to find it.
12 Collectible: Colour of Lumina
Start from the Fort Ruins flag, head west, and climb up using the handholds. Go through the semi-arched gate, and you’ll see the collectible sitting on a stone platform.
13 Collectible: Colour of Lumina
From that spot, take the stairs on your right and enter the room with the corpse. The collectible is nearby.
14 Collectible: Energising Death Pictos
In the same building, go up one more floor and walk around the area. You’ll see the collectible on a ledge it’s even visible from below.
15 Collectible: Polished Chroma Catalyst
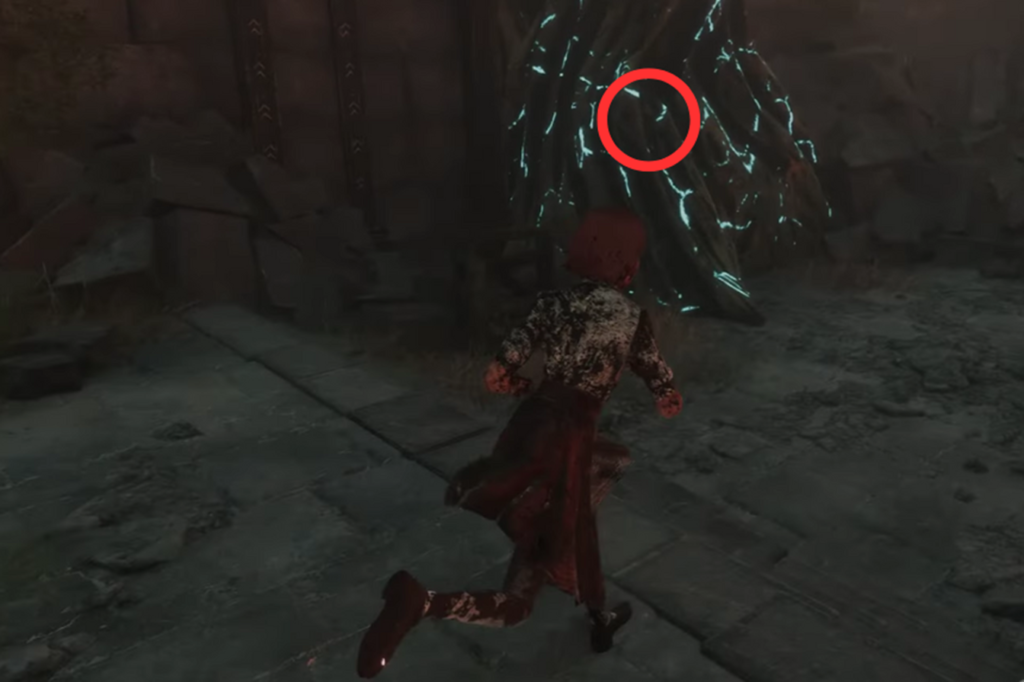
To get this one, you’ll need the ability to destroy blue spikes. After finding four lost Gestrals, come back outside the semi-arched gate and break the blue spikes blocking the room. The collectible is inside.
16 Collectible: Energy Tint Shard
From the Vanguard Point flag, climb down the cannon and look behind the large Gestral. Break the boxes beside the big pile of corpses to find this one.
17-18-19 Collectibles: Colour of Lumina, Recoat, Polished Chroma Catalyst
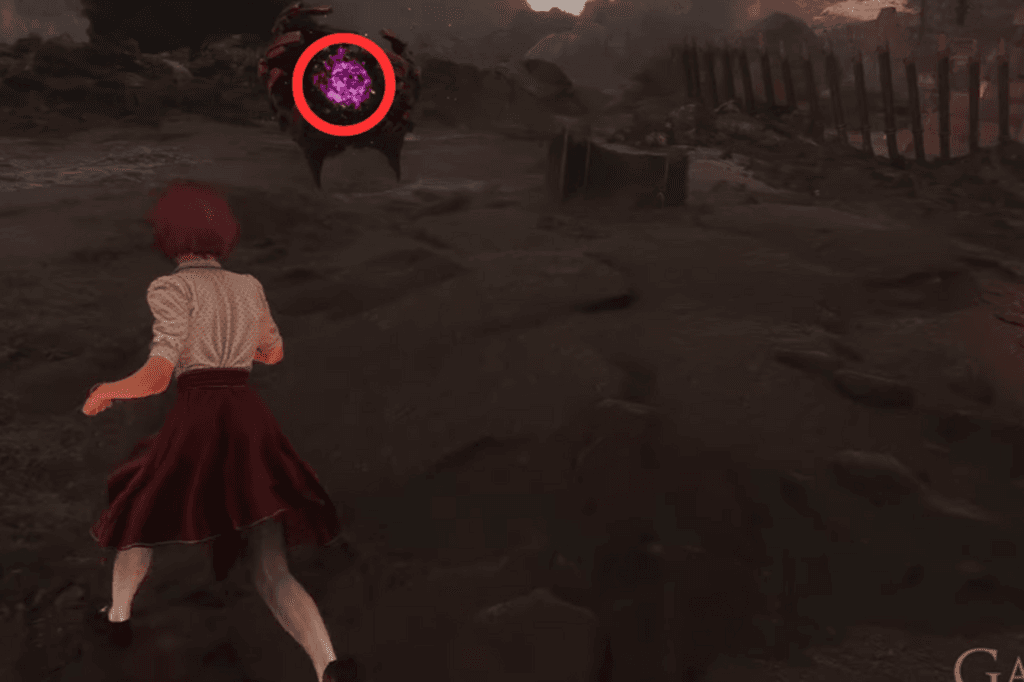
Start at the Battlefield expedition flag and head west. Defeat the escaping Petank to collect these items.
20 Collectible: Colour of Lumina
This one’s easy it’s just behind the Battlefield flag.
21 Collectible: Expedition 41 Journal
From the Battlefield flag, turn around and go into the trenches. Take a left and you’ll find it there.
22 Collectible: Colour of Lumina
After grabbing the journal, head just outside the chamber to find this collectible.
23-26 Collectibles: Lusteson, Energising Parry Pictos, Colour of Lumina, Polished Chroma Catalyst
Keep going deeper into the trenches until you reach the Chromatic miniboss. Defeat him to get all these items.
27 Collectible: Empowering Tint Pictos
In the chamber next to the miniboss, climb up the rope and look around you’ll spot the collectible up top.
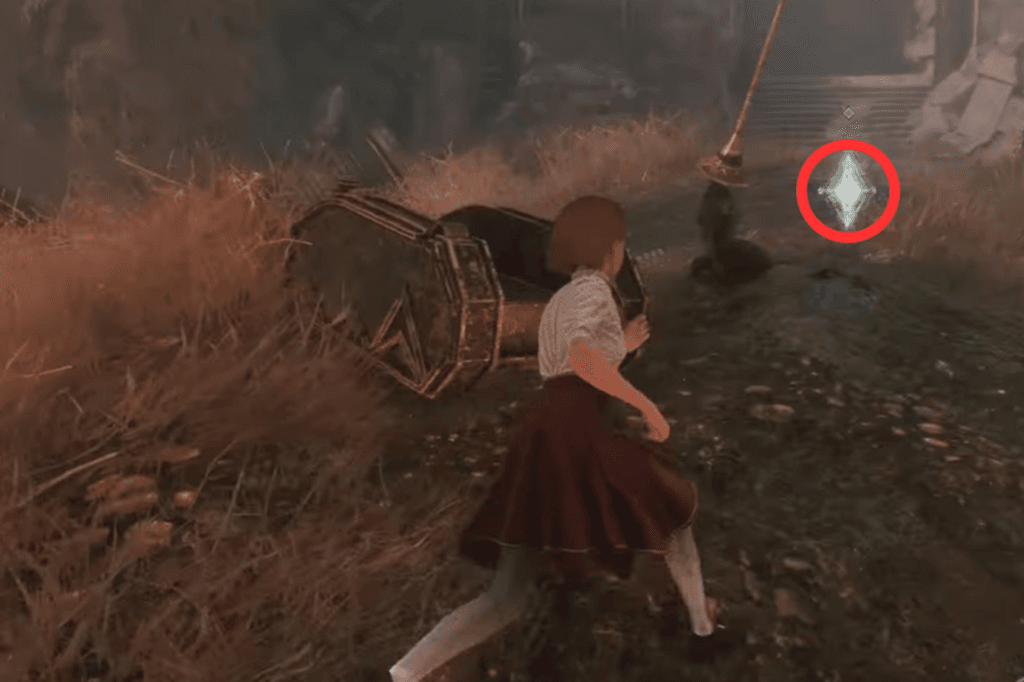
28 Collectible: Chroma Elixir Shard
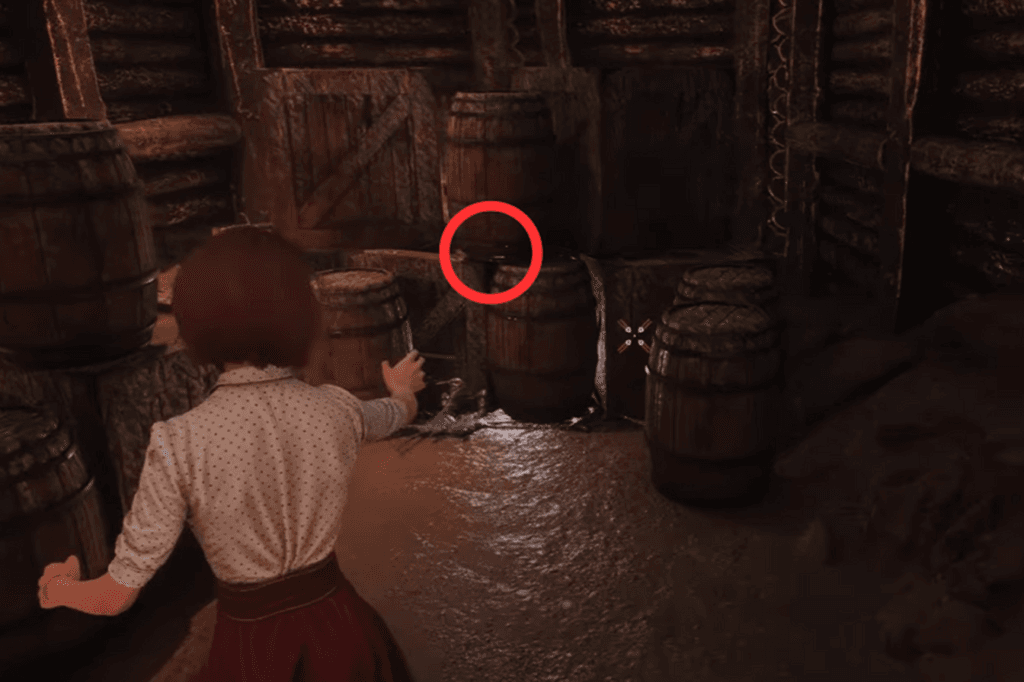
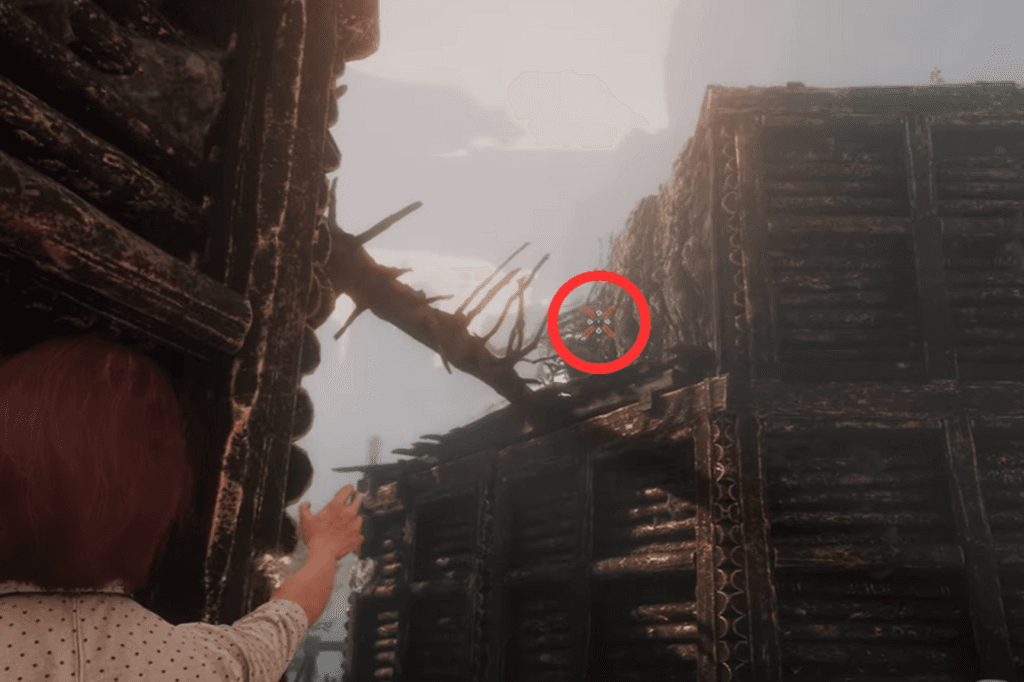
You’ll need to shoot three mechanisms to unlock the paint cage with this collectible inside:
- The first is at the entrance to the trenches, across from the spiky log.
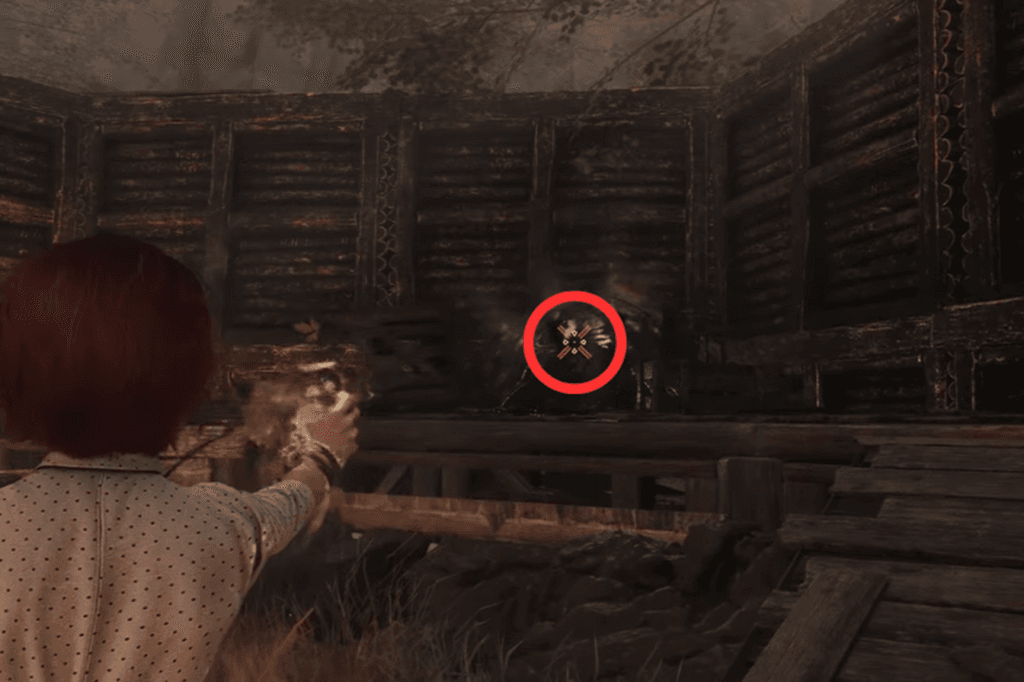
- The second is to the left of the entrance, hidden behind some crates and barrels.
- The third is in the nearby chamber, also behind boxes and barrels.
The paint cage is near the third one and is easy to spot when you walk in.
29 Collectible: Expedition 57 Journal
Look outside the Ancient Bridge flag you’ll find it there.
30 Collectible: Inverted Affinity Pictos, Benisim, Polished Chroma Catalyst, Recoat, Colour of Lumina
You can buy these from the Gestral merchant, Kasumi, who’s in the ruins near the Ancient Bridge flag.
31 Collectible: Obscur Outfit for Maelle
To unlock this outfit, defeat Kasumi and it will become available in his shop.
32 Collectible: Dualiso, Combo Attack Pictos, Polished Chroma Catalyst
You’ll get these as rewards after defeating the story boss, Dualliste.
33 Collectible: Colour of Lumina
After the fight with Dualliste, cross the bridge ahead, climb the small cliff, and look behind a rock to find the collectible.
34 Collectible: Colour of Lumina
Keep following the path until you reach a rope. Climb down, turn around, and crouch through the hole in the wall to grab it.
35 Collectible: Revive Tint Energy Pictos
From the last location, go the opposite way and head up the hill to find this collectible.