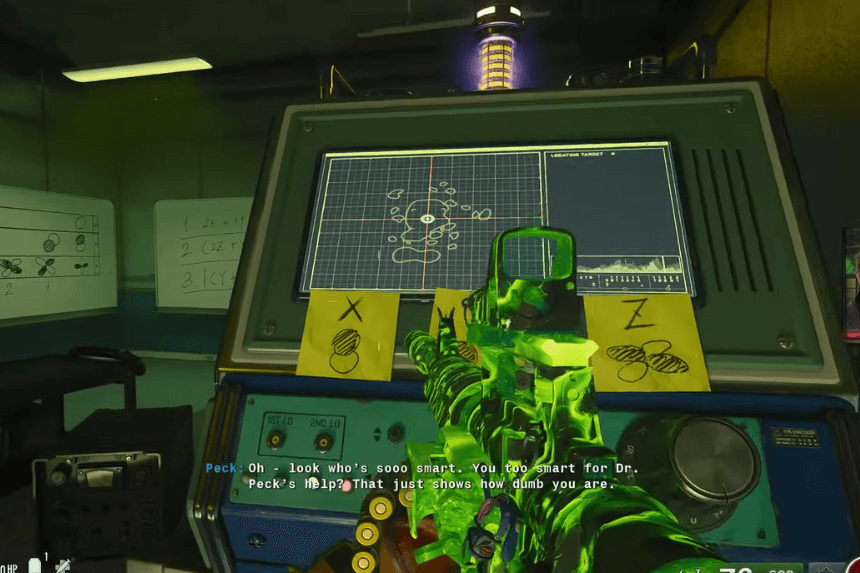
In Black Ops 6: Terminus, the math puzzle is a key step in progressing through the free Beamsmasher quest. To solve it, players must first activate the puzzle by interacting with three laptops scattered across the Terminus map. This article will explore how to solve the algebra/math puzzle in Terminus Black Ops 6.
Destroy the Electrical Boxes
Before you begin, ensure you have a weapon equipped with the Dead Wire Ammo Mod, as it’s essential for the first part of the process. To add the electric shock effect to your weapon, you must upgrade it at an Arsenal station using Dead Wire, which requires 5,000 salvage.
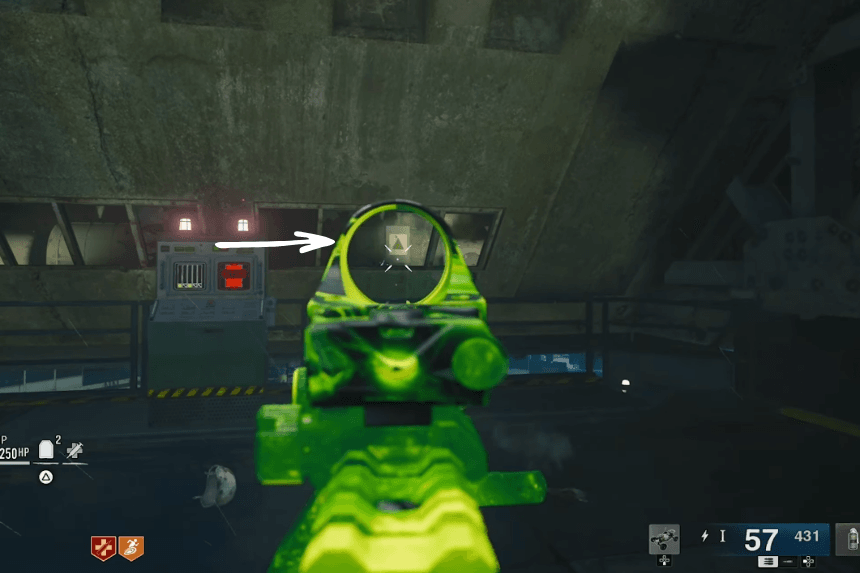
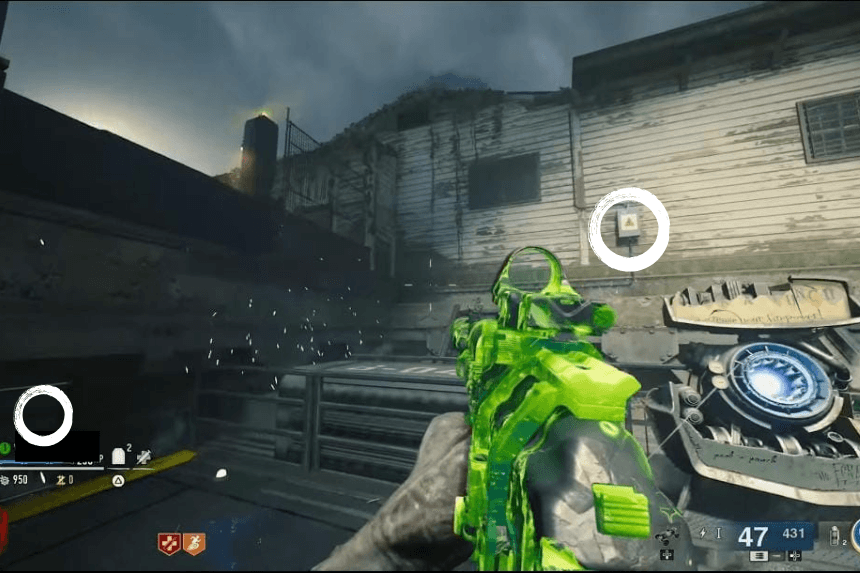
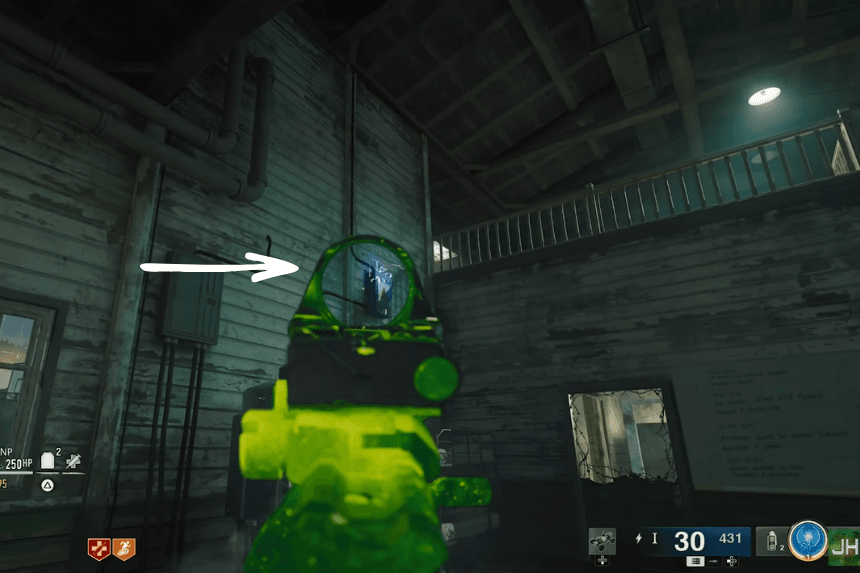
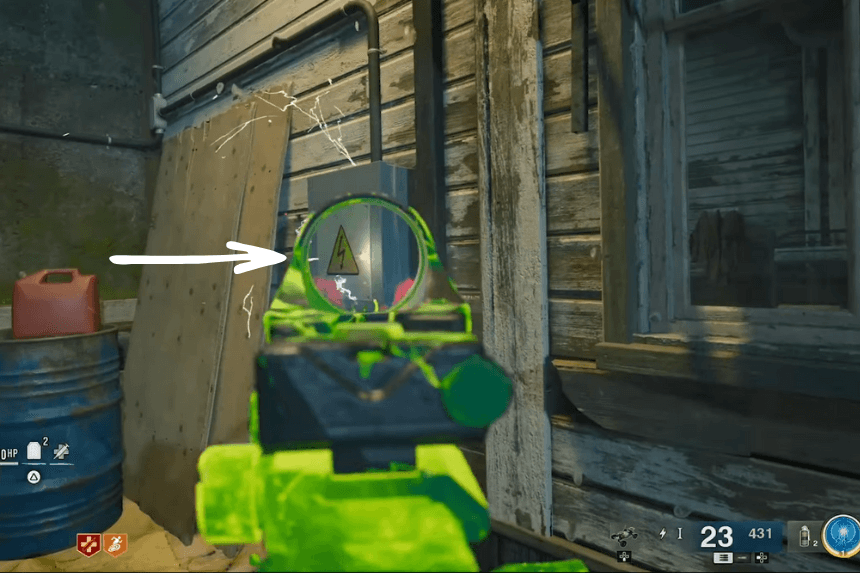
Now, head over to the Pack-a-Punch machine and activate the lift on the Terminus map. While riding the lift, shoot the three electrical boxes around the area. The first box is on the top floor of the building – shoot it through the window as you ride up. After taking care of that one and the other two shown in the pictures above, make your way to the house with the Juggernog Perk. You’ll find another electrical box on the wall there – shoot that one too. The final box is outside the house, beneath a lamp. Once you’ve shot it, the green double doors will open.
Inside the building, you’ll come across a workbench surrounded by zombies. Take them out, and after clearing the area, look for the EMF FOB, it’s dropped by the zombie trapped under the rubble. Next, head to the building with the Elemental Pop Perk machine. Near the Perk-a-Cola, you’ll find a desk, and on the desk is a suitcase with a severed hand inside. Open the suitcase to find the Multiphasic Resonator and interact with it to add it to your inventory.
Locate the Laptops
Next, head back to the crafting room and interact with the Calibrator. To use it, you’ll need a code, which you can either purchase for 5,000 Essence from Peck or figure out on your own. If you want to crack the code for free, you’ll need to find and interact with three laptops (X, Y, Z). The X Laptop is near the Docks, below the Sea Tower, the Y Laptop is just outside the Storage Area, and the Z Laptop is right outside the Communications Room. Each laptop will display a set of three different symbols.
Symbols in the Math Puzzle
In the Calibrator room, you’ll find two whiteboards displaying the same symbols you saw on the laptops. Now you have to use the formula to work out the code, then enter the numbers into the machine. Once you do that, the Calibrator will reveal a location on the Terminus map.
The image above shows each symbol and its corresponding numerical value. This chart is the same for every game, so players can use it to match the symbols in their own game. However, if players want to figure out the numbers on their own, all they need to know is that the row – the numbers on the left gives the first digit, and the column – the numbers at the bottom gives the second digit. For example, the symbol in the left bottom corner of the drawing would be 22 because it’s in the row next to 2 and the column next to 2.
The Three Math Equation
1. The first math equation is: 2X + 11
Here’s how to solve it:
- First, multiply 2 by the value of X (so, 2 x X). In our case, that’s 2 x 21, which equals 42.
- Then, add 11 to the result (42 + 11 = 53).
That gives you the first set of numbers for the code (53).
2. The second math equation is: (2Z + Y) – 5
Here’s how to solve it:
- First, multiply 2 by the value of Z (2 x Z). In our case, Z is 20, so 2 x 20 = 40.
- Next, add the value of Y (in our case, 0) to the result of 2 x Z (so 0 + 40 = 40).
- Finally, subtract 5 from the total (40 – 5 = 35).
That gives you the answer for the second code (35).
3. The third math equation is: |(Y + Z) – X|
Here’s how to solve it:
- First, add the values of Y and Z (in this case, 20).
- Then, subtract the value of X (21) from the total (20 – 21 = -1).
- If the result is a positive number, that’s your final code.
- If the result is negative, just ignore the minus sign and use the positive number as the final code.
In this case, the final code would be (1).
Once players enter the code, they’ll see a confirmation on the screen along with a message from Peck. After that, they’ll need to wait until the next round, when the Janus P.A. System will announce: “Multiphasic Resonator calibrated. Target located. Loading coordinates.” This will reveal the island players need to go to in order to continue the free Beamsmasher quest.

