
Near the end of Dying Light: The Beast, you’ll be faced with the thrilling challenge of the “One Flew Over The Volatiles’ Nest” quest. This quest will test your stealth, timing, and combat skills as you make your way through hostile environments while avoiding dangerous Volatiles and fighting the terrifying Wraith boss. This guide will discuss the climb, the caves, the boss encounter, and gathering samples to complete the quest and escape with your rewards.
Making Your Way to the Nest

Before beginning, make sure to gather healing items and equip a flamethrower or a weapon that can set enemies on fire; this will help make the Wraith fight considerably easier on you. You may also want to put your best weapons in quick slots, and you may want to have mobility-enhancing abilities while you climb, jump and dodge.
You will need to climb a hill near the quest marker first. You can then follow the ledges marked in white paint, take small steps across the small platforms or small ledges, and shimmy across the rocks.
Once you enter the cave, you will encounter some Sleepers or Biters. You can either sneak up on them and take them out or sneak past them. Looting is entirely optional, but it is helpful for scavenging some supplies.
Continue through the cave, climbing large rocks and ledges until you reach a cable beside a corpse, a clear sign that the boss fight is near.
Facing the Wraith
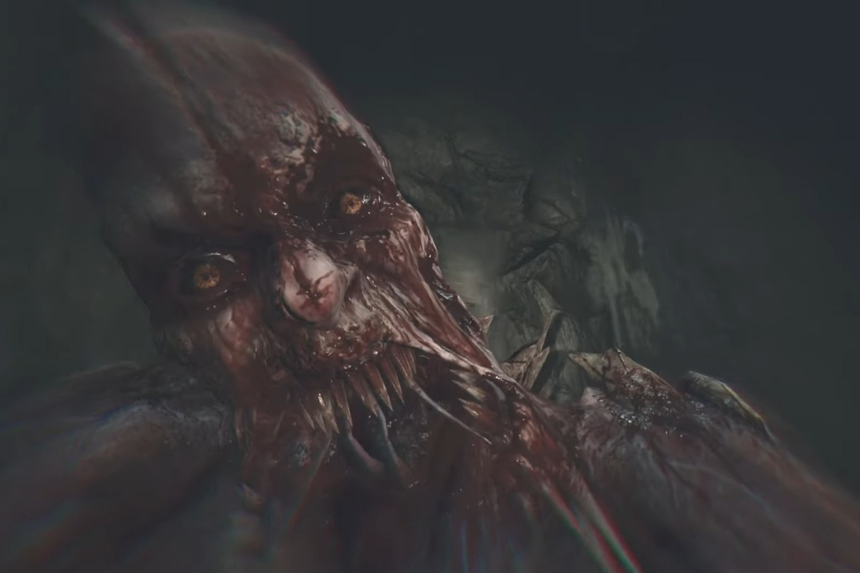
The Wraith is a hybrid of a Volatile and a Chimera and one of the game’s toughest bosses. The fight has three phases:
- Phase 1: The Wraith can turn invisible at any time. It always attacks immediately when visible, so don’t try hitting it mid-animation—focus on dodging first. Audio cues, like the boss’s cry or changes in music, signal incoming attacks.
- Phase 2: In the second phase, it adds an acid spit attack, so stay alert. Weapons that set it on fire or shallow water to track its ripples help you land extra hits while it’s invisible.
- Phase 3: The Wraith stops disappearing and becomes highly aggressive, chaining leaps and combos with minimal openings. Timing attacks and dodges is critical here. Save your Beast Mode for this phase to deal significant damage and shorten the fight. Healing is scarce, so efficiency is key.
Collecting Volatile Samples

After dealing with the Wraith, you will travel even deeper into the cave towards the dangerous Volatile nest. You’ll need to pick up three distinctly marked samples, the first of which should be easy to pick up.
The second and third samples will give you some trouble, so use Survivor Sense to identify the Strigoi and Volatiles. Wait to grab the sample until the monster is not looking towards you, and stay behind rocks as much as possible. Be patient. Timing will be of utmost importance to not be seen.
Once all samples are secured, Volatiles will notice you, triggering a chase. Dash and Active Landing skills make escape possible. Return to the Exiles Cave to complete the quest.
Completing the mission rewards you with the Survivor’s Hat, which provides +2% damage, +3% HP restored on healing, and -3% stamina cost.
Enjoyed this guide? Take a look at our other guides to uncover sidequests, collectibles, and strategies to make the most of Dying Light: The Beast.
How to Climb The Library Tower Safe Zone – Dying Light: The Beast, Heavy Vest & Pants Location in Dying Light The Beast (Best Early Game Armor), The Sawblade Launcher Location – Dying Light The Beast
