
If you’re exploring Chapter 2 of Black Myth: Wukong, there’s a hidden side quest you won’t want to miss. It’s called the Old Rattle‑Drum quest, and it rewards you with a powerful item if you see it through to the end. To complete it, you’ll need to defeat a few tough bosses, follow some clues, and use the rattle‑drum in special places to uncover secrets. Here’s a step‑by‑step guide to help you get the Old Rattle‑Drum and finish the quest.
How to Get and Use the Old Rattle‑Drum in Black Myth: Wukong

You’ll find the Old Rattle‑Drum during Chapter 2, but getting it takes a bit of work. Here’s exactly what you need to do and where to go, explained in plain words.
Step 1 – Reach the Yellow Wind Formation
To even reach this item, you first need to:
- Defeat the King and Second Prince at the end of Sandgate Village.
- Then beat the Tiger Vanguard boss in the Crouching Tiger Temple.
Once that’s done, you’ll reach the Yellow Wind Formation. It’s a pretty straightforward area, so just keep pushing forward until you reach the Windrest Hamlet Keeper’s Shrine.
Step 2 – Defeat the Tiger’s Acolyte
From the Windrest Hamlet Shrine, look for a bridge nearby. Cross it, then take the sloping path on your left. You’ll see a small chest with some Silk, and a much larger bridge ahead. On that bridge waits a boss called the Tiger’s Acolyte.
If you’ve already beaten the Tiger Vanguard, this guy won’t be as tough, but don’t take him lightly. He’s fast and his sword combos hit hard, so stay alert. Defeat him, and you’ll automatically get the Old Rattle‑Drum. You can find it later under “Key Items” in your inventory. Its description says:
“Though this rattle‑drum is somewhat worn and tattered, when shaken, it still makes a lively clatter.”
Step 3 – Use the Old Rattle‑Drum in Windrest Hamlet
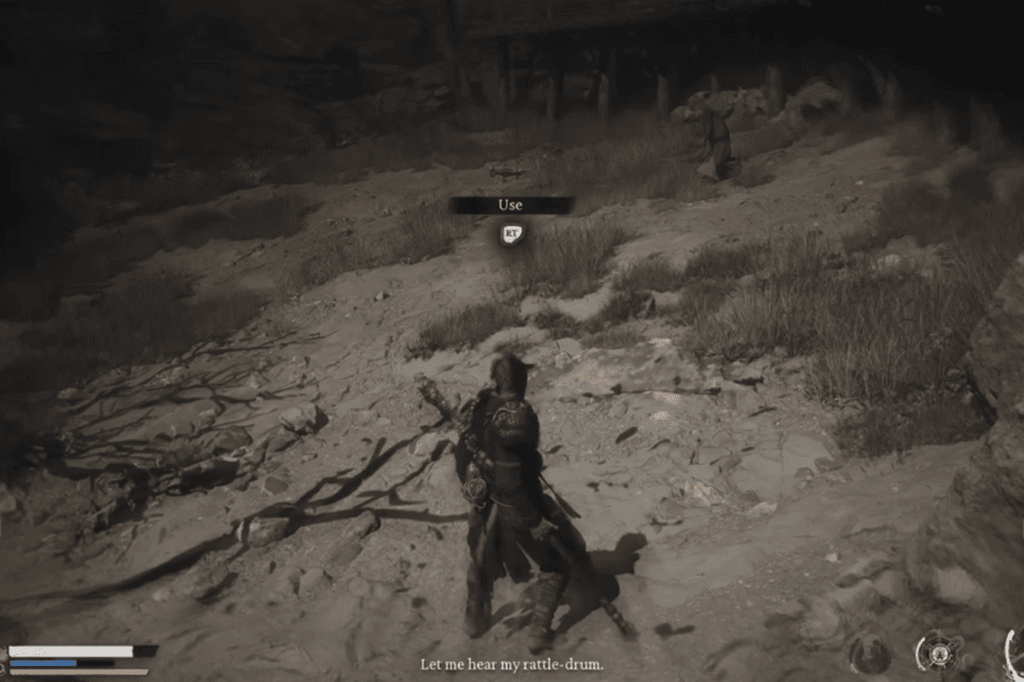
After getting the drum, head back to the Windrest Hamlet Shrine. This time, go the opposite way toward the Hamlet itself. Go through the main doors, then take the first left. You’ll see some kneeling enemies around an empty square in front of double doors. As you approach, the screen will go grey and you’ll hear a child’s voice:
“I’m here, little monkey. Let me hear my rattle‑drum.”
Step forward and you’ll get a prompt to shake the drum (press X or E). Doing this wakes up all those kneeling enemies. Fun times.
Step 4 – Defeat the Stone Vanguard
Next, you need to beat another boss: the Stone Vanguard at the end of Fright Cliff. You need both bosses, Tiger Vanguard and Stone Vanguard, defeated to continue this quest.
There are two routes to him:
- Jump off the ledge in the cave past the Tiger’s Acolyte bridge.
- Or, after the Rockrest Flat Shrine in Fright Cliff, turn left.
Beat the Stone Vanguard (he’s big and slow, but tough) to get the Sterness of Stone item.
Step 5 – Use the Old Rattle‑Drum in Valley of Despair
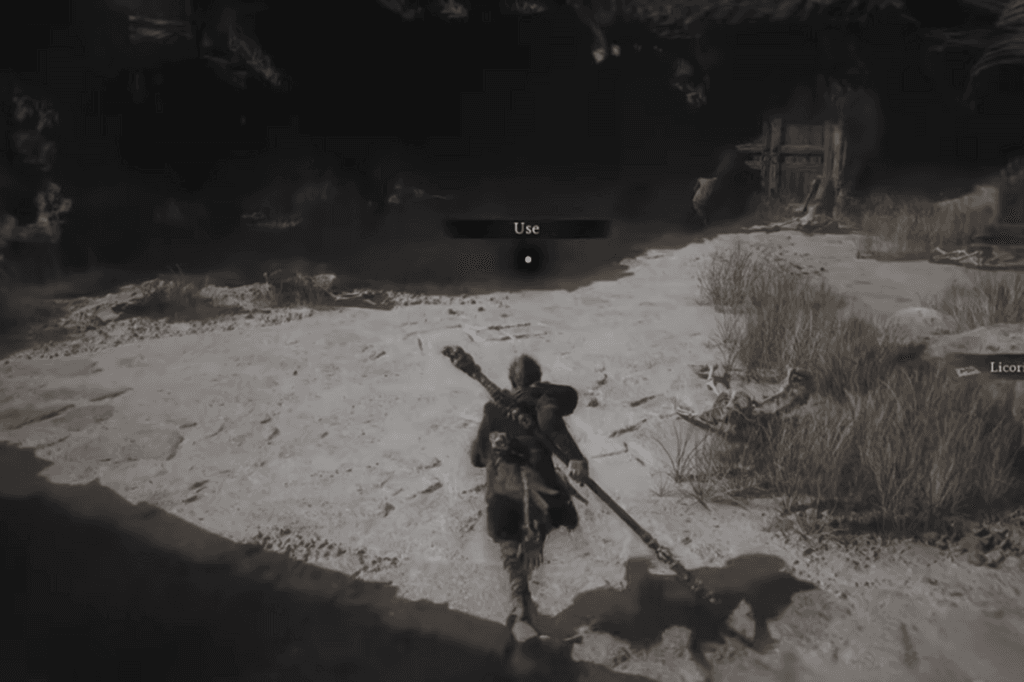
Now fast‑travel to the Valley of Despair Shrine, where you fought the Rat King and Second Prince. With the two Vanguard items in hand, you can open the big doors near the Shrine. Go down the stairs, turn right, and head under the wooden structure. The screen will go grey again and the child’s voice will speak to you. Use the drum here too, then open the nearby chest if you like.
Step 6 – Use the Old Rattle‑Drum in Sandgate Village
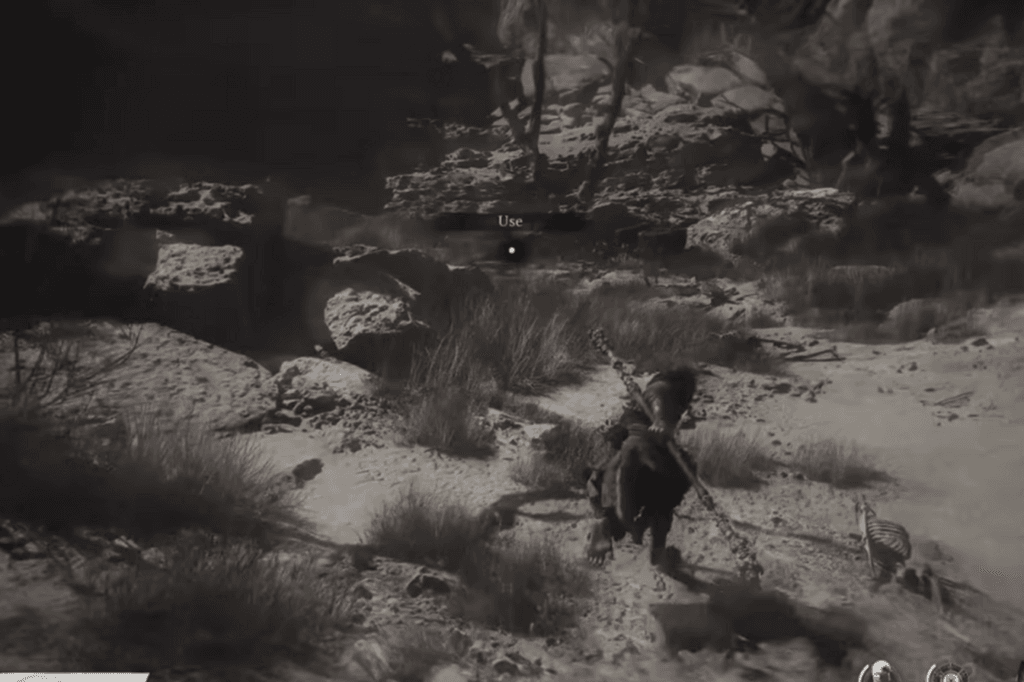
Your final stop is back in Sandgate Village, specifically near the well where you fought the Earth Wolf boss. From the Village Entrance Shrine, go through the door ahead (or take the long way around if it’s locked).
Head through the hole in the wall near the giant Buddha statue. Around the corner, you’ll see the prompt to use the drum again. This time, the boy’s spirit actually appears and speaks to you, then jumps down the well.
Step 7 – Follow the Boy’s Spirit
After the cutscene, interact with the well to follow the boy. You’ll be taken to a hidden area called Bottom of the Well. There’s a Keeper’s Shrine down here, so if you die in the next fight, you’ll respawn nearby.
Step 8 – Defeat the Mad Tiger
Down here, you’ll face the Mad Tiger, a deadlier version of the Tiger Vanguard. He’s quick and hits very hard, so use your best skills and spells. Immobilise spells and Transformation Spells like Red Tides or Azure Dust can make this fight a lot easier. Defeat him, and you’ll get his Spirit as a reward.
Step 9 – Claim Your Final Reward
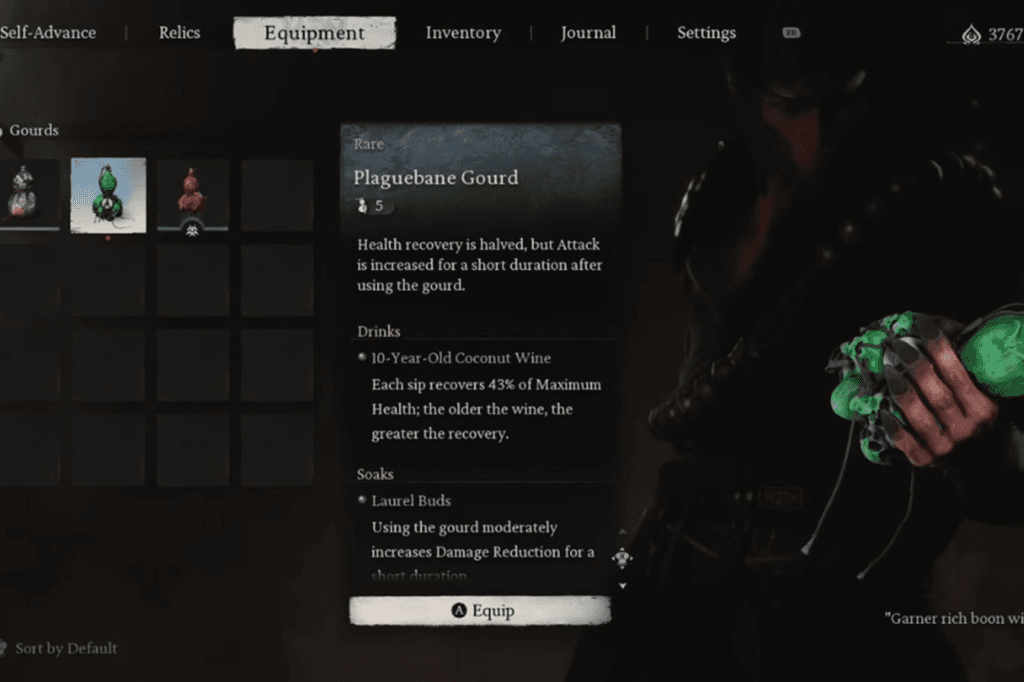
Before you leave, open the chest at the far end of the arena. Inside you’ll find the Plaguebane Gourd, a special gourd that heals only half as much as usual, but boosts your damage for a short time after drinking it.