
In Ghost of Yotei, the Nine-Tailed Armour is one of the most sought-after armour sets, tied directly to the Kitsune questline. Along with the armour, players can also collect various colour dyes to customise their gear and appearance. This guide will walk you through how to unlock the Nine Tail armour step by step, as well as where to find every colour dye to fully personalise your character.
Nine Tail Armour
The Nine Tail armour is a special armour set tied to the Kitsune questline. To unlock it, you will need to complete specific parts of the main story and solve a few puzzles along the way. Here’s a step-by-step breakdown to help you get it.
How to Get the Nine Tail Armour
You will be able to get the Nine Tail armour during the “Blood on the Snow” part of The Kitsune’s Revenge tale. To begin this quest, head to the Nayoro Wilds, located in the northern area of the map. The journey begins during the main tale called The Yotei Six.
While playing through this quest, you will eventually come across a random enemy encounter somewhere in the Yotei Grasslands. This can be a group of bounty hunters, patrols, or just hostile enemies near rivers or roads.
Blood on the Snow Quest
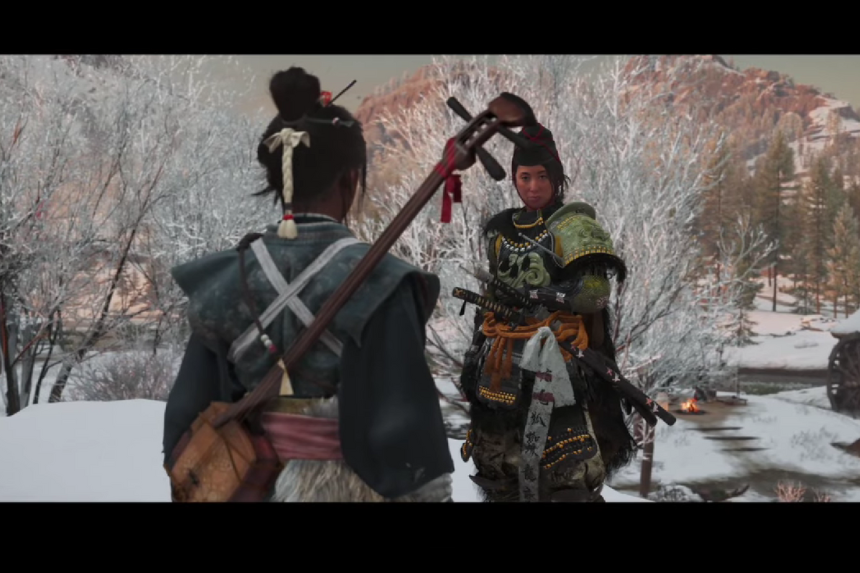
Once you step out of the Red Crane Inn, you will find Oyuki waiting for you. Talk to her, and she will share more details about the Kitsune, a mysterious figure connected to a group called the Nine Tails. They’ve been causing trouble in nearby villages, and it’s time to look deeper into their operations.
When you enter Observation Mode, use the Right Analog Stick to look around. Focus on the glowing white dots; these mark points of interest you need to examine. Once you’ve finished observing, Oyuki will ask you to ride with her. Accept her request and follow her lead.
Fox Lantern Puzzle
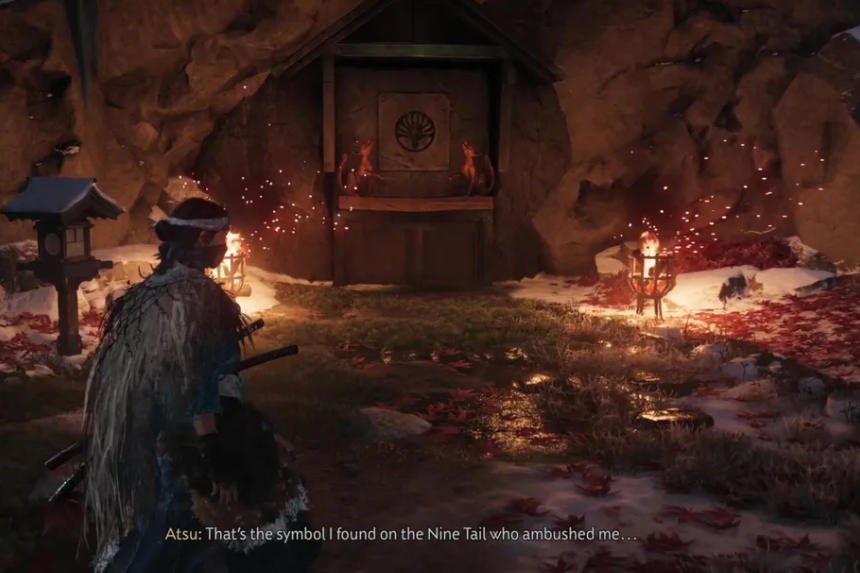
The map points to a spot southeast of your current position. Head there, and you will come across a wooden gate. Go through it and follow the trail ahead until you reach a small shrine with four lanterns lined up in front.
There’s a torch nearby; grab it. Your goal here is simple: light only the lanterns that have fox statues sitting on top. Once you do that correctly, a secret crawlspace will open beneath the shrine. Crawl through it, but be ready, another group of Nine Tails will ambush you inside. Defeat them and continue forward.
Kitsune Gate Puzzle
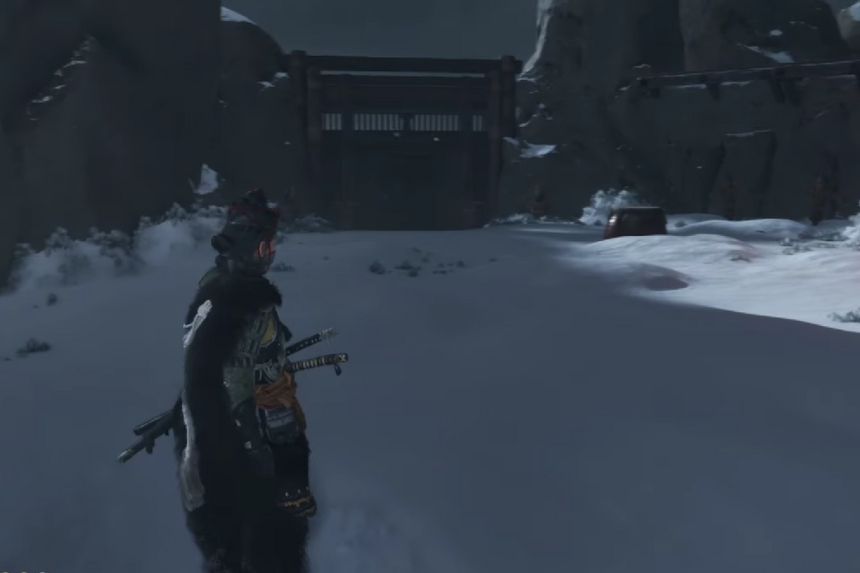
After the battle, you will find a large gate with two empty pedestals and several fox statues nearby. The statues have their paws raised; these are clues.
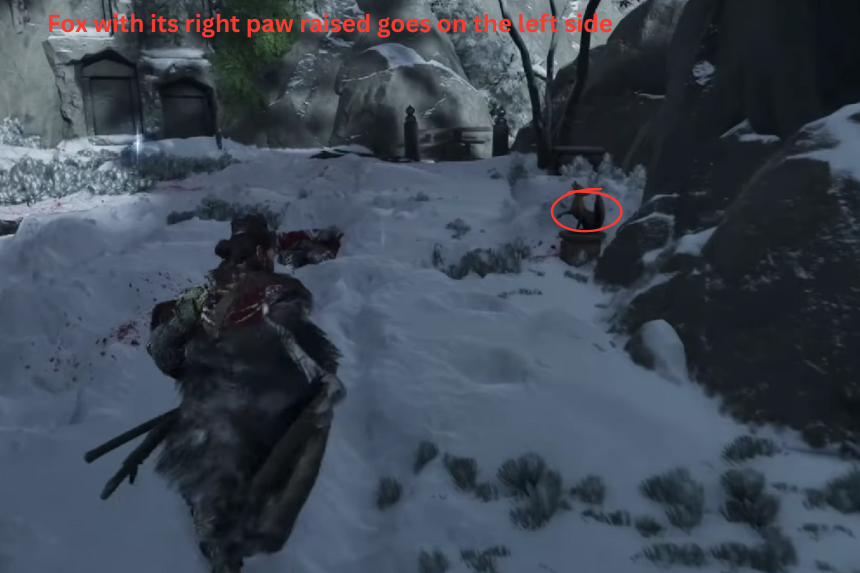
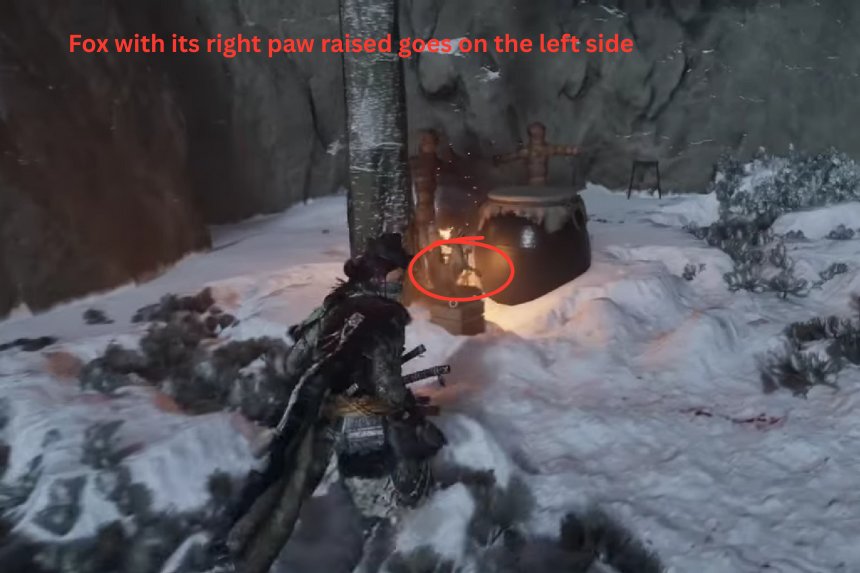
Now you need to find the missing fox statues in the area and place them correctly:
- The fox, with its left paw raised, goes on the right side of the gate.
- The fox, with its right paw raised, goes on the left side.
Once placed, Atsu will note that something has changed. Open the gate and proceed onward.
Defeating the Nine Tails and Copying the Cipher
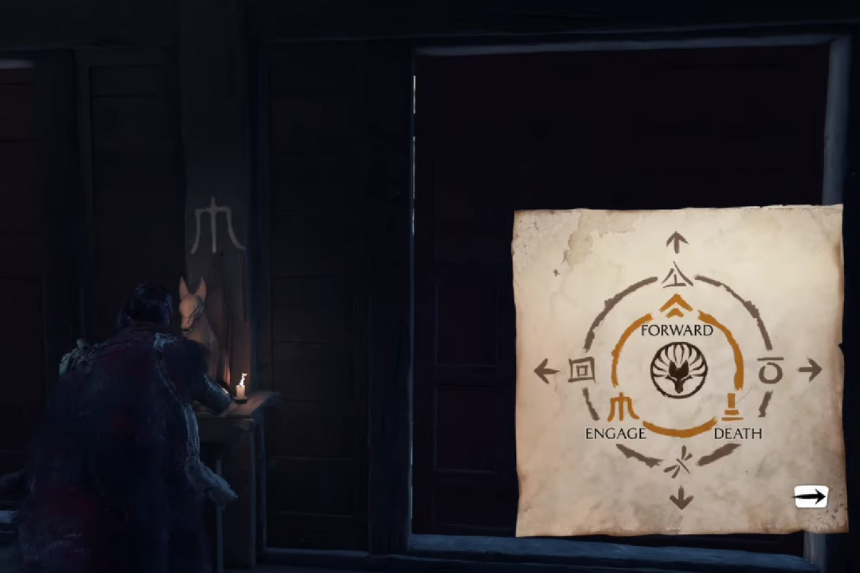
Take down all the enemies that rush you. Once the area is clear, return to the scroll and copy the cipher written on it by swiping the touchpad when prompted. The symbols might look complicated:
- Triangle = Up
- X = Down
- Square = Left
- Circle = Right
Avoid any puzzle elements marked with the Death symbol. You can always bring up the cipher again by swiping left on the touchpad if you forget.
Exiting the Dojo
Look for the exit door marked with the forward symbol beneath it, framed by two kitsune statues. Check the symbols behind each statue carefully. Interact with the left kitsune statue, the one with the engage symbol behind it, to unlock the door. Head through and defeat the incoming wave of Nine Tails enemies waiting outside.
Going to the Upper Building
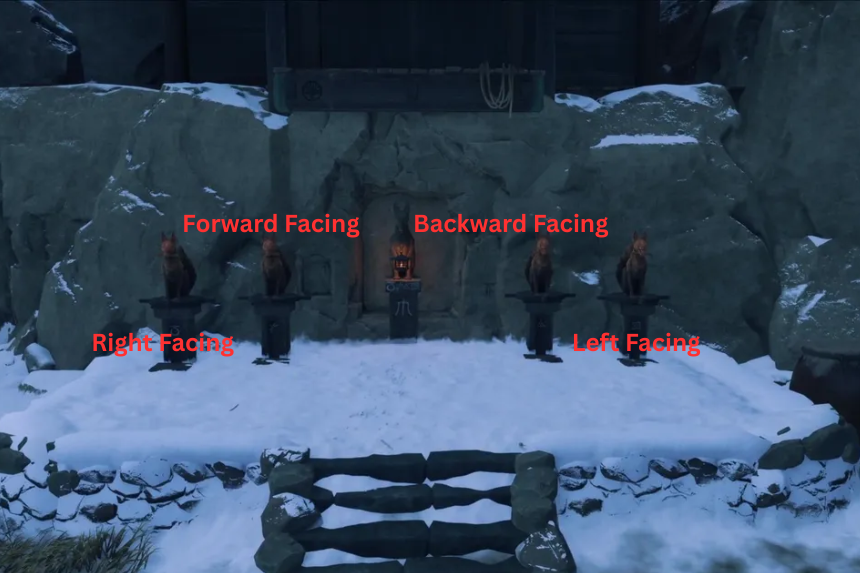
You will see a group of kitsune statues near the base of the building. These are part of another puzzle. Approach the central statue first. Look closely at the symbols carved at its base, as these are clues for how to position the surrounding statues. Each of the four surrounding statues has a symbol at its base and can be rotated. Use the cipher you copied earlier to position them correctly:
- Leftmost statue – face right.
- Left statue – face forward (down).
- Right statue – face backward (up).
- Rightmost statue – face left.
Once you set them correctly, you will hear a mechanism activate. After solving the statue puzzle, a ladder will lower from above. Climb it to reach the upper building. Inside, you will find a chest containing the Nine Tail armour Set. Equip the armour, and then move forward to continue your journey.
Nine Tail Armour All Colour Dyes
In Ghost of Yotei, dye merchants are special characters who allow you to change the colour of your armour. These dyes are purely cosmetic and don’t affect your stats or gameplay, but they give you a chance to personalise your character’s look as you explore the world. There are a few dyes that you can use on your Nine Tail Armour, like Death of a Secret Dye, Lair in the Deep Dye, Ambush at Dusk Dye and the Fire in the Mountain Dye. To know the locations of all the dyes, read our article on “All armour and Dye Locations – Ghost of Yotei “
