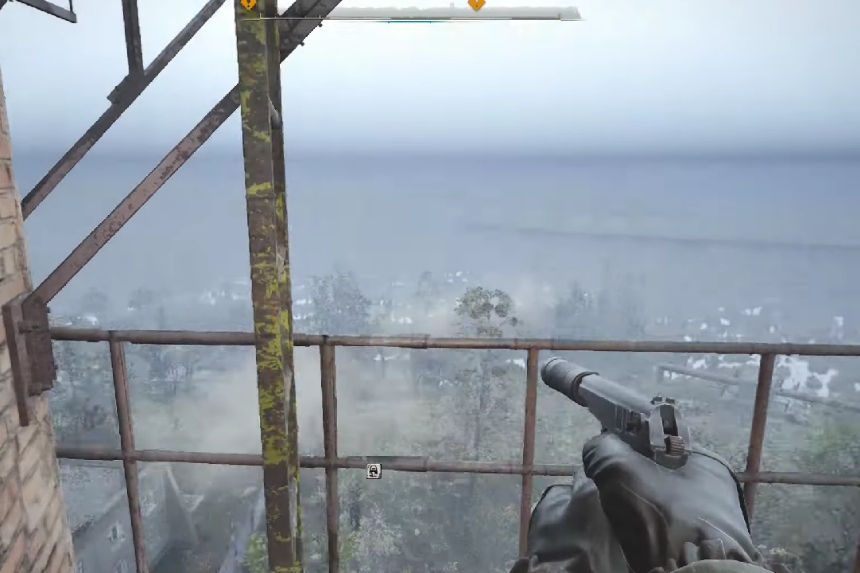
The “Like a Moth to a Flame” main mission in Stalker 2: Heart of Chornobyl kicks off when you reach Camp Icarus in the Zaton region. Upon entering Camp Icarus, you’ll automatically receive this main mission and be presented with a crucial decision:
- Destroy antennas for Captain Senkevych.
- Collect data for Dr. Kryvenko.
Each path leads to the same destination but has unique rewards and consequences.
As with many missions in this game, your choices can impact the progression of your story. To help you make the most informed decision, we’ve outlined both paths and highlighted their potential differences in this walkthrough guide for “A Moth to a Flame.”
A Moth to a Flame: How to Begin
Click on the image to enlarge
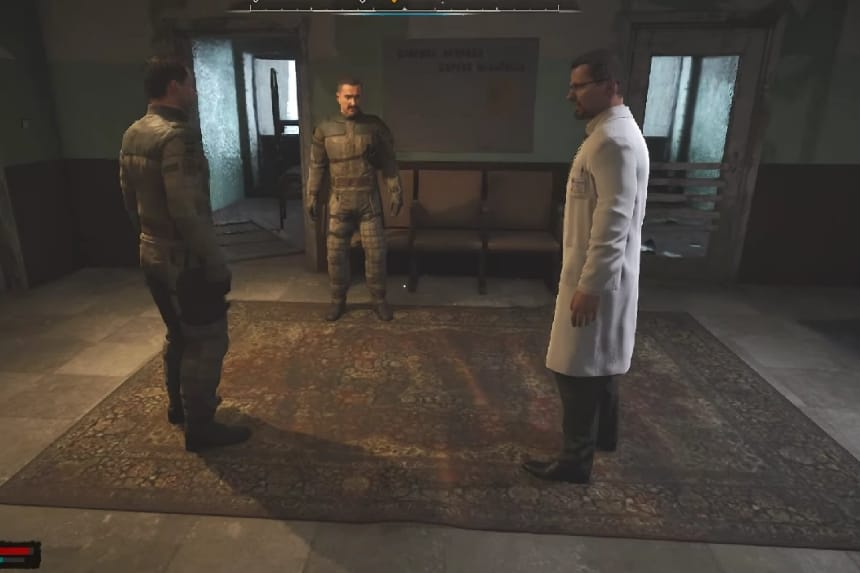
The mission begins after you speak with Captain Senkevych at Camp Icarus, a Ward base in the Zaton region. You’ll find him in an argument with a local doctor. When you talk to him, he explains that someone in the camp has collaborated with Faust to sabotage Icarus and provides you with a PDA to track down the traitor.
Captain Senkevych suspects Dr. Kryvenko, noting that as a SIRCAA scientist, Kryvenko isn’t part of his team, and his equipment could be doing anything. However, the captain can’t perform a scan because Kryvenko’s antennas are causing interference.
As an outsider, he asks you to destroy three of these antennas so he can identify the traitor. Here, you’re given the chance to talk to Dr. Kryvenko. Speaking with him, you are presented with a decision: side with him or Captain Senkevych.
Note: Talking to Dr. Kryvenko is optional.
A Moth to a Flame: Which Side to Choose?
Your choice will influence the options available later in this main mission and determine your approach:
Choosing to Side with Captain Senkevych
- Senkevych is suspicious of Kryvenko, believing the SIRCAA scientist’s equipment is causing interference.
- He assigns you the task of destroying three antennas around the camp to clear the signal and reveal the traitor.
Rewards and Outcomes
- There is no monetary reward from Senkevych.
- This leads to an extra task of checking patrols in the “Patrol Assistance” mission.
- You also gain access to psi-pills from the camp medic.
- New objectives that further immerse you in the Ward’s affairs.
Choosing to Side with Dr. Kryvenko
- Kryvenko begs you to spare his machines, asking for data collection instead.
- He gives you a flash drive for the task and promises to pay for your efforts.
Rewards and Outcomes
- You are rewarded with 5,668 coupons.
- You are then directed to Echo Station for the next mission.
- The next mission progresses with fewer steps.
Destroying Dr. Kryvenko’s Antennas and Siding with Captain Senkevych
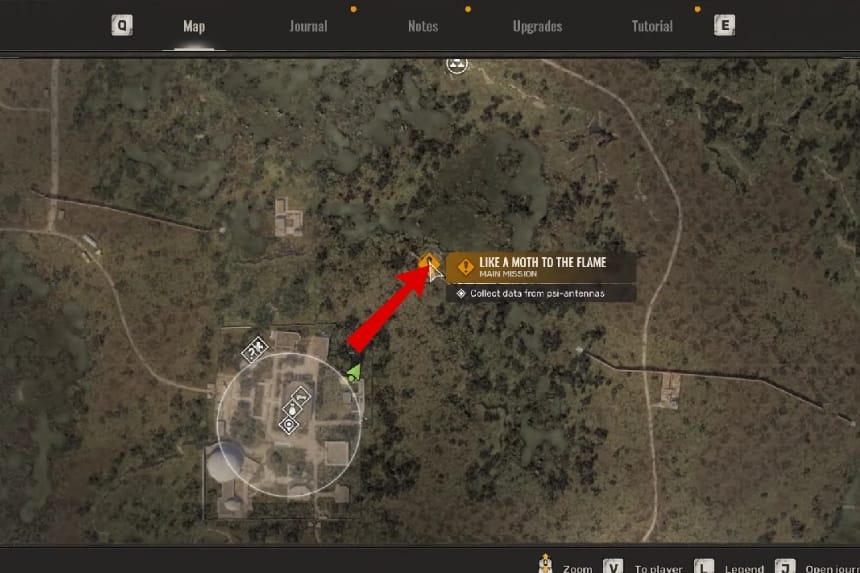
If you agree to destroy the antennas and side with Captain Senkevych, four new markers will appear on your map: three for the antennas and one for an optional objective to speak with Kryvenko first.
Breaking the antennas will allow you to shoot your gun within the camp without worry (provided you’re using it to target the antennas).
The Antenna Locations
- Antenna One: Exit the Icarus building from the front and turn left towards the observatory. Along the outer edge, close to the wall, you’ll find a guard post and a scanner.
- Antenna Two: At the rear of the main building, across from the first antenna, stands a tall water tower. Look at the back for a door that leads inside, where you’ll find a series of ladders to climb up to the top, where the antenna is located.
- To the northeast of the camp, outside the walls, you’ll find a small water pump relay building. It’s situated downhill, so as you approach, you’ll have a clear view of the antenna from a distance.
Breaking the Antennas
- You can destroy the antennas without alerting the camp.
- Remember to watch out for a lone zombie soldier patrolling the area.
- Once you’re done, return to Senkevych.
Returning to Captain Senkevych After Destroying the Antennas
After destroying the antennas, return to the captain. He’ll inform you that whatever is blocking the signal might be originating from the base itself. He’ll instruct you to investigate the Saturn bunker area and destroy the beacon emitting the signal.
After speaking with your respective NPC, head underground to the Saturn bunker area. You’ll be granted access, and your next objective will be to locate the psi-beacon.
Inspecting the PSI-Beacon for Captain Senkevych
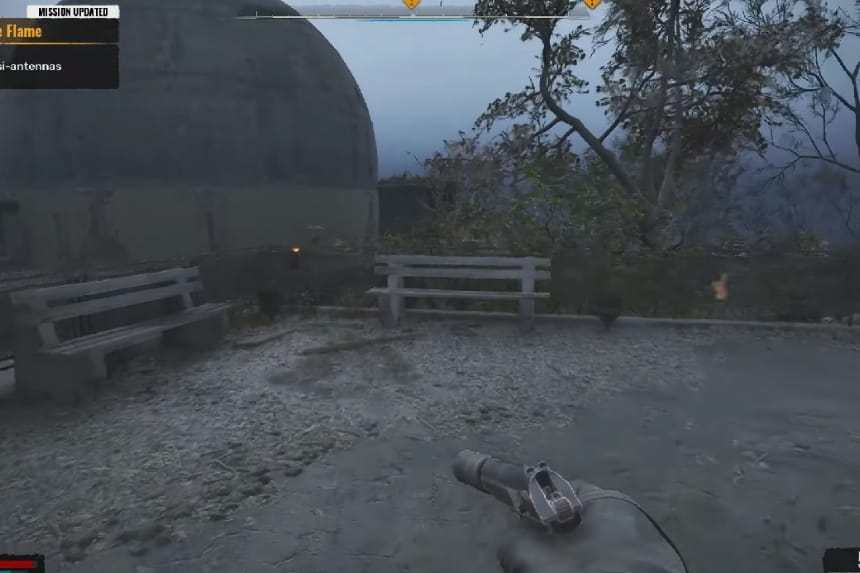
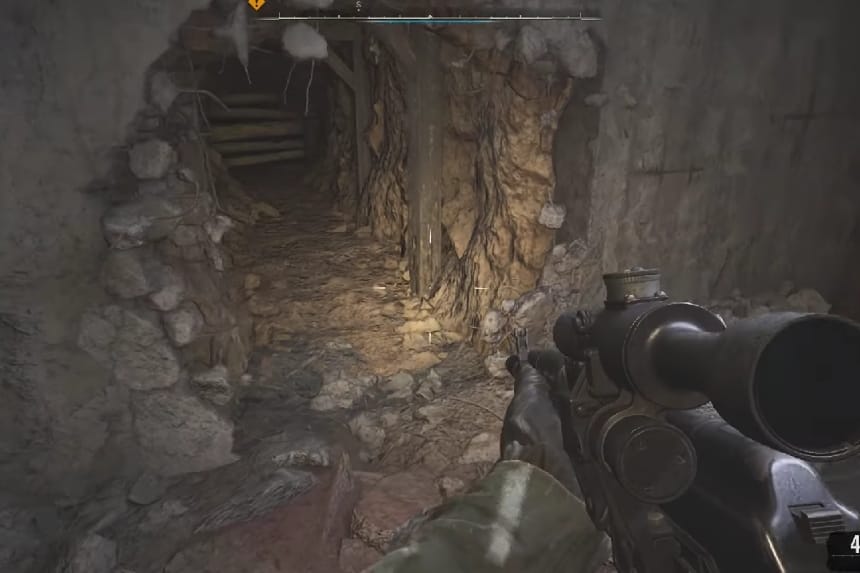
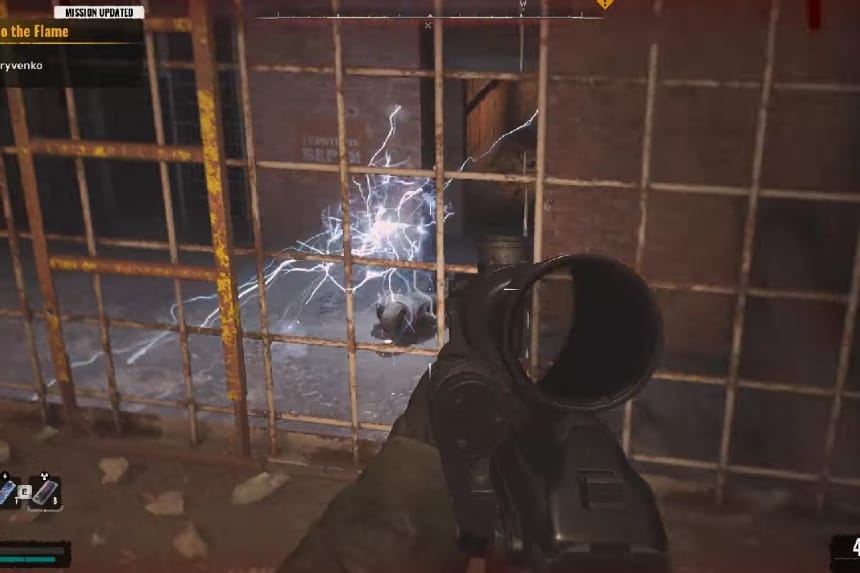
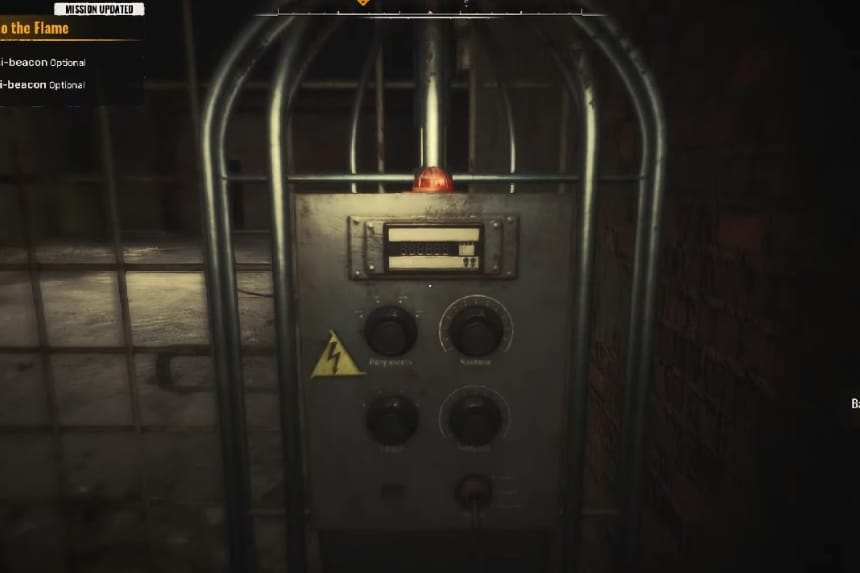
Follow the icons on your map to the observatory and locate the illuminated door at the back of the main room. This will lead you down a narrow path into the underground tunnels.
A moving electrical anomaly will block your way. Time your run carefully to avoid being injured. Heading into the left cell will take you to a dead end, but you’ll find some resources to loot. If you continue down the hall to the right, you’ll reach another room where the psi-beacon is located.
Once you reach the room with the beacon, shoot it to destroy it. Make sure to collect the fragments before leaving. Enter the door to the right of the beacon, then go through the door on the left. This will bring you to the beacon’s side of the fence, where the fragments will be on the ground.
From here, you can either retrace your steps or exit through a broken tunnel system behind a locked door to the left (if you’re facing the beacon). The tunnels offer no advantage, as the return route is quicker.
Once you’re back on the surface, you’re instructed to meet Senkevych in the comm room, a small building next to the water tower. You inform him about the beacon, confirming Shterev as the traitor. He issues an order for all patrols to arrest him and then asks you to follow up with both patrols, and this starts the next mission.
Siding with Dr. Kryvenko and Collecting Data for Him
If you speak to Kryvenko, he’ll ask you to gather data from the antennas instead of destroying them. If you agree, your map will be updated with icons for the three antenna locations.
Note: You can find/read the antenna locations in “Destroying Dr. Kryvenko’s Antennas and Siding with Captain Senkevych” section of this guide.
After you return all three data drives to Kryvenko, he’ll inform you that something is causing interference underground and ask you to investigate it. He also requests that you obtain a data reading from whatever is causing the disturbance (psi-beacon). Additionally, he gives you 5,668 coupons, though it’s not explicitly mentioned.
Investigating the PSI-Beacon for Dr. Kryvenko
After reaching the location of the psi-beacon, you will have the option to destroy the beacon here if you choose. Doing so will return you to the “broke the antennas” path, directing you to speak with Captain Senkevych in the Comm Room.
Go through the door on the right, then immediately turn left through the next door. This will give you direct access to the beacon, where you can remove a data drive before deactivating the machine. There’s a locked door nearby leading to an outside tunnel, but retracing your steps is a quicker route.
Note: How to reach the location of the psi-beacon has already been shared in the “Destroying Dr. Kryvenko’s Antennas and Siding with Captain Senkevych” section of this guide.
Upon your return to Kryvenko, he will inform you that you came across a psi-beacon, an old Monolithian device that has recently been repaired. Based on the data you provided, it appears that Lieutenant Shterev is responsible for placing it there. He also points out that Shterev’s psi-signature matches that of the former Monolithians.
Kryvenko suggests heading to Echo Station, where his colleagues are conducting similar research. This marks the end of the “Like Moth to a Flame” main mission and begins the next one.
A Moth to a Flame: Points to Remember
- Weigh Your Rewards: If you’re low on funds, Kryvenko’s route provides immediate payment. On the other hand, Senkevych’s path offers potential for future support.
- Stock Up on Supplies: The psi-beacon area can be dangerous, so make sure to bring plenty of medkits and anti-psi pills.
- Plan Your Route: Whether gathering data or destroying antennas, plan the most efficient path to conserve resources.
“Like a Moth to a Flame” offers crucial choices that affect rewards and future missions. Whether siding with Senkevych or Kryvenko, your decisions shape the storyline and progression in Stalker 2.

