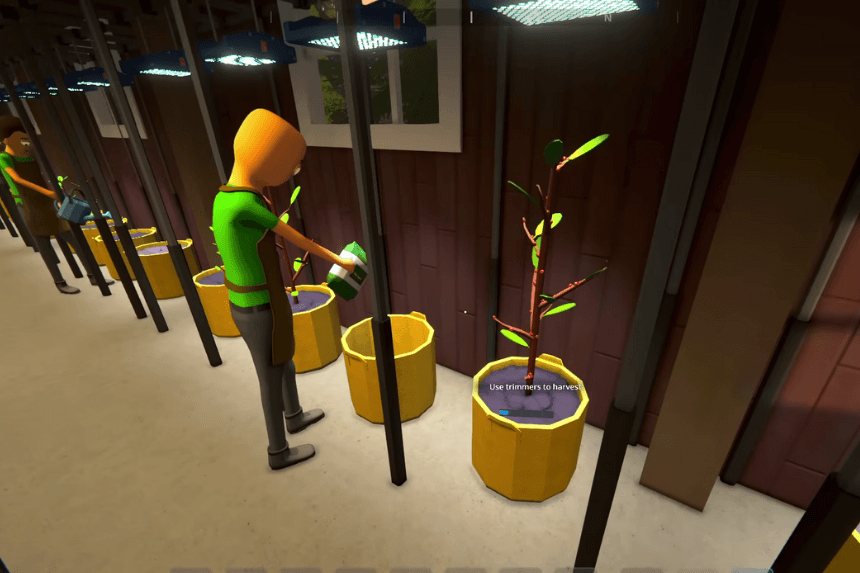
In the virtual world of Schedule 1, optimizing your growing operations is crucial for success. To efficiently cultivate your plants, you’ll need the Suspension Rack, a key piece of equipment that allows you to strategically position grow lights. However, acquiring and utilizing this rack requires specific steps and considerations. This guide will walk you through the process of obtaining the Suspension Rack, understanding its associated lighting options, and setting up an efficient indoor growing system.
How to Get a Suspension Rack
To buy a Suspension Rack, you’ll need to visit Oscar at the Warehouse. But first, you have to gain access, which only happens once you reach Hustler V rank, so level up fast.
The Warehouse is only open from 6 PM to 6 AM, and all purchases there must be made with cash. Once inside, go to the furniture section, and you’ll find the Suspension Rack for $40 each. These racks are essential for hanging grow lights over your pots. Don’t forget to grab lights and high-quality pots from Oscar to complete your setup.
Here are the lighting options you can attach to a Suspension Rack:
- Halogen Grow Light ($40) – A basic halogen light. Gets the job done but nothing fancy.
- LED Grow Light ($80) – Emits a purple light that speeds up plant growth by 15% compared to halogen.
- Full Spectrum Grow Light ($200) – A top-tier option that boosts growth by 30% over halogen.
Make sure to choose the right setup for the best results.
How to Use a Suspension Rack
Once you’ve got your Suspension Rack, Pot, and lights, head back to one of your bases to set them up. The only real rule is that the lights must be attached to the Suspension Rack first. Other than that, you can place the Pot and Suspension Rack in any order. This setup is much more compact than a Grow Tent with sprinklers, so you can fill an entire room with it. Plus, you can assign workers to automate the whole process, making things even easier.

