
If you are starting Chapter 5 The Holy City of Aratum in Doom: The Dark Ages, you are likely going for the Countercult challenge and that is a great choice, but be aware, if you are not careful, it’s easy to miss these cultist circles and you are not going to be able to go back after a certain point, in fact, after those dragon rides, you won’t be able to go back at all. This guide will give you a rundown and explain the step-by-step process for dispatching the cultists so you do not have to replay the chapter later (which I don’t think you want to do either).
First Cultist Circle – Don’t Get on That Dragon Just Yet

Okay, so as soon as you spawn in, simply go straight that looks like you’re in some sort of generic corridor. Also, it’s important to keep in mind that you stand a good chance of not being able to return to this area as soon as you move forward or hop on the dragon.
Once you get to the next part you’ll see two enemies. After dealing with them, go downstairs where there will be two additional enemies waiting for you. These four are important to clear out. You can simply use your classic Doom shoot-and-dodge, since there will be one enemy flank chasing you from each direction. After they’re taken care of, you’ll unlock access down to a lower section on the ground level. In this area, you get a chance to explore and engage with the environment. Don’t do something foolish and jump on the dragon just yet. You have to deal with the cultist circle first.
Look around the Area—you should at least see a cultist circle close by, typically a bit off to the side—this is easy to miss when paying enough attention. Once you see it, go straight there and clear the enemies out. If you get on the dragon without eliminating them, well, good luck playing that level again.
Second Cultist Circle – Follow the Path to the Right

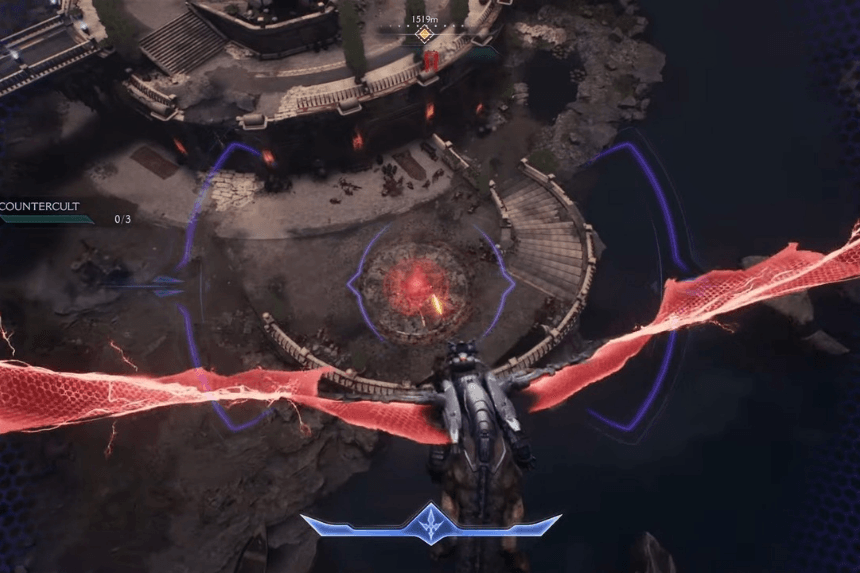
Are you finished with the first circle? Nice! Return to the initial location that you entered in this section first. This time you are going to turn to the right instead of going straight ahead, and this time you will notice a ship in the distance…. this is your next waypoint. Walk towards the ship and prepare for another battle. You will see the enemies using green energy beams as their weapons; it is a good idea to let them shoot first, because at the last millisecond you can dodge and fire at them at the same time. Once you have dispatched them, you will be able to damage the barriers they were protecting.
Eventually, you’ll get access to a new landing zone. Land there, and you’ll enter a hell ship. Inside, it’s pure chaos. Climb up, look for an entrance, and drop down into a room full of enemies. It’s a 360-degree ambush, so be quick on your feet and don’t stop moving. Once you’ve cleared the room, continue going down again until you find another cluster of enemies. You can totally skip them, though there’s a key landmark here: the Sentinel Shrine.
At the shrine, turn right and follow the money trail (yes, real money). Drop down one time, then drop again, and boom you’ve landed in a pit with the second cultist circle. Kill them all and you’re done with this segment.
Third Cultist Circle – Left Path, Mini-Boss, and a Shiny New Shotgun

Time to ride that dragon again. It’ll take you back to the starting area. This time, ignore the paths you’ve taken so far and instead go left from the entrance. You’ll come across a strange, distorted creature—that’s your sign you’re on the right path. Past it is another vessel. Here, you’ll be dodging more green projectiles. Just like before: wait, dodge, then destroy.
When the ship crashes, you’ll see another landing point. Drop down and follow the open path. There’s a mini-boss fight coming up, so make sure your weapons are ready. Once you take them out, look around for a glowing object. That’s your Super Shotgun—a new version of the classic beast. Grab it, because you’ll need it to unlock the next door.
In the next room, stock up on ammo and clear out another wave of enemies. You’ll spot a breakable wall nearby hiding a ruby. Not mandatory, but hey—loot is loot. From there, turn right and head up the path.
Eventually, you’ll find another breakable wall with a switch. Hit that, climb even higher, and follow the ledges. At the very top, you’ll drop down into the final cultist circle. Two cultists stand between you and 100% completion. Take them out, and you’ve officially completed the Countercult challenge for Chapter 5!
Final Tips
- These cultist fights are optional, but you’ll want to do them for the challenge.
- Once you move past certain areas or hop on the dragon, there’s no going back.
- Keep an eye out for landmarks like the Sentinel Shrine, money trails, and glowing objects.
- Don’t skip any of the circles—you’ll have to redo the whole level if you do.
Good luck out there, Slayer. Go make those cultists regret ever showing up.
If you’re interested in finding out all the Secret Areas and Collectible locations, you can read our guide on Chapter 5 The Holy City of Aratum