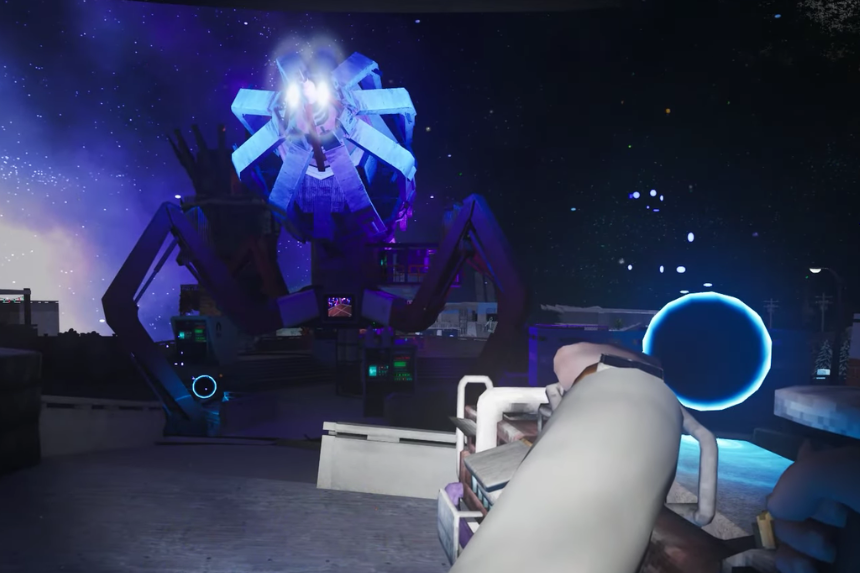
The Dark Lens is a powerful device at the centre of Abiotic Factor’s story. Once used to control portals safely, it has now been stolen, causing chaos and danger as portals begin to appear anywhere without warning. This guide will help you reach the location of the Dark Lens step by step. The journey can be tricky and filled with threats, but with the right suit, modules, and some careful planning, you will be able to complete the mission.
How to Access the Dark Lens
The Dark Lens was a powerful device created by Dr. Elanor Newman, and it was crucial to the portal experiments. It wasn’t just any tool; it was the core of all perforation research, the tech that allowed scientists to safely open and control portals. Without the Lens, there’s no way to keep the portals stable or predictable.
There were whispers, rumours of a threat, but no one imagined it would come to this. The facility was attacked, everyone was killed, and the Dark Lens was stolen. Now, without it, the portals are completely unregulated. They could open anywhere and connect to anything, which is dangerous.
Step 1: Get to the Entrance
Head over to the entrance location. Place a bed nearby so if anything goes wrong, you can respawn close.
Step 2: Use the Suit to Cross Gaps
You will need to use the special suit’s abilities to reach certain spots:
- Start by heading in the direction shown.
- Use the suit to jump across to the platform ahead.
- From there, double jump to the next platform.
Step 3: Navigate the Tunnels
Keep going forward until you see a vent or tunnel go inside, and it will push you forward automatically. Once you arrive:
- Jump up to the platform above you.
- Keep moving forward. You will pass through a few more areas, just stay on the path.
- There are some rice and other loot around.
Step 4: Follow the Wooden Beam
Eventually, you will come across a wooden beam behind you. Walk across it carefully. Inside the next room:
- Use the suit to jump across again.
- Land at the next platform, then drop into a window below.
- Go through the door ahead; there might be a creature waiting, so be ready.
Step 5: Find and Use the Motion Module
In this area, you will need a Motion Module to proceed.
- Find it and fix the nearby mechanism.
- After fixing it, double jump forward and keep heading in that direction.
Step 6: Through the Water Area
Soon, you will reach a pool of water. Go above the water, not underwater and follow the path ahead. Eventually, you will be pushed through another set of tunnels and vents that guide you forward.
Step 7: Find the Second Module
As you’re pushed forward, you will reach a new area that also requires another Motion Module.
- If you don’t have it yet, backtrack and grab one.
- Fix the second device and proceed.
Step 8: Prepare for Combat
Once the second module is installed:
- You will be pushed into a new room filled with creatures.
- Fight them off carefully.
- After clearing them, move deeper into the area, and there will be even more enemies to deal with.
Step 9: Disable the Shield
Once you’re through:
- Look for a platform to jump to that takes you to the shield mechanism.
- Fight the creature guarding it and disable the shield.
Step 10: Return to the Main Area
Now return to the earlier spot, you will find a portal that takes you back to the starting point of this section. From there:
- Follow the path again and keep moving toward where the lights are; it might be a little hard to see.
- Another creature will be waiting; take it down.
Step 11: Final Steps
Once back in the main area:
- A couple more enemies will spawn; eliminate them.
- Use the laser paths as clues to locate the remaining shield nodes.
- Destroy all remaining shield units one by one.
After the final shield goes down, one last powerful creature will spawn. Defeat it, and once you do, you will have fully completed the mission and unlocked The Dark Lens. It’s a bit of a journey, but if you follow these steps and come prepared with the right gear and modules, you will make it through without too much trouble.

