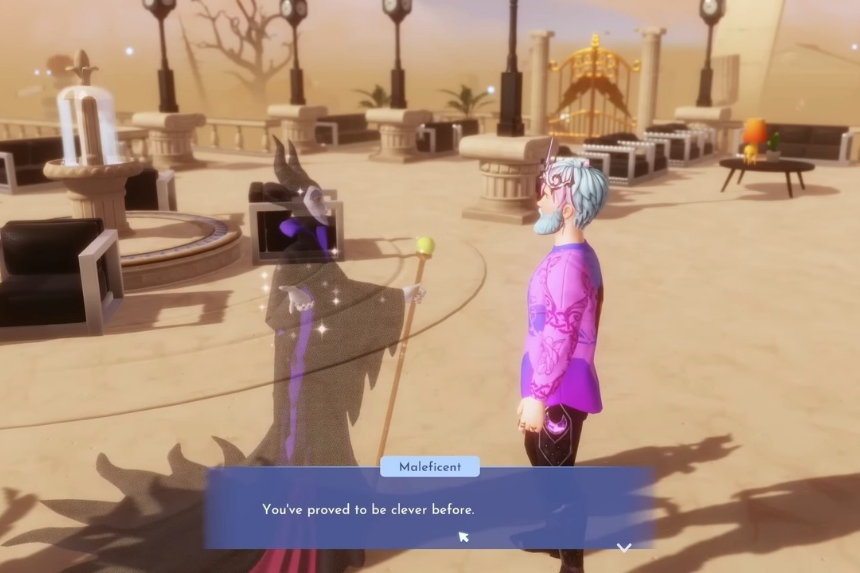
Want Maleficent in your Disney Dreamlight Valley? She isn’t that easy to unlock. It will take more than magic, you need to finish the first part of the Storybook Vale DLC and complete her questline. This guide covers each aspect of Maleficent’s Gift, The Spinning Wheel, and Maleficent’s Demise with steps, puzzle answers, and tips to add the Mistress of All Evil to your village, permanently.
Quest 1: Maleficent’s Gift
Start out by making your way to the Library of Lore. You will want to speak with the Lorekeeper. You are going to be asked to restore a lost page that shows where Maleficent disappeared to. It turns out she has been trapped in the Unwritten Realms and in order to access her, you will have to perform a floor puzzle.
Like the previous DLC puzzles, you will need to simply pull the levers next to each other until the attached rings below it create Maleficent’s image. Once the page lines up correctly, you will be able to interact with the glowing page to access her realm.
When you go in she is actually in a bureaucratic limbo—cursed to be stuck in the waiting room because enchanted quills filed documents to wipe her off the map. When she gets a move on, she needs her previous ticket, which is in tatters. Here’s the locations of ticket pieces:
- On the ground beside her.
- Near the staircase you came up on.
- Behind the desk in the waiting area.
After you put together the ticket, you will have to swap out the waiting room number board and make the waiting room feature 9375. When done, take all of it to the quill waiting for you at the desk. The quill says the process of wiping her case would normally be an eternity, but today you may take a shortcut through a golden portal.
On the review floor, you’re told Maleficent’s Anchor Moments (objects tying her to the present) are already in processing. Spin the wheel nearby to open a portal and head through. Now you’ll face a 9×9 floor grid puzzle. The middle tile is missing, so you’ll need to grab it first:
- Use your watering can to put out green flames near the entrance.
- Rotate three stone skull heads until they’re upright.
- One of these opens a side room—fish the bubbling spot inside to snag the missing tile.
With that piece in hand, dig out the correct symbols:
- Top row: Skull, Griffin, Skull
- Middle row: Griffin, Skull, Griffin
- Bottom row: Skull, Griffin, Griffin
Once it’s filled in, the side door unlocks. Inside is a chest containing Maleficent’s first Anchor Moment. Take it back to her, and she’ll reveal her twisted “gift” to Aurora—falling into a deep sleep from a spinning wheel prick.
Quest 2: The Spinning Wheel
Return to the review floor, where another quill tells you the system’s broken and only a supervisor can fix it. Luckily, you can bluff your way through with a quiz.
Quiz answers:
- Seats in the waiting room? 44
- How many quills on duty (including them)? 4
- Which floor are you on right now? 2
Answer correctly and you’ll receive a wheel piece. Place it on the pedestal near the conveyor and spin the dials in this order:
- Right wheel → once
- Middle wheel → twice
- Right wheel again → once
- Left wheel → three times
This lines up the portal. Step through, clear away broken teapots with your shovel, defeat the Inkies, and you’ll reach a large room with statues of Aurora and a spinning wheel.
The pedestal riddle hints at the solution: raise Aurora’s hand and the spinning wheel to move forward.
Here’s what you need to do: head down the side stairs and use your watering can on the mechanism to lower one of the raised platforms. Cross over to the other side and pick up the missing panel, then slot it in behind Aurora’s statue and water it to raise her. Finally, clear out the broken teapots around the spinning wheel statue and water its mechanism too, which will cause the wheel to lift.
This opens a door with Maleficent’s second Anchor Moment. Deliver it to her, and she’ll push you toward the last challenge.
Quest 3: Maleficent’s Demise
Head up the stairs again and spin the next wheel. Instead of the portal moving closer, it drifts away. Talk to the nearby quill, then cast your fishing rod at the glowing spot on the right to reel the portal back in.
Inside is the knight puzzle, where you guide a knight statue through three grid rooms by shifting racks around:
- First room: Shove both racks to the right, then push the knight forward.
- Second room: Move the back rack left, slide the one nearest the knight to the right, then push the vertical rack forward to open a path.
- Final room: Drag the racks on the right downwards, then shift the long racks to the right. That clears the way for the knight to move ahead.
Once the knight reaches the end, the last Anchor Moment spawns. Take it back to Maleficent. You’ll discover the Lorekeeper themselves filed the erase request—but no matter what choice you make, Maleficent will still stick around.
Finally, return with her to the Storybook Vale, talk with the Lorekeeper, and Maleficent will officially join your valley as a permanent villager.

