
Dead as Dreams is a Tainted Grail: The Fall of Avalon quest. In this quest, you’ll be investigating unusual occurrences in an ancient cemetery. You’ll encounter secretive figures, discover secret locations, battle the undead, and reveal sinister secrets. This walkthrough will guide you through each step, from the beginning of the quest to battling a high-level necromancer.
How to Start the Dead as Dreams Quest
First you are going to need to grab the “Dead’s Dreams” quest. Go speak with the Quartermaster. He will inform you of some aggro dead in the area and recommend that you speak with Marg for more information. The quest will actually appear in your log after you have spoken with him.
The Hunter’s Camp
Once you have the quest, make your way to the Hunter’s Camp. The Hunter there will tell you about all the creepy things at the cemetery, mentioning that more and more undead are showing up. He even suspects a necromancer is behind it all.
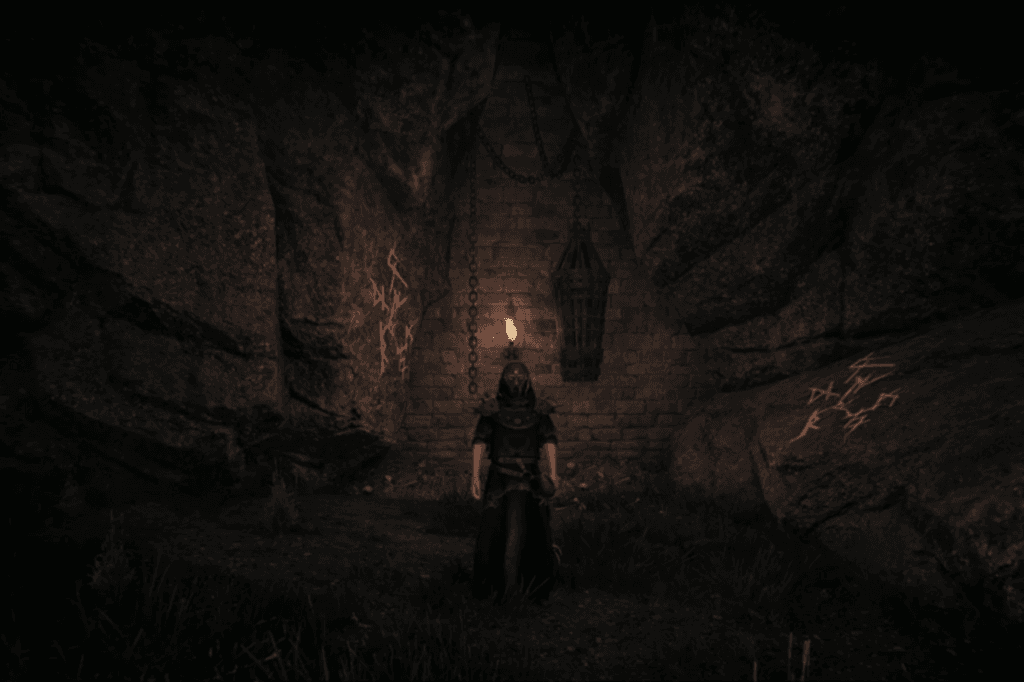
The Forgotten Cemetery
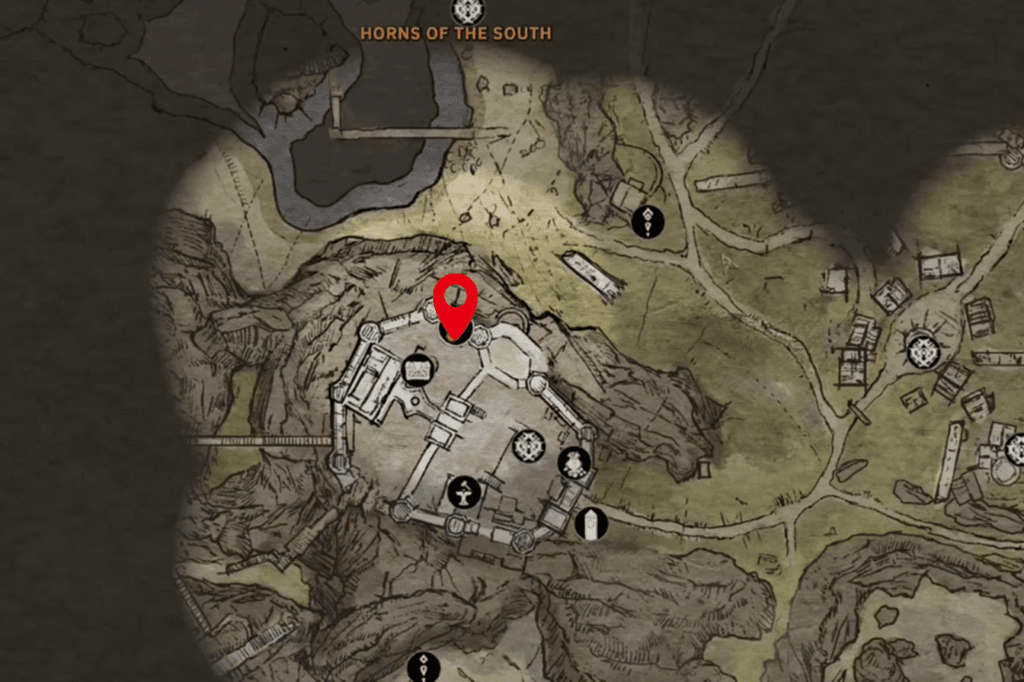
Just follow the road until you see the Forgotten Cemetery. Once you’re inside, ignore the main crypt for a bit and head left. Just past the grave, you’ll see a small crypt on your map. This is the Cursed Mausoleum, and it’s full of secrets.
As you enter, be ready for some enemies. The first treasures you’ll find are around the entrance: 50 gold coins and a golden ring. To your left, get a sack with useful potions. Then, look for a way to climb up. You’ll encounter three skeletons guarding a crate of bones. Explore this upper area. You’ll find a dead grave robber pickaxe, purse full of coins, a lock pick, and a sharpening stone.
A Secret Tunnel
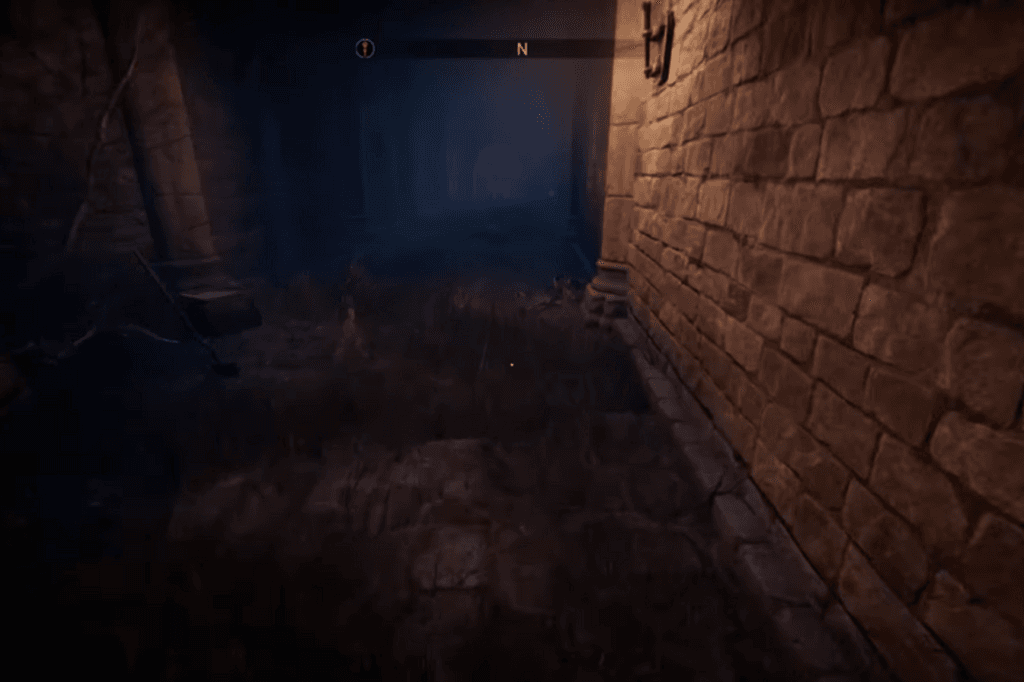
Head back to the entrance of the mausoleum and go left. You’ll spot a stone and, if you go around, a chest with treasures and a maze. Look for a spot where you can jump onto a coffin. This leads to a secret area. Keep searching, and you’ll find a treasure chest. Continuing on, you’ll find another dead person and a second chest with more loot. Follow the path, and you’ll finally meet Maug.
Meeting Maug: The Trickster Spirit
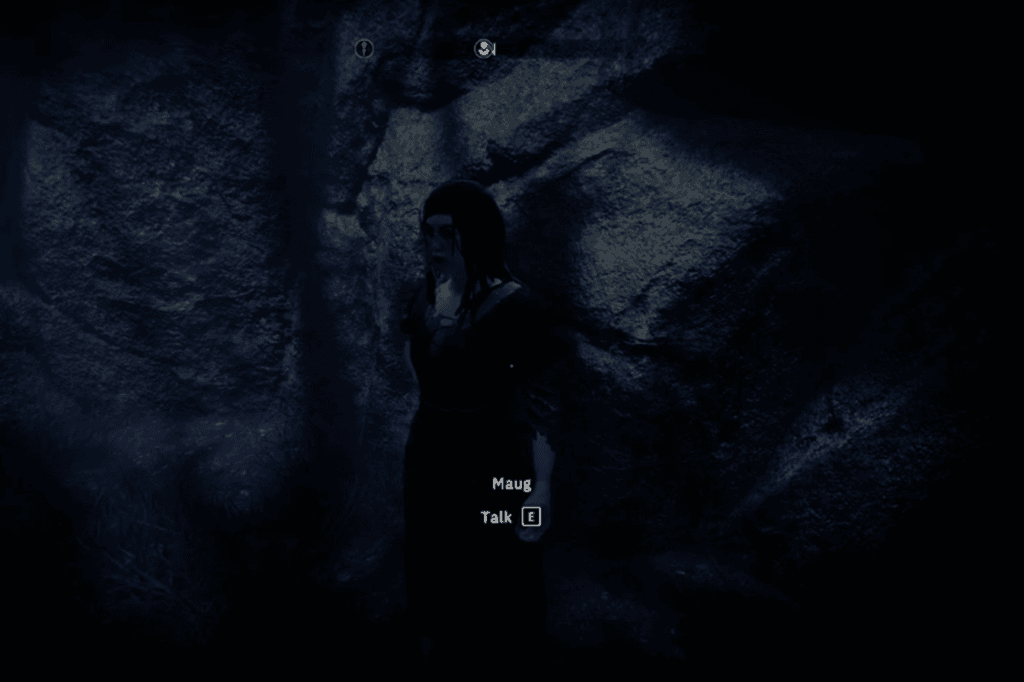
She’ll offer to share some of her power with you, but you have to steal something for her. It doesn’t have to be big or expensive. If you already have something “stolen” in your inventory, you can give it to her right away. If not, you’ll get a new quest called “Lost Things” to go steal something.
Once you hand over the stolen item, Maug will grant you a bit of her power. Your sneaking skill will increase, and you will gain experience points.
The Main Crypt: Forgotten Cemetery Crypt
After your encounter with Maug, pull the lever nearby to open a gate and exit the Mausoleum. Now enter the main building: the Forgotten Cemetery Crypt.
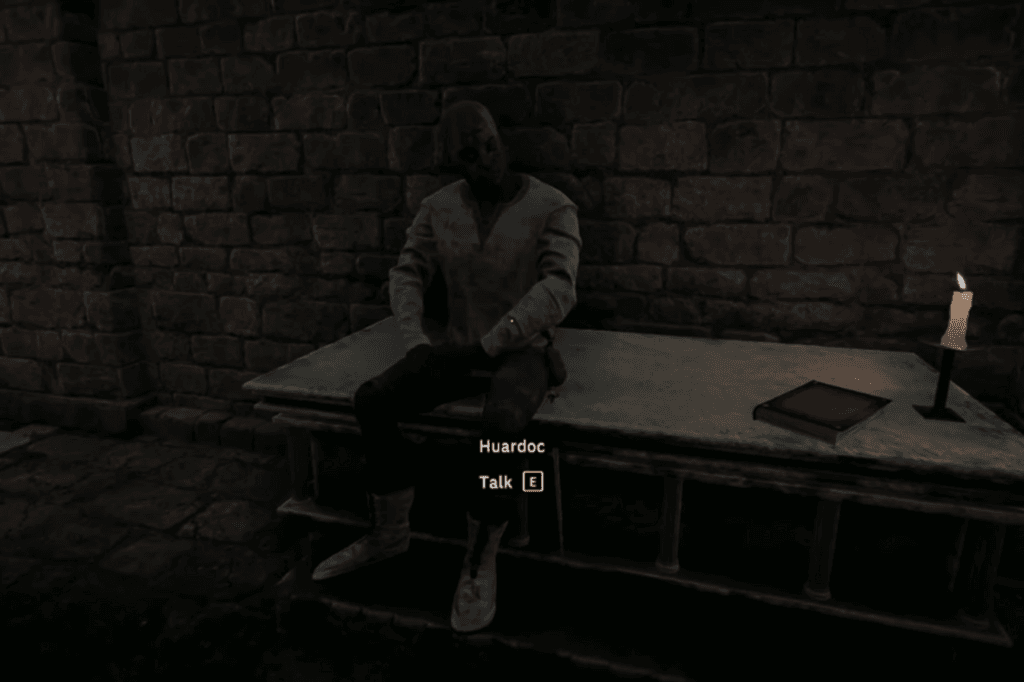
Inside, you’ll meet Huardoc, the keeper of the place. Don’t kill him right away, talk to him. He’ll mention his “master” and his experiments.
Huardoc will let you into the inner crypt for a small fee of five gold coins. Pay him, and he’ll give you a key. He’ll also warn you about the evil within and to not rob any graves.
The Inner Crypt
The inner crypt is huge and filled with treasures and secrets.
- Initial Treasures: To the left, you’ll find pearls of coins, a fragment (for a sacrifice at an altar), and a charm that increases your physical damage by three.
- The Mysterious Locked Door: You’ll come across a door leading to the “inner crypt” that requires a key.
- The Large Room: You’ll enter a large room swarming with skeletons and zombies. There’s some minor loot like a healing potion and ingredients. Inside a sarcophagus, you’ll find a chest with coins and meat.
- Stone Knights: They are powerful but very slow. The trick is to wait for them to prepare their attack, strike twice, then dash back. Their swords are long and heavy, and on higher difficulties, they can one-shot you. Once defeated, they might drop their weapon.
- More Loot: You’ll find plenty of ore. There’s also a room with a fireball potion and a chest containing coins, a book, and more minor loot.
The Necromancer
The Necromancer is located in a huge room. Before you face him, there’s a secret tunnel to discover. From the necromancer’s room, head right. It’s barely visible, but there’s a way into a secret passage. There are three entrances.
Treasures of the Secret Tunnel
At the very beginning of this tunnel, you’ll find the incredible Lightning Hammer. It has insane damage and has a 20% chance to summon lightning, dealing area-of-effect damage. Turn around and walk straight ahead. In a small oven, you’ll find an item that grants you +5 to maximum mana permanently.
Follow the corridor, and you’ll find a room with a fallen keeper. Collect his tag for another quest. The tunnel leads you back near the beginning of the crypt. You might find a grave robber here, but he doesn’t have anything special, and you need good agility to reach him. There’s a chest with a book, a potion, and a wand.
Defeating the Necromancer
You can attack him immediately, but he’ll summon powerful helpers, and he’s a strong mage. A better strategy is to talk your way through. He’ll be obsessed with his research, trying to understand death and reanimation. You can choose different dialogue options to convince him.
Huardoc’s Revelation
This is where it gets interesting. You need to go back to Huardoc at the entrance of the crypt. Tell him about the necromancer’s belief that he’s mindless. Huardoc will then share a revelation about death: it’s an intensely personal and indescribable process. It can’t be shared or taken, and it’s the only thing that truly belongs to us.
The Necromancer’s Downfall
Return to the Necromancer and share Huardoc’s revelation. He’ll be skeptical at first, calling it “sentimental,” but eventually, he’ll realize that the key to mastering death might lie in the individual’s will. He’ll decide that he needs to become the subject himself to understand it fully.
He’ll perform a ritual, and it fails. He turns into a regular undead zombie. You can leave him like this, or you can kill him for an easier fight. If you do, you’ll get plenty of valuable loot: a journal, a book, several spells, a staff, and a robe.
Reward from Huardoc
Before you leave, head back to Huardoc one last time. He’ll be confused about his master’s fate but will offer you a new spell. This spell lets you explode nearby corpses to deal damage and apply bleeding, or you can use it to heal yourself from corpses.
Rewards
With the necromancer dealt with and all the secrets uncovered, report back to the Quartermaster. He’ll be relieved that the undead problem is solved, and you will gain experience points (400 XP) and other items and spells.