
Worship Hall is the 7th location in Silent Hill f. This guide has all collectibles in chronological order, such as Documents, Offerings, Hidden Omamoris, Character Upgrades, Inventory Upgrades, Puzzle Solutions, and Trophy/Achievement steps. Using this ensures 100% completion on a single run.
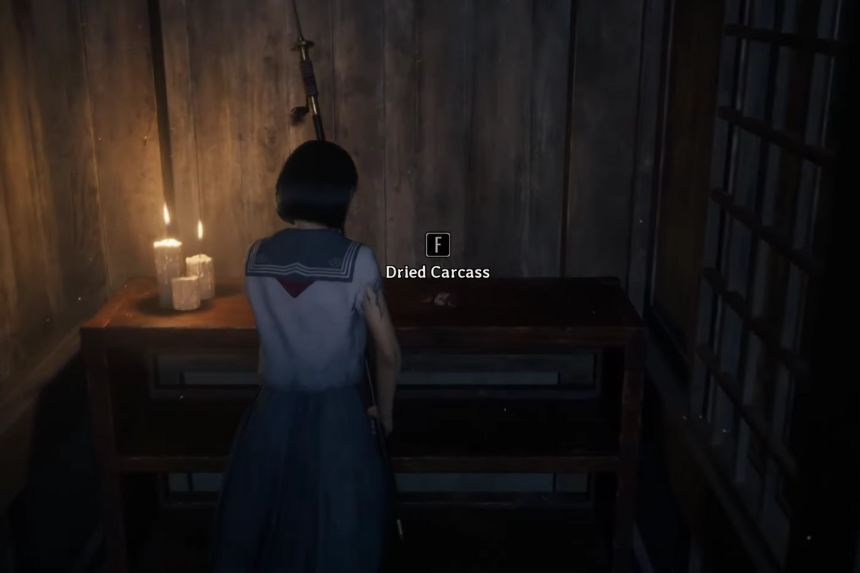
Offering: Dried Carcass (200 Faith)
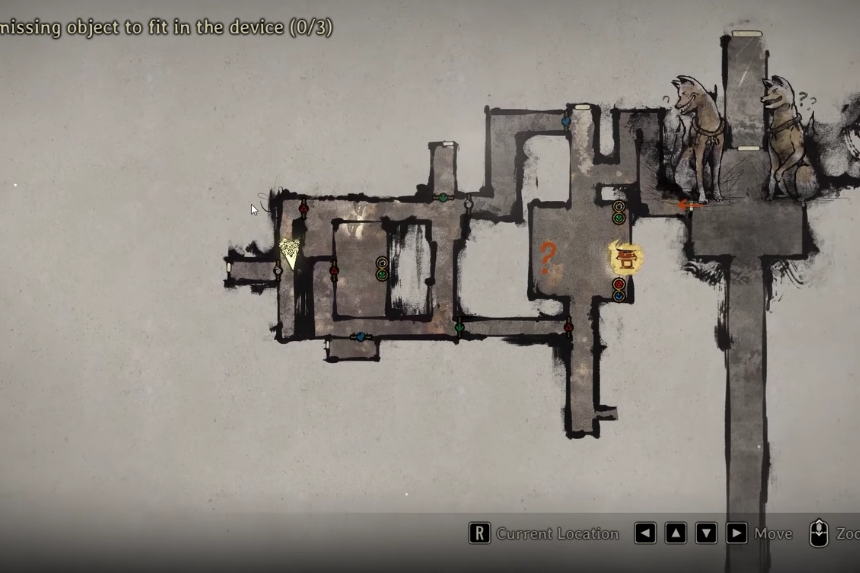
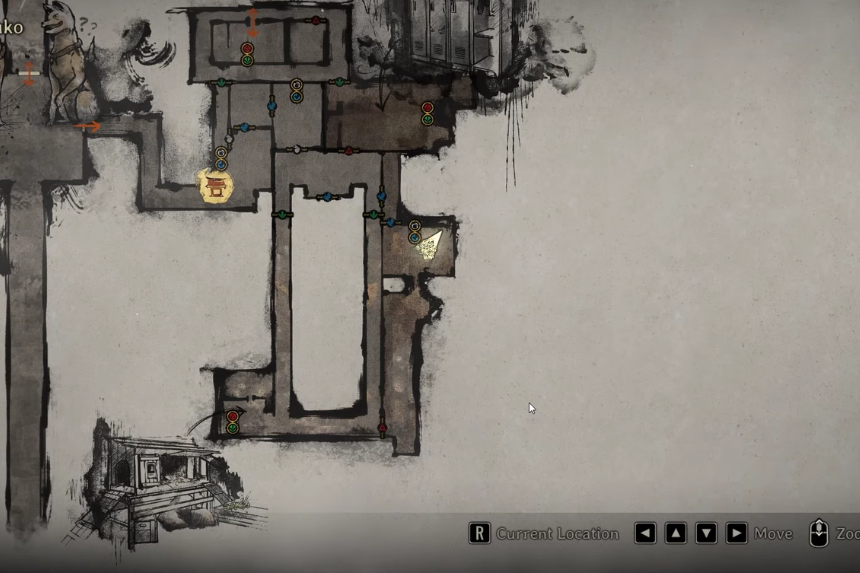
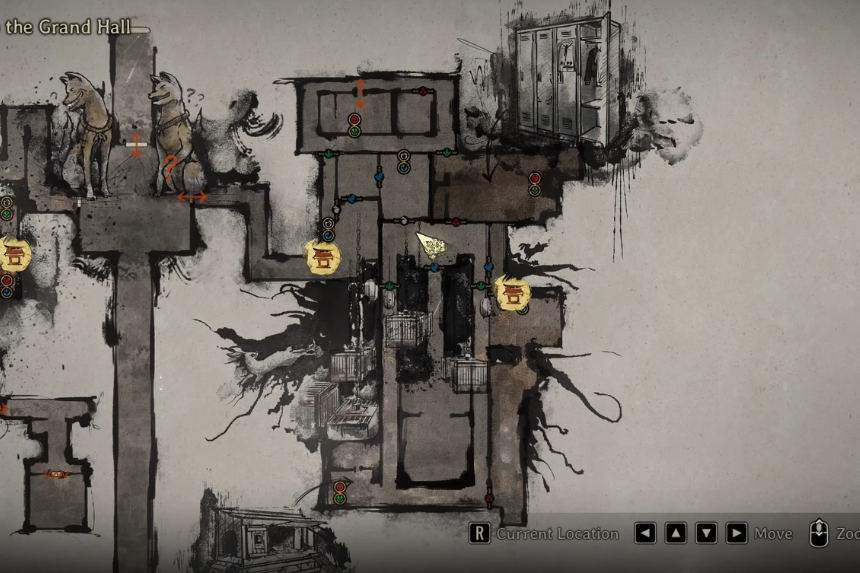
Head into the western area first from the main hall.
- Use the levers to open the green and red doors, and proceed through.
- Flip the following lever so the white door to the west is open.
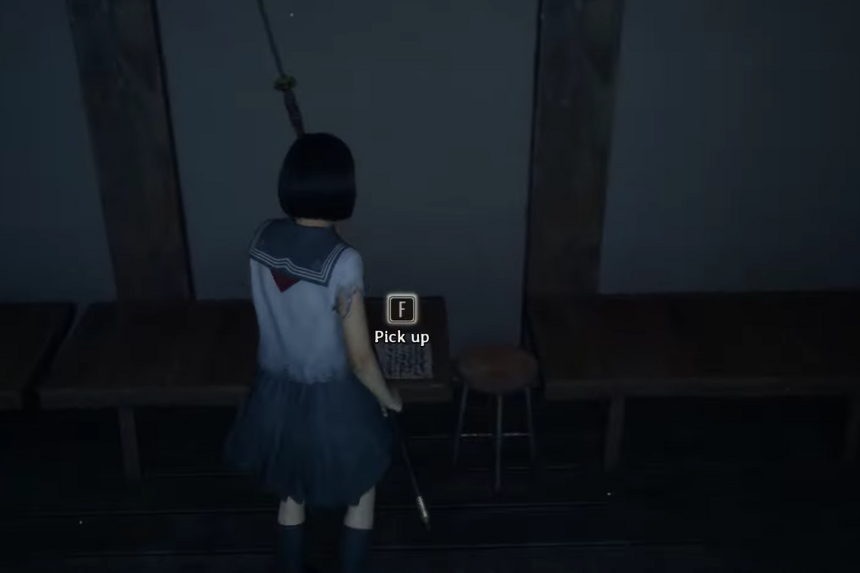
- At the western end of the corridor, on a table, there is the Offering.
Trophy – No One Left Behind
This trophy calls for the killing of eight enemies within the eastern section under blue lantern illumination (avoids reanimation). Enemies are blue when in range.
Some need to be lured.
Enemy locations (on Story difficulty):
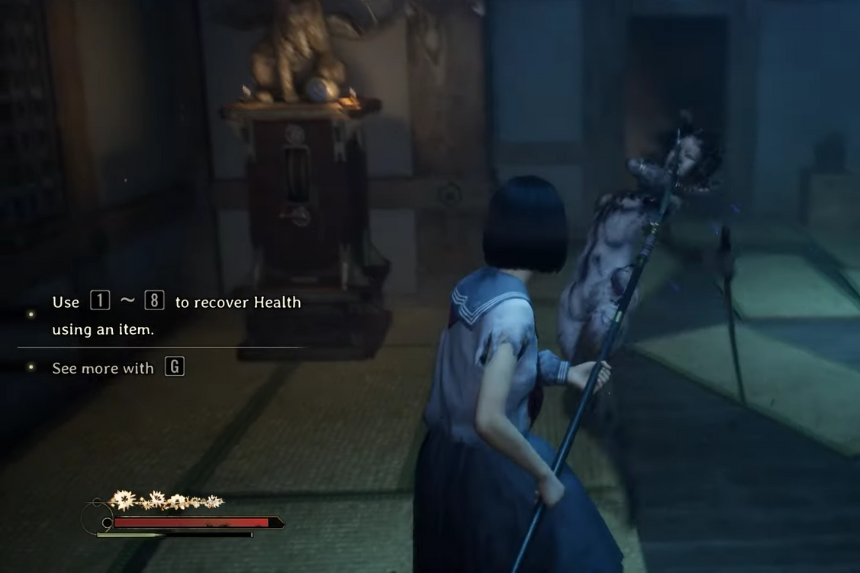
- In the initial room with the Hokora Shrine.
- In the locker room adjacent to the red/green lever.
- In a corner in the second red/green lever room.
- In the red door room adjacent — open by the lever, entice it back into the locker room.
- Through the white door in the green corridor — entice into the blue/white lever room.
- In front of the red door at the end of the corridor — pull back into the red/green lever room.
- Spawns inside the room after entering the rabbit hutch.
- Spawns after pulling the red/green lever beside the rabbit hutch.
- In the second Hokora Shrine room, after pulling the blue/white lever.
(High difficulties spawn additional enemies, but these eight are sufficient for the trophy.)
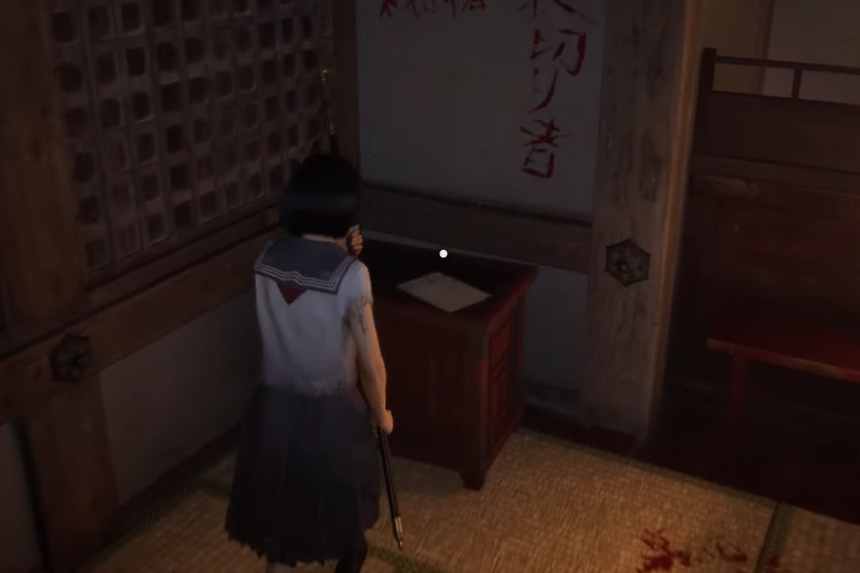
Document: Sakuko’s Diary (1)
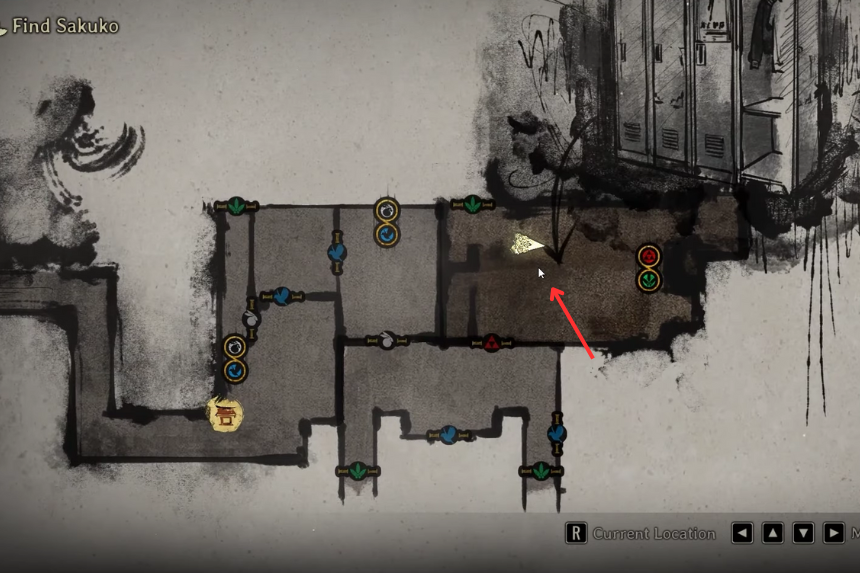
After the first Hokora Shrine room.
- Flip the lever to exit through the blue doors, then flip the following lever for the white door.
- Within the locker room, inspect a bench for the document.
Document: Sakuko’s Diary (2)

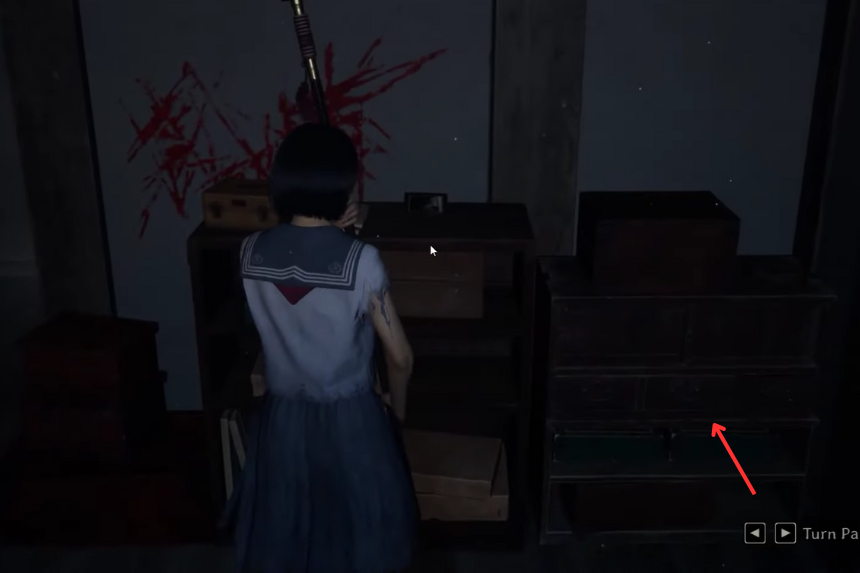
From the locker room, flip the lever to open the green door.
- Crawl through into the other room.
- The diary is on the side of the room closest to the lever.
Offering: Shriveled Abura-age (500 Faith)
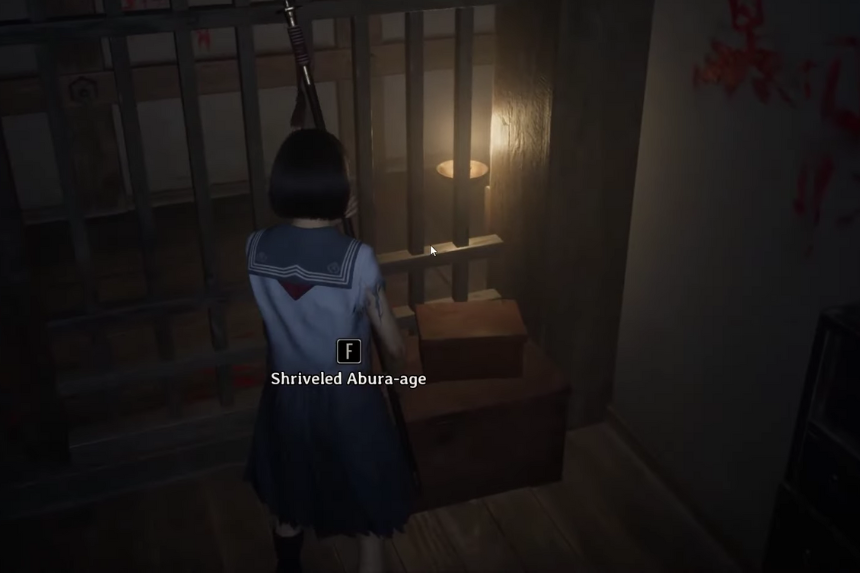
Within the red door room with screaming enemy. Pull the lever, take the Offering, and pull the lever again to reload the path.
Document: Sakuko’s Diary (3)
Located in the second Hokora Shrine room.
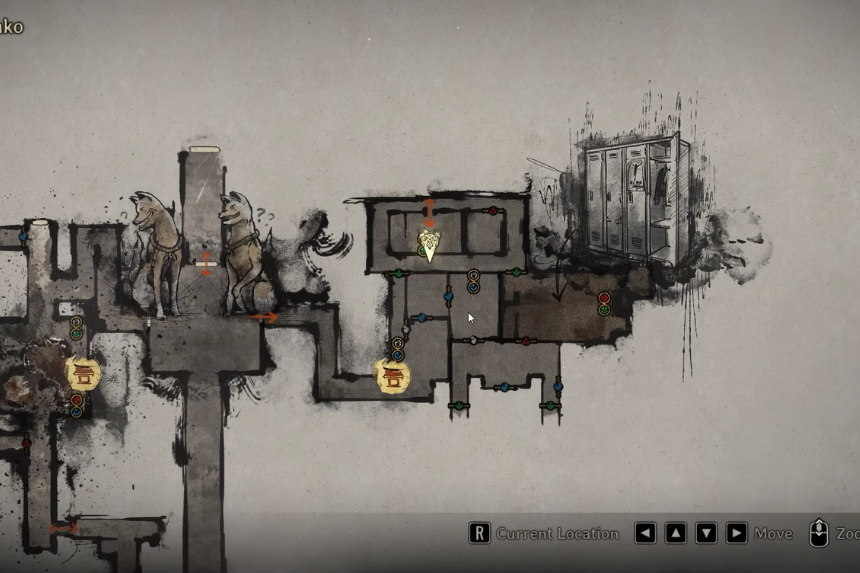
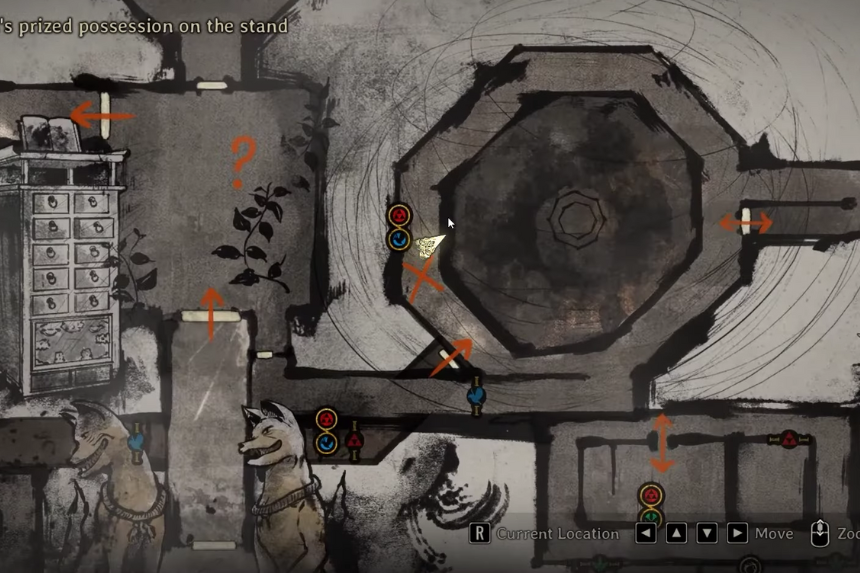
Light Puzzle Solution
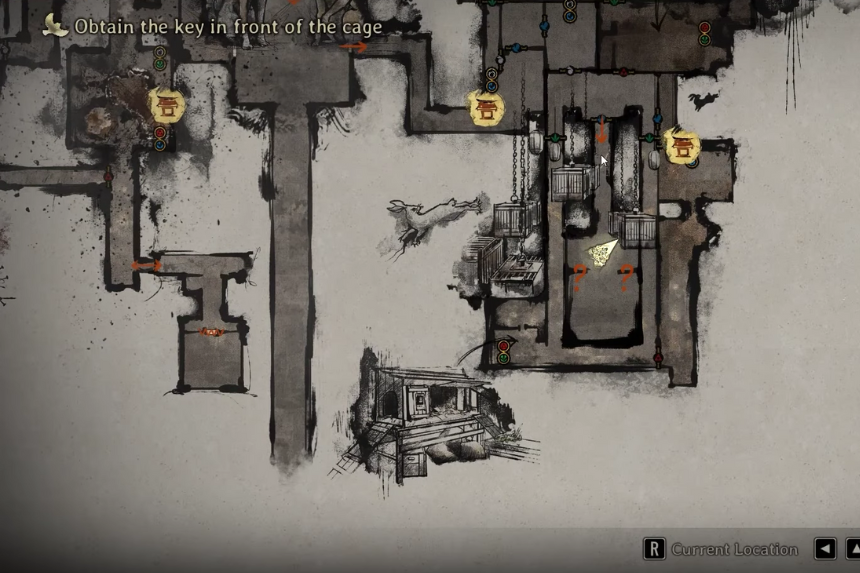
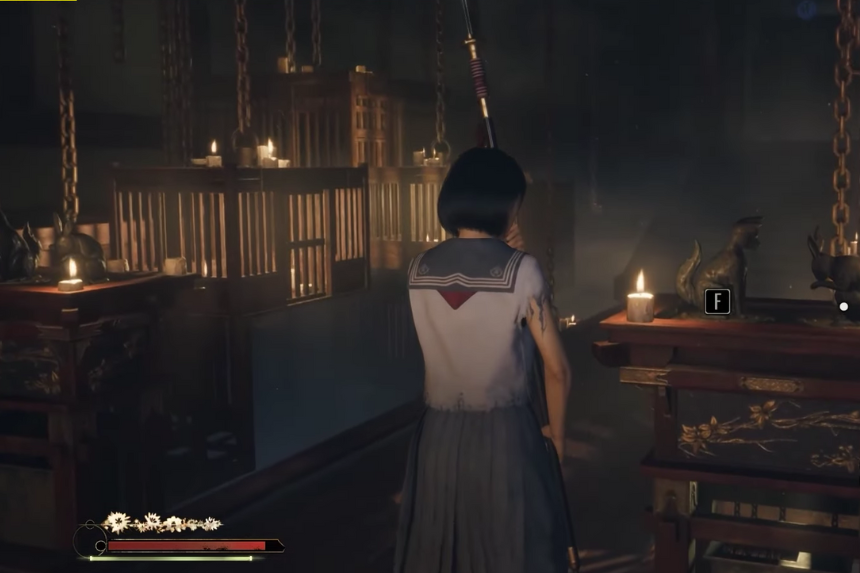
Goal: Spin the fox and rabbit statues on two platforms so that all cages are aligned, then gather lantern shades to release the key.
Story Difficulty:
- Left Platform – Fox & Rabbit facing opposite sides
- Right Platform – Fox & Rabbit facing opposite sides
Hard Difficulty
- Left Platform – Fox & Rabbit facing away
- Right Platform – Fox & Rabbit facing away
Lost in the Fog Difficulty:
- Left Platform – Fox & Rabbit facing away
- Right Platform – Fox & Rabbit both facing left
Hidden Omamori: Bull
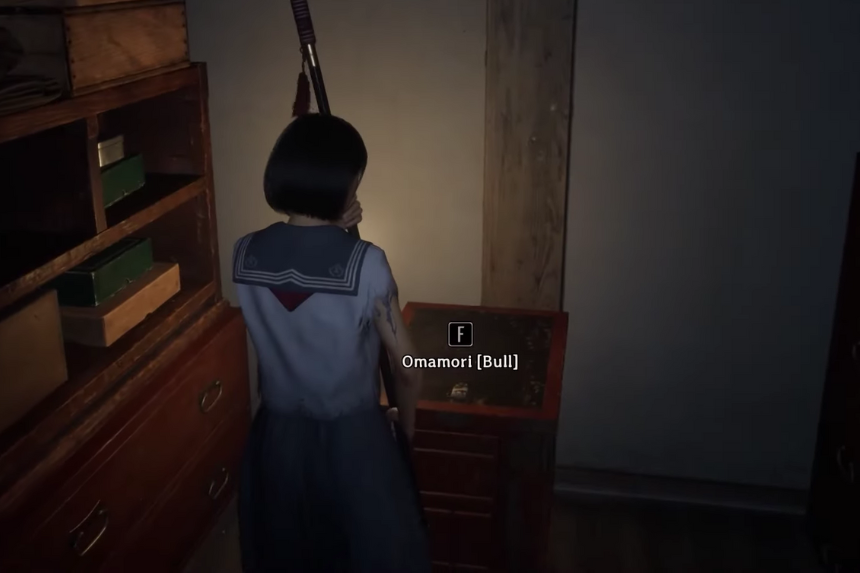
After solving the Light Puzzle and getting the key, don’t return to the main hall yet.
- Re-enter the locker room.
- The back right room will now be open — the Omamori is inside.
Character Upgrade
Proceed to the Shu’s Memories Puzzle area.
- Enter the western room, pull on the blue/red lever, then proceed through the blue door.
- Upgrade is on a shelf in the background, protected by an enemy.
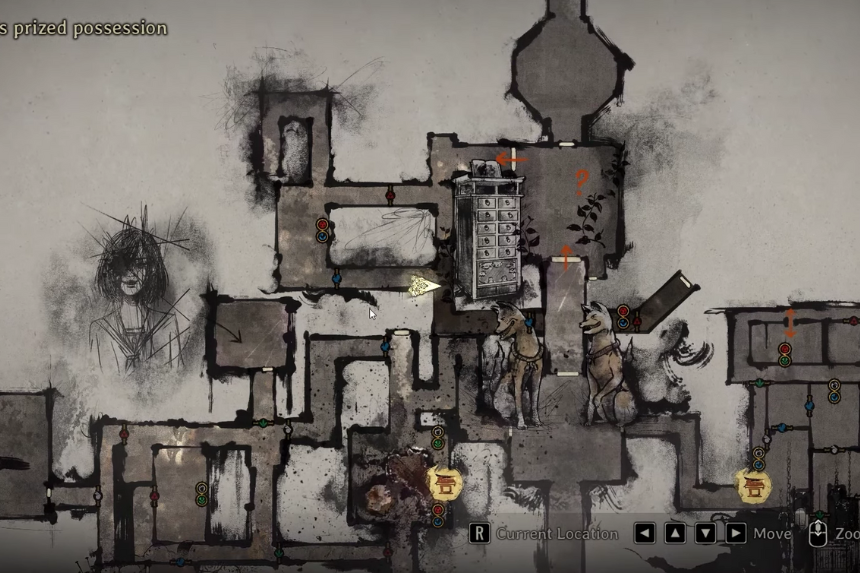
Memories Puzzle
This area involves putting Shu’s Prized Possessions onto pedestals. The only variation between difficulties is how many possessions are needed to be gathered. Play through the area normally to finish it.