
Your survival in the game Tormented Souls 2 relies heavily on acquiring weapons and their upgrades. These weapons help you with progression through the game and ensure that things get smoothed out for you by using certain firearms and melee tools. This guide will provide you with an easy breakdown of all the weapons and additional upgrades you can acquire in the game, so read along!
All Weapon and Upgrade Locations
Here’s an easy breakdown of all the upgrades and weapons found in Tormented Souls 2:
Hammer
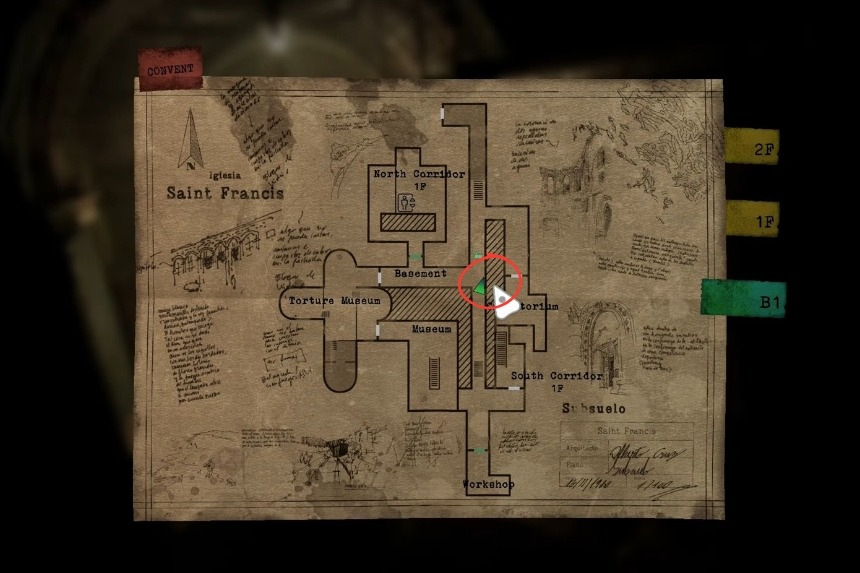
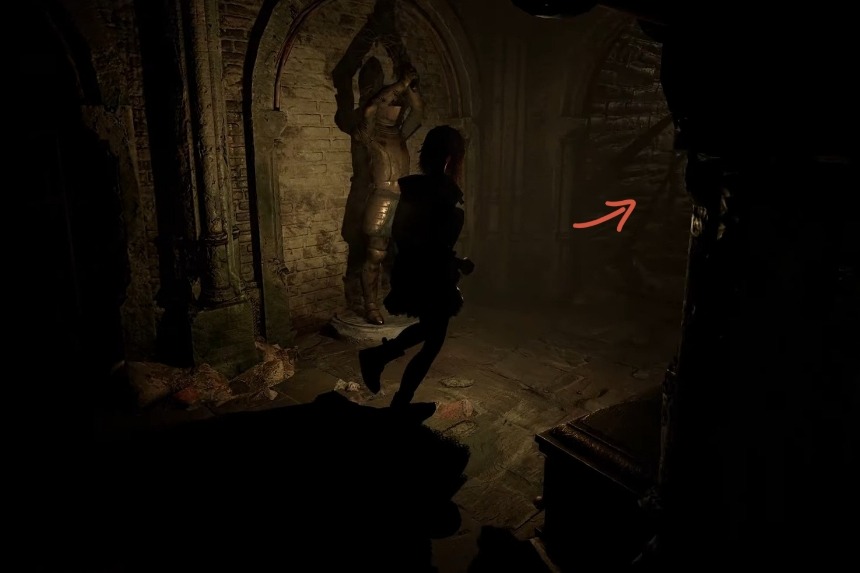
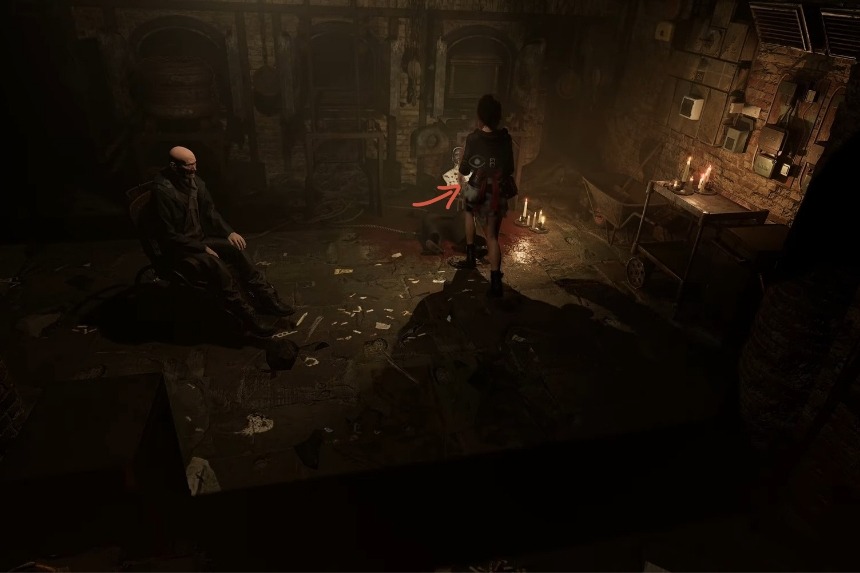
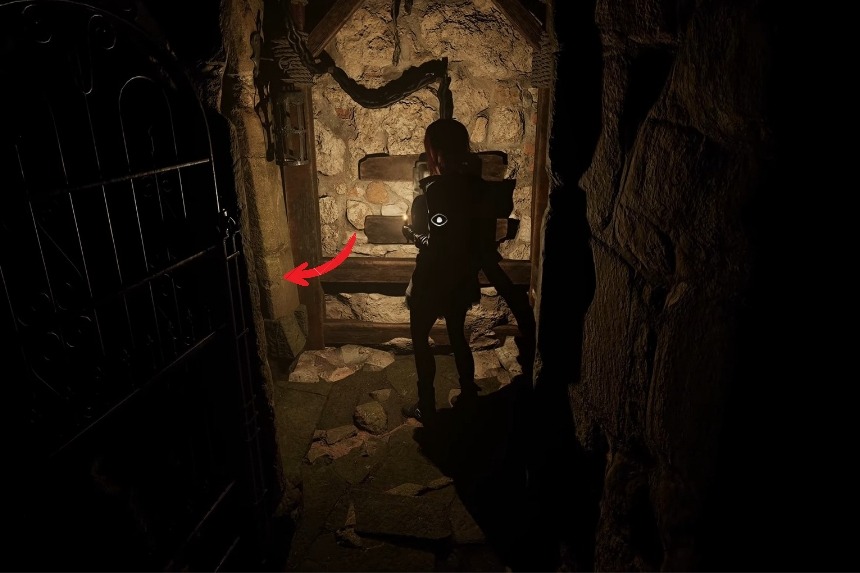
The hammer can be obtained after meeting Joseph in the crematorium. Players will be able to acquire the hammer from a nun’s corpse, and in addition to being used as a melee weapon, the hammer can be used as a utility tool as well. You can use the hammer to smash assorted ceramic urns scattered throughout the Abbey.
From unlocking hidden areas to retrieving items, the hammer can also provide players with access to optional gameplay content that may not necessarily be within easy reach. However, players won’t be able to use the hammer to smash wooden crates, remove planks of wood, or damage and remove reinforced barriers such as walls or fences in the game.
Nail Gun
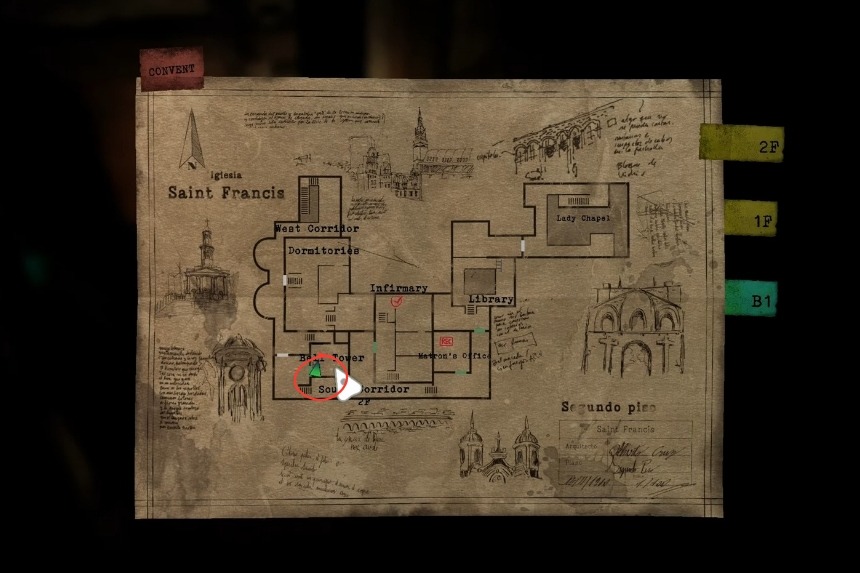
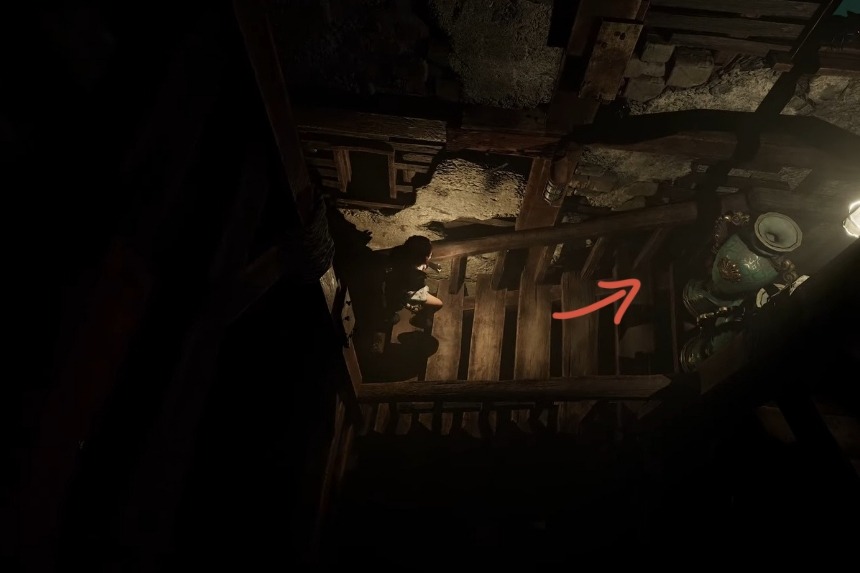
Coming to the nail gun, this is a ranged weapon that you can obtain with ease. What you’ll need to do is restore power to the elevator found in the Abode basement then head toward the workshop in the southern corridor. Once you’re inside, look around for a workbench having a nail gun body with nails and canister sitting beside it. You will have to simply combine the canister with the gun using the inventory to start using it and assign it to a quick slot.

Red ammo boxes for the nail gun contain eight nails each, with damage determined by shot automatically, making it weak but quite dependable at the beginning of the game. The amount of damage you do to your enemies changes with each difficulty level.
Shotgun
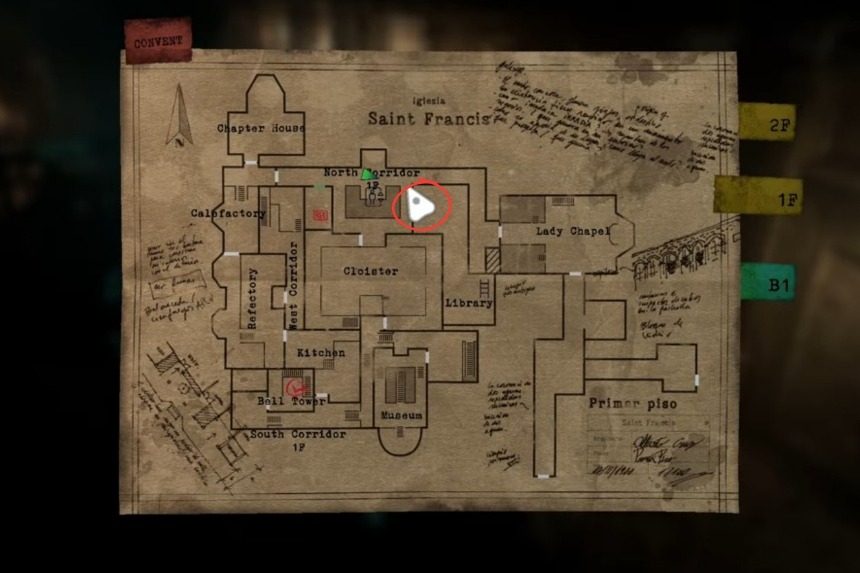
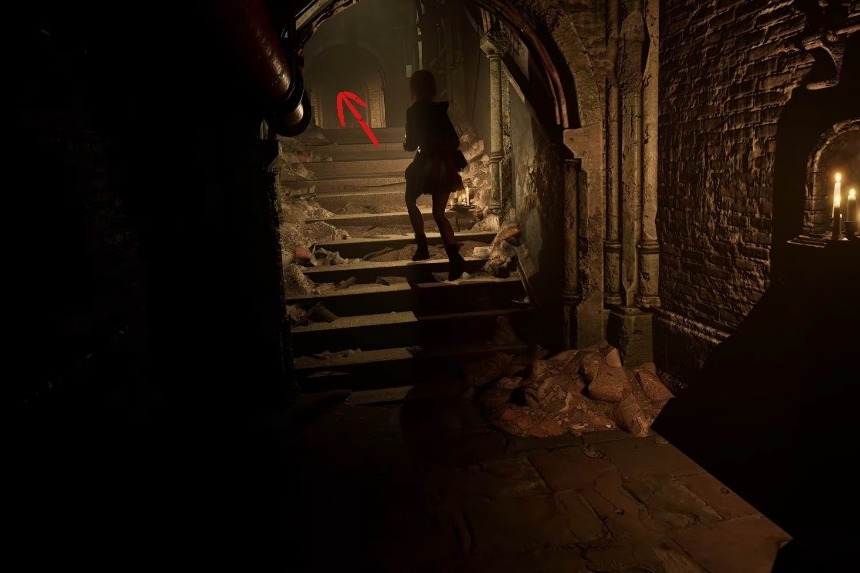
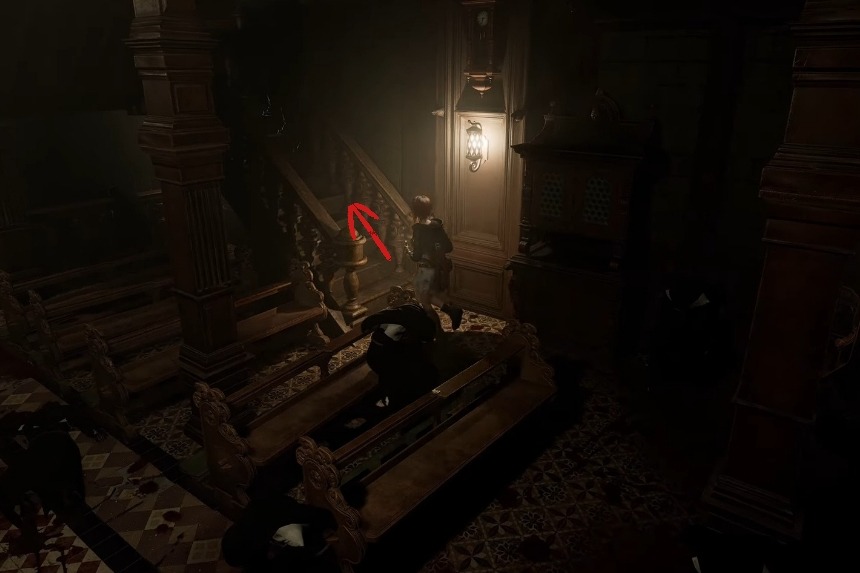
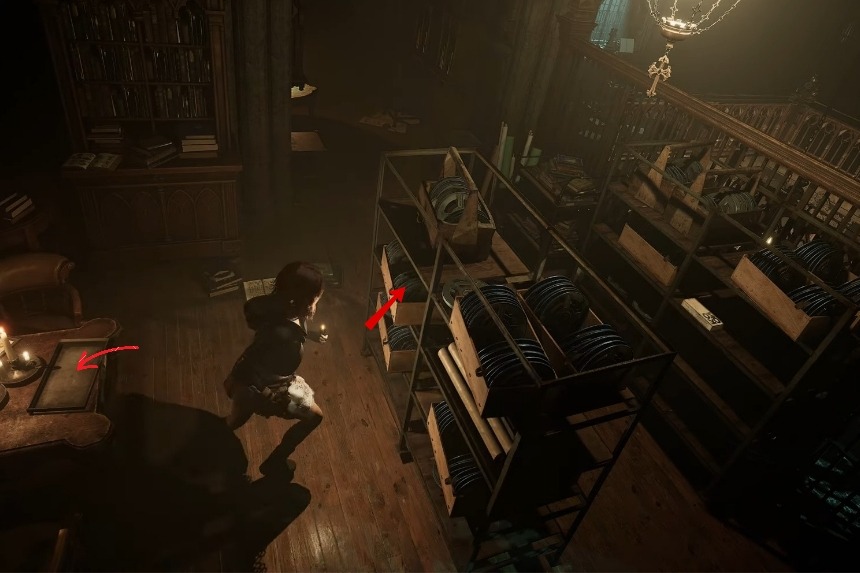
To acquire the shotgun, head to Abode’s first floor to find the bell tower. There, you will find two ceramic urns blocking your pathway. Simply use a hammer to break them and advance further. The shotgun could be found at the top inside a sealed glass case, and a puzzle.
The puzzle requires ringing four bells in a specific order based on an inscription in the room. Once you’re done with solving the puzzle, you’ll see that the glass gets broken automatically and lets you grab the shotgun. It fires a single powerful shot before reloading and uses shell packs containing four rounds.
Nail Gun Upgrade
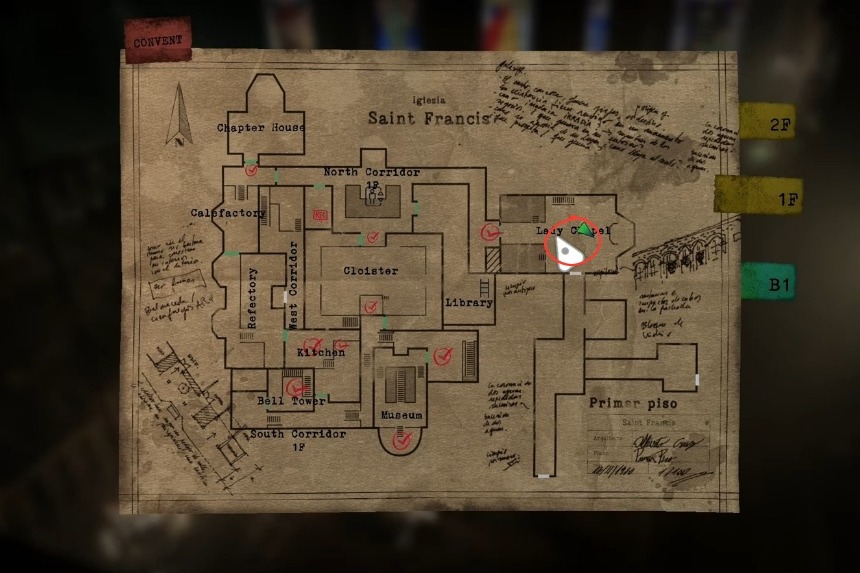
After defeating the Iron Maiden, access the upper library area through the Chapel of the Virgin Mary and you’ll come across an air tank that is compressed. This upgrade helps increase your nail gun’s firing speed.
Shotgun Upgrade #1
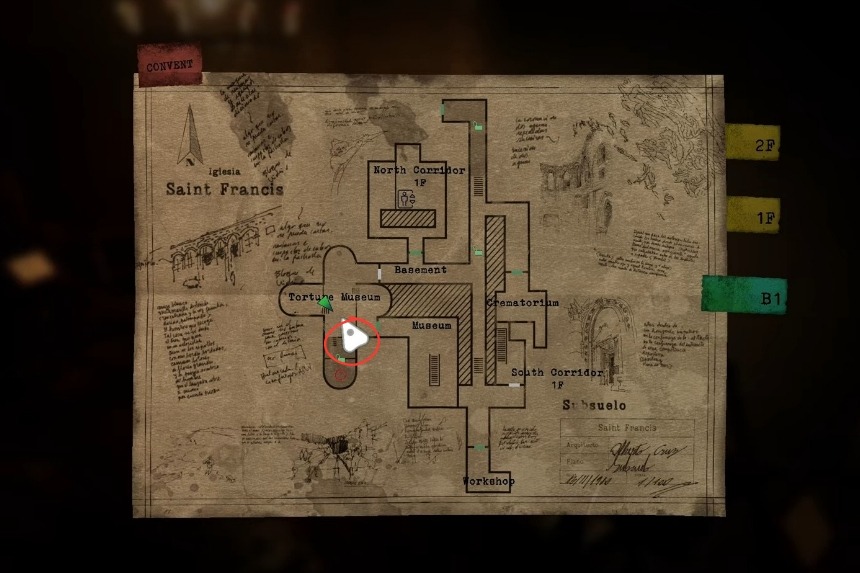
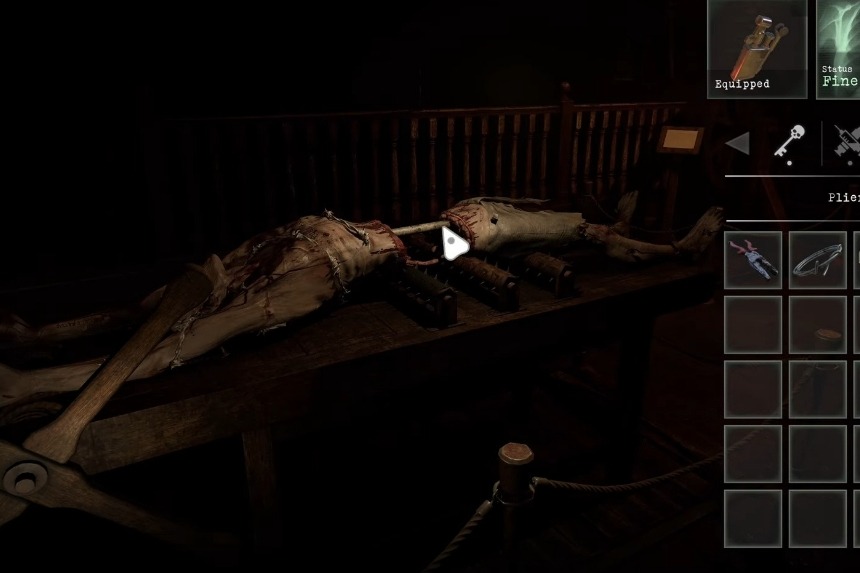
The double-barrel upgrade is found in the Other World version of the torture museum after completing the mirror puzzle. A metal pipe can be collected from a body on the rack after interacting with the dummy. This upgrade allows you to fire twice before reloading your shotgun.
Automatic Nail Gun
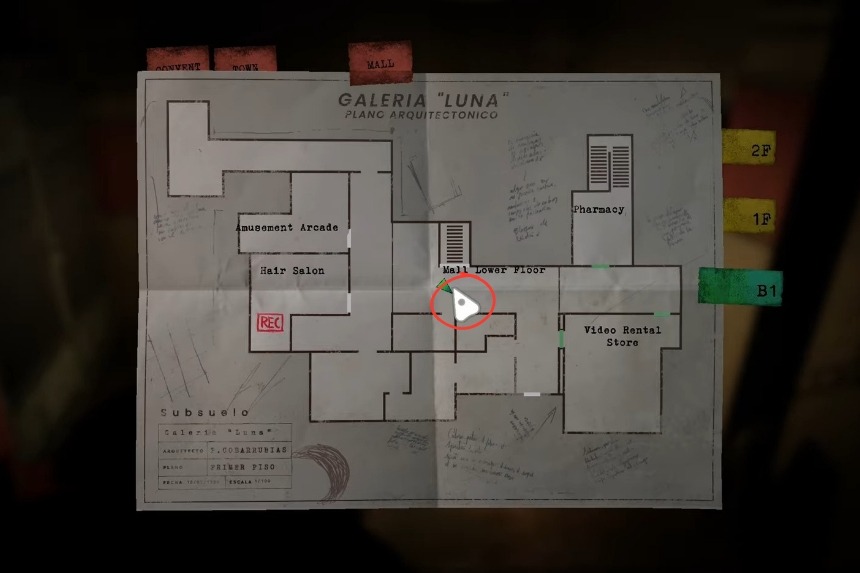
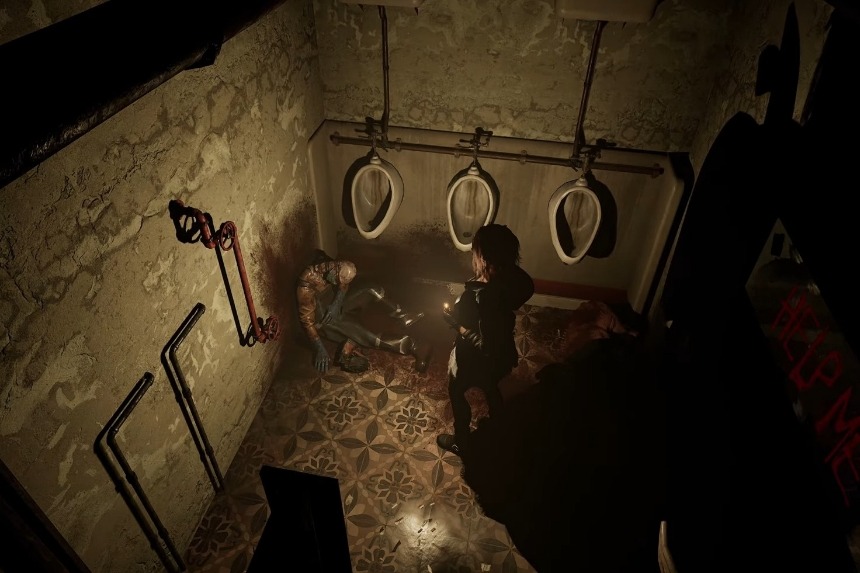
The automatic nail gun is located in the shopping district behind the Abode. Near the chained man area, one of the restrooms contains a corpse holding the weapon. It fires rapidly using nail stocks from blue ammo packs and has a large magazine, though each shot deals less damage than the standard nail gun.
Crowbar
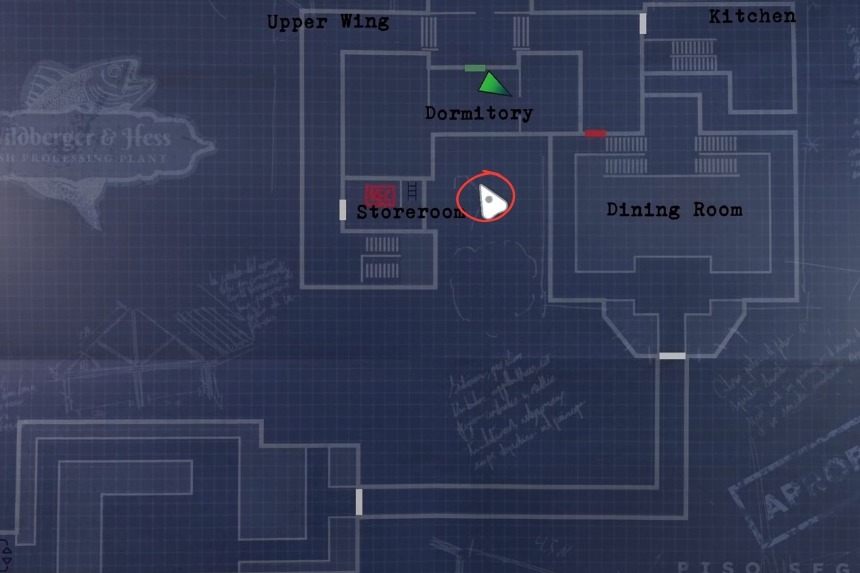
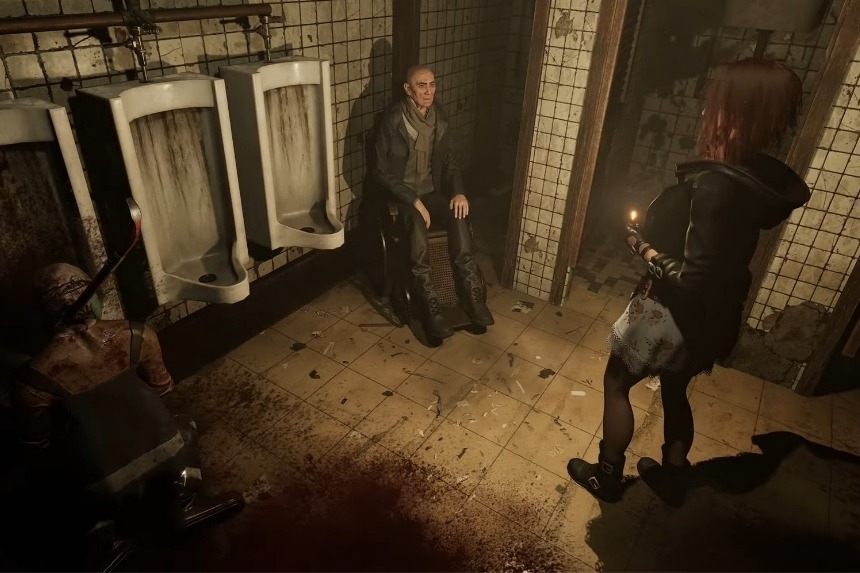
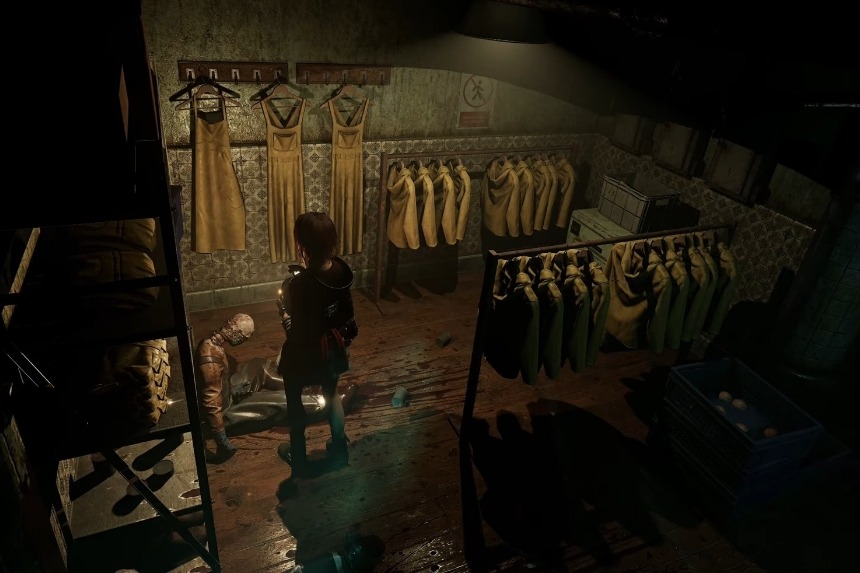
At the Fish Factory, explore the Dormitory restroom where Joseph is hiding. After speaking with him, pick up the crowbar; you can consider it to be a slightly better version of the hammer, which helps you break down crates made of wood. Some reinforced barriers, however, still require stronger tools.
Crossbow
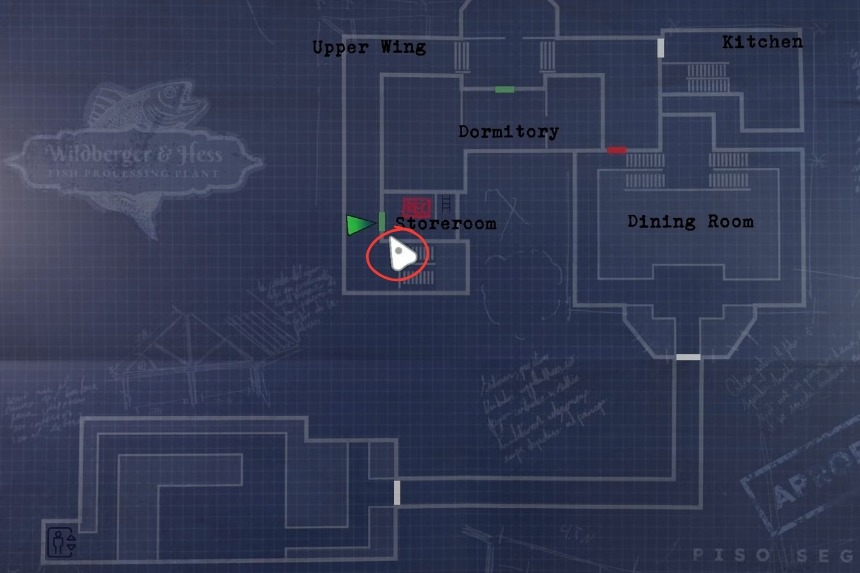
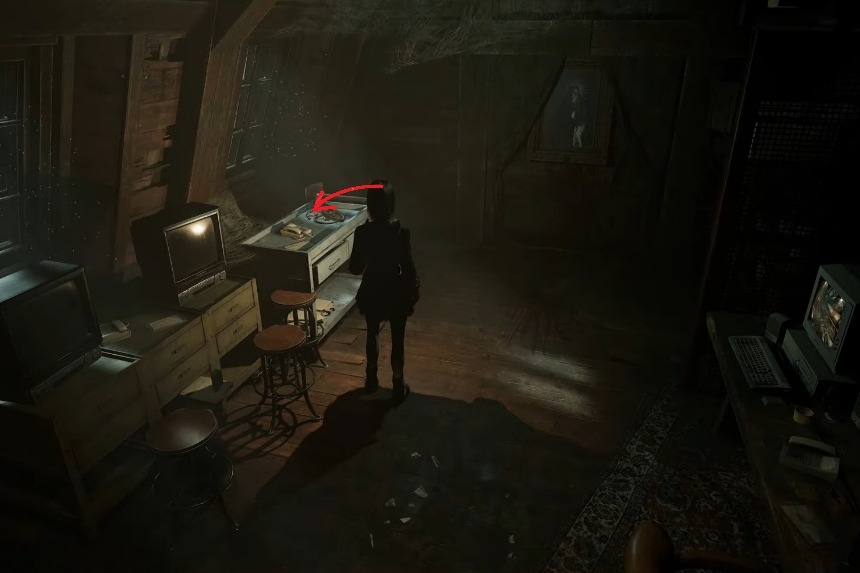
Now, in order to assemble the crossbow, you’ll have to go hunting for two parts found in the Fish Factory. The bicycle components can be found located in the dormitory, while the crossbow frame can be found a little later in the kitchen, which is near the dining hall. You will have to combine both to create a weapon that’s powerful enough to fire acid vials.

In many ways, the crossbow hits harder than the shotgun because it relies on extremely scarce ammo after the Fish Factory. It’s best if you save it for bosses or dangerous enemies. Remember that it is also required for a painting-based puzzle afterwards in the canteen.
Chainsaw
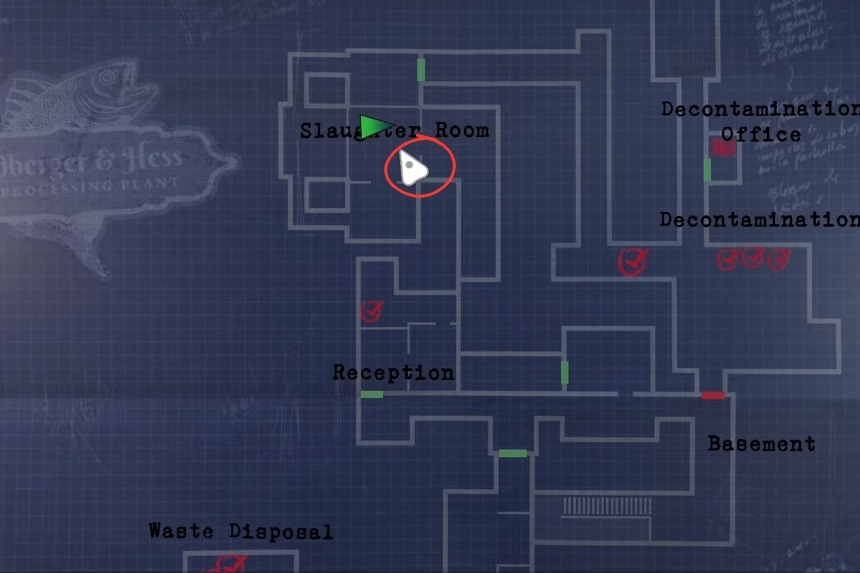
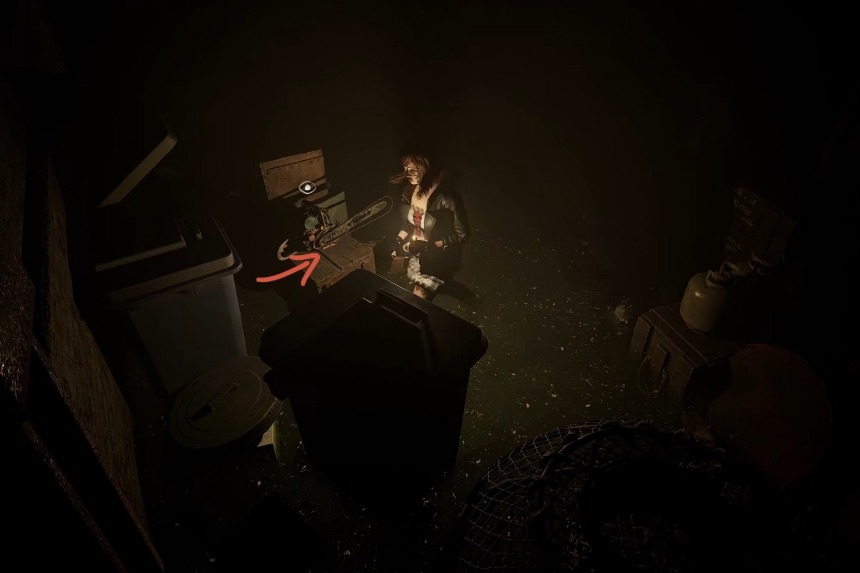
What you will need to do is fight the boss at the Fish Factory and collect the saw he will drop upon getting defeated. Then, descend through the hatch you’ll find towards the end of the reception to find the chainsaw itself. You’ll then need to combine the blade with the chainsaw in order to use it.
Even though the chainsaw consumes quite a lot of fuel, it deals heavy damage to your enemies and can cut through reinforced beams, including the one blocking the factory’s front entrance.
Shotgun Upgrade #2
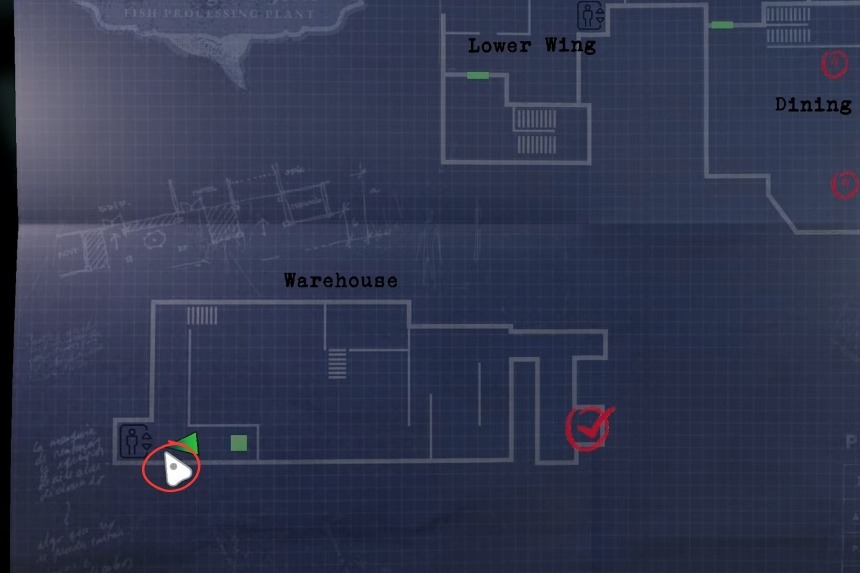
Once you complete the tasks in the other world, you will need to return using the Recycling Room, then revisit the dining hall through the warehouse transition. You will find a metal pipe near the painting puzzle, this is your upgrade. Using this will help you fire with your shotgun thrice consecutively.
Hand Cannon
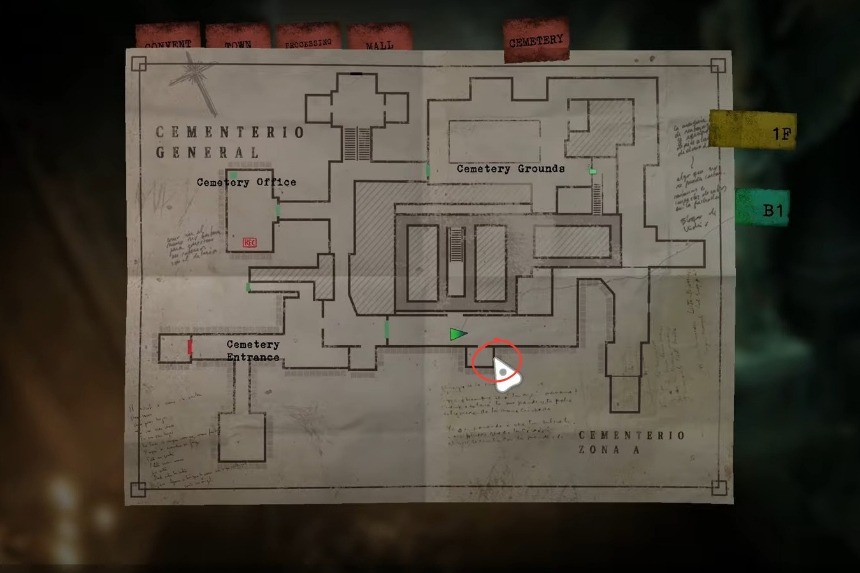

If you want to retrieve the hand cannon, you will have to complete a separate challenge. This puzzle involves finding four animal plates—bat, turtle, dog, and bird—which are located in the graves (tombs/mausoleums) close to where you are standing. To find the weapon, you must put the animal plates in the correct order (with the right number of turns) into the reliquary that contains the hand cannon.
It uses extremely rare ammunition and delivers the highest damage in the game, making it ideal for boss encounters.
Hand Cannon Upgrade
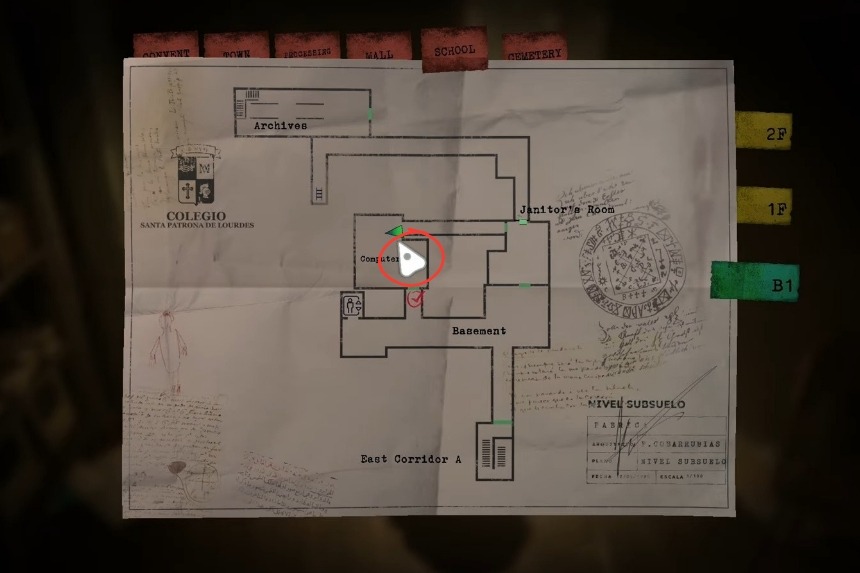
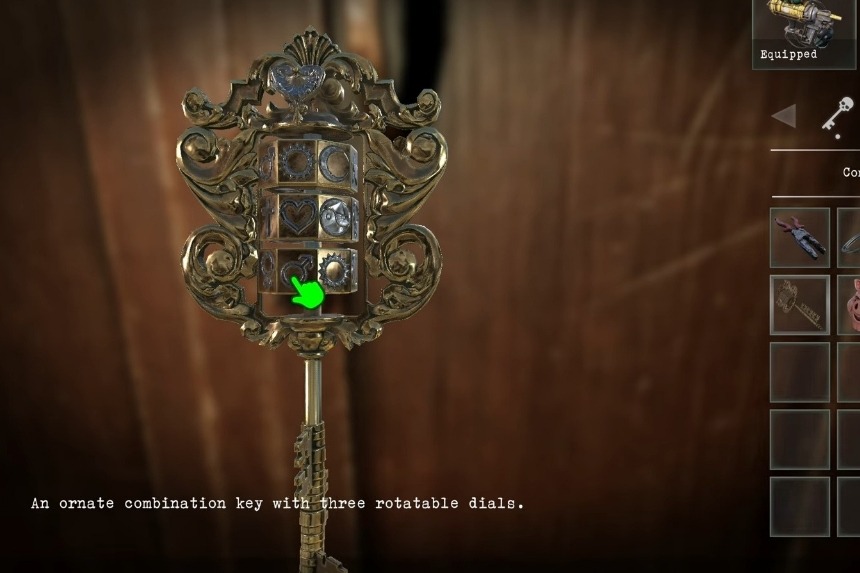
In order to get this upgrade, you will need to get the combination key first. For this, you’ll need to progress through both the Real and Other World when visiting the School. A good place to start would be the Computer Lab, where you’ll need to deal with some acid-spitting enemies. Once they’re dealt with, carefully assess the key to note the symbol order.

Then, simply unlock the cabinet you will find nearby, there should be a recoil spring there. Combining it with the hand cannon reduces recoil, allowing Carolina to recover faster after firing.
Automatic Nail Gun Upgrade
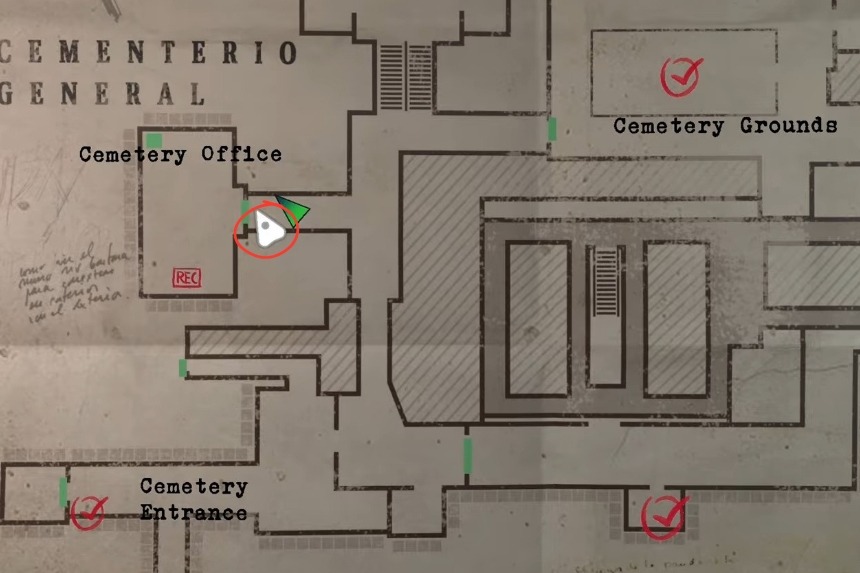
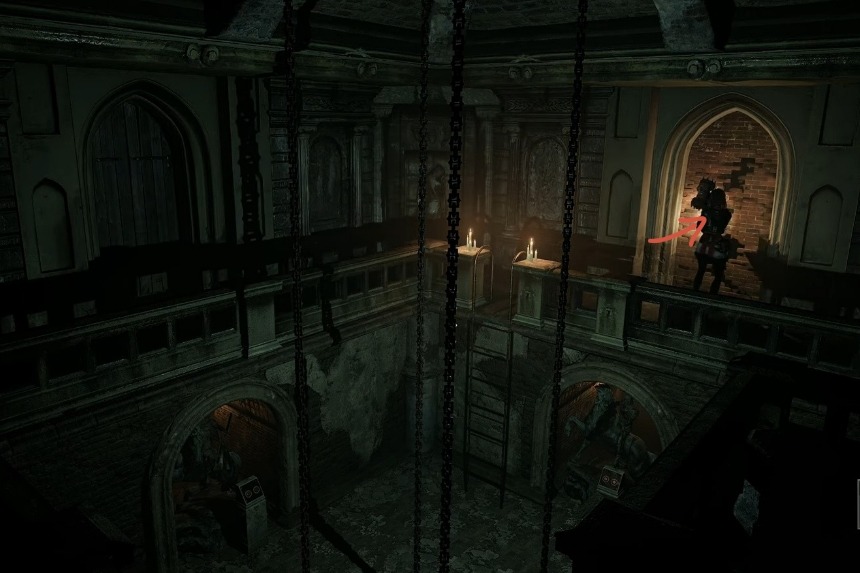
To get the automatic nail gun upgrade, you will need to complete the cemetery storyline first and then return to the tomb to the exact same location where you earlier solved the statue puzzle. Start tearing down the already cracked brick wall using your Sledgehammer and you’ll find a spool of rotary nails inside.
Combining it with the automatic nail gun doubles the magazine size, and you get 70 rounds without affecting damage.