
In Tainted Grail: The Fall of Avalon, the Alchemist Guild questline takes you on a mysterious journey. This guide walks you through each quest step-by-step, explaining what to do, where to go, and what choices you can make along the way. This walkthrough will help you complete the full Alchemist Guild questline from start to finish.
Lenses and Eye of the Sage Quest
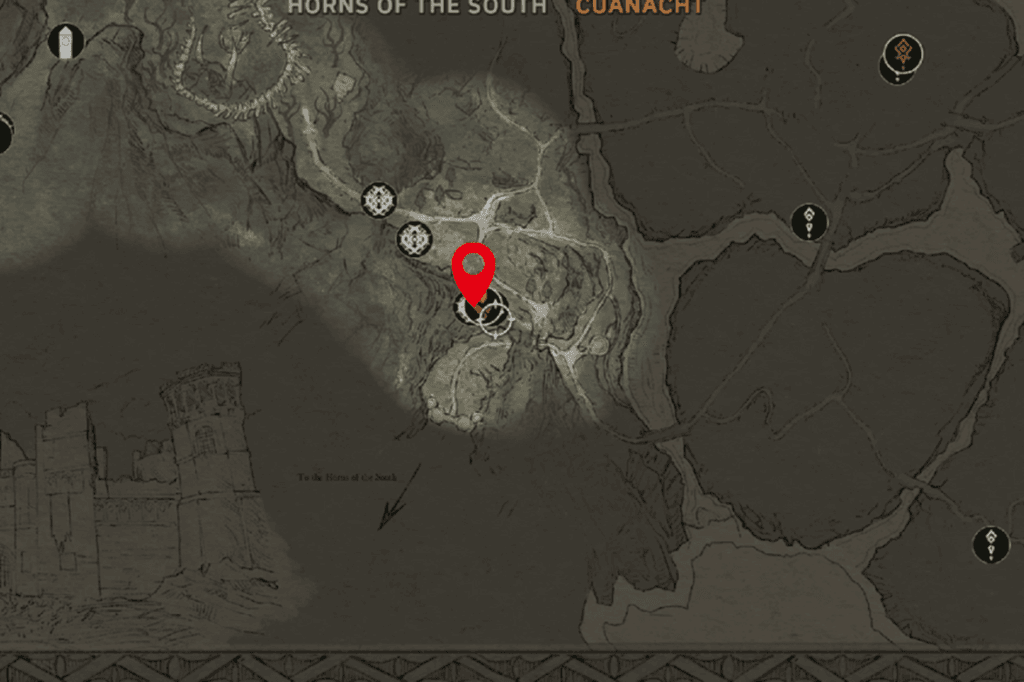
To begin, talk to Jann Heber. Ask if he needs help with anything, and he’ll mention a ritual he’s been wanting to try at an ancient druidic worship site. Offer to help, and he’ll point you toward a place called the Ancient Cromlech.
How to Perform the Ritual at the Ancient Cromlech
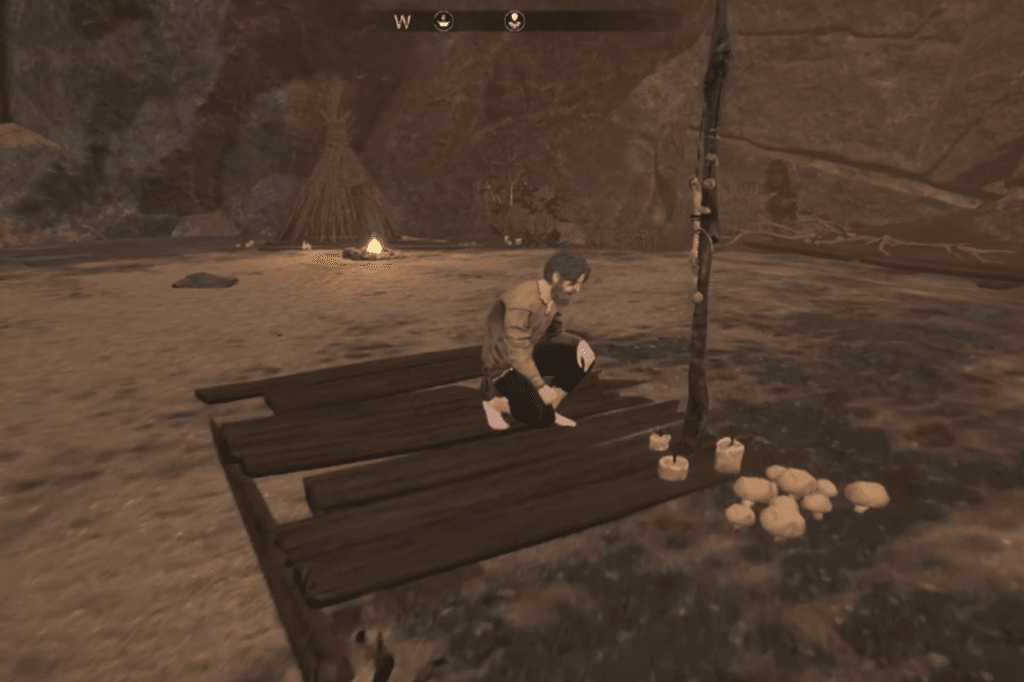
Head to the Ancient Cromlech and prepare for the ritual. You’ll need to place venison, onion, and garlic at the altar.
Once you’ve made the offering, two ghostly druids will appear. But instead of anything meaningful happening, they’ll mock you and reveal that the ritual was never real, it was just a prank. As a gift, they’ll hand you a piece of mistletoe. After they vanish, you’ll notice some glowing runes appear on the stones at the Cromlech.
Returning to the Doctor
Now, go back and speak with Jann Heber. You have two ways to finish the quest:
- Option 1: Say the ritual didn’t work.
Jann will be disappointed, and the quest will end there. - Option 2: Say the ritual worked, but it was all a joke.
Jann will still be disappointed, but this time more confused than let down. Hand over the mistletoe and tell him about the glowing runes at the site. This wraps up the quest and unlocks a new one called Black Tar Prophecies.
You’ll earn 600 XP for completing the quest.
Black Tar Prophecies Quest
After speaking with Jann Heber, he’ll tell you that you need to find someone with real knowledge of druidic magic. Your next stop is tracking down Drest.
When you find Drest, you’ll need to convince him to help. The simplest way is by offering him some food. Once he agrees, he’ll ask you to meet him at the Ancient Cromlech, where he’ll begin a mysterious ritual. During the ritual, a mysterious woman will appear, and you’ll be faced with a choice.
Choose Your Path with the Mysterious Woman
You’ll now have three ways to handle the situation:
Path 1: Attack Immediately
Choose the dialogue option to attack. The woman will fight back. After you defeat her, Drest will mourn her death and reflect on the past. Speak to him afterward for some extra backstory. The ritual site will then be cleansed.
Path 2: Learn More, Then Attack
Pick the dialogue option to learn more, then decide to attack anyway. The outcome is the same: she becomes hostile, you fight and defeat her, and Drest shares more of the history before the site is cleansed.
Path 3: Learn More, Then Side with the Woman
Choose to learn more again, but this time, continue the conversation and mention that the site needs to be cleansed. The woman, named Iona, will offer you a chance to side with her.
If you agree and say Drest must pay for his past, he’ll suddenly drop dead, no fight needed.
Tip: Loot Drest before talking to Iona, or you’ll miss your chance, he disappears once the dialogue ends.
Afterward, Iona will speak with you one last time, thank you for giving her a chance, and then vanish. Head back to Jann Heber to finish the quest. You’ll earn 1100 XP and x1 Druid’s Talisman for completing the quest.
Whispers in the Dark Quest
When you speak with Therrov, he’ll challenge you to prove your strength by defeating a powerful being called the Mistbearer. It’s up to you to find it and take it down.
How to Find the Mistbearer
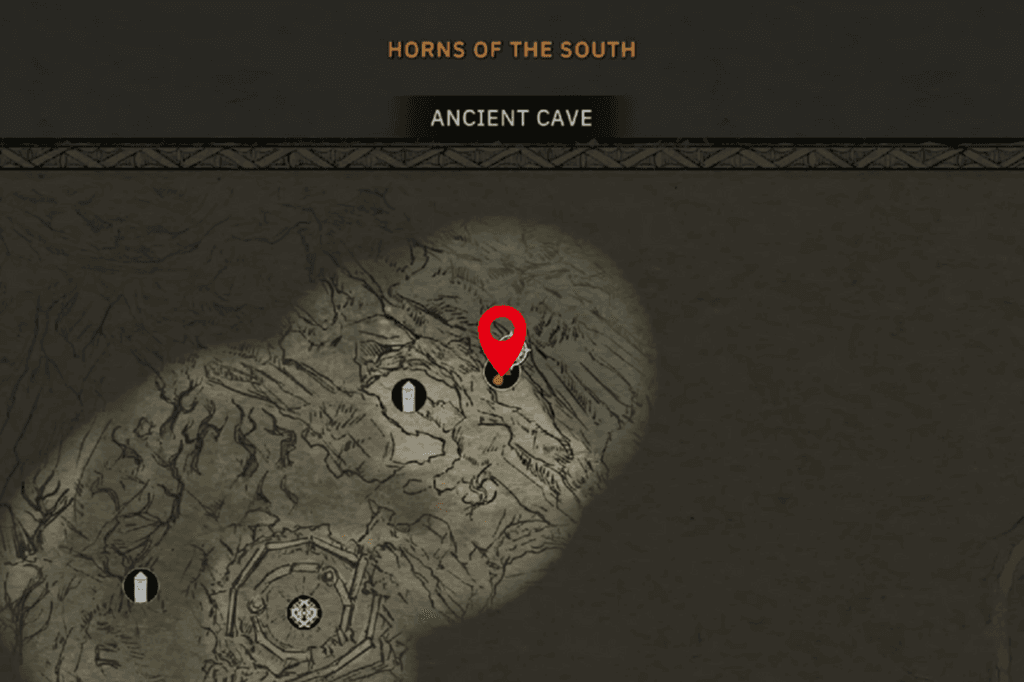
Head to the Ancient Cave and work your way through the winding tunnels. At the very end, you’ll find an altar activate it to begin the fight with the Mistbearer. Defeat it to complete your trial. Once the Mistbearer is defeated, go back to Therrov to report your success and finish the quest. You’ll earn 1800 XP and x1 Scorching Blaze for completing the quest.
Behind the Curtains Quest

During the Behind the Curtains quest, you’ll eventually come across a mention of another task, retrieving Eert’s journals. These journals are hidden away in a nearby cave, and finding them is key to completing Behind the Curtains. Make your way through the cave, explore carefully, and collect the journals.
Once you’ve found them, the quest will move forward, and you’ll eventually reach a cutscene or dialogue where your character is recognized for their efforts. That marks the end of this part of the quest and sets you up for what comes next.
Over My Dead Bodies Quest
To begin this quest, head to Ken, near the Horns of the South entrance. There, you’ll run into Tyrannis once again. Talk to him to start the quest Over My Dead Body.
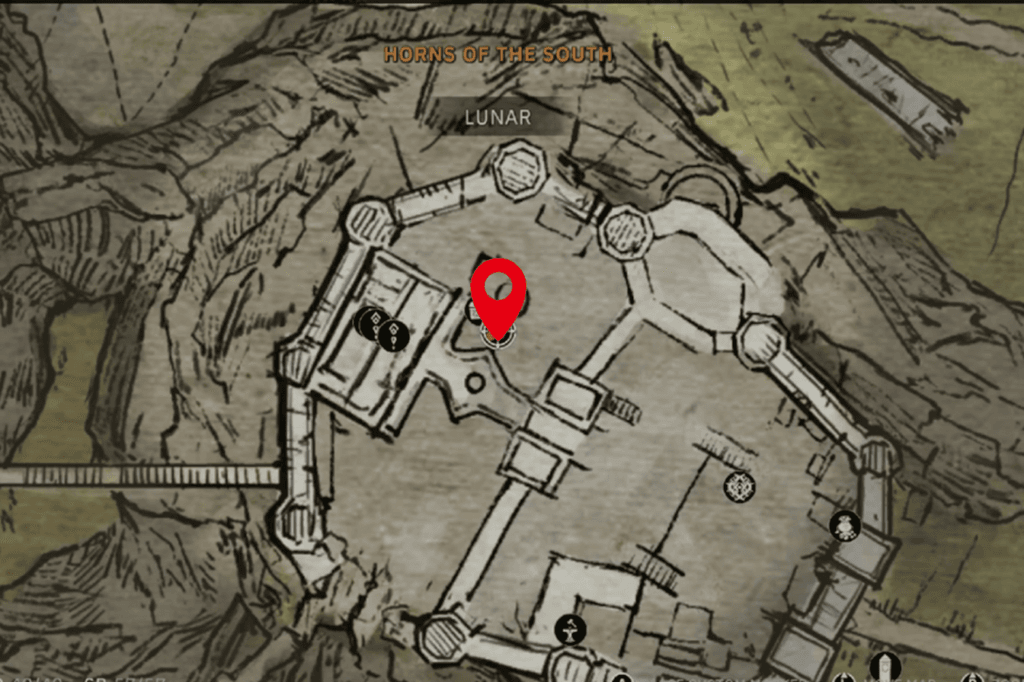
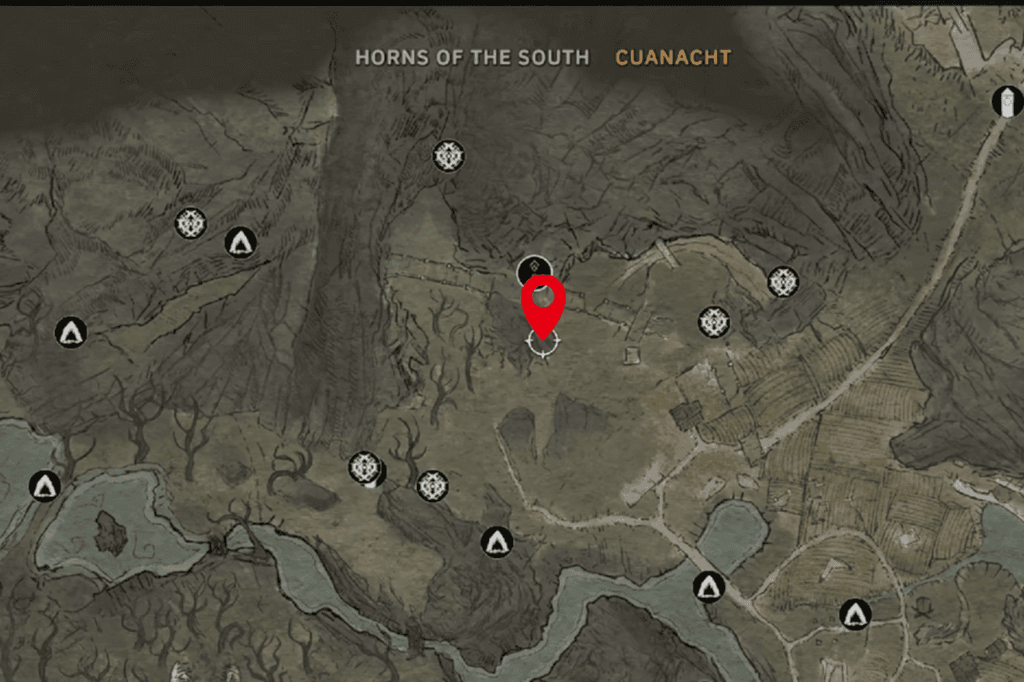
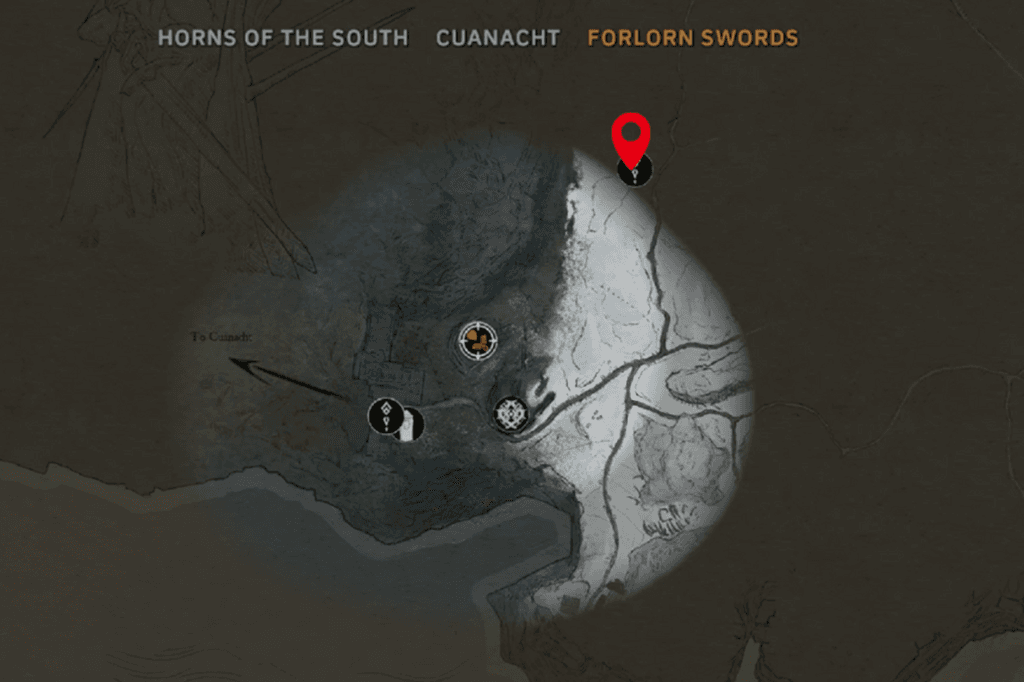
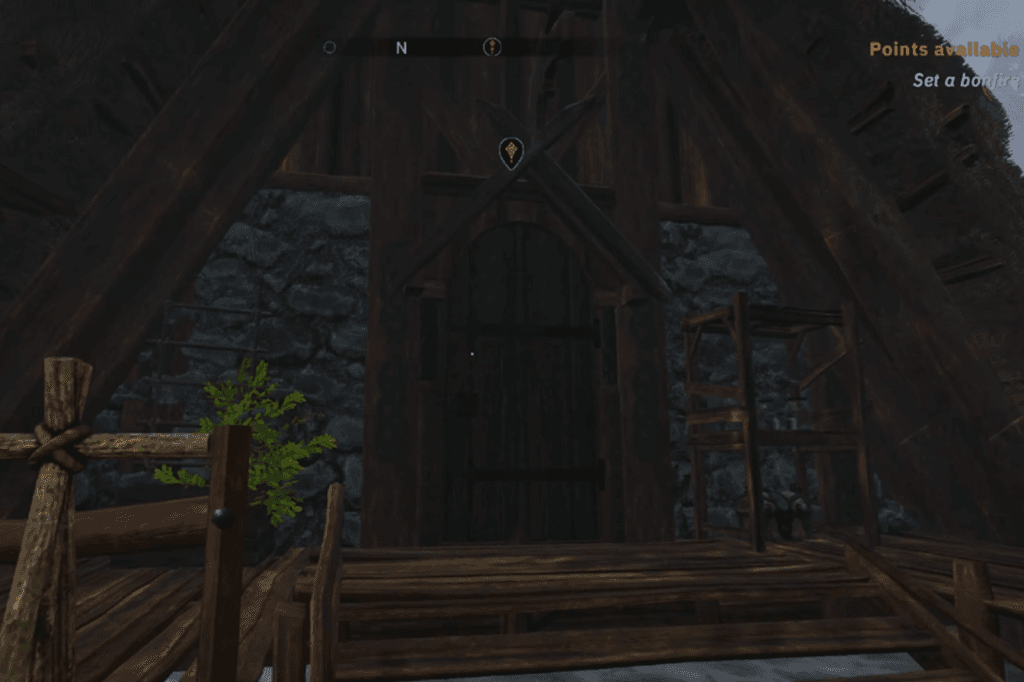
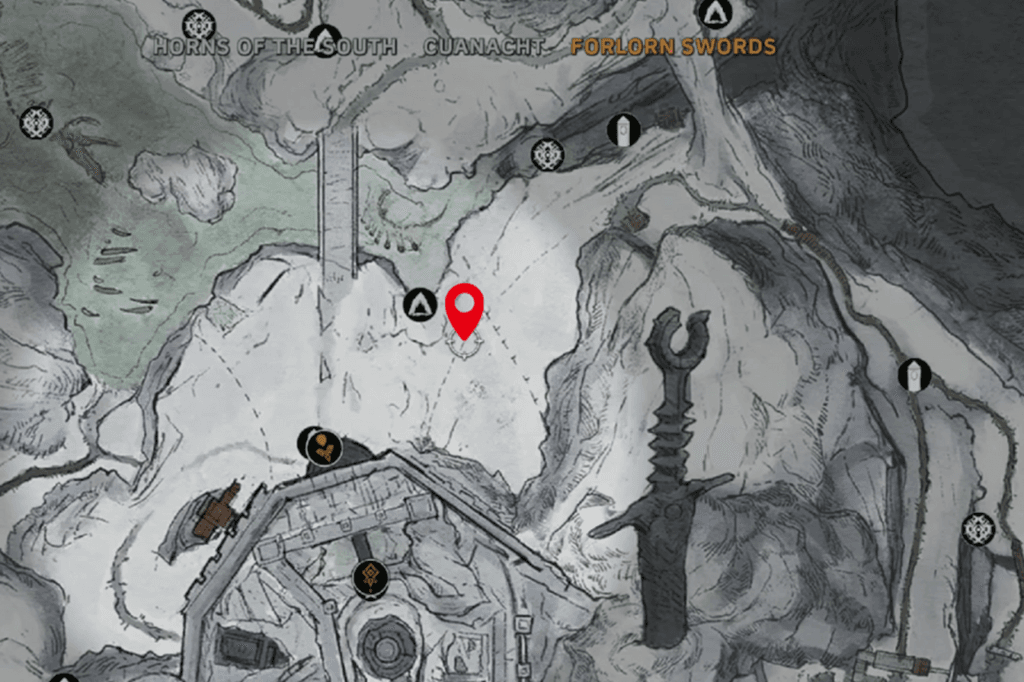
Tyrannis will ask you to track down a person named Caelum and recover his research. You’ll need to head to the house marked on your map and speak to someone hiding in the basement.
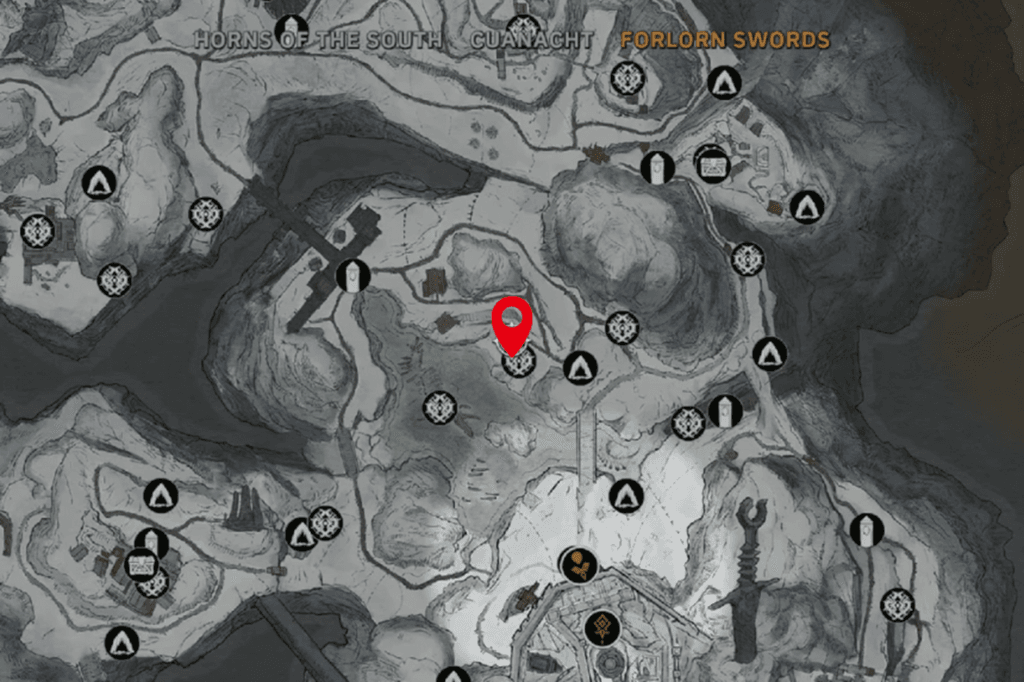
This person is being held captive, so your next goal is to free her. Once that’s done, follow the quest marker at the top of your map, it’ll lead you to a cave.
Explore the cave and prepare for a battle against a creature called Gloom. Defeating Gloom not only progresses the quest but will also unlock a trophy or achievement. After the fight, return to Tyrannis to wrap up Over My Dead Body. Completing it will unlock the next quest in the storyline: The Price of Perfection.
The Price of Perfection Quest
To start the Over My Dead Body quest, head to Ken, near the Horns of the South entrance. There, you’ll meet Tyrannis again. Speak with him to begin the quest.
Tyrannis wants you to find someone named Caelum and recover his research. Head to the house marked on your map. Once inside, go down to the basement, where you’ll find someone who needs your help. Free her to progress the quest. Next, follow the quest marker leading to a cave located at the top of your map. Inside, explore carefully and prepare to fight a creature named Gloom.
Defeating Gloom will not only complete this part of the quest but also unlock a trophy or achievement. Once Gloom is defeated, return to Tyrannis to finish Over My Dead Body. Doing so unlocks the next quest in the chain: The Price of Perfection.
Misgivings Quest
In the Misgivings quest, Alma has made a mysterious deal with a group called the Del Riata, and it’s up to you to follow through on it.
Your first task is to go to the exchange site, which is located in the game’s third region: The Farlors. As you enter the area, you’ll find Alma waiting near the entrance. Talk to her, then proceed to the nearby exchange site to see the deal take place. Once the exchange is complete, return to Alma. Doing so will unlock the next quest: Unfolding.
Unfolding Quest
After completing the Misgivings quest, your next step is to start Unfolding. Open your map and head to the marked location. There, you’ll meet a character named Dolph. Talk to him, and he’ll fill you in on what comes next. Dolph asks you to track down a strange material known as Frost Clog Mucus, this is the main objective of the next quest in the line. Dolph will then give you a new task, kicking off the next quest: Extinction of the weak.
Extinction of the Weak Quest
To get the mucus, you’ll need to hunt down and kill the snails that are scattered around the region. Keep an eye out for them near water, they’re the only ones that drop what you need.
Frostgrot Mucus Location
To collect Frostgrot Mucus, you’ll need to hunt down specific creatures that only spawn in areas near water. There are two main spots where you can reliably find them:
- The large lake
- A small water area just above the lake, near the Capital fast travel point
Head to either of these places and look for the creatures that drop the mucus. Once you’ve killed five and collected their shells, you’re ready to move on.
Bring the mucus back to Dolph. At this point, you’ll be given two options:
- Option 1: Let Dolph inject you
This will knock you out, and you’ll wake up in his prison cell. While it’s an interesting (and weird) scene filled with his mad rambling, the quest is currently bugged and will not progress if you go this route. - Option 2: Refuse the injection
This is the recommended path. Tell Dolph he’s crazy, skip the injection, and then return to Alma. Doing this will complete the quest and unlock the final part of the storyline: The Baneful Choir.
The Baneful Choir Quest
This is the final quest in the Alchemist Guild questline, and it starts after you finish the events with Alma and Dolph. Here’s how it goes:
To begin, follow the quest marker to a spot near Dolph’s cabin. You’ll need to do a bit of light parkour to reach the top of the area. Once there, you’ll finally come face-to-face with the head of the Alchemist Guild.
When you speak with her, you’ll learn that she’s created a twisted abomination as part of a dark ritual. She asks you to kill it to help her complete the process. This is where your decision matters.
Kill the Abomination
This is the only way to properly complete the quest. Defeating the creature helps her finish the ritual and ends the storyline. While it’s a strange and grim task, it’s the “correct” path.
Refuse and Confront Her
If you tell her she’s mad and refuse to kill the creature, she will turn hostile and attack you. Unfortunately, choosing this option will fail the quest, and there’s no real upside to it.