
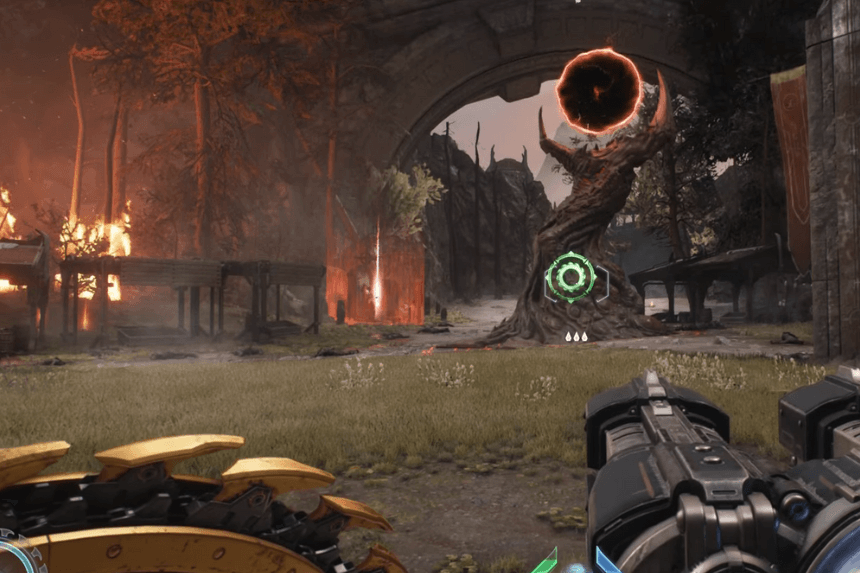
In Chapter 6 of Doom: The Dark Ages, called “Siege – Part 1,” there are 11 hidden secret areas and 2 collectible toys to find. This level is open-world, which means you can explore in any order and go through the Gore Portals however you like. Some secrets are hidden behind breakable walls, locked gates, or high ledges, while others are hidden away near waterfalls or statues. This guide will help you find every secret and collectible in the chapter so you don’t miss anything important.
All Secret Areas & Toys in Chapter 6 Siege
Chapter 6 of Doom: The Dark Ages has 11 secret areas and 2 collectible toys. Since the level is open-world, you can go to the Gore Portals in any order you like.
NOTE: You can click on the images to enlarge
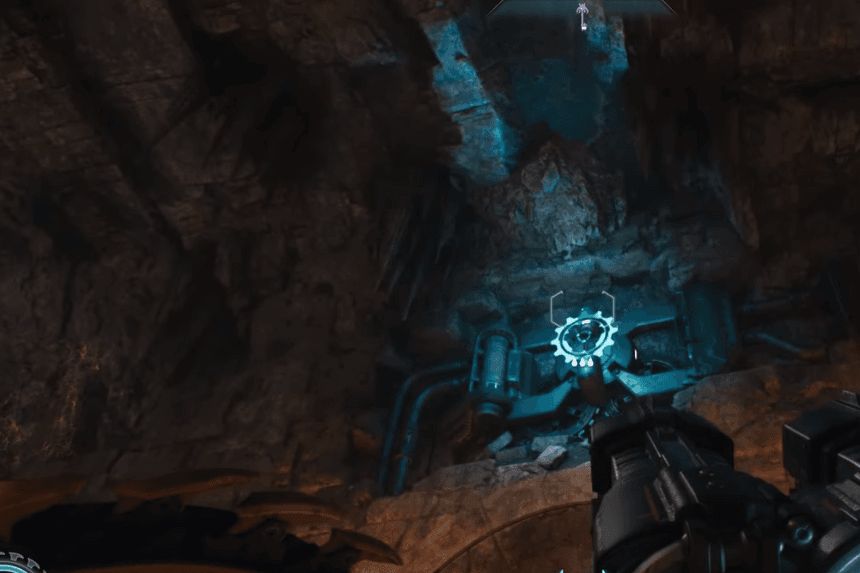
1: Secret Area – Collectible Toy
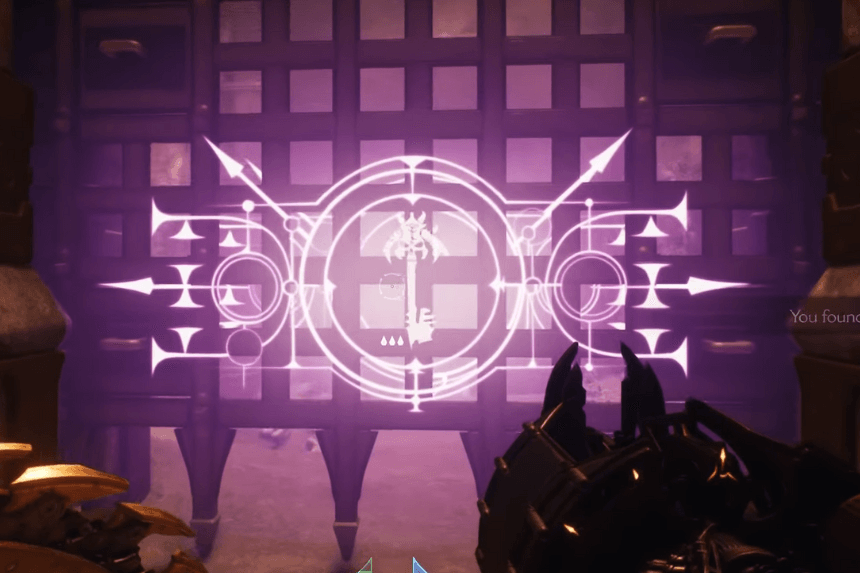
Behind a purple key-locked gate lies a collector toy from the sentinel shrine. The key, which will be utilized for further items later in the level, is located just south of this. Take it. Now turn around and open the toy’s gate.
2. Ruby
To get rid of the barrier enclosing the ruby, kill every enemy in this region.
3: Secret Area – Life Sigil
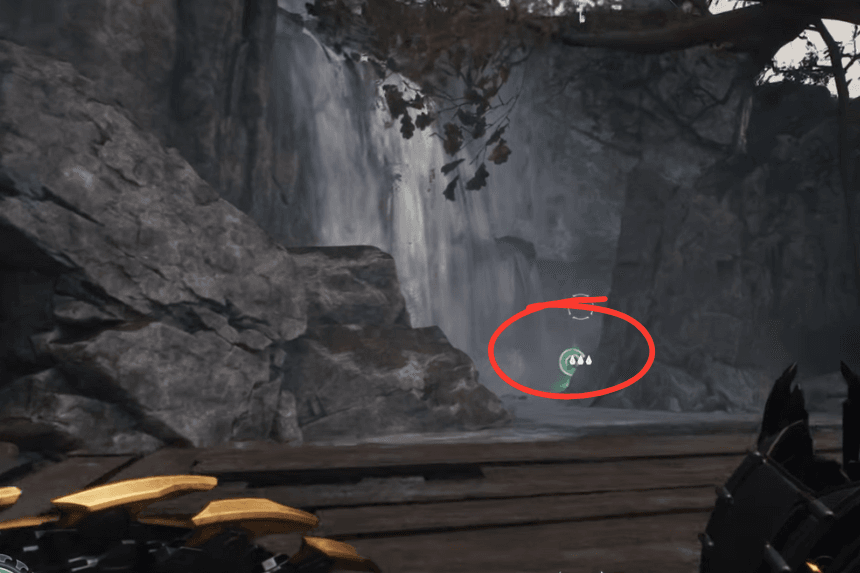
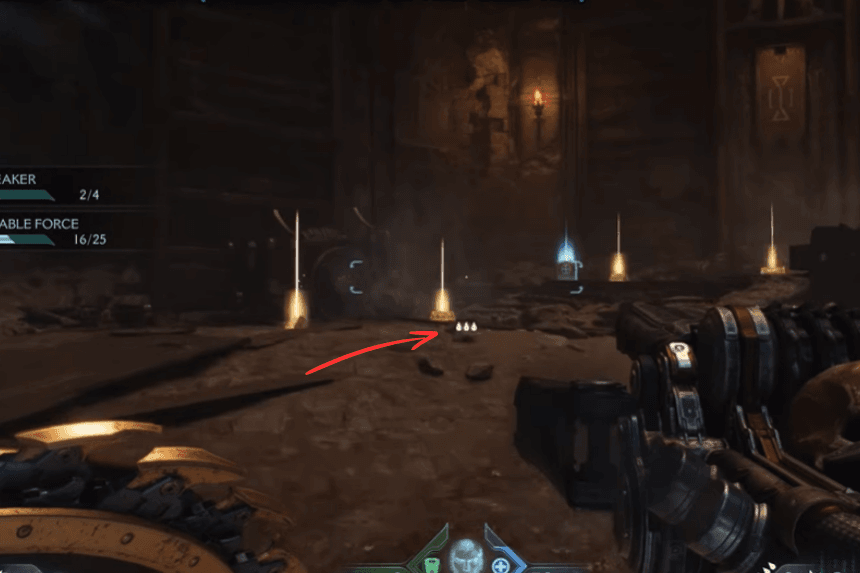
There is a hidden with life sigil by a waterfall on the area’s edge, further south of the artillery weapon mentioned above.
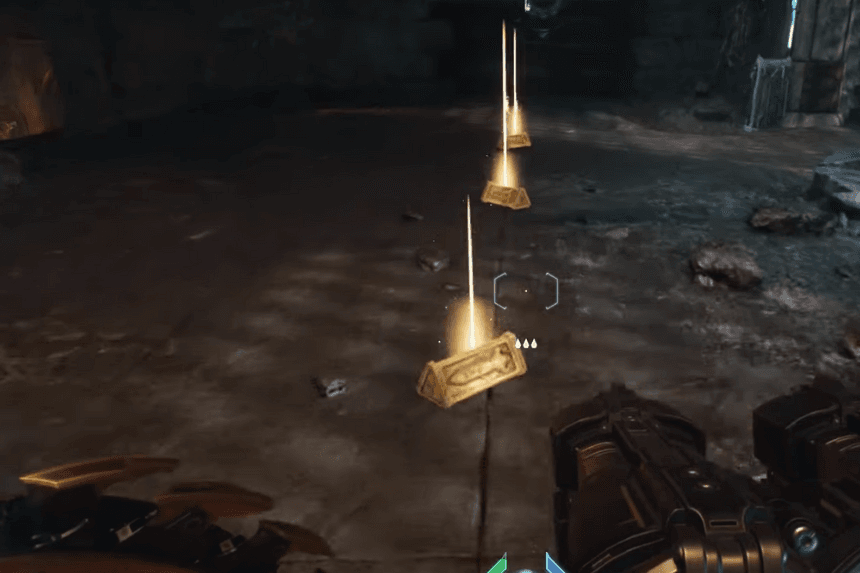
4: Secret Area – Collectible

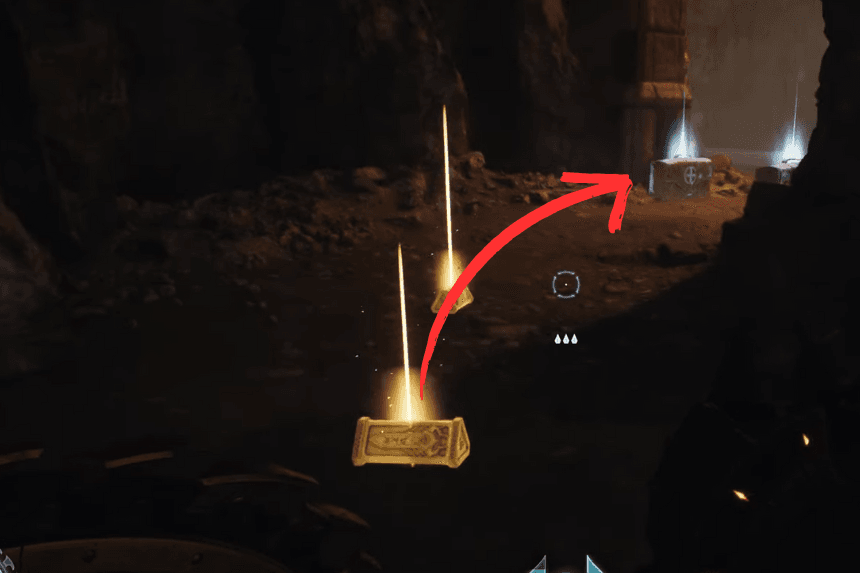
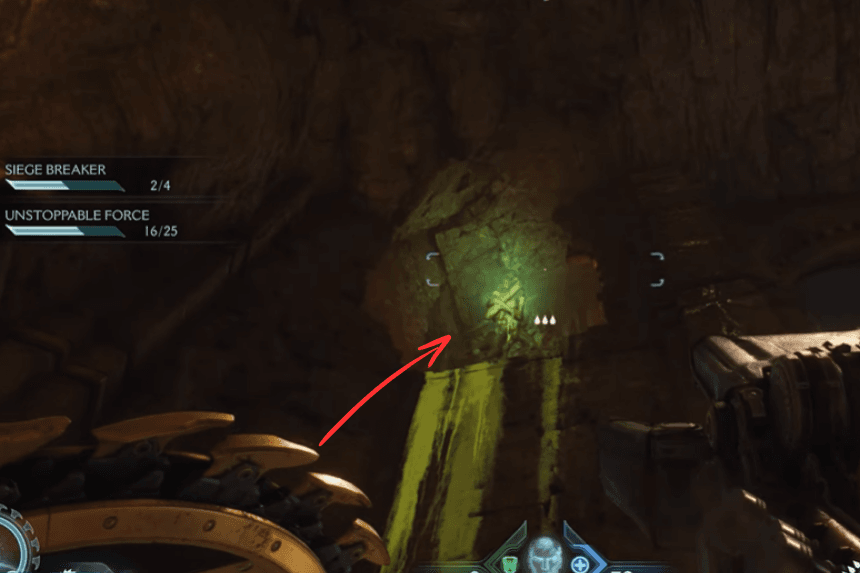
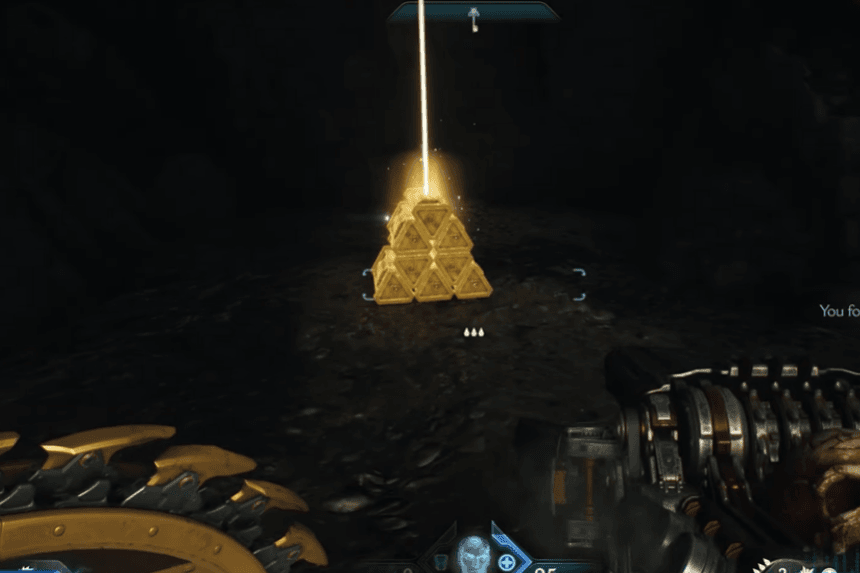
A climbable wall with four gold at the summit may be found by following the trail south-west beneath the top left gore portal. The first secret area will be revealed when you enter this new region.
5: Secret Area – Weapon Skin
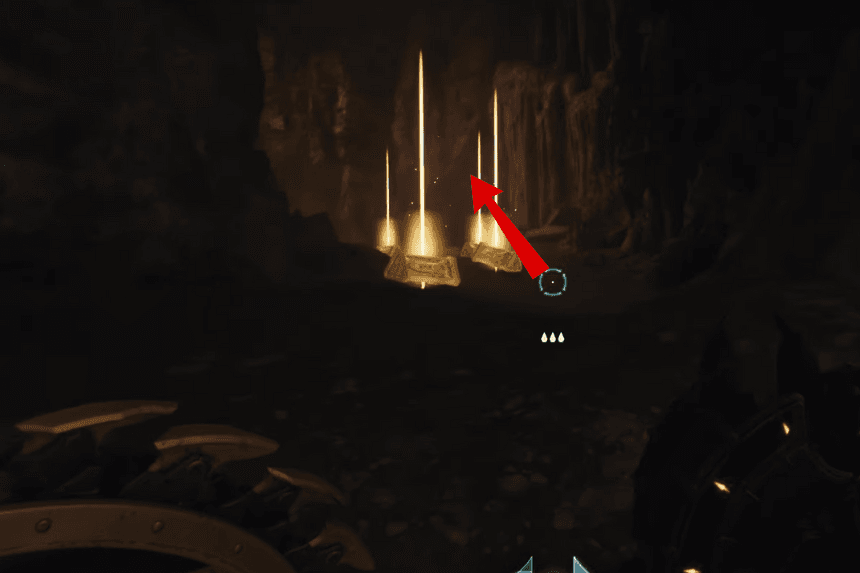
Turn left to locate four gold bars, then unlock a purple gate to enter the secret area that contains a weapon skin.
6. Ruby
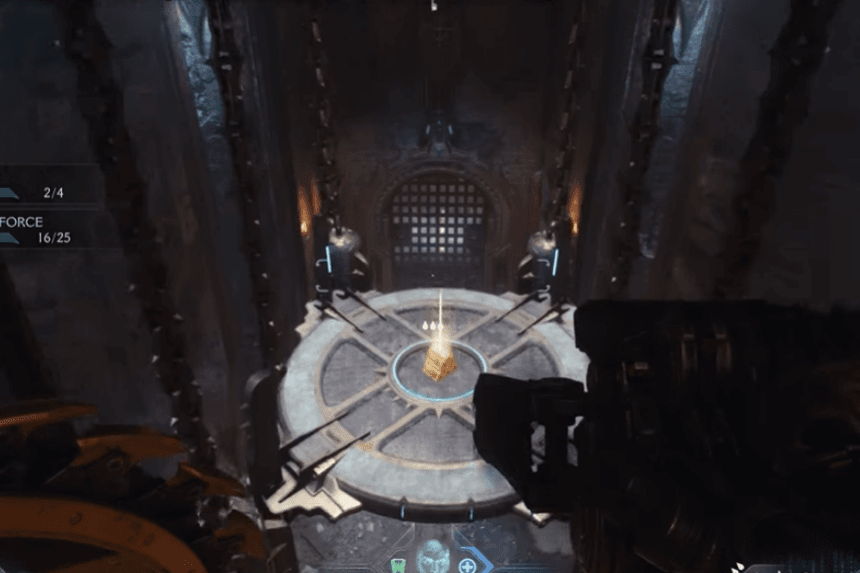
To lower the room into the water, push the switch. To get the ruby, turn right and dive into the room.
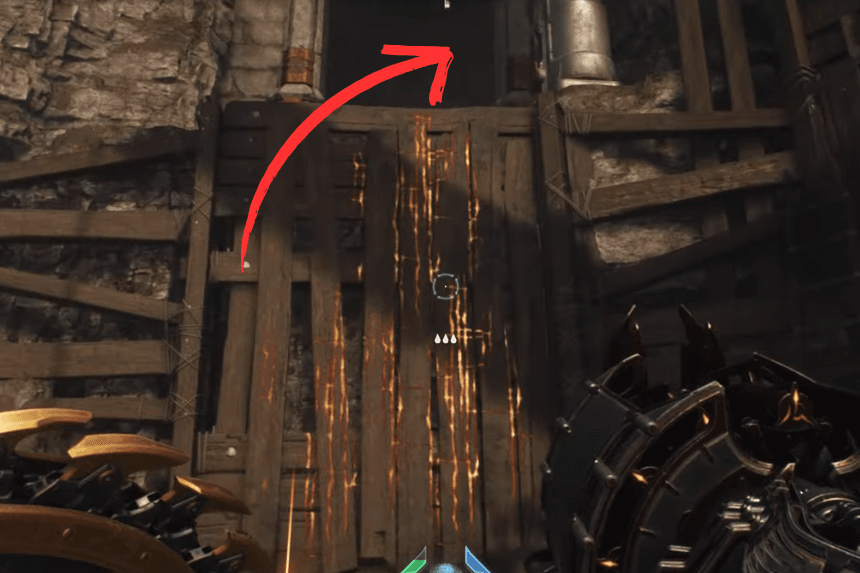
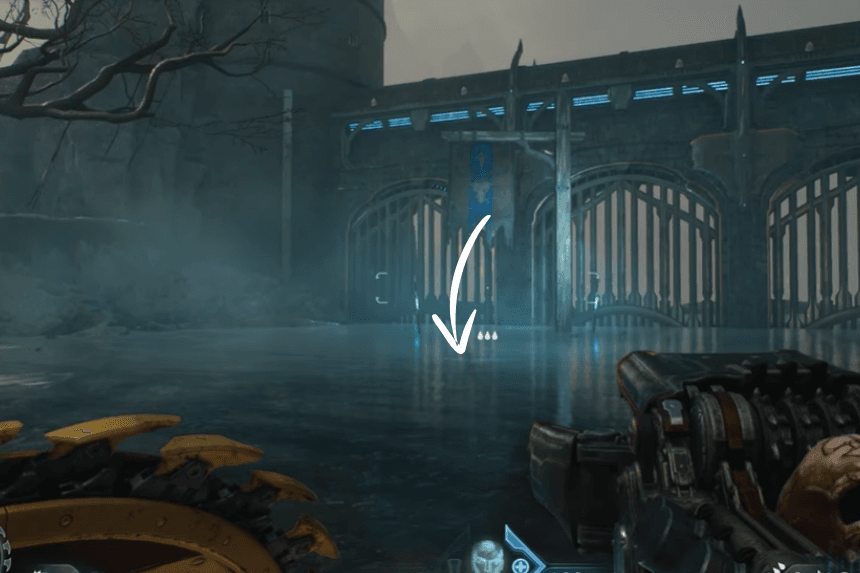
7: Secret Area – Collectible Area


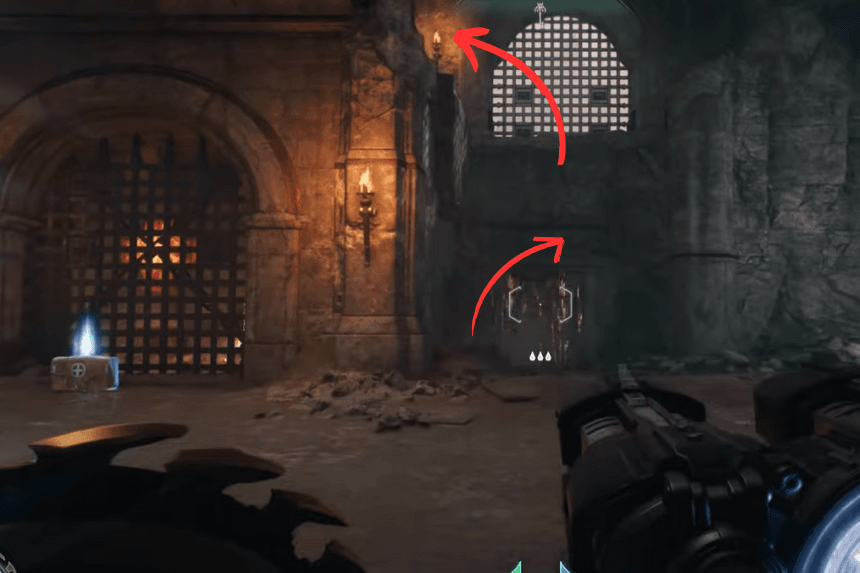
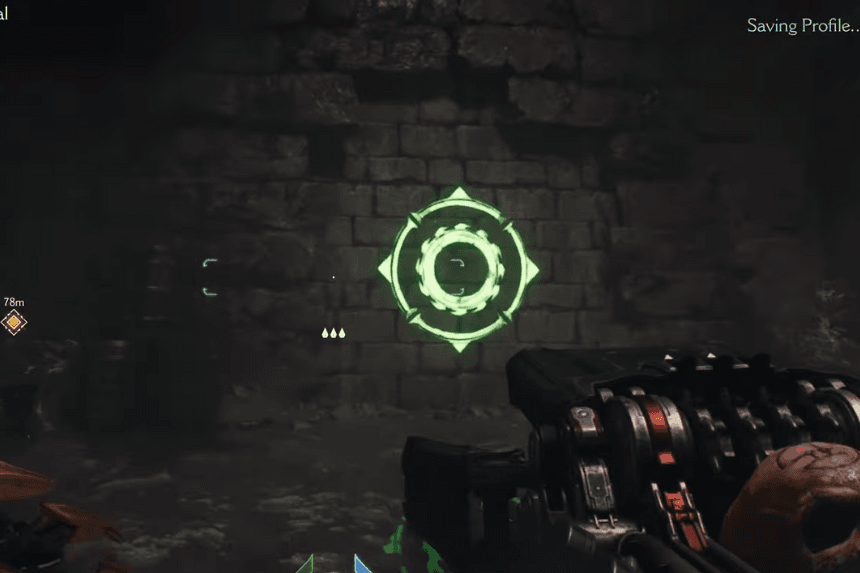
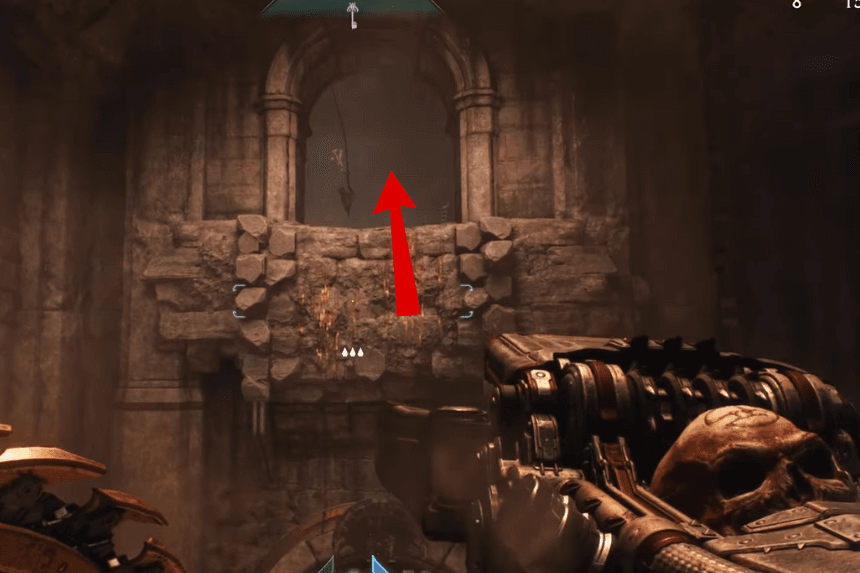
There are five gold on the ground just north of the top left gore portal. Follow the armor parts to a blue portal, which you can enter to reach a new hidden region below. You can see more gold in front of you by looking up and to the right, throwing your shield above the gate to open it, finding three gold here, smashing the wall ahead, finding three more gold, pushing the crate ahead, climbing atop it, and then seeing more gold in front of you. Drop down by smashing through the next wall, then turn around to see a treasure chest.
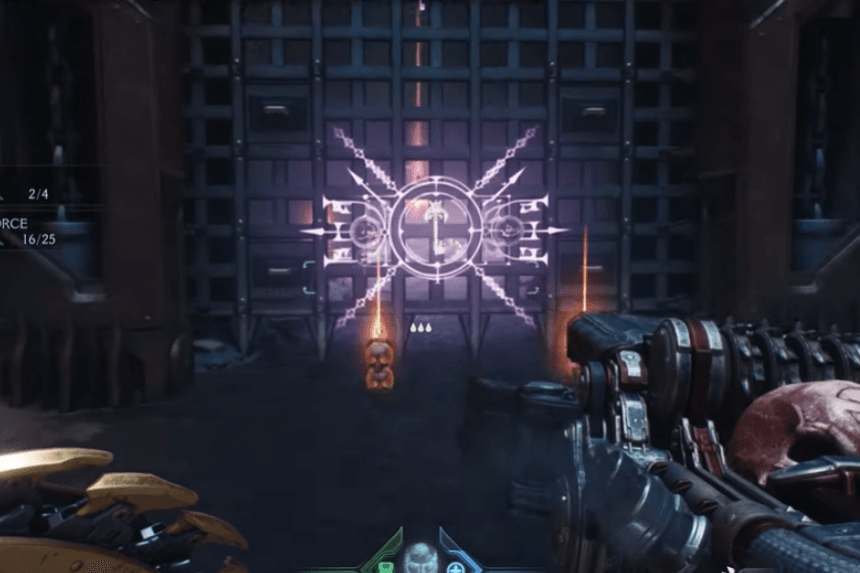
8: Secret Area – Chainshot Weapon
Just south of the artillery cannon you utilized earlier, close to the next Gore Portal, is where you’ll find the next gold and secret. Enter the space and vanquish the Hell Knights. Proceed through the blue gateway after that.
Take the way to the left and ignore the floor switch directly in front of you. A gate will appear; to open it, toss your shield over it. Proceed through and turn left again. Press the switch behind the coffin. To open a gate, press the floor switch located beyond it.
Throw your shield now at the first part of the barrier that has been lowered in front of you. There are some crates if you look slightly to the right. Ascend them and descend on the opposite side. Charge through this wall, which you can break by your shield, to uncover a secret area and get eight gold bars.
To open the gate, turn back and throw your shield at the chain beside it. Press the following switch, then launch your shield at the barrier’s second lowered section.

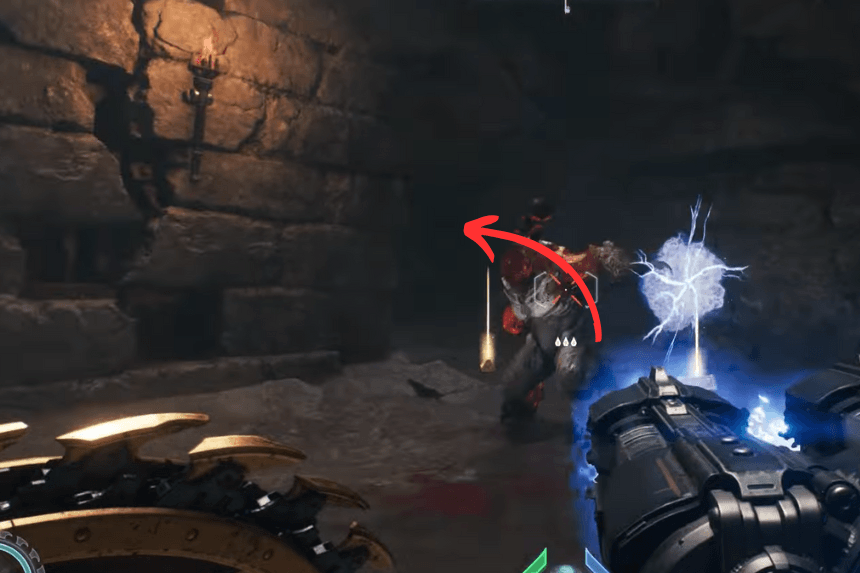
Continue into another chamber by following the red line on the floor. To reach a switch that turns on a jump pad, turn right and proceed through. Leap up with it, then turn the corner to press another switch. The barrier’s last section will be destroyed as a result.
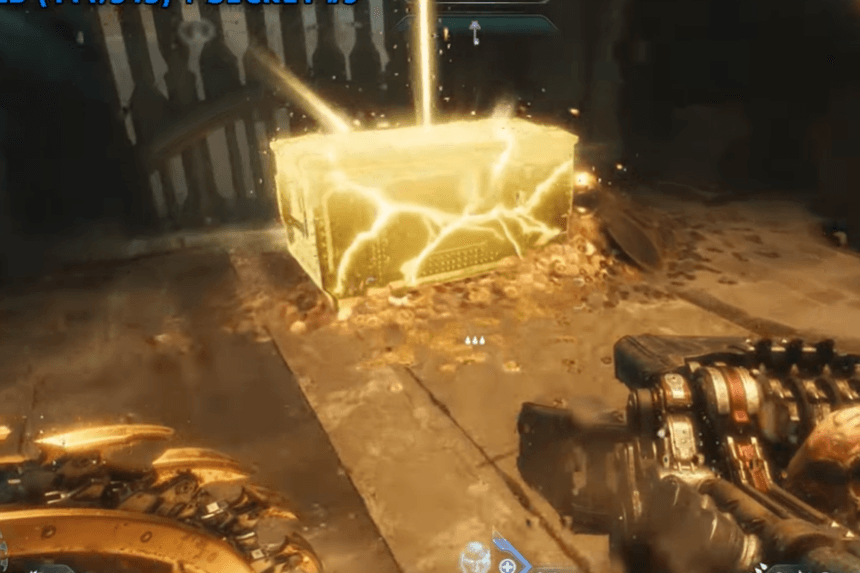
Go through the newly opened gate after obtaining the Chainshot weapon. A gold chest awaits you directly in front of you.
9: Secret Area – Ruby

You can descend down into the area to the left, right next to the previous codex. Here, turn left to see a purple gate that is locked; open it to reveal a hidden chamber that contains a ruby.
10. Collectible Toy
Near the Sentinel Shrine, there’s a big statue. You’ll find the toy at the base of the statue, by its feet.
11: Secret Area – Collectible Area
To find five gold, turn right and proceed up to a wall. To jump up, toss your shield at the top. A platform with eight gold will appear as you look down from here; leap to it, and it will lower and unlock a gate in front of you. Find three gold here, climb up the walls and crate, and then turn around at the top to find a breakable wall that contains eight gold. Following a trail of armor, turn around and exit the tunnel. A trail of 13 gold, circles the road just outside; ascend the wall at its conclusion. The last hidden location is this one, which has a gold chest on the left.
12: Secret Area – Collectible Area
There is a secret pool of water further south that is encircled by two lights. To locate a hidden location with a gold chest, swim all the way to the opposite side.
13: Secret Area – Collectible Area
There is a breakable wall in a corner farther south; smash through to reveal a hidden area and eight gold.
14: Secret Area – Collectible Area
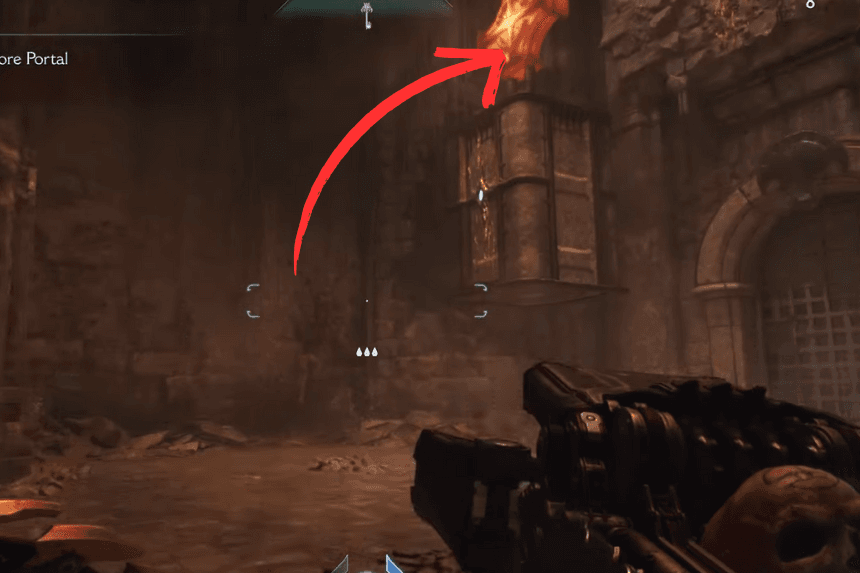
Kill the demons and leap through the blue vortex that opens up toward the last gore portal. Go to the right and smash through the wall in this new area. Then, follow the road around and throw your shield to lower a block. If you want to jump across it, turn around and hurl your shield again. Run to the end, glance right, knock down the bridge, and then jump over to an opening with three gold. To discover the secret and an additional eight gold bars, descend the stairs ahead.
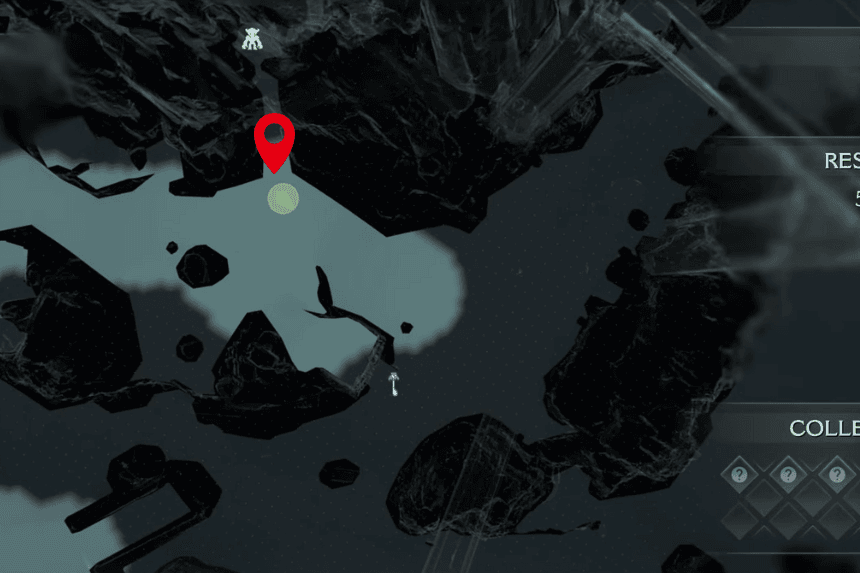
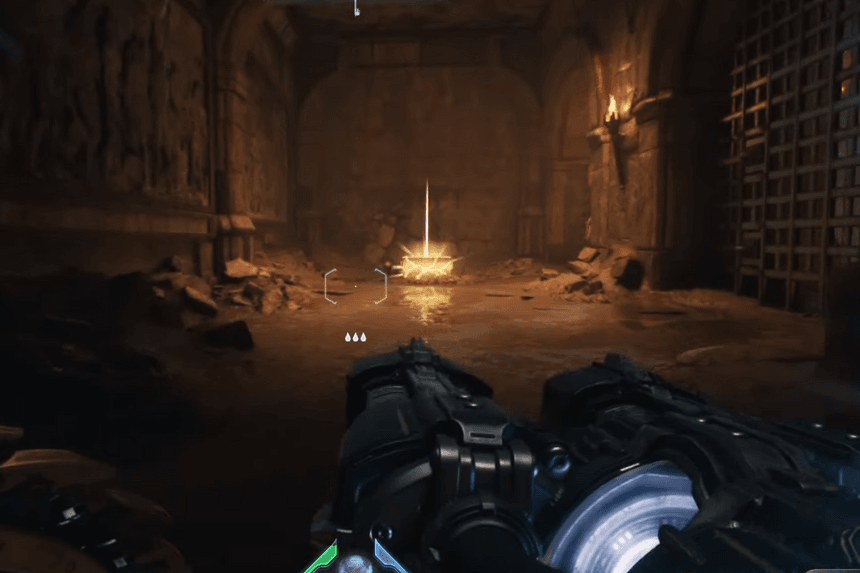
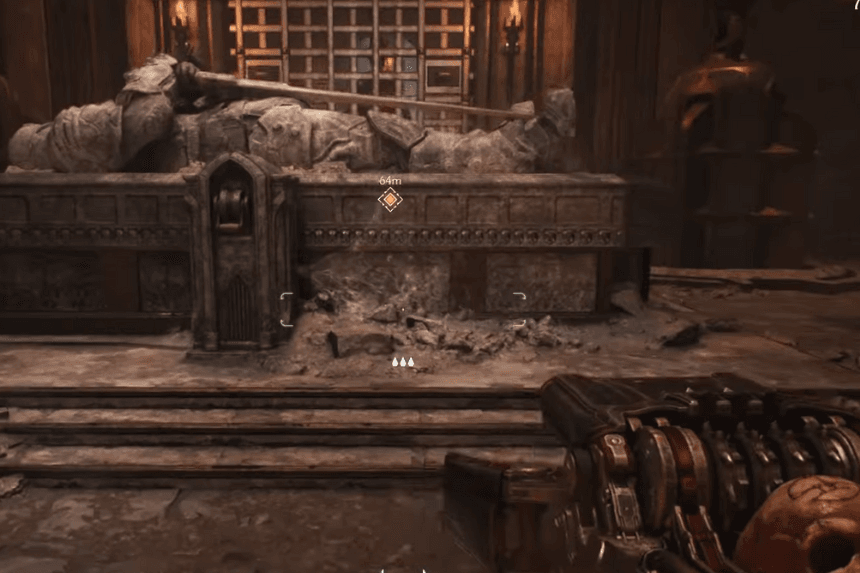
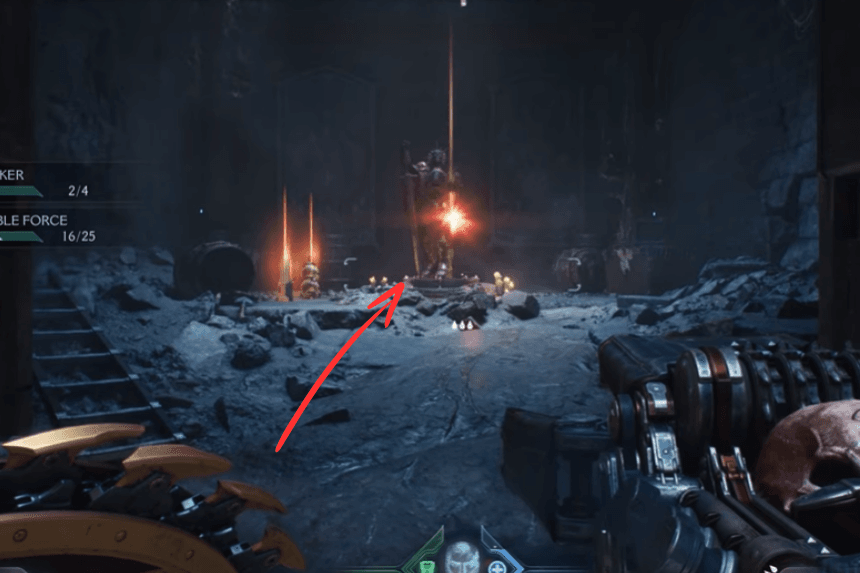
15. Wolf Statues – Ruby
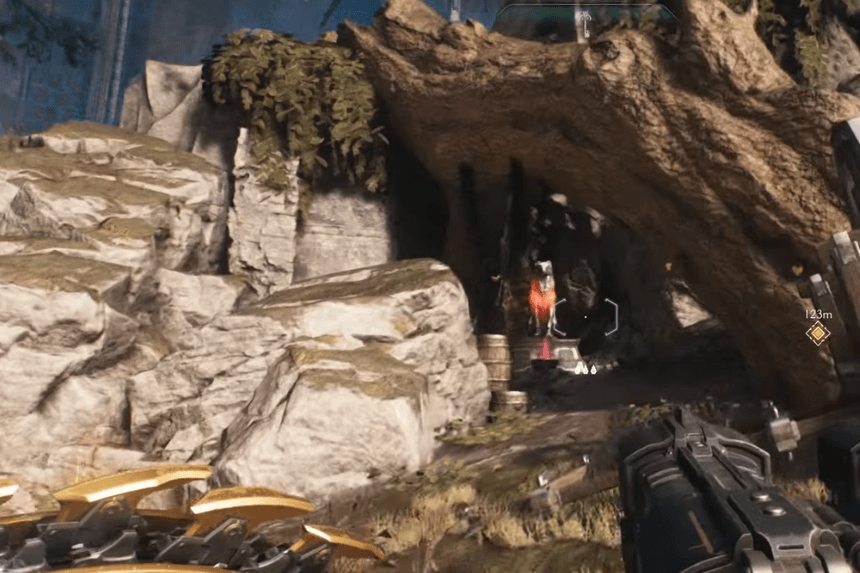
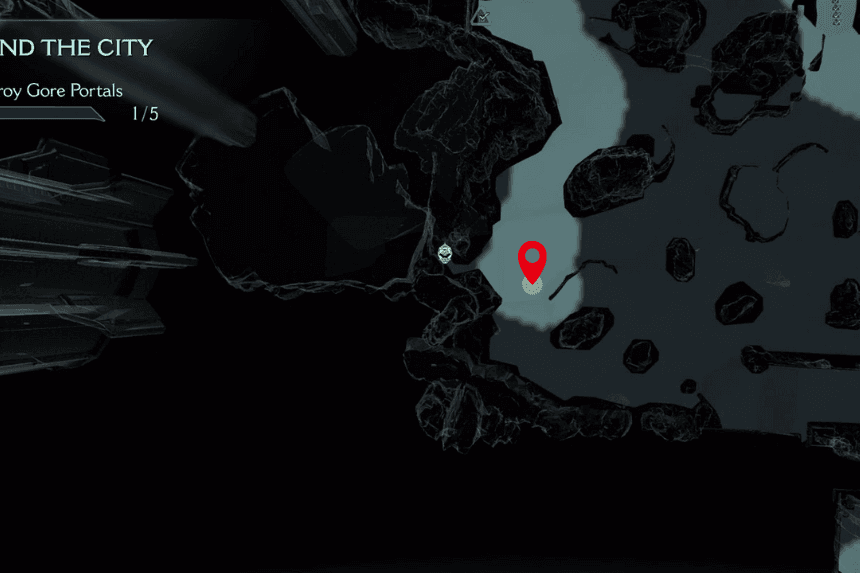
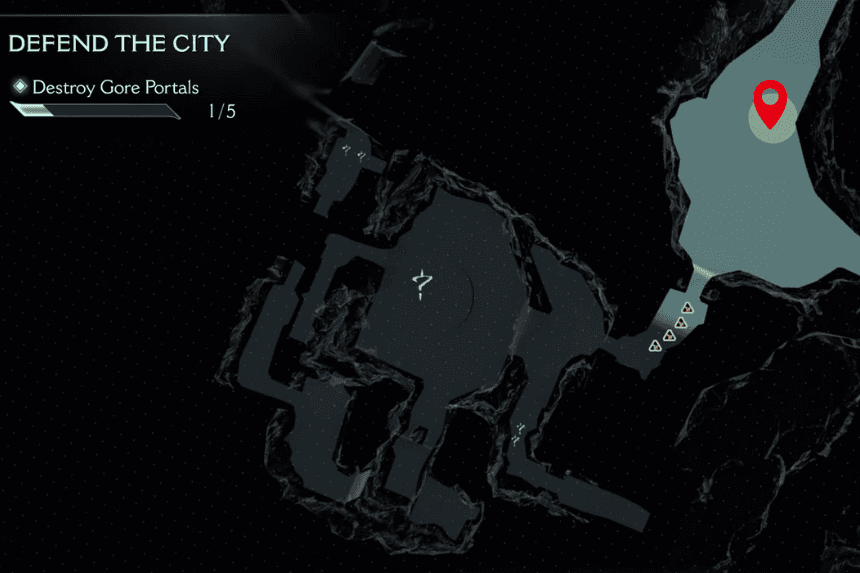
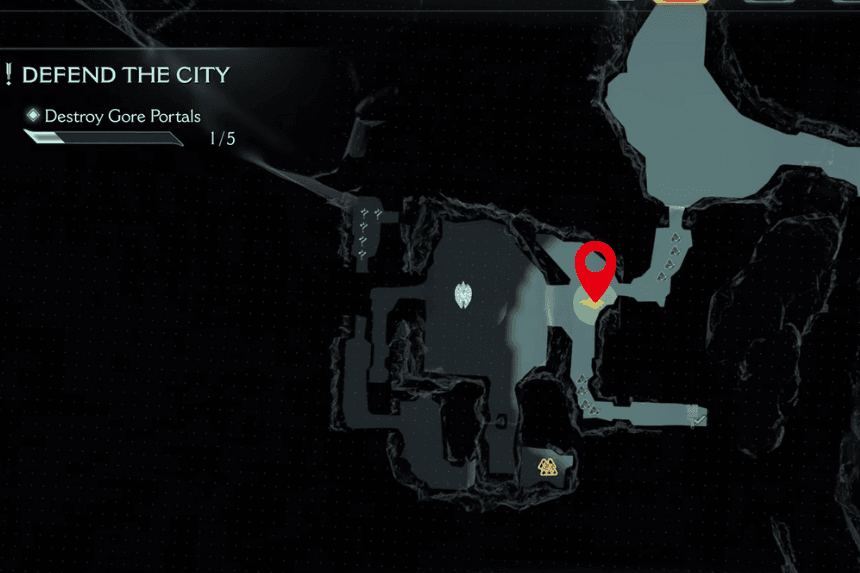
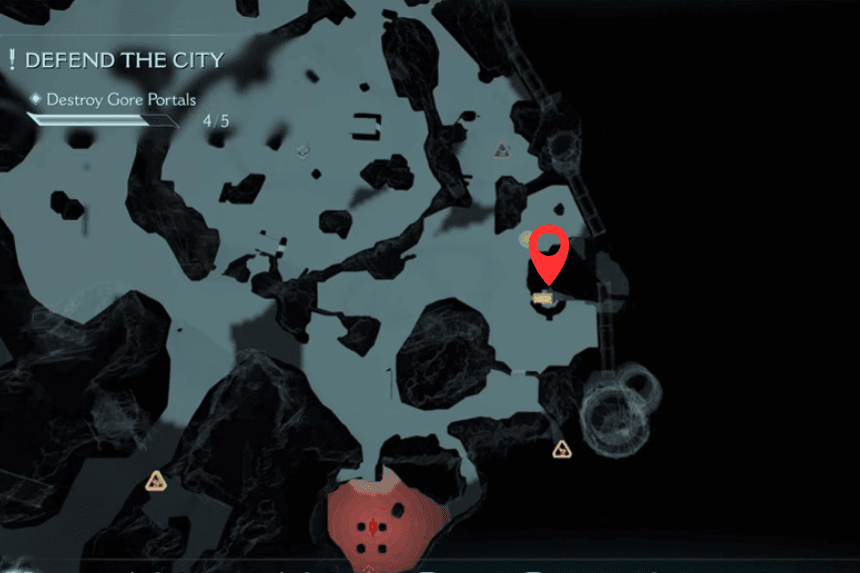
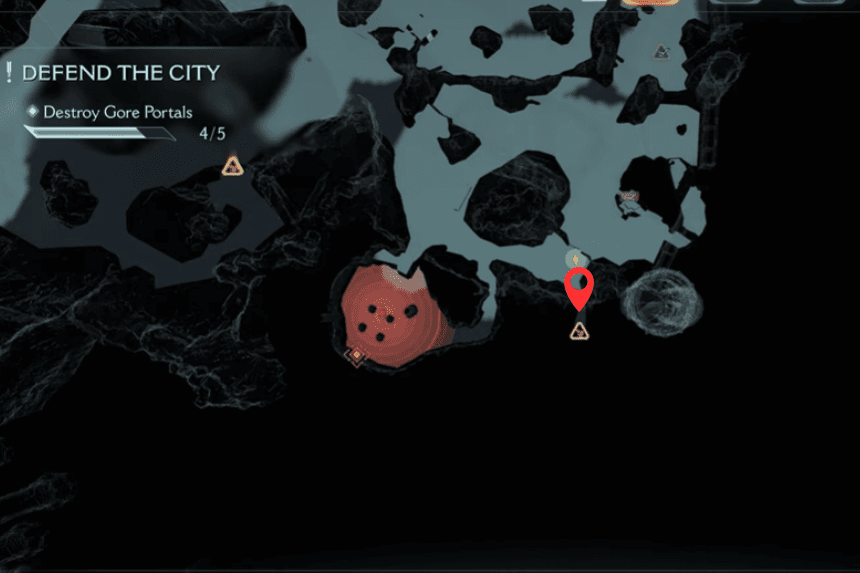
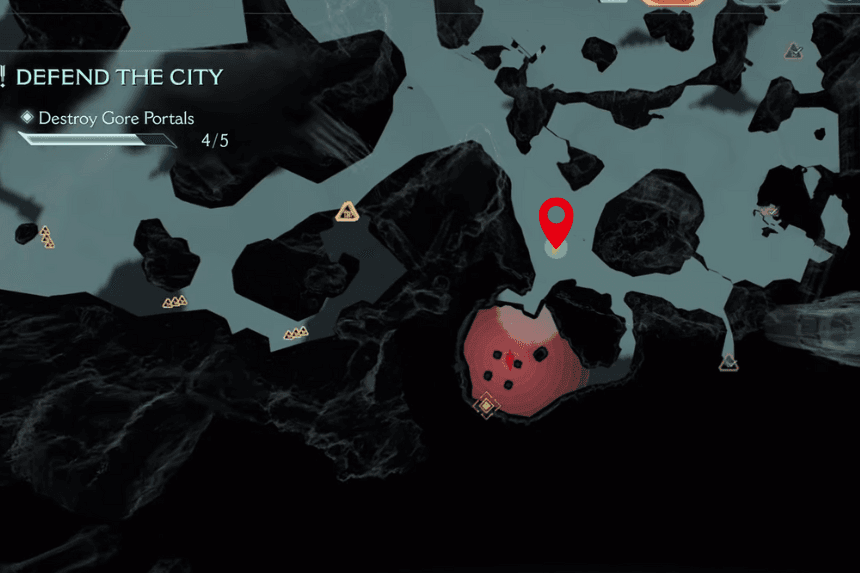
In Siege-Part 1, players can obtain the Ruby that the knight statue was carrying by locating and eliminating all three wolf statues, which will eliminate the pink forcefield. The Slayer’s weapons and gear can then be upgraded with this. The three Siege-Part 1 wolf sculptures can be broken by players in any order they want.
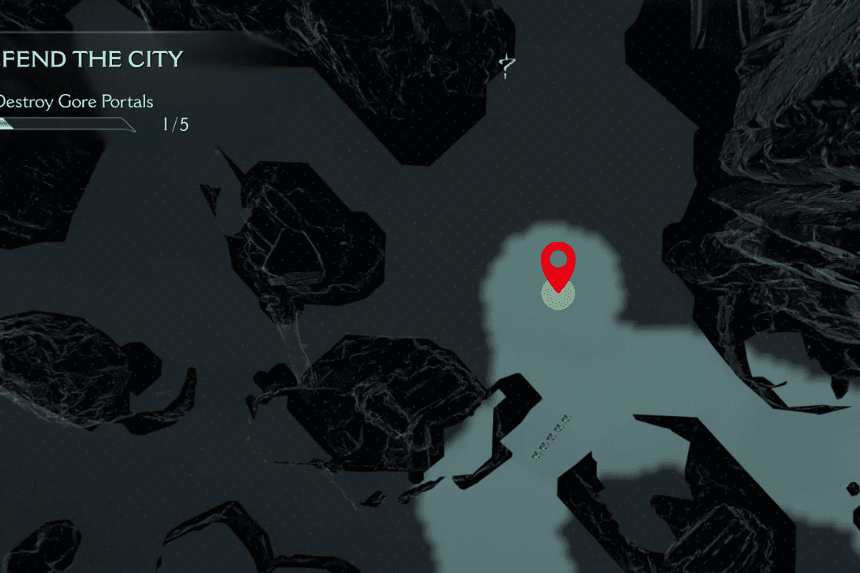
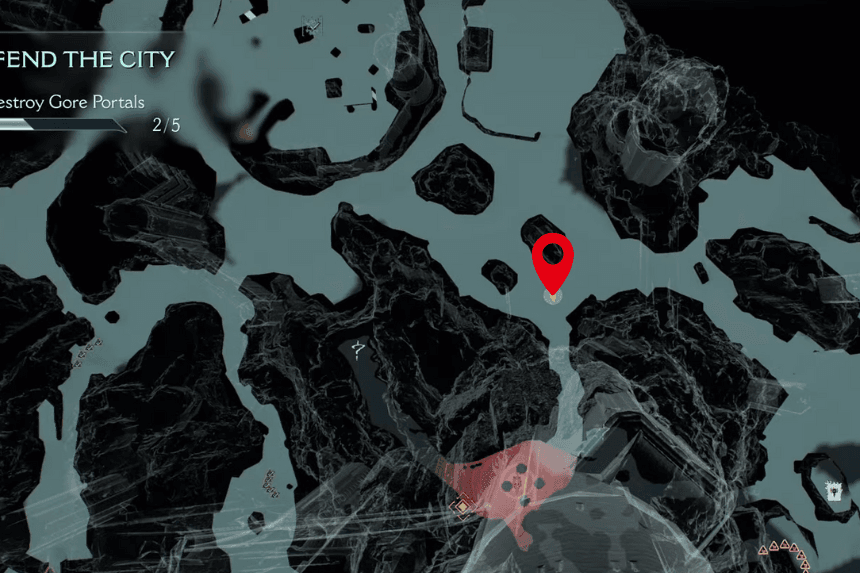
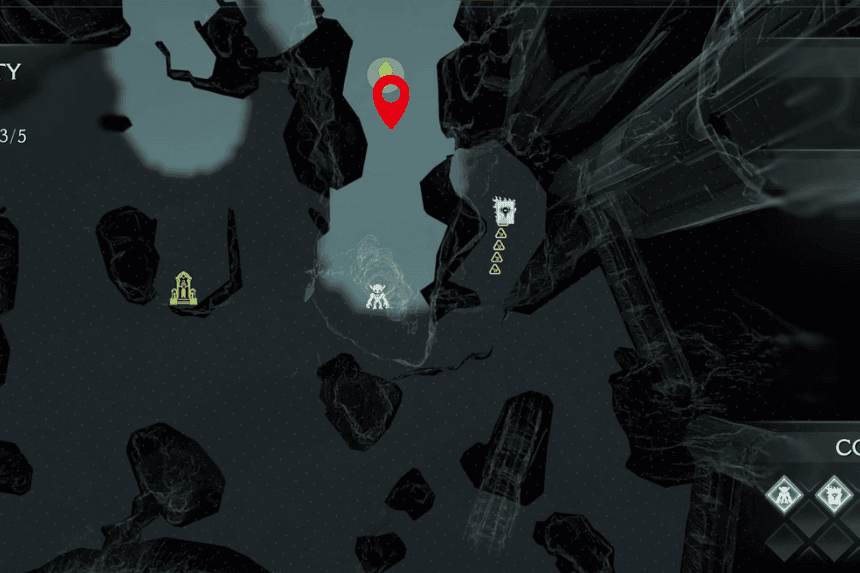
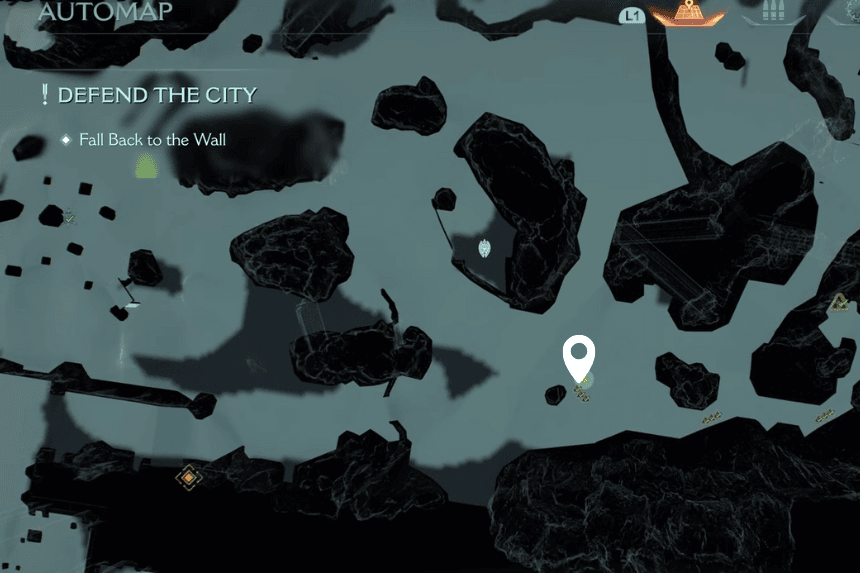
Go to the location marked on the map above, and you’ll spot a wolf statue. Defeat all the enemies in the area to lower the barrier. Your next task is to find and hit three wolf statues with your shield.
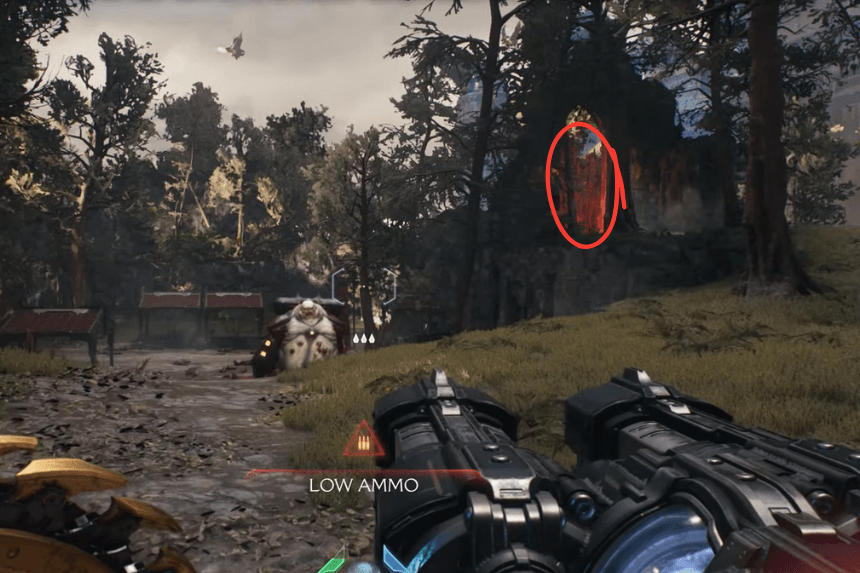
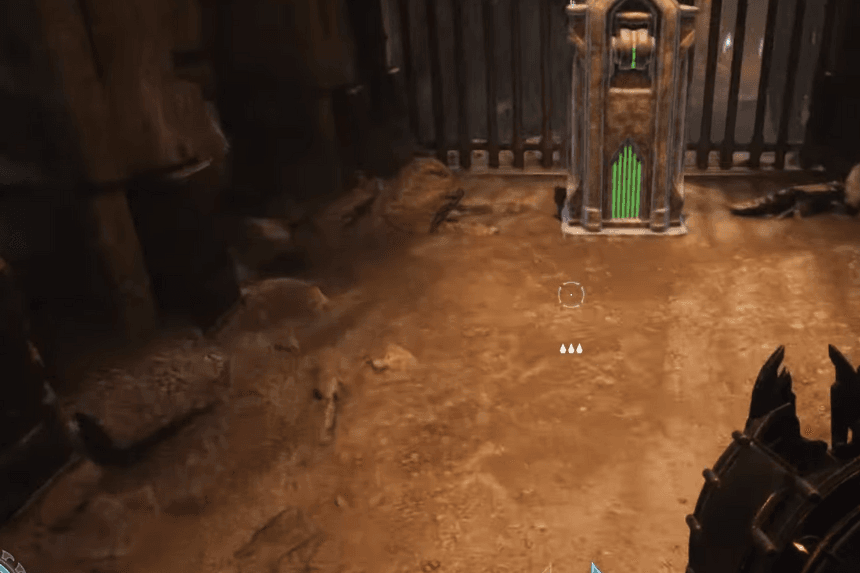
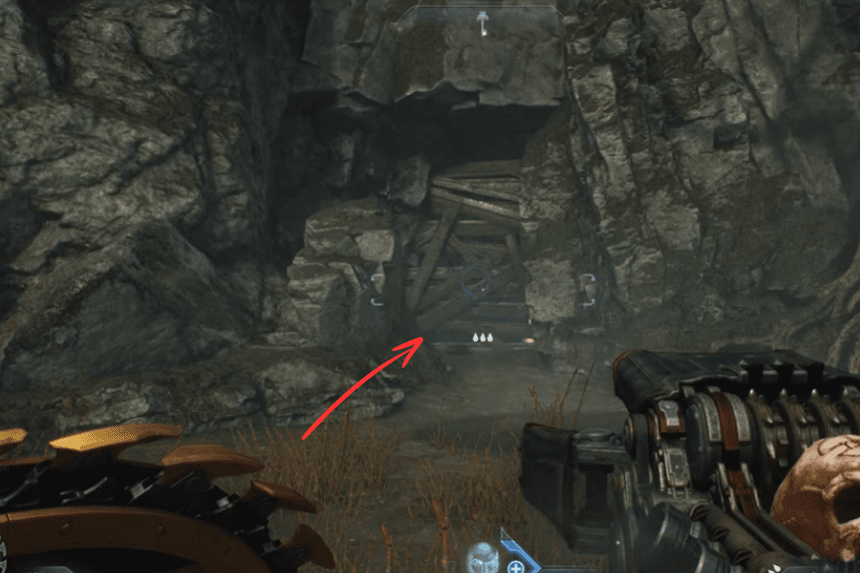
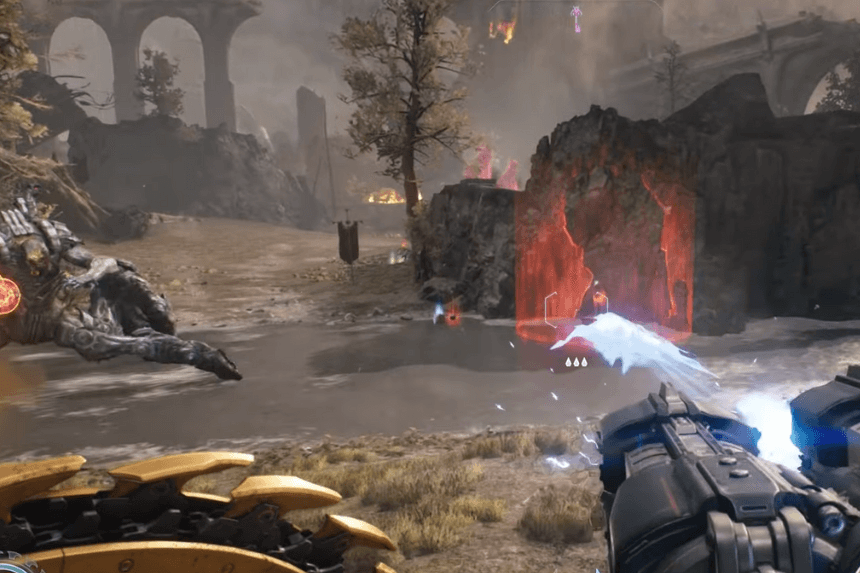
- First, hit the statue near where you just fought.
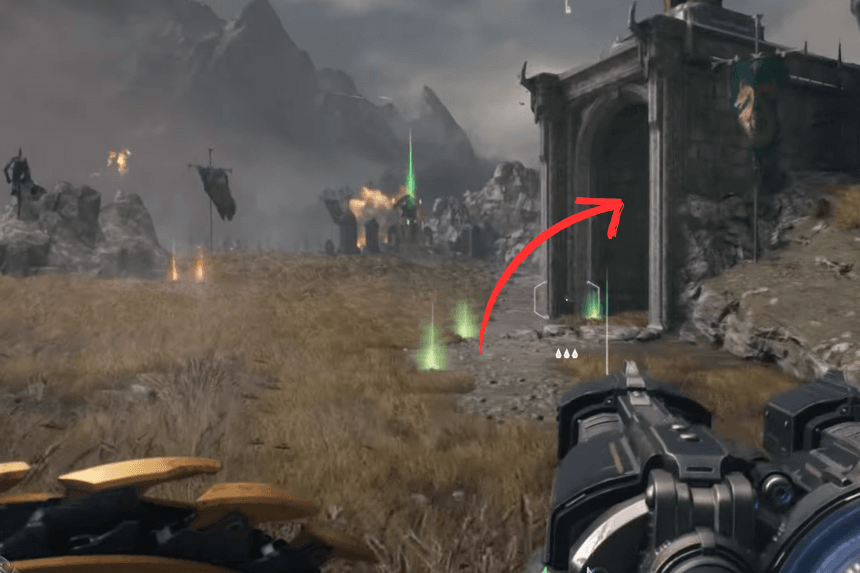
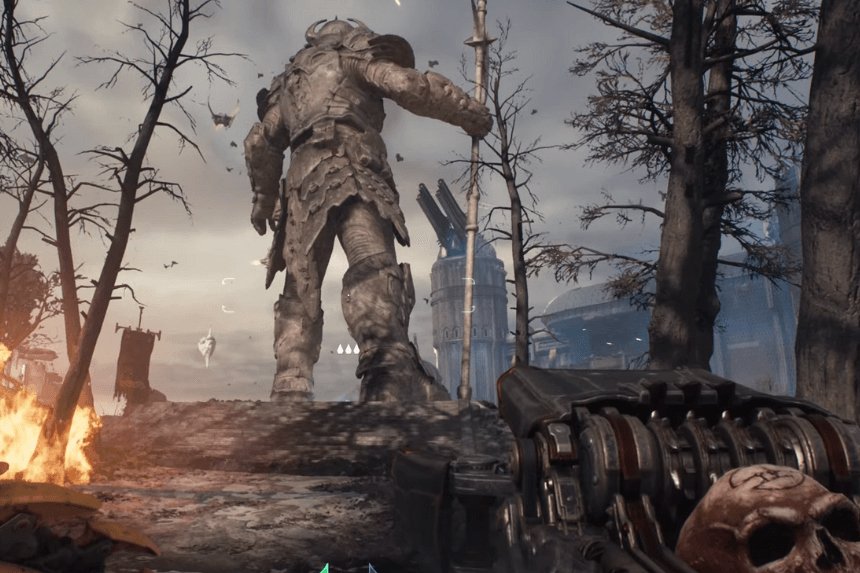
- Then head left you’ll find the second statue under a fallen tree trunk.
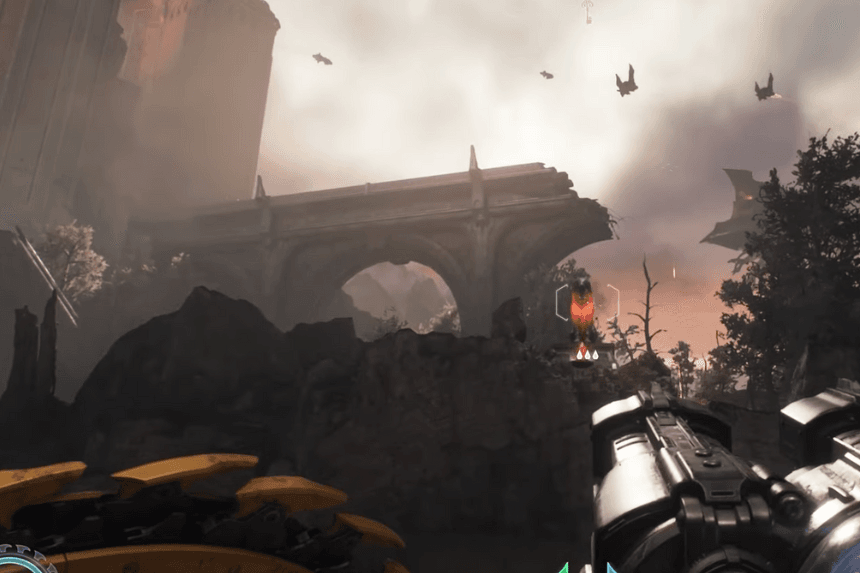
- The third statue is just ahead, slightly to the right, sitting on a rock.
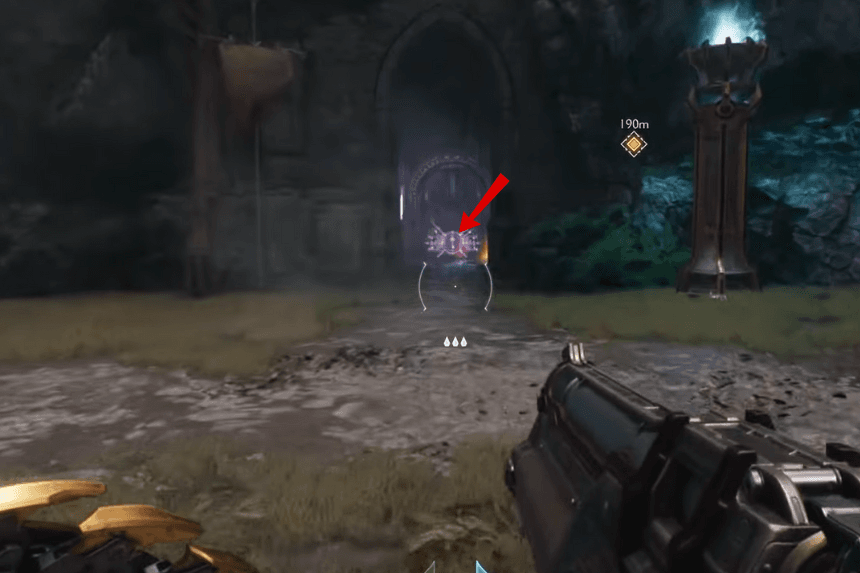
Once you have hit all three statues, turn around and walk up the small slope behind you to collect the ruby.