
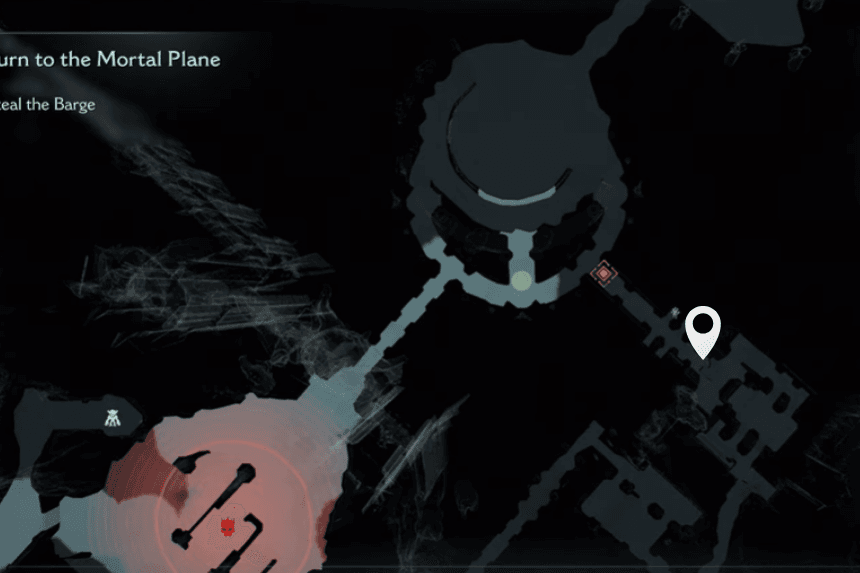
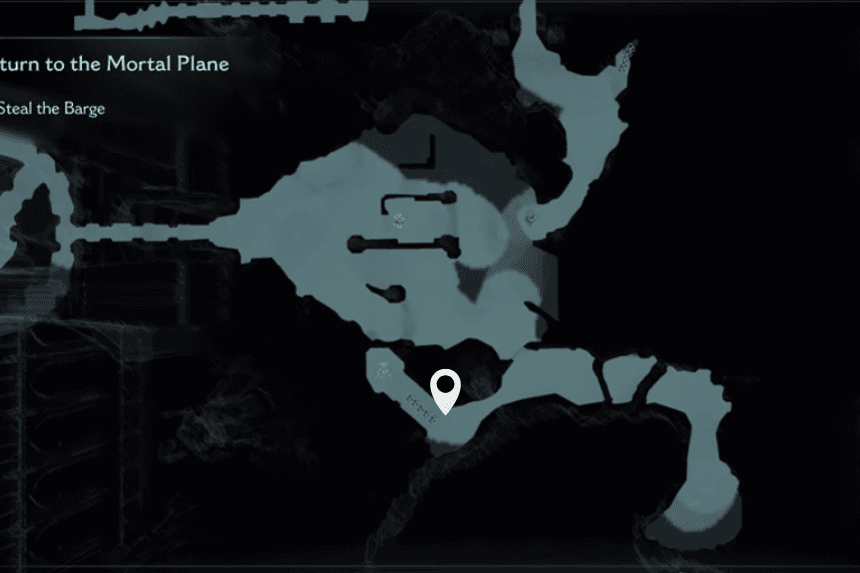
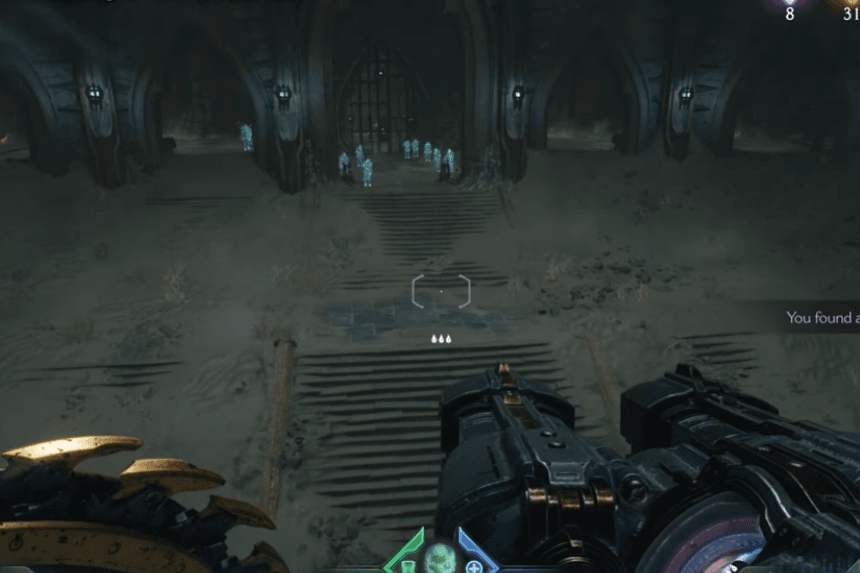
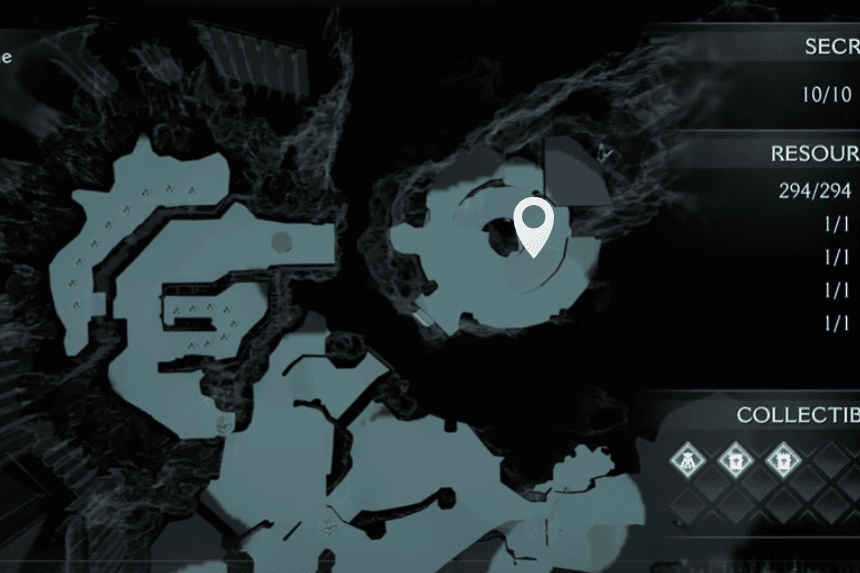
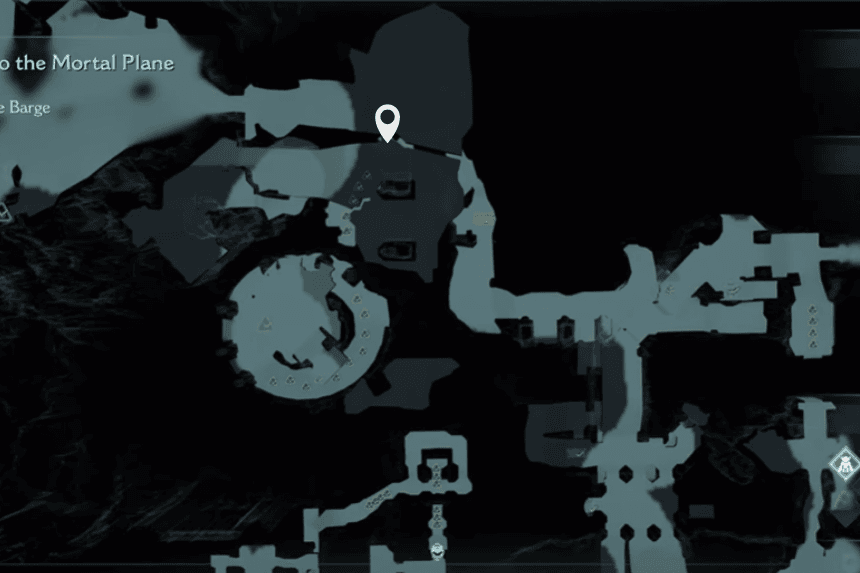
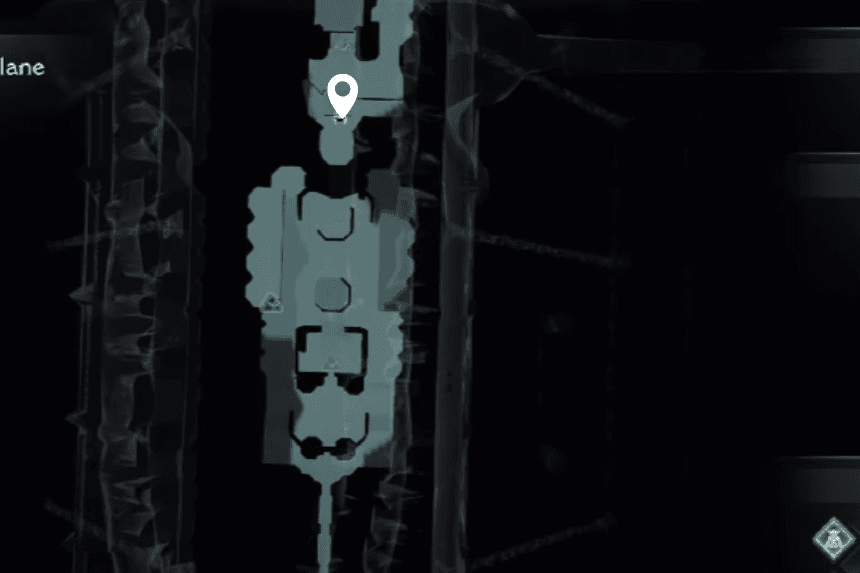
Chapter 19, Harbor of Souls, has many hidden secrets, collectibles, and a toy that you can collect. You can explore the level and go to the Gore Portals in any order you prefer. In total, there are 10 secret spots, including gold crates, a ruby, a Wraithstone, and one collectible toy. This guide walks you through each secret area step by step.
All Secret Areas & Toys in Chapter 19 Harbor of Souls
Chapter 19 of Doom: The Dark Ages has 6 secret areas and a collectible toy. Since the level is open-world, you can go to the Gore Portals in any order you like to collect the items or explore the area.
Note: You can click on the images to enlarge
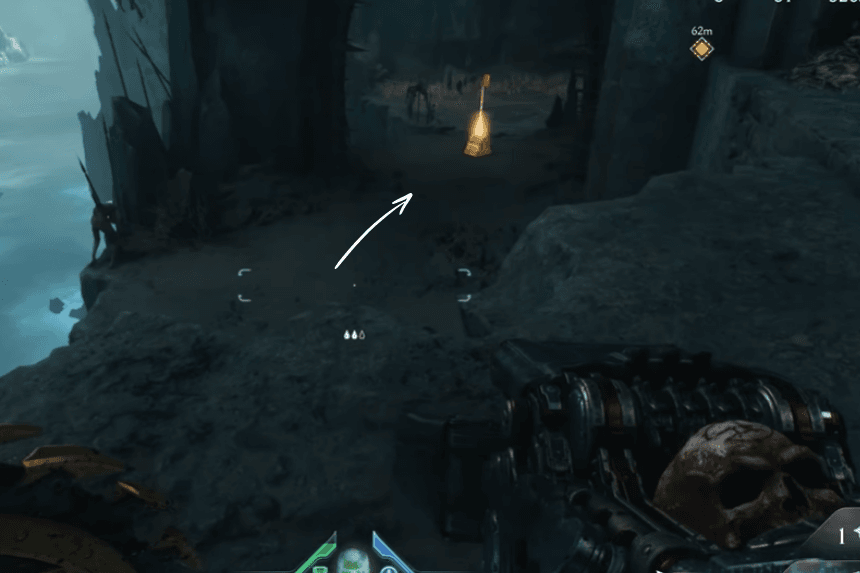
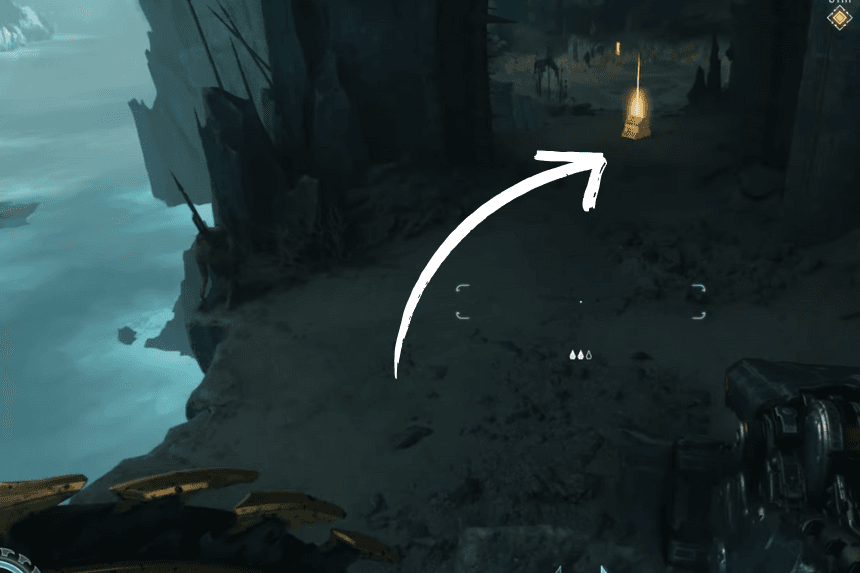
1. First Secret Area – Collectible Area
As you enter the corridor, turn around and look up above the room’s entrance, and you’ll find some gold there. Just jump across to grab it.
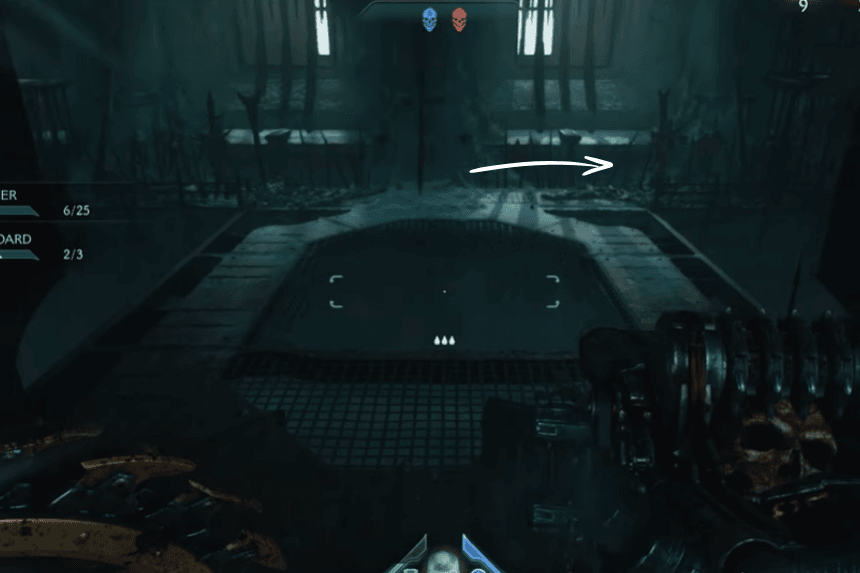
2. Second Secret Area – Collectible Area
In the next room, check the right wall for a switch and activate it. Then turn around and head around the block where the elevator is. Some enemies will show up and then defeat them, then use the elevator to go up and collect the gold and reach the secret area.
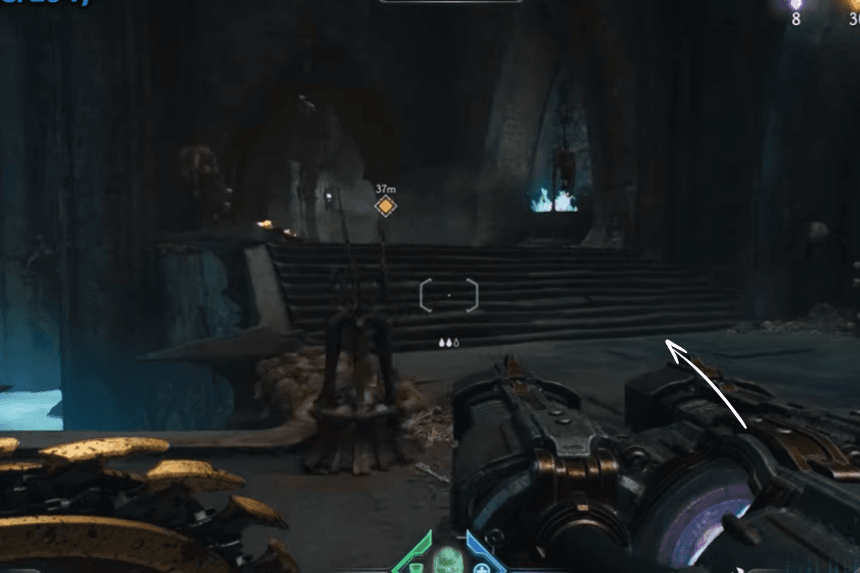
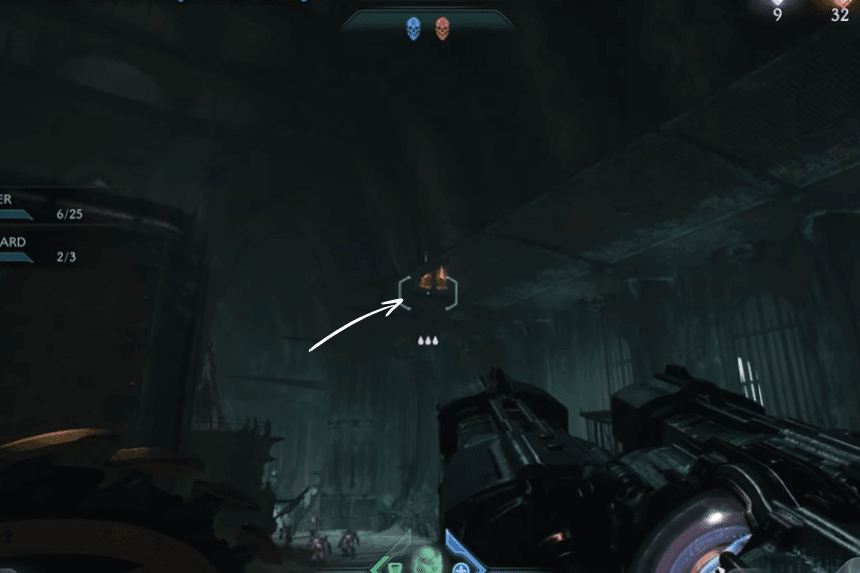
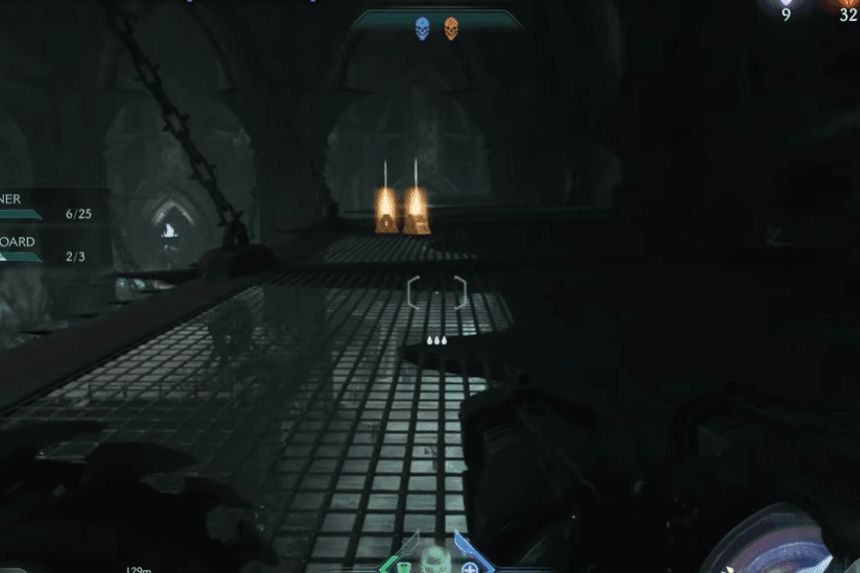
3. Third Secret Area – Ruby Collectible
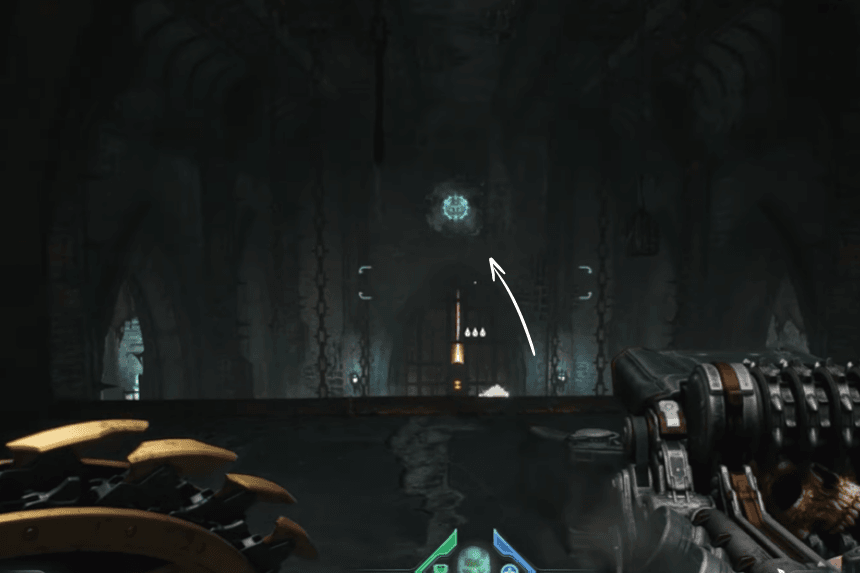
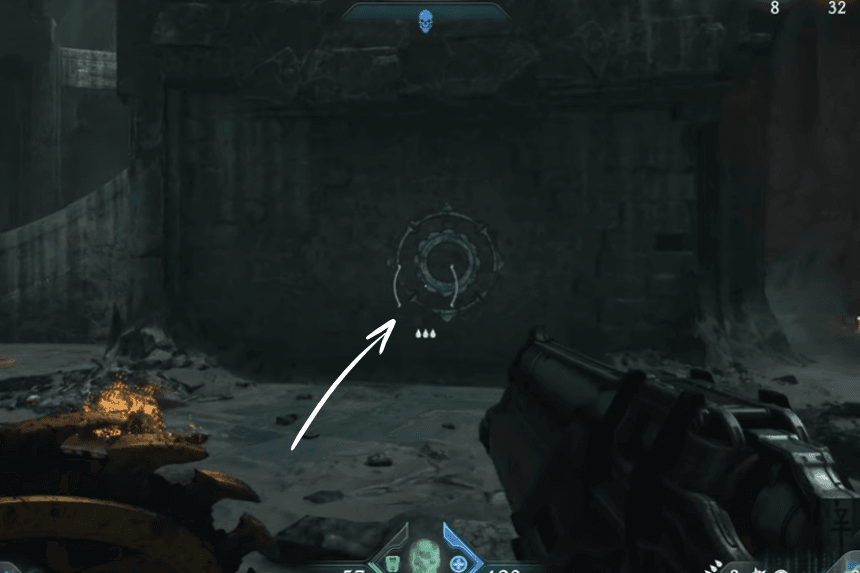
You’ll come across a moving trap platform that goes up and down. Ride it up, then turn right and jump to the next platform. Stand on the pressure plate, then look back and throw your shield at the glowing blue symbol. This will unlock a gate below. Head over and pick up the ruby inside.
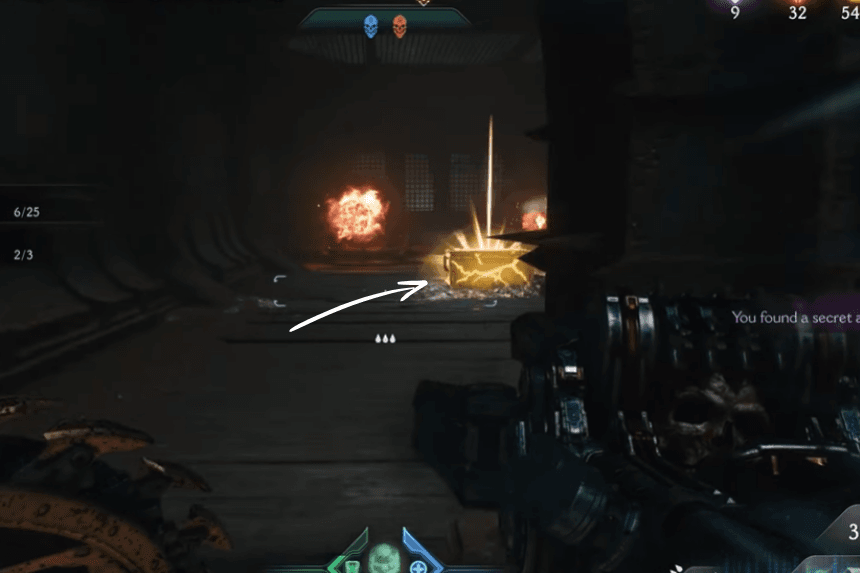
4. Fourth Secret Area – Collectible Area

Take the stairs down and look behind the blue jump pad. Jump across the ledge to the cliff nearby. That’s where the secret area and the gold are present.
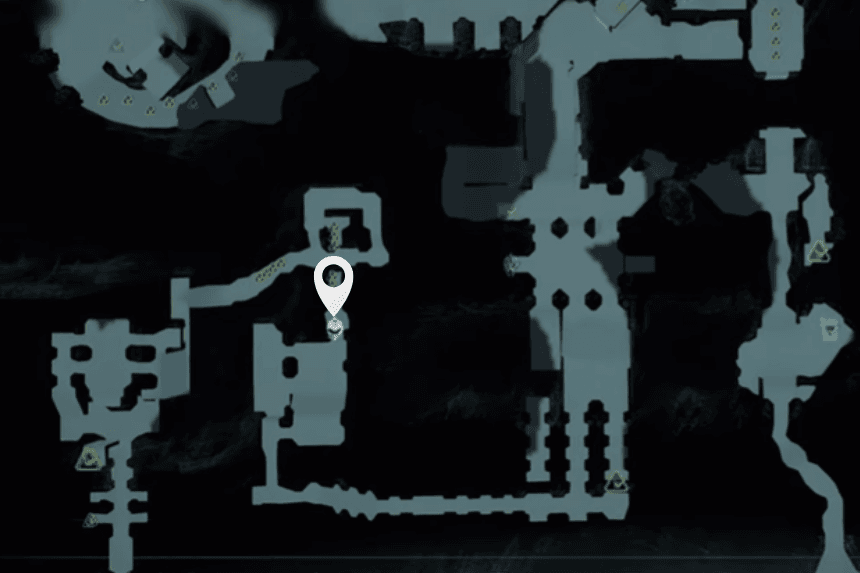
5. Fifth Codex Entry
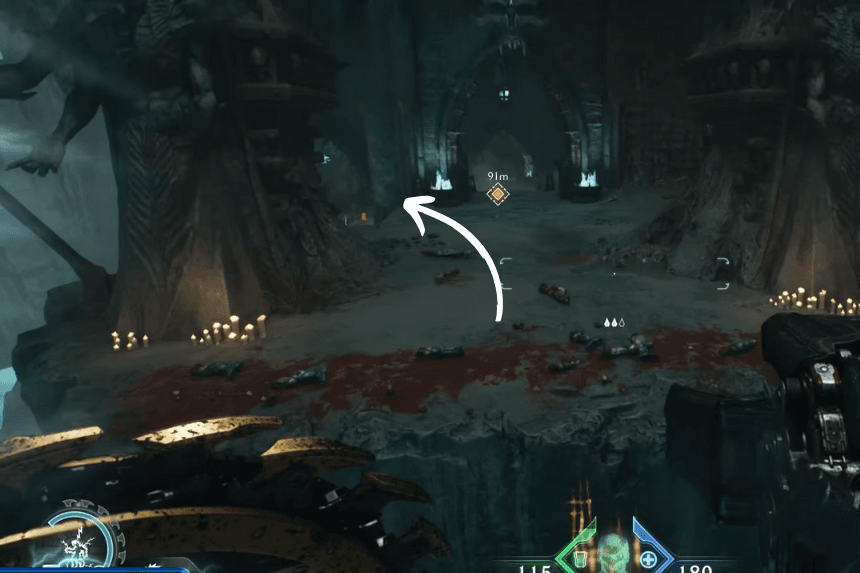
Instead of crossing the bridge, jump down the ledge on your left to grab the gold. Then jump from another side. Here, you will find the codex entry.
6. Sixth Secret Area – Collectible Toy

From there, jump down the ledge, turn left, and move straight ahead. Climb up the wall and turn right, you’ll see a blue skull gate. Go through it to find the gold and the toy collectible.
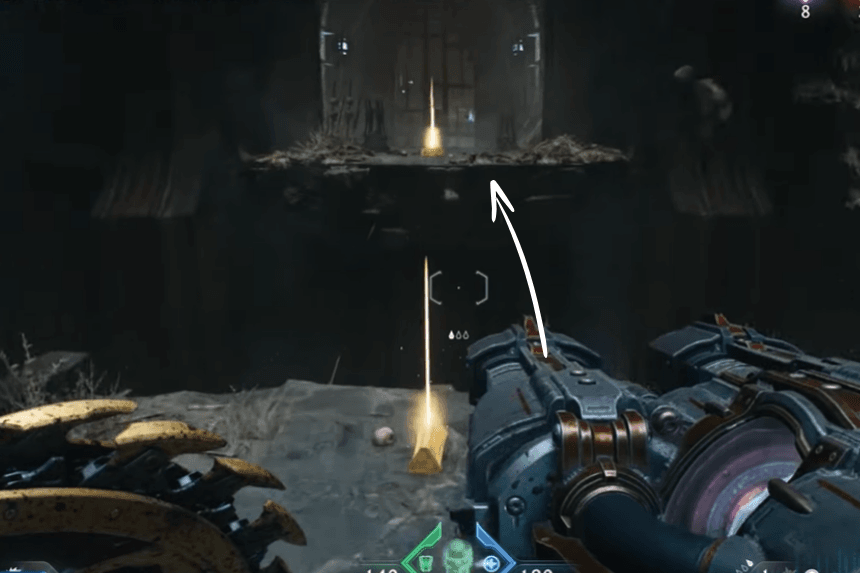
7. Seventh Secret Area – Collectible Area
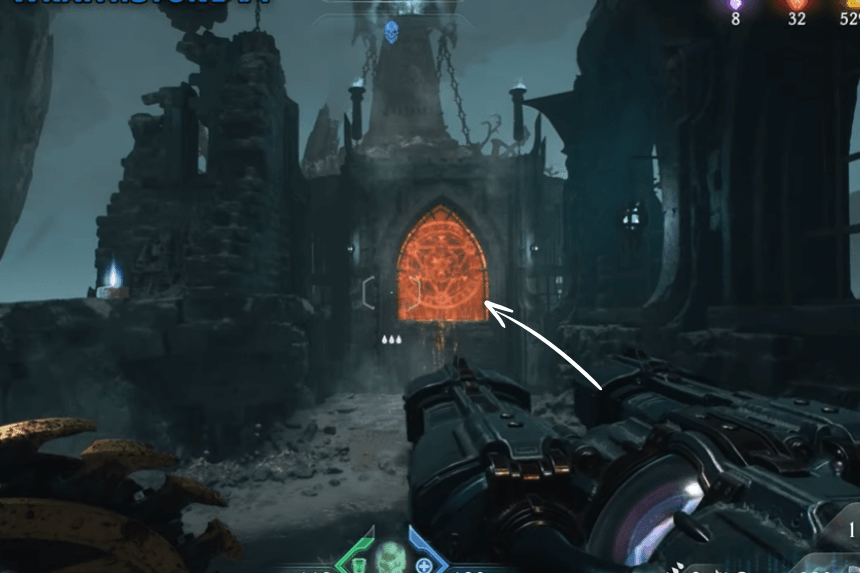
Jump down the ledge behind it and follow the path. At the end, hop onto the jump pad, it’ll launch you right through the skull and into the secret area.
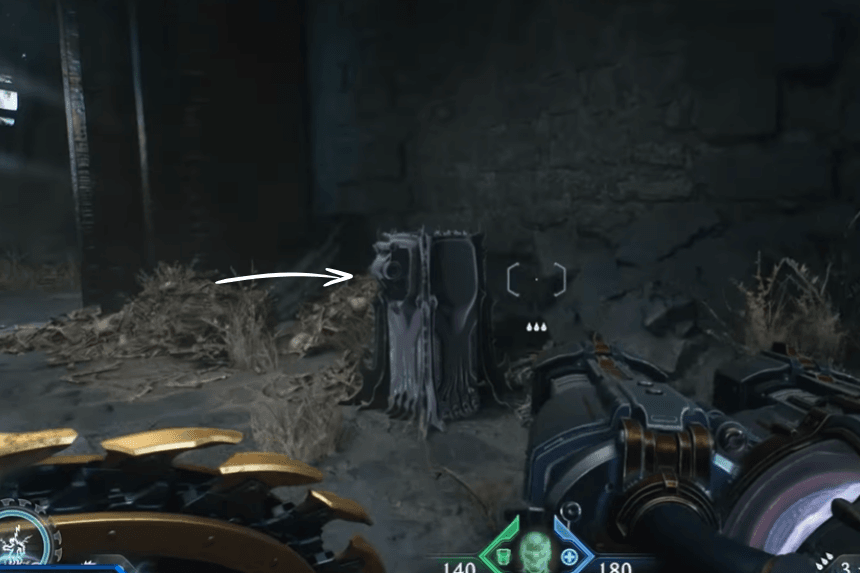
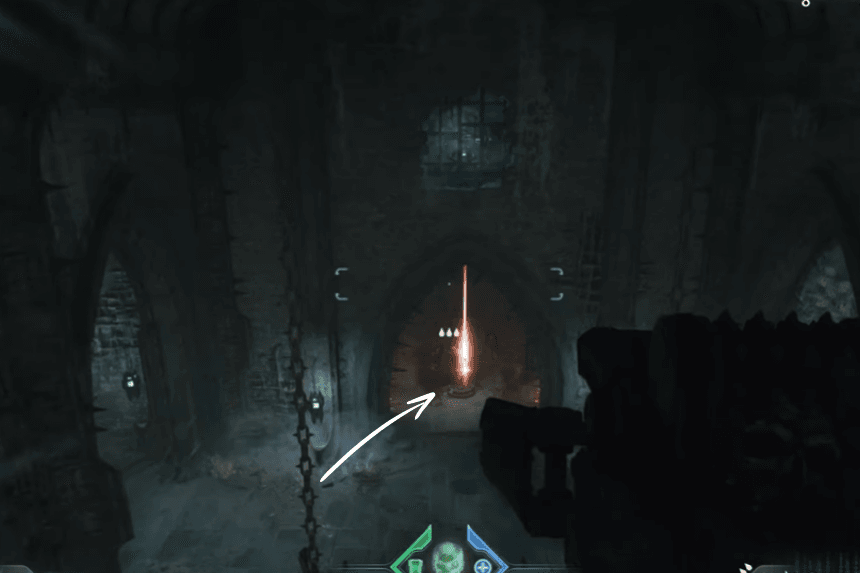
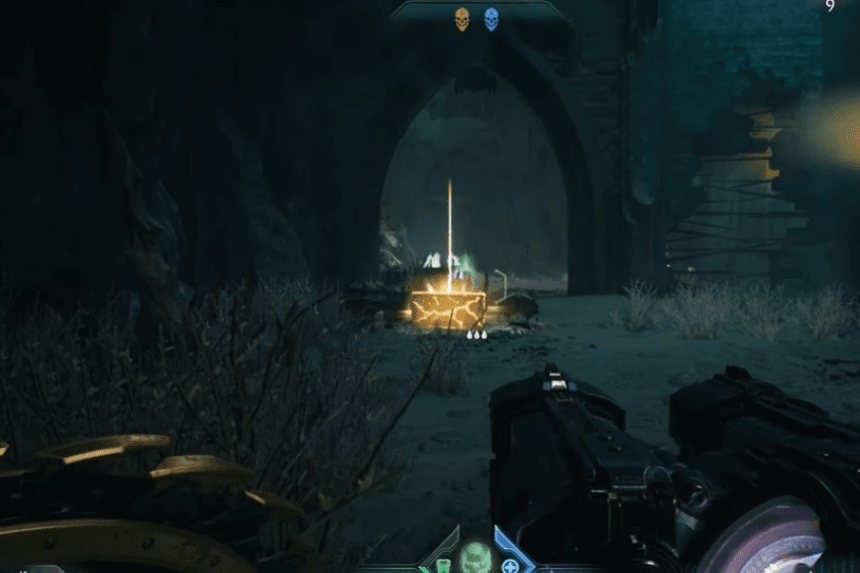
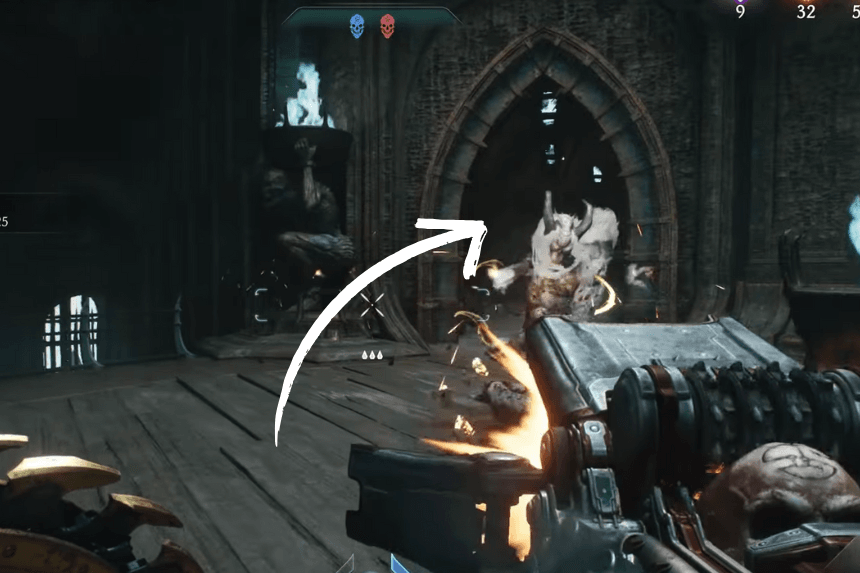
8. Eighth Secret Area – Wraithstone Collectible
Check underneath the staircase for a breakable wall. Use your Shield to break through it. Now throw your shield at the blue symbol ahead and quickly hop on the elevator in the middle of the stairs. Ride it up, and you’ll be able to jump across to get the Wraithstone and access another secret spot.
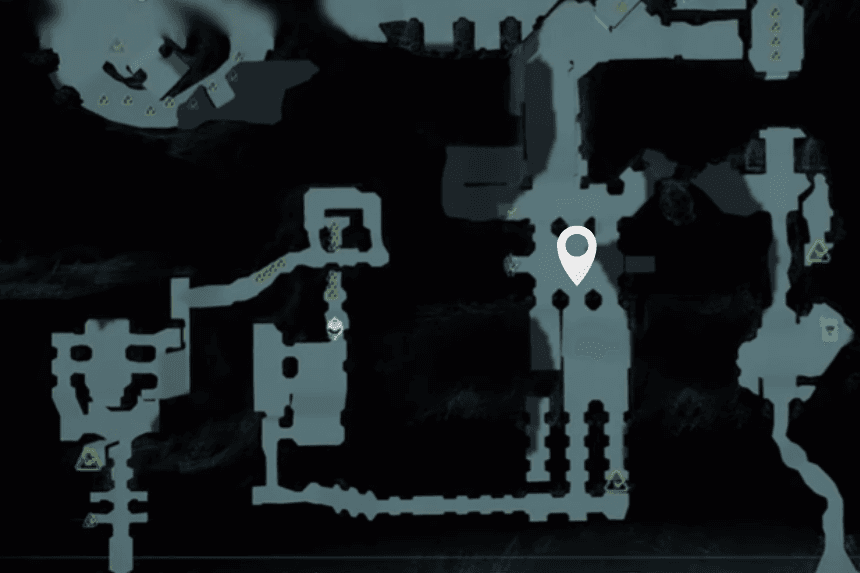
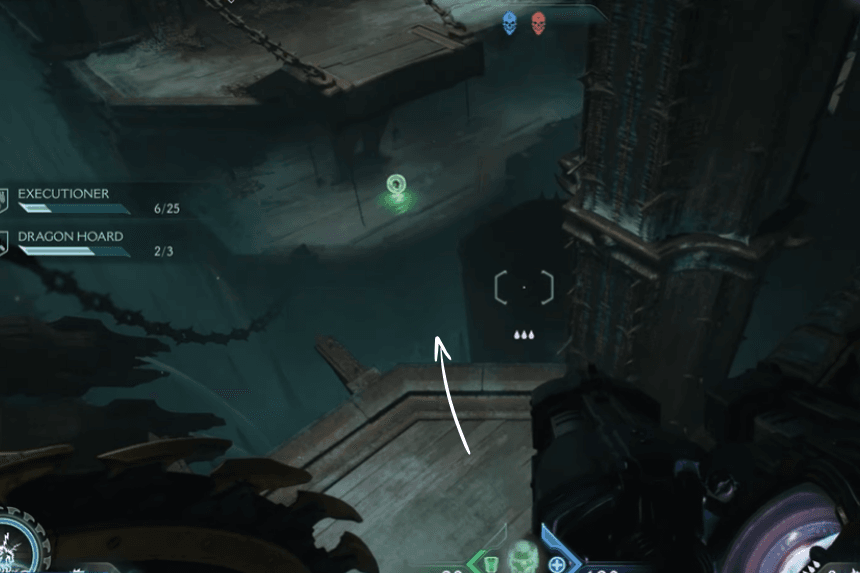
9. Ninth Secret Area – Collectible Area
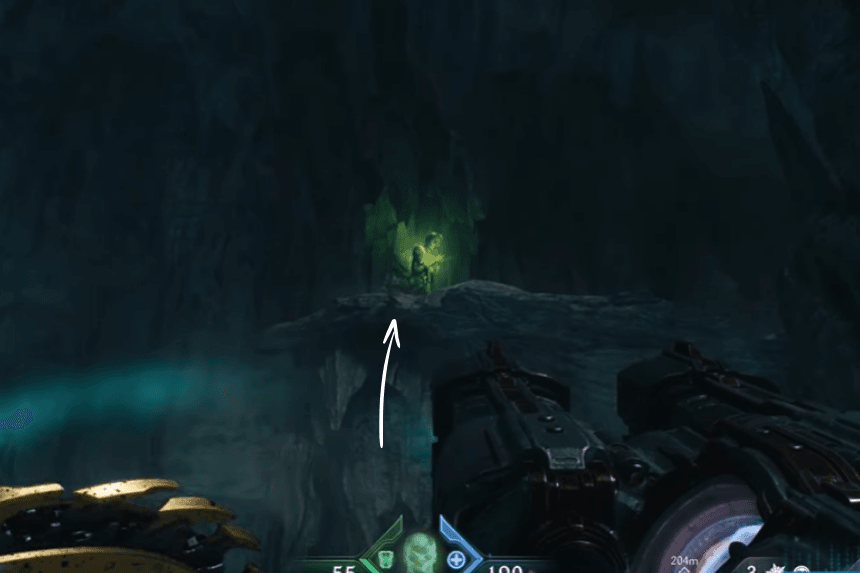
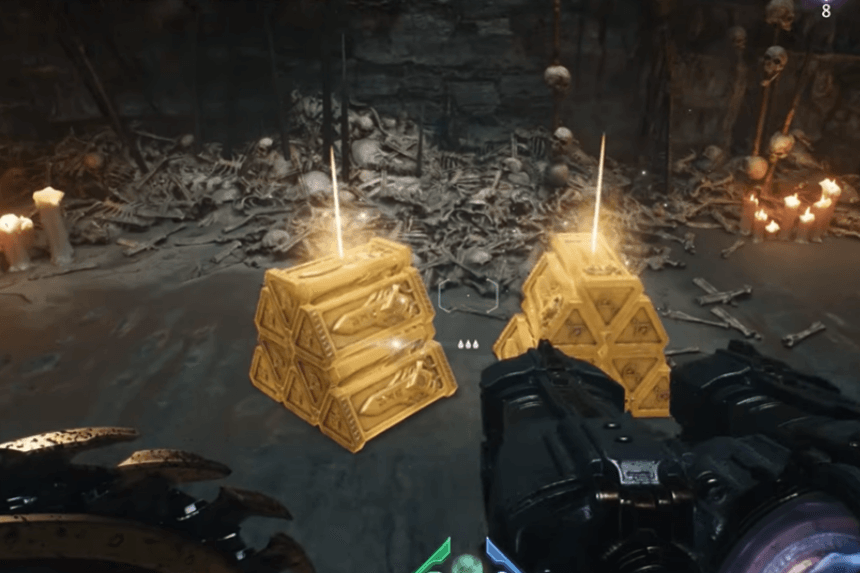
Look up to find a green statue. Climb the wall near it and you’ll reach a hidden area with a gold chest.
10. Tenth Secret Area – Collectible Area

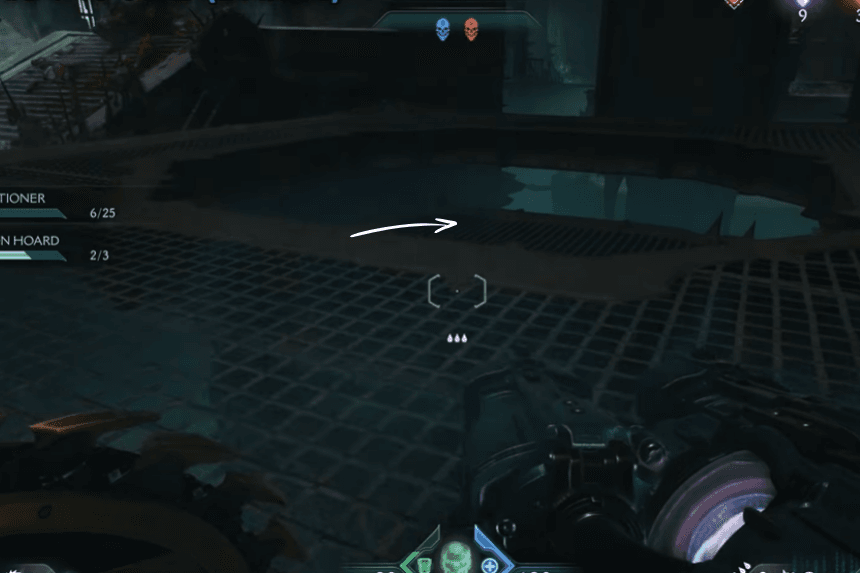
Head back to the area with the moving block. Behind it is another moving block. Wait until it rises, then jump onto it. At the top, jump across to the bridge to collect more gold.
11. Eleventh Secret Area – Collectible Area
Look near the broken floor section by the large block. There’s a weak wall you can break through using your shield from the side. Behind it is a secret area.
12. Codex Entry
Climb up the wall. Once you’re at the top, you’ll spot the codex page behind the bars on your right. To get to it, take the path on the left and loop around to reach it from behind.