
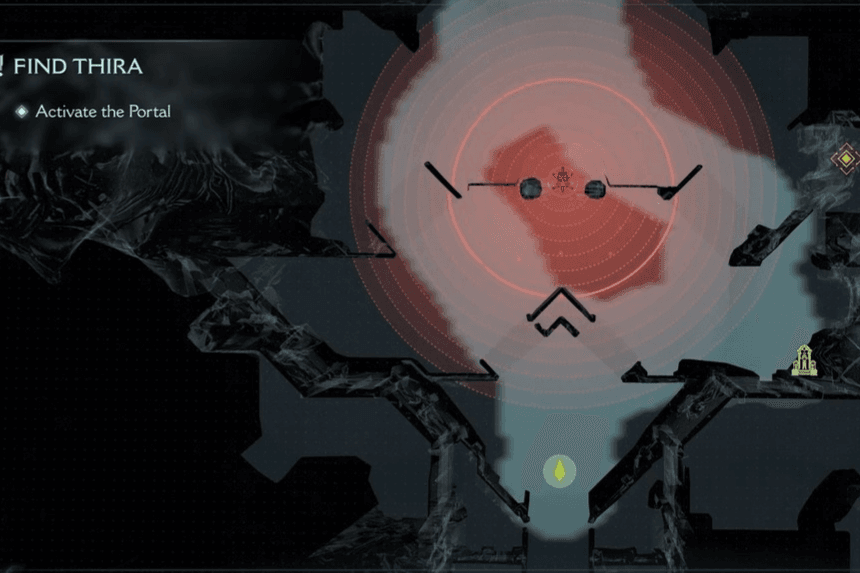
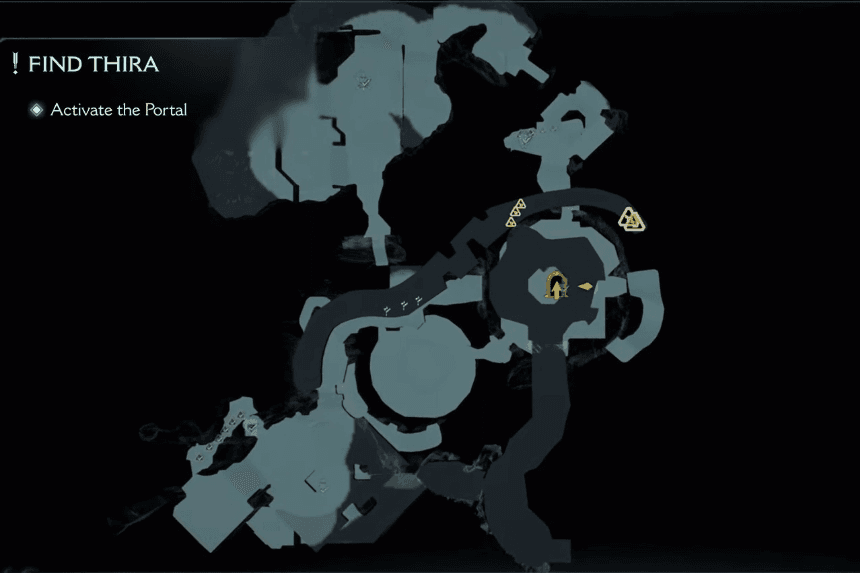
Explore every hidden corner of Chapter 15: City of Ry’uul in Doom: The Dark Ages with this guide detailing all 10 secret areas, collectible Rubies, Toys, and Codex entries. Crush briars, conquer puzzles, and defeat minibosses to uncover hidden loot, including Gold, Life Sigils, and the powerful Wraithstone.
All Secret Areas and Toys Location in Chapter 15 City of Ry’uul
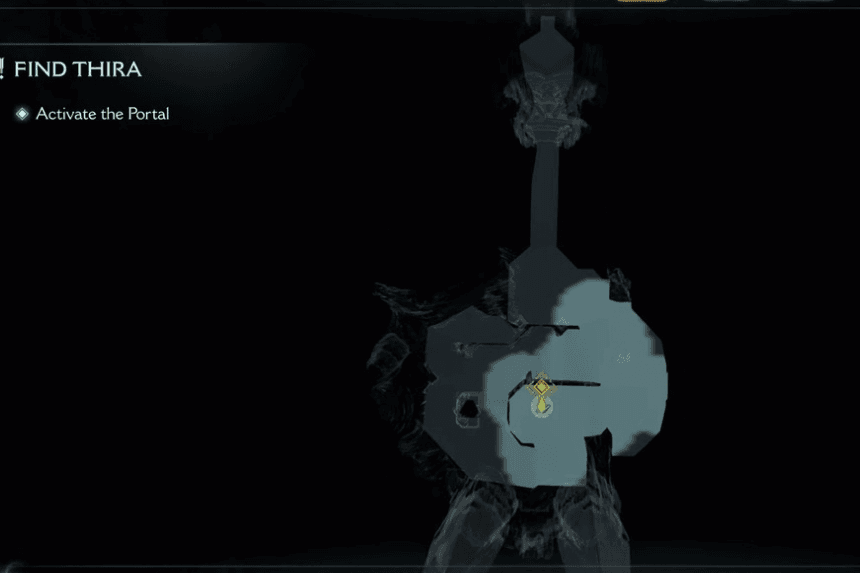
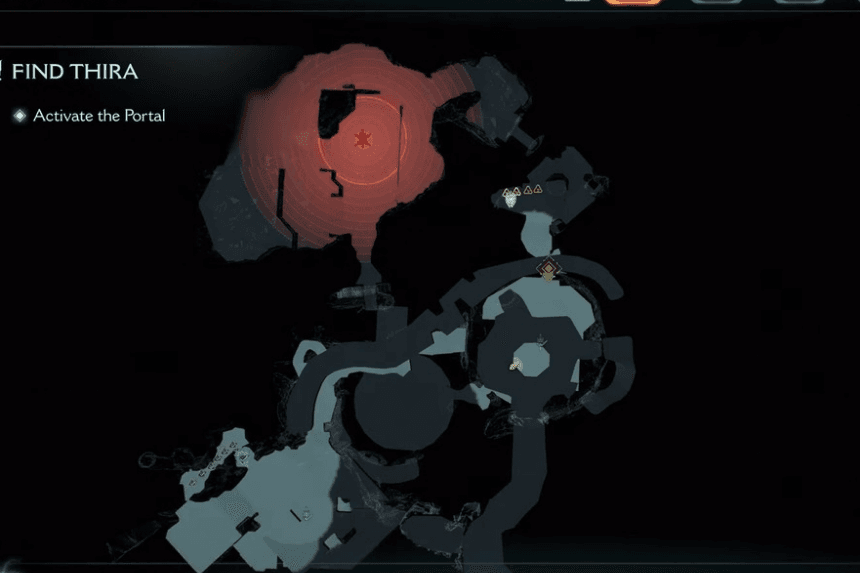
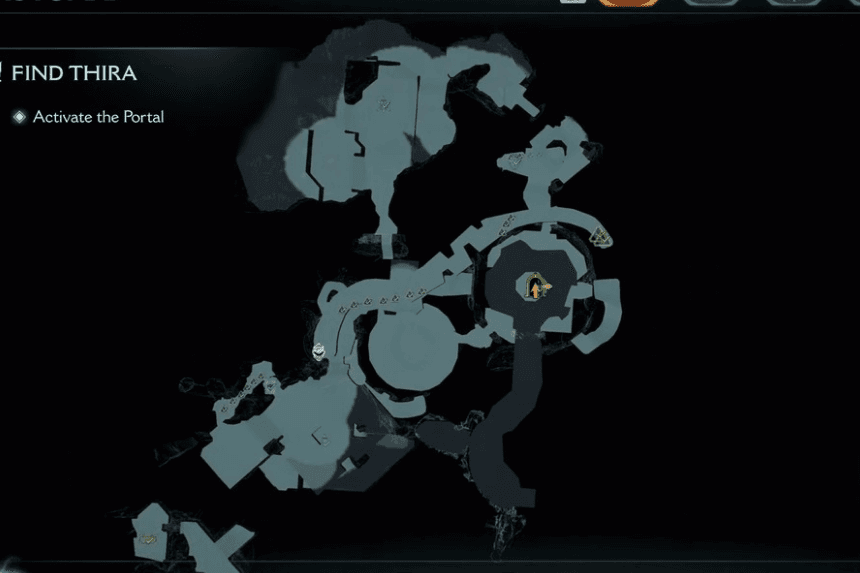
Below is a list of all the Secret Areas, Toys, Codex, and Rubies’ location in Chapter 15 of Doom: The Dark Ages:
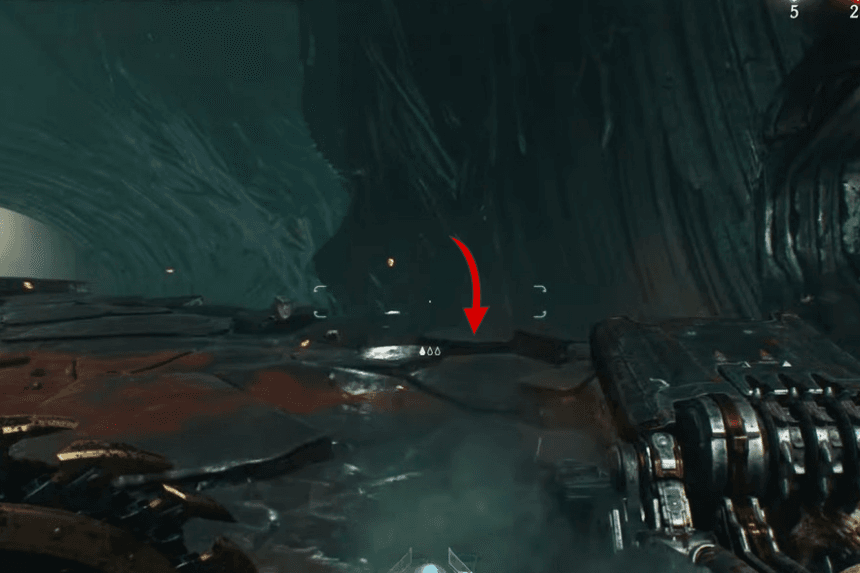
First Secret Area

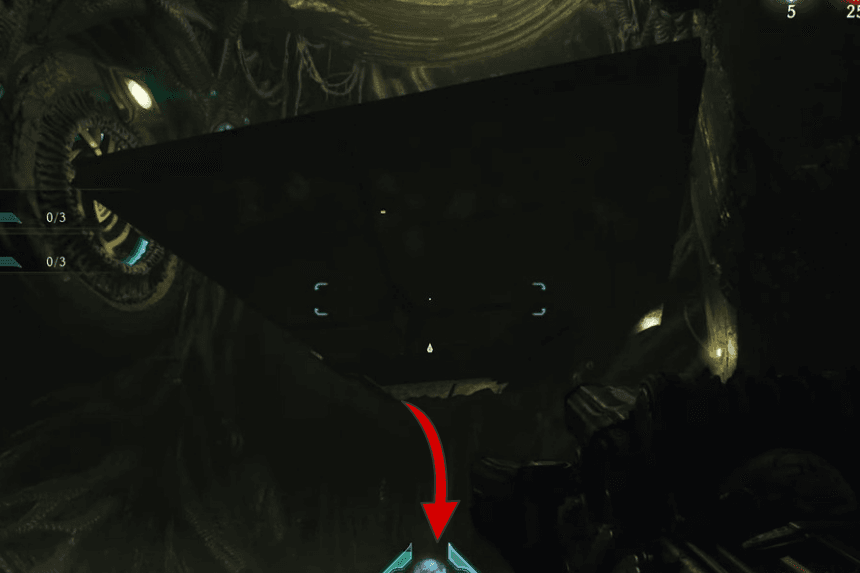
Instead of jumping through the first Shield Charge ring, approach it and drop over the ledge to find some briar that you can crush with your shield. A purple stone and sixteen gold can be found by climbing up.
Second Secret Area & First Ruby
Click on the images to enlarge
Turn on the jump pad across from you by using the purple stone to open the gate from the previous secret. Leap up to the Ruby with it.
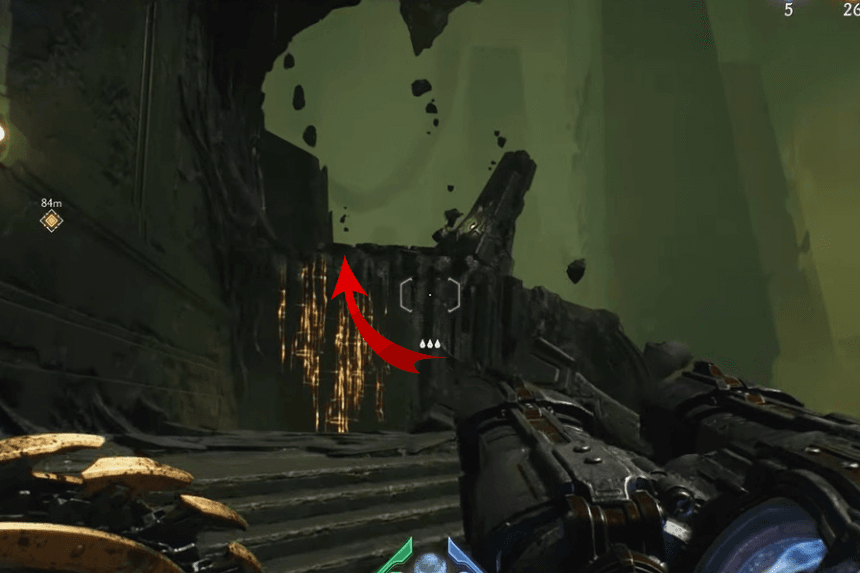
Third Secret Area
Click on the images to enlarge
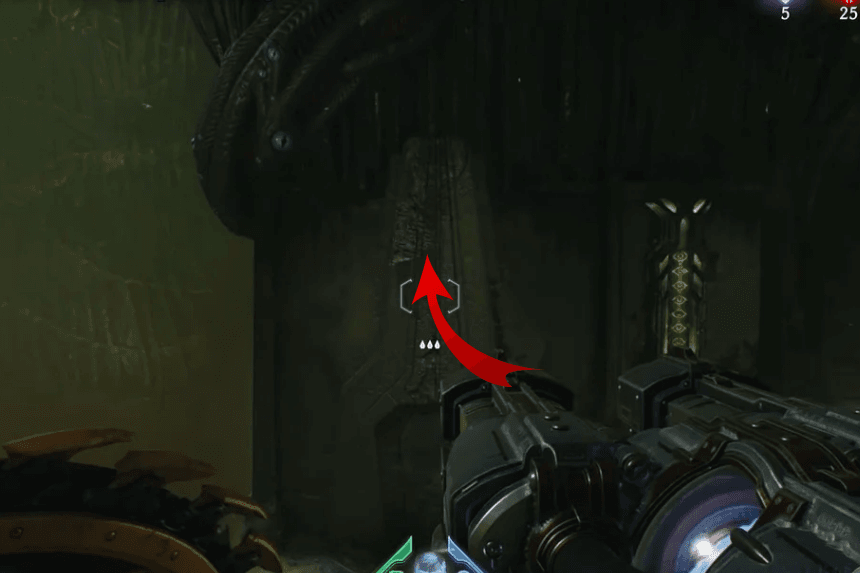
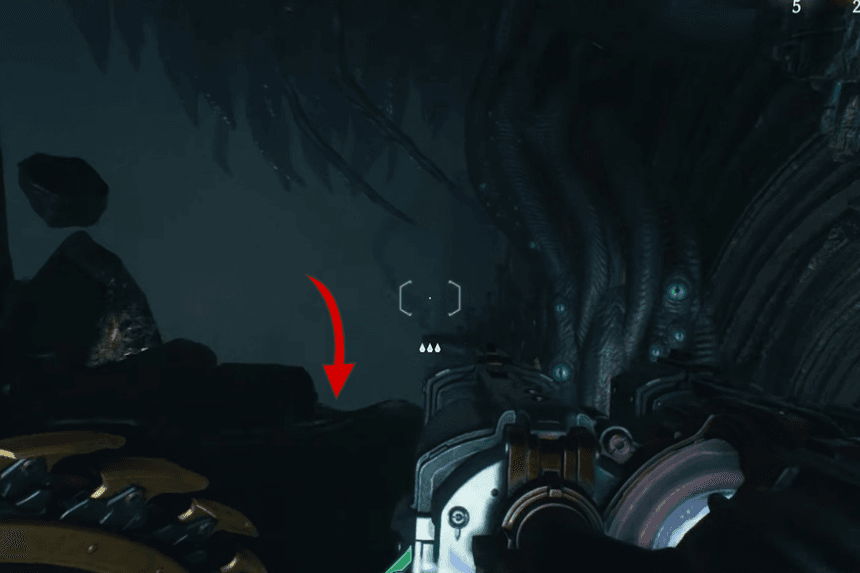
Climb the wall to find another Shield Charge ring once you’ve launched through the first one. To find 9 Gold and a Life Sigil, walk down the ledge to the left rather than through it.
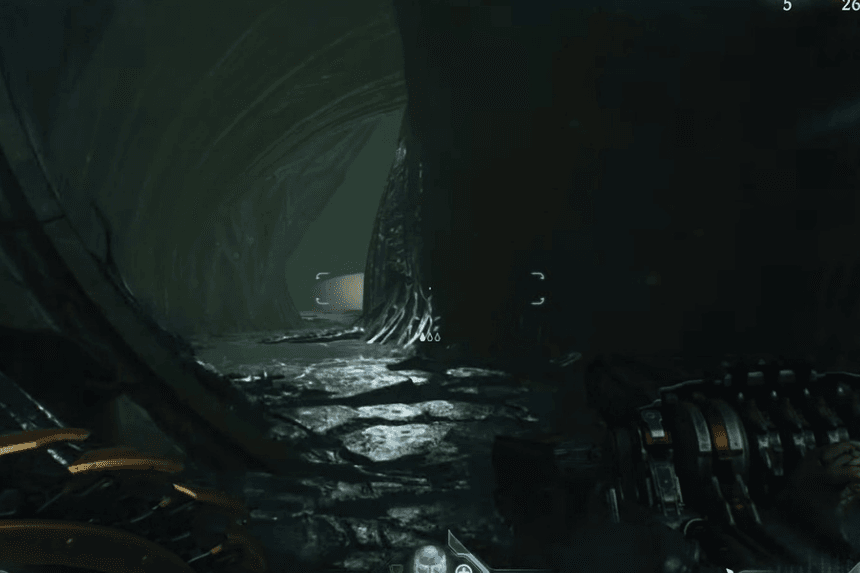
Fourth Secret Area and Codex (City of Ry’uul)
Click on the images to enlarge
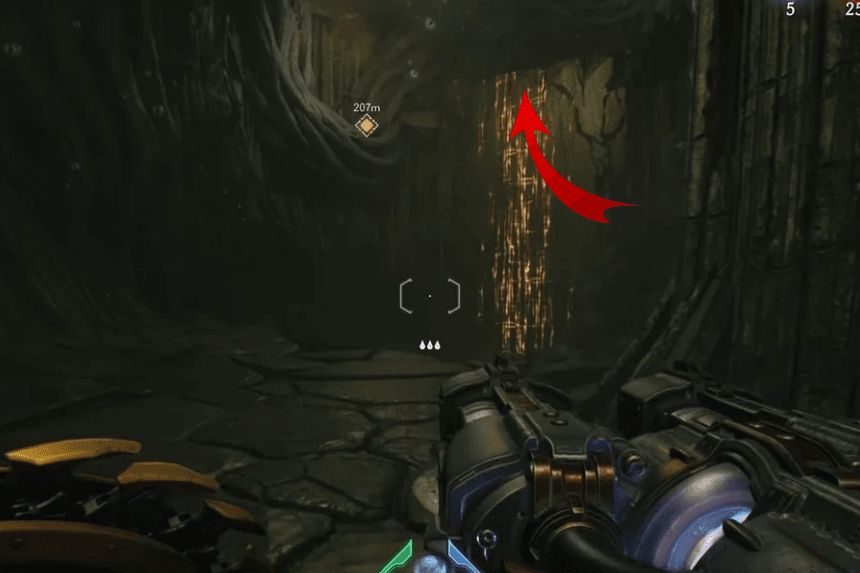
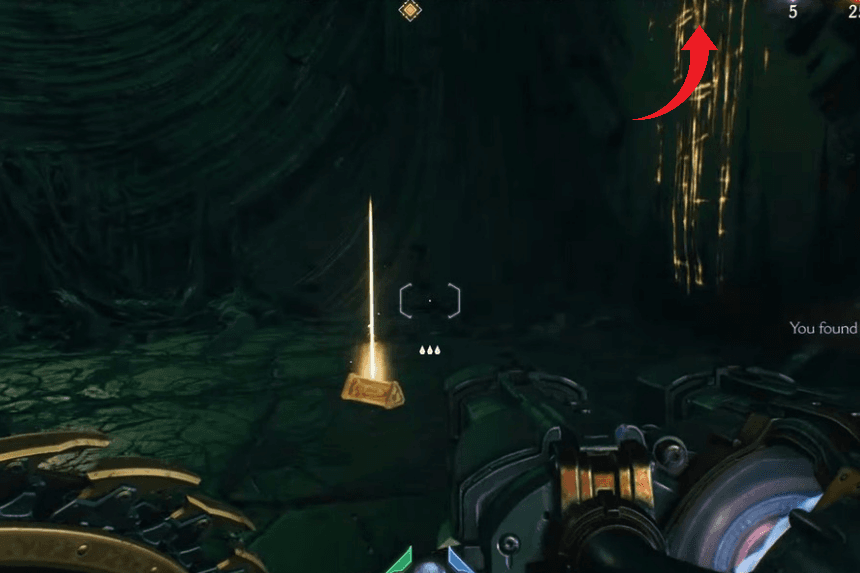
Keep on until you pass through a point-of-no-return and open a gate. Head up the stairs after crossing the gap and using the jump pad to ascend to a different floor. There will be a green body across from you, but for the time being, ignore it and turn right. From there, you can descend to a ledge that has some gold. To gain a Codex entry, scale the wall.
Fifth Secret Area

To get to a 50 Gold chest, climb the stairs once more and grapple over to the green body.
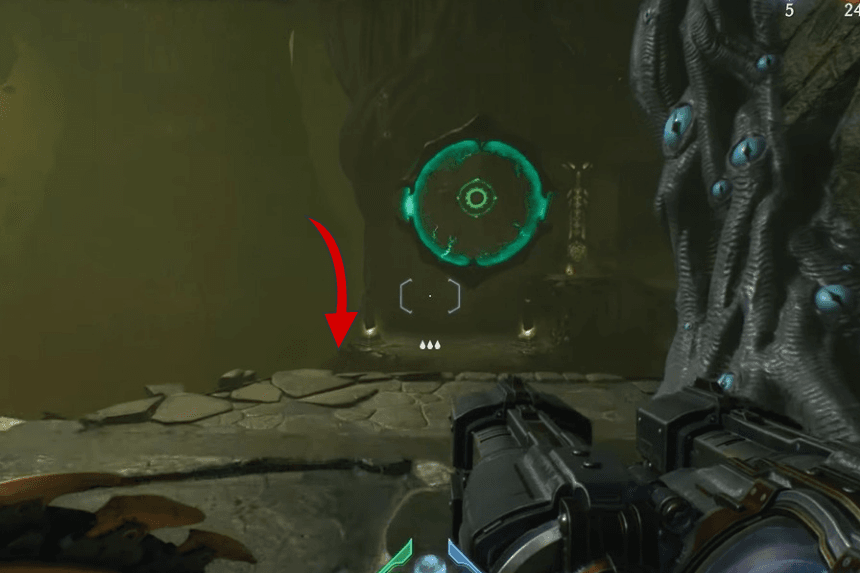
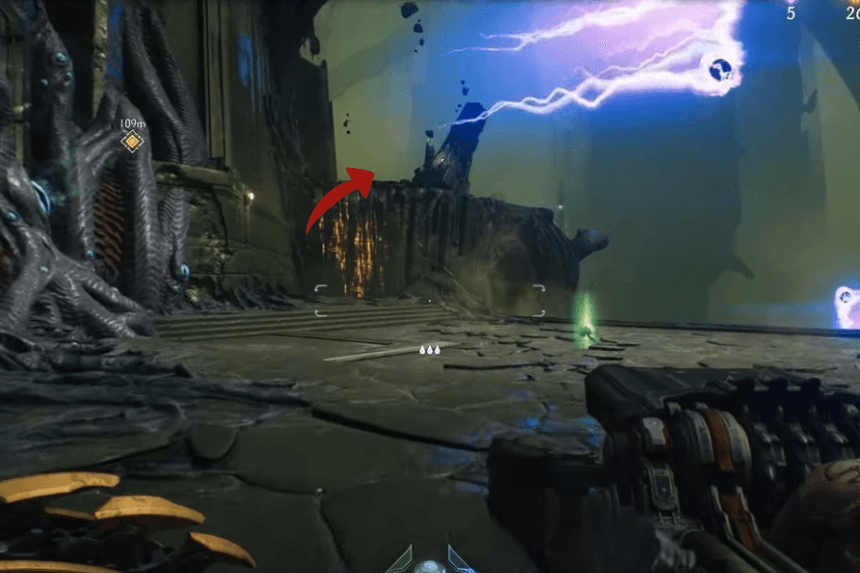
Sixth Secret Area and Second Ruby
Once you have the Dreadmace, proceed to the next area, where you can raise a platform by throwing your shield at a blue piece of equipment. It may be raised to reveal 4 Gold and a path to the Ruby behind the gate, as well as some water beneath it.
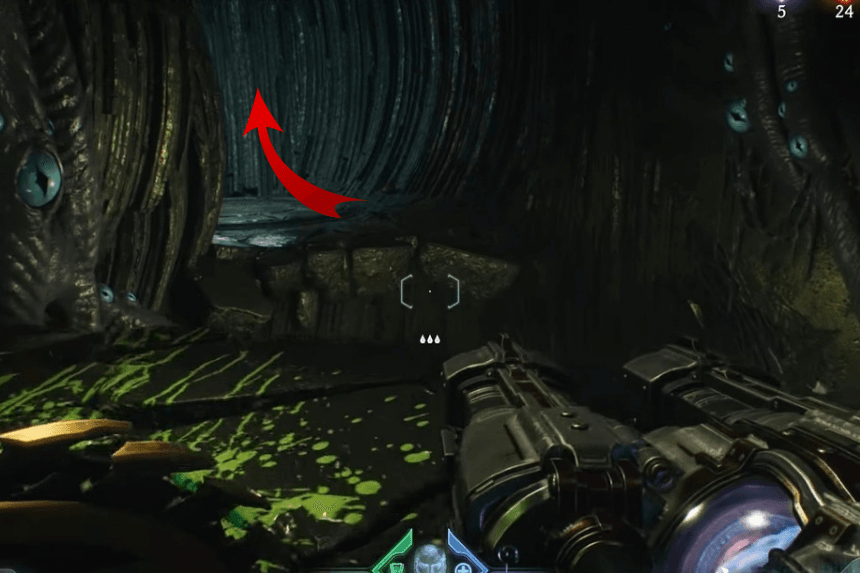
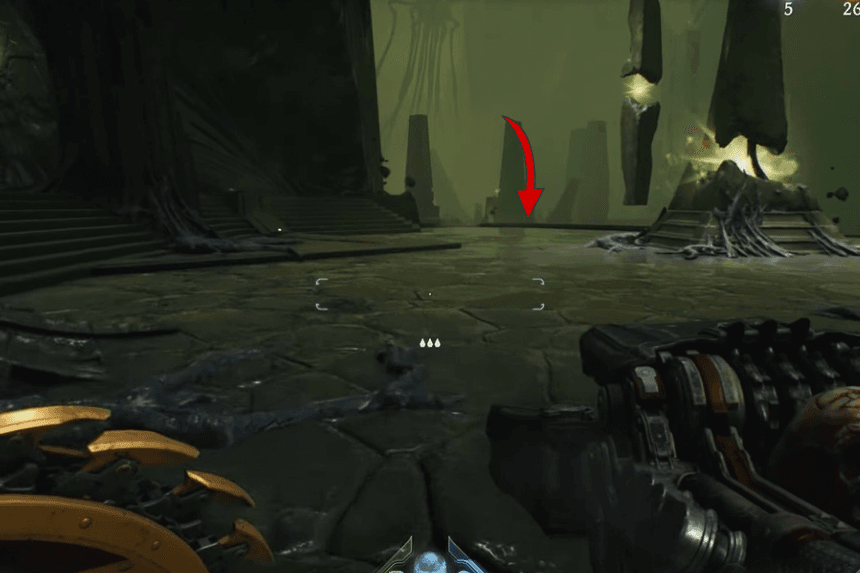
Seventh Secret Area
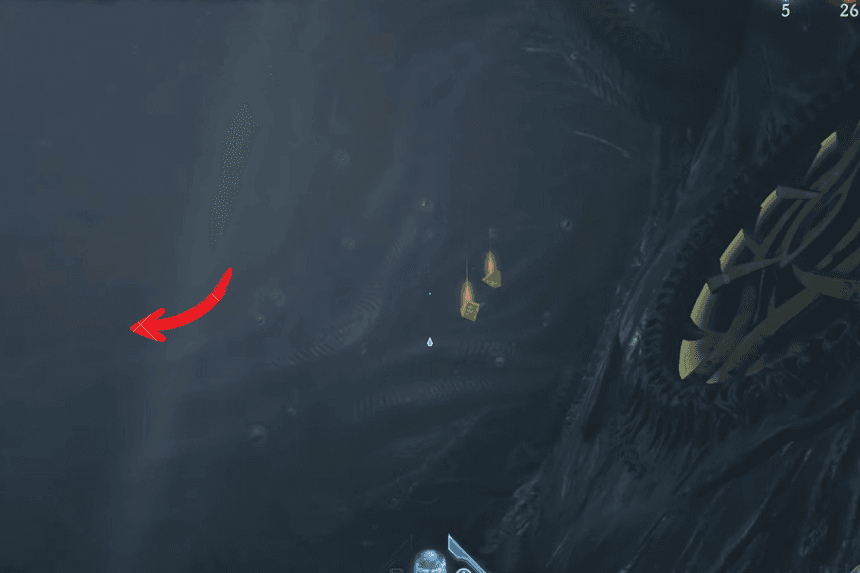
Click on the images to enlarge
Swim through the fire launchers and along the tunnel in the opposite direction. At the end, you’ll find a Life Sigil and another 7 Gold.
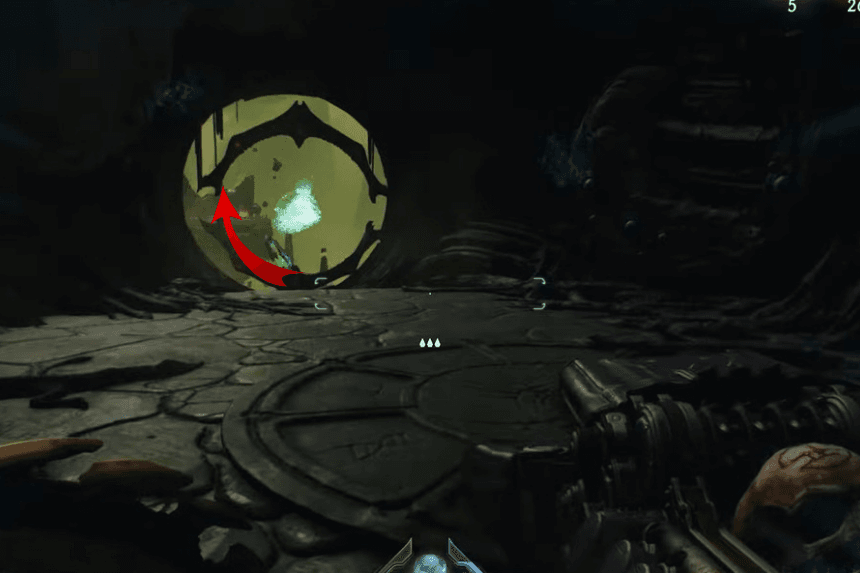
Eighth Secret Area
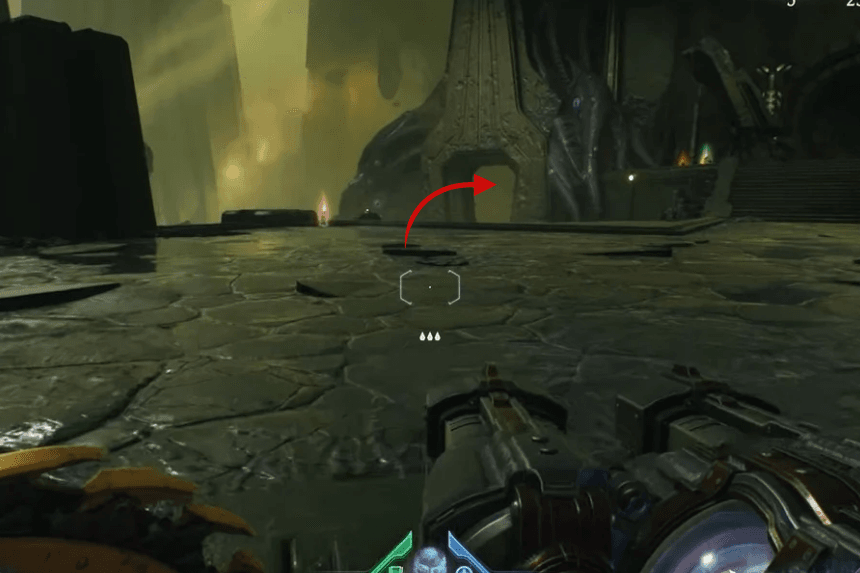
To raise the elevator, go back to the purple stone and press the button. To find 50 Gold, proceed down the hallway and fall from the ledge where the demons seem to be. Before slamming a shield through a door.
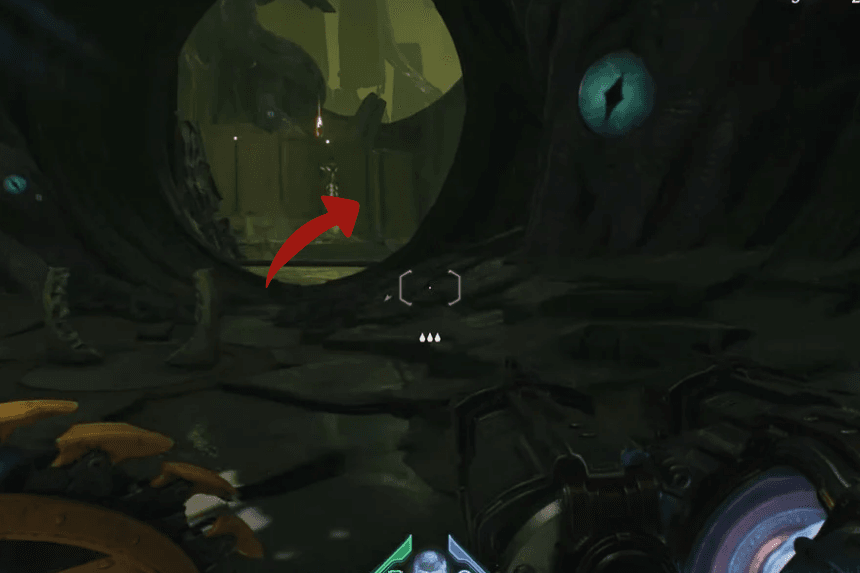
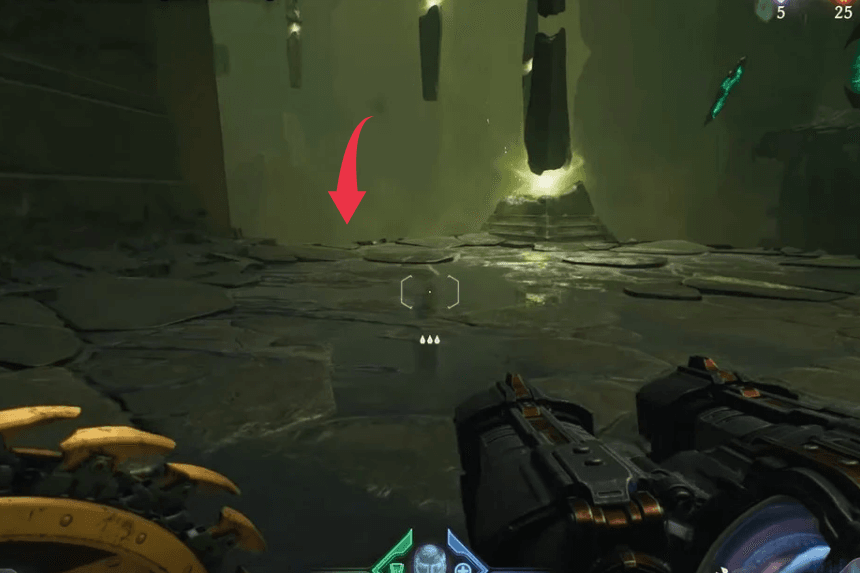
Ninth Secret Area

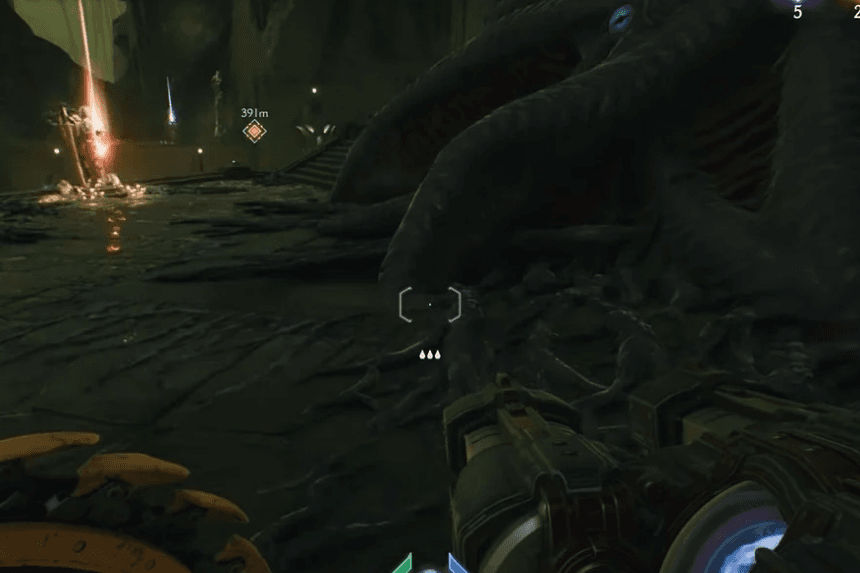
To descend to a lower platform, scale the next wall and step off the ledge in front of you. After grabbing the three gold, launch yourself through the ring and land near a gore nest. Kill the Hell Knight miniboss for the Demonic Essence after destroying it.
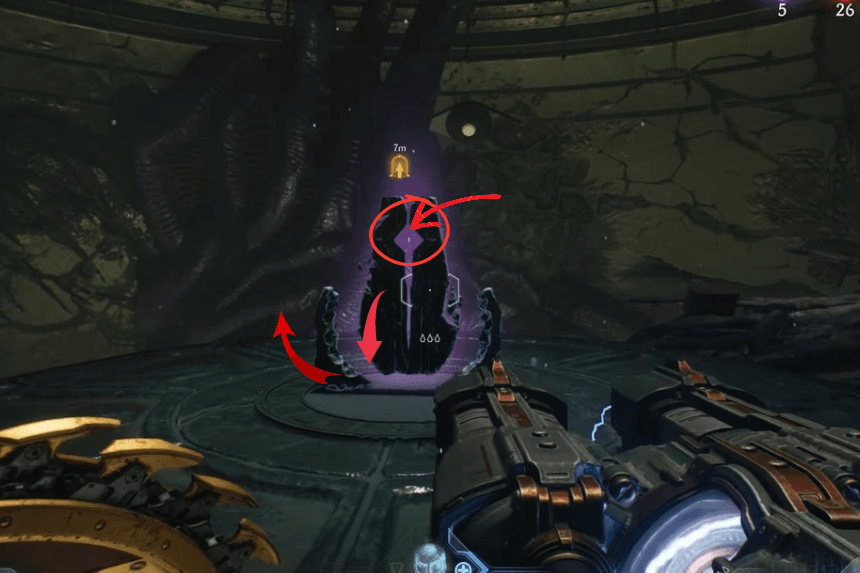
Tenth Secret Area, Toy (Agaddon Hunter) & Wraithstone
Ascend the wall once more and enter the starting chamber through the door. There is a bramble directly to your right that you can break with a shield charge.
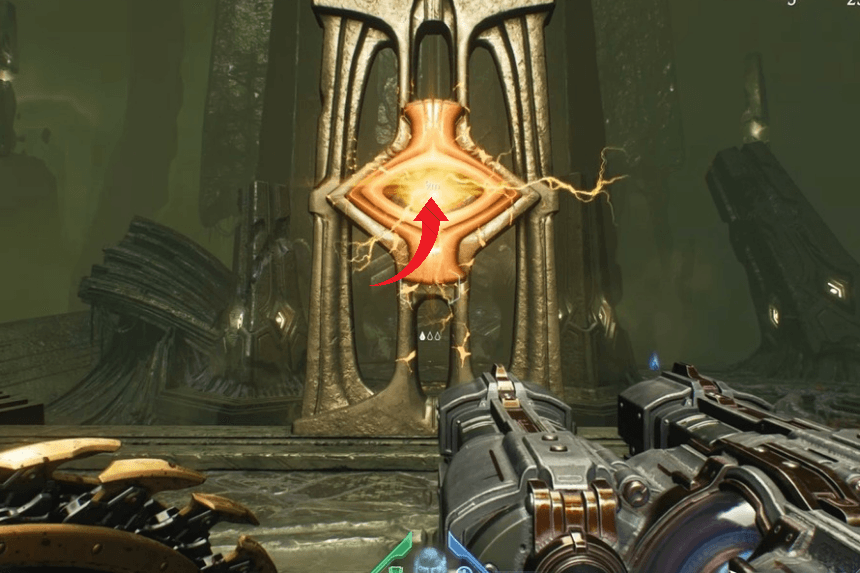
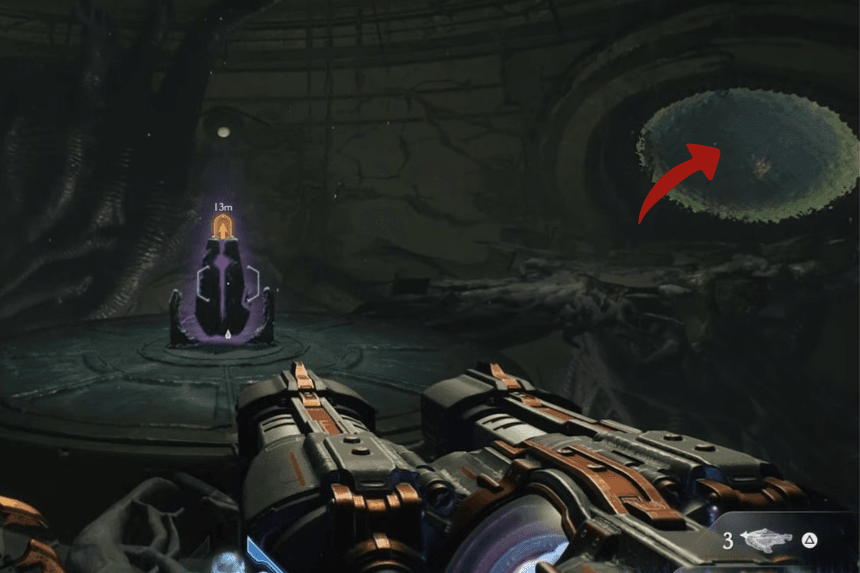
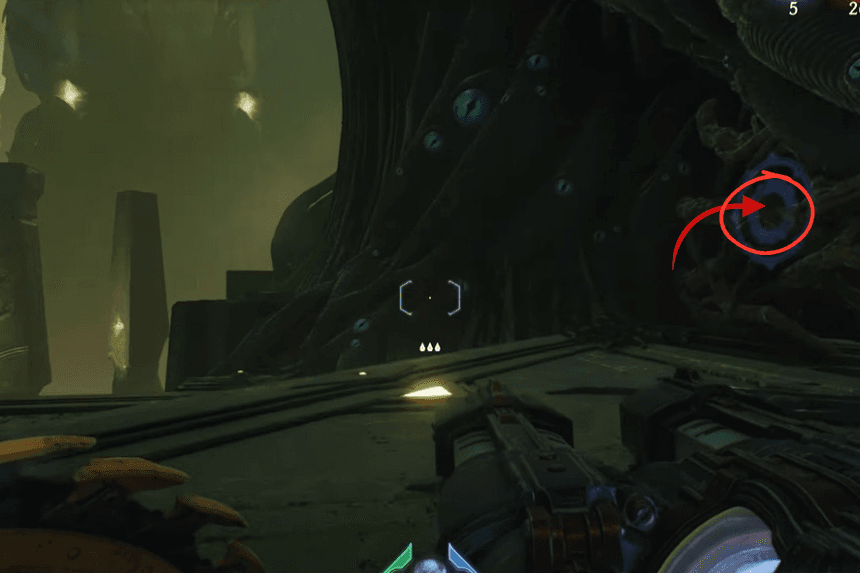
Wraithstone

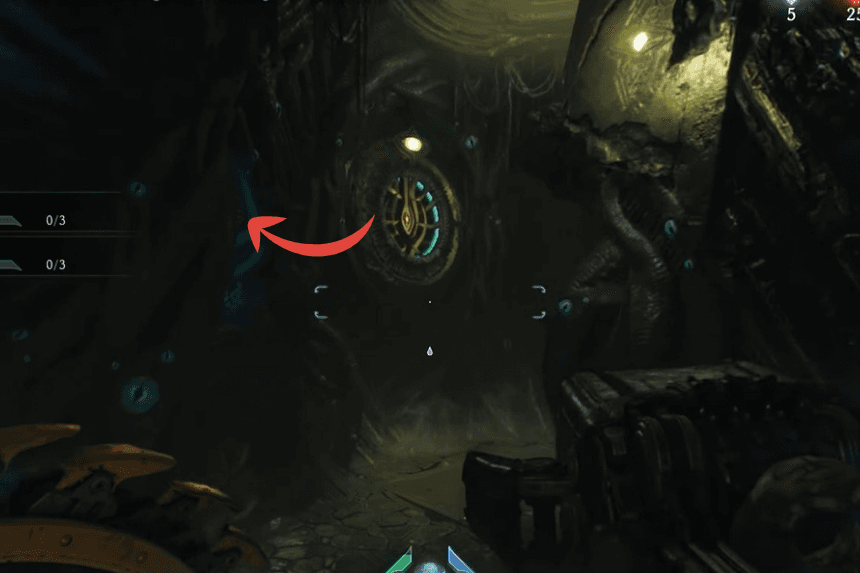
Adjacent to the Cosmic Eye lock, which is used for advancement.
