
Explore every hidden corner in Chapter 14: Spire of Nerathul in Doom: The Dark Ages with this complete guide. From secret areas to powerful collectibles like Wraithstones, Rubies, and Toys, this walkthrough ensures you won’t miss a single upgrade, Codex, or treasure while surviving the demonic chaos.
All Collectibles Location in Chapter 14 Spire of Nerathul
Below is a list of all the Secret Areas, Toys, Wraithstones, Ruby, Demonic Essence, and Gold locations in Chapter 14 of Doom: The Dark Ages:
NOTE: You can click on the images to enlarge
Secret Area 1 (50 Gold)


Once the Komodo Champion has been vanquished, ascend the hill on the island’s left. You will have the opportunity to acquire the 50 Gold chest by descending onto a ledge.
Secret Area 2 & Wraithstone 1


After mounting your dragon, fly in the direction of the big mountain on the map’s edge, ignoring the objectives. A secret landing area will emerge if you defeat the Titan that is up here. To obtain the Wraithstone, land and eliminate every monster.
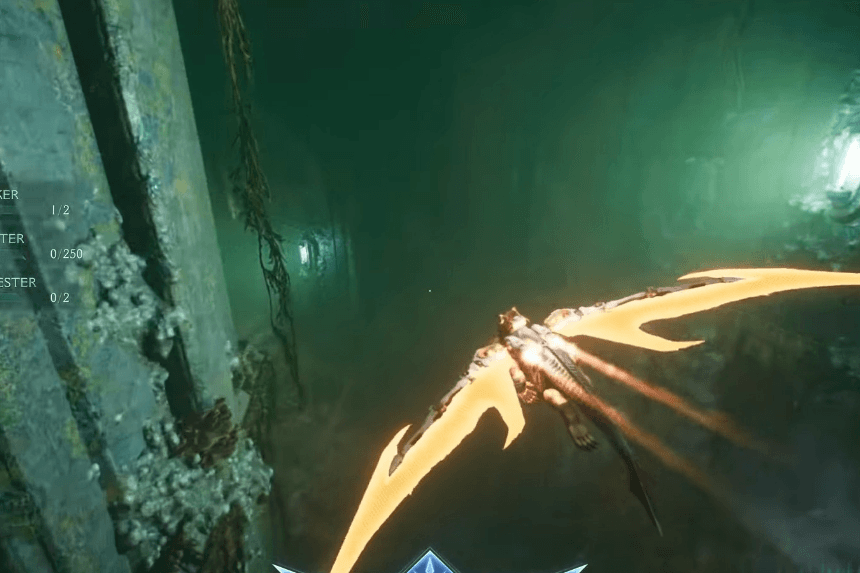
Secret Area 3 & Ruby 1 (8 Gold)


To go to the guarded structure you passed before, follow the underwater tunnel where you found the Gold all the way to the end and come up on the surface. Seize the ruby.
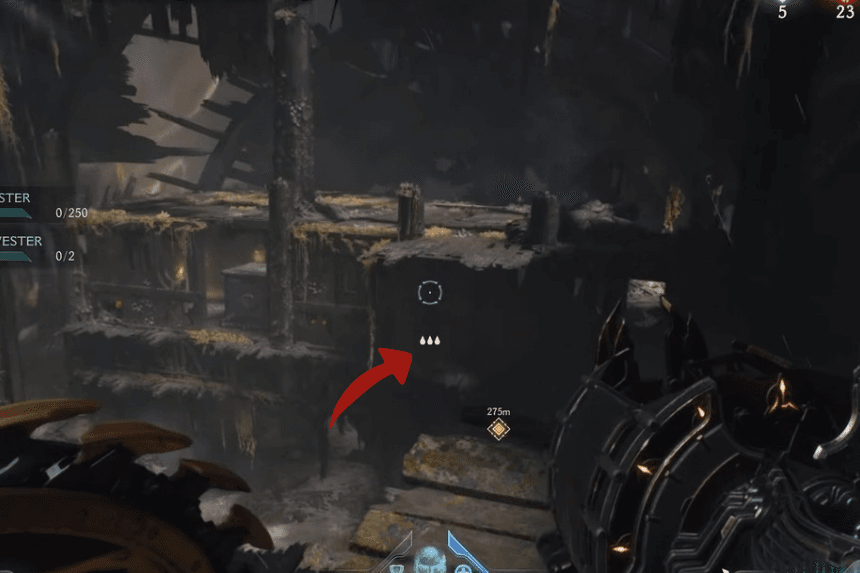
16 Gold & Shield Rune (Heavy Splitter)


Go up the middle path and turn left halfway up after obtaining the Heaven Splitter Shield Rune. You can drop onto a platform with 16 Gold if you look over the ledge.
Secret Area 4 (12 Gold)


There will be a spiral staircase on the right after climbing the ramp. For a Sentinel Shrine and some gold, head up this way.
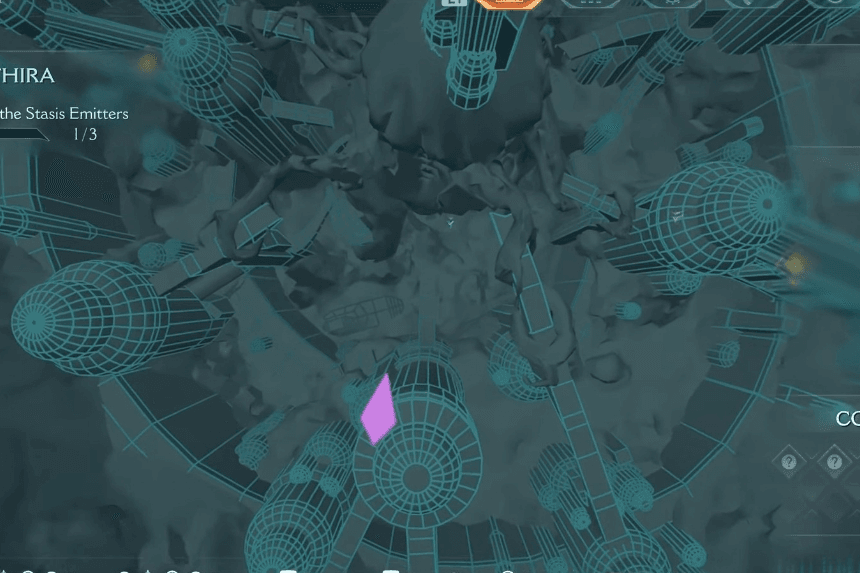
18 Gold


To discover 18 Gold leading through the tower, deactivate the Stasis Emitter and proceed up the ramp to the left.
26 Gold

You can fly through a tunnel to locate a secret landing area if you dive back down to where you came from. There will be 26 gold coins scattered across this area for you to gather.
Secret Area 5 & Wraithstone 2 + Weapon Skin 1

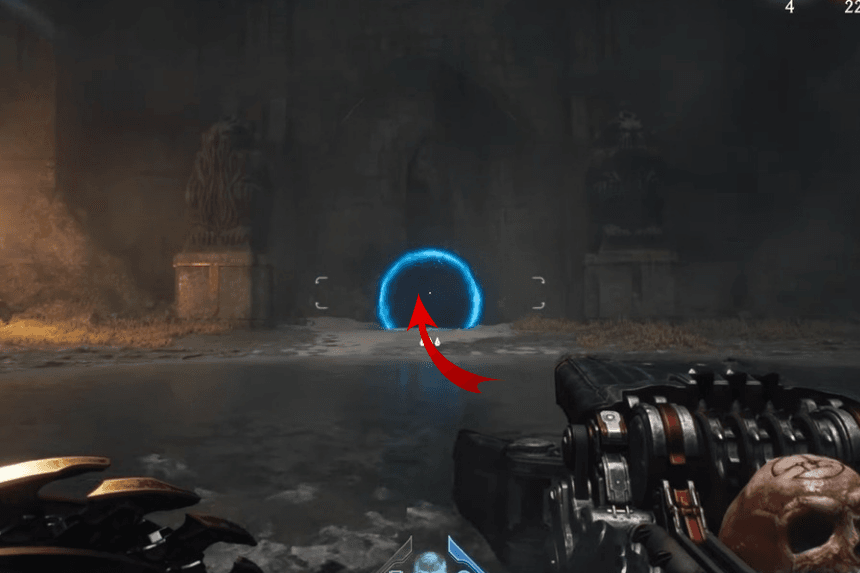

Enter the teleporter to use this secret to travel to an other location, where a massive swarm of Imps will assault you right away. As you advance through the area and defeat every Imp, the Skin and Wraithstone will be waiting for you.
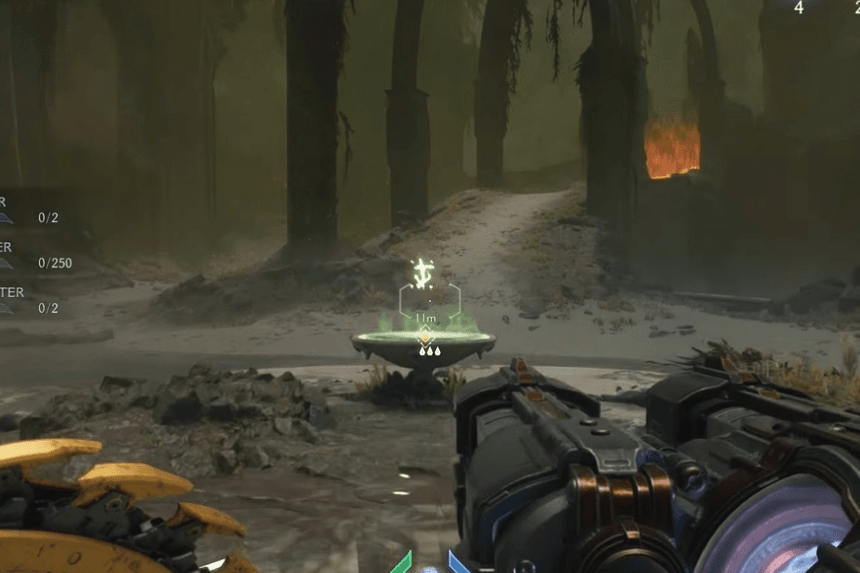
8 Gold

Until you reach another landing zone, keep flying down the tunnel. You can grasp a green body that is close by if you keep moving forward until you use a jump pad. To see it clearly, go down the ramp. Then, grapple up to acquire the 8 Gold.
Secret Area 6 & Arachnotron (Toy 1)


There will be a breakable wall on the left, a little farther into this room before you descend. You can find a toy inside by using your shield charge to destroy it.
Secret Area 7 (50 Gold)


There is a jump pad on your right as you descend the ramp and cross the bridge. You can see the jump pad behind a wall to your right, which has an explosive barrel. To find a 50 Gold chest, shoot the explosive barrel to destroy the wall, then descend and enter.
Secret Area 8 & Ruby 2 (5 Gold)


Make your way through the wrecked ship until you reach a room filled with Imp Stalkers and explosive barrels. You can break the orange chain above you to drop a crate after climbing a ramp. You can step on a jump pad by using this container to lift the gate across from you. This will put you in a position where you can get a ruby and five gold.
Secret Area 9 (18 Gold)


Keep going till you fall off this wrecked ship. You will find 18 Gold and a Life Sigil if you turn around and go to the ledge to descend once more. A Komodo Champion will attack you right away, so be careful. As soon as you leave the location, the secret will activate.
Health (Demonic Essence)


If you keep going down, you’ll come across a Gore Nest. To summon some demons, use a Shield Charge to destroy it. In this encounter, fighting the Cyberdemon miniboss will automatically reward you.
Spire of Nerathul (Codex 1) & 15 Gold


You can find 5 Gold beneath where you plummeted after the Gore Nest if you proceed down the left side.
There will be another five gold coins right before you cross a fallen pillar if you keep going down the ramps.
Once you have over the pillar, you will see a green grappling body on your left. You can drop down to the ledge next to this and pick up the things.
Ruby 3


Until you reach another landing zone, keep flying down this tunnel. Enter the circular tower on your left after moving into the open space. Before you can get the Ruby, you will need to vanquish a few demons.
Secret Area 10 (13 Gold)


A building that is visible from below will be located across from the Sentinel Shrine. A Life Sigil and a line of Gold will be waiting for you here.
15 Gold


For another red combat encounter, descend the elevator. There will be fifteen gold coins scattered across this area for you to collect.
25 Gold


You will arrive in another dragon landing zone once you have deactivated the three stasis emitters. After descending the ramp, turn around to see another ramp leading to the opposite side below. You can locate 17 Gold by following it along, and you can get another 8 Gold by climbing another ramp close to a wall that can be climbed.
Secret Area 11 & Revenant (Toy 2)


Scale the wall to the former Gold’s side. Use the jump pad as you up the tower, then descend onto the ledge. To get to the collectible toy, turn around and jump to another ledge that has several armor shards on it.
Ammo (Demonic Essence) & 16 Gold + 50 Gold + 16 Gold


When you defeat the Revenant miniboss in the upcoming red combat encounter, you’ll receive an automatic reward.
16 Gold


Once you’ve climbed an elevator and acquired the Ballistic Force Crossbow, continue until you reach a ramp. To acquire some gold behind a gate, drop over the ledge to the left and land on a lower place.
50 Gold


Ascend the ramp once more, and you’ll notice a big stone object hanging from a chain. Throw your shield at the little orange section of the chain to bring the object down to you. Get 50 Gold by smashing the chest there.
16 Gold

Keep going through the tower until you reach a sizable jump pad. There will be a gap in front of you where you land; hop through it and turn right to locate 16 Gold.
Serrat (Codex 2)


Right before the elevator’s ascent.
