
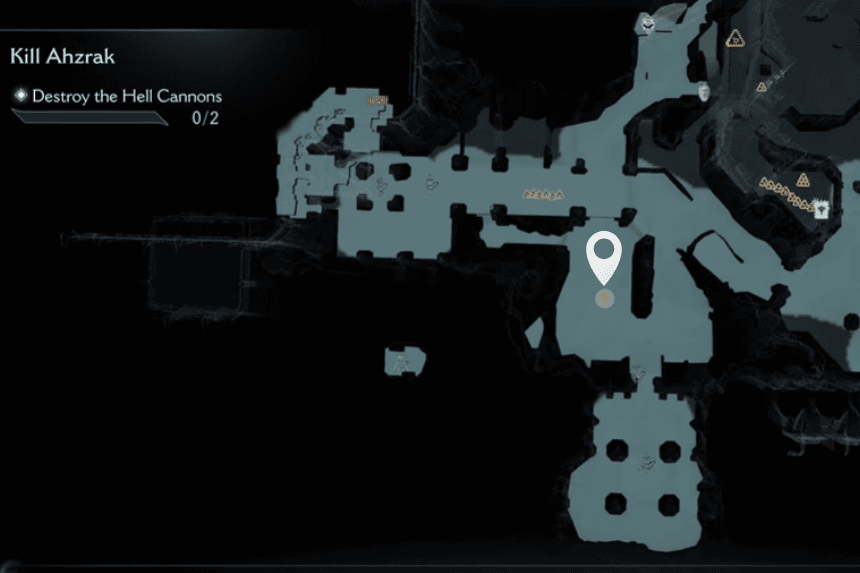
Chapter 10 of Doom: The Dark Ages, called The Forsaken Plains, has 10 hidden spots and one collectible toy to find. Since this level is open-world, you can explore in any order you like. These secret areas are hidden behind walls, on high ledges, or through locked gates. Inside, you will find useful items like Gold, Rubies, Life Sigils, and a cool Cyberdemon Toy. This guide will show you where to find each secret so you don’t miss anything as you play.
All Secret Areas & Toys in Chapter 10
Chapter 10 of Doom: The Dark Ages has 10 secret areas and a collectible toy. Since the level is open-world, you can go to the Gore Portals in any order you like.
NOTE: You can click on the images to enlarge
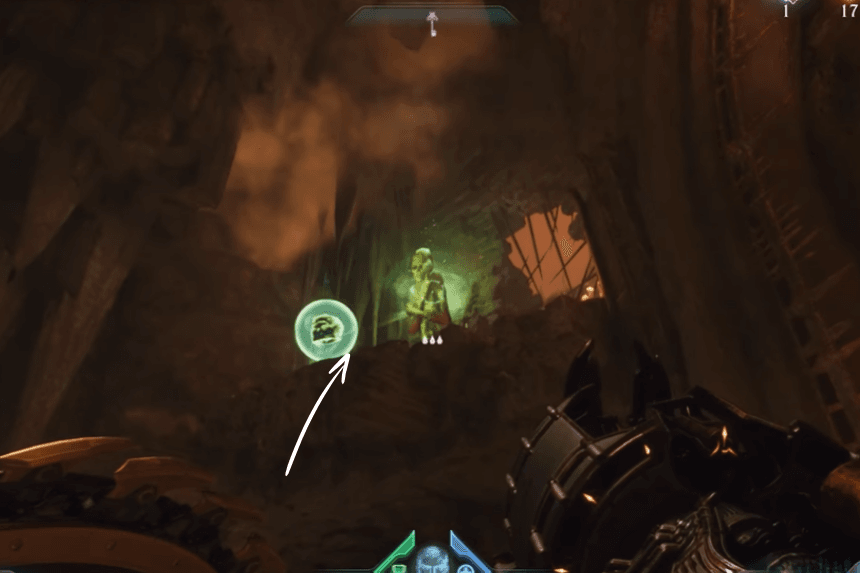
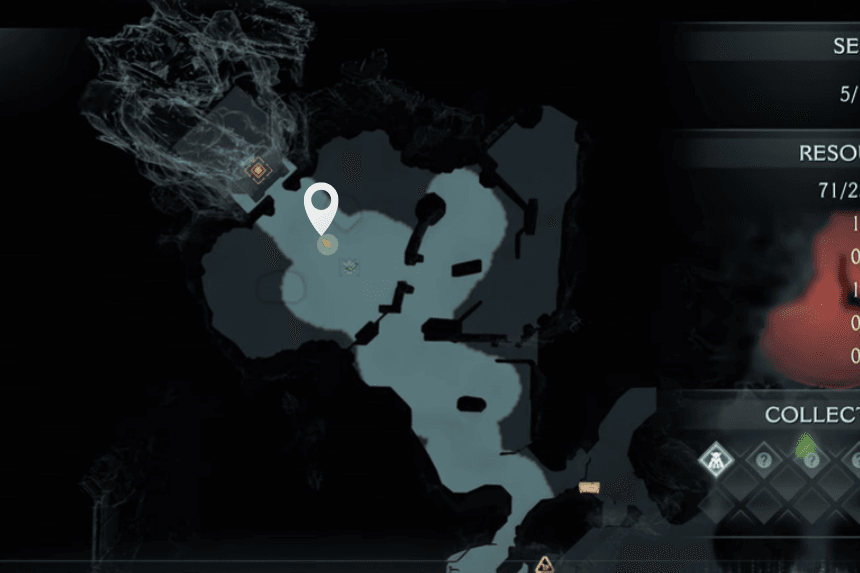
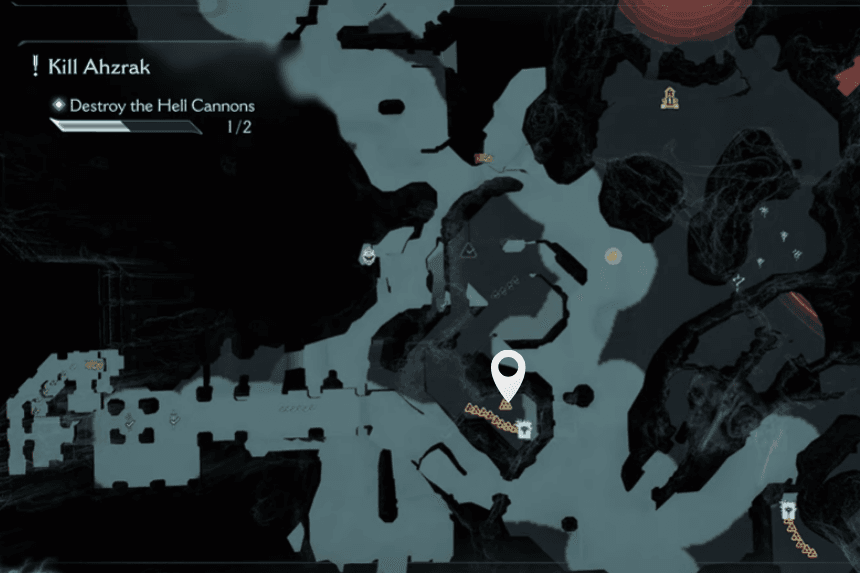
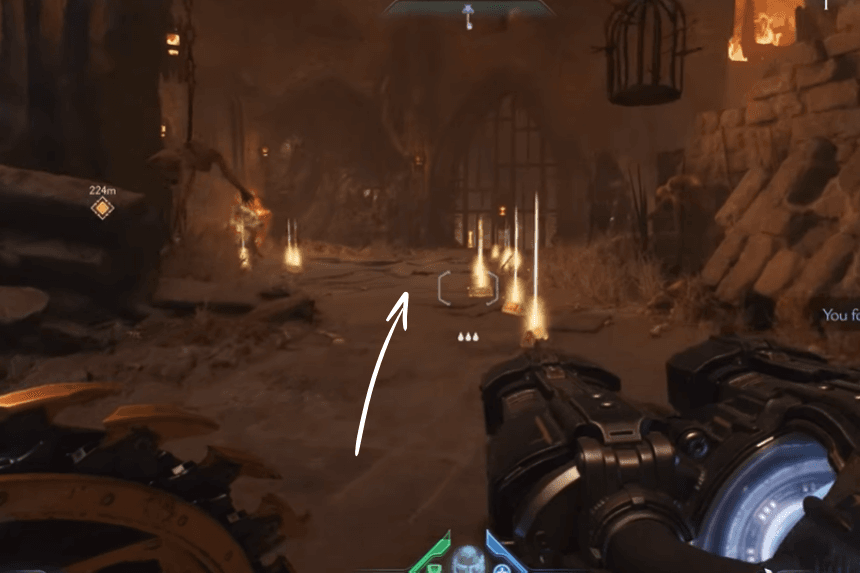
1. First Secret Area – Collectible Area
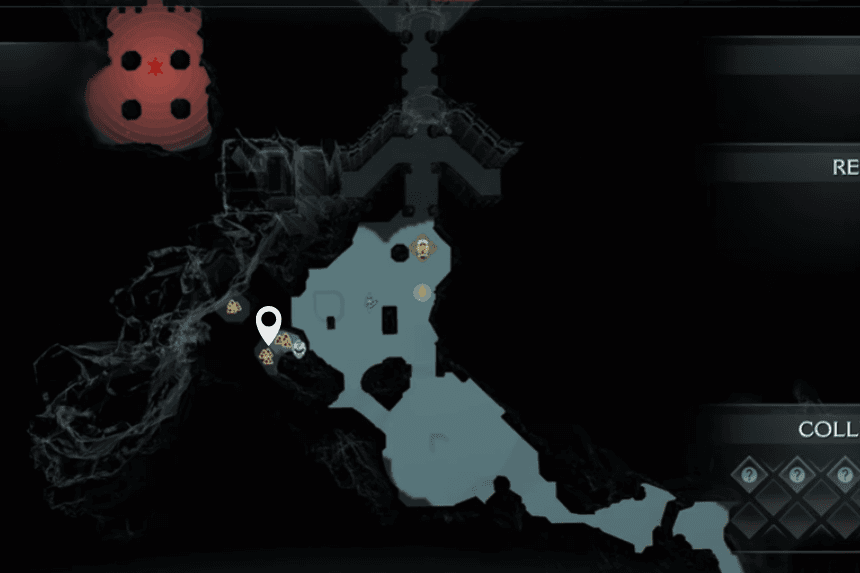
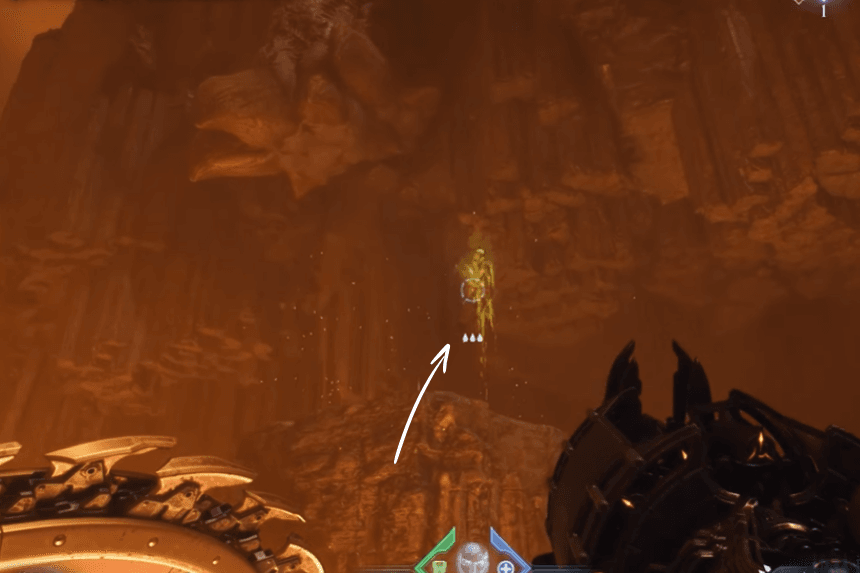
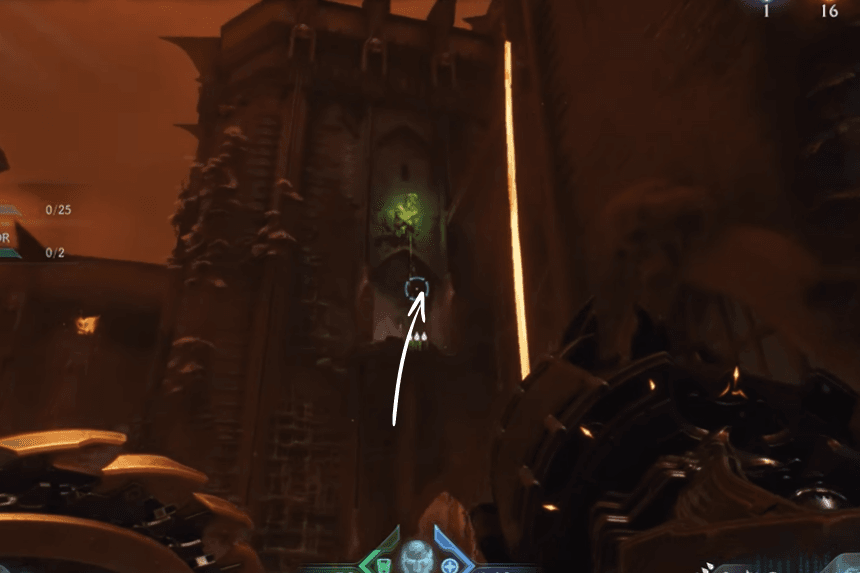
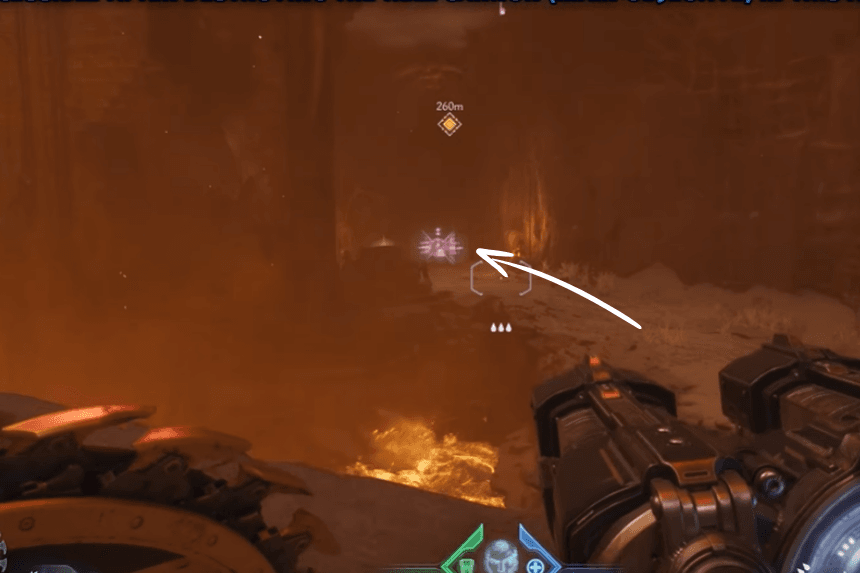
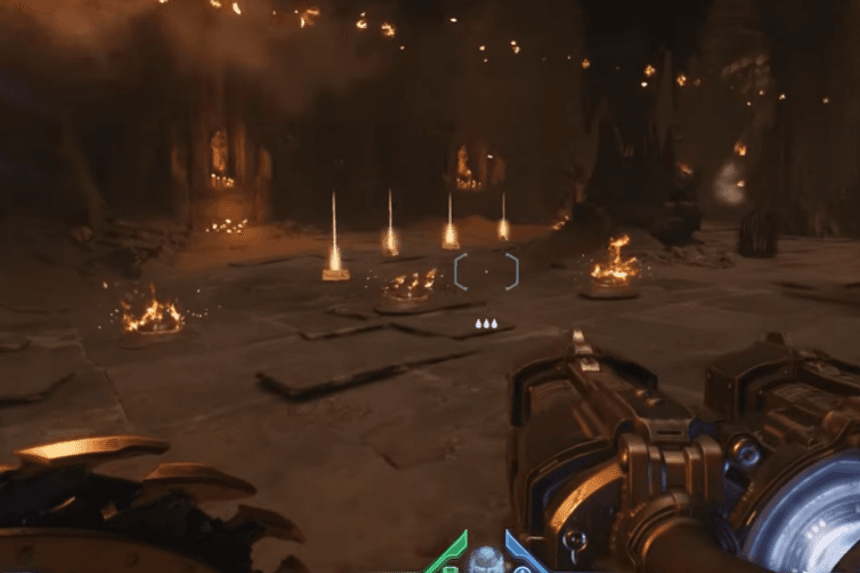
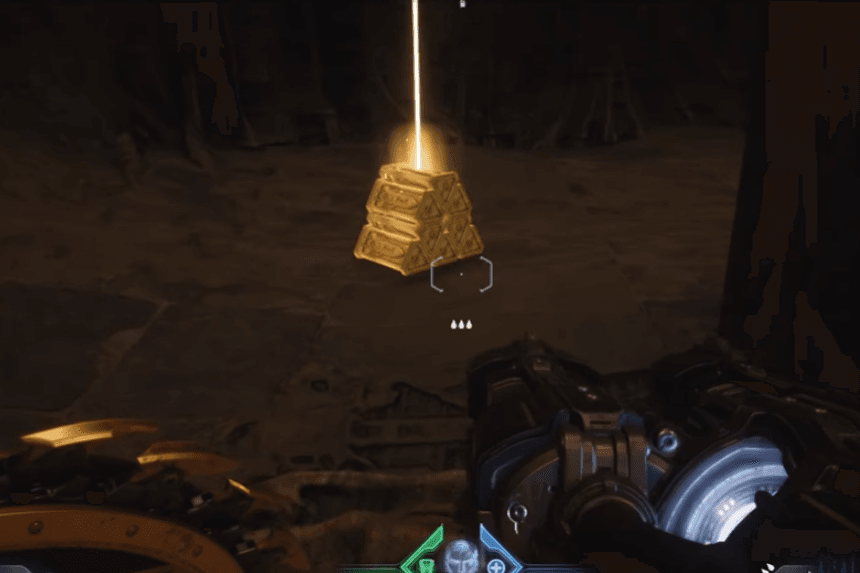
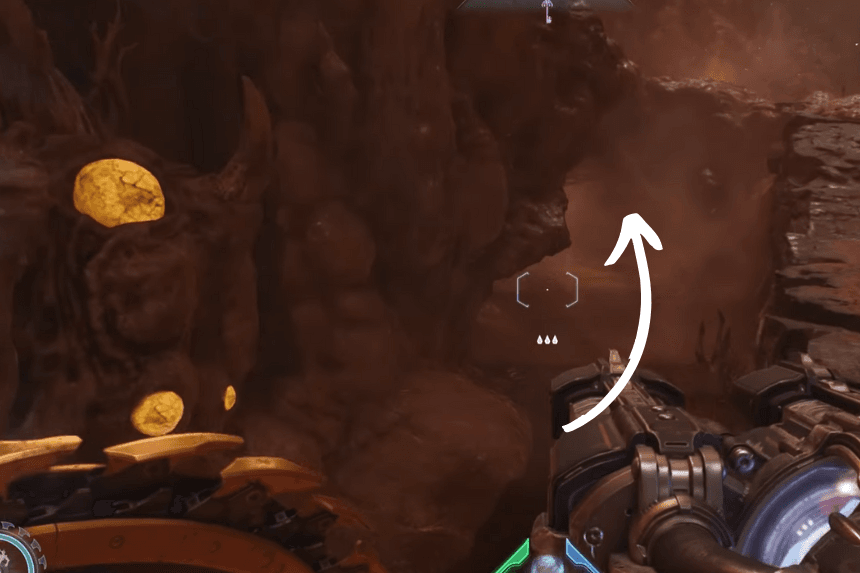
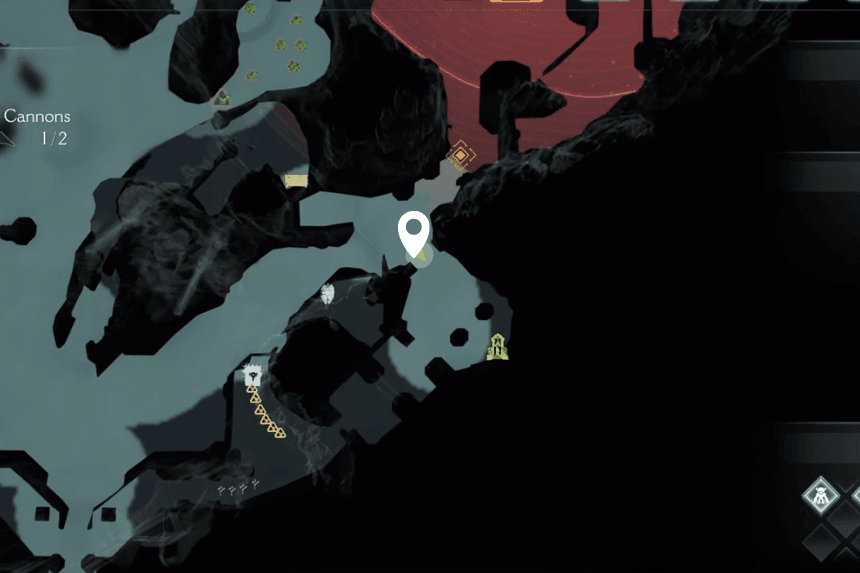
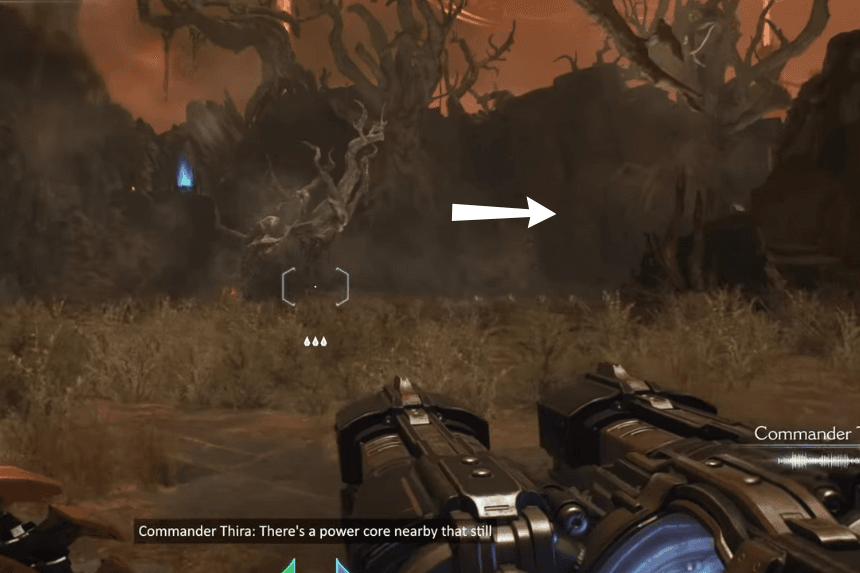
To find the first secret area, right after your first red combat encounter, go left. You’ll see a green body. Now, grapple up to it to grab 3 Gold bars. Then jump up to the next platform above for 6 more Gold bars.
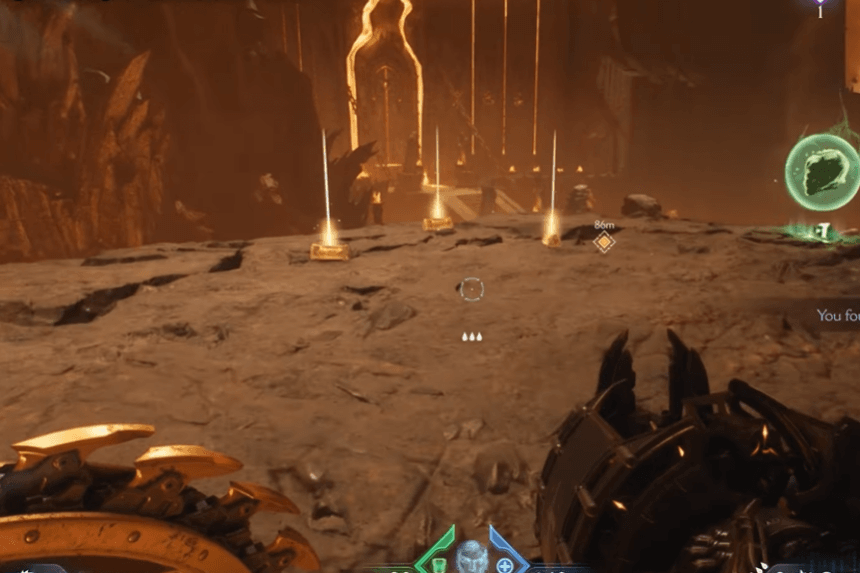
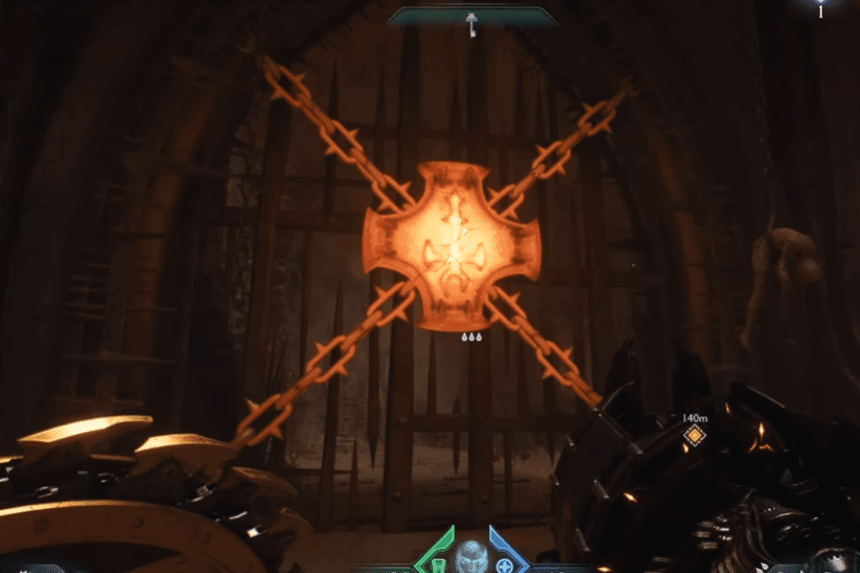
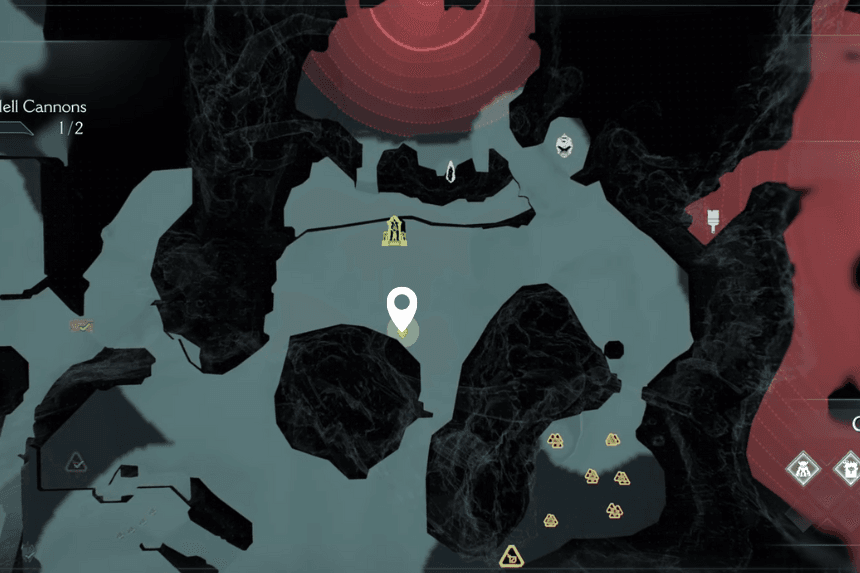
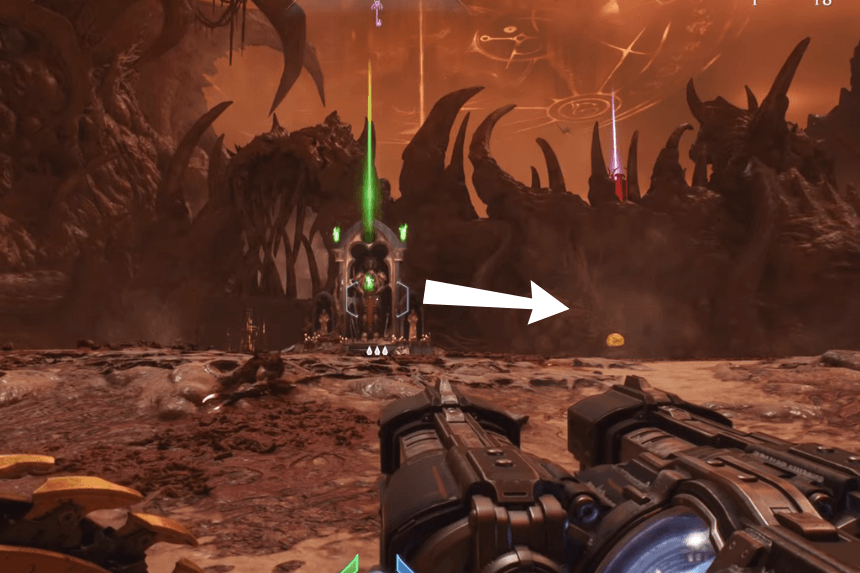
2. Second Secret Area – Secret Key

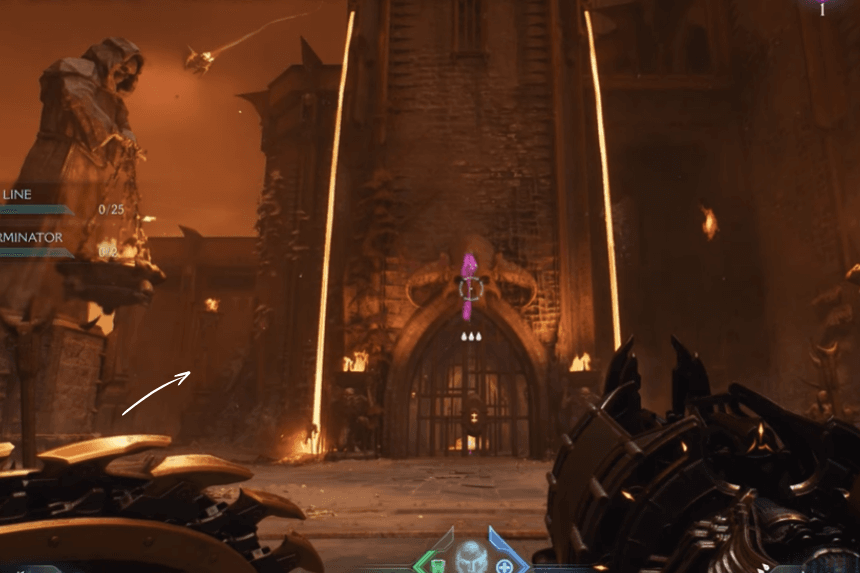
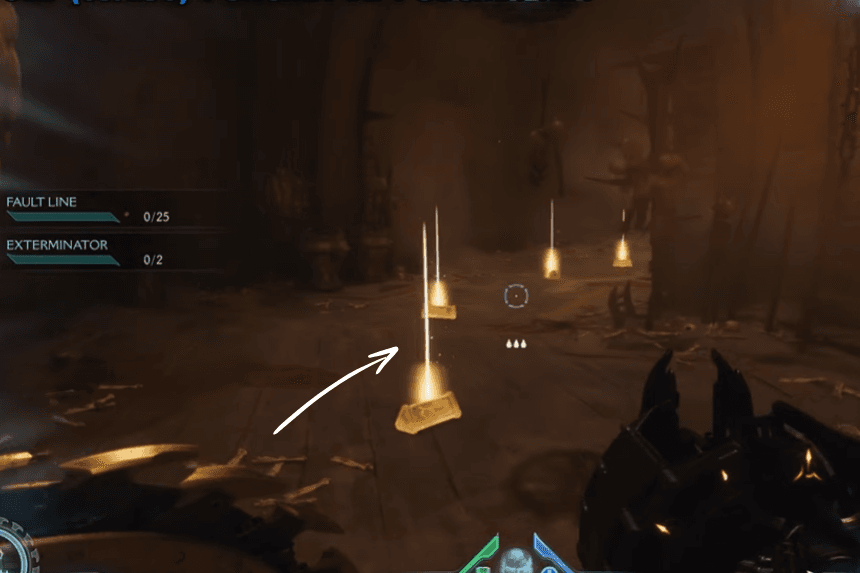
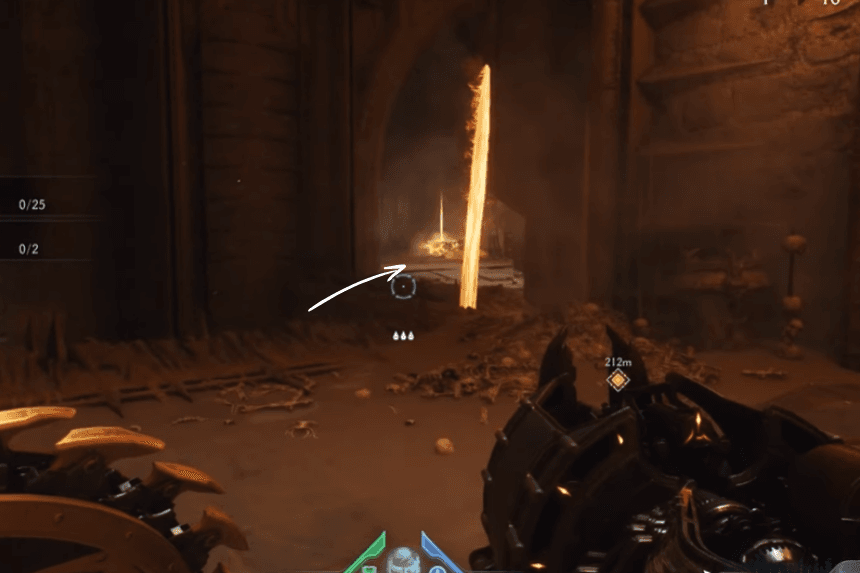
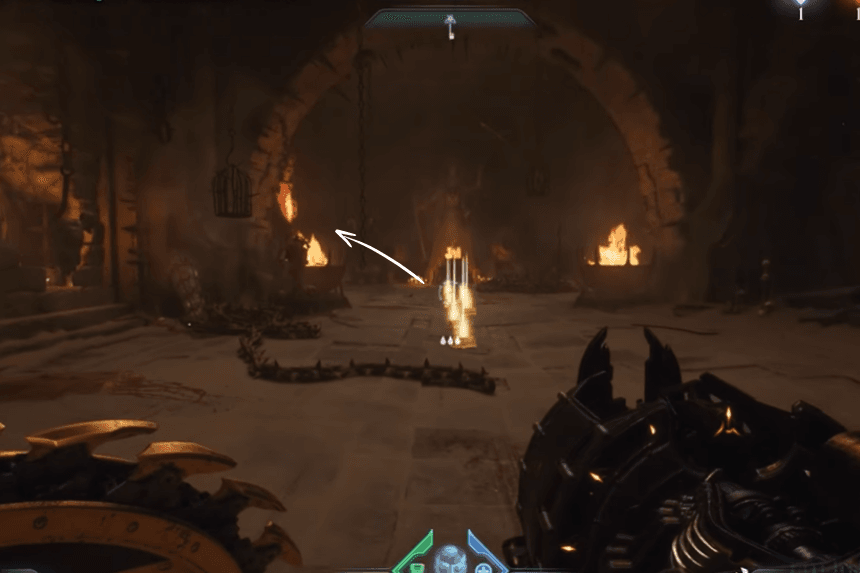
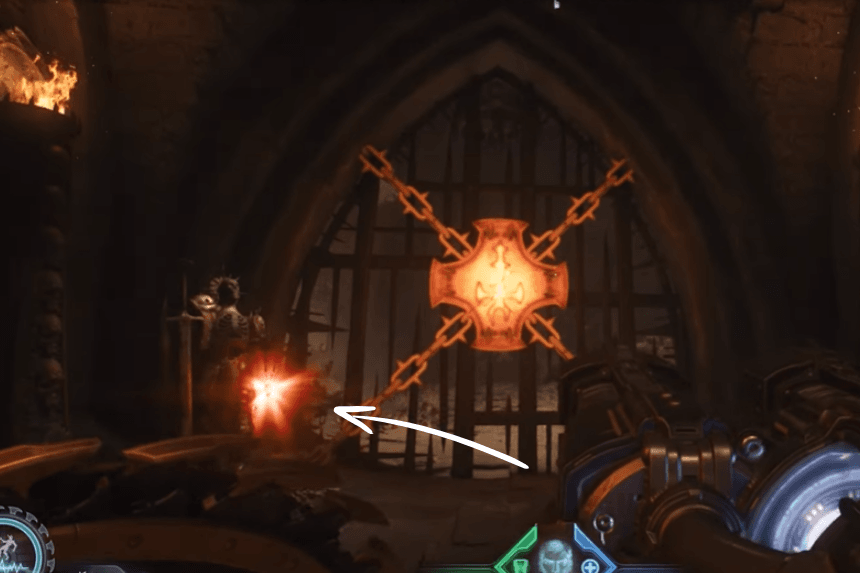
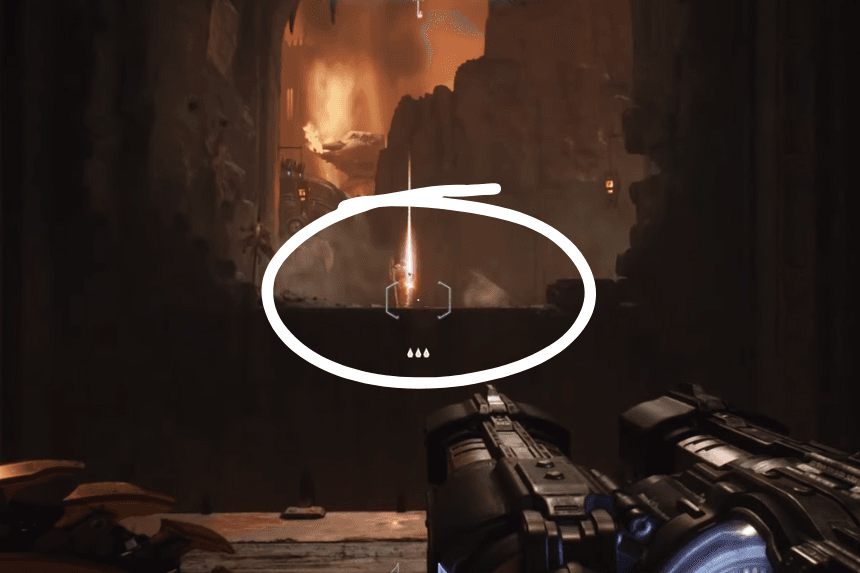
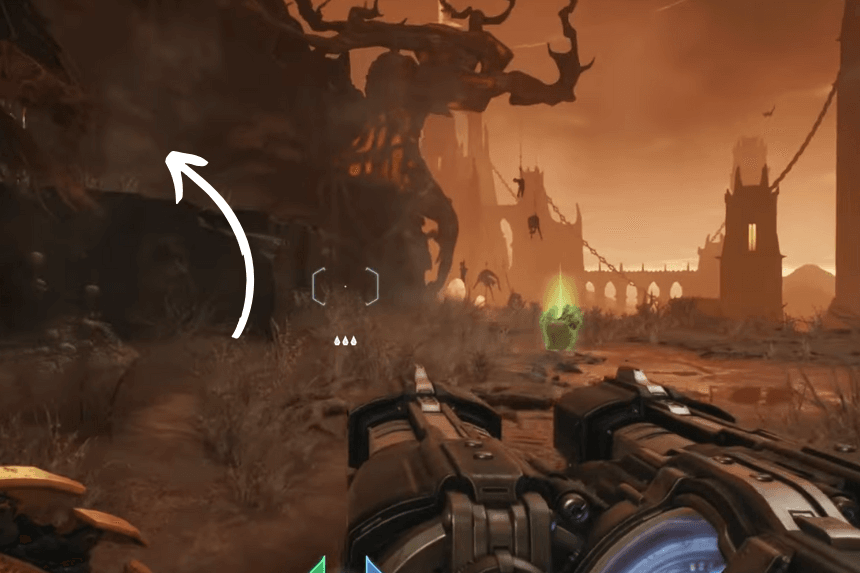
To find the second secret area, pass through the gate and keep heading forward. Then take a left to reach the locked cage, inside you will find a secret key. On the left you will find a green statue to grapple. Follow the trail of armor shards and you’ll see an orange chain you can break. That opens a gate nearby. Go through it to collect six Gold bars and then climb up the wall to find a crate with 50 Gold bars. Keep following the corridor to find your way into the Secret Key room.
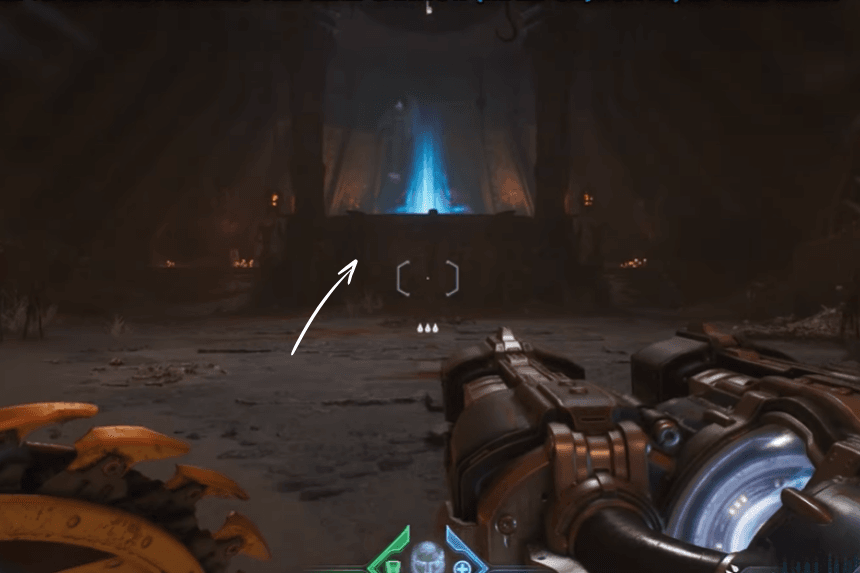
3. Third Secret Area – Ruby – Secret Key
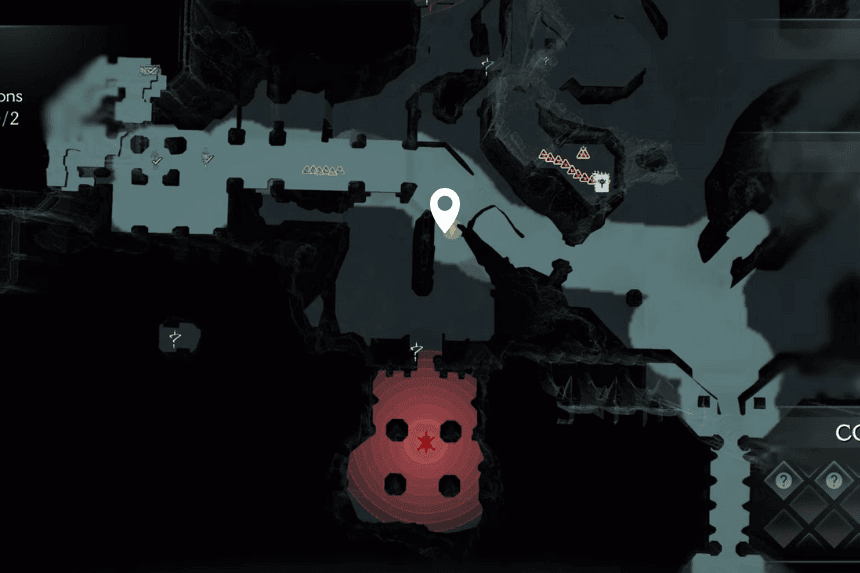
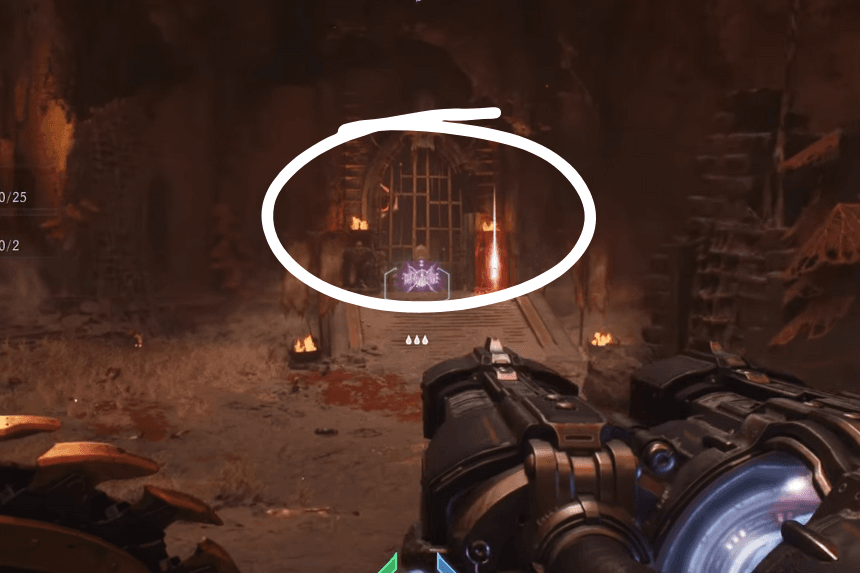
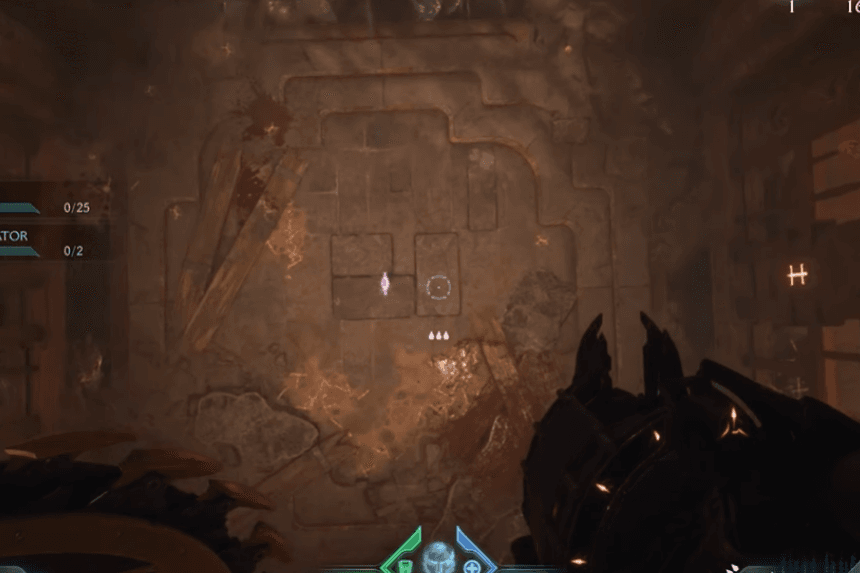
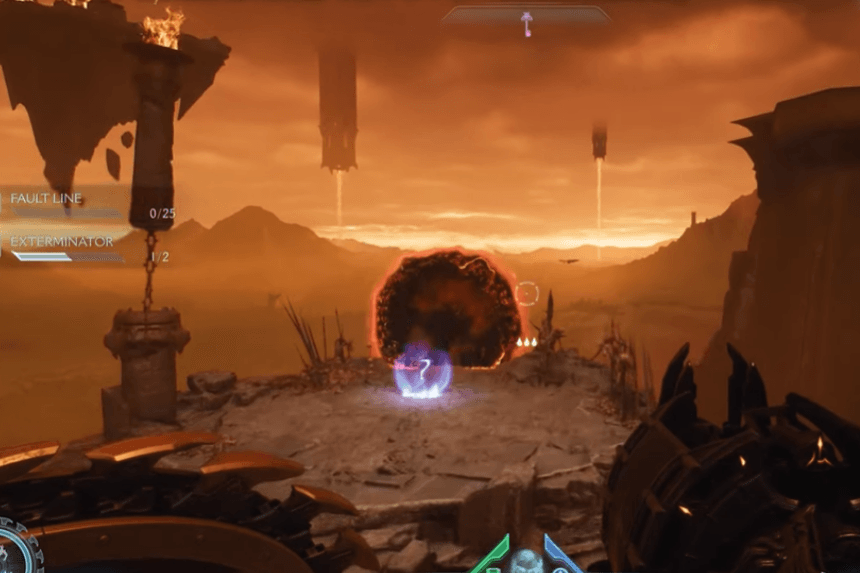
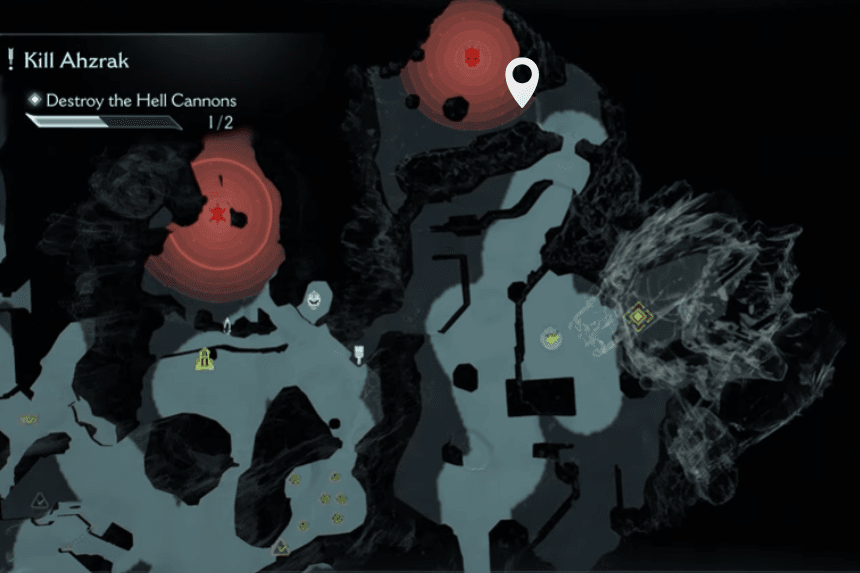
To find the third secret area, go back the way you came and drop down into the red combat area. Here, you will find a Ruby and a Secret Key gate. Use the key to open the gate and destroy the Gore Nest inside.
4. Fourth Secret Area – Collectible Toy
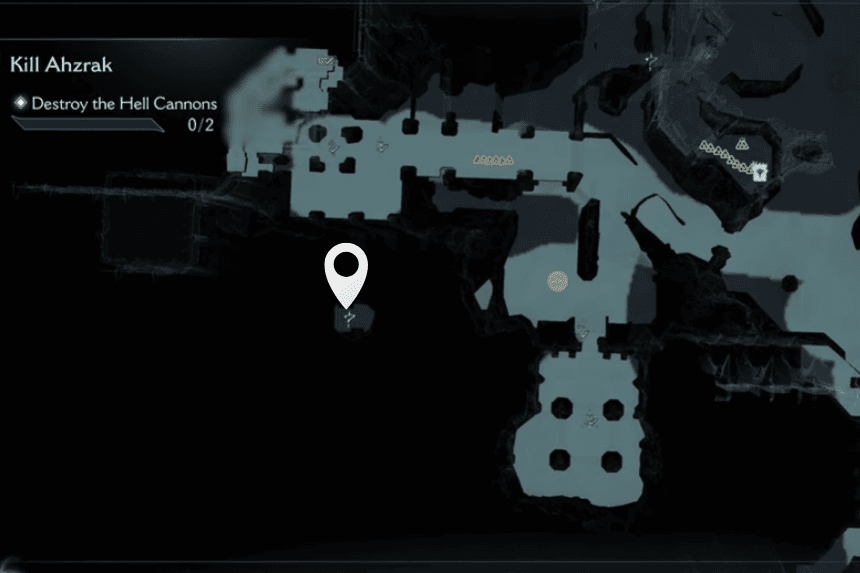
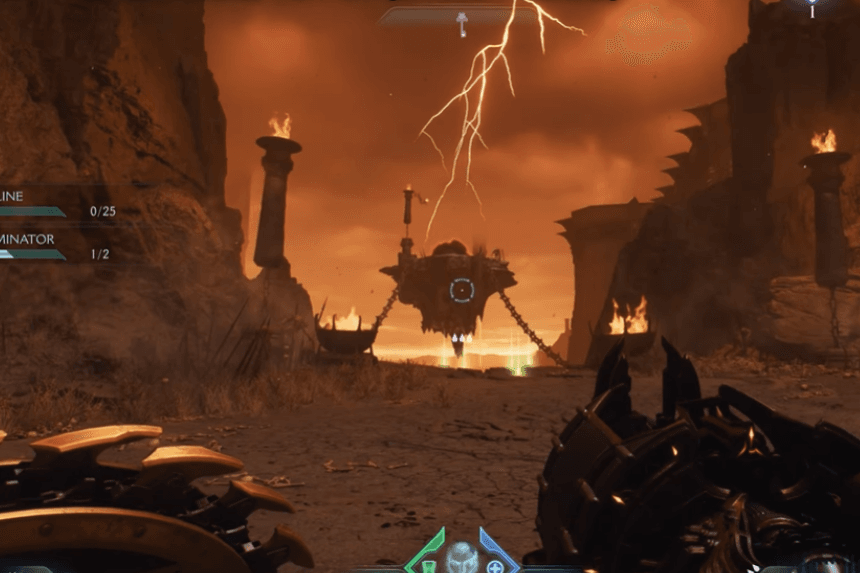
To find the fourth secret area, go out to the ledge and look down. You will see a jump pad jump on it and it will launch you to a floating platform and you will find the Cyberdemon Toy there.
5. Fifth Secret Area – Life Sigil
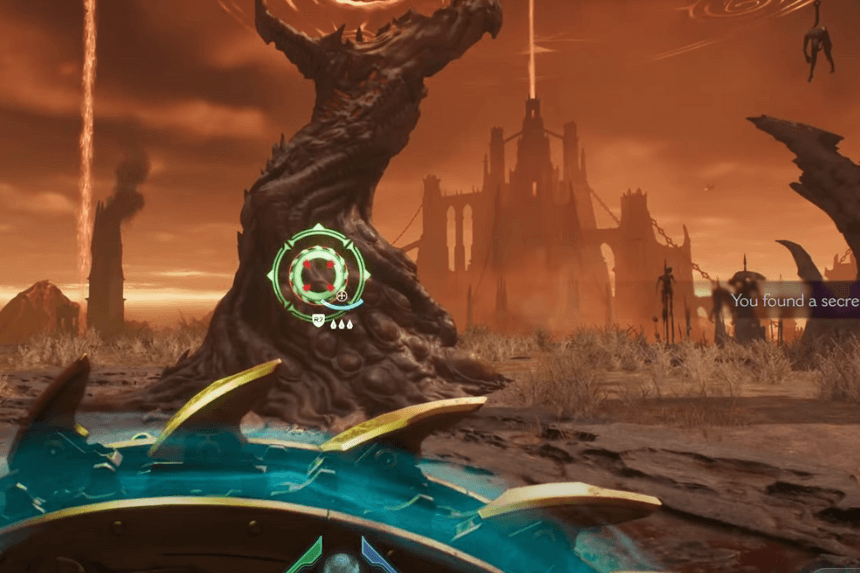
To find the fifth secret area, move forward and climb the platforms ahead. Turn around and you will see a green body thar you can grapple onto. Do that to reach a hidden area with a Life Sigil.
6. Sixth Secret Area – Ruby
To find the sixthth secret area, go back to the area where you first entered after blowing up the first Hell Cannon, and the barrier will be gone. You will find a Secret Key gate and open it, and head inside to grab some Gold and a Ruby.
7. Seventh Secret Area – Secret Key
To find the seventh secret area, climb up the next ledge and you will spot a staircase in front of you. Go up the stairs and you will see another Secret Key gate.
8. Eighth Secret Area
To find the eighth secret area, before your next red combat fight, look for a Sentinel Shrine. Behind it, there’s a ditch you can drop into. Follow the path there to find a secret room with a Life Sigil.
9. Ninth Secret Area – Ruby

To find the ninth secret area, go back to the starting area and take the right path to reach another Sentinel Shrine. There’s a spike trap moving up and down. Now, wait for it to lower, then get inside it. It’ll lift you to a ledge where you’ll find a Ruby.
10. Tenth Secret Area – Demonic Essence
For the Tenth secret area, destroy the second Hell Cannon and climb up to the next red combat zone. You will find another Gore Nest there. Destroy it and take out all the demons around it and you will get demonic essence.