
Chapter 22: Reckoning in Doom: The Dark Ages is packed with hidden areas, collectibles, and intense encounters. This guide helps you find all secret areas, toys, rubies, codex entries, and the Wraithstone. Master every hidden path and unlock every reward to fully complete the chapter and its challenges.
All Secret Areas and Toys Location in Chapter 22 Reckoning
Below is a list of all the Secret Areas, Toys, Rubies, Codex and Wraithstones found in Chapter 22 of Doom: The Dark Ages:
NOTE: Click on the images to enlarge
Secret Area 1 & Marok (Codex)
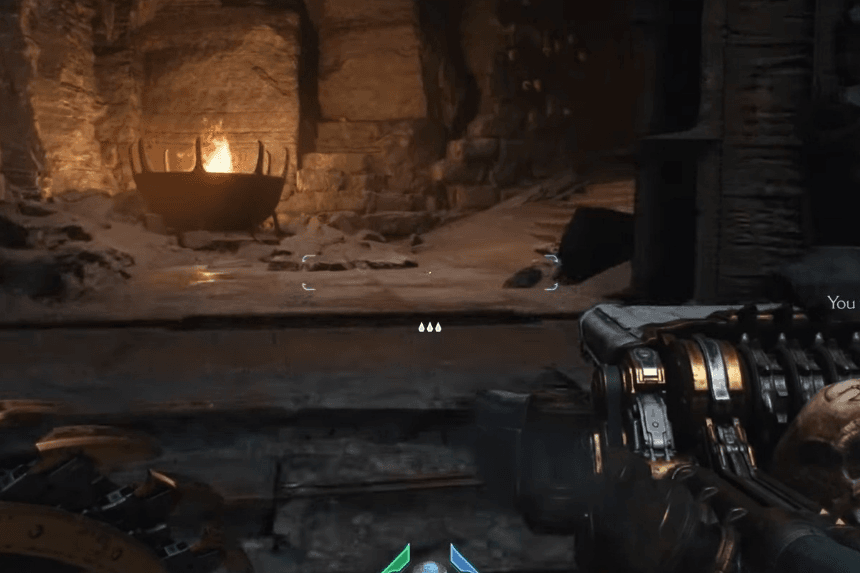
Codex
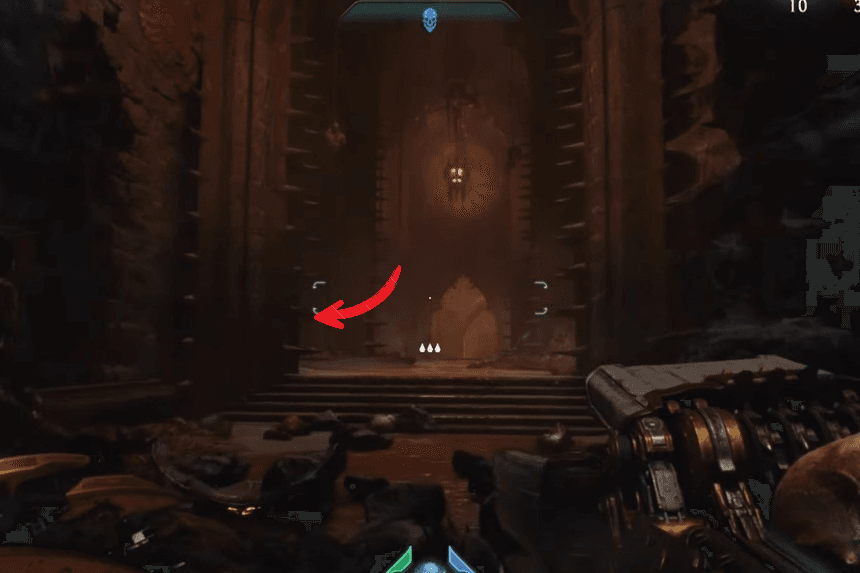
The codex is to your right if you proceed and shieldbash through the first wall at the beginning of the chapter, then jump off the ledge.
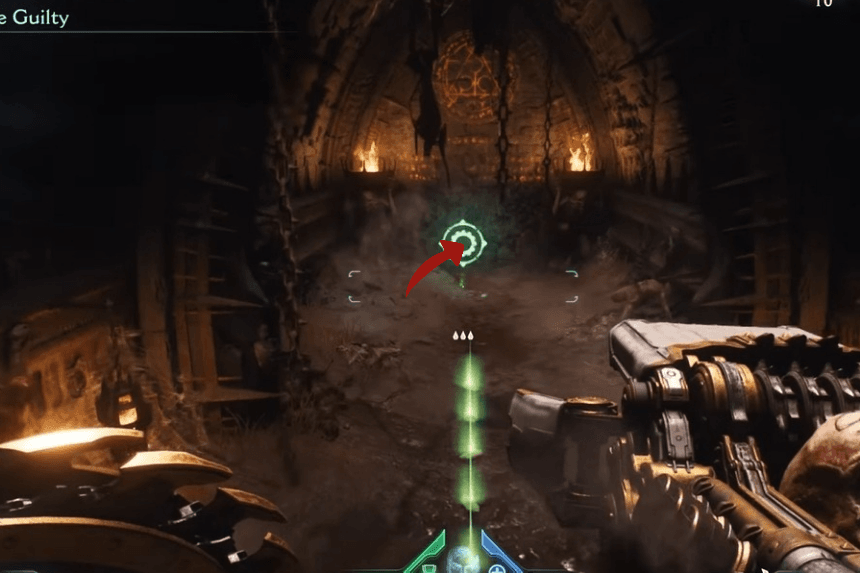
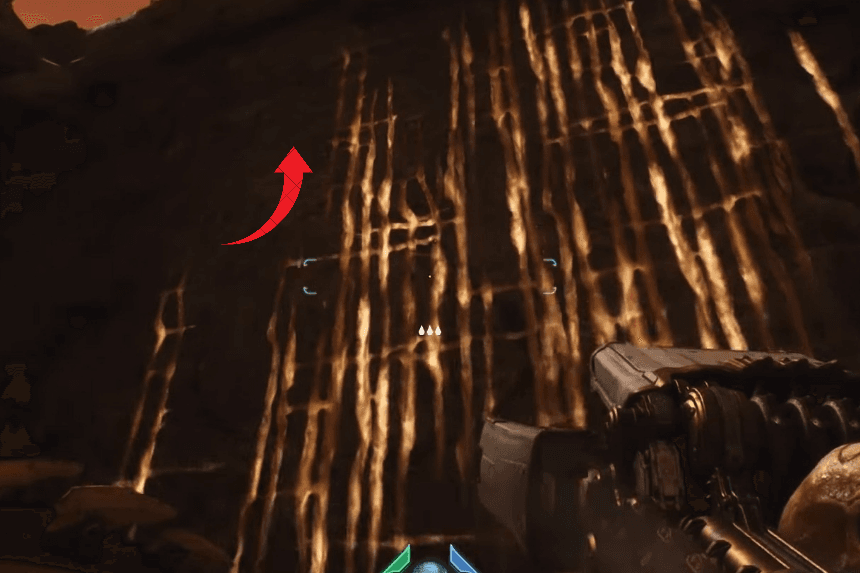
Secret Area 1

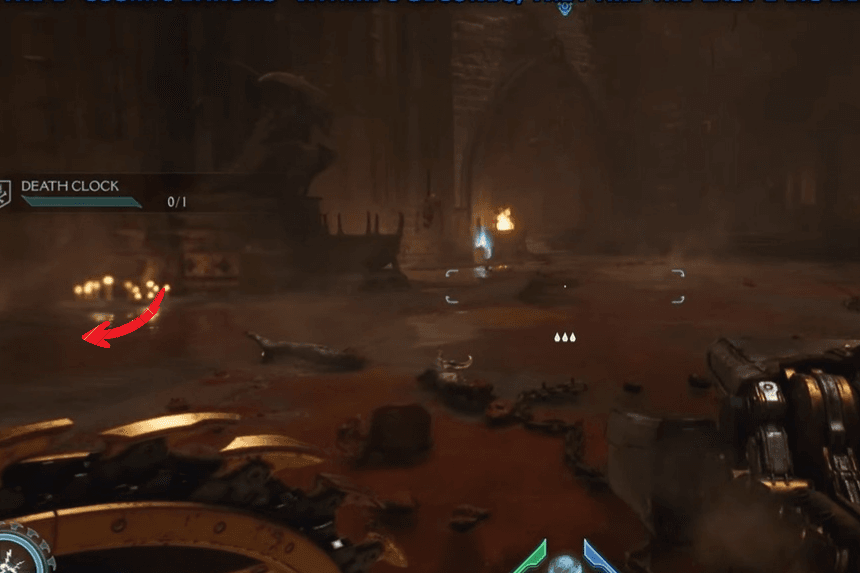
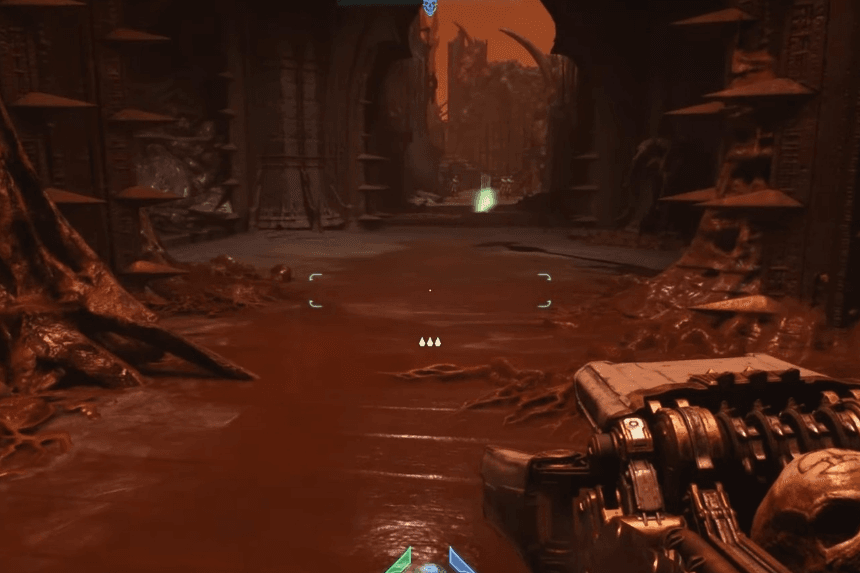
Go to the first red enemy encounter and beat them all. A life symbol that counts as a secret is located to the left of where you plummeted down.
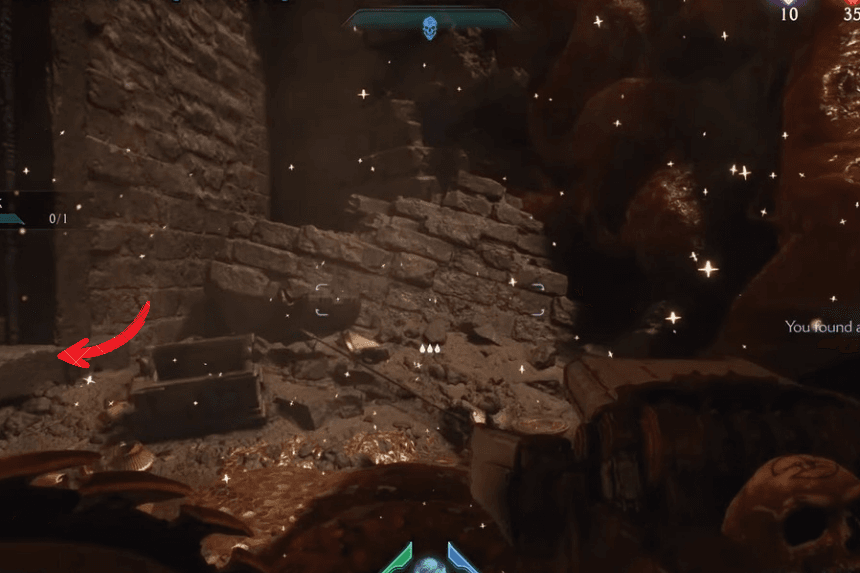
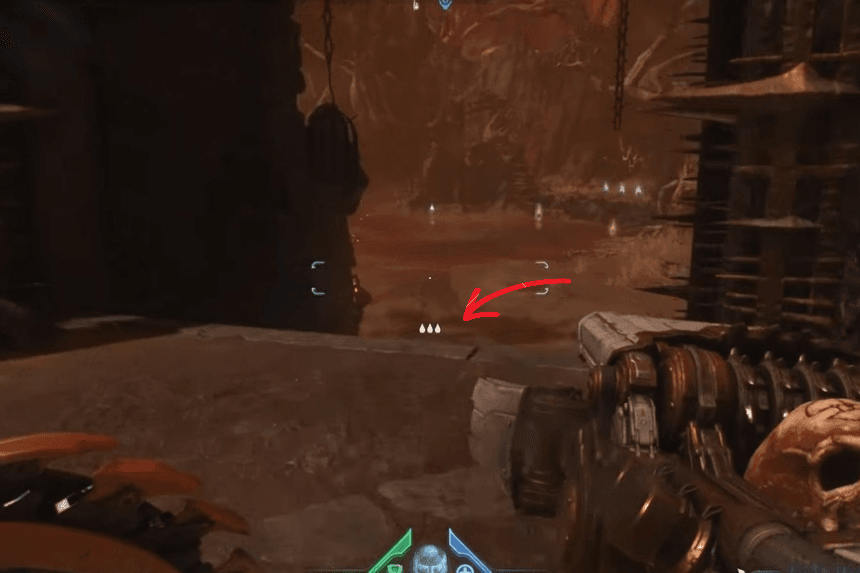
Secret Area 2 (50 Gold)
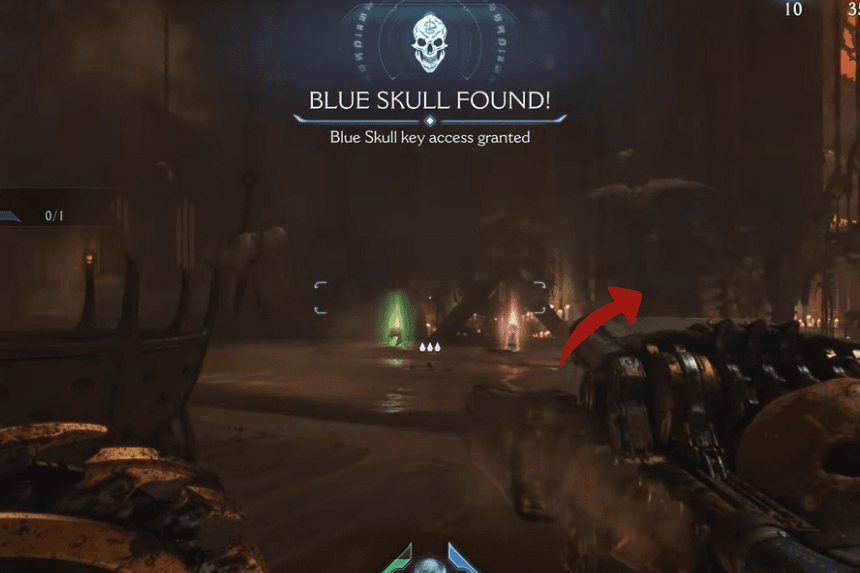
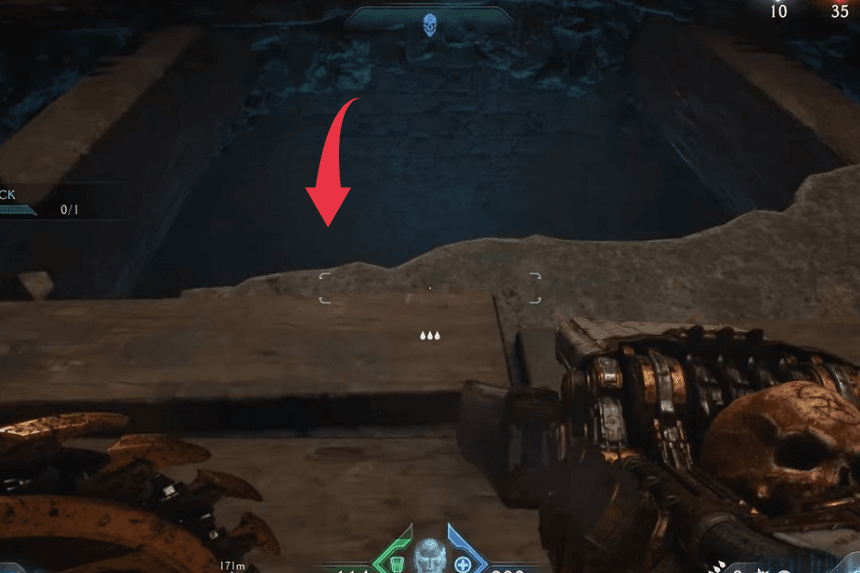

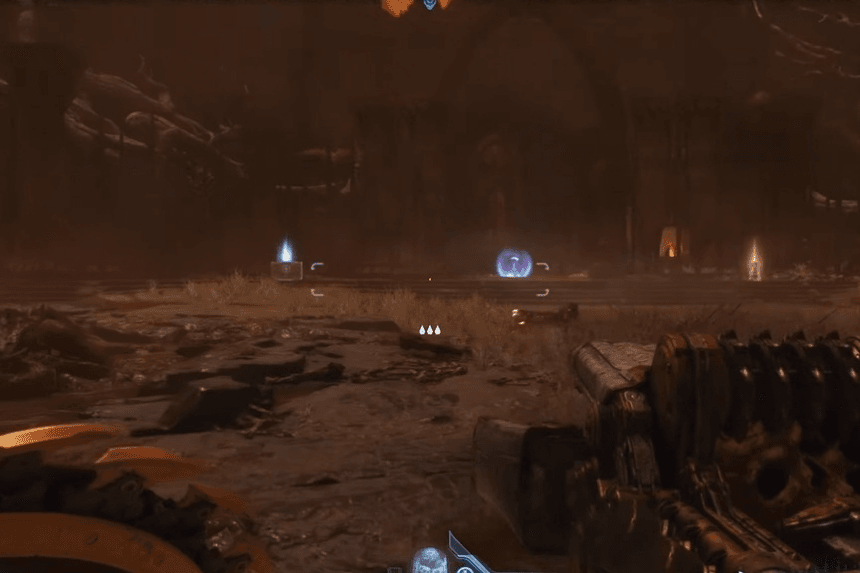
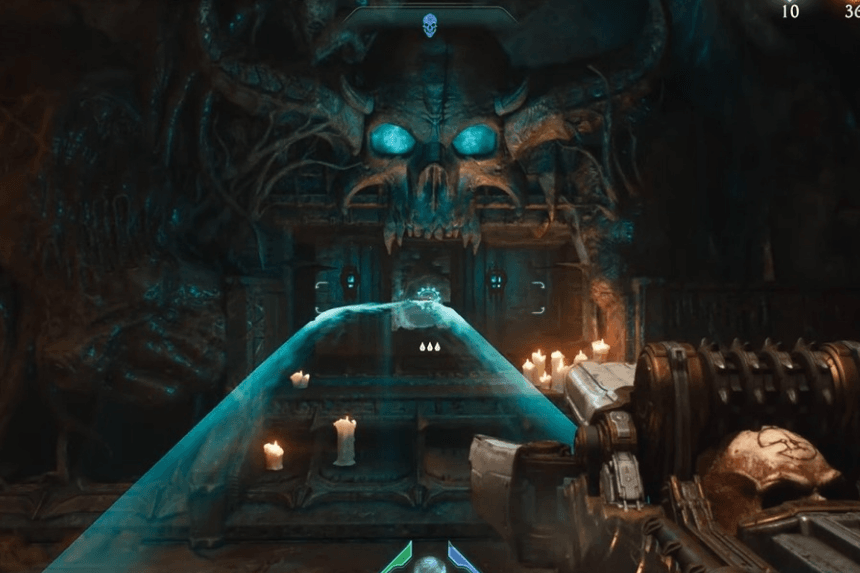
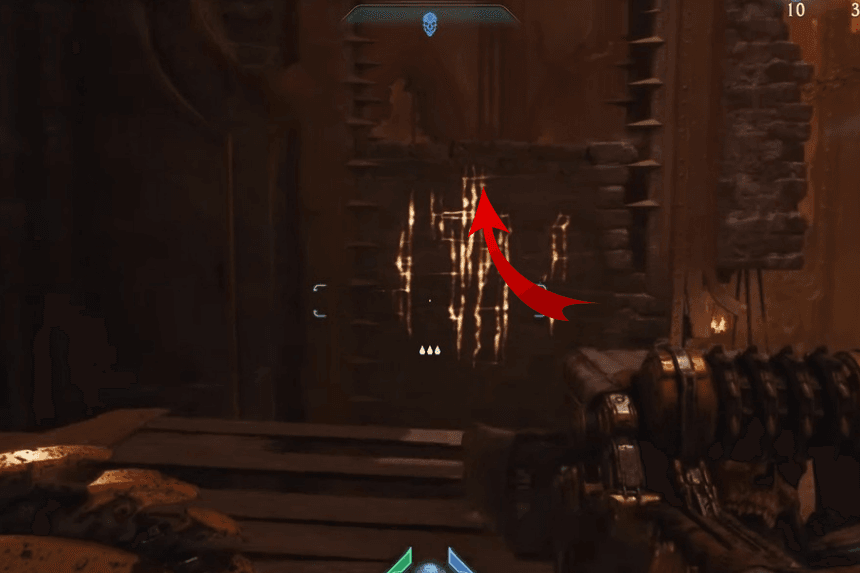
Turn around and head left after picking up the blue skull rather than jumping down behind it. There is a jump pad at the bottom and a hole in the ground. Get thrown up by jumping on it. Shieldbash through the blue breakable wall and armor pickups in front of your landing spot to find this.
Secret Area 3 & Ruby 1
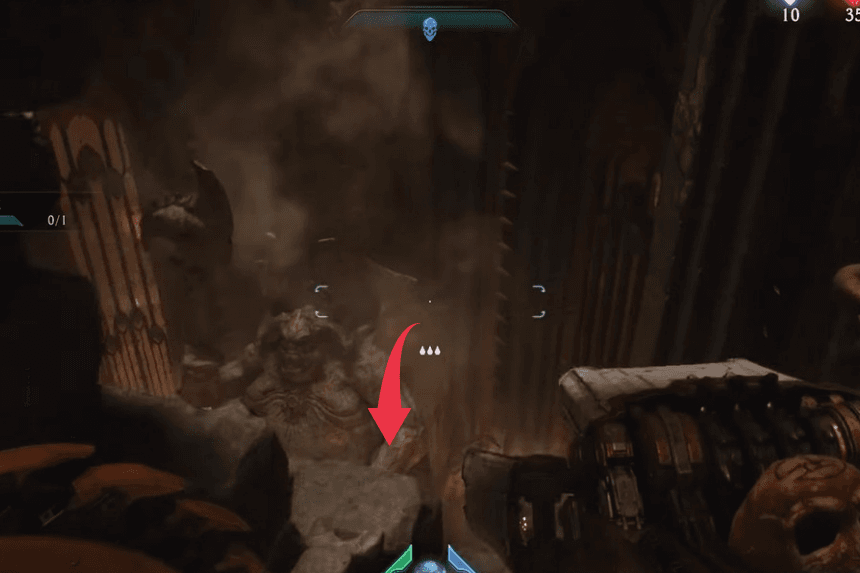
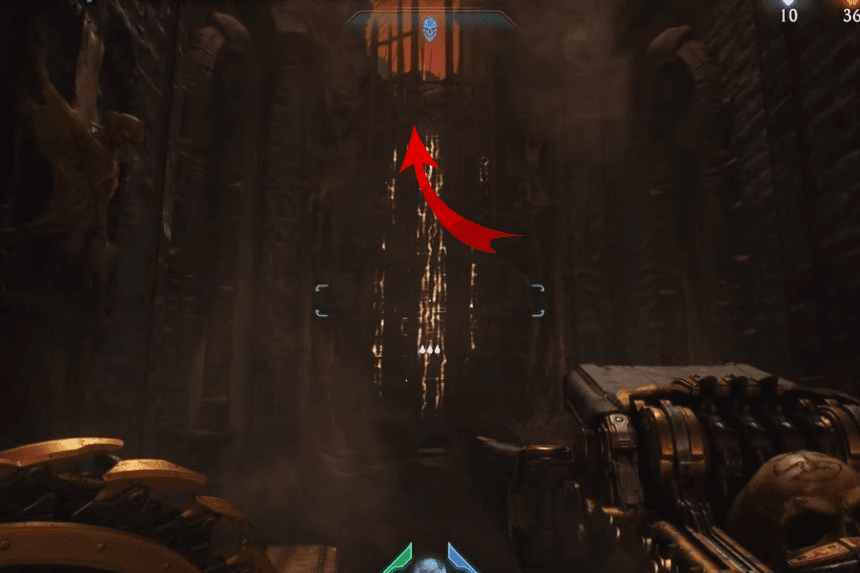
To land in a hidden region with the ruby, turn around and go down the route opposite the last gold chest.
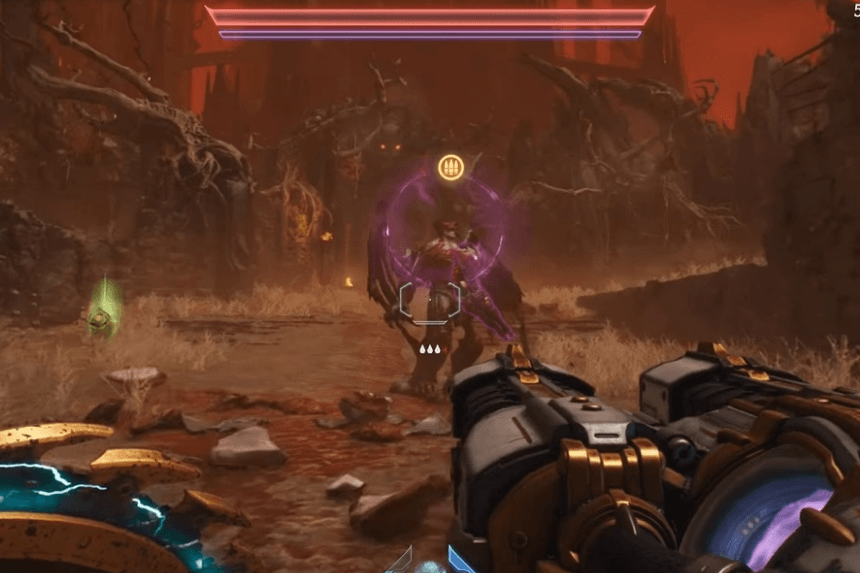
The Old One (Toy)

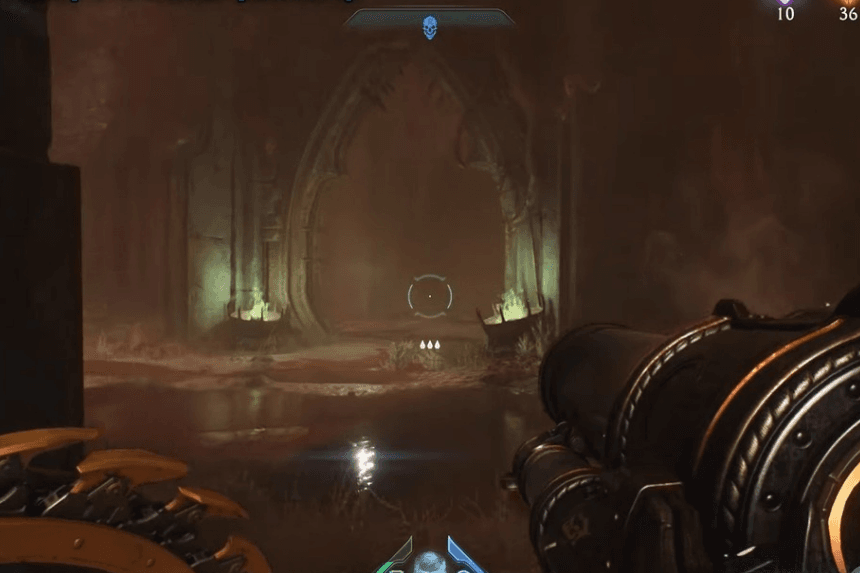
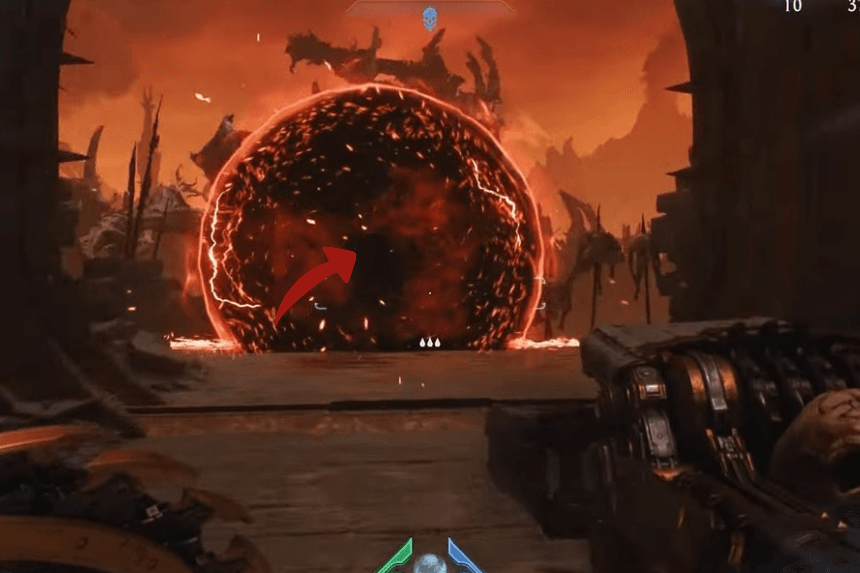
Return to the location where you collected the blue skull, use it to open the blue gate, and then descend. To get to the second red enemy encounter, turn around right away and enter through the door. To begin the encounter, shieldbash the demon arm.
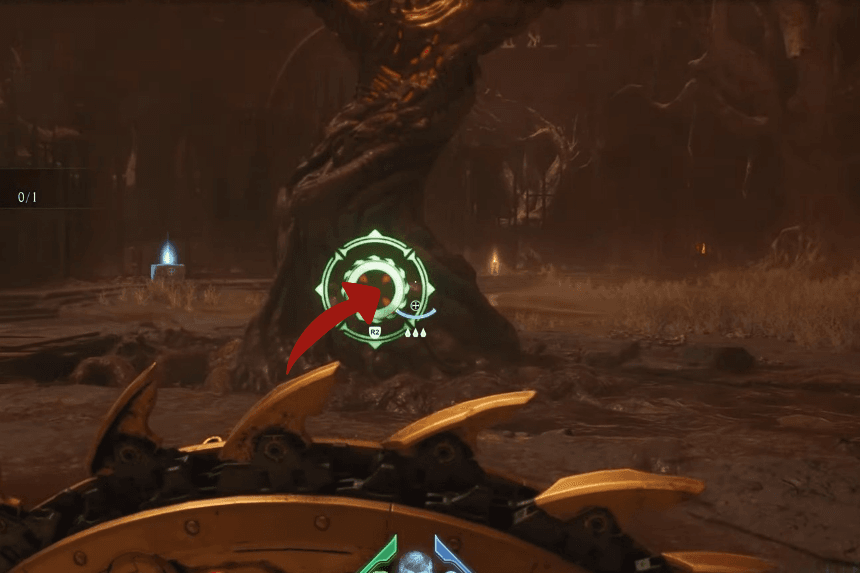
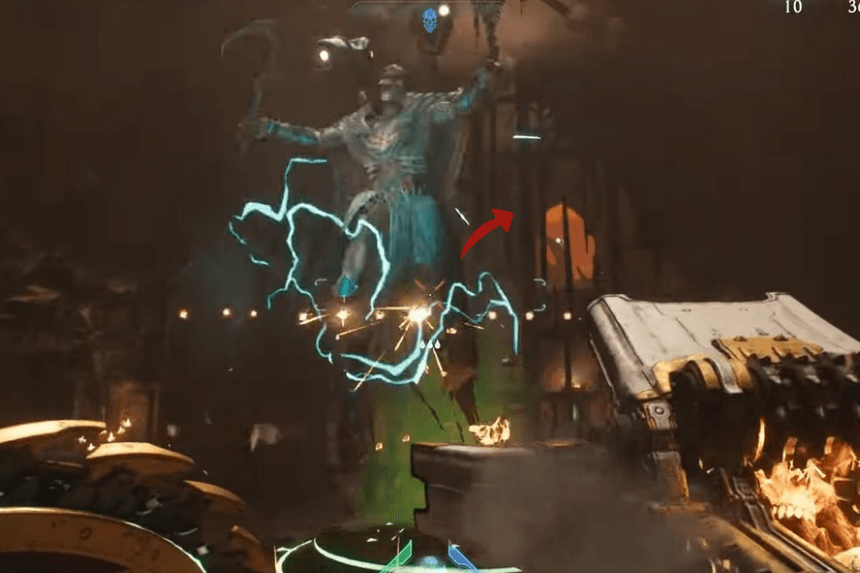
The “Cosmic Baron” is a large enemy type that uses its slicing arms for quick melee assaults. The challenge is to destroy it twice in five seconds. Wait for the second one to spawn, then shoot the crossbow to instantly kill both of them while keeping the first one alive. This will unlock the trophy immediately. If you have completed every mission challenge to date, you have completed the challenge. You can get the toy after the encounter.
6 Gold + 4 Gold + 6 Gold + 16 Gold

There will be a line of six gold on the main road; you can’t miss it. Continue the story until you have to interact with a switch to open a door. There is another four gold at the end of the trail, where a Mancubus bursts through the wall.
6 Gold
Proceed with the narrative; you will automatically pass through the gold after pressing a block to ascend a wall.
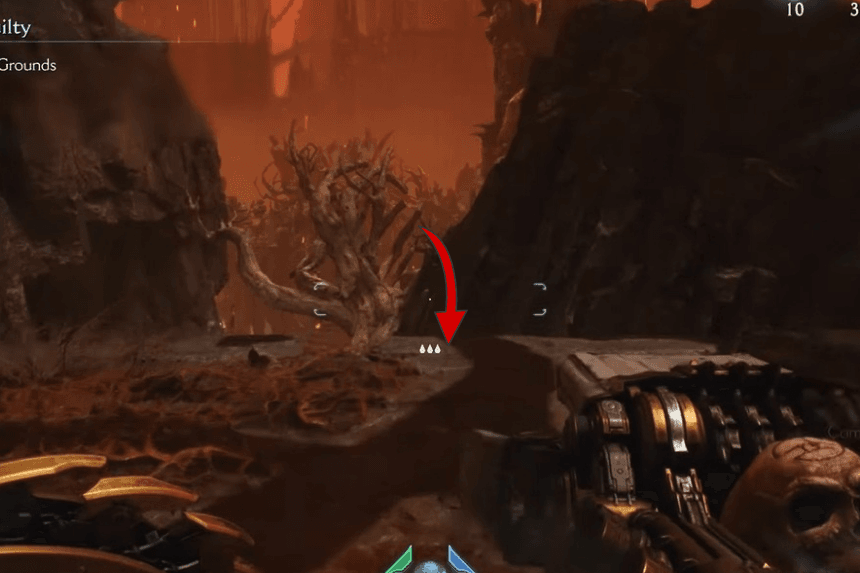
16 Gold

Drop down the hole and follow the trail after the previous gold. Before you will be the gold.
Secret Area 4 (50 Gold)
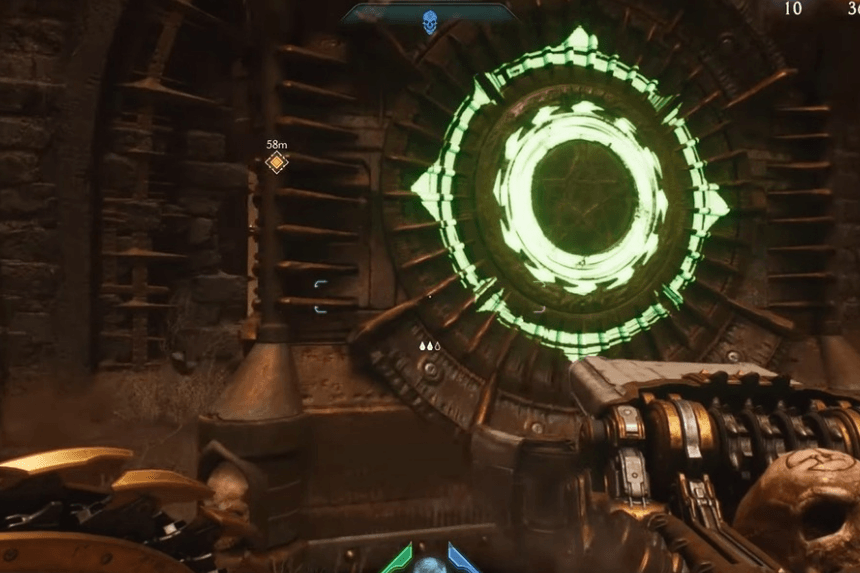
Proceed with the narrative until you are able to unlock a gate by throwing a shield at a blue symbol. Proceed directly ahead and shieldbash through the blue wall in the right-hand corner next to the exit after passing through this gate.
5 Gold + 5 Gold
You will once more enter a building following the subsequent red enemy encounter. To locate the first five pieces of gold, turn right as soon as you enter. A Mancubus will then breach a wall as you proceed. There are five more golds behind that wall.
Secret Area 5 & 6 + Ruby 2 (50 + 5 Gold)

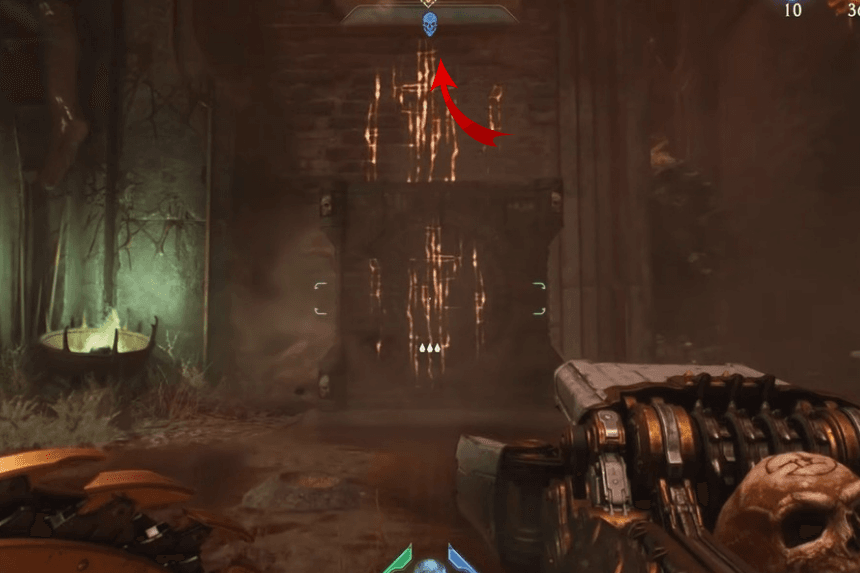
Go to the left corner after turning around from the previous gold. There is a wall that has to be protected. Throw your shield at the blue sign now, and a wall will rise to your right, which you must scale.
To locate the gold chest, take the path around the corner. Proceed on the trail and turn left now. Five gold pieces can be found on the trail shortly after scaling another wall. Ascend the wall and hurl your shield at the blue symbol. To locate the ruby and the hidden room, turn around, retrieve your shield, and ascend another wall.
Secret Key (6 Gold)
Proceed to the next section of the story, which will be accessible via elevator. Turn around after the elevator journey to get the key and the gold (next to a Sentinel Shrine).
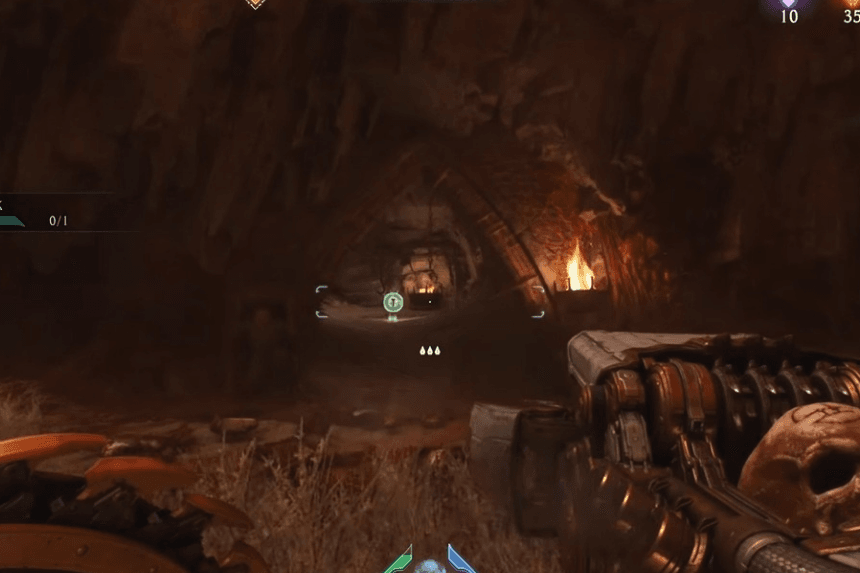
Secret Area 7 (37 Gold) & Ahzrak (Toy)

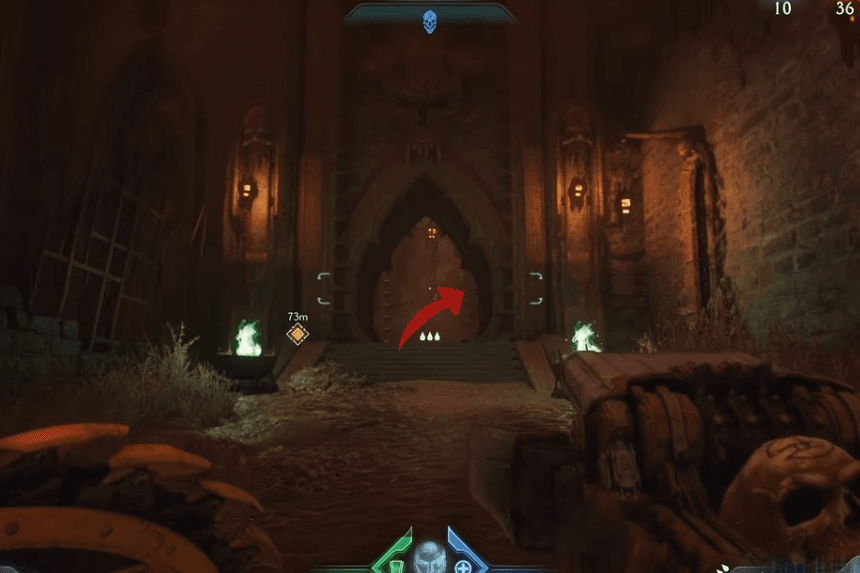
Use the purple door just in front of it to get the key, then go until you descend to the location of the first significant monster encounter. You can now use the key to open the gate that is closed when you turn left. Five gold will be on the left; slide down the hole to discover the collectible toy and four gold stacks in each chamber corner.
Secret Area 8 (24 Gold) & Ruby 3
Once you’re inside the initial encounter area, turn left and return there. Proceeding onward will reveal another gate that you can use the purple key to open. Behind it are the ruby and the gold.
Secret Area 9 (16 Gold)

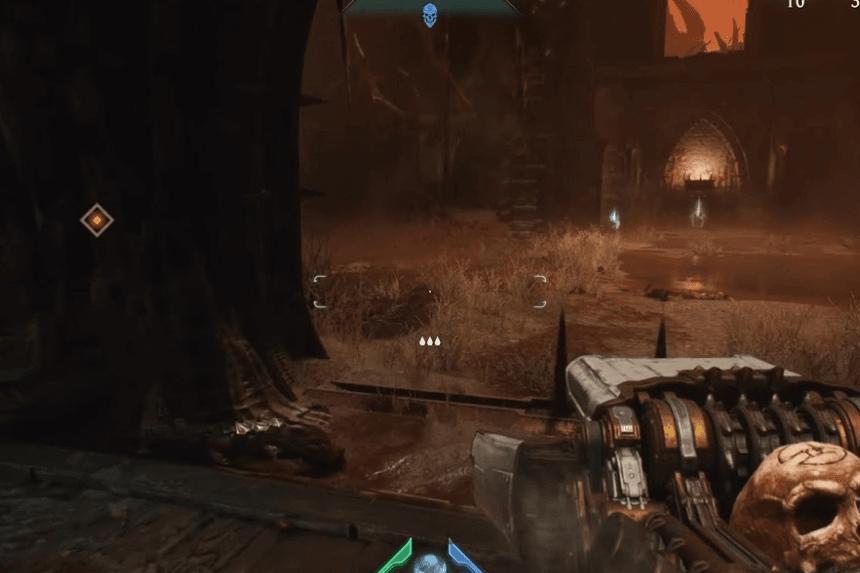
After obtaining the previous collectible, exit the hidden section and proceed directly until you are unable to continue (pass the right side of a wall that can be climbed). Turn left and continue after passing through a damaged building. You can use the secret key to open the gate and an opening in the wall on the left. The gold is behind that.
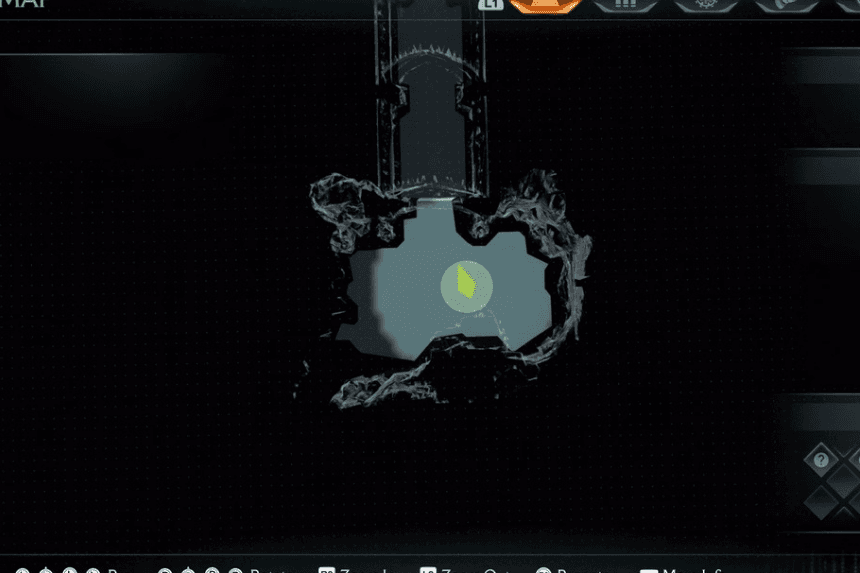
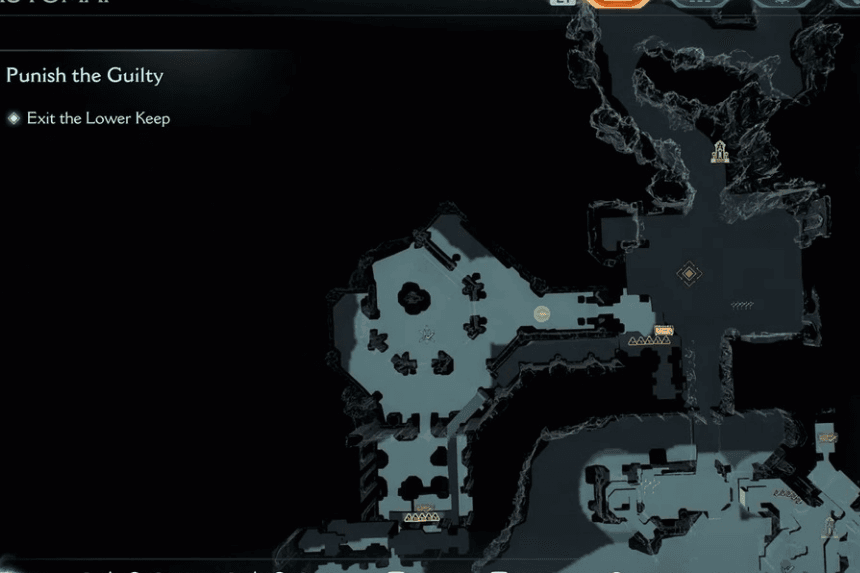
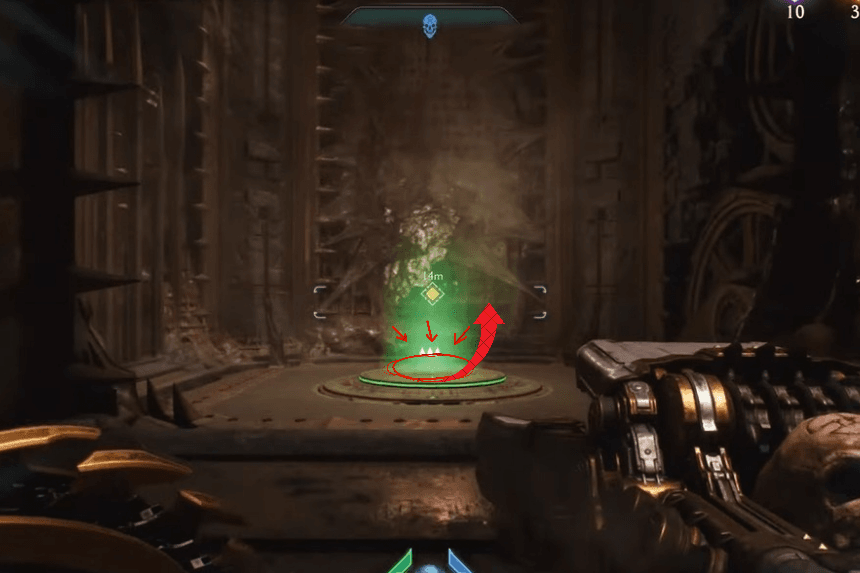
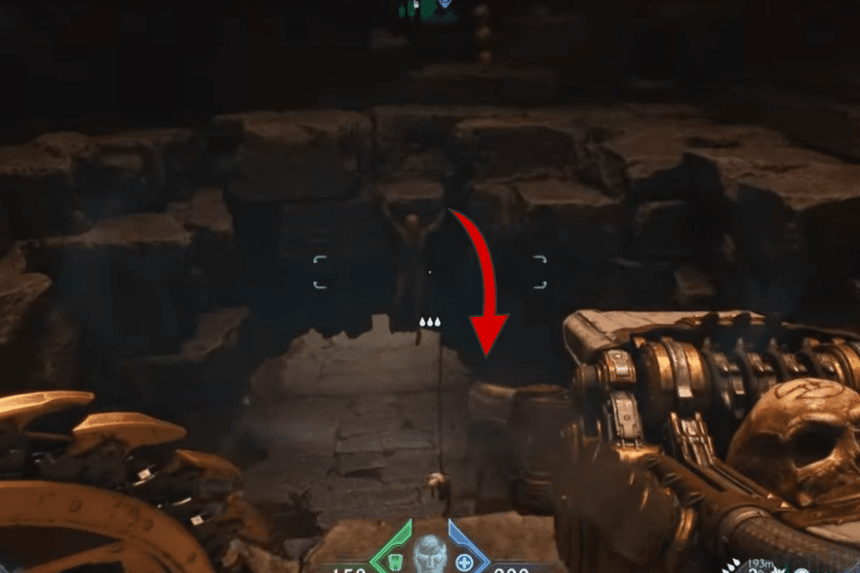
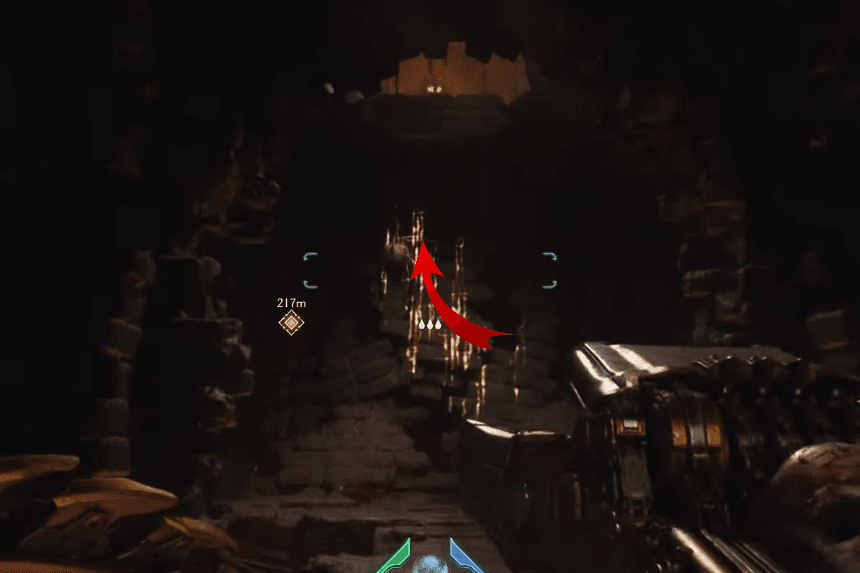
Secret Area 10 (16 Gold) & Wraithstone
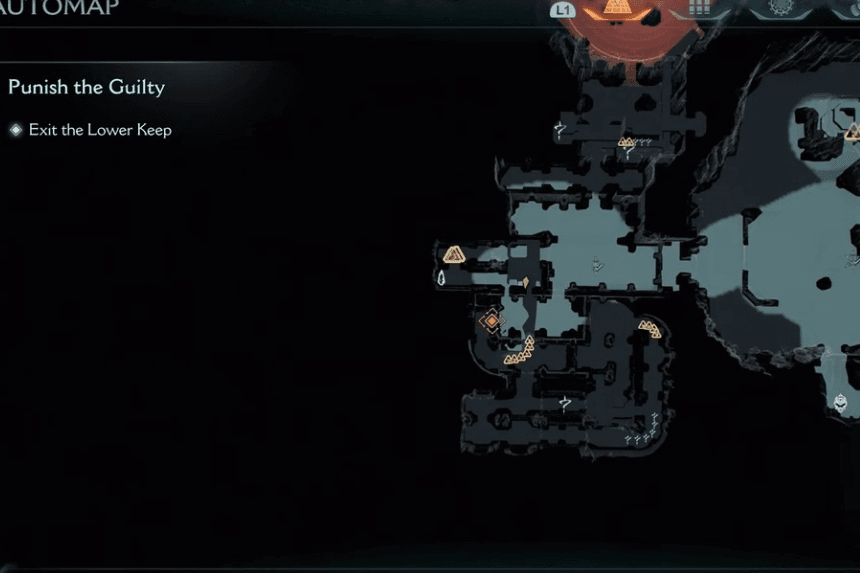
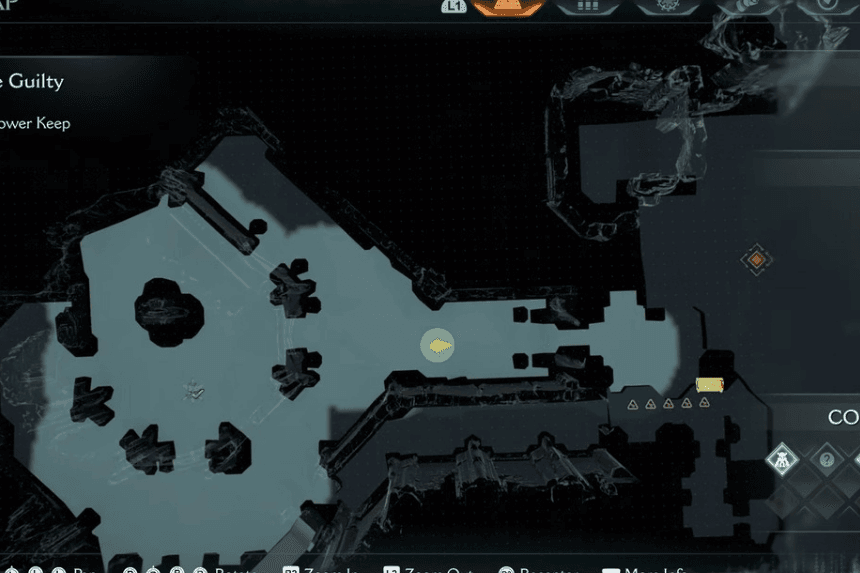
Return to the labyrinth where the third confrontation with the adversary took place. The Wraithstone can now be picked up by using the secret key to open a gate next to where 16 Gold (87/335) was. From the first enemy encounter area, simply proceed toward the Wraithstone, which should already be marked on the map. From there, you can drop down to it.
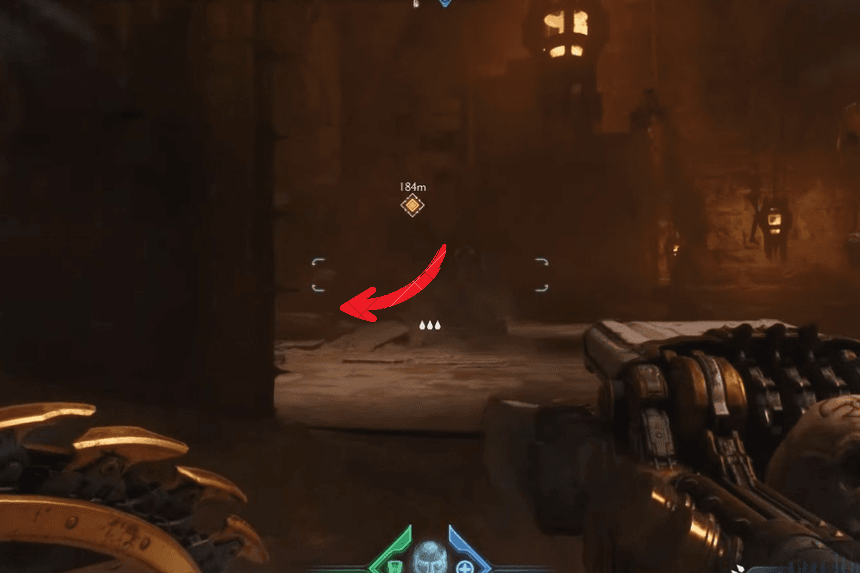
Secret Area 11 (50 Gold)

Turn around and head for the right exit from the wraithstone. Continue till you get to a crossing. You will need to use the secret key to open another gate to the left. Behind the gate is the gold.
Ammo (Demonic Essence)

Proceed to the subsequent red enemy encounter in the narrative. In this encounter, the leader will automatically reward you with the final demonic essence. Trophy Essential Ammo + Essentially Unstoppable will be unlocked as a result.
