
Chapter 20 of Doom: The Dark Ages takes you deep into the mysterious Resurrection. This level has secret areas, along with a hidden collectible toy and a ruby. Since the map is open-world, you’re free to explore and tackle the Gore Portals in any order. In this guide, we’ll walk you through where to go and what to do so you don’t miss a single collectible.
All Secret Areas & Toys in Chapter 20
Chapter 20 of Doom: The Dark Ages has 12 secret areas and collectible toys. Since the level is open-world, you can go to the Gore Portals in any order you like.
NOTE: You can click on the images to enlarge
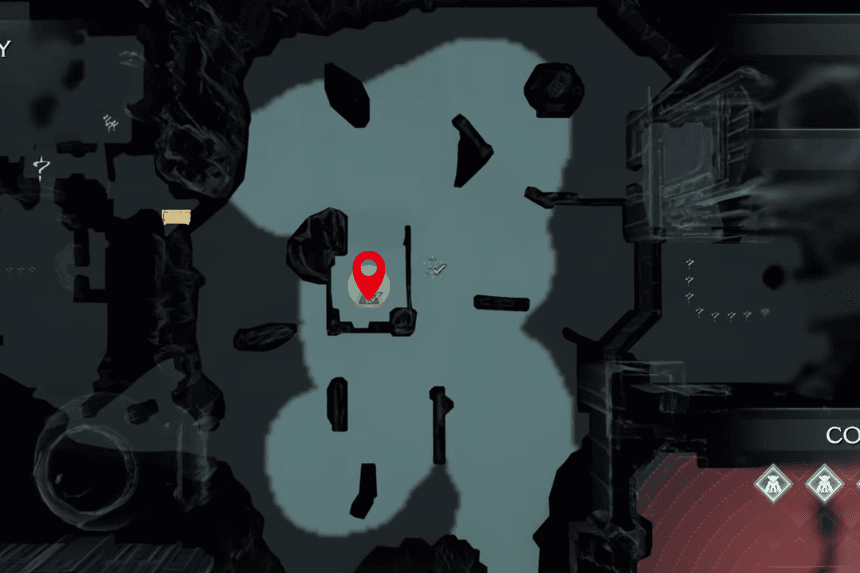
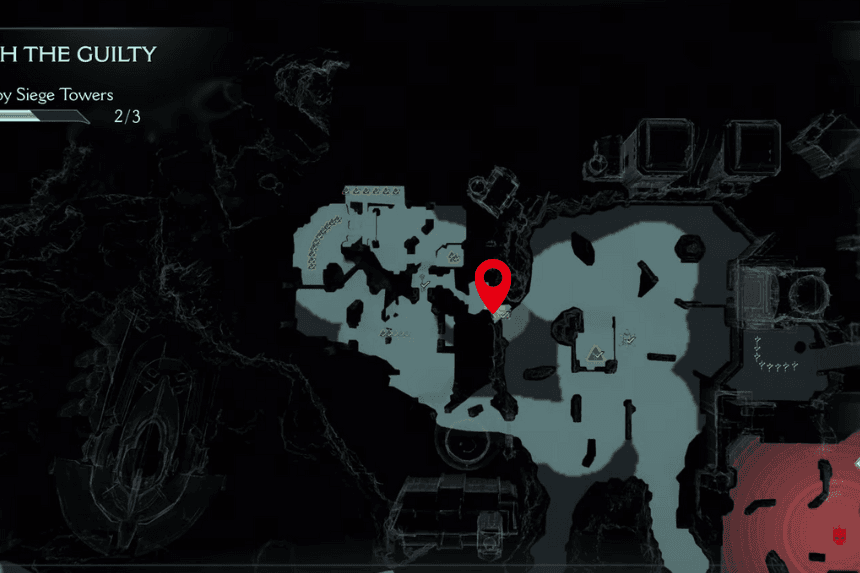
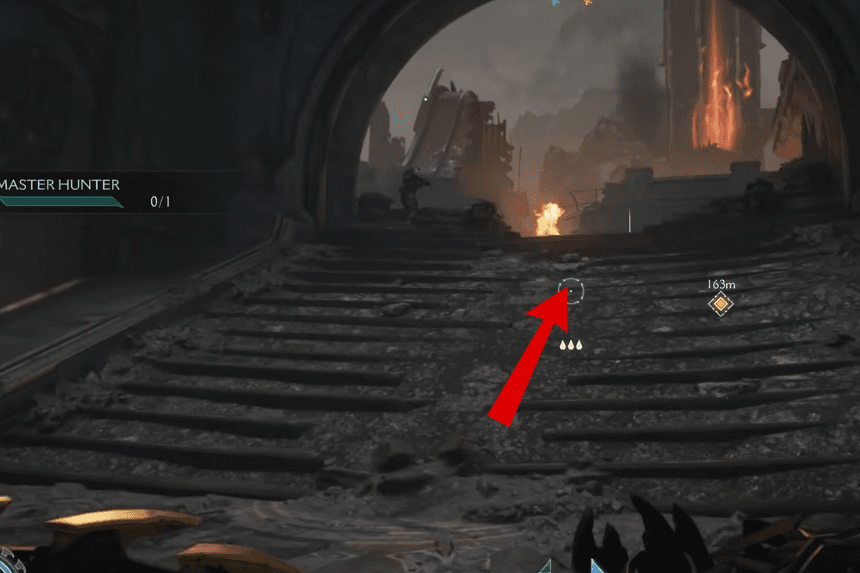
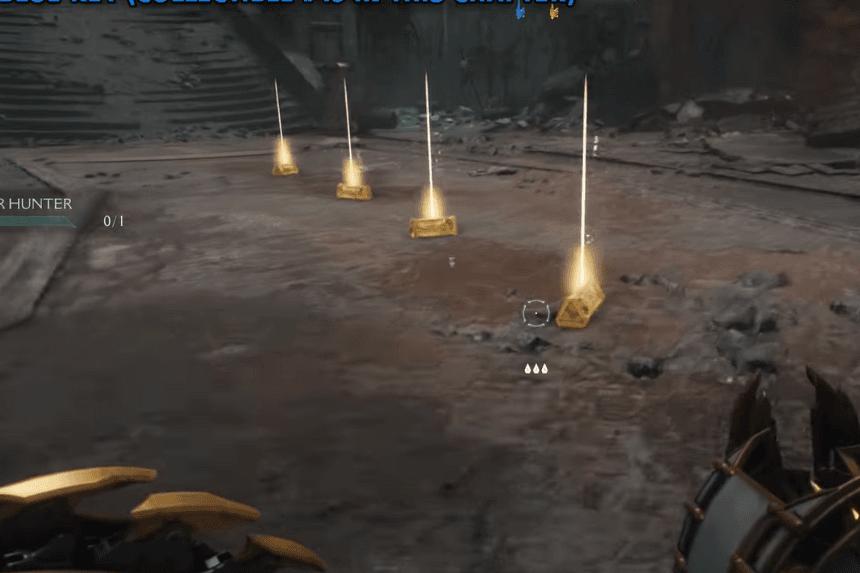
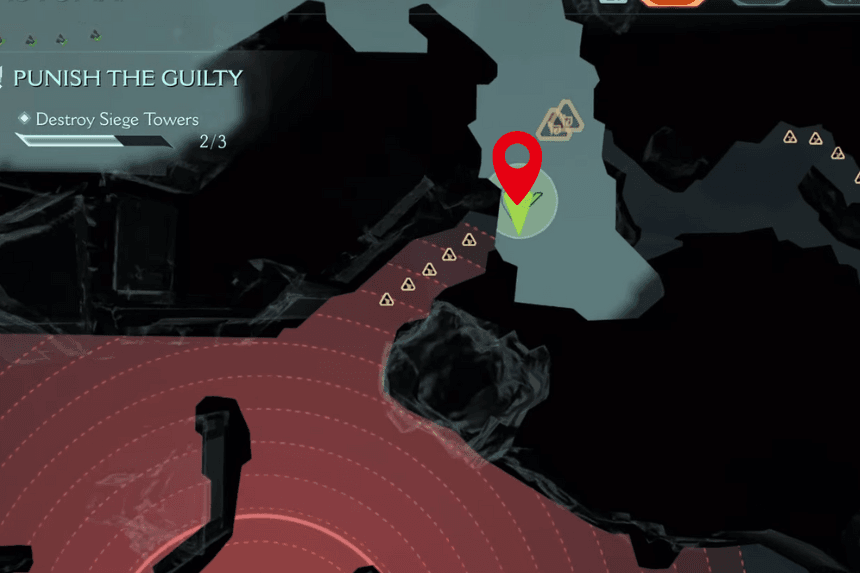
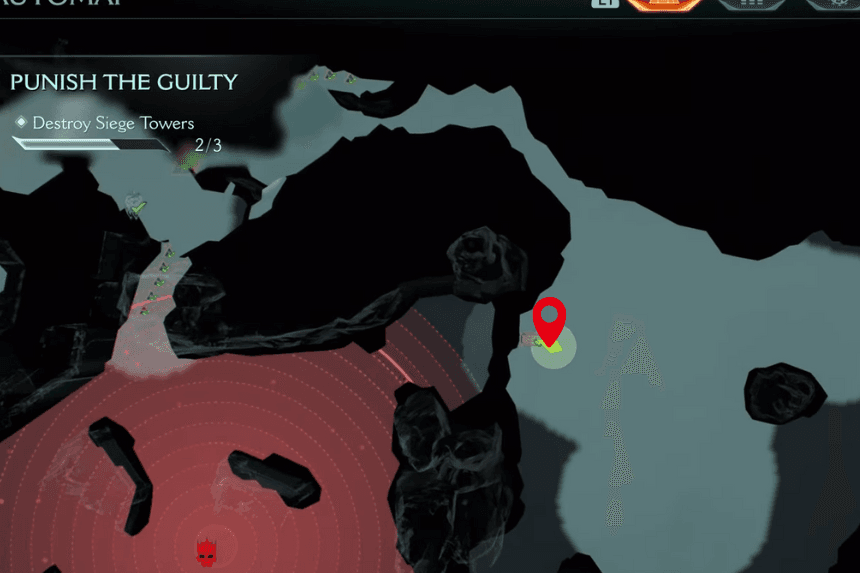
1. Secret Area – Collectible Toy – Codex

As you explore the area, look for a path going up on the left side. Follow it to grab 8 gold and a secret key. Then, head back to where you picked up the yellow key. Now go down the ledge there and look to your right. You will find a yellow gate that you can now open. Inside, you will find all three: the secret area, a toy, and a codex.
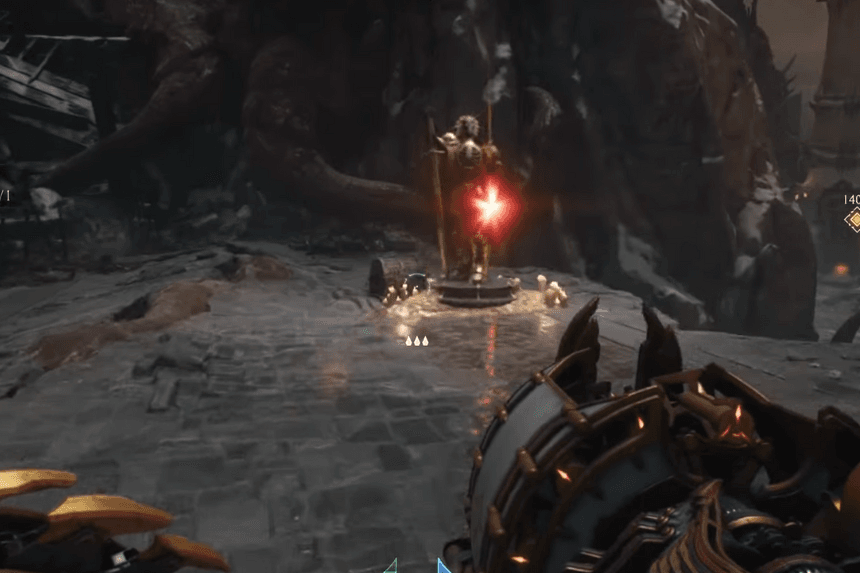
2. Secret Area – Wraithstone Collectible
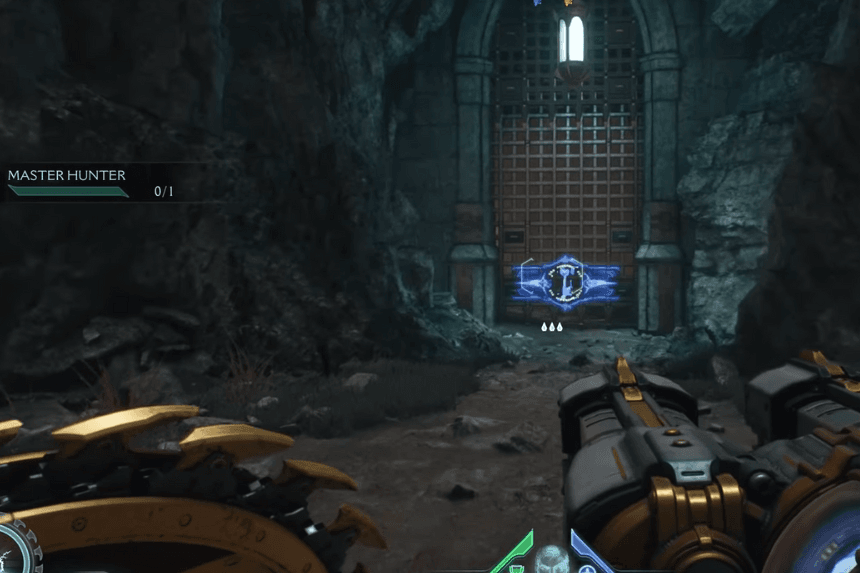
For this secret area, you will find a gate with a red lock. Throw your shield at it to open the way. Inside, you will find some gold, a bunch of cultists, and a wolf statue. Throw your shield at the wolf statue. Then walk up to the glowing Wraithstone on the right side of the room to reach the secret area.
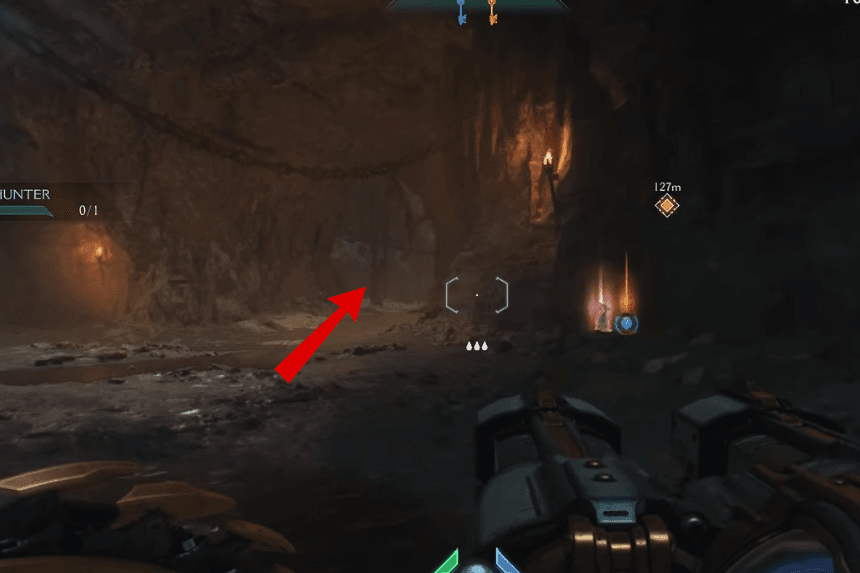
3. Secret Area – Collectible Area
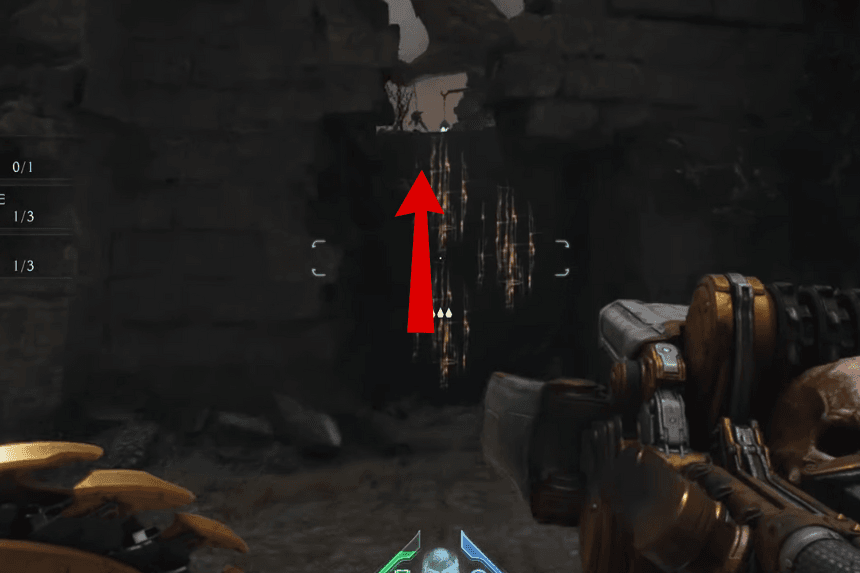
Now, take the left exit, and then take the left again. You will face some enemies here. Follow the narrow path to the end. You will find a Life Sigil there, which is in the secret area.
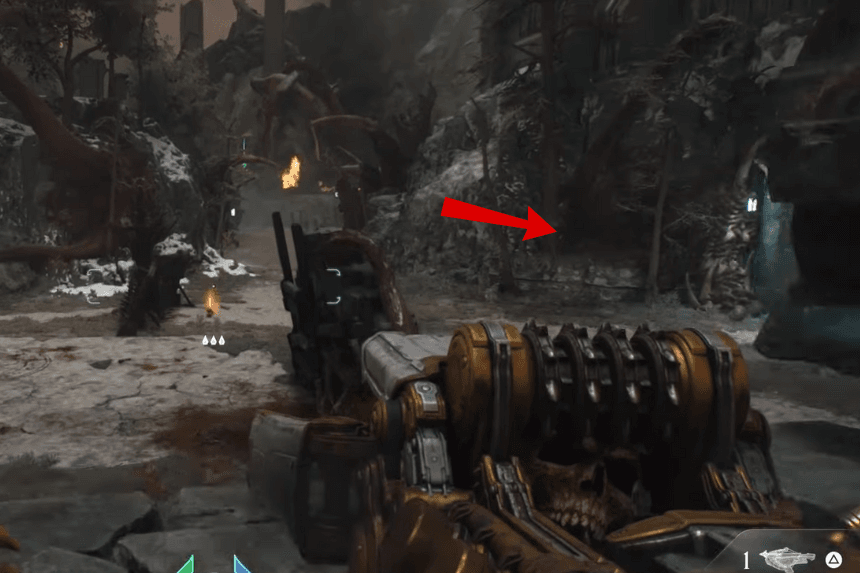
4. Secret Area – Collectible Area
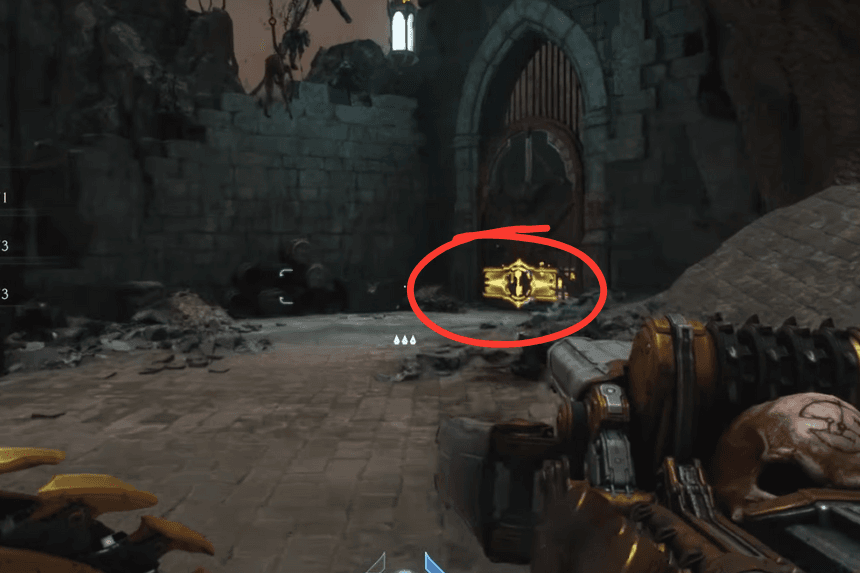
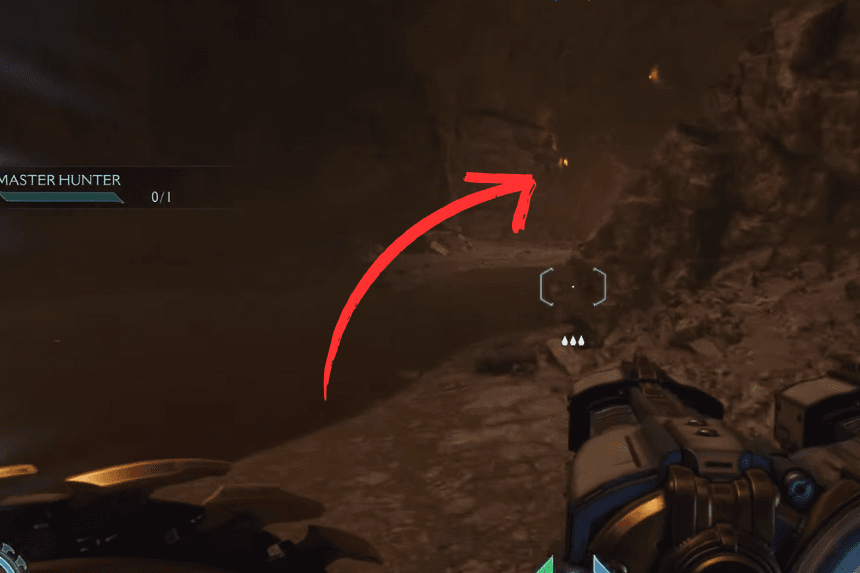
Now, look for a small arch bridge. Just to the right of it, climb the wall. At the top, turn right to reach a yellow key gate. Inside, you will find a gold chest.
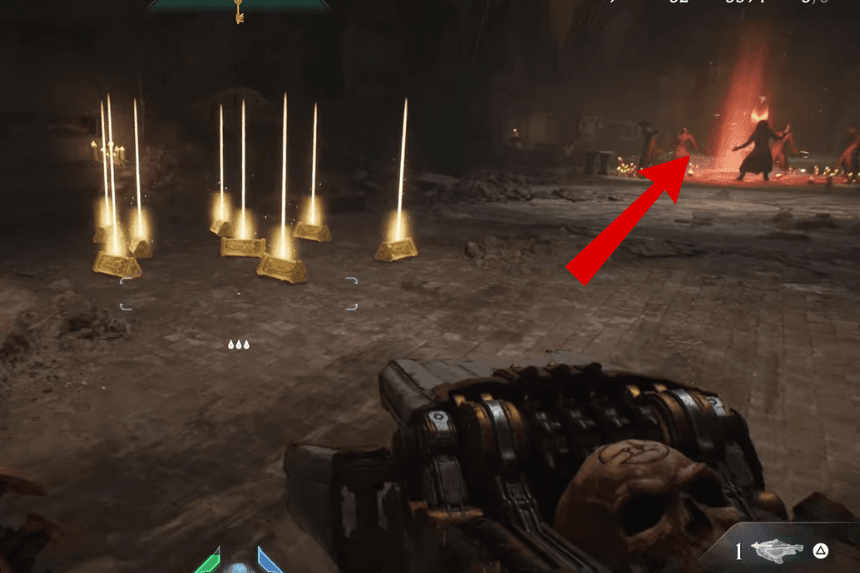
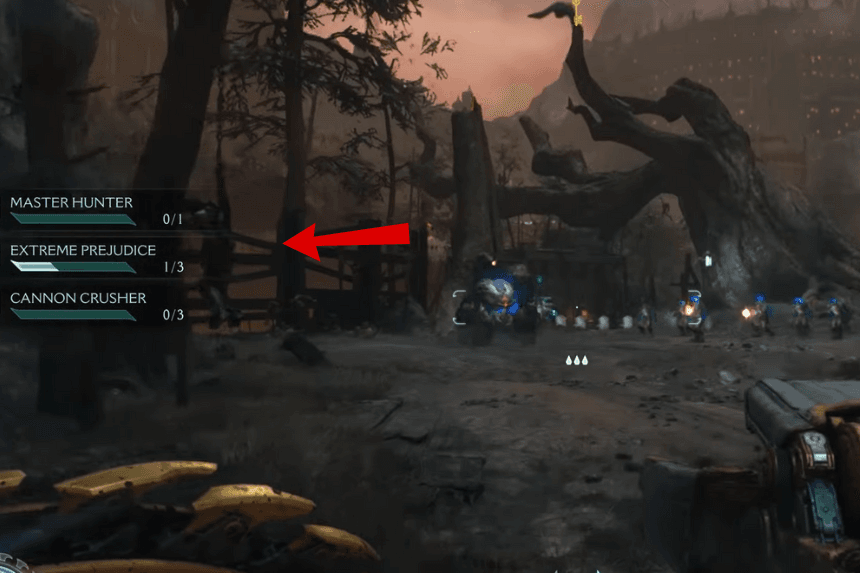
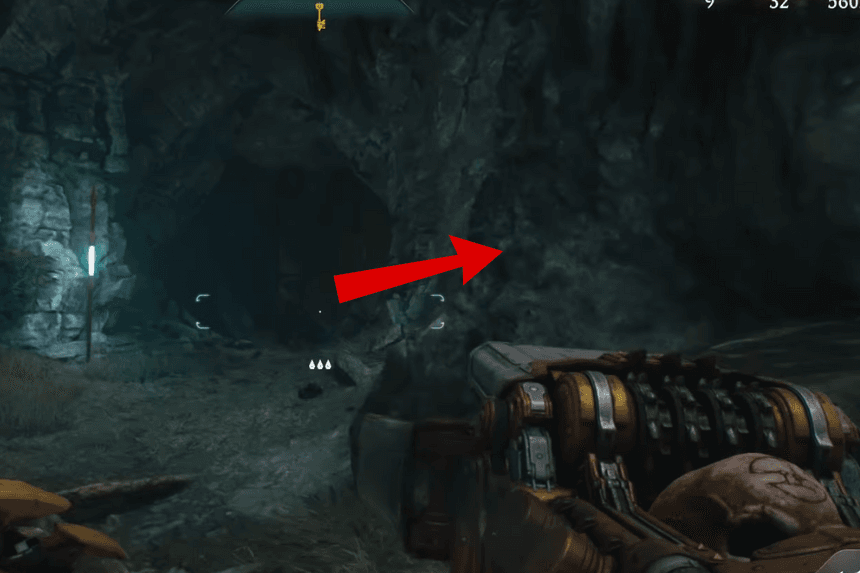
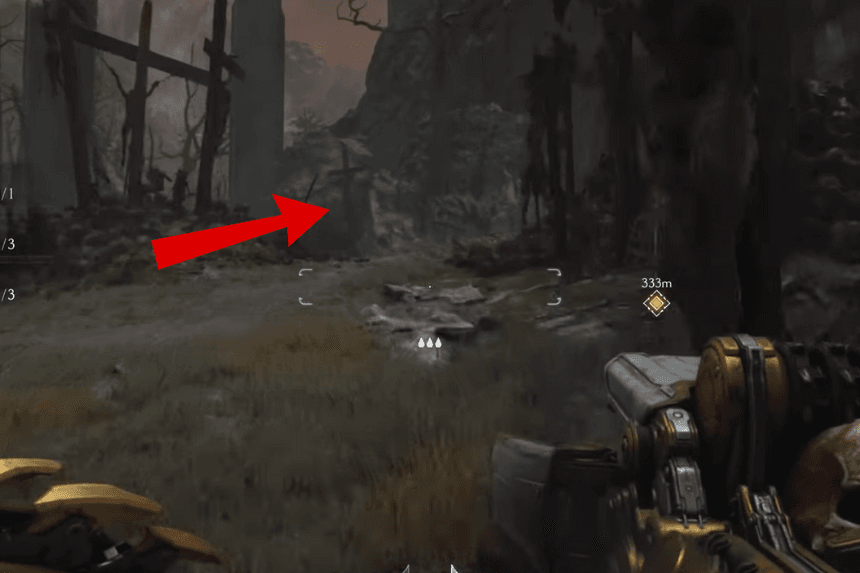
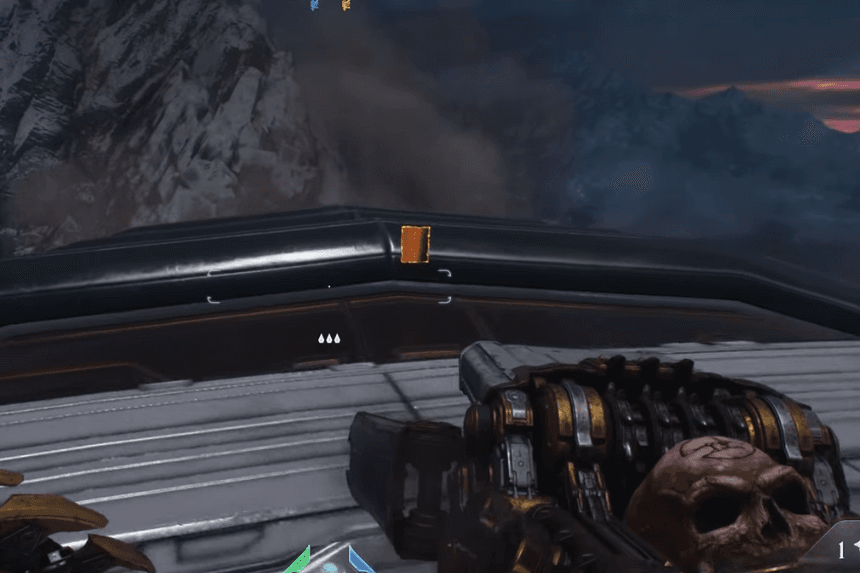
5. Secret Area 5 – Weapon Skin
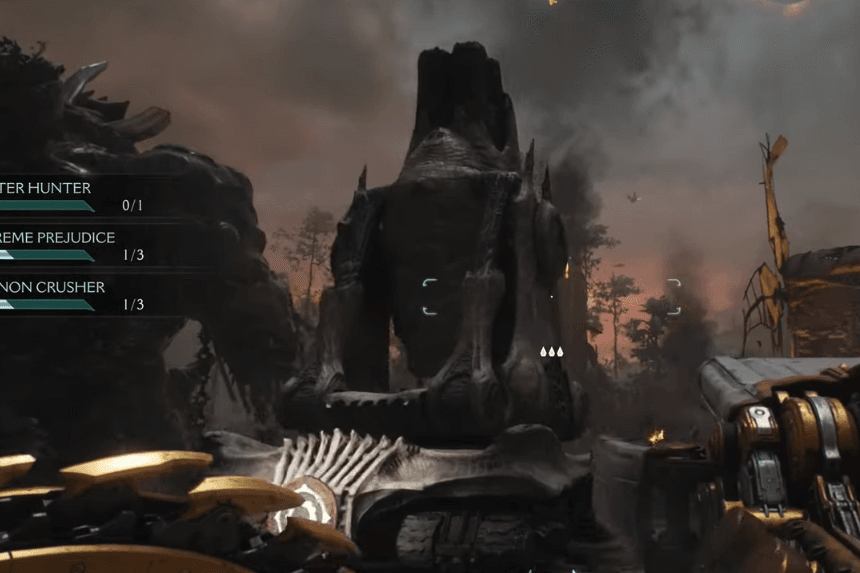
Here you will see that big artillery cannon. You need to shieldbash it. This will reveal a hidden hole in the ground. Go down into it. After you land, turn around to find 5 gold. Then go further into the cave and take a left. Here, you will find the weapon skin.
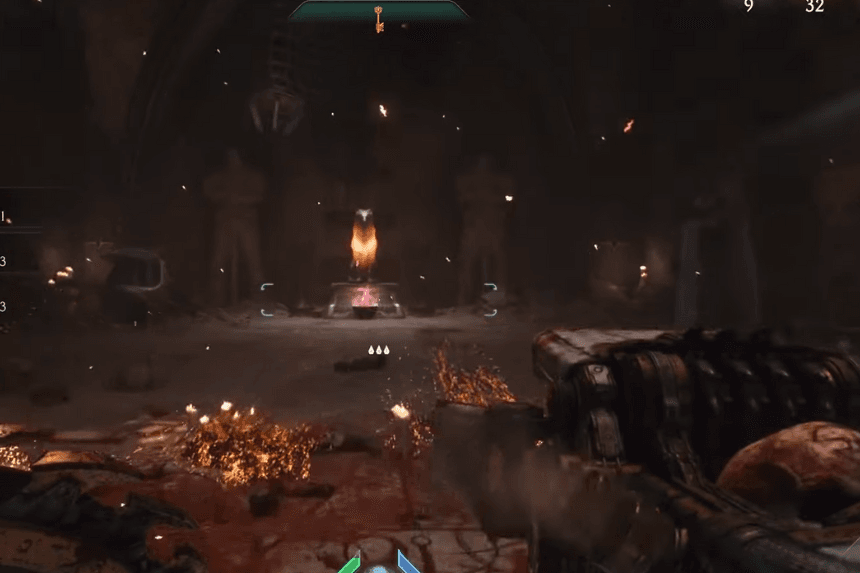
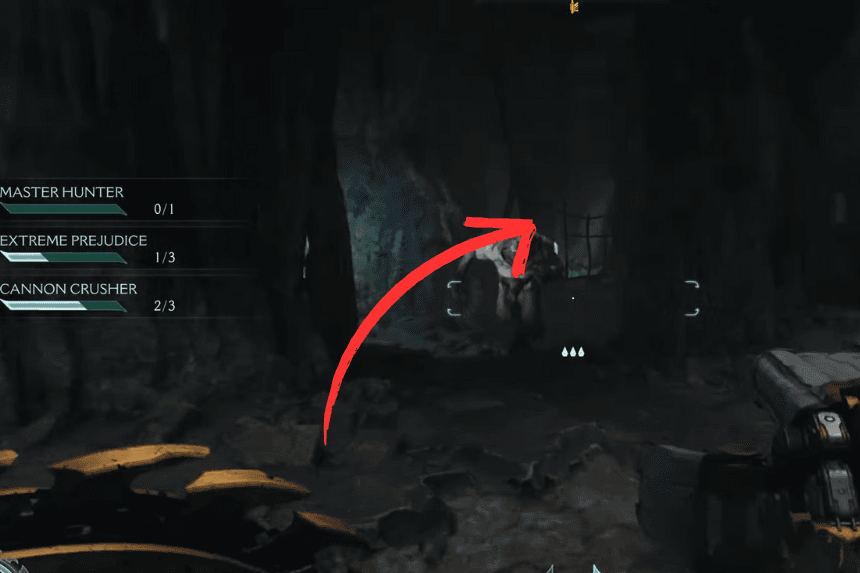
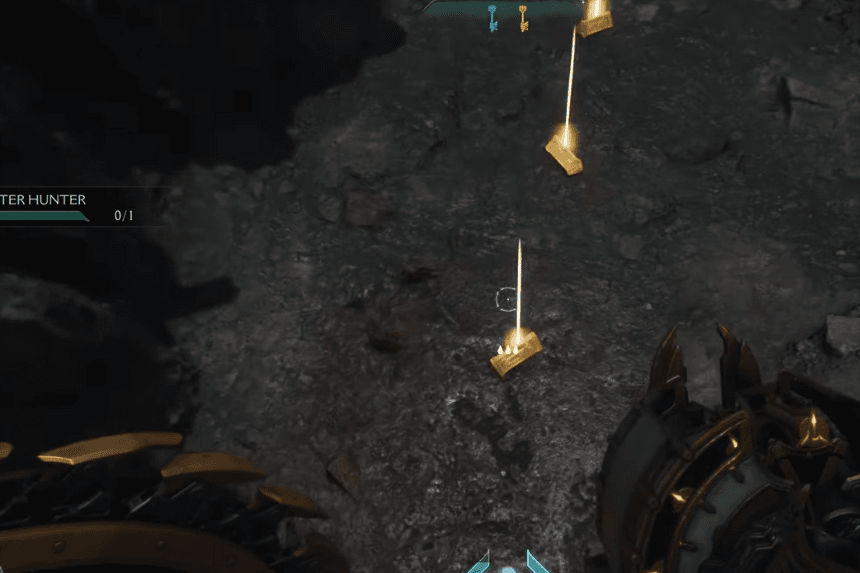
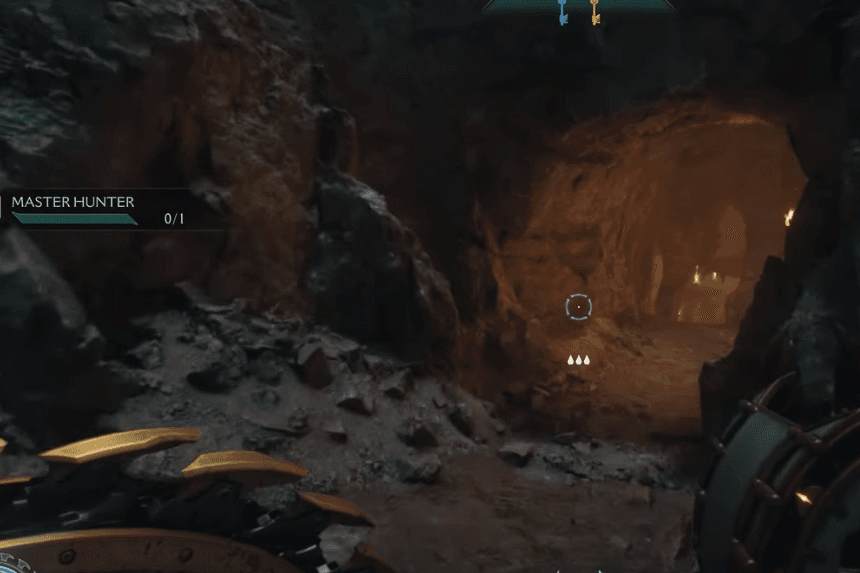
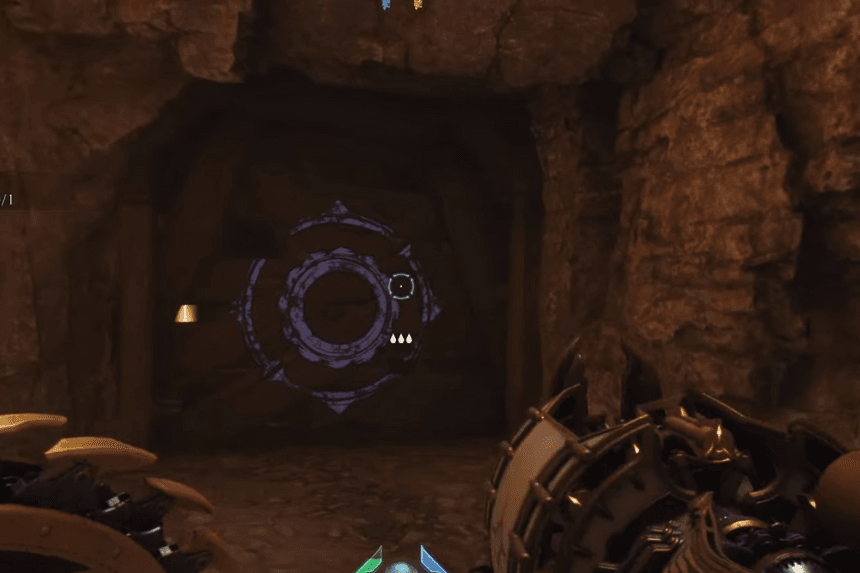
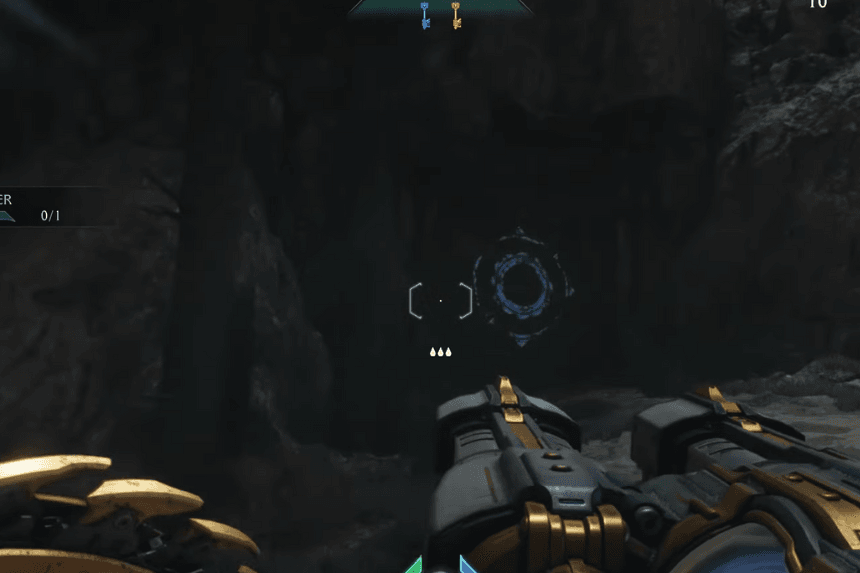
6. Secret Area 6 – Toy Collectible
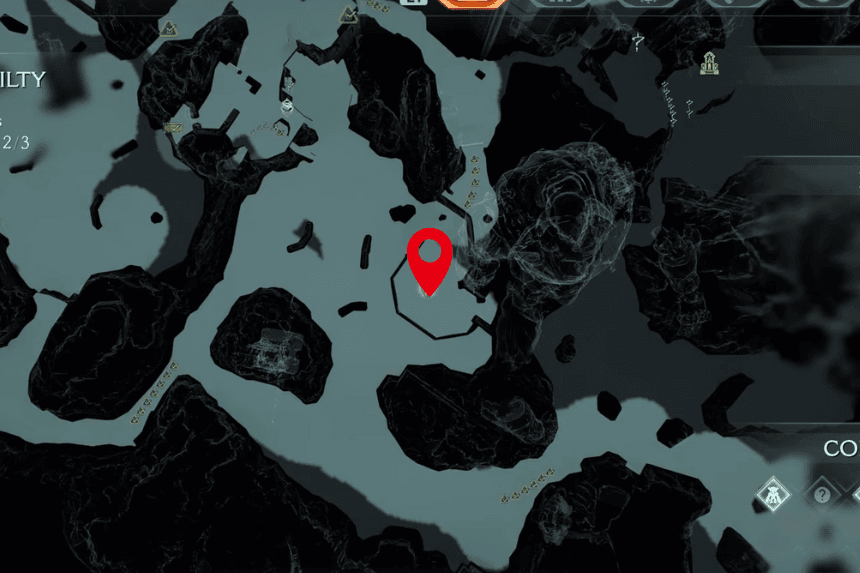
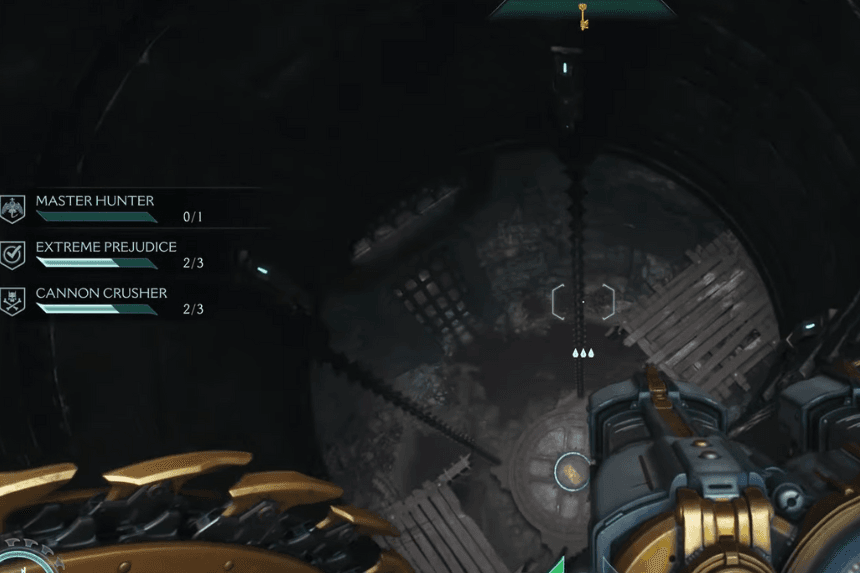
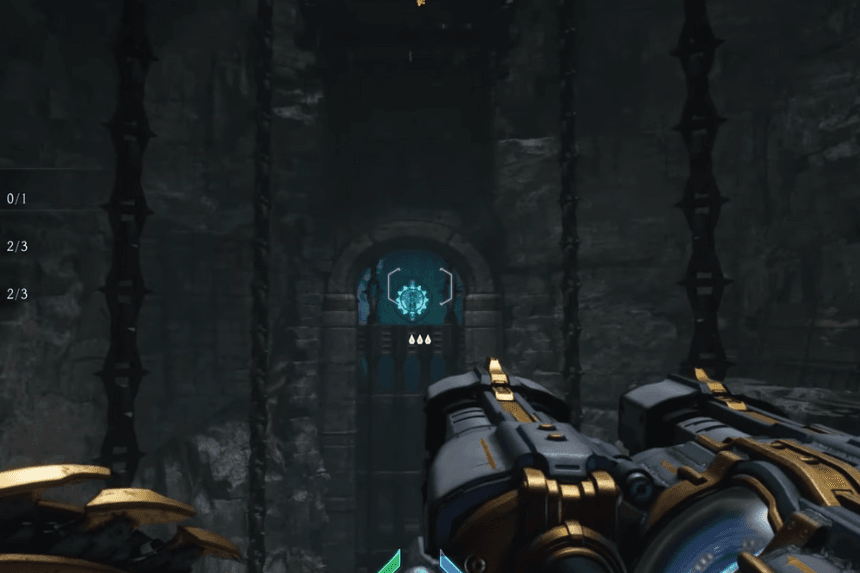
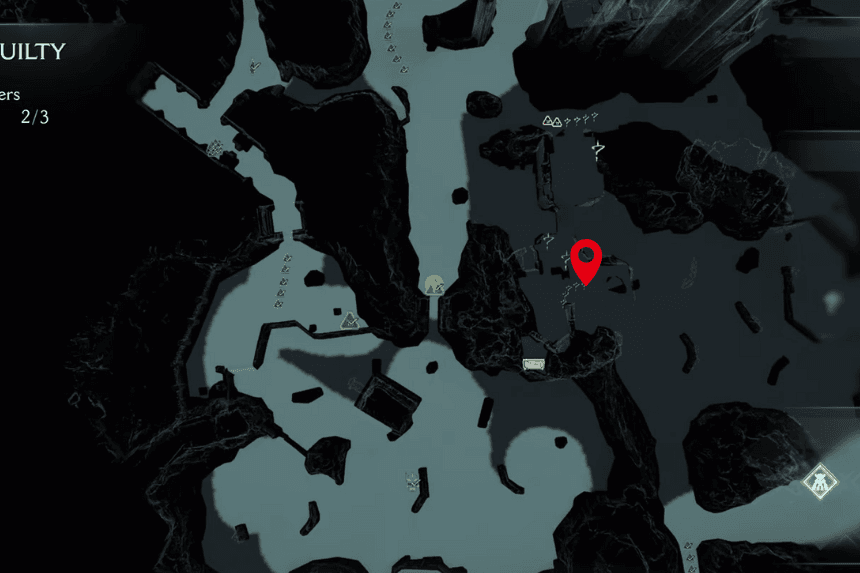
Now, you will come across some enemies. After that, flip the switch to open a round lid nearby. Go down into the secret area. Go all the way to the bottom, then climb up one wall. From there, you will be able to throw your shield at a blue symbol. It will open up a gate. Go through the gate, take a right, and you will find the Toy collectible.
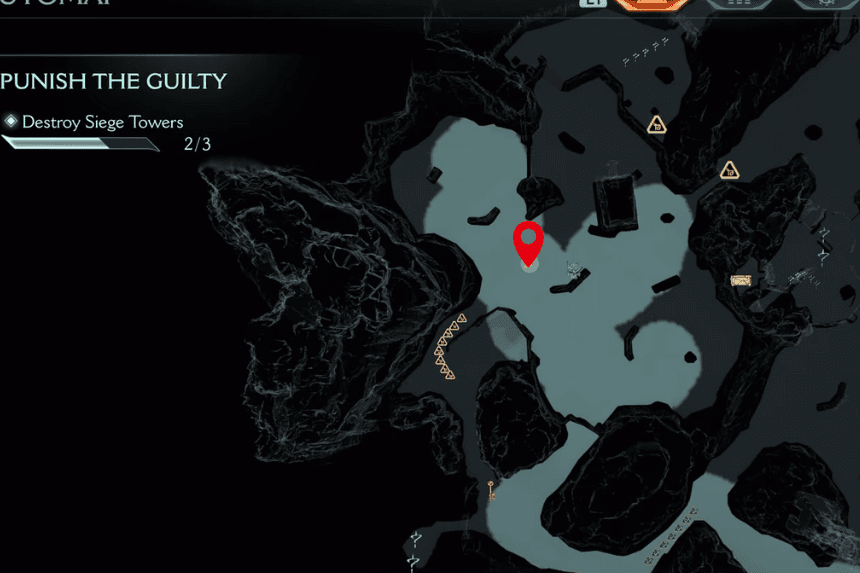
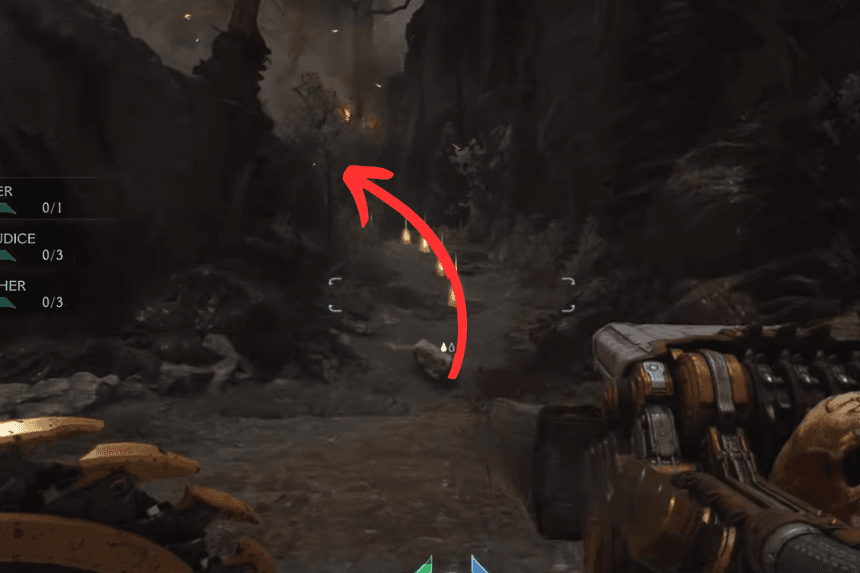
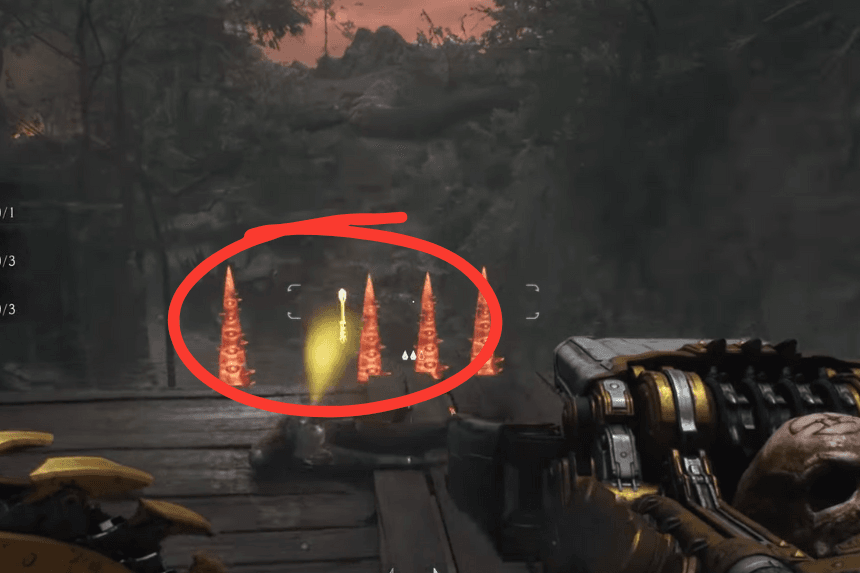
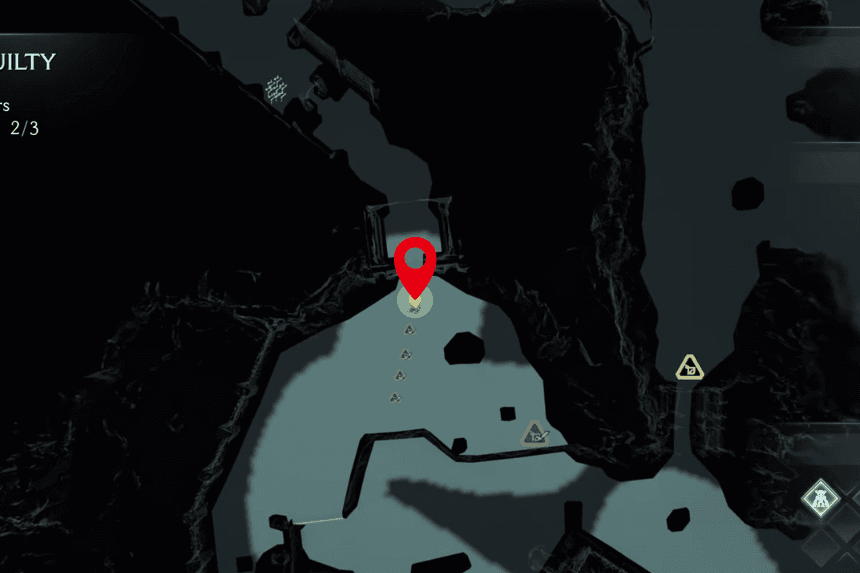
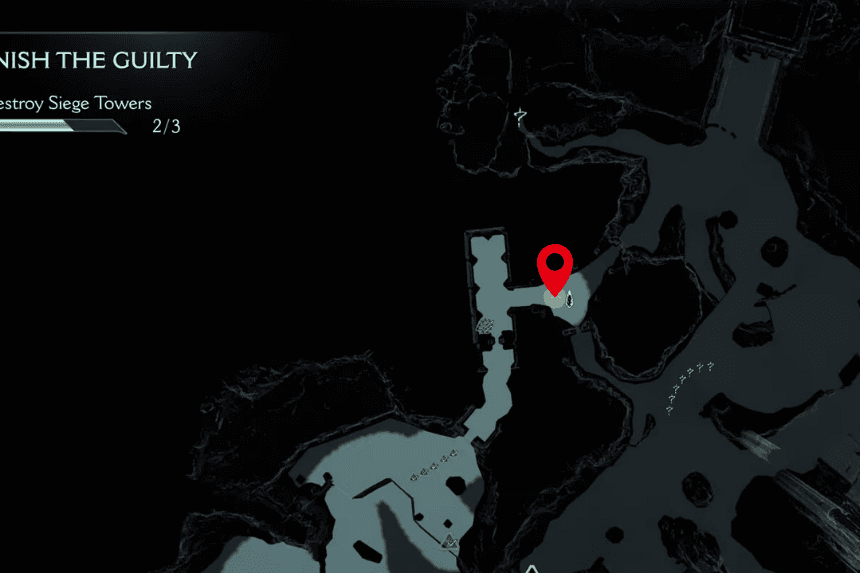
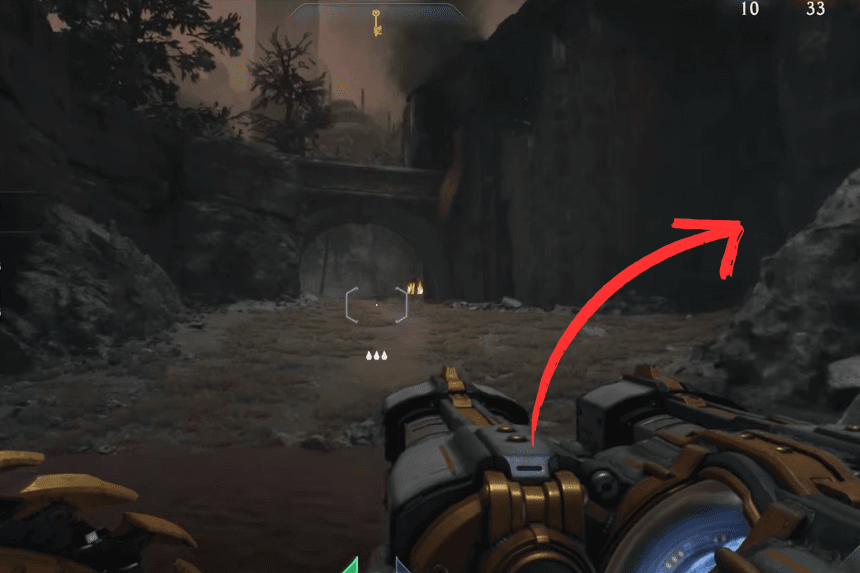
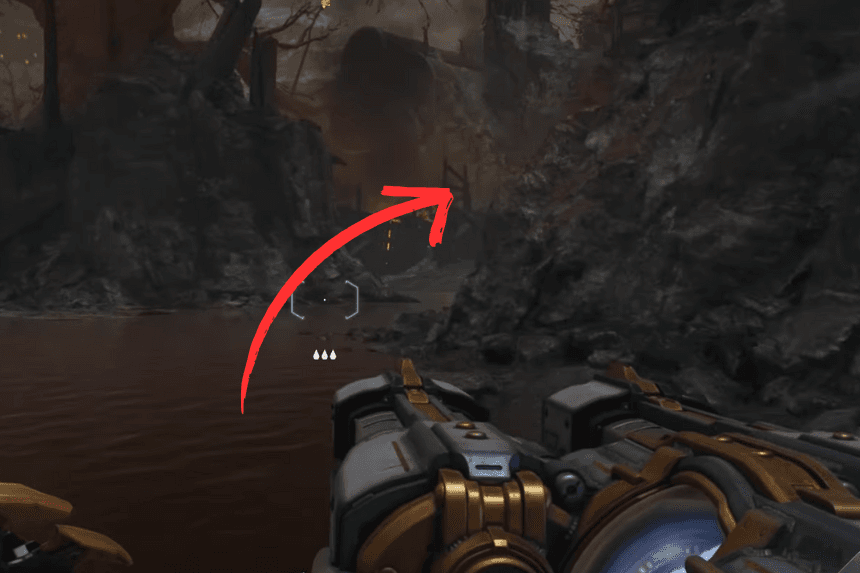
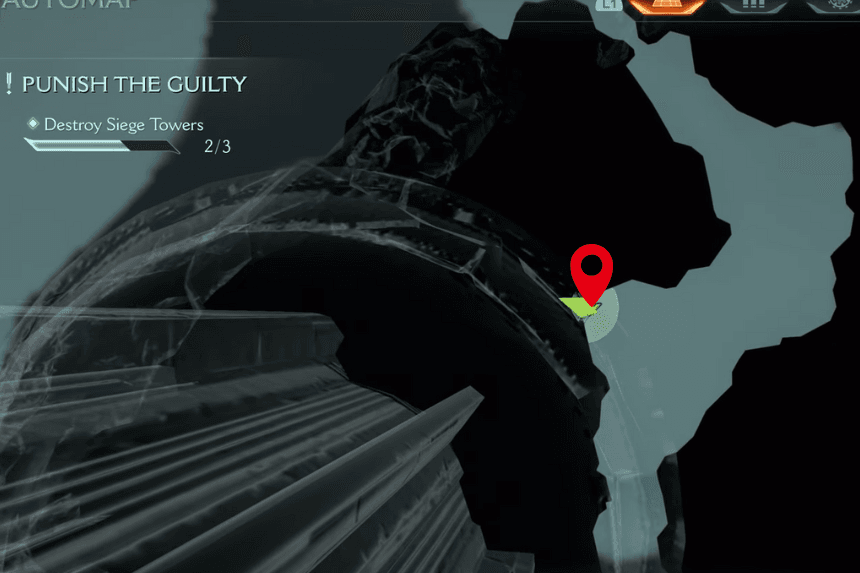
7. Secret Area – Collectible Area
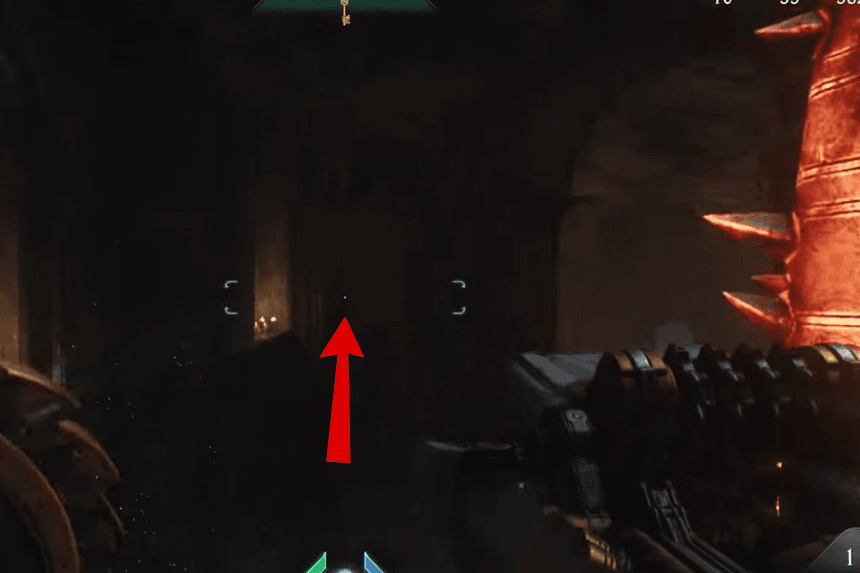
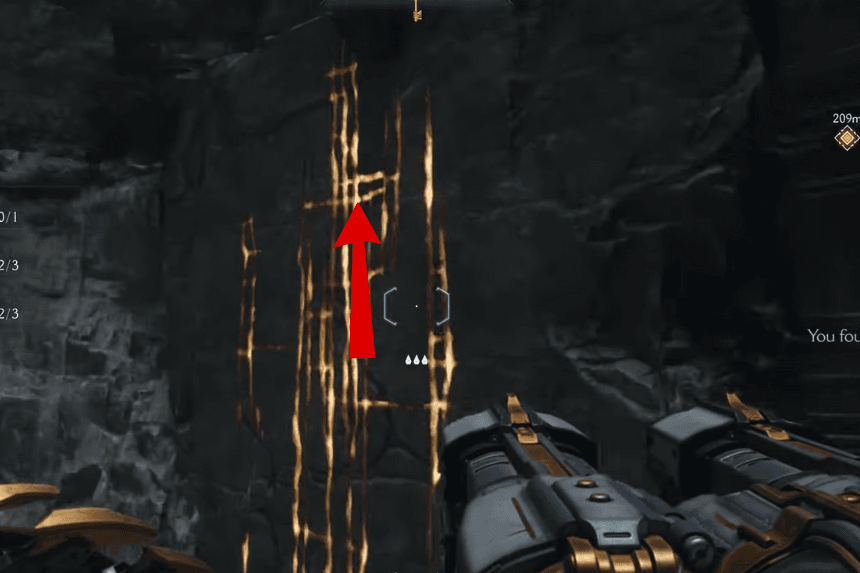
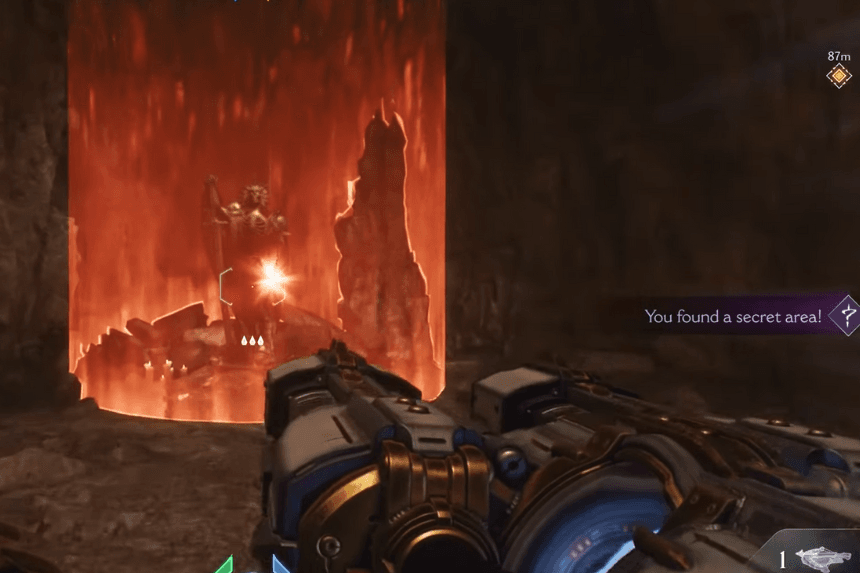
For this secret area, start from the area where the cannon is destroyed. Then take a right and enter into the path with red spikes, break through them. Go down into the next room and you will unlock the secret.
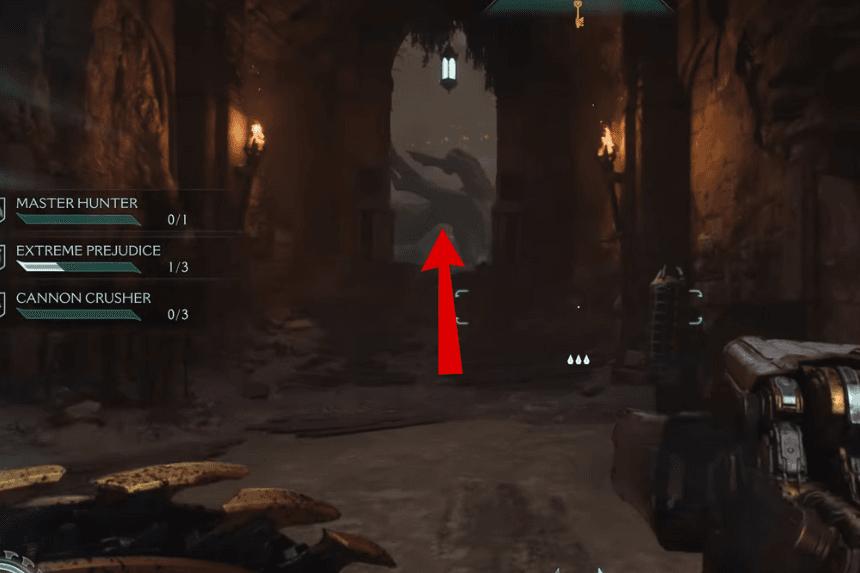
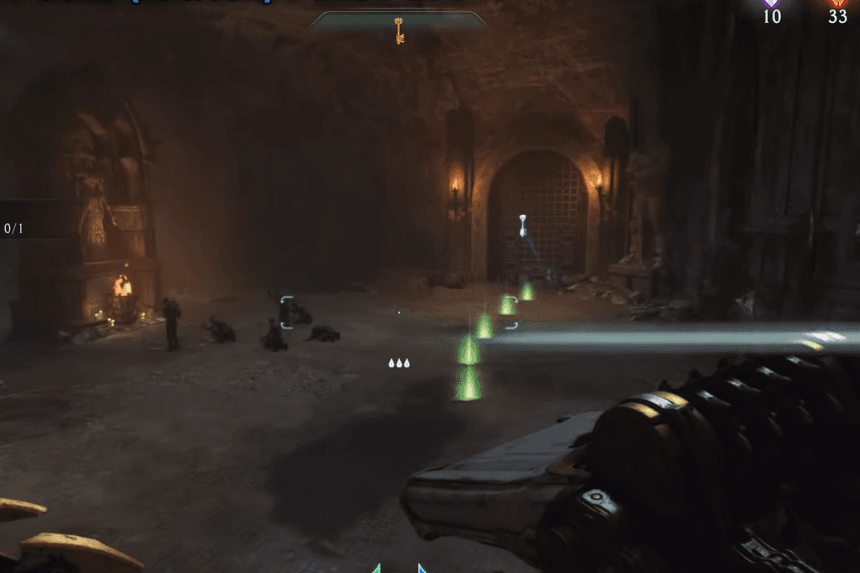
8. Secret Area 8 – Ruby Collectible

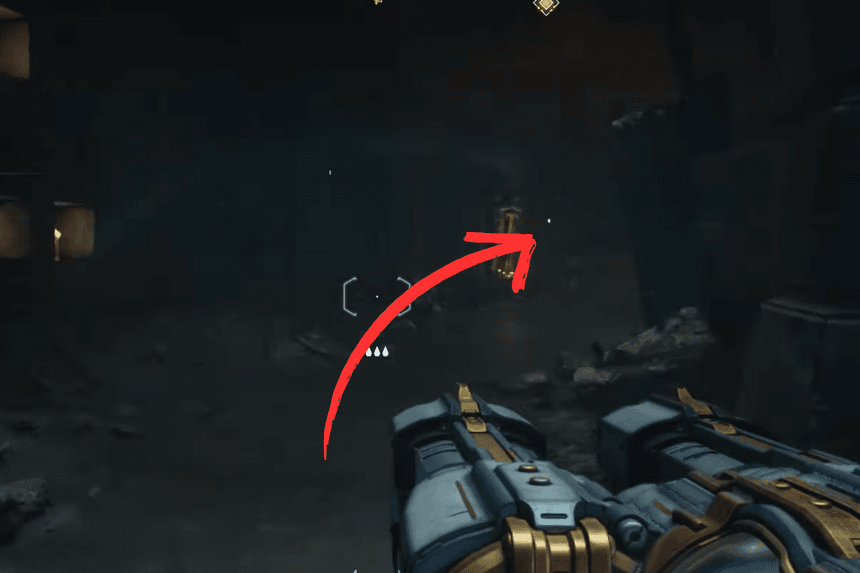
For this secret area, keep going straight to the far side of the area. You will see a blue gate that now opens with the blue key. This is the secret area. Follow the trail of gold inside and you will reach the ruby.
9. Secret Area 9 – Collectible Area
Now, turn around and look for a cave with elevators. At the bottom, you will see a blue wall. Now, break through it with your shield to find the secret and 16 gold.
10. Secret Area10 – Collectible Area
To find this secret area, when you reach the first tree, turn left and break through the blue wall with a shieldbash to reach the secret area.
11. Secret Area 11 – Collectible Area
For this secret area, just turn around and walk forward a few steps along the dark trees. On the left, there is a blue gate. Go inside and defeat all the enemies, and you will get the ruby.
12. Secret Area 12 – Collectible Area
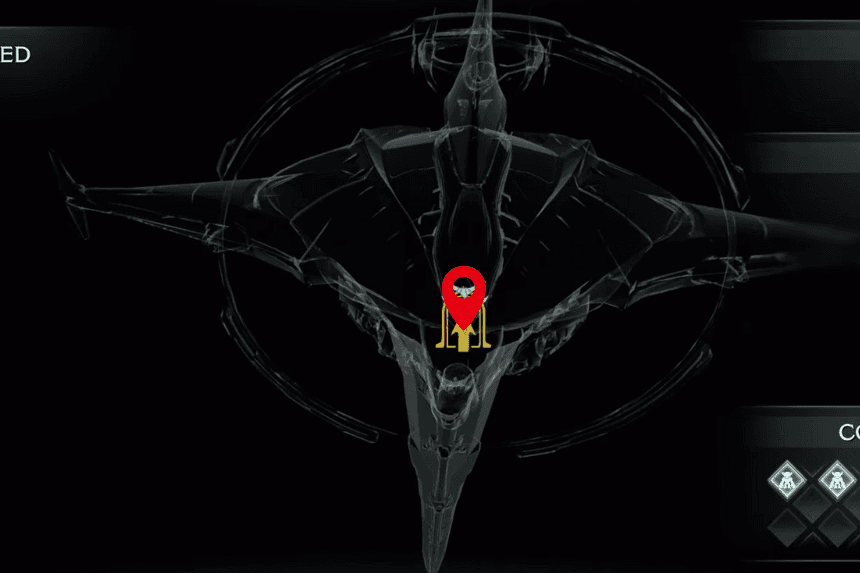
To find this secret area, as soon as you land and start walking, turn around and check behind the landing pad; you will spot the codex there. Take it before heading through the spaceship door.