
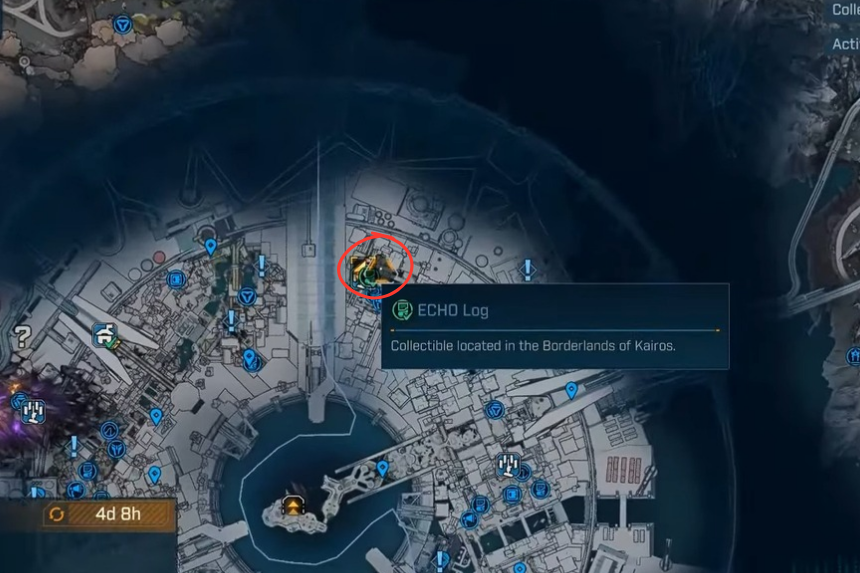
Safehouses are key side activities in Borderlands 4, and unlocking all 14 of them is required for the Ruler of Everything trophy/achievement. Each Safehouse needs a Datapad to be inserted into a nearby Command Console, usually close to vending machines. Once powered up, they unlock fast travel points, vending access, and contract boards. This guide covers every Safehouse location with details on finding both their Datapads and Consoles.
All Safehouse Locations in Borderlands 4
Borderlands 4 features 14 Safehouses, which you’ll need to unlock for the Ruler of Everything trophy/achievement. Each one requires finding a hidden Datapad, which glows when you’re nearby, and inserting it into a Command Console, usually located close to vending machine icons on your HUD. Once activated, Safehouses serve as fast travel points and provide access to vending machines and contract boards for quick missions. Here’s how to get them all:
NOTE: You can click on the images to enlarge
1. Makeshift Chalet – Carcadia Burn

The Datapad is behind the safehouse, down the cliffs. The console isn’t in the marked building but across the enemy-filled plaza—check the western side where the vending machines are located.
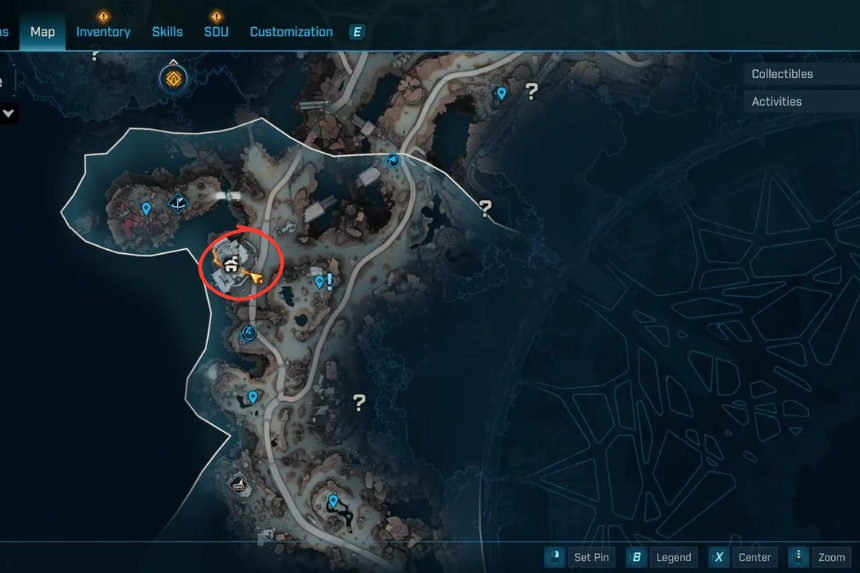
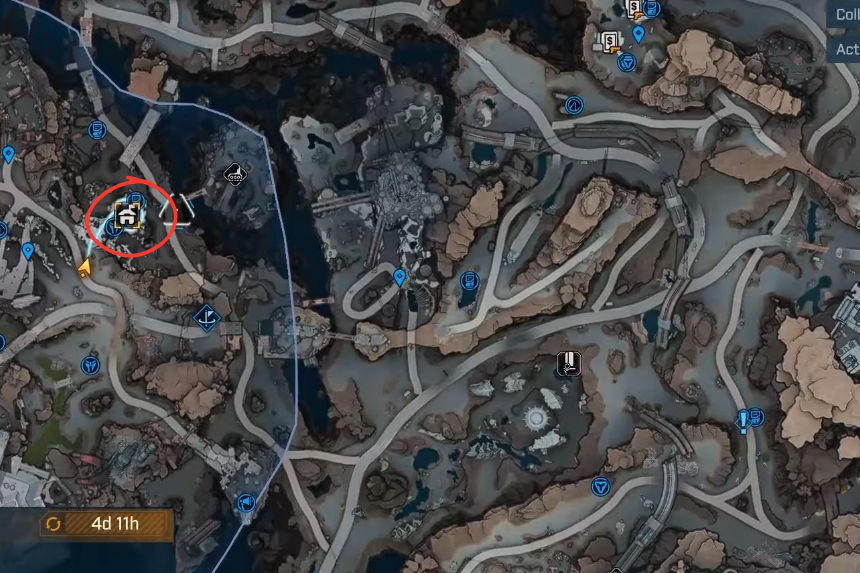
2. Wildhorn’s Beard – Carcadia Burn
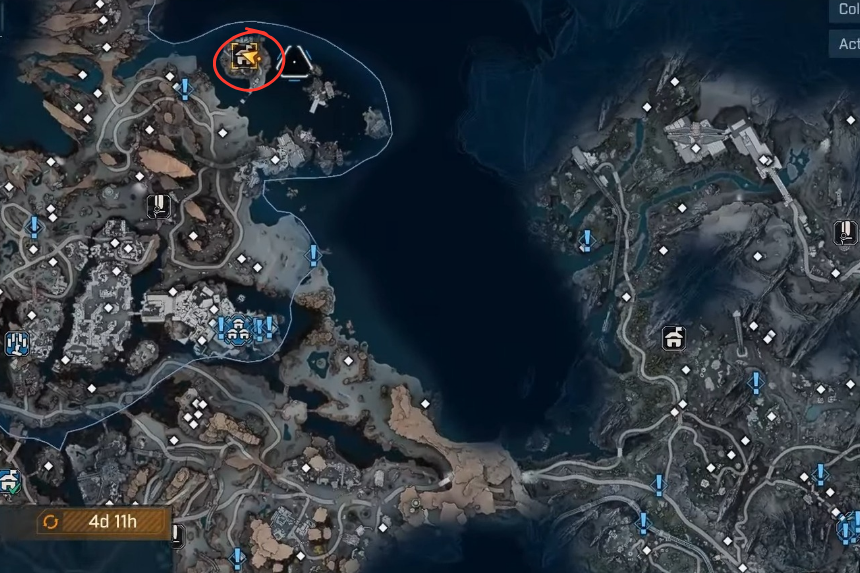
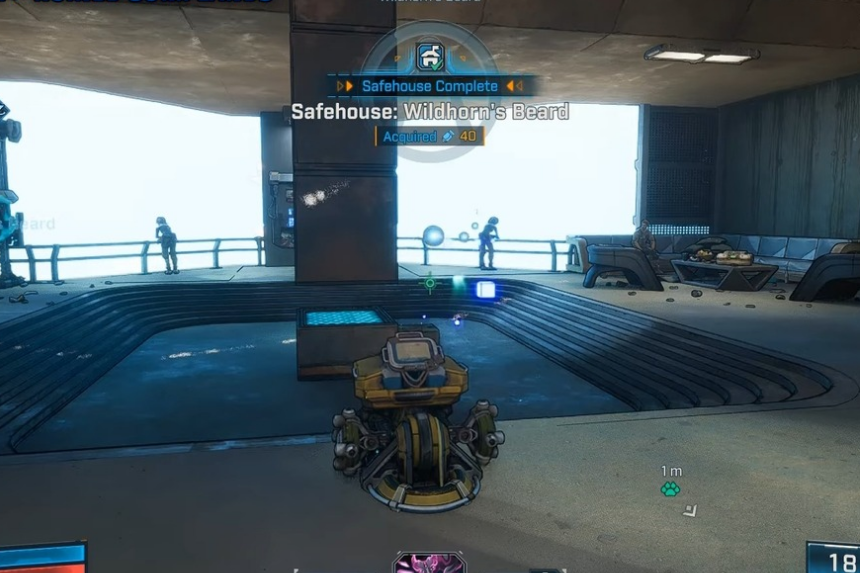
Sitting on top of a mountain, south of the map marker. The Datapad is inside a small boat there. Once collected, head slightly north into the ruins where the vending machines appear on your HUD to find the console.
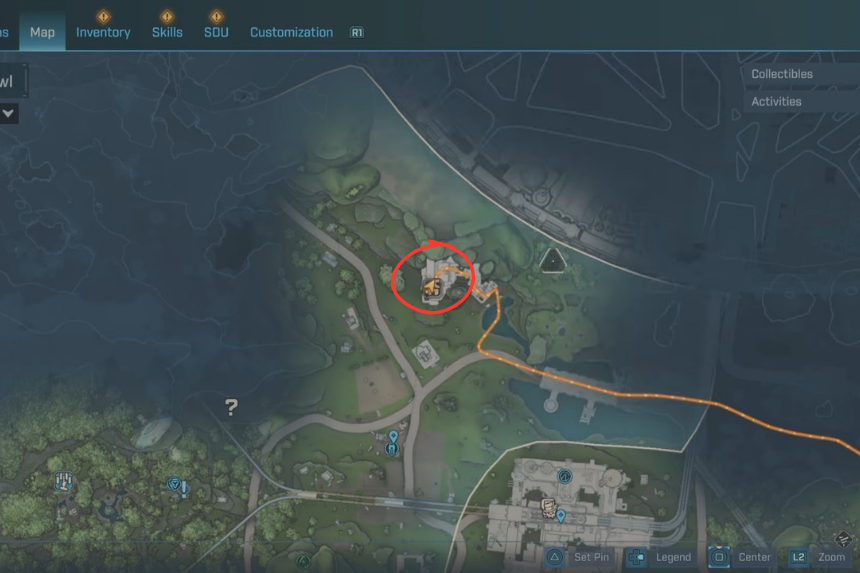
3. The Lowrise – Carcadia Burn
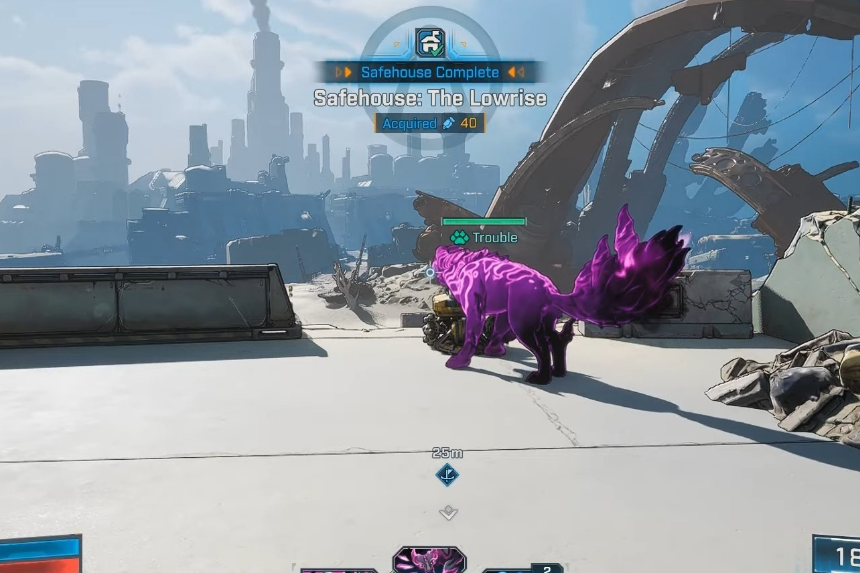
Approach from the west road on the upper level (not from the east lower ground). Climb up using a grapple point and hop across platforms to reach the top. The Datapad is tucked on a platform in the back corner. The console is nearby on the front side of the safehouse, outside.
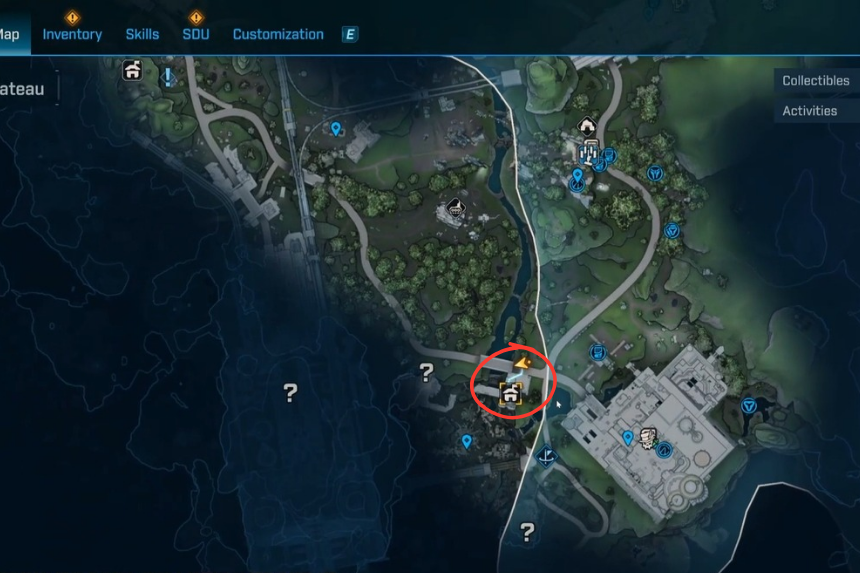
4. Shut-Eye Keep – The Fadefields
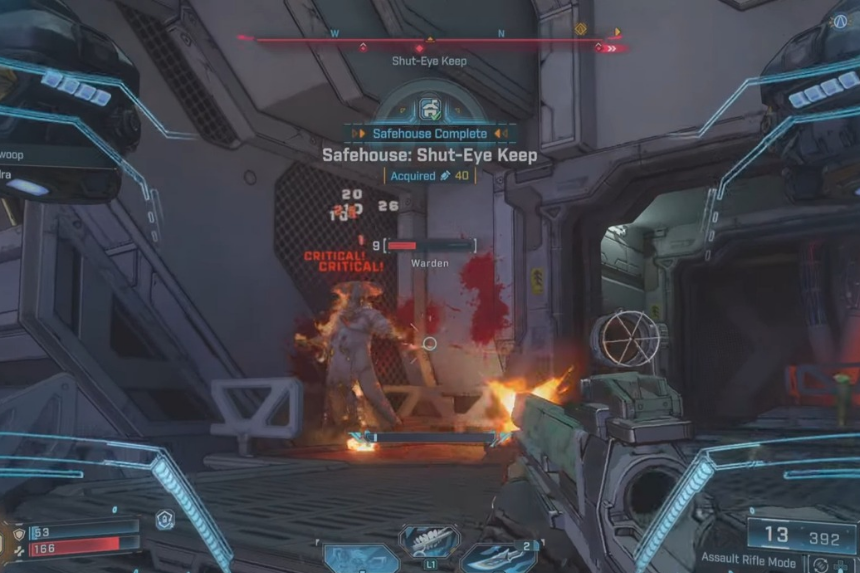
Take the elevator beneath the safehouse to reach it. In the vending machine room, turn around and look for a grapple point above. Climb up to grab the Datapad, then return to the vending machines and use the console there.
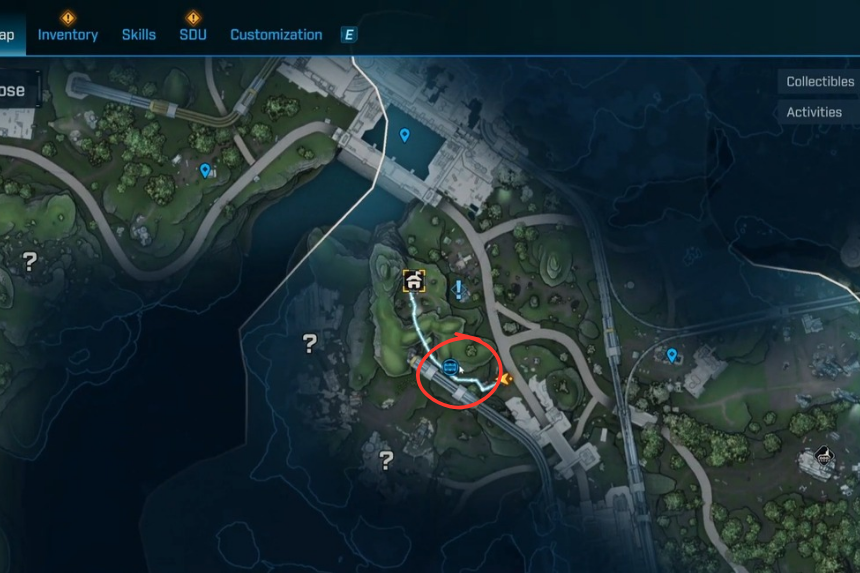
5. Wyclef’s Reprieve – The Fadefields
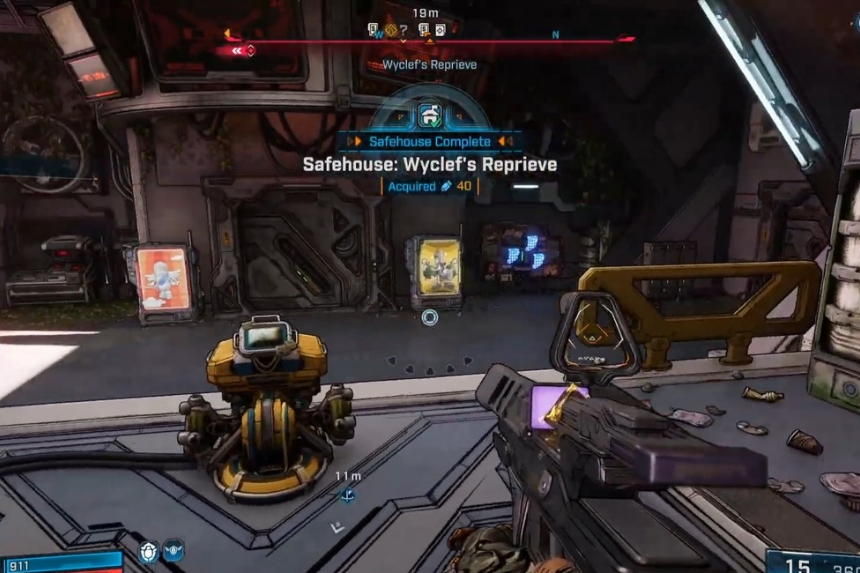
Head through the safehouse to the back balcony. Drop down where the floor is broken and sparking to reach the Datapad. After picking it up, climb back to the main room and use the vending machine console.
6. Someday Rise – The Fadefields

Located high on a mountain. Follow the path marked by the icon. At the end, where manglers spawn, the Datapad is tucked under a hut on a bed. Once picked up, the main door unlocks—inside you’ll find the console near the vending machines.
7. Abandoned Post – The Fadefields
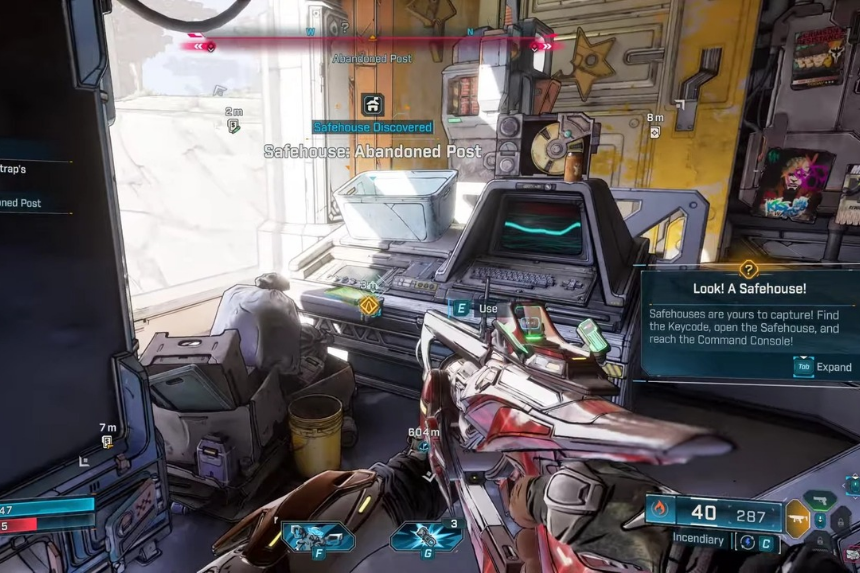
Unlocked automatically during the second story mission, Recruitment Drive. Nothing extra required here.
8. The Food Court – Dominion
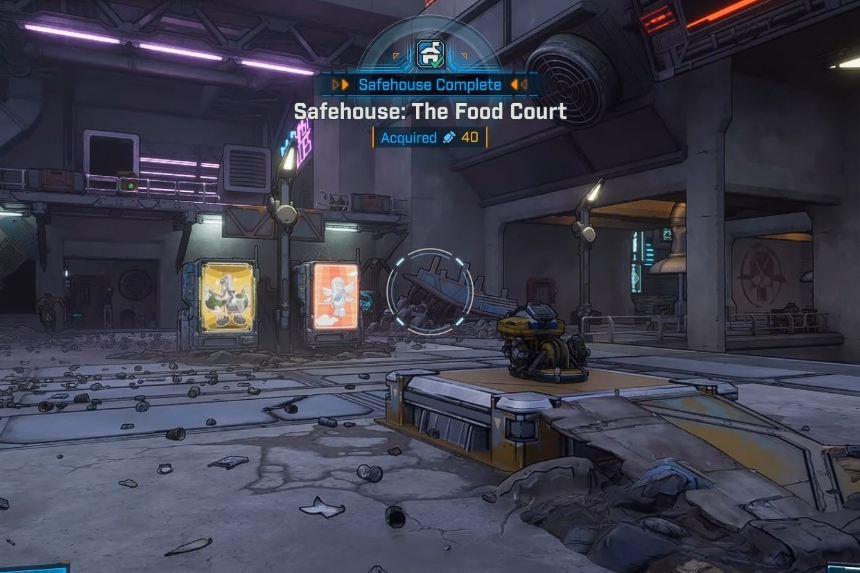
The Datapad is right near the vending machines, sitting on a trash pile slightly north of them. The console is in the courtyard between the vending machines.
9. The Lockaway – Dominion
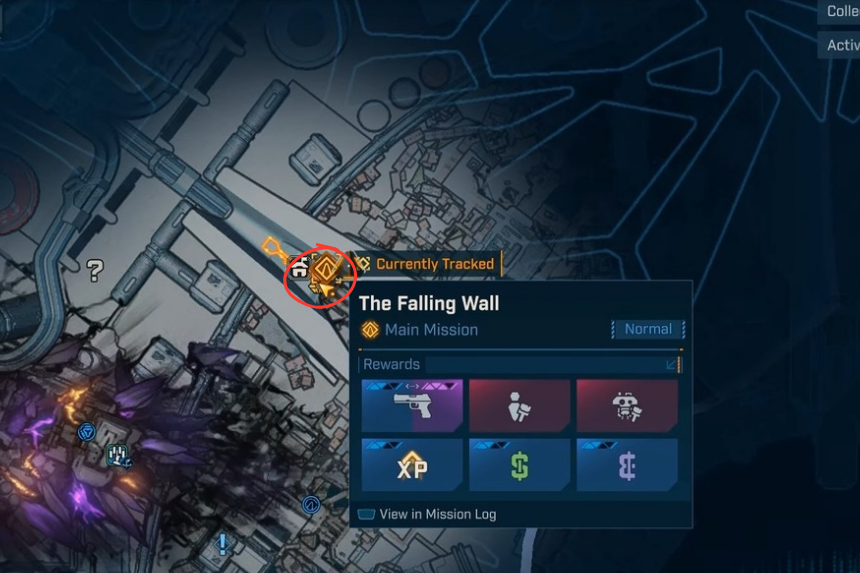
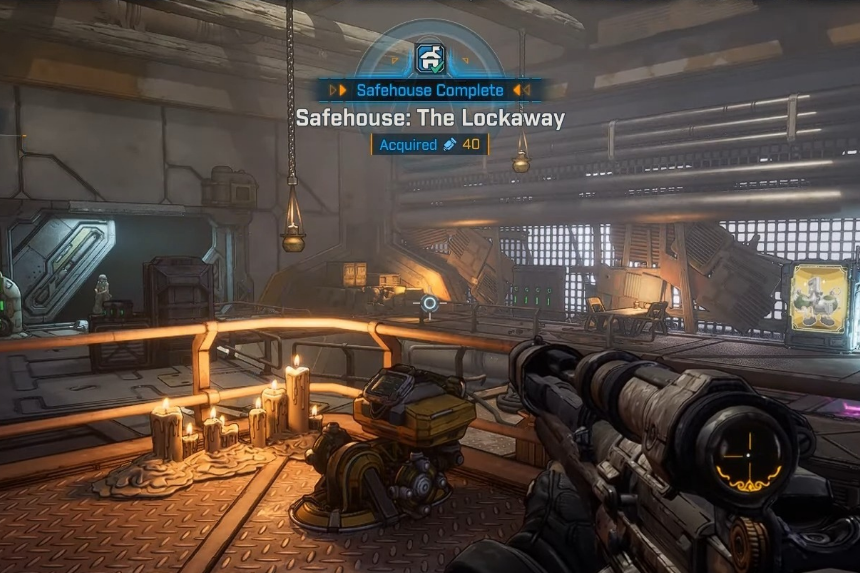
Unlocked naturally while playing Main Mission 17, The Falling Wall.
10. Sumpview Falls – Dominion
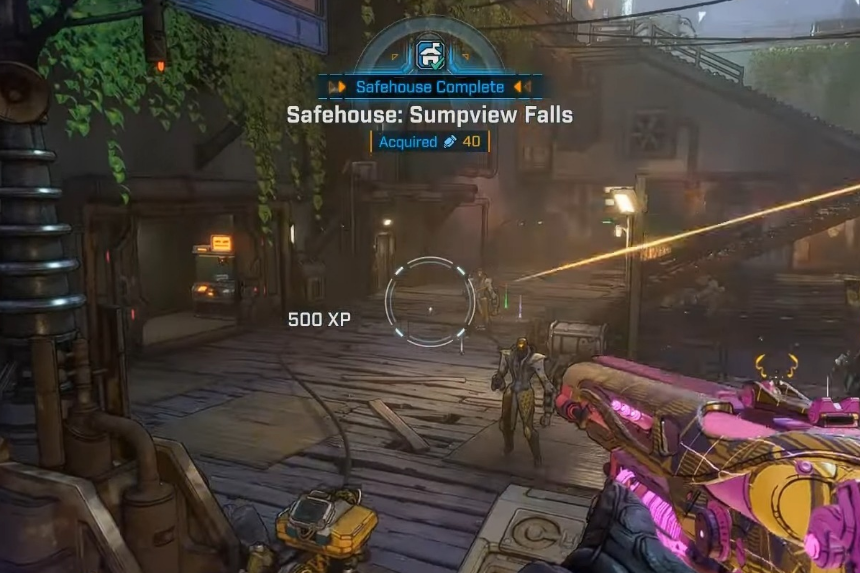
Check the balcony just above the locked safehouse door for the Datapad. The console is close by, to the left of the entrance, in the enemy area.
11. Snowy Wells – Terminus Range
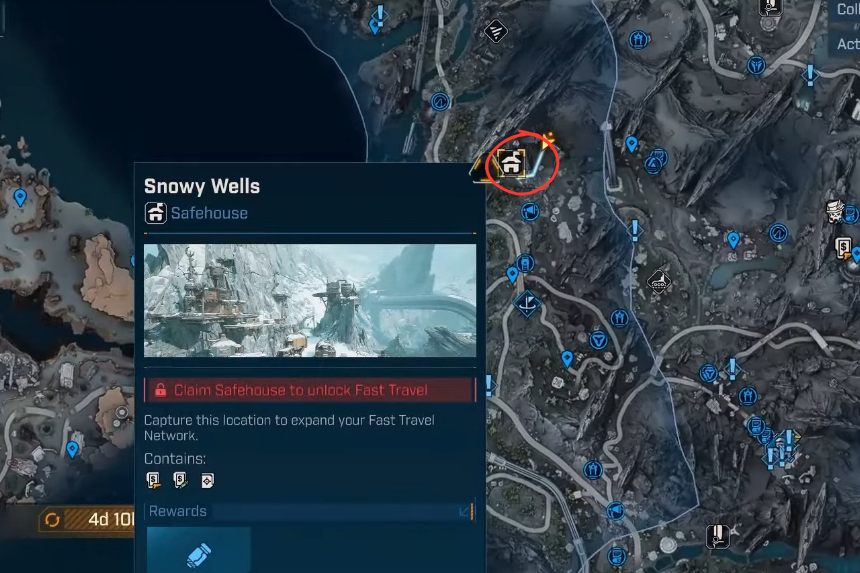
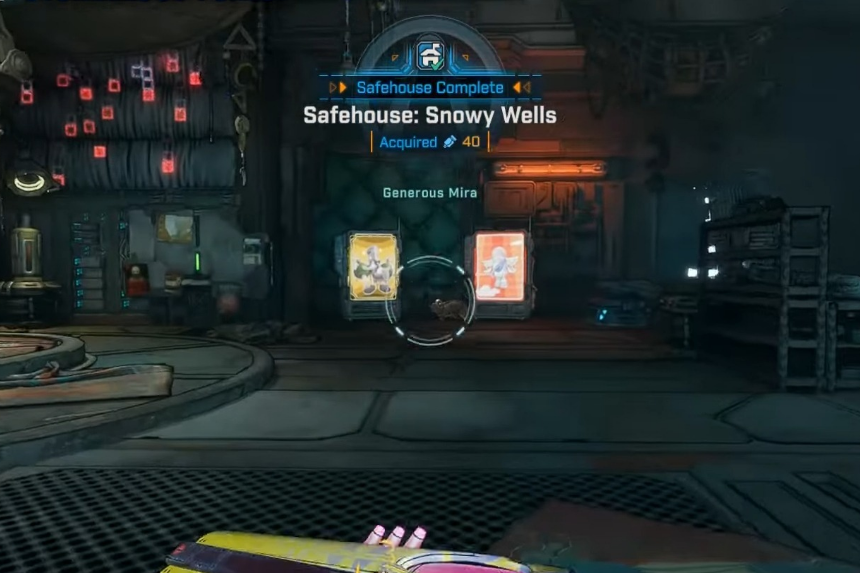
This one is perched on a mountaintop. Climb to the roof, then use grapples to reach a broken bridge east of the safehouse, where the Datapad lies. Glide back and insert it into the console behind the safehouse on the southwest corner.
12. Grey Havenage – Terminus Range

Approach from the south to see two towers in front of the locked safehouse. Climb the western tower, glide to the other, and pick up the Datapad at the top. Then glide onto the safehouse roof, drop inside, and activate the console beside the vending machines.
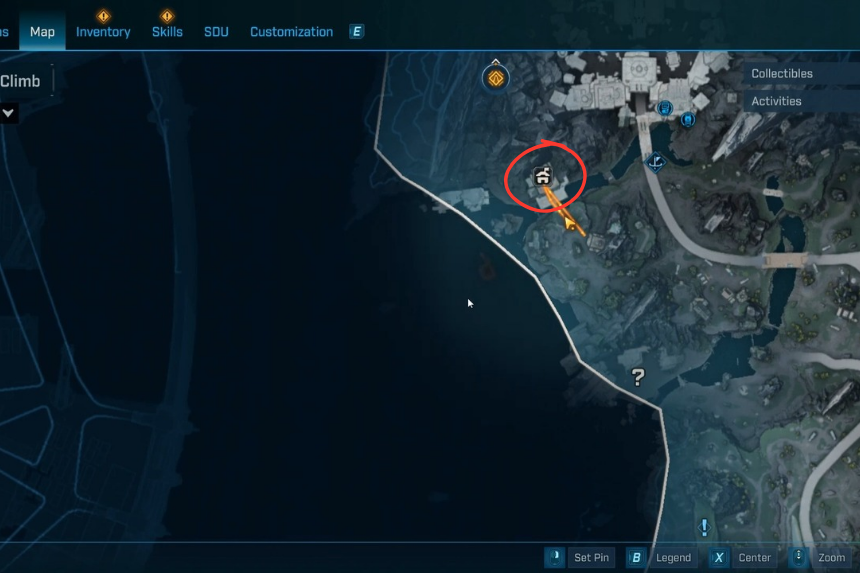
13. The Nightcap – Terminus Range
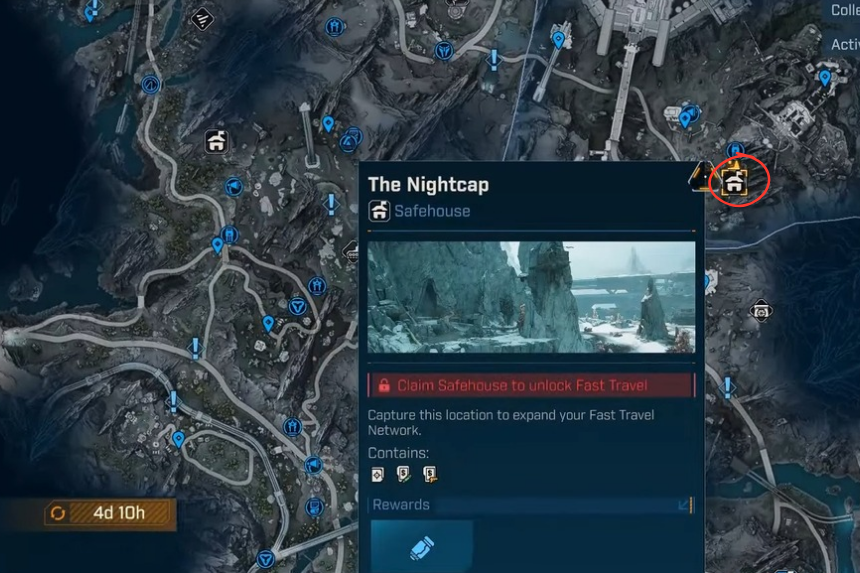
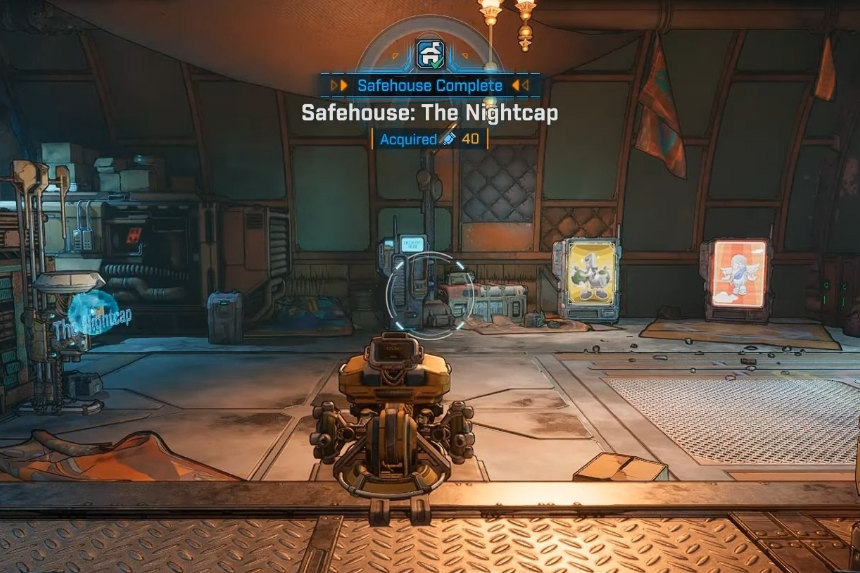
Found in a cave slightly north of the map icon. Inside, climb a wall to the left, then glide across to a platform holding the Datapad. Collect it to open the safehouse deeper inside the cave, where the console sits at the end.
14. Heritage Opus – Terminus Range

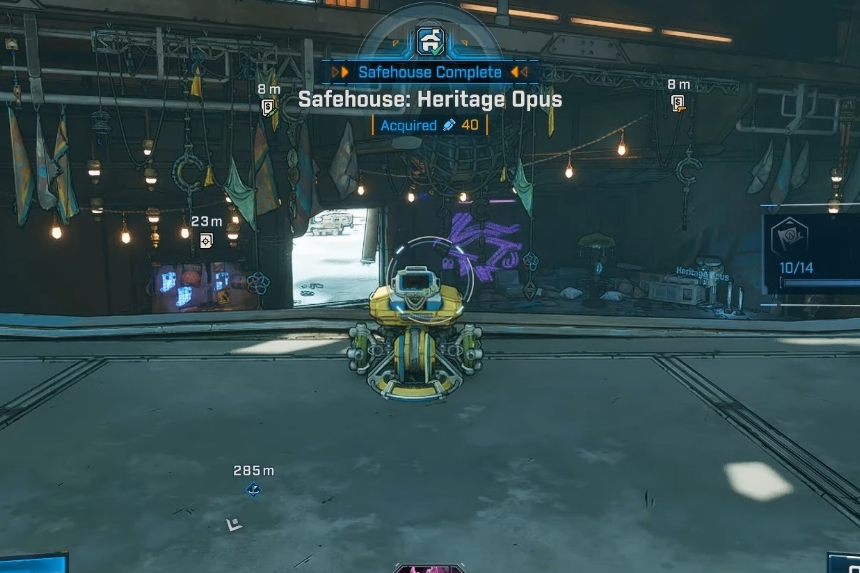
The Datapad is just outside the front door, sitting on a small rooftop to the southwest. Use containers or a roof to reach it. Once collected, the safehouse unlocks and you’ll find the console inside.
With all 14 Safehouses activated, you’ll have every fast travel hub, vending spot, and contract board unlocked, making exploration and progression a whole lot smoother.
Looking for More Borderlands 4 Guides? If you enjoyed this guide on Safehouse Datapads & Console Locations, be sure to check out our other Borderlands 4 resources to maximize your adventure and loot: All Elemental Resistance Explained – Borderland 4, All Claptrap Locations in Borderland 4, All Vault Key Fragment Locations – Borderlands 4
