
Dive into the complete puzzle guide for Hell Is Us, covering every challenge across Acts 1, 2, and 3. From dungeon entrances and pressure plates to crypts, statues, and orbs, this guide walks you through each solution step by step. Learn the correct symbol orders, codes, and placements to unlock doors, reveal hidden compartments, and progress seamlessly through Mysteries, dungeons, and vaults without missing a single reward or secret.
All Puzzles in Act 1
Acasa Marshes Picture
To clear the Acasa Marshes Picture Puzzle, you’ll need to enter the code 32-17-13 into the digital lock found in Vitalis’s basement. The combination is revealed through three family photographs located in different spots: one inside a child’s room, another in a standard bedroom, and the last tucked inside a chest beside the ladder that leads down to the cellar.
The chest can only be opened using the Heirloom Necklace. Once all three photos are collected, place them on the wall in the basement, then use the numbers displayed on the cars within the pictures to unlock the device.
This puzzle is located directly beneath Vitalis’s house. After you’ve gained access to the building, climb down the ladder to the basement where the wall, photos, and digital lock await. With the images in place and the code entered, the puzzle is solved, allowing you to progress.
Senedra Forest Door
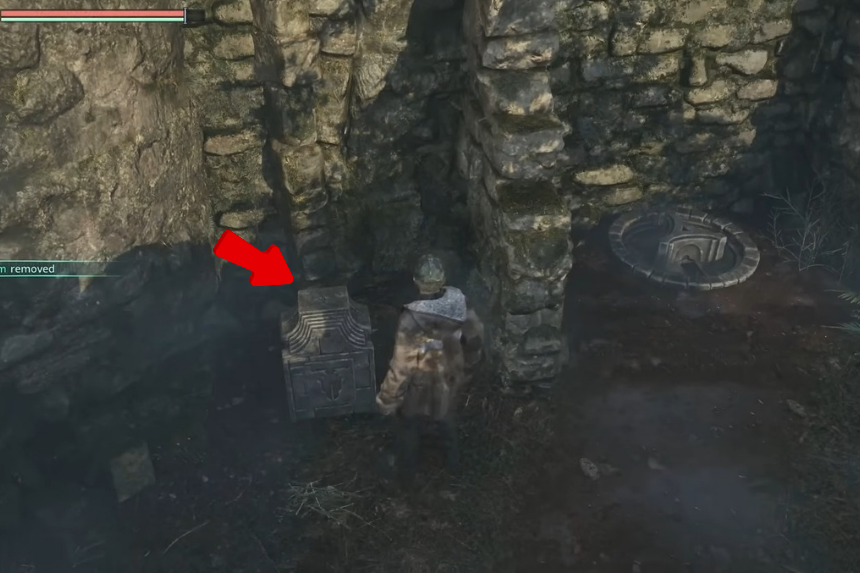

To unlock the Senedra Forest Dungeon, solve the entrance puzzle in the ruins above the wounded soldier by setting the fire symbol on the left pillar, the eye in the middle, and the pickaxe on the right. The correct order comes from a broken stone mural inside the ruins, where the missing fragment on the ground reveals the sequence. Completing the puzzle opens the path into the dungeon.
Accessing the puzzle requires advancing the soldier’s questline. After giving him a Medkit, he’ll hand you the Ancient Mechanism, which is needed to activate the device inside the ruins. From his spot, climb the ladders leading up to the structure, use the mechanism, and input the symbols to gain entry.
Senedra Forest Door Symbol
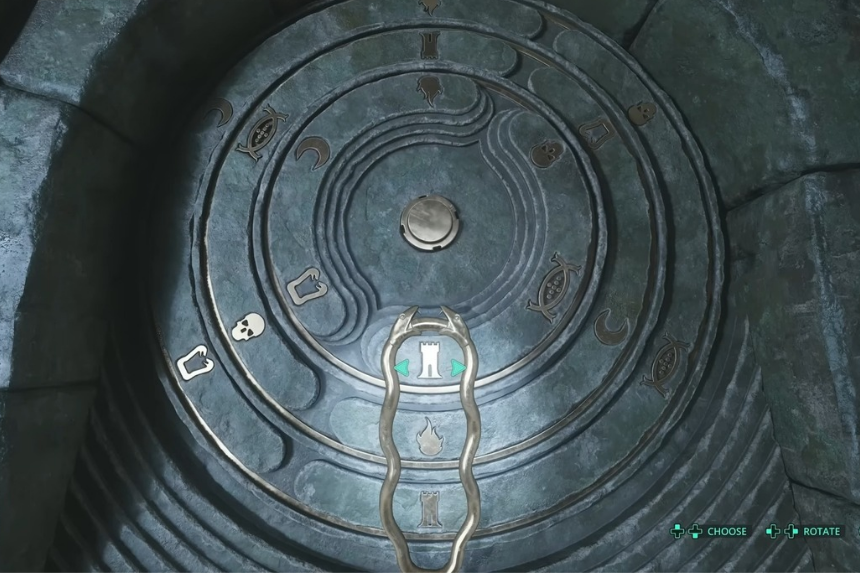
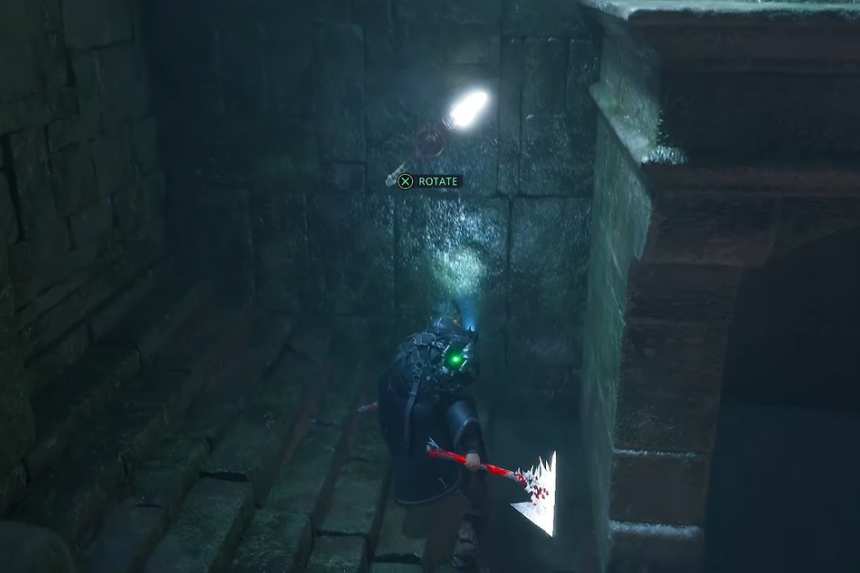
In the Senedra Forest Dungeon, you’ll face a locked door that opens only when the rings are aligned correctly: tower on the inner ring, twin-headed serpent in the middle, and fire on the outer ring. Hints for this sequence are hidden on stone tablets in nearby rooms, each guarded by enemies. Once the rings are set in place, the door unlocks, letting you move deeper inside.
This challenge appears not long after you secure your first weapon and defeat the dungeon’s opening foe, right past the manual save point. To interpret the inscriptions, deploy your drone to scan the strange carvings and piece together the meaning. Once you rotate the rings into the right formation, the mechanism activates, and the passage opens, allowing you to progress deeper into the dungeon toward its exit.
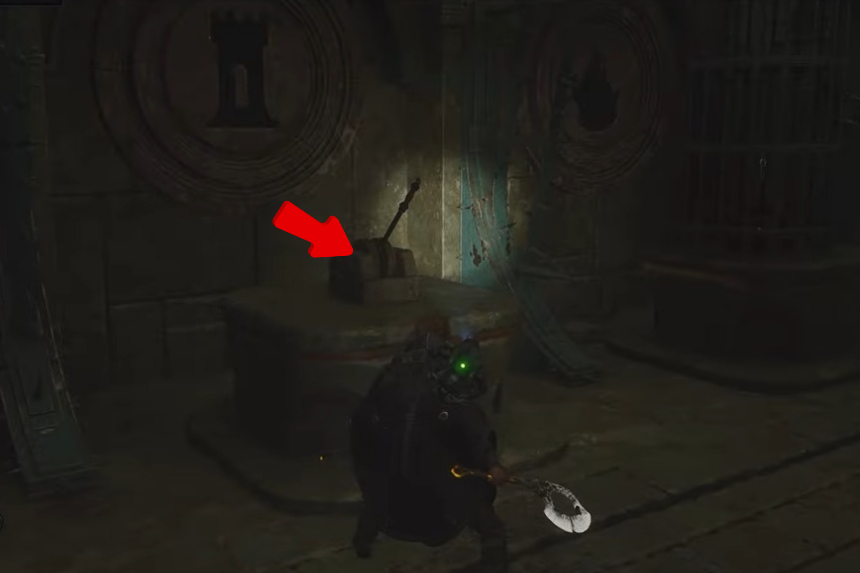
Lymbic Forge Torch
To solve the Lymbic Forge Torch Puzzle, you need to light the correct sets of torches in the room. There are three pairs of torches positioned around the chamber, and the solution is to activate the north and south pairs. Doing so opens a concealed compartment, allowing you to retrieve the Order of the Eye sigil hidden inside.
This puzzle is located deep within the Lymbic Forge. Progress further into the forge until you enter a torch-filled room with a large blue banner above a sealed fireplace. Once inside, identify and light the correct torch pairs to reveal the hidden reward.
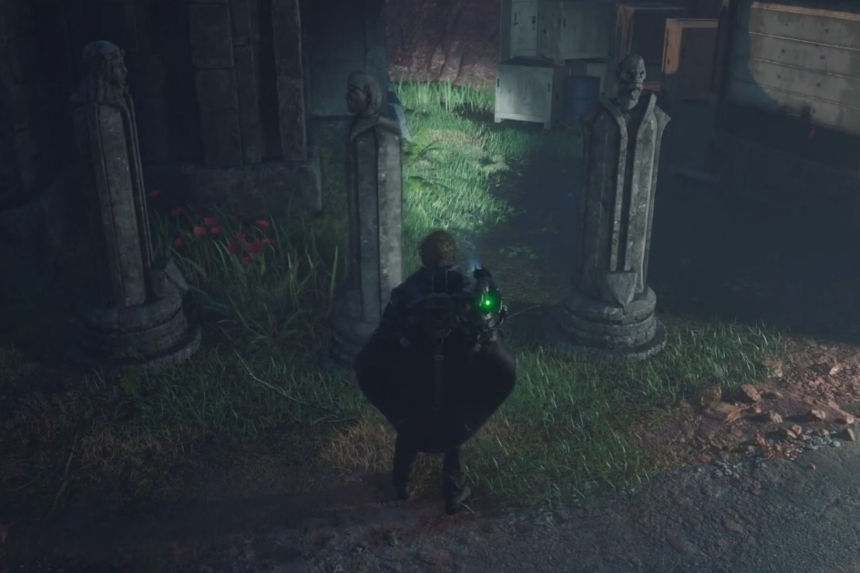
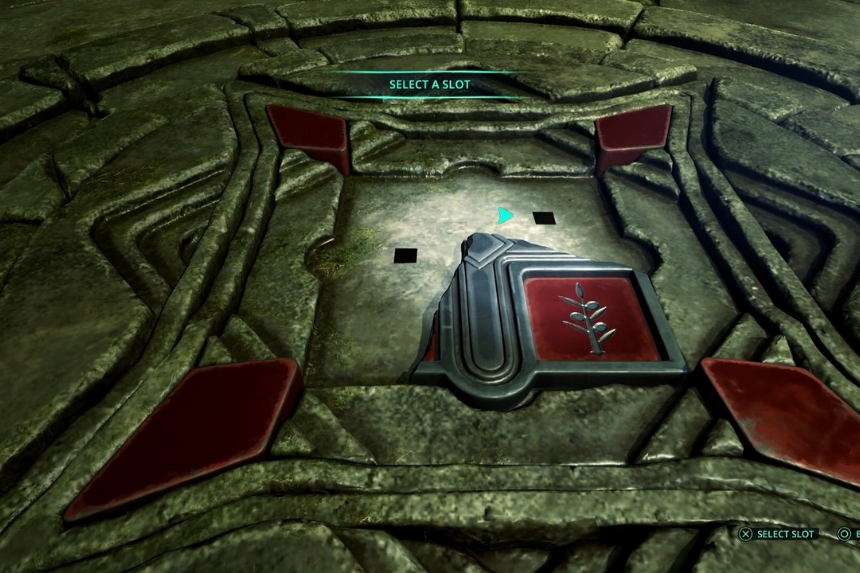
Vyssa Hills Flowers
To solve the Vyssa Hills Flowers Puzzle, gather the four Ceramic Flowers from a coffin in the tomb beneath the Watcher’s Nest. Back in the main chamber, slot them into the correct wall sigils: one beside the Watcher’s Nest plaque, one hidden behind the “Algea” whiteboard, another to the right of the blue banner, and the last on the far-right sigil of the three near the save point.
This puzzle takes place entirely within the Watcher’s Nest. After you’ve gained entry, head down into the lower tombs to secure the Ceramic Flowers, then bring them back upstairs to the central room. Placing each flower into its proper spot on the sigils will complete the challenge and advance your progress.
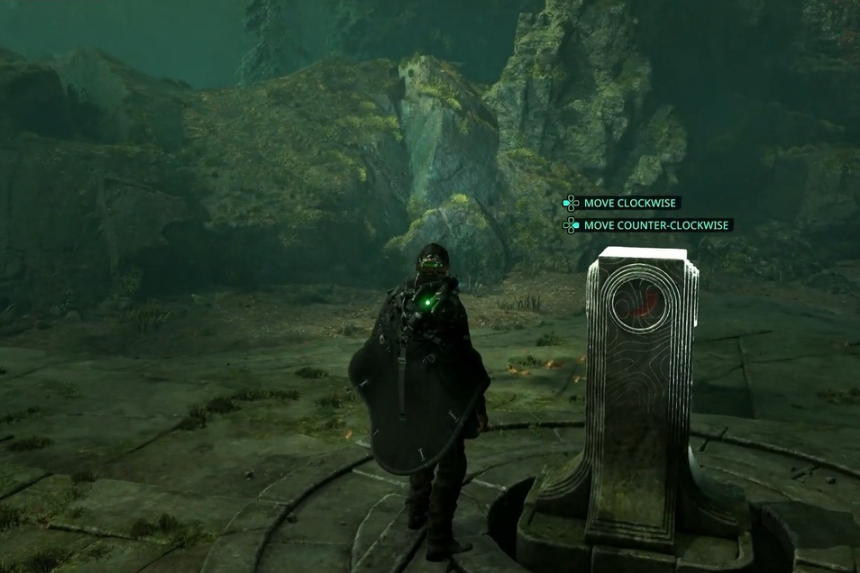
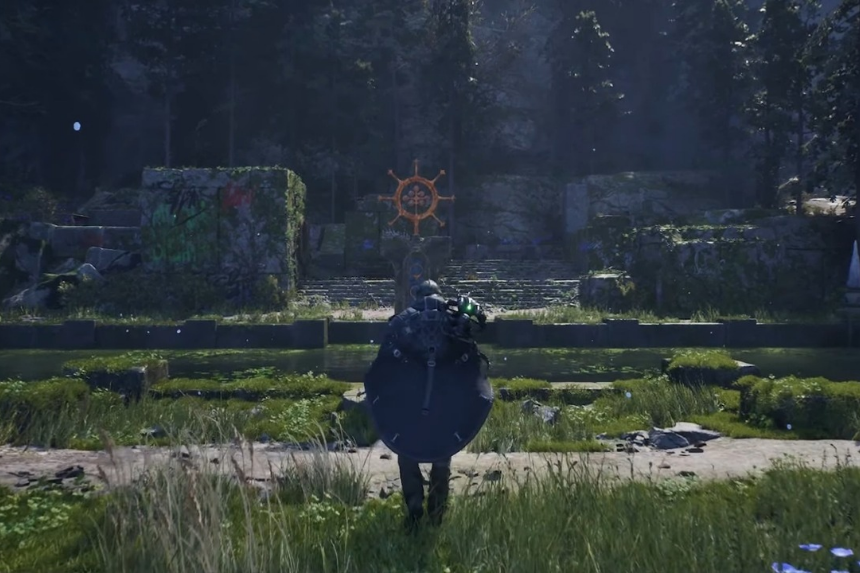
Lake Cynon Pillar
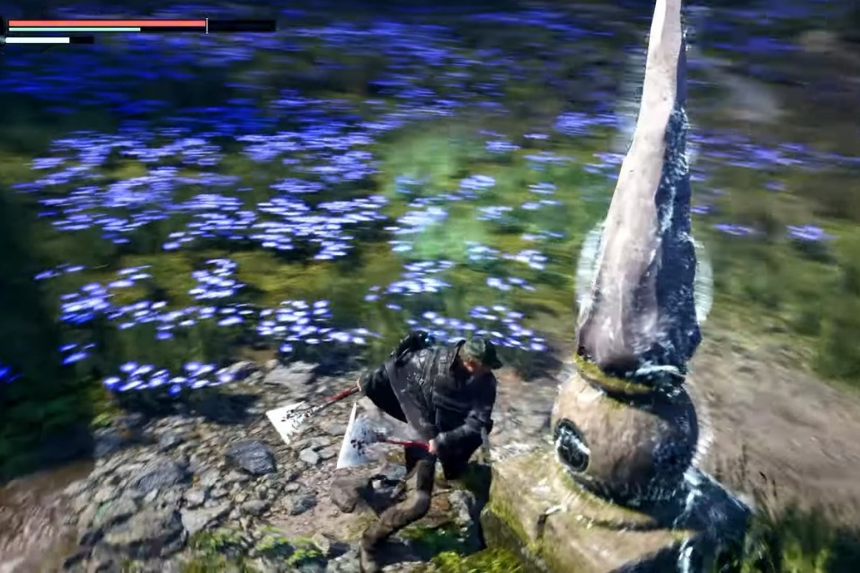
To unlock the Lake Cynon Pillar Puzzle, you’ll need to strike the stone columns around the pond in a precise sequence: Crown → Water → Key → Star → Cup. The order becomes available after your conversation with Abbot Jaffer regarding the Blue Flowers, which guides you toward the puzzle’s location. Hitting the pillars correctly will trigger the mechanism and solve the challenge.
You’ll find this puzzle near a pond just beyond the blue flower field at Lake Cynon. Follow the path past the blossoms until you arrive at the water’s edge, where the pillars stand waiting for you to activate them in the proper order.
All Puzzles in Act 2
Arcas Spire Tile

To solve the Arcas Spire Tile Puzzle, step on the pressure plates to unlock the corresponding levers. Navigate the spike area first, then on the second floor use A1 for the Tower lever and B2 for the Skull lever. Finally, go to the fourth floor, step on F4, and pull the Snake lever.
The puzzle is located on the second floor of Arcas Spire. From the elevator, climb the spiral staircase toward the grand staircase to reach the pressure plate room. Activating the plates in order lets you operate all levers and move forward.
Jeljin Dove Crypt
To solve the Jeljin Dove Crypt Puzzle, locate the crypt marked with the dove symbol near the church. Adjust the statues from left to right following this sequence: Right, Right, Left, Left to complete the puzzle.
The crypt is found close to the scaffolding on the church’s side. Climb the scaffolding on the right, then move around the area to reach the Dove Crypt and set the statues in the correct order to unlock it.
Jeljin Dagger Crypt
To solve the Jeljin Dagger Crypt Puzzle, head up the slope toward the parking lot and use the Key – Crane to operate the crane truck, which lowers the bridge on the scaffolding. Climb to the top, locate the crypt marked with the dagger symbol, and rotate all the statues so they face left.
The crypt is situated near the scaffolding in the parking lot. Move past the scaffolding and go through the gates on the left to reach the Dagger Crypt. Setting all statues to face left completes the puzzle and unlocks the crypt.
Jeljin Flower Crypt
To complete the Jeljin Flower Crypt Puzzle, find the crypt marked with the flower symbol in the plaza. Rotate all the statues so that each one displays the Sun symbol to solve the challenge.
The puzzle is located in the plaza near the parking area. Head down the plaza toward the slope leading up to the parking lot, and you’ll spot the Flower Crypt. Adjust all statues correctly to unlock the puzzle.
Jeljin Horse Crypt
To solve the Jeljin Horse Crypt Puzzle, head to the crypt marked with the horse symbol. Adjust the statues from left to right in this sequence: Left, Right, Right to complete the challenge.
The crypt is located through the cave near the Archaeology Camp. From the camp, pass through the mausoleum and continue through the cave until you arrive at the Horse Crypt to set the statues correctly.
Jeljin Pergola
To solve the Jeljin Pergola Puzzle, head to the back of the church and input the symbols in the following sequence: Dove-3-0, Rose-2-4, Sword-3-3, and Horse-9-0. Entering the correct codes completes the puzzle.
The pergola is located behind the church. After finishing all the crypt puzzles, return to this area to input the symbol sequence and unlock the Pergola Puzzle.
Marastan Door
To solve the Marastan Door Puzzle at the Blood Queen’s Tomb entrance, place the Square, Oblique, and Angled Tablet Fragments into the central crevice. This raises four pillars, which must then be aligned to match the fragments’ original positions to unlock the door.
The puzzle is located in the forest near the APC. Cross the bridge from the APC and head east through the woods to reach the doorway. Correctly positioning the pillars opens the path forward.
Marastan Eagle
To complete the Marastan Graveyard Eagle Puzzle, you must turn all six eagle statues so that they face east. Clues for the correct orientation can be found on a wall near the Blood Queen’s Observatory before climbing the ladder. After spotting the Blood Queen’s Tomb through the telescope, proceed to the graveyard and adjust each statue accordingly to solve the puzzle.
The puzzle is located in the cemetery overlooking the Blood Queen’s Observatory. From Samo’s General Store, make your way uphill to the graveyard and locate the eagle statues scattered throughout the area. Rotating them all eastward unlocks the puzzle’s solution and completes this challenge.
Marastan Symbols
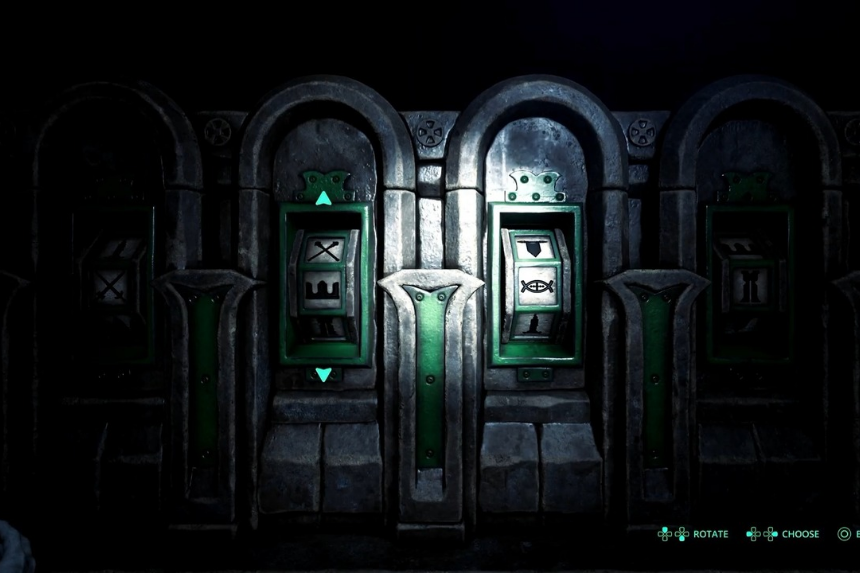
To complete the Marastan Symbols Puzzle inside the Blood Queen’s Tomb, place the correct symbols into the wall slots in this sequence: Crossed Swords, Crown, Eye, and Tower. You can verify the order by consulting the nearby mural, which provides the visual clues needed to solve the puzzle.
This puzzle is located within the Blood Queen’s Tomb. Progress through the tomb until you reach the chamber with the wall slots. Correctly setting the symbols unlocks the mechanism and allows you to advance further.
Plains of the Mist Door
To complete the Plains of the Mist Entrance Puzzle, approach the dial door that appears after opening the first gate to the Temple of the Fallen. Use the scattered metal plates across the plains as clues, and set the symbols from top to bottom in this sequence: Sword, Diamond, Sun, and Eye.
This puzzle is located at the Temple of the Fallen entrance. After fast traveling to the Plains of the Mist and unlocking the first door, solve the dial puzzle on the second door to gain access to the temple.
Ministry of Cultural Primacy Safe Lock (Lethe)
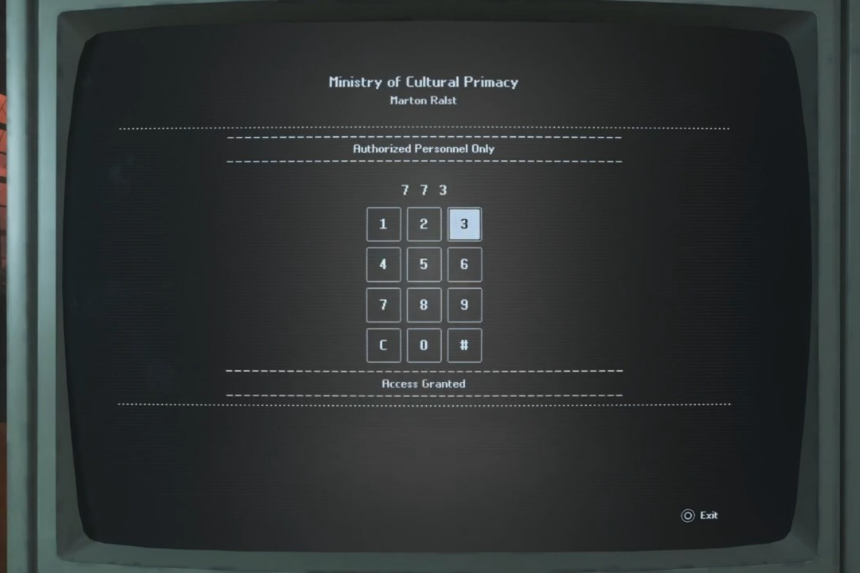
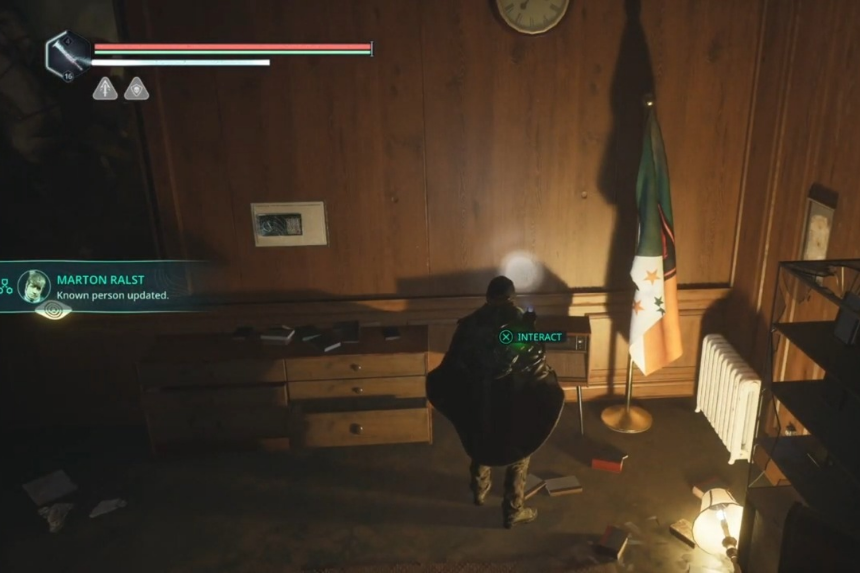
To unlock the Lethe – Ministry of Cultural Primacy Safe, first interact with the computer in Marton’s office by entering 773 after speaking with Maeve. Then, tune the radio to 60.0 FM to reveal the passcode for the hidden safe, which is located behind the painting nearby.
This puzzle is found inside Marston Ralts’ office. From the underground parking area, make your way up to the third floor to access the office and complete the safe lock challenge.
Temple of the Fallen Pressure Plate 1
To solve the Temple of the Fallen Pressure Plate Puzzle 1, step on the plates in this order: Right Tile of the Sun, Right Tile of the Moon, Left Tile of the Tree, using the surrounding tablets for guidance.
This puzzle is located in a room with tablets. After entering the temple, follow the path until you reach the pressure plate chamber and complete the sequence to unlock the door.
Temple of the Fallen Pressure Plate 2
To complete the Temple of the Fallen Pressure Plate Puzzle 2, go through the door with the snake symbol and use the nearby monoliths for hints. Step on the tiles in this order: Hands with Hourglass, Dagger Eye, Backstab, and Twin-Headed Snake to unlock the passage.
This puzzle is located in a room with giant statues. After passing through the snake-symbol door, enter the chamber and follow the correct tile sequence to open the way forward.
Auriga Museum Door
To solve the Auriga Museum Entrance Puzzle, first insert the Iron Seals to unlock the museum’s entry. Once inside, rotate all the statues so they face the second door, which will open the next passage.
The puzzle is located at the Auriga Museum entrance. After fast travel to the museum becomes available, head to the entrance and arrange the statues correctly to complete the puzzle.
All Puzzles in Act 3
Lake Cynon Golden Eye
To solve the Lake Cynon Golden Eye Orbs Puzzle, collect the orbs from the Eye of God antechamber and place them in the statues at the Golden Eye in this order: Sword – Crimson, Dripping – Cobalt, Torch – Topaz, Rectangle – Emerald.
The puzzle is located on the Golden Eye statues. Reach it by descending to the keystone altars in Lymbic Forge and passing through Mount Obek and the Eye of God antechamber.
All Mystery Puzzles
National Library Locked Computer (Lethe)
In Lethe – National Library, solve this Mystery by gathering the numbers from the tracts and using them to input the passcode 731596 into the computer, unlocking the next stage of the puzzle.
Note: Some Mysteries demand solving codes or patterns, whereas others just need certain items to complete.
Jeljin Dial
In Jeljin, solve this Mystery by following the audio cues that indicate the symbols: one located in Lethe – Ministry of Cultural Primacy and two found within Jeljin itself.
Acasa Marshes Torch
In Acasa Marshes, solve this Mystery by lighting the sconces at these spots: Left Torch at Lymbic Monolith, Right Torch under Pathem Abbey, Left Torch beneath the Training Ground, and both torches in the Scientific Camp Underground.
Auriga Museum Locked Laptop
In Auriga Museum, complete this Mystery by accessing the laptop and entering the correct deployment order numbers: 051108 to unlock it.
Conclusion: Tackling Hell Is Us puzzles is as much about clever observation as it is about exploration. Each solved challenge reveals secrets, uncovers hidden lore, and turns every corner of the world into an opportunity for discovery and mastery. For a complete walkthrough, read our guide on All Vault of Forbidden Knowledge Locations and Code Combinations to ensure you uncover every secret and solve every challenge.