
In FNAF: Secret of the Mimic, it is your Data Diver that will move doors and take you farther into the manor of Murray’s Costume. Puzzles are to be solved and clearance upgrades to be made to advance. This guide contains all the upgrade locations, puzzle tips, and how to get to the Executive level, along with some key story details along the way.
How to Get Every Data Diver Security Upgrade
Exploration within FNAF: Secret of the Mimic revolves heavily around the Data Diver device, which is important for accessing locked areas inside Murray’s Costume Manor. The manor is strewn with security doors that won’t open unless you are holding the appropriate level of clearance, ranging from Basic up to Executive-highly restricted. Each type of clearance is distinguished by symbol, and the Data Diver monitors your progress by lighting the corresponding icon.
Clearance upgrades are tied to story progression and are unlocked by discovering special machines scattered throughout the facility. Each time your access level changes, not only will you be allowed entry to new areas, but these changes also enable you to unlock hidden voice messages at the kiosks of Mr. Helper and Mrs. Helper that provide you with additional story content, with the highest-level entries revealing personal details about Edwin, Fiona, and David. For players invested in the lore, these discoveries are especially rewarding.
Unlocking Levels – A Quick Breakdown
When you obtain the Data Diver, you’ll get the first clearance level unlocked, just enough to get you through the first section of the area. From there on, each subsequent upgrade will be story-related, so you will discover them through exploration. What is fun are the puzzles you solve at each upgrade station.
Each puzzle consists of binary tiles called bits. The objective is to flip all the functional bits to ‘1’. You control a cursor that moves along three tracks (top, middle, and bottom) on two passes–once from left to right, and once back from right to left. Some bits may be corrupted and cannot be flipped, so you will have to work around these.
The puzzles gradually become more complex, but they’re all fair, and multiple solutions are possible. Below are some recommended approaches:
Upgrade 1: Security Office
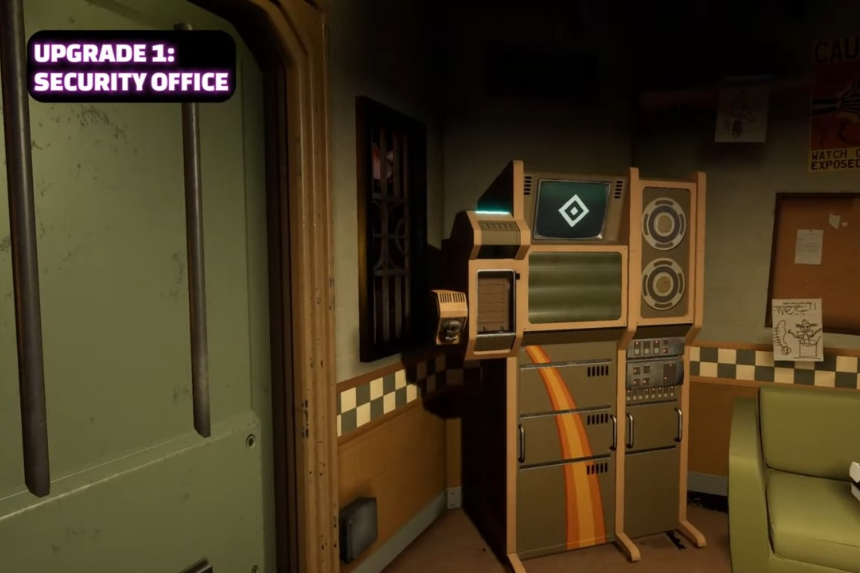
Where to Find It: Inside the Security Office. This is the first upgrade you’ll come across and it’s very straightforward.
Puzzle Tip:
- Start by running the cursor through the middle track from left to right.
- Then go back using the top track from right to left.
- That should flip all bits to ‘1’ and complete the upgrade.
Upgrade 2: Manager’s Office
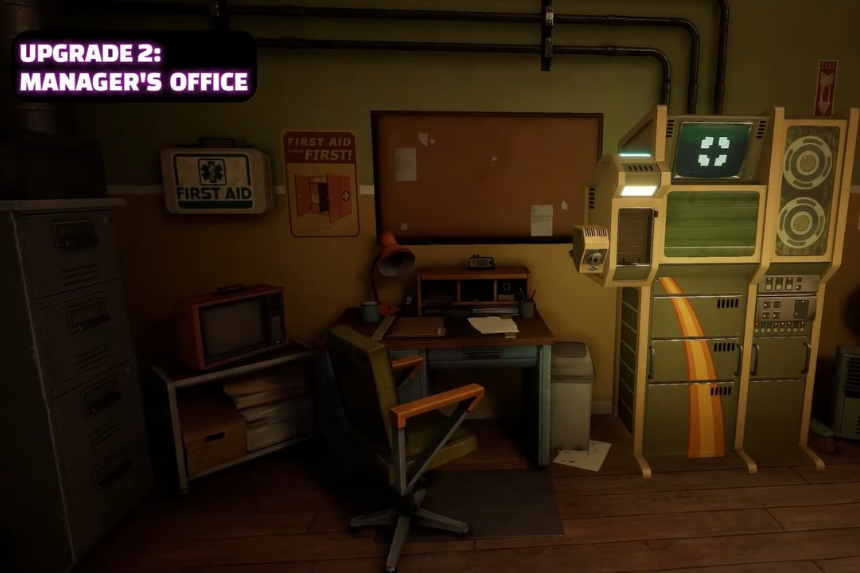
Where to Find It: Office in the second floor hallway (requires Security level). Take the elevator up and head down the left hallway to spot the upgrade machine.
Puzzle Tip:
- Begin on either the top or bottom track and flip that bit.
- Jump to the middle track to flip the center to ‘0’.
- Then back to your starting track to hit the other bit to ‘1’. You’re going for a V-shape pattern. Repeat the pattern in reverse when the cursor travels back.
Upgrade 3: Big Top Showroom
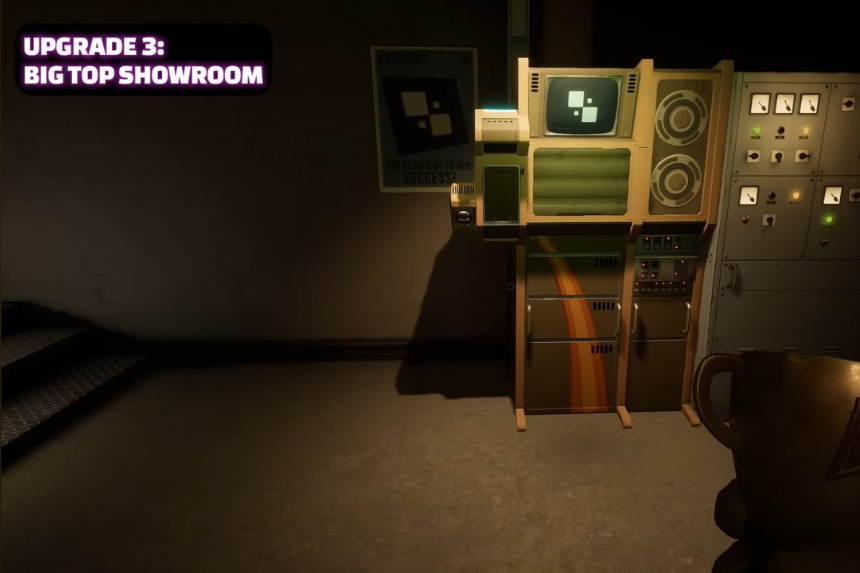
Where to Find It: Just before the roof access area. This one appears after you pass through the Big Top Showroom balcony and solve the hat door puzzle.
Puzzle Tip:
- On your first pass, take the bottom track, flipping the first two bits to ‘0’, and the last one to ‘1’.
- On the way back, switch to the top track, flip the top-right bit to ‘1’, then hop back down to the bottom track to change the first two bits back to ‘1’. Done and done.
Upgrade 4: Doll Hospital
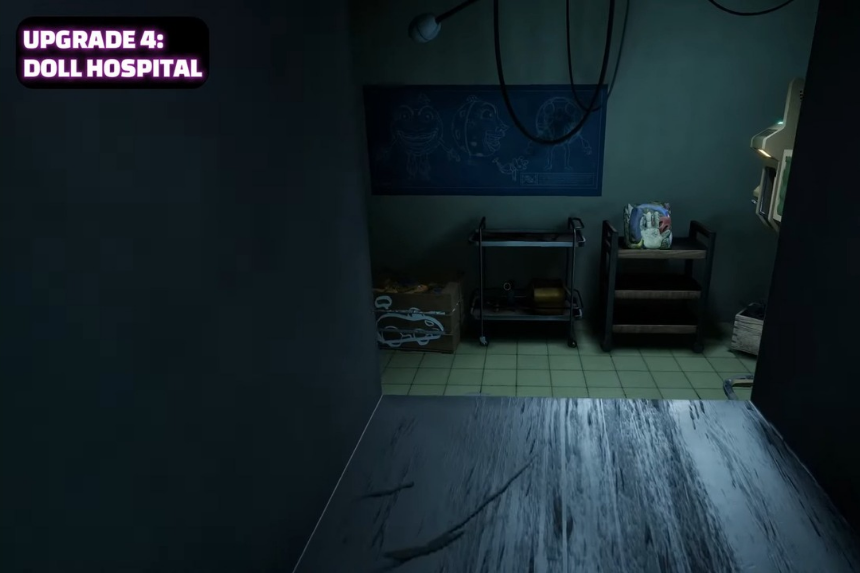
Where to Find It: Back room of the Doll Hospital (accessed through a nearby vent). This one’s hidden behind Nurse Dollie’s area. Look for an open air vent in the neighboring room to sneak inside.
Puzzle Tip:
- Start on the top track, flip the far-left bit to ‘1’.
- Drop to the middle track to switch the center to ‘0’.
- Return to the top track to change the top-right bit to ‘1’. That’s the first pass.
- Coming back, go through the middle track again, flip the center-right to ‘1’.
- Drop to the bottom track to switch the lower-right bit.
- Back to middle for the center bit.
- Then down again to finish with the bottom-left bit. That should do it.
Upgrade 5: Admin Wing
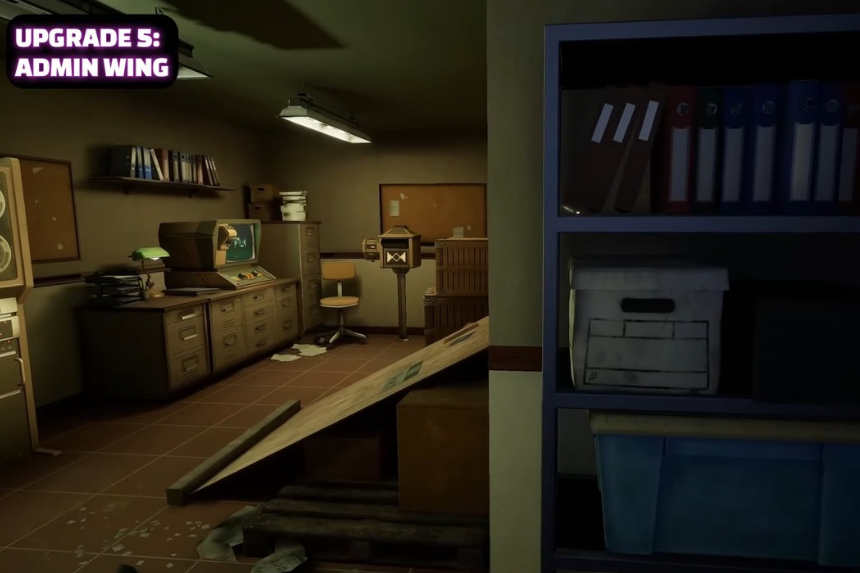
Where to Find It: Second floor of the Admin Wing (vent access only). Chica patrols this area, so be stealthy. The machine room is blocked, but there’s an open vent lit by a projector in the next room. That’s your way in.
Puzzle Tip:
- First run: Start on the middle track, flip the left-center bit to ‘0’.
- Then jump to the top track to change the second and third bits to ‘1’.
- On the return trip, start on middle, flip the right-center bit.
- Drop to bottom to switch the lower-right and second bits to ‘1’.
- Head back to middle to flip the center-left.
- Before the cursor exits, move up to the top track to flip the top-left bit. Once done, you’ll unlock the final level and earn the “Executive Permissions” achievement.
And that’s all the Data Diver clearance levels! They’re mostly tied to your story progression, so you can’t really miss them. The real fun is figuring out those puzzles and digging into the extra lore if you’re a completionist.