
If you want to get your hands on the Graviton Spike Exotic hand cannon in Destiny 2, you’ll need to complete a special post‑campaign quest called “Graviton Through the Ages.” This quest only unlocks after you’ve finished the entire Edge of Fate campaign. Once that’s done, head over to the Altar of Relativity on Kepler to start it. The quest has 15 steps in total, taking you through different zones, puzzles, and fights. Here’s a simple guide to walk you through every part of the quest.
All 15 Steps Graviton Through The Ages
To get the Graviton Spike, you’ll need to take on a post-campaign Exotic quest called “Graviton Through the Ages.” You can only start this quest after finishing the entire Edge of Fate campaign. Once you’ve wrapped up the campaign, head over to the Altar of Relativity vendor on Kepler. That’s where you can pick up the quest.
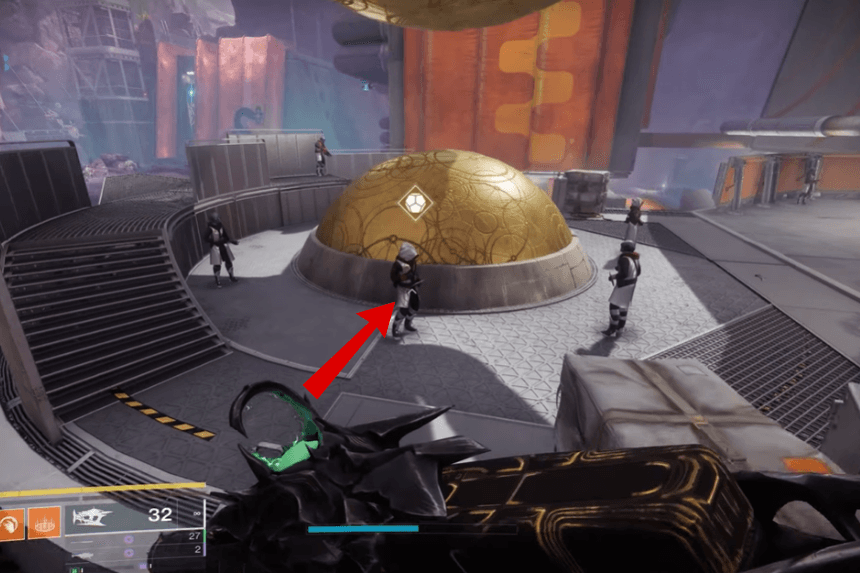
Step 1 – Lodi visited
First, head over to the Caldera social space on Kepler and talk to an NPC named Lodi. He’s the one who’ll walk you through what to do next and kick off your quest.
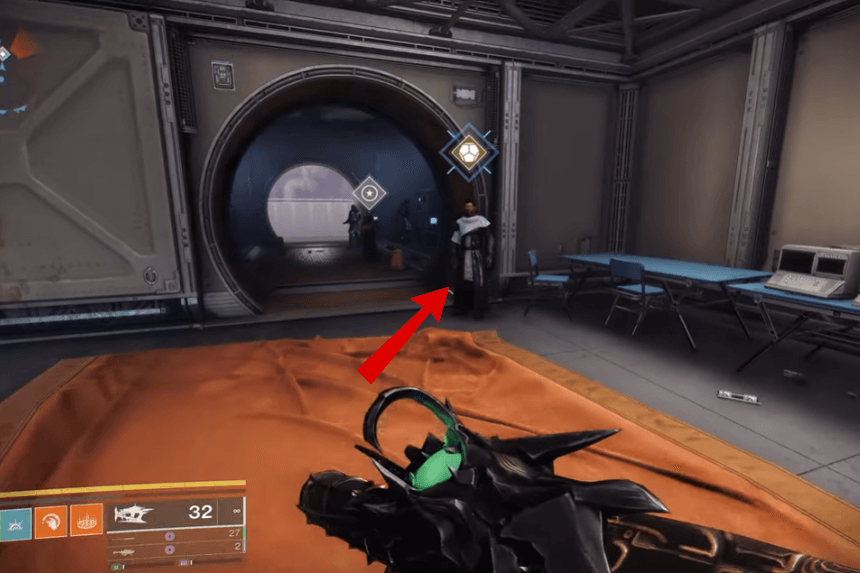
Step 2 – The Emeritus visited
After Lodi points you in the right direction, your next stop is The Emeritus. You can find him in the same area. Have a quick chat with him to unlock your first search objective.
Step 3 – Department of External Observations weapon piece
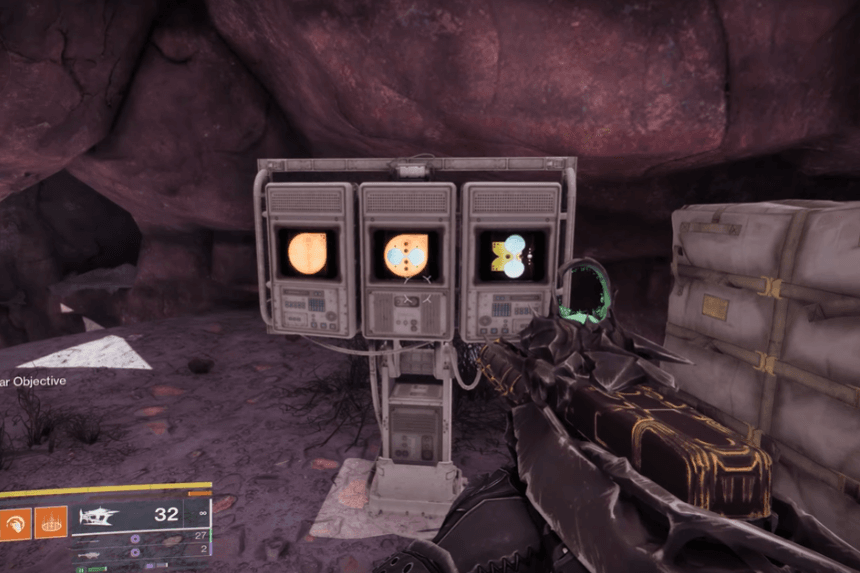
Next, you’ll need to search for the “Lost Department of External Observations” weapon piece in a new area. In this zone, you’ll see three special nodes. Use your Matterspark to charge all three of them.
Step 4 – Weapon piece acquired
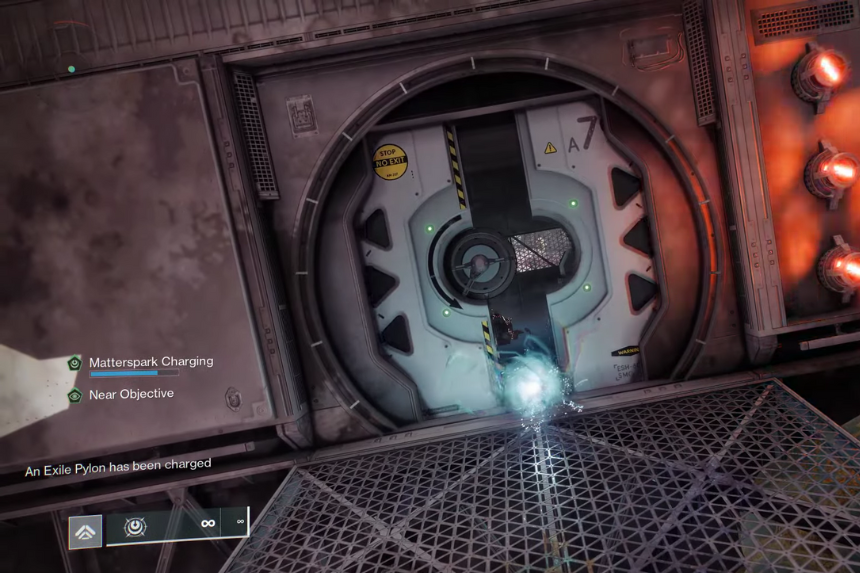
Once they’re powered up, the game will guide you to a specific room where you can pick up the weapon piece.
Step 5 – The Emeritus visited
After grabbing it, head back to The Emeritus and talk to him again. He’ll give you an update on your progress toward unlocking the Graviton Spike Exotic weapon.
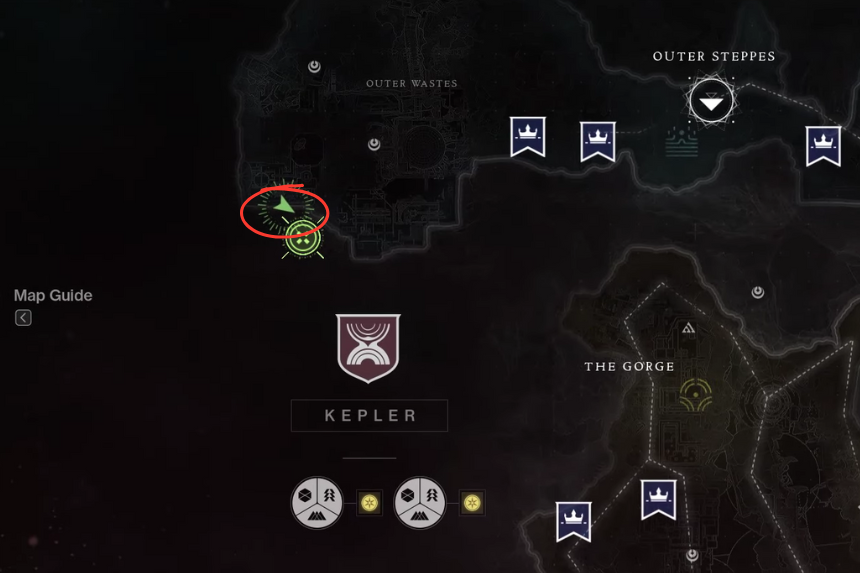
Step 6 – Triangulate the location in the Gorge
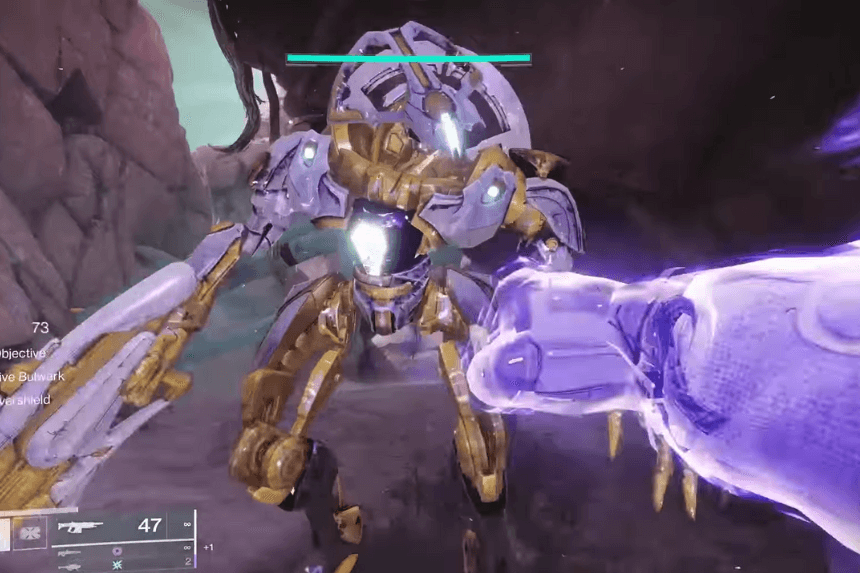
After you’ve returned to the Emeritus and advanced the quest, your next stop will be the Gorge area on Kepler. To save time, fast travel straight to the Assimilated Easement. From there, simply follow the waypoint deeper into the Gorge. You’ll be making your way toward another Rosetta triangulation site, so keep an eye on your marker as you move through the area. When you arrive, you’ll find a Rosetta Vex Sentry Minotaur. Take it down first, because you won’t be able to interact with anything until the area is clear.
Access the Command Module
Once the fight is over, look for a small Vex structure on the far left side of the room. Behind it, you’ll find the terminal for the Command Module. Interact with it to trigger the next step of your quest and keep pushing forward toward that Graviton Spike Exotic Hand Cannon.
Step 7 – Weapon piece acquired
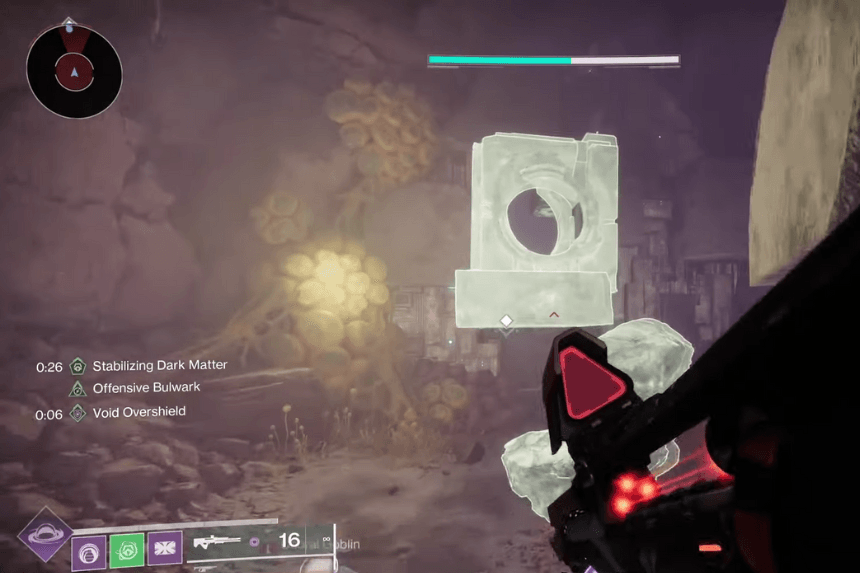
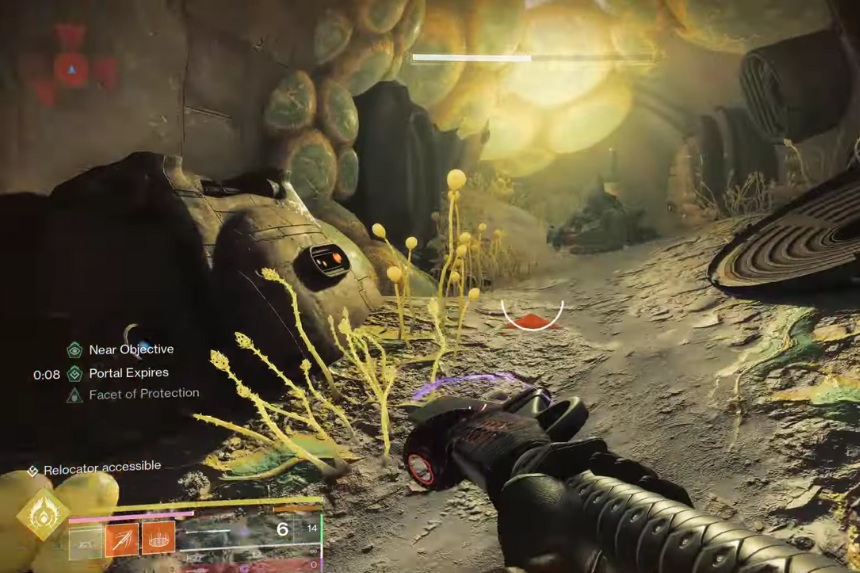
A new search area will appear on your map, and your quest will be updated whenever you activate the Command Module. When you get there, switch to your Matterspark because you’ll need it. Your goal is to find and charge three nodes scattered around the area.
The first node is easy to find, it’s just down a small cliff near where you enter the zone. Jump down, charge it, and a launch portal will appear right next to it. Use the portal, and it will fling you straight to the second node.
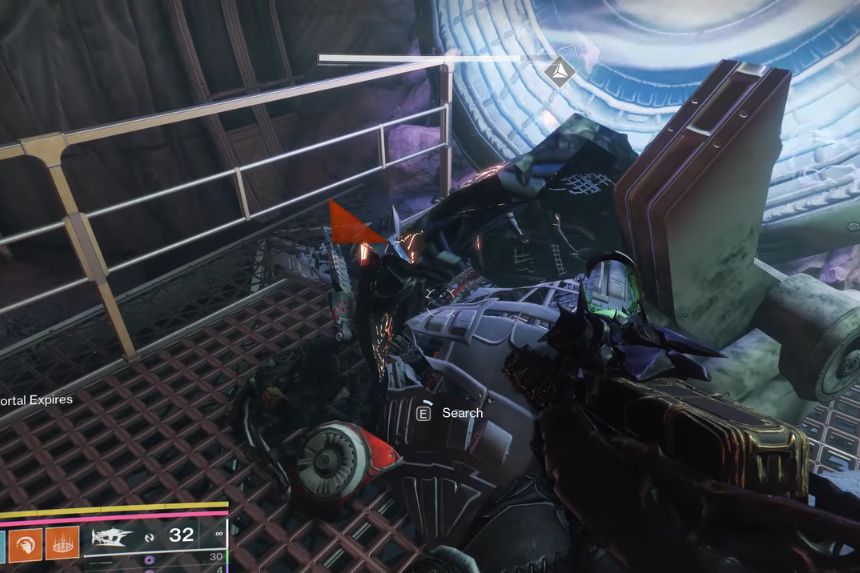
Keep going along the path, charging each node as you come across it. After all three are powered up and you’ve finished the quick traversal section, you’ll end up in a small room. Check the pile of debris inside and interact with it to grab the first piece of the Graviton Spike weapon.
Step 8 – The Emeritus visited
Head back to The Emeritus in Caldera and talk to him again. After that, he’ll point you toward a brand‑new area to explore.
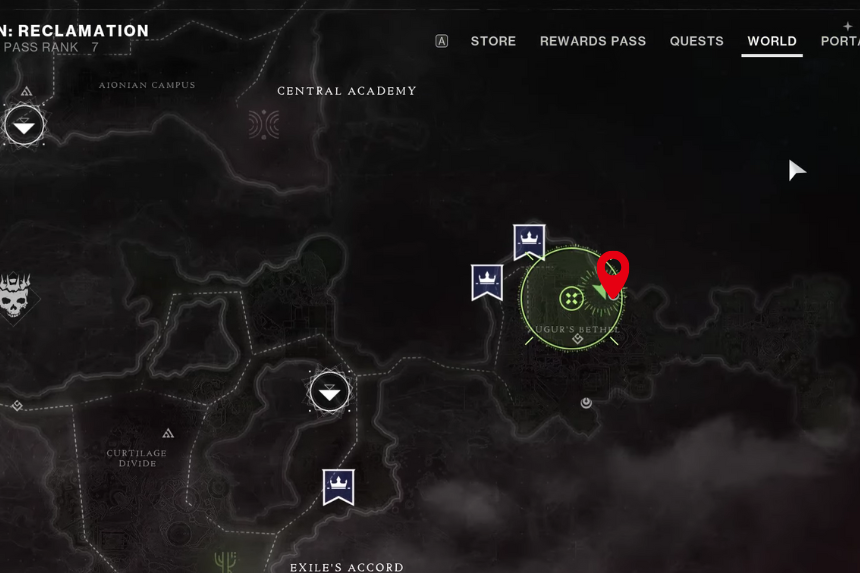
Step 9 – Triangulate the location in the Exile’s Accord
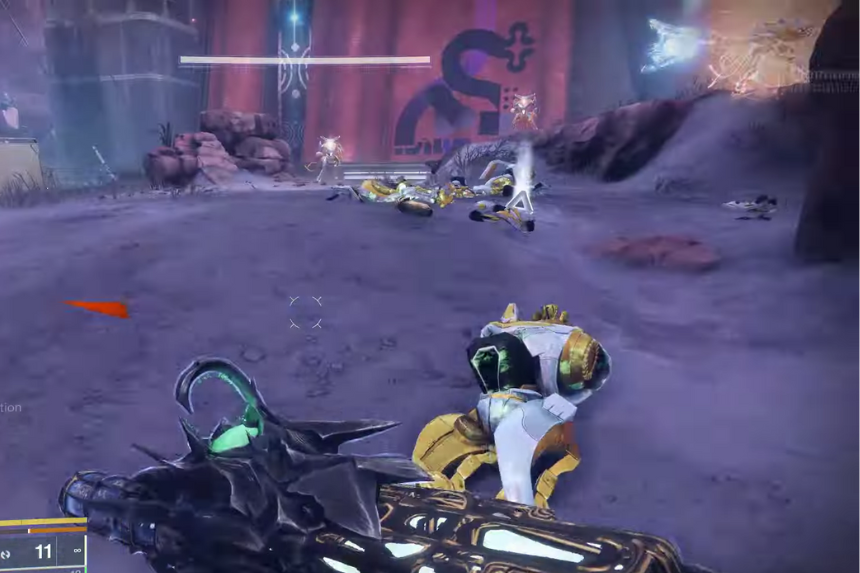
After you talk to Lodi again, your quest will update and send you over to Exile’s Accord, which is on the far right side of the Kepler map. The easiest way to get there is to fast travel to the Curtilage Divide, so you’re already close.
Check to the right of the train and you’ll see a Matterspark portal. Use your Matterspark ability to jump into that portal and follow the path carefully. Keep going until you reach an open area filled with enemies. On the left side of this zone, there’s a small room. Inside, you’ll run into another Rosetta Vex Sentry Minotaur, and sometimes even a Fallen Brig. Take them out, and then activate the Aionian Command Module on the left side of the room to finish this triangulation step.
Step 10 – Weapon piece acquired
After you activate the terminal, your next task is to hunt down the next weapon fragment. From where you are, head back to the spot with the train that you passed earlier. This time, instead of going around it, actually go through the train tunnel.
Once you make your way through the tunnel, you’ll come out into a hallway-like area. Keep going until you reach the end, and there you’ll find another pile of debris. Interact with it to collect the third piece of the weapon.
Step 11 – The Emeritus visited
Head back to The Emeritus in Caldera and talk to him again. After that, he’ll point you toward a brand‑new area to explore.
Step 12 – Vex Data Fragments
The next step is to gather Vex Data Fragments. There are a lot of Vex spawns in the Caldera area, so stay there. You will receive a tiny bit of data each time you fight an ordinary Vex, but you will receive more if you destroy yellow-bar elites, so whenever possible, concentrate on those.
Do not hesitate to activate any closed objects that you come across. A boss eventually appears as a result of this mini-public event, which also sends waves of Vex your way. It’s a fantastic method for rapidly farming pieces.
You’ll gradually accumulate what you require if you simply continue to wander the region and eliminate Vex as they arise. This step is completed once you have gathered 100 Data Fragments.
Step 13 – Weapon piece acquired
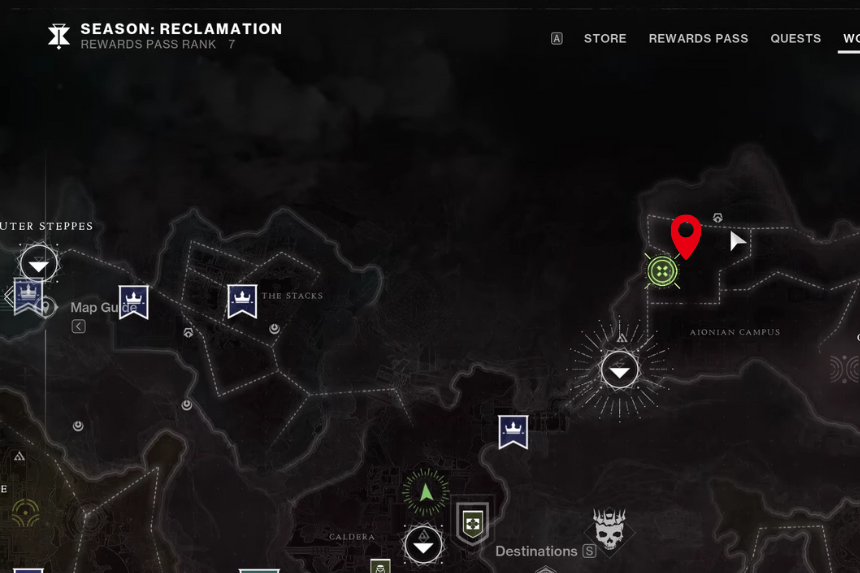
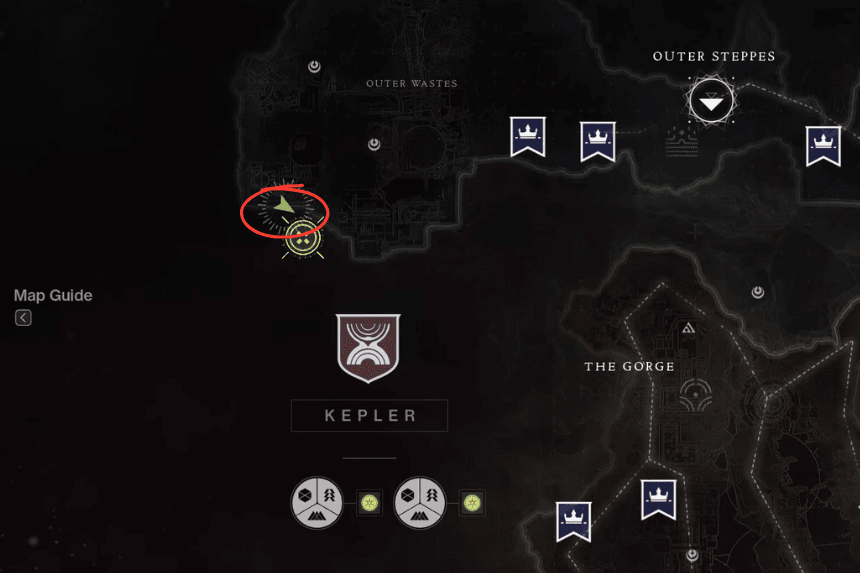
The quest will update once more and lead you to a new location just north of your current location if you’ve collected enough fragments. Fast travel to the Aionian Campus is the most efficient way to get there. There will be more Vex when you get there. To advance the mission, eliminate them and then search for and activate another Aionian Command Module.
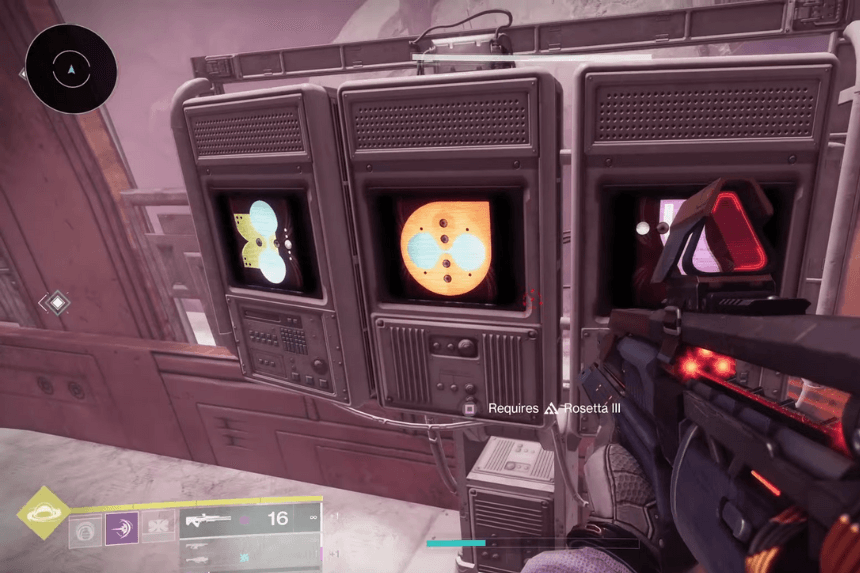
You’ll then enter a section that involves some simple puzzle-solving. This location is easily recognisable due to the faded crimson colour of the walls. A Mattermorph node is nestled inside a huge tube-like structure in the far left corner. Activate your Mattermorph ability with it.
From there, proceed to the zone’s centre, where a massive crane is seen carrying a container. Open the container using your Mattermorph, then leap inside to seize the Relocator Cannon.
Proceed back toward your starting point now. A door that is barely open enough to see through will catch your attention. Shoot the node on the other side of the opening using your Relocator Cannon. By doing this, a teleporter on the room’s right side will be activated. You will enter it once you step through it. The last pile will be just in front of you. To get the final Graviton Spike weapon piece, interact with it to get it.
Step 14 – Speak to Lodi
Make a final trip back to Lodi in Caldera. Talk to him, and he’ll send you on your way to finish the quest by putting the weapon together.
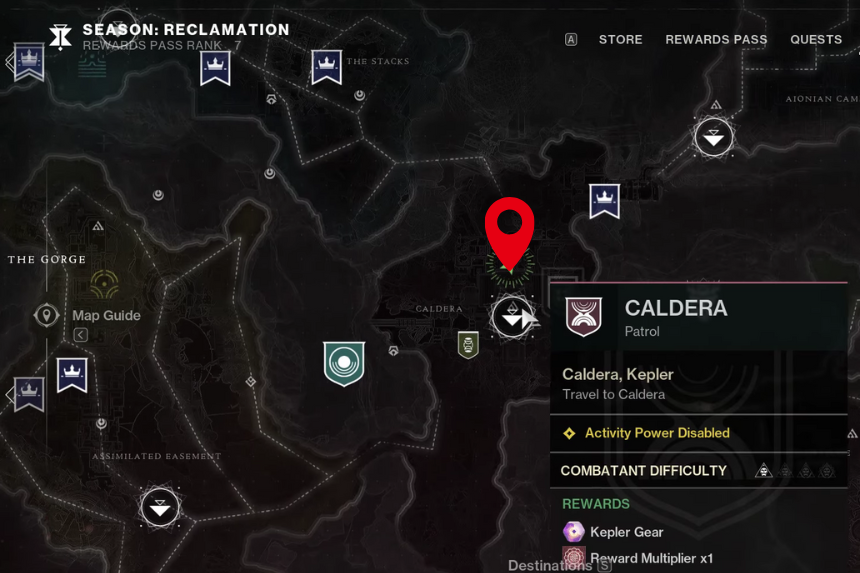
Step 15 – Sieve activity completed
The only component of the quest that is time-gated is this last stage. The Sieve is a matchmade task that you must finish. There are periods when the Sieve shows on the Kepler map, but it is not always there. It rotates in and out, so just keep checking back. You can launch it from a flag in the Caldera centre, and it will be prominently displayed on your map when it becomes ready. Once you complete this task, the Graviton Spike Exotic hand cannon will be formally unlocked.