")
This guide provides a walkthrough for the Derealize mission in Destiny 2, including a detailed breakdown of the rune puzzle solution and strategies for defeating the final boss, Xir-Kuur. From navigating the Trenchway and charging the Taken Curse to understanding the unique mechanics of the boss fight and claiming the Barrow-Dyad submachine gun, this guide will help you conquer the Derealize mission and earn your reward.
Derealize Mission in Destiny 2
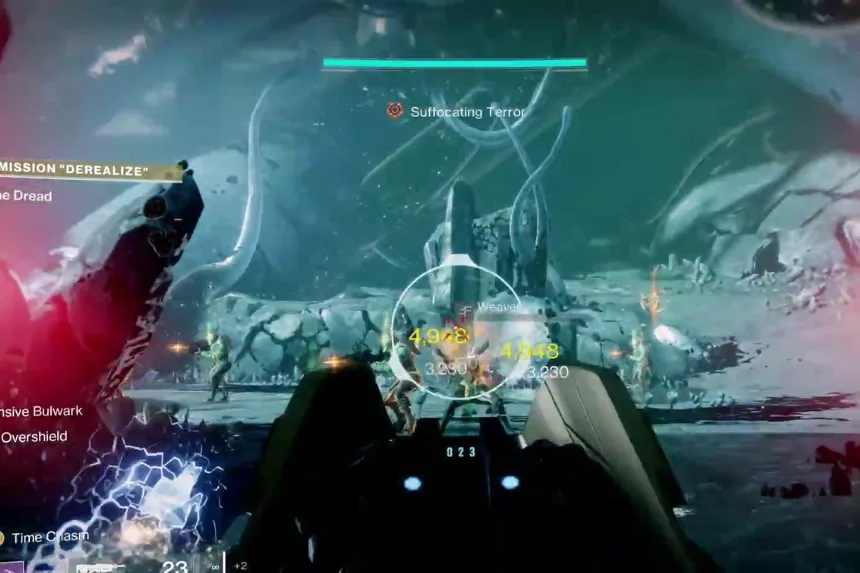
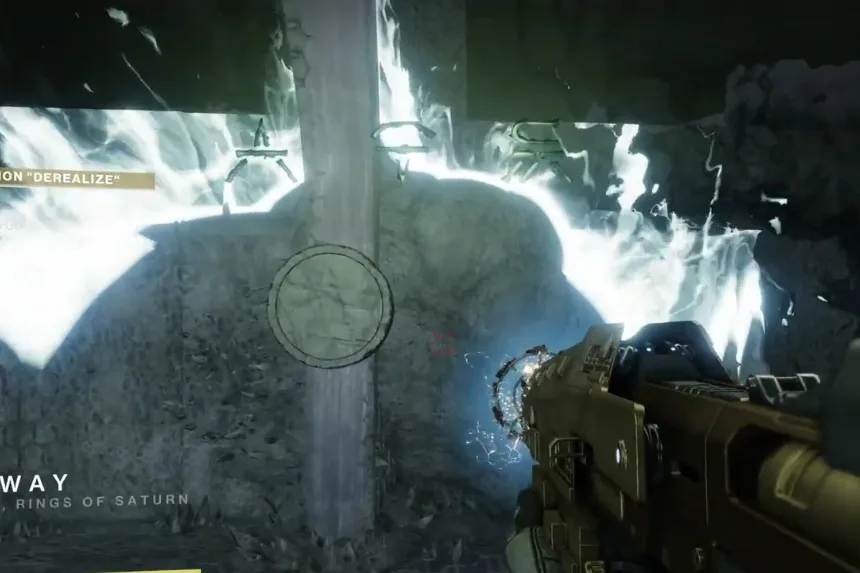
First, you’ll need to deal with the Dread enemies and use the portal to get to the Trenchway. Once you’re there, you’ll face the Vrhiisk, Seeker of Power. This boss fight has a special mechanic:
During the fight, you’ll see Blight Sentinels. Kill them! This will spawn a Taken Curse (think of it like a glowing orb). Pick it up. Now, just like before, you need to charge the Taken Curse by defeating enemies. Once it’s charged, take it to the marked location and dunk it. Eventually, the boss will trap you in a bubble, kind of like the Shade of Oryx fight from the King’s Fall raid. Defeat the boss inside the bubble. After the boss is down, you’ll get a new objective called “NO ESCAPE” and a puzzle to solve.
Rune Puzzle Solution
You’ll see five Hive symbols painted on the wall, and nearby there’s a plate with an arrow on it. This is a puzzle! You need to enter the symbols in the exact order they appear on the wall.
Here’s how it works: Stand on the plate with the arrow. Look at the rune that appears. Is it the first symbol you need?
- If yes: Step off the plate in the direction the arrow is pointing. This confirms the symbol.
- If no: Just stay on the plate. A timer will run out, and you’ll be teleported to a room with the next symbol you need to identify.
Don’t worry about dying if the timer runs out. It just moves you along. Keep doing this for all five symbols. Once you’ve entered them all correctly, you’ll solve the puzzle and escape the bubble!
Final boss in the Derealize Exotic mission
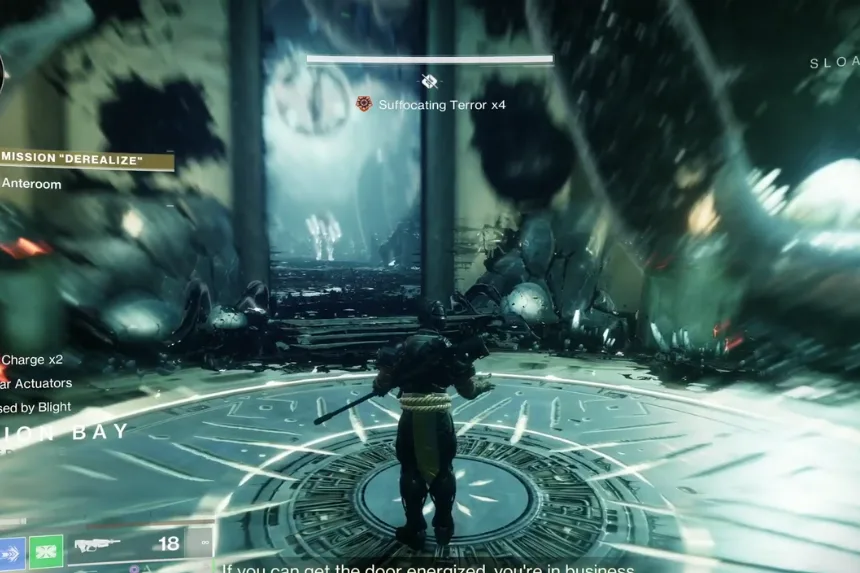
Alright, get ready for a long trek! Just follow the path, and don’t forget to use your Ghost to reveal any hidden platforms that might be invisible. Along the way, grab the Taken Osseous Fragment. You’ll come to a hole in the wall that was previously blocked by blight – drop down it. Climb up the ledges and keep moving forward until you reach a big open area with giant Shriekers.
A word of warning during this whole section: watch out for holes in the walls! You can easily get spiked if you’re not careful. After you get past the Shriekers and enter another narrow area with spikes, look for a Hive crystal at the end and destroy it. Continue across the room. You’ll then find a Hive barrier covered in seals. In this room, search for two more Hive crystals (one high up and one low down) and break them.
Keep going until you see a Hive Tomb ship. Follow the weird tentacle things and jump onto the flying Taken blights to get on top of the ship. Go through the door. At the end of that room, you’ll find a table with the Barrow-Dyad submachine gun waiting for you! Claim your prize!
How to defeat Final Boss in the Derealize Exotic mission
Time for the final showdown against Xir-Kuur! The fight has a bit of a back-and-forth mechanic:
You’ll damage Xir-Kuur until it teleports you to the Taken realm. Here, you’ll fight a Taken version of the boss. To get back to the normal realm, you need to shoot the blights you see around. Keep repeating this process – damage, Taken realm, shoot blights, back to normal – until the game tells you it’s time to leave the room. Once you get that prompt, head outside and stand on the plate. Hold it down for as long as you can. This will seal the door and trap Xir-Kuur in its room, finishing the fight!