")
In Episode 2, Dispatch offers more character interaction, more difficult decisions, and choices that will matter in your relationships going forward. In this guide, we’ve put together all the dialogue options and their outcomes so you know exactly what every choice does. Use it to keep tabs on consequences. Play through again, make different choices, and get different outcomes!
All Choices and Outcomes in Episode 2
Here’s an easy breakdown of all the choices you will face in the first episode.
Chatting with the Waterboy – First Choices
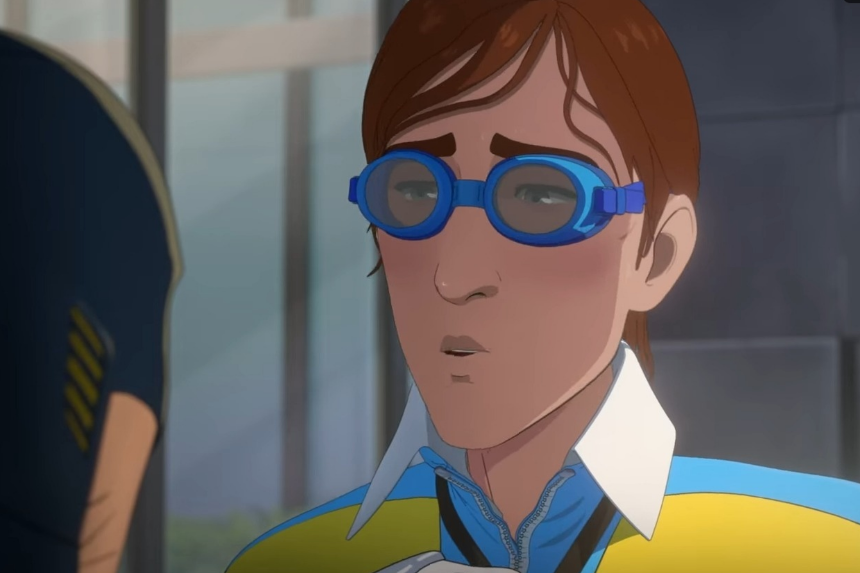
Episode 2 kicks off with Robert hanging out in the lounge. He’s in the middle of a chat with the Waterboy, and right away, you’ll be thrown into your first choice of dialogue. You’re free to say whichever feels right:
- Not a great actor.
- Seems like a jerk.
- He’s phenomenal.
Not long after, Blond Blazer shows up and brings you to the conference room. On the way, two separate dialogue moments appear:
First choice (pick anything you like):
- I don’t mind
- Is this an HR violation?
- No peeking
Second choice (this one affects how Blond Blazer feels about you):
- Didn’t feel like a mistake. (no change)
- I’ll take your lead. (relationship goes up)
- We were drunk. (relationship takes a hit)
Running Into Invisigal
While you’re changing clothes, Invisigal pops up briefly. Since the conference room is locked, she can’t instantly leave, so you end up having a short conversation with her alongside Blond Blazer. You’ll be given a set of responses, and any of them can be selected:
- Powers don’t make you a hero.
- I’m here to help.
- Let’s make the best of it.
After she’s gone, Blond Blazer takes you around the office for a quick look at the place. Another dialogue choice appears during the tour, and again, any option is fine:
- How many heroes work here?
- What heroes do you hire?
- Three D’s?
Royd in the Bathroom
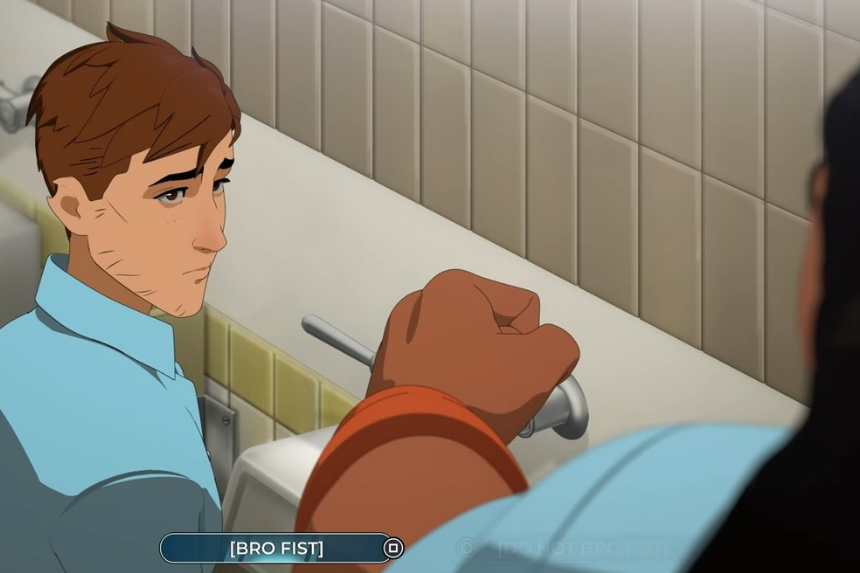
Eventually, you’ll reach the bathroom, where you’ll bump into Royd. Two dialogue sets occur here:
First (this one influences your relationship with Royd):
- BRO FIST. (relationship improves)
- DO NOT BRO FIST. (relationship worsens)
Second (no impact, choose whichever):
- No, I’m just kidding.
- I don’t know.
- Doubt it’s a coincidence.
A Stop at the Records Room
Next, Robert visits the Records Room and meets another character. Two more rounds of dialogue come up, and none of these change anything:
First set:
- Do I know you?
- Why is this happening?
- Can you not do this?
Second set:
- That’s cruel.
- So, how old are you?
- I’m so sorry.
Once the introductions wrap up, Chase will pull up a slideshow that breaks down the Phoenix Program roster. You can go through every hero profile here — it’s worth paying attention, since this information matters when you start assigning them to calls later. When you’re done looking through everything, exit and follow Chase to your desk to begin dispatching. The mechanics work similarly to Episode 1’s tutorial, but there’s more to juggle now.
The Granny’s Donuts Call
Keep processing calls until the Granny’s Donuts incident comes up. Invisigal decides to head out on her own for this one. Once she’s inside the donut shop, she’ll ask for your donut preference, and you’ll get these choices:
- Jelly-filled.
- The long cream ones.
- Plain glazed.
Any answer works fine. However, there is a trophy/achievement tied to picking whichever donut ends up being the least popular among players. Because this depends on the community’s choices, you may need another playthrough if the achievement doesn’t pop.
Handling the Donut Shop Situation
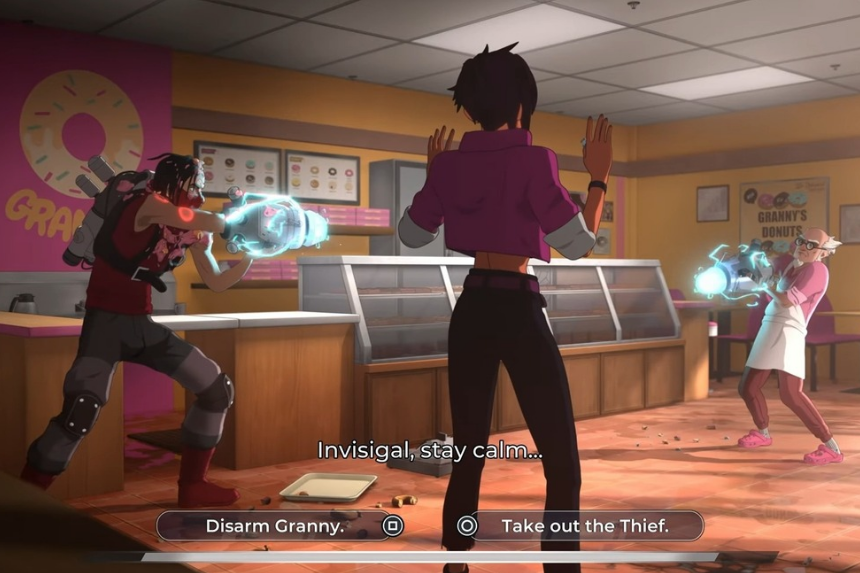
Inside the shop, a Perp is present, and Invisigal relies on you for guidance. Your immediate options are:
- Duck!
- Go invisible!
Either one is acceptable. After that, a timed hacking segment appears. Move to the right, uncover the key pattern, and input it to open the square and finish the sequence.
As the situation escalates, Granny grabs a weapon and points it at Invisigal. You must respond by choosing one of the following:
- DISARM GRANNY.
- TAKE OUT THE THIEF.
No matter what you choose here, Invisigal ends up doing the opposite. This results in Granny getting hurt, and the Perp manages to escape.
Break Room & Conversations
You’ll then move to the Break Room. Robert tries using the vending machine for a snack, and Sonar is already there. Invisigal shows up shortly after, and a longer conversation unfolds. You’ll go through three sets of dialogue:
Set 1 (all choices are safe):
- I can’t just disappear.
- You need better friends.
- You chose that life.
Set 2 (again, anything goes):
- You ignored my order.
- I told Chase you disobeyed.
- You think that went well?
Set 3 (the outcome stays the same, but this will be remembered):
- The suit isn’t Mecha Man.
- You need me.
- I’m the real hero here.
After this, Chase and Blond Blazer join you to review how things went. You’ll have two more dialogue sets here:
First set (the second choice here counts as reporting Invisigal and will be remembered):
- The air’s dry.
- Invisigal punched me.
- I bumped my head.
Second set (no consequences):
- She disobeyed an order.
- I could’ve done better.
- The perp got away.
Final Scene With Blond Blazer

At the end of your shift, you leave the office with Blond Blazer, and one last conversation wraps up the episode:
First set:
- Thanks for setting this up.
- I’m glad I’m here too.
- Do you want to grab dinner? (this is remembered)
Second set (this affects your relationship with Blond Blazer):
- Sorry, I already ate. (relationship increases)
- Yeah, sounds fun. (relationship decreases)
- Gotta get home to my dog. (relationship increases)
Episode 2 ends here. You’ll then see a screen comparing the choices you made with the decisions picked by other players online.