
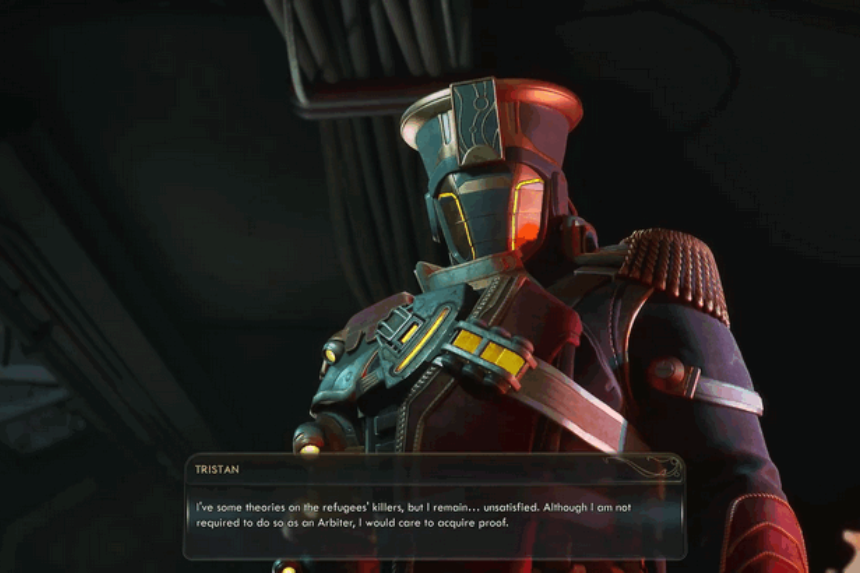
Companions in The Outer Worlds 2 aren’t just backup in battles, but carry their own stories, principles, and moral dilemmas. Standing out immediately is Tristan, an Arbiter of the Protectorate. He’s one of the few Protectorate members who don’t try to shoot you on sight and instead offers one of the more grounded, investigative companion quests in the game.
Here’s how to find Tristan, complete his quest “Arbitrary Measures,” and unlock him as a companion.
Meeting Tristan
You don’t get to meet Tristan until later in the story. First you must substantially weaken the Protectorate’s presence on Paradise Island, first by resolving the Vox Relay situation — however that goes down.
Once that’s done, two new locations open up: Dorado, otherwise known as Golden Ridge, and the ACS Free Market. Tristan isn’t in Dorado but can be found in the ACS Free Market, one of the very few neutral zones in the Arcadian system.
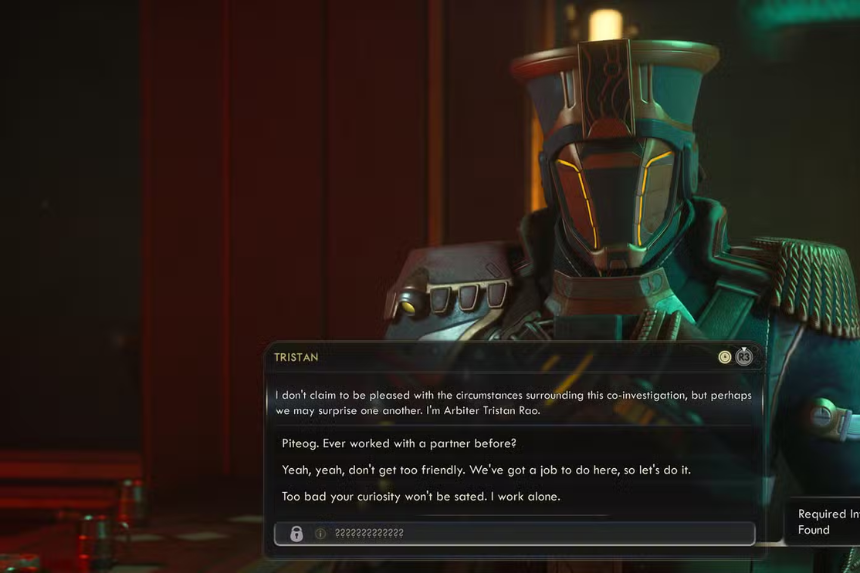
It’s run by Sub Rosa, a shadowy black market syndicate that does not usually welcome Protectorate officials. In Free Market, head into the 2nd Choice Saloon in the bazaar. Inside, you’ll overhear an argument between Tristan and the bartender. It won’t end until you intervene.
During the conversation, you’ll learn Tristan is attempting to meet with a Sub Rosa informant, but keeps getting stonewalled – no one wants to deal with a Protectorate Arbiter inside their base. The bartender offers a compromise: investigate a refugee camp on Dorado that recently went silent. Solve that, and maybe Sub Rosa will start talking.
Tristan agrees, telling you to meet him at the camp.
Investigating the Refugee Camp
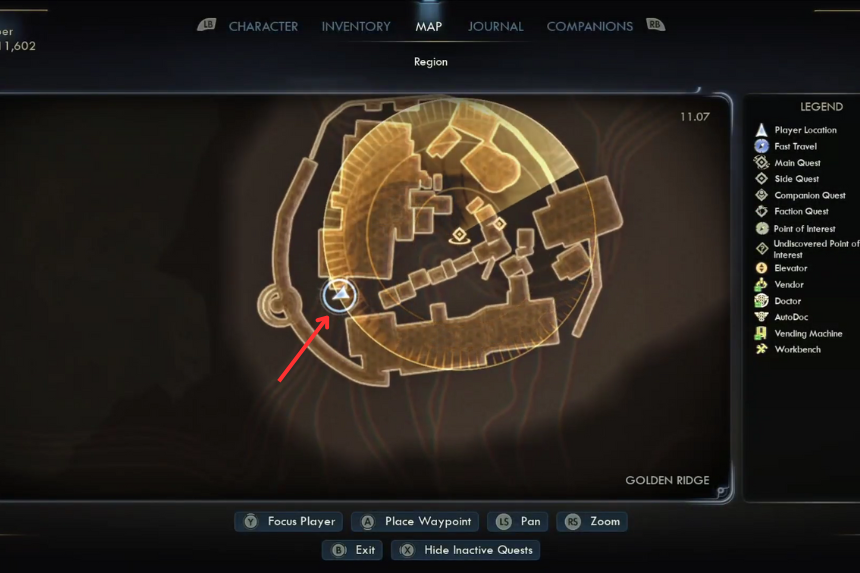
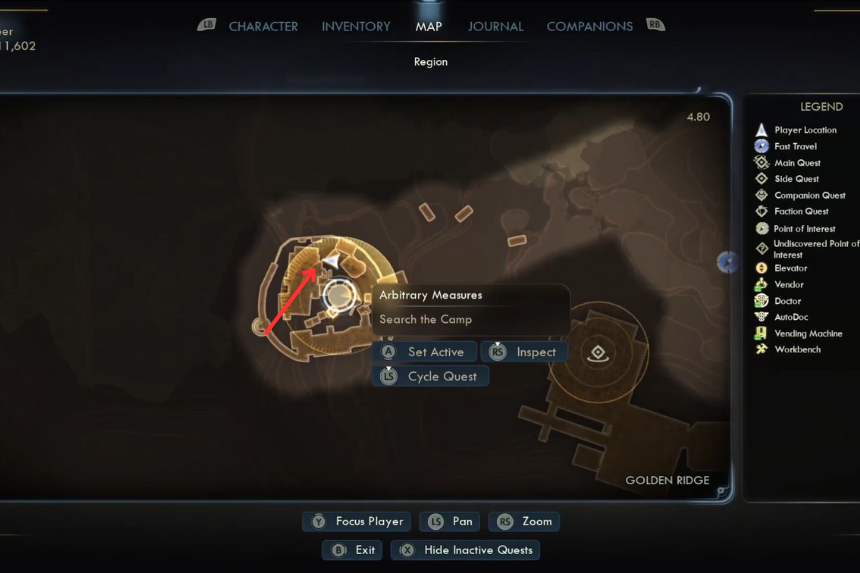
The refugee camp will be immediately marked on your map, so head towards it. Along the way, you may stumble upon a side quest called “Missive from the Lost Days.” While it is optional, doing so first provides some unique dialogue options later in Arbitrary Measures.
As you arrive, the camp is in shambles: there are torn tents, smoldering embers of fires, and bodies everywhere. Tristan joins you to figure out what happened here.
You’ll need to examine five key clues around the camp to piece together what happened here. Once you’ve found them all, the objective marker will disappear, and it’s time to head back to Tristan.
1. Wrecked Transmission Tower

Located at the very back of the camp, close to Tristan. Activating it launches a passive Engineering Skill Check Level 5. If you pass, you get clearer information about what went wrong with the tower.
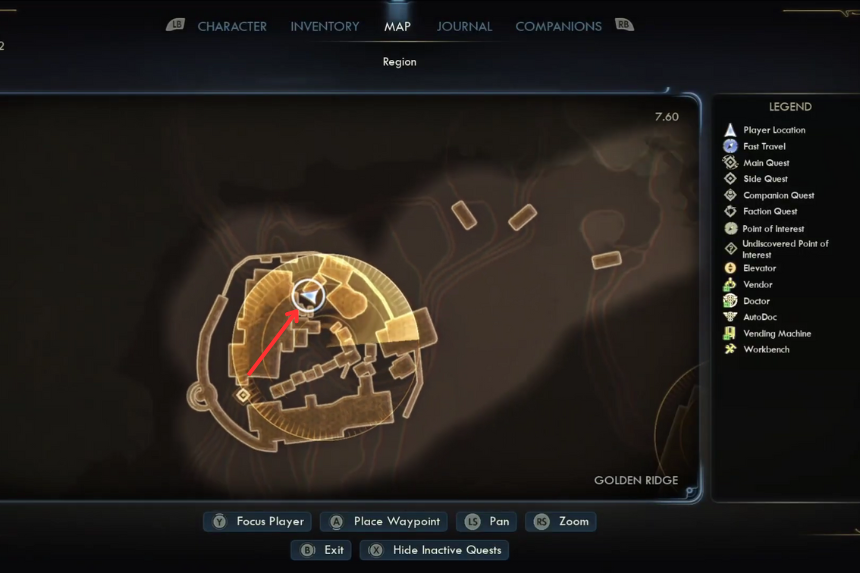
2. Radio Tower
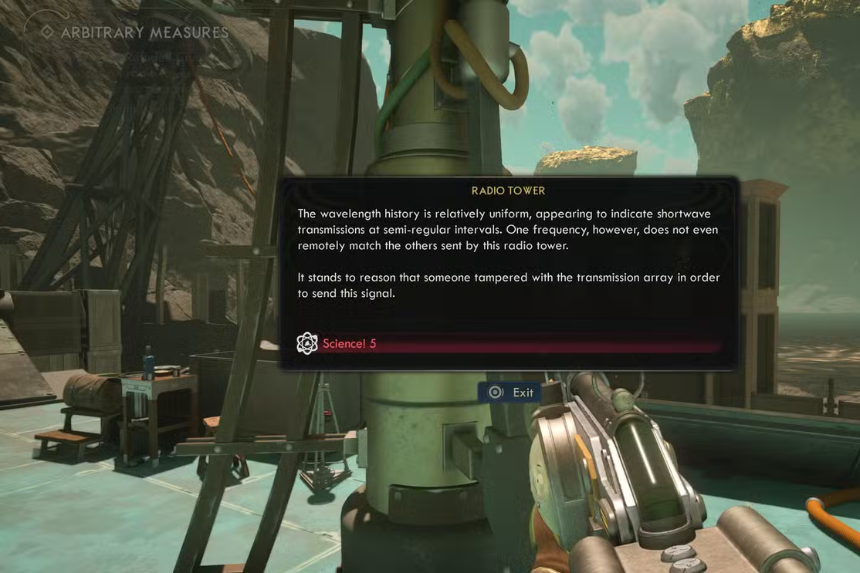
This tower sits atop of a building nearby — you’ll need to climb up to reach it. Interact to analyze it (requires Science Level 5).
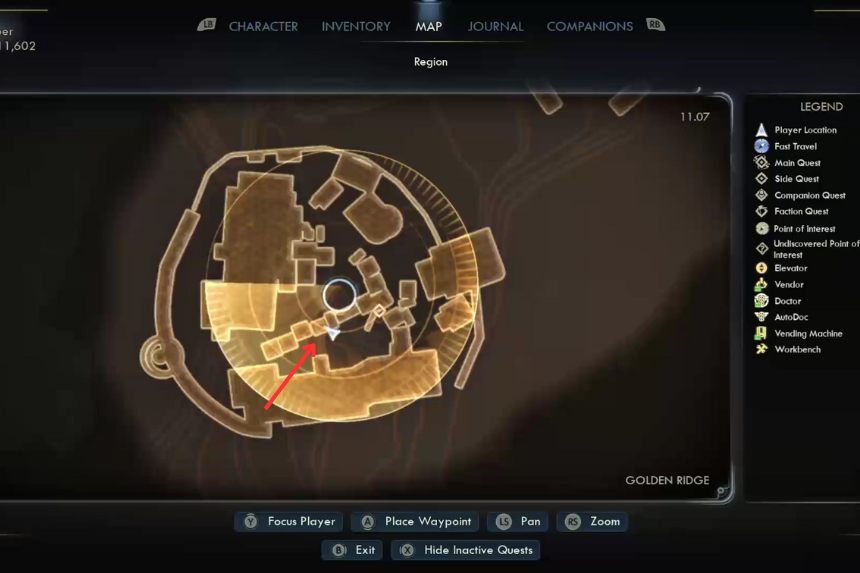
3. Badly-Damaged Automechanical
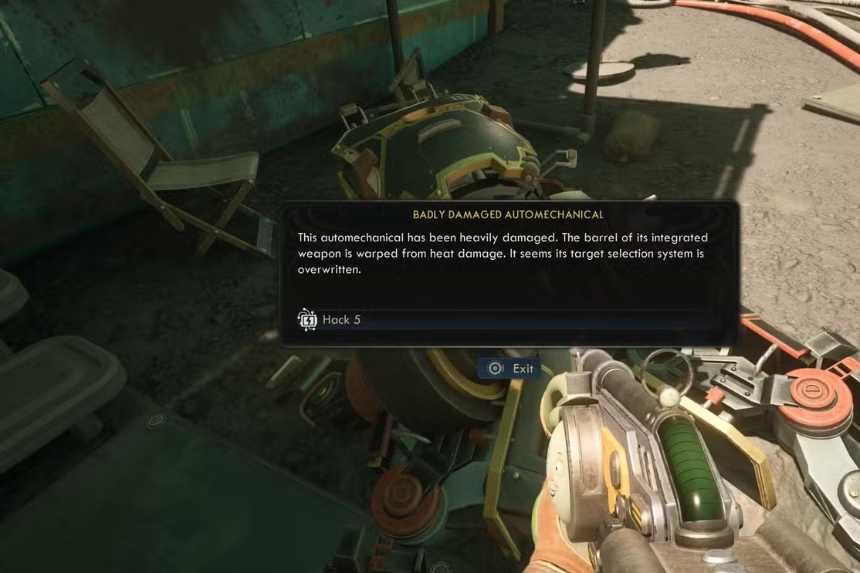
Close to the center of the camp, near a number of containers and chairs is a destroyed automech. Examining it requires Hack Level 5.
4. Refugee Corpse
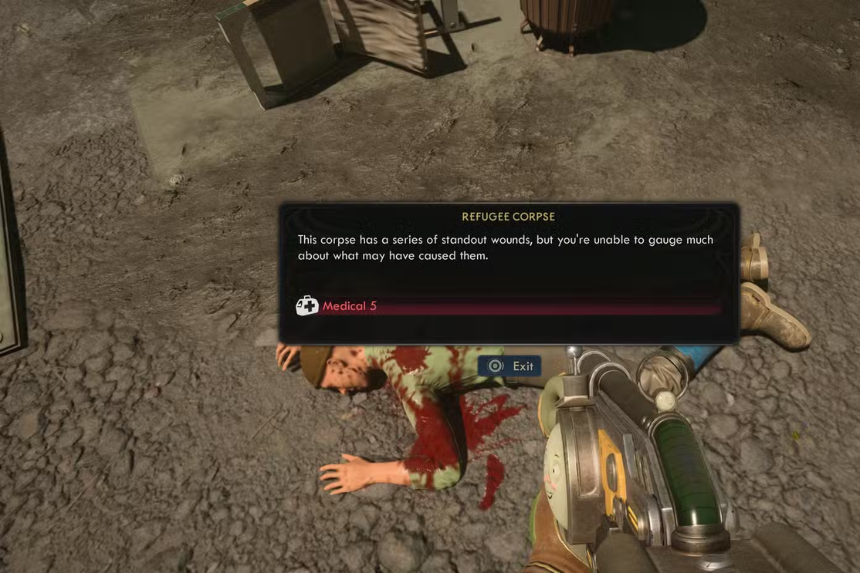
Lying in the middle of the camp is the body of a refugee who seems to have been shot while fleeing. Use Medical Level 5 on the body to obtain more information.
5. Camp Terminal

The terminal is inside one of the buildings near the center of camp. This one doesn’t require any skill checks — just read all the available entries to complete the investigation.
Make sure to also pick up the High Security Lockbox right beside it before you go.
Surviving the Ambush
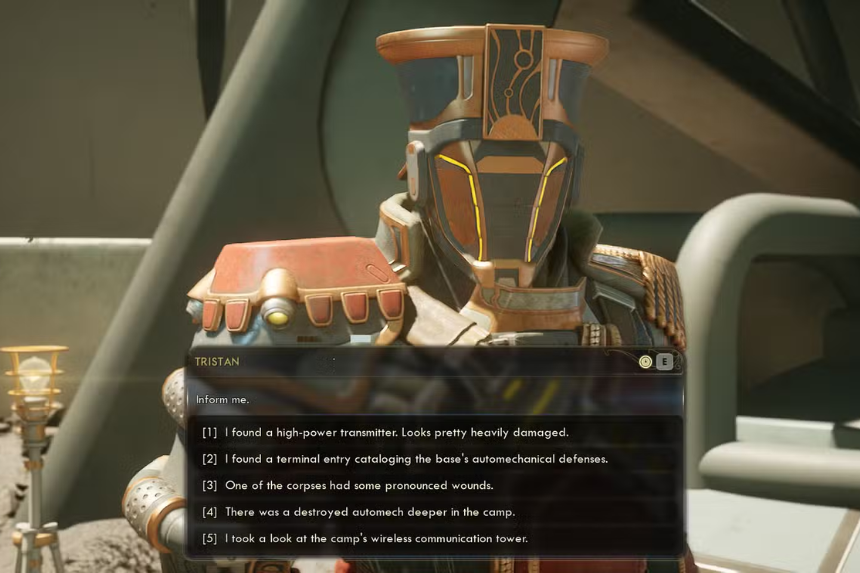
When you have found all five clues, go back to Tristan. Though he’ll still be able to figure out what happened even if you miss some evidence, he will respect your investigative skills more if you found everything yourself, which might affect the future dialogue.
Before the two of you can wrap up your discussion, a group of automech ambushers attack. You’ll face several Wasps and Dragoons. Use cover wisely and aim for the glowing blue weak points on the Dragoons to take them down faster. Shock weapons are especially effective here.
Once the fight ends, take the time to debrief with Tristan and agree to meet him back at the 2nd Choice Saloon to report in.
Returning to the ACS Free Market
Head back to where you first met Tristan. Talk to the bartender to turn in the quest. He’ll be surprised to see Tristan return alive — and even more surprised that he solved the mystery. Still, he’s cautious, and instead of paying up directly, he gives you a keycard and a cryptic message:
“Go fix the broken lamp downstairs.”
Head downstairs, and you’ll catch a sleeping guard next to a terminal – and that lamp. Interact with the sideways lamp to trigger a secret mechanism that slides open the wall, revealing a secret Sub Rosa chamber filled with operatives. Approach Sub Rosa leader Francis Min here and engage in a conversation with him to reveal the next layer of Tristan’s investigation. Once the conversation wraps, Tristan says he’s impressed by how you handled yourself.
He asks to join your crew — partly to continue his own inquiries, and partly because, well, you make an effective team. You can decline if you’d like, but given all that the two of you have been through, why not let the honorable Arbiter tag along? By accepting his offer, you’ll complete Arbitrary Measures and formally add Tristan to your roster of companions.