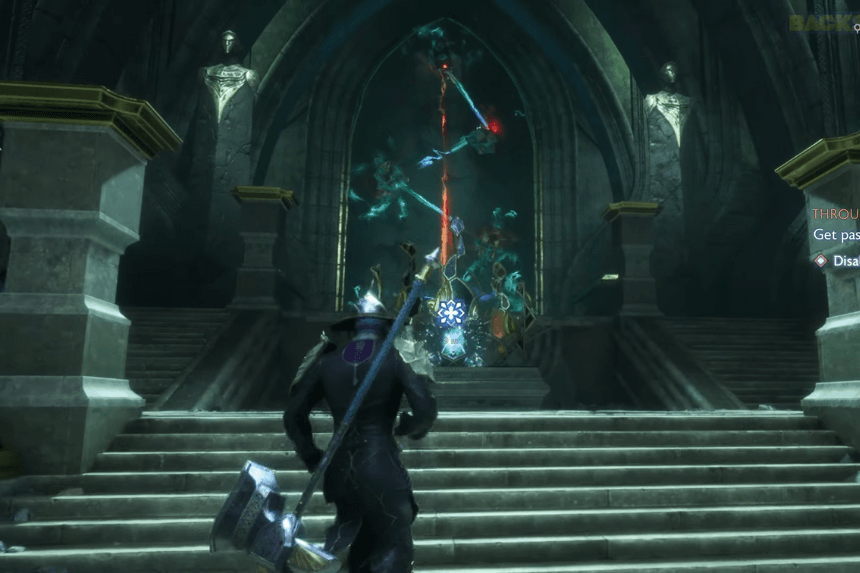
In Dragon Age: The Veilguard, the “Through the Shadows” quest is a companion mission linked to Bellara, set in the ancient and enigmatic ruins of Arlathan. As you progress through this quest, you’ll face a tricky Barrier Puzzle that blocks your way. Solving it will need the proper alignment of five Beam Generators with their respective Energy Nodes that are appropriately spread across the area. This guide will take you by the hand through each stage, from power generation to beam calibration and unlock each stage so that you can delve further into Arlathan’s mysteries.
Highlights
- A Puzzling Challenge: The quest “Through the Shadows” in Dragon Age: The Veilguard features a demanding Barrier Puzzle.
- Align the Beams: To complete the puzzle, you will need to correctly align five Beam Generators with their Energy Nodes.
- Power Up: Start by picking up a Power Crystal so that you can power on the first Beam Generator
- Locate the Generators: The generators are scattered across the Lower Chamber. Some can only be reached via platforming.
- Aim the Beams: Adjust each generator beam to point at its designated Energy Node.
- Final Alignment: Once you have all of your generators lined up, return to the first one and make that final adjustment.
- Unlock the Path: Solving the puzzle will open the way forward, allowing you to delve deeper into the secrets of Arlathan.
Through The Shadows Quest
After unlocking Bellara, you’ll gain access to four companion quests for her. One is ‘Through the Shadows,’ a quick quest set in Arlathan. Bellara will ask the Rook to somehow stop the ritual performed by Anaris. And as you go through the quest, stopping the ritual, you will be blocked by a barrier.
You’ll need to solve the Barrier Puzzle and energize the console to unlock it and move further. To solve the barrier puzzle, obtain a power crystal and correctly align the five beam generators with the matching energy nodes. When you reach the Lower Chamber section in the ‘Through the Shadows’ quest, you’ll see that most Beam Generators point in different directions. Your task is to adjust them so their beams hit the corresponding nodes on the opposite side.
To start the alignment process, you’ll need a Power Crystal to activate the initial Beam Generator. Go west, take the stairs, and turn right. There, you’ll find a glowing crystal next to a treasure chest. Grab it! Head back down the stairs and place the crystal on the pedestal. This will activate the Beam Generator.
First Beam Generator Location
In the Lower Chamber, you’ll find the first Beam Generator just near the pedestal where you put the power crystal, which you can aim at the first Energy Node. Rotate the generator to point toward the Energy Node on the western side of the room. The node is easy to spot, as it’s positioned above a line of statues.
Second Beam Generator Location
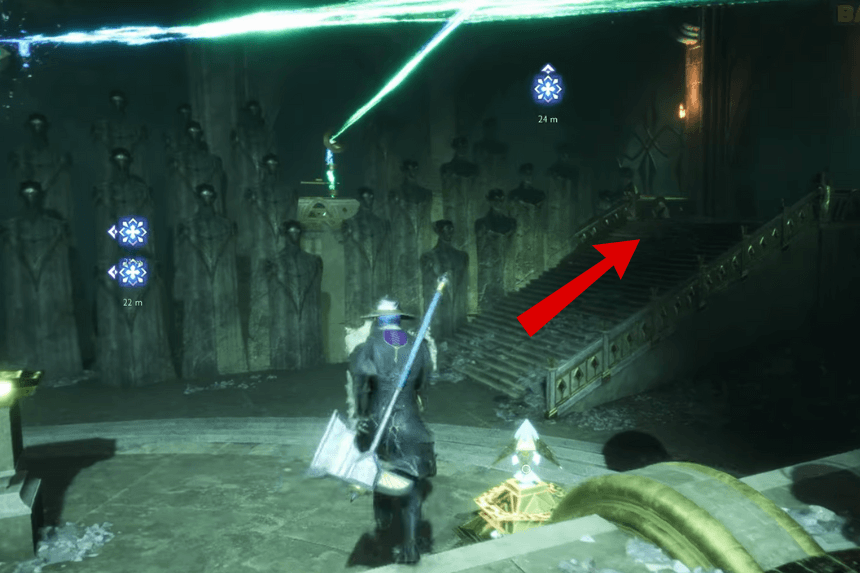
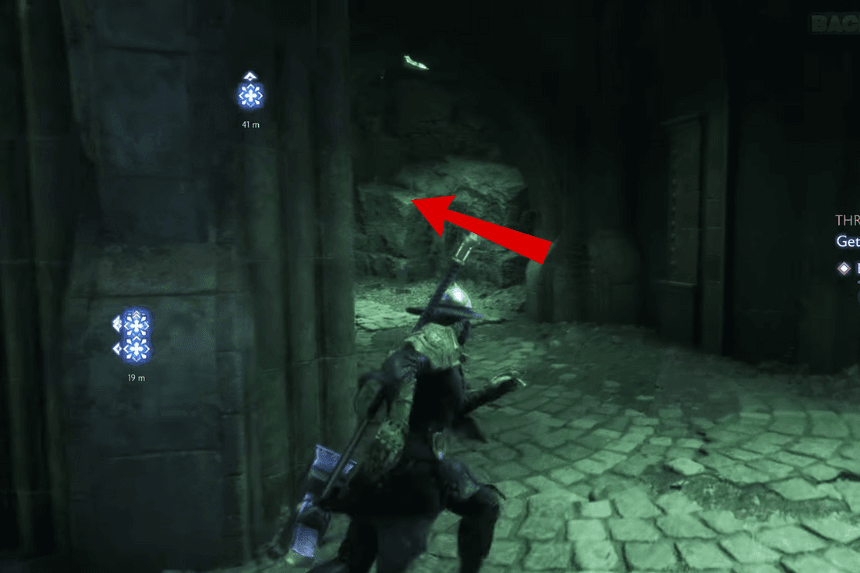
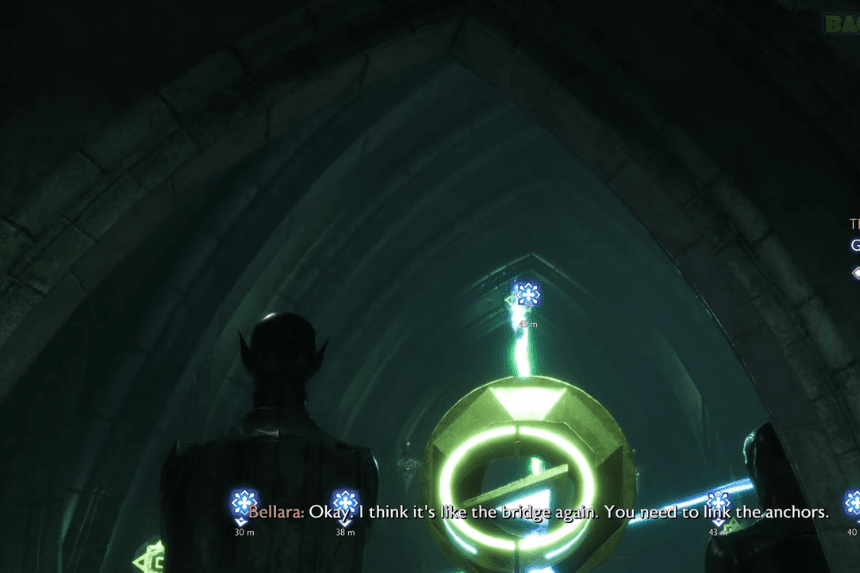
With the first generator aligned, you’re ready to locate the second Beam Generator, which is active and doesn’t need another Power Crystal. Go up the stairs on your right from the first generator, then take a left. You’ll find the second beam generator, which emits a beam. Adjust the beam to target the Energy Node near the barrier. A quest marker should guide you, showing it’s about 45 meters away.
Third Beam Generator Location
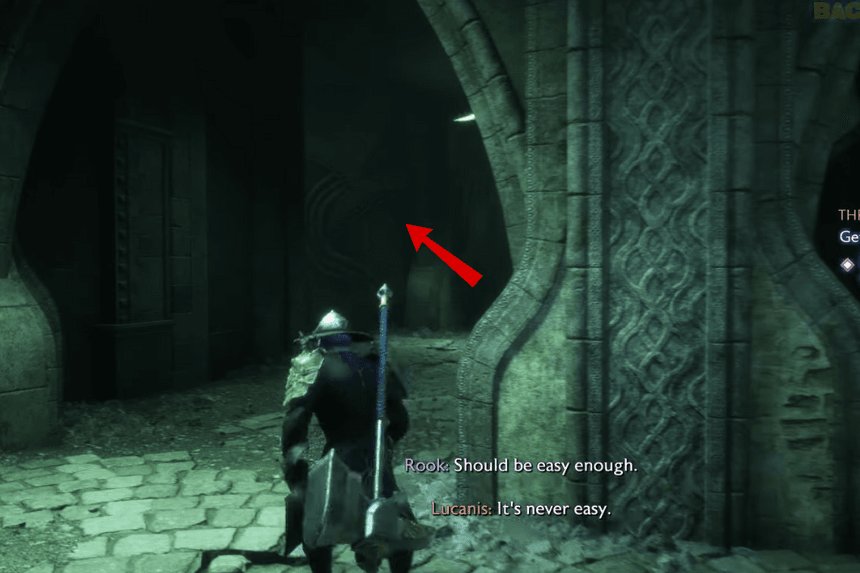
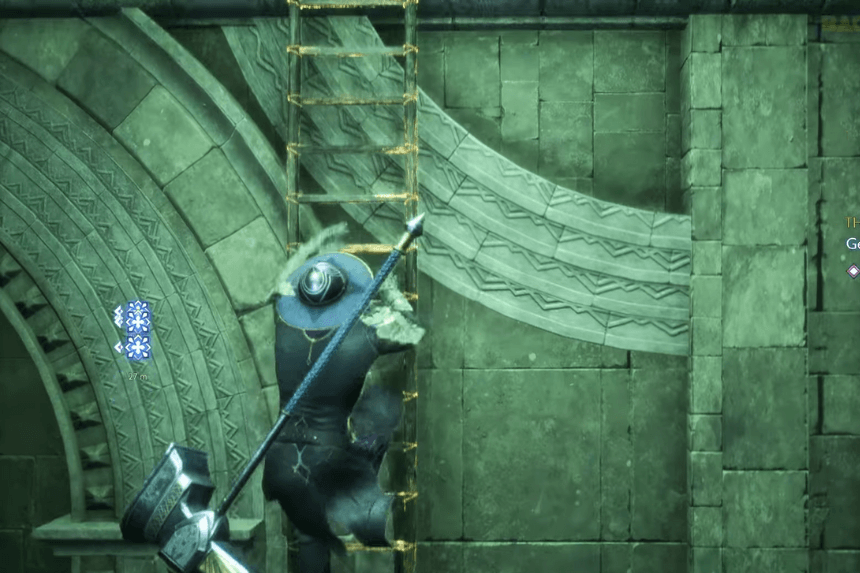
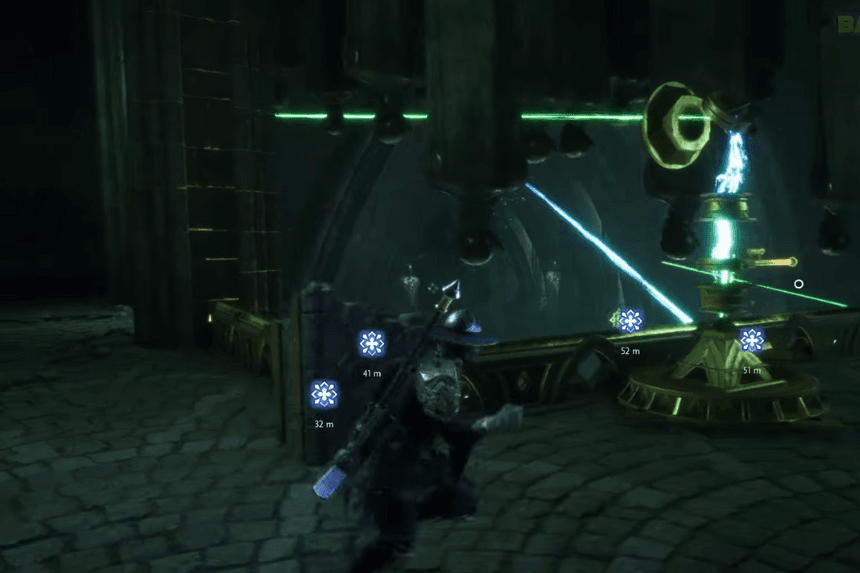
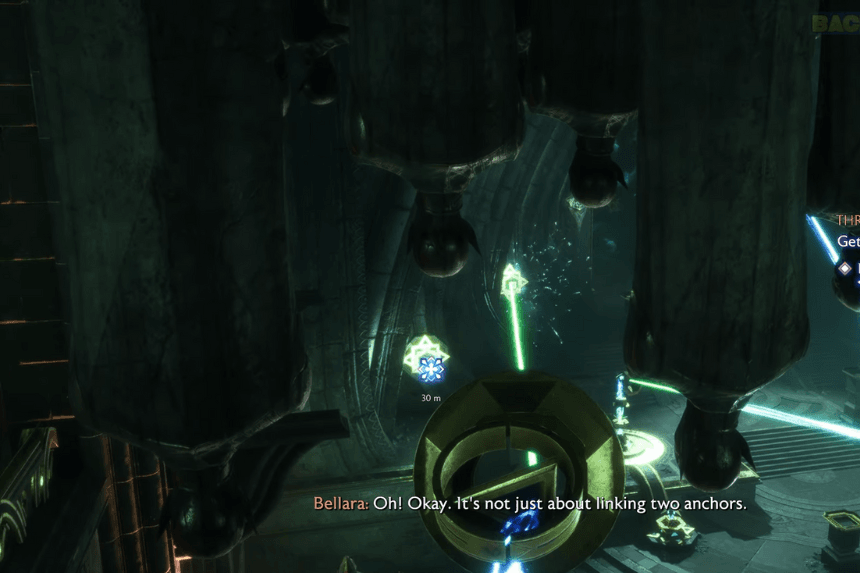
The third generator is located up on the rafters. From the second Beam Generator, go to the corner of the room on your left, where you’ll find a ladder. Climb up to reach the rafters, and you’ll spot the third generator. Aim its beam at the Energy Node that’s the second from the left, about 38 meters away as shown by your quest marker.
Fourth Beam Generator Location
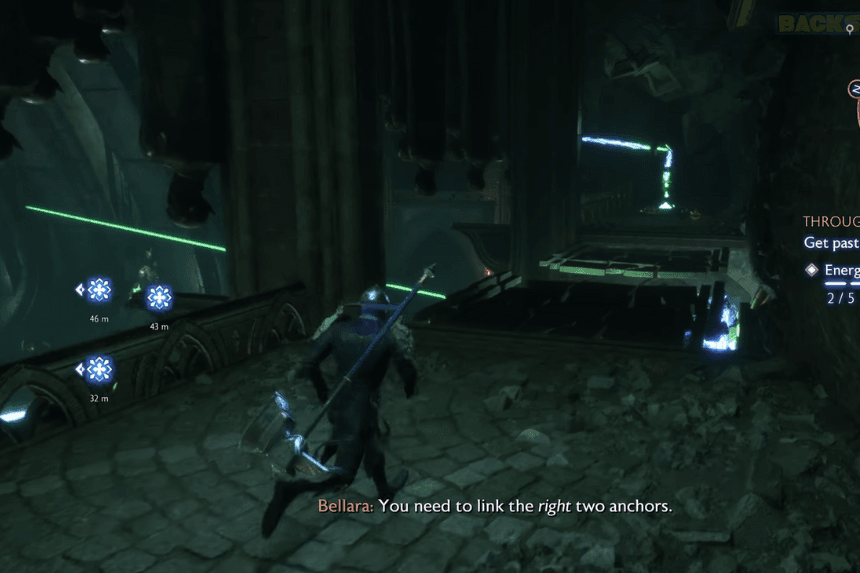
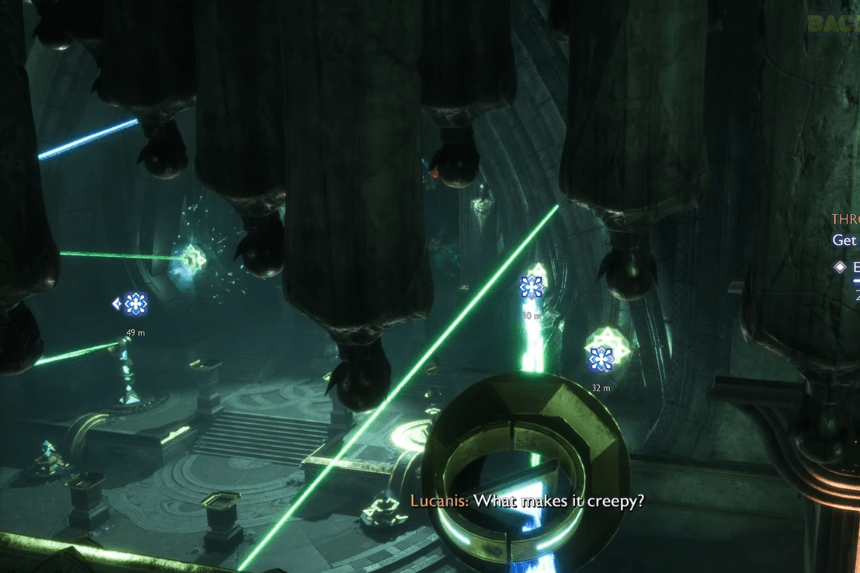
From the third Beam Generator, go right and jump across a broken platform to reach the fourth generator. Align its beam with the Energy Node second from the right, about 40 meters away.
Fifth Beam Generator Location
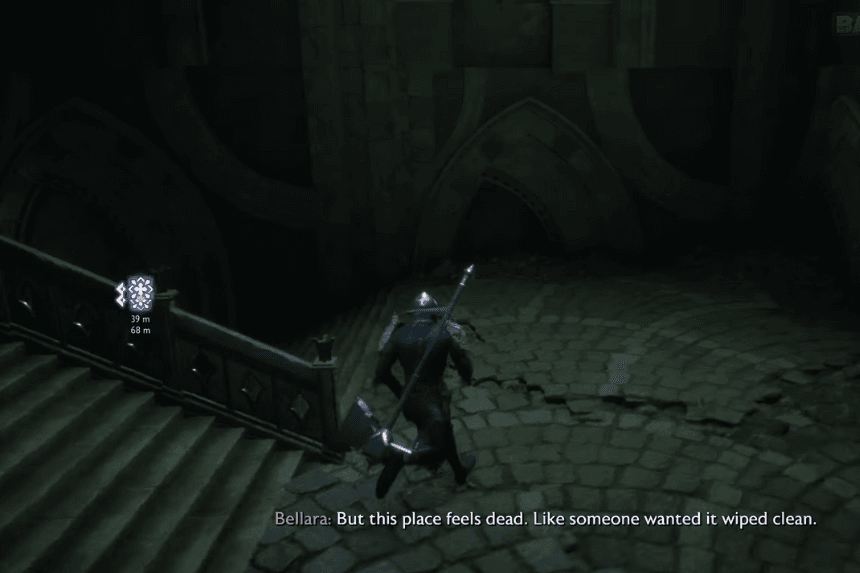
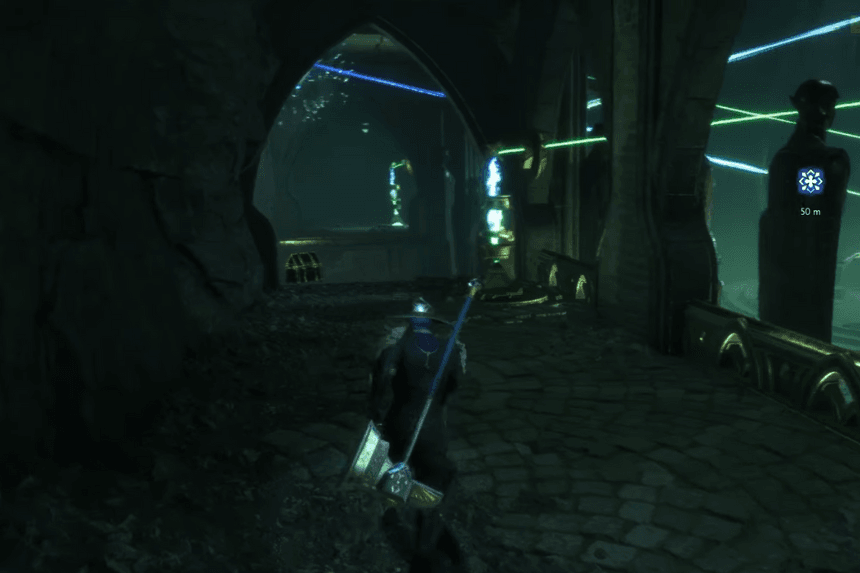
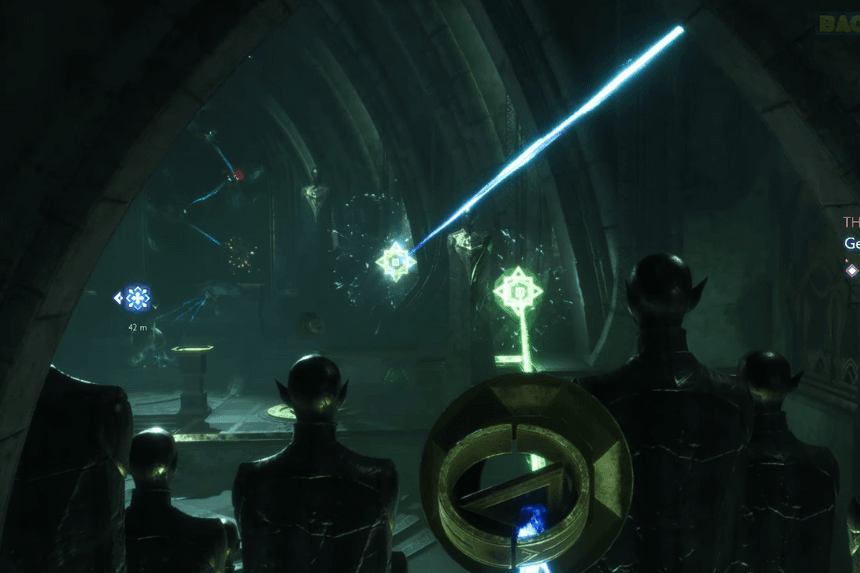
After setting up the fourth generator, head down the stairs on your right to find the fifth and final Beam Generator. Aim its beam at the Energy Node about 30 meters away.
Return to First Beam Generator for Final Alignment
Once the fifth generator is aligned, return to the first Beam Generator for a final adjustment. Rotate it to aim at the last remaining Energy Node on its right. With this setup, the Barrier Puzzle will be complete. With the Barrier Puzzle solved you can now pass through the barrier and continue your journey in the “Through the Shadows” quest.

