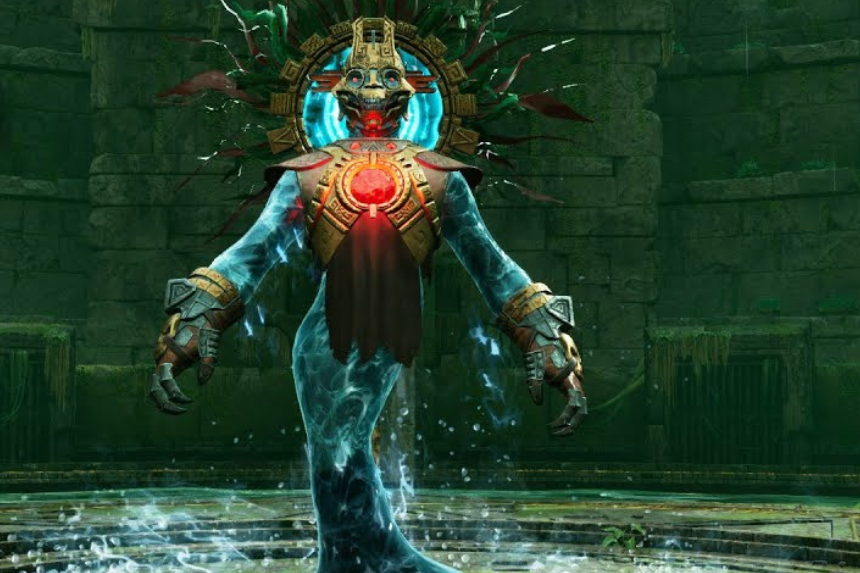
The Abandoned Temple is your first major challenge in Abyssus, and while it serves as the game’s opening area, it doesn’t go easy on new players. This realm is packed with dangerous enemies and ends with a massive stone golem blocking the path to the Gardens. If you’re struggling to bring down this rocky giant, this guide will walk you through its attacks, phases, and best strategies.
Boss Breakdown
The golem is a towering slab of rock with a ridiculous health pool. The fight plays out in three phases, and after each phase it shields itself. To move forward, you’ll need to smash the big glowing crystal that spawns in the arena.
Phase One – Warming Up
At the beginning, the boss cycles through a few straightforward attacks:
- Leap Slam – It hurls itself across the arena to crush you. Dodge sideways at the last second.
- Orb Shots – Fires several slow orbs that drift toward you. Easy to sidestep while you keep firing.
- Shockwave Slam – Jumps and sends a wave of electricity across the floor. You’ll need to jump over it as it spreads.
Tip: Never stand still. Constant movement makes these early attacks much easier to avoid.
Phase Two – The Fight Heats Up
After you take off the first third of its health, the boss floats up and becomes invulnerable. A large crystal rises from the floor—break it immediately to pull the golem back down. This round looks a lot like phase one but with new twists:
- Double Shockwave – Instead of one wave, it now sends two in a row.
- Minion Spawns – Small stone grunts join the fight. They’re annoying but not worth wasting time on; they vanish when the boss falls.
Phase Three – Final Stretch
Once its health bar drops to the last third, the golem pulls out its nastiest tricks:
- Spin Dash – Slides across the arena in a straight line, up to three times. Dodge through or to the side.
- Hazard Tiles – Floor panels glow and deal damage if you stay on them. Step off right away.
- Triple Shockwave – That slam can now trigger up to three waves back-to-back.
This is the fastest and deadliest stage, so stay alert and ready to dodge.
How to Win
For this battle, the Engine Rifle and Brine Revolver are your best early-game weapons. They both deal reliable damage with a solid fire rate, letting you chip away at the boss without losing too much momentum. Whenever possible, try to aim at the glowing core in the golem’s chest, since this weak point takes extra damage and can shorten the fight considerably.
The other key mechanic to watch for is the shield phase. When the boss becomes immune, don’t bother attacking it or its minions. Instead, immediately turn your attention to the crystal that rises from the ground and destroy it quickly—this is the only way to push the fight forward and avoid dragging the battle out longer than necessary.
Once you’ve got the patterns down, the fight becomes way more manageable. Keep moving, prioritize the weak spot, and deal with crystals the moment they appear. Beat this guardian, and the Gardens are yours to explore.

