
Struggling inside FNAF: Secret of the Mimic with the Loading Bay puzzle? This explicit walkthrough covers solving the crane float puzzle, deathly hazards, and an extra collectible along the way. In this guide, you’re provided with strategies that will help you survive and progress. Whether you want to get to the Admin Block or collect every single item, reading this will help you with everything!
Making Your Way Through the Loading Bay
With the continual progression in Five Nights at Freddy’s: Secret of the Mimic, one would assume that after passing the warehouse, you find yourself at the Loading Bay, a huge space crammed with humongous parade floats hinting that Murray’s Costume Manor somehow dabbled in float construction. These huge props block your way to the Admin Block, and to proceed, you will need to manipulate them using an adjacent crane system like a giant-sized sliding puzzle. At this stage, one clearance level stands between you and full Executive Access, so close to a full exploration of the facility, but a great hurdle stands in your way. The Mimic is still after you, now transformed into an early version of Chica silently rolling around on skates, making it impossible to track. Stealth plus precise and intelligent puzzle-solving, you’ll need to navigate this tense space and move forward.
Solving the Loading Bay Puzzle
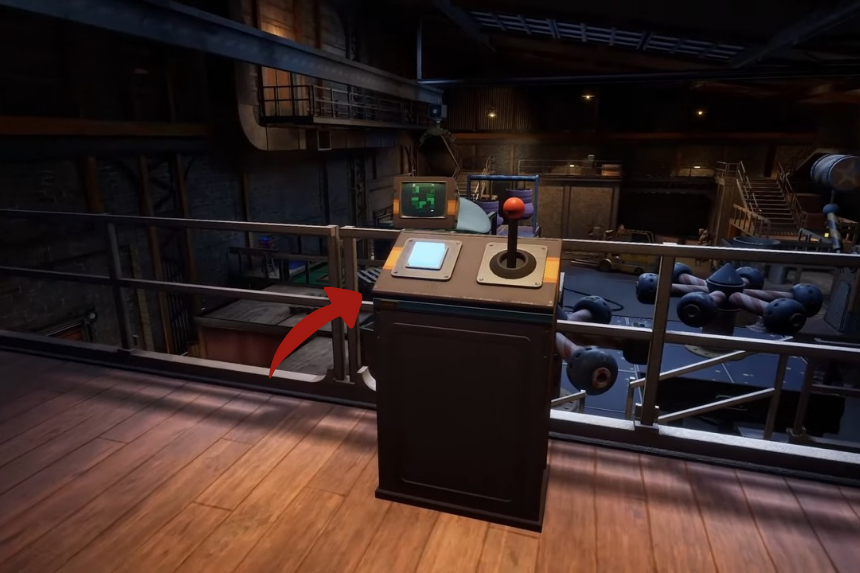
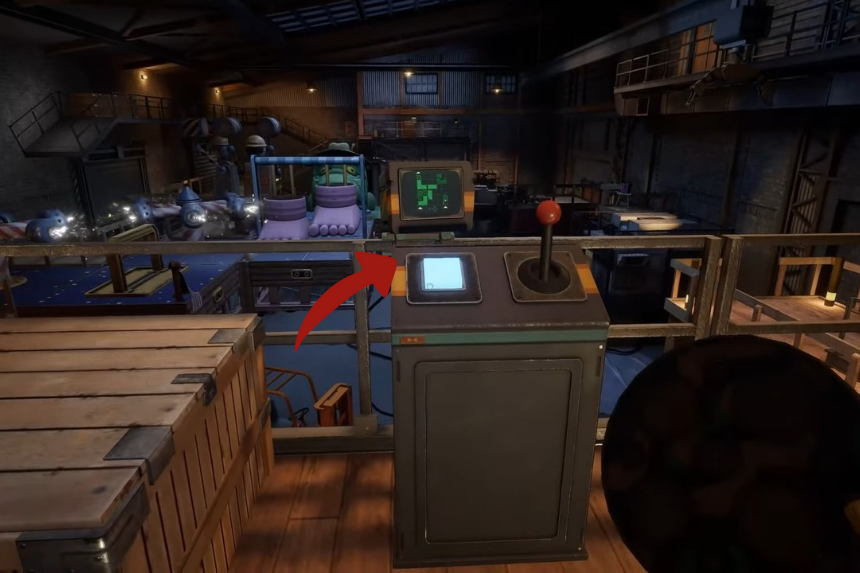
Once you have dodged the Mimic and managed to arrive at the large Loading Bay area, you will notice that all the floats are utterly in the way. So to put things right, march up the stairs near where you entered and interact with the crane controls. These controls are linked to a graphical computer display presenting a simplistic top view layout of the floats’ positions, very much like a sliding block puzzle. You cannot stack a float atop another; hence, you will have to find a way to move them out of the way. Your objective is to reach the far right side of the room where another crane control station awaits you. To get there:
- Start by moving the float positioned in the bottom-middle section straight up, and then slide it over to the right so it aligns with the arrow in the upper-right corner.
- Next, shift the vertical float in the top-left all the way to the right, then nudge it down by one space.
- Finally, slide the horizontal float from the bottom-left corner as far to the right as it can go.
That setup shall make for a nice path from the lower-right of the grid to the upper-right, from where you may get across.
Here comes the really tough part: You must cross the floats, avoiding hazards that are in motion. Wait for mechanical hammers to rise and sprint through, crouch under chomping alligator mouths or heavy stomping feet, and stay low through spinning arms. Time everything carefully, and don’t take damage. After crossing, you will be able to reach a second crane system that will enable you to move more floats from a fresh angle.
Second Puzzle Layout
With access to the second crane, here’s what you need to do next:
- Move the tall vertical float straight up.
- Take the long horizontal float and shift it up and to the right, temporarily clearing the space.
- Then, grab the L-shaped float from the top of the grid and bring it down to the bottom-right corner, placing it near the arrow.
- Now bring the horizontal float back into place, aligning it so it connects the two L-shaped floats and forms a clear path forward.
This new layout lets you move ahead and exit the room safely.
Where to Find the Hidden Collectible in the Loading Bay
A hidden collectible can be found in this area, but reaching it requires a different float arrangement than the main path. To access it, move the float in the bottom-middle section slightly upward so it connects the horizontal float on the left with the L-shaped one on the right, forming a walkable path. Cross over to grab the Junior Nurse Kit from the box, then head back and deposit it at the Inventory machine near the entrance. If you missed it during your first visit, you can still return after gaining Executive Access—but be warned, the Mimic continues to patrol this space, so it won’t be any safer later. Regardless of when you return, you’ll need to reposition the floats again to reach the collectible.