
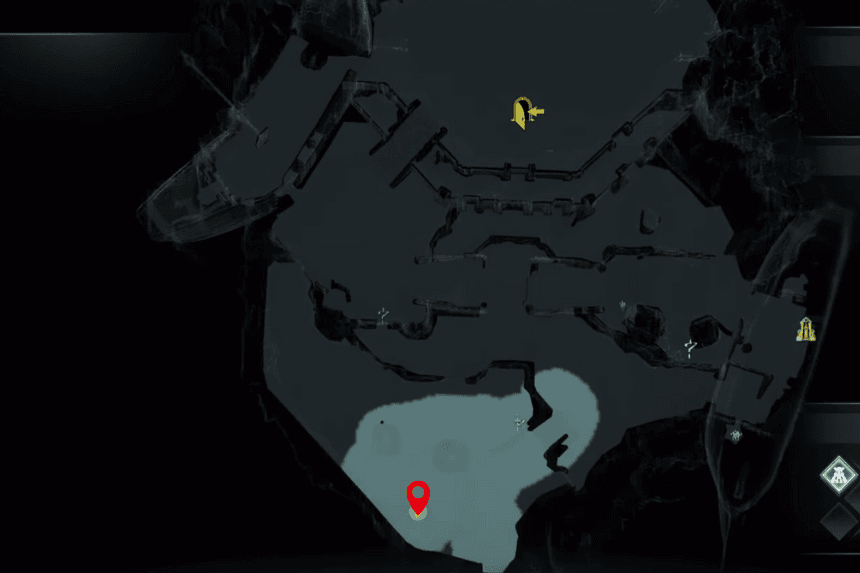
Chapter 17 of Doom: The Dark Ages is set in the Temple of Lomarith. This level has many secret areas to explore, including rubies and a collectible toy. You can visit the Gore Portals in any order you like. In this guide, we’ll help you find all the secret areas step by step so you don’t miss any collectibles.
All Secret Areas & Toys in Chapter 17
Chapter 17 of Doom: The Dark Ages has 6 secret areas and a collectible toy. Since the level is open-world, you can go to the Gore Portals in any order you like.
NOTE: You can click on the images to enlarge
1. Secret Area – Ruby
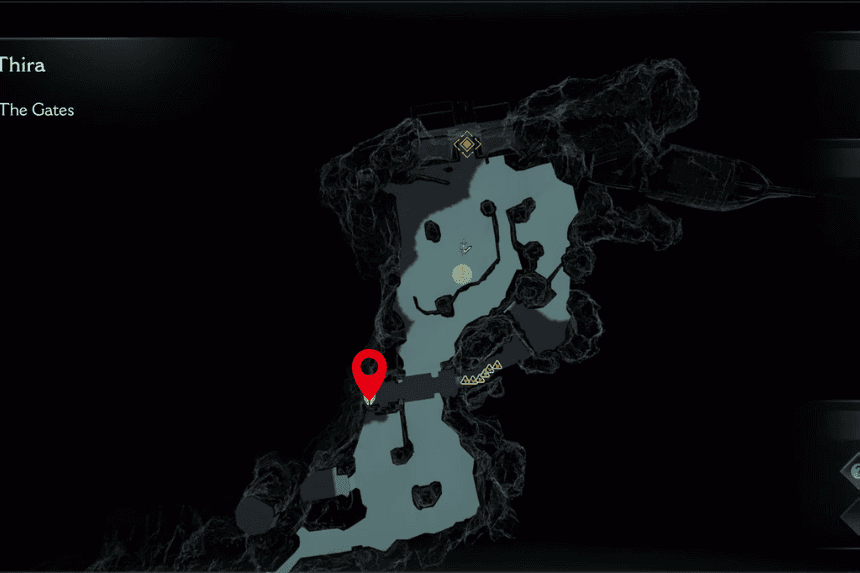
Right in front of the portal, turn to your right and move through the path. It’ll take you to a bridge. Throw your shield at the statue to create a path and jump onto the bridge. You’ll find both the gold and a ruby there in the secret area.
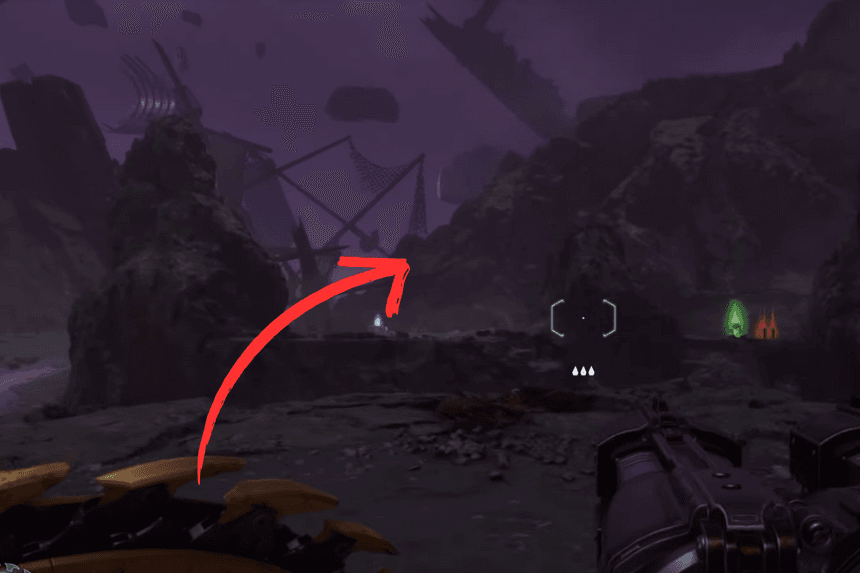
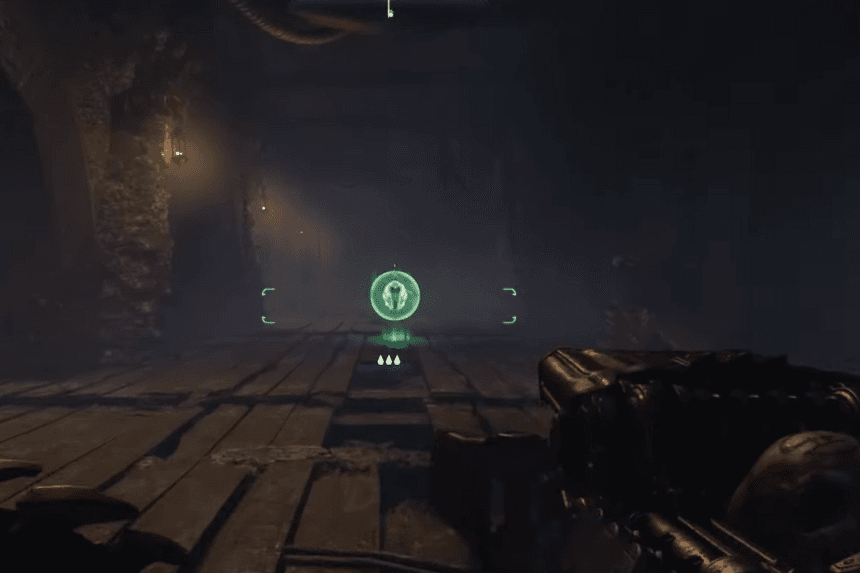
2. Secret Area – Codex Entry
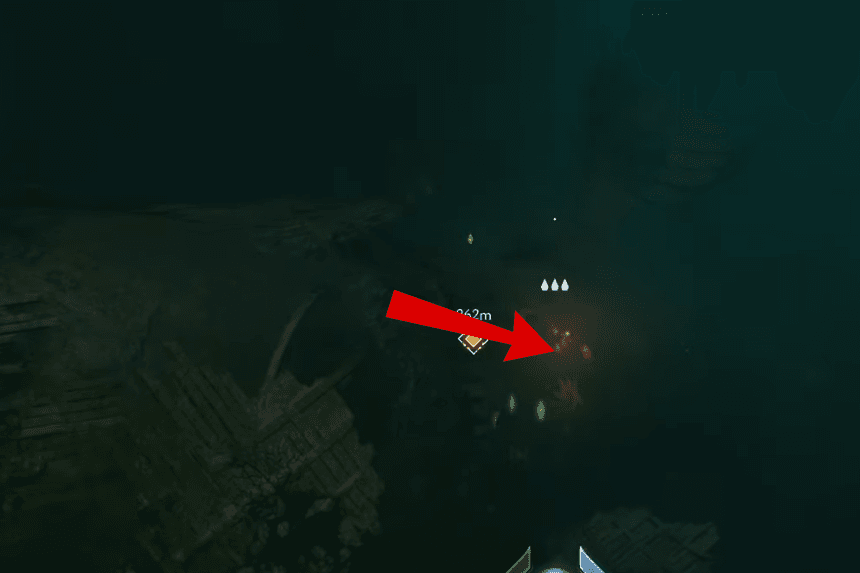
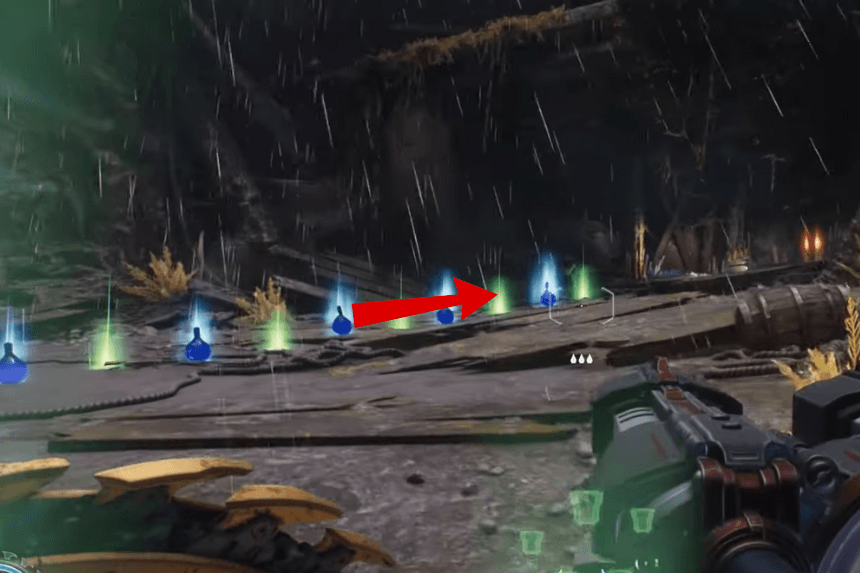
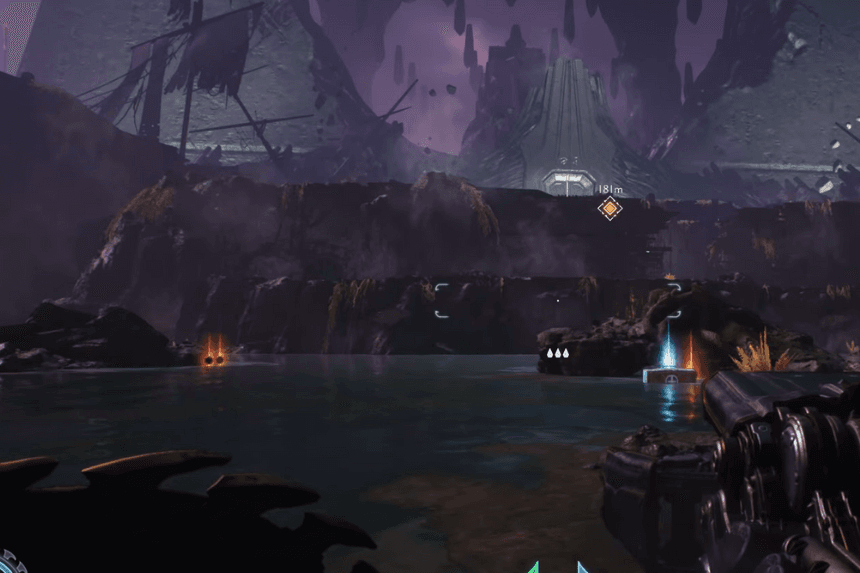
When you reach the sunken shipwreck you’ll notice some green armor pickups nearby, dive in. Don’t go all the way through the submarine, before you reach the end, take the path on the right to discover a hidden area and a codex entry.
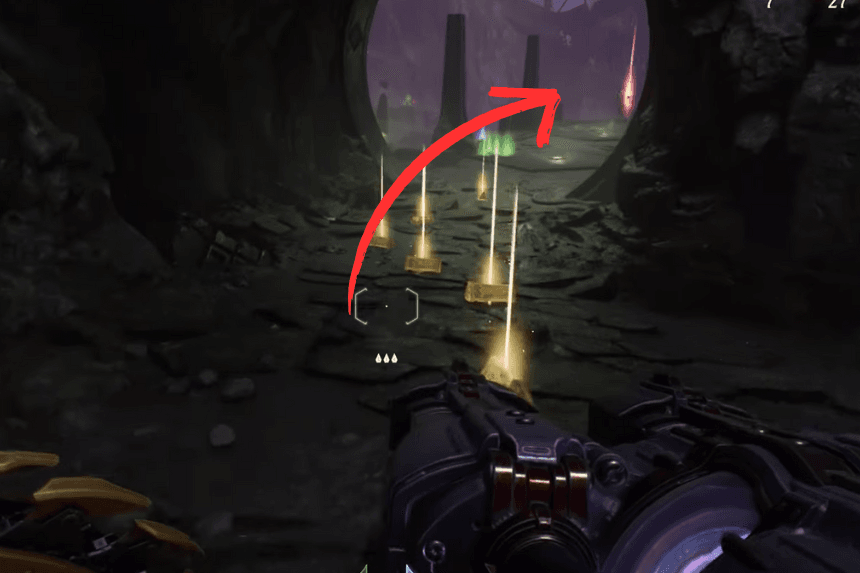
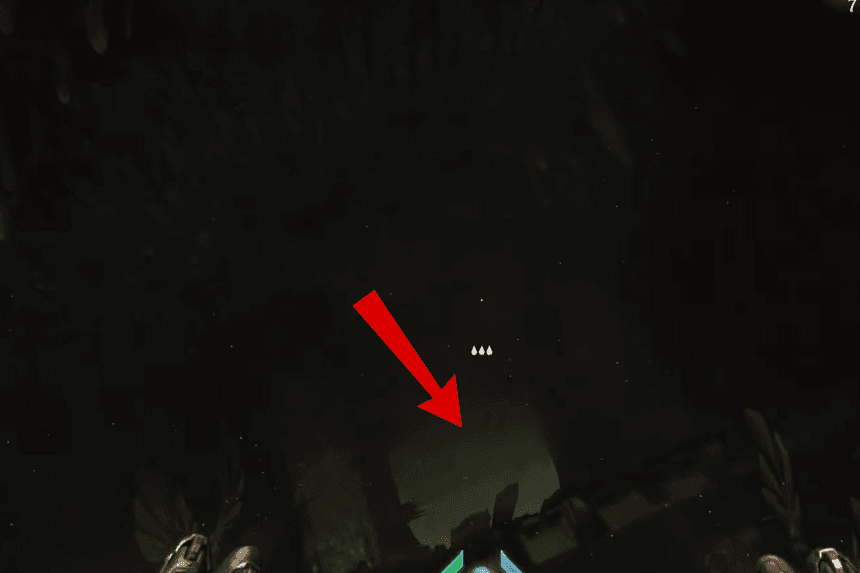
3. Secret Area – Collectible Area
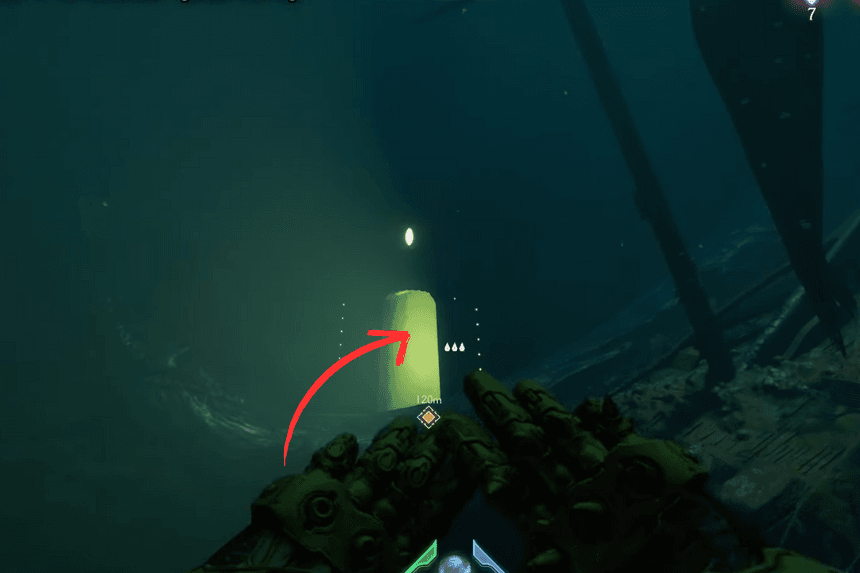
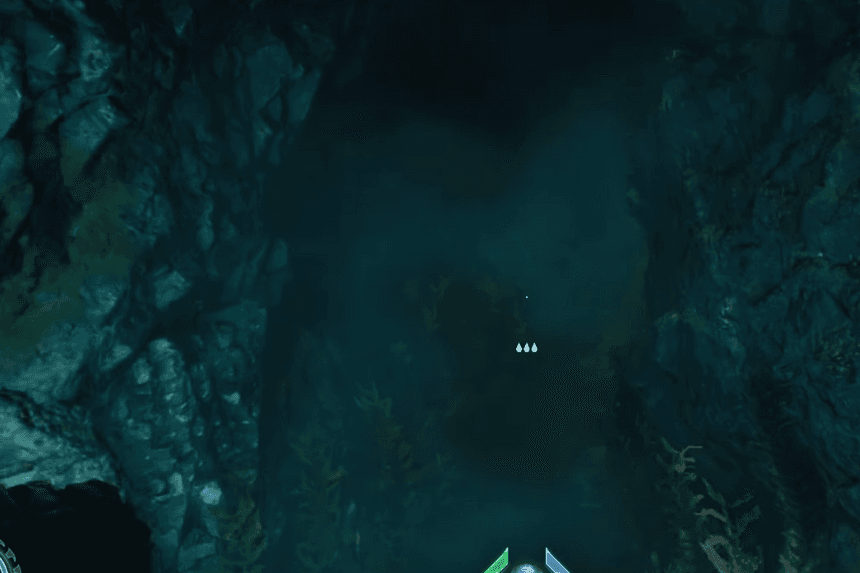
Dive underwater and turn right. You’ll see a lamp on the ground. There’s a hole next to it swim through that and follow the tunnel to reach another secret spot.
4. Secret Area – Collectible Area
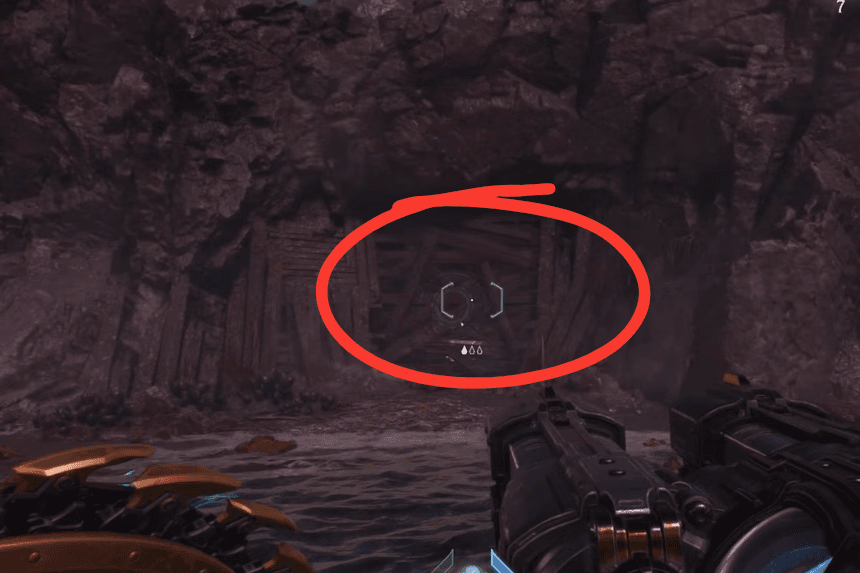
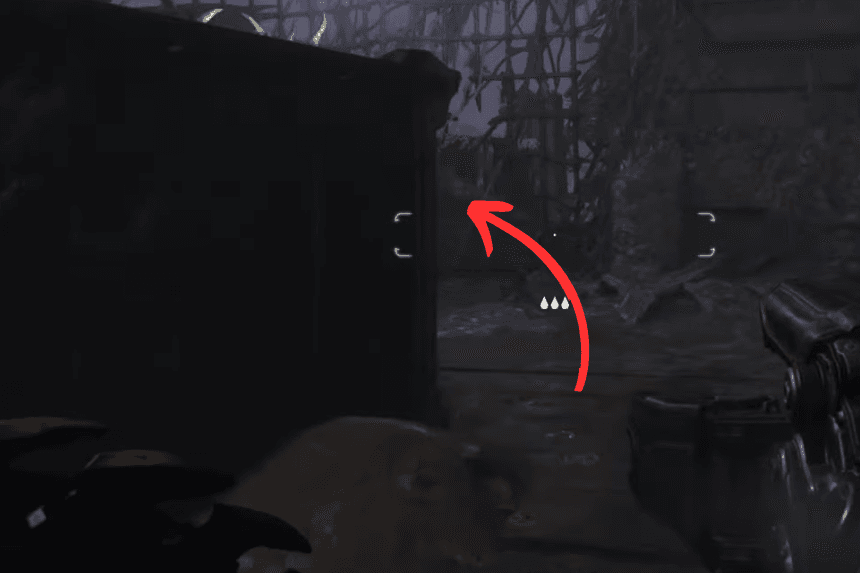
Near the main objective, look for a breakable wall. Break it with your shield, and you’ll find a crate containing some gold bars.
5. Collectible Toy
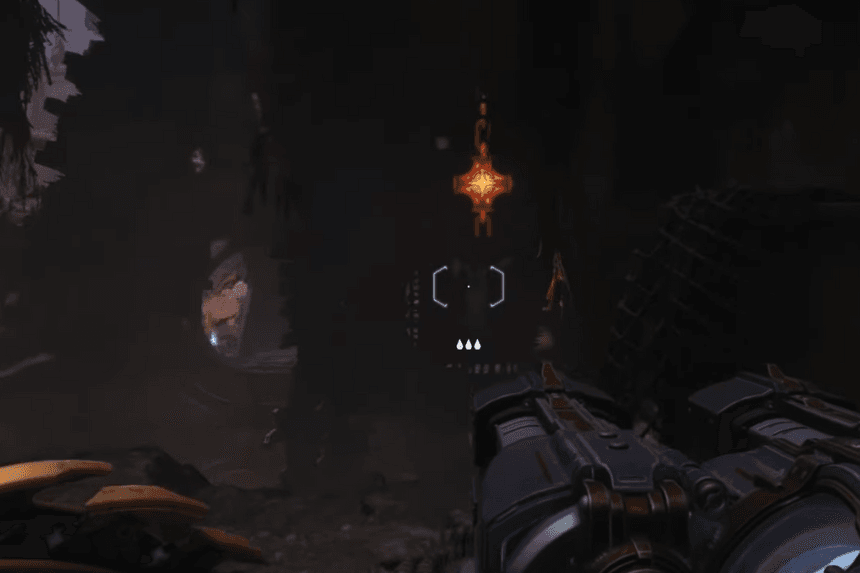
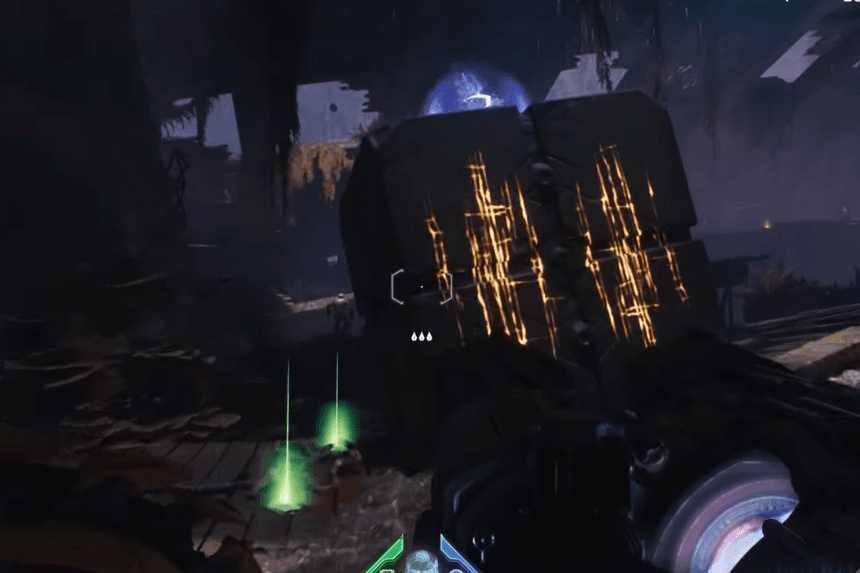
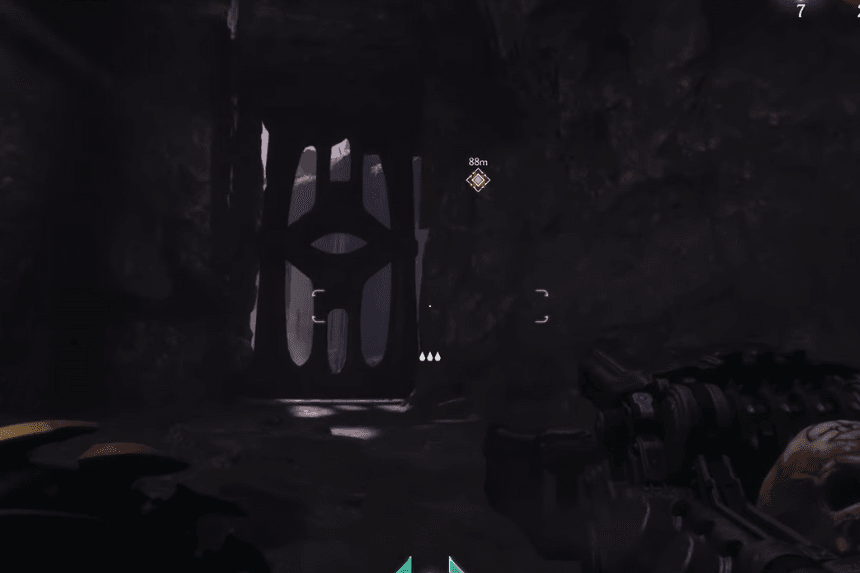
After climbing up into the shipwreck and defeating the enemies, you’ll reach the other side of the ship from where you can exit the ship. Before leaving the ship turn right and push a block that shows the toy collectible. Once that’s done, exit the ship the same way you came in. Now, outside the ship, line up with the eye symbol and throw your shield through it. This will let you get the collectible toy.
6. Secret Area – Collectible Area
Right before the next ring, turn left and break the wall there with your shield. It’ll lead you into another shipwreck where you can get more gold bars.
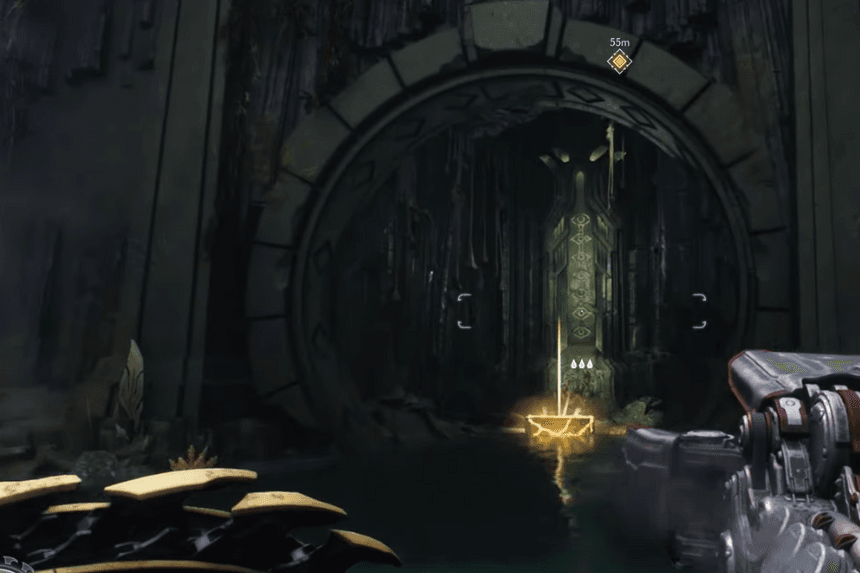
7. Secret Area – Weapon Skin
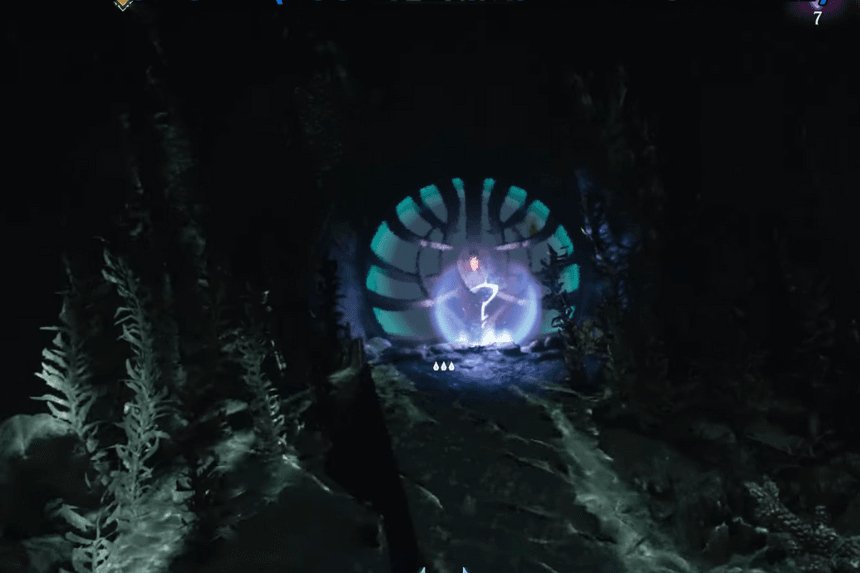
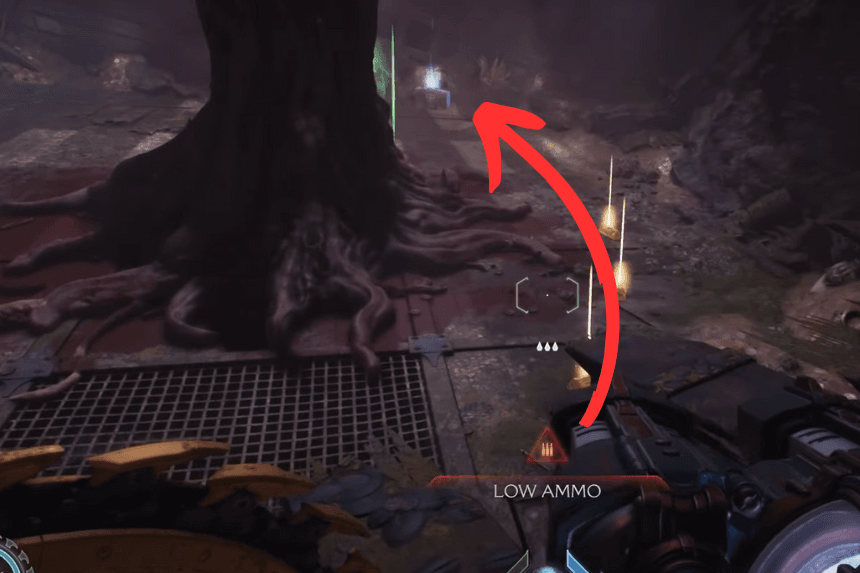
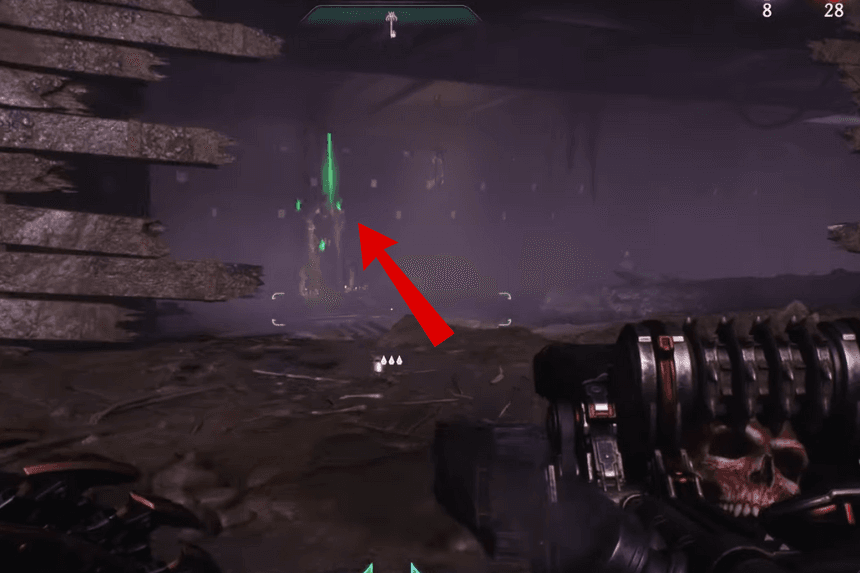
Head to the left side of the area and go through the portal. This is the final underwater secret for the Water Logged mission. After dropping down, use the jump pad to reach a weapon skin.
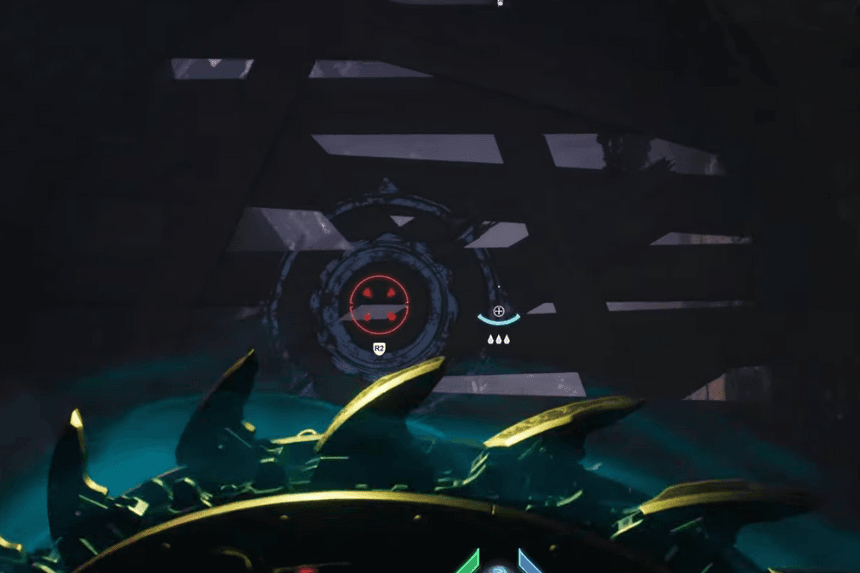
8. Secret Area – Collectible Area
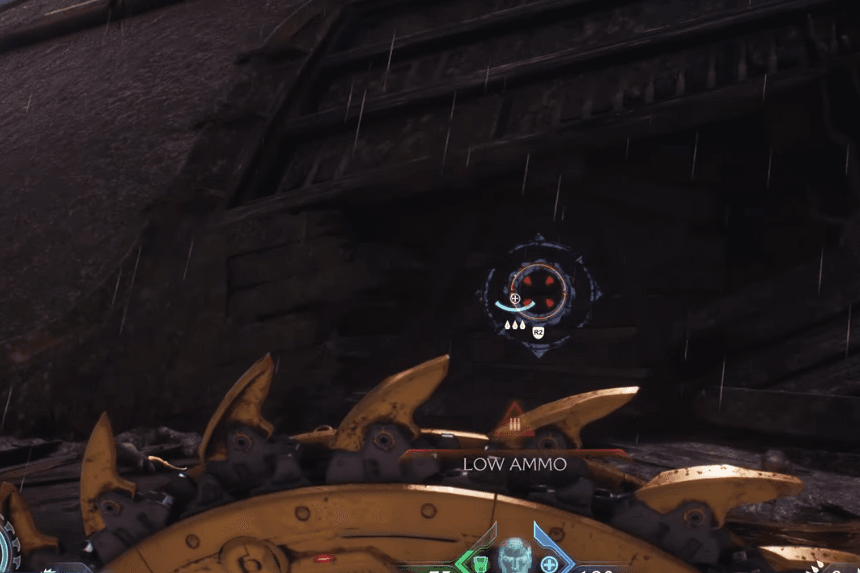
Find the eye symbol and line yourself up with it. Throw your shield through the eye to open a gate. Inside, there’s a chest with gold bars.
9. Secret Area – Wraithstone
Keep following the path inside the ship. After some time, you’ll face off against some enemies. Once you defeat them, you’ll drop down and find the Wraithstone inside it.
10. Secret Area – Ruby
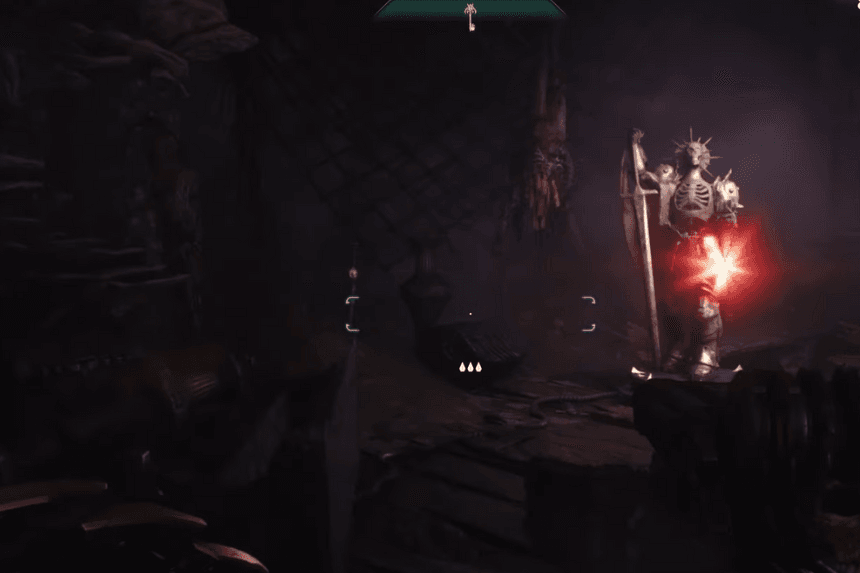
You’ll find a Sentinel Shrine. Just to its left, there’s a locked door. Use the secret key to open it. Inside, you’ll find ruby in the secret area.